

GE JTP15WW3WW, JTP15WW2WW, JTP15WW1WW, JTP15WD1WW, JTP15WA5WW Owner’s Manual
...
vvvvw.GEAppliances.com
S_fety Instructions ........ 2-5
Operating Instructions
Clock and Timer ............ 14
Controls .................... 6
Oven ................... 12, 13
Sabbath Feature ......... 10, 11
Self-Cleaning Oven ....... 17, 18
Special Features ............ 7-9
Thermostat ................. 16
Timed Baking and Roasting...15
Care and Cleaning
Broiler Pan and Grid ......... 20
Control Panel ............... 20
Glass Surfaces ............... 20
Heating Element ............ 18
Lift-Off oven Door .......... 19
Lightbulb .................. 21
Painted Surfaces ............ 20
Shelves ..................... 20
Stainless Steel Surfaces ....... 21
Troubleshooting Tips ...22-24
Consumer Support
Consumer Support...Back Cover
Product Registration ..... 25, 26
Warranty ................... 27
JKP15
JTP15
Write the modeland serial
numbershere:
Model #
Serial #
You can find them on a label
on the front of the lower oven
behind the oven door.
164D4290P039 49-80081 05-01 JR
IMPORTANTSAFETYINFORMATION.
READALLINSTRUCTIONSBEFOREUSING.
A WARNING!
Foryoursafety,theinformationin this manualmustbefollowedtominimizethe riskoffireor
explosion,electric shock,orto preventpropertydamage,personalinju_ orlossoflife.
IMPORTANTSAFETYNOTICE
TheCaliforniaSafeDrinkingWaterand ToxicEnfarcementAct requiresthe Governorof Californiato
publisha listofsubstancesknowntothe state tocausecancer,birthdefectsorotherreproductive
harm,andrequiresbusinessesto warn customersofpotentialexposure tosuchsubstances.
Thefiberglassinsulationinself-cleanovensgivesoffa verysmallamountof carbonmonoxideduring
the cleaningcycle.Exposurecanbeminimizedby ventingwithan open v_ndowor usinga ventilation
fanorhood.
IMPORTANT"Thehealth ofsomebirds is extremelysensitive to the fumesgiven off
duringthe self-cleaning cycle of anyoven.Move birdsto another weftventilatedroom.
2
ww_.GF_Applianc_com
SAFETYPRECAUTIONS
Whenusingelectn'calappliances,basicsafety precautionsshouldbefollowed,includingthefollowing:
n Use this appliance only for its intended
purpose as described in this Owner's
Manual.
[] Be sure your appliance is properly installed
and grounded by a qualified technician in
accordance with the provided installation
instructions.
HIDo not attempt to repair or replace any
part of your oven unless it is specifically
recommended in this manual. All other
servicing should be referred to a qualified
technician.
m Have the installer show you the location of
the circuit breaker or fuse. Mark it for easy
reference.
n Before performing any service, disconnect
the oven power supply at the household
distribution panel by removing the fuse or
switching off the circuit breaker.
[] Do not leave children alone---children
should not be left alone or unattended in
an area where an appliance is in use. They
should never be allowed to sit or stand on
any part of the appliance.
[] Do not allow anyone to climb, stand or
hang on the door. They could damage the
oven, or cause severe personal injury.
[] Be sure the oven is securely installed in a
cabinet that is firmly attached to the house
structure. Never allow anyone to climb, sit,
stand or hang on the oven door.
[] Never leave the oven door open when you
are not watching the oven.
[] Always keep combustible wall covering,
curtains or drapes a safe distance from
your oven.
[] Always keep dish towels, dish cloths, pot
holders and other linens a safe distance
from your oven.
[] Always keep wooden and plastic utensils
and canned food a safe distance away from
your oven.
[] Teach children not to play with the
controls or any other part of the oven.
[] [axge scratches or impacts to glass doors
can lead to broken or shattered glass.
3
IMPORTANTSAFETYINFORMATION.
READALLINSTRUCTIONSBEFOREUSING.
A WARNING!
SAFETYPRECAUTIONS
• Do not store flammable materials in
an oven.
• CAUTION:Items of interest to
children should not be stored in cabinets
above an oven; children climbing on the
oven to reach items could be seriously
injured.
• Never wear loose-fitting or hanging
garments while using the appliance. Be
careful when reaching for items stored in
cabinets over the oven. Flammable
material could be ignited if brought in
contact with hot surfaces or heating
elements and may cause severe burns.
• Use only dry pot holders-moist or damp
pot holders on hot surfaces may result in
burns from steam. Do not let pot holders
touch hot heating elements. Do not use a
towel or other bulky cloth.
[] For your safety, never use your appliance
for wanning or heating the room.
[] Do not let cooking grease or other
flammable materials accumulate in
or near the oven.
[] Do not use water on grease fires. Never pick
up a flaming pan. Turn the controls off.
Flame in the oven can be smothered
completely by closing the oven door and
turning the oven offor by using a multi-
purpose dry chemical or foam-type fire
extinguisher.
[] Stand away from the oven when opening
the oven door. Hot air or steam which
escapes can cause burns to hands, face
and/or eyes.
• Do not heat unopened food containers.
Pressure could build up and the container
could burst, causing an injury.
• Keep the oven vent unobswucted.
• Keep the oven free from grease buildup.
• Place the oven shelf in the desired position
while the oven is cool. If shelves must be
handled when hot, do not let pot holder
contact the heating elements.
• When using cooking or roasting bags in the
oven, follow the manufacturer's directions.
• Do not touch the heating elements or the
interior surface of the oven. These surfaces
maybe hot enough to burn even though
they are dark in color. During and after
use, do not touch, or let clothing or other
flammable materials contact any interior
area of the oven; allow suffident time for
cooling first.
Potentially hot surfaces indude oven vent
openings, surfaces near the openings,
crevices around the oven door, the edges
of the window and metal trim parts above
the door.
REMEMBER:The inside surface of the oven
may be hot when the door is opened.
• Never leave jars or cans of fat drippings in
or near your oven.
[] Do not store or use combustible materials,
gasoline or other flammable vapors and
liquids in the vicinity of this or any other
appliance.
4
www.eF_A.ppl#ances+com
li
m Pulling out the shelf to the stop-lock is a
convenience in lifting heavy foods. It is also
a precaution against bmrns from touching
hot surfaces of the door or oven walls.
I1Do not use the oven to dry newspapers.
If overheated, they can catch on fire.
[] Do not use the oven for a storage area.
Items stored in an oven can ignite.
[] Do not leave paper products, cooking
utensils or food in the oven when not
in use.
[] After broiling, always take the broiler pan
out of the oven and dean it. Leftover
grease in the broiler pan can catch fire
next time you use the pan.
• Clean onlyparts listed in this Owner's
Manual.
[] Do not use aluminum foil to line oven
bottoms, except as suggested in this
manual. Improper installation of
aluminum foil may result in a risk
of electric shock or fire.
COOKMEATANDPOULTRYTHOROUGHLY...
Cookmeatandpoultrythoroughlff--meattoat leastan/NTERNALtemperatureof 160°F.andpoultry
toat leastan/NTERNALtemperatureof 180°£Cookingto thesetemperaturesusua//yprotectsagainst
fondbomeillness.
SELF-CLEANINGOVEN
[] Do not dean the door gasket. The door
gasket is essential for a good seal. Care
should be taken not to rub, damage or
move the gasket.
[] Do not use oven cleaners. No commercial
oven cleaner or oven liner protective
coating of any kind should be used in or
around any part of the oven. Residue from
oven cleaners will damage the inside of the
oven when the self-clean cycle is used.
i EADANDFOLLOWTHISSAFETYINFORMATIONCAREFULLY.
SAVETHESEINSTRUCTIONS
[] Before serf-cleaning the oven, remove the
broiler pan, grid and other cook•are.
[] Be sure to wipe up excess spillage before
starting the self-cleaning operation.
n if the serf-cleaning mode malfunctions,
turn the oven off and disconnect the power
supply. Have it serviced by a qualified
technician.
5
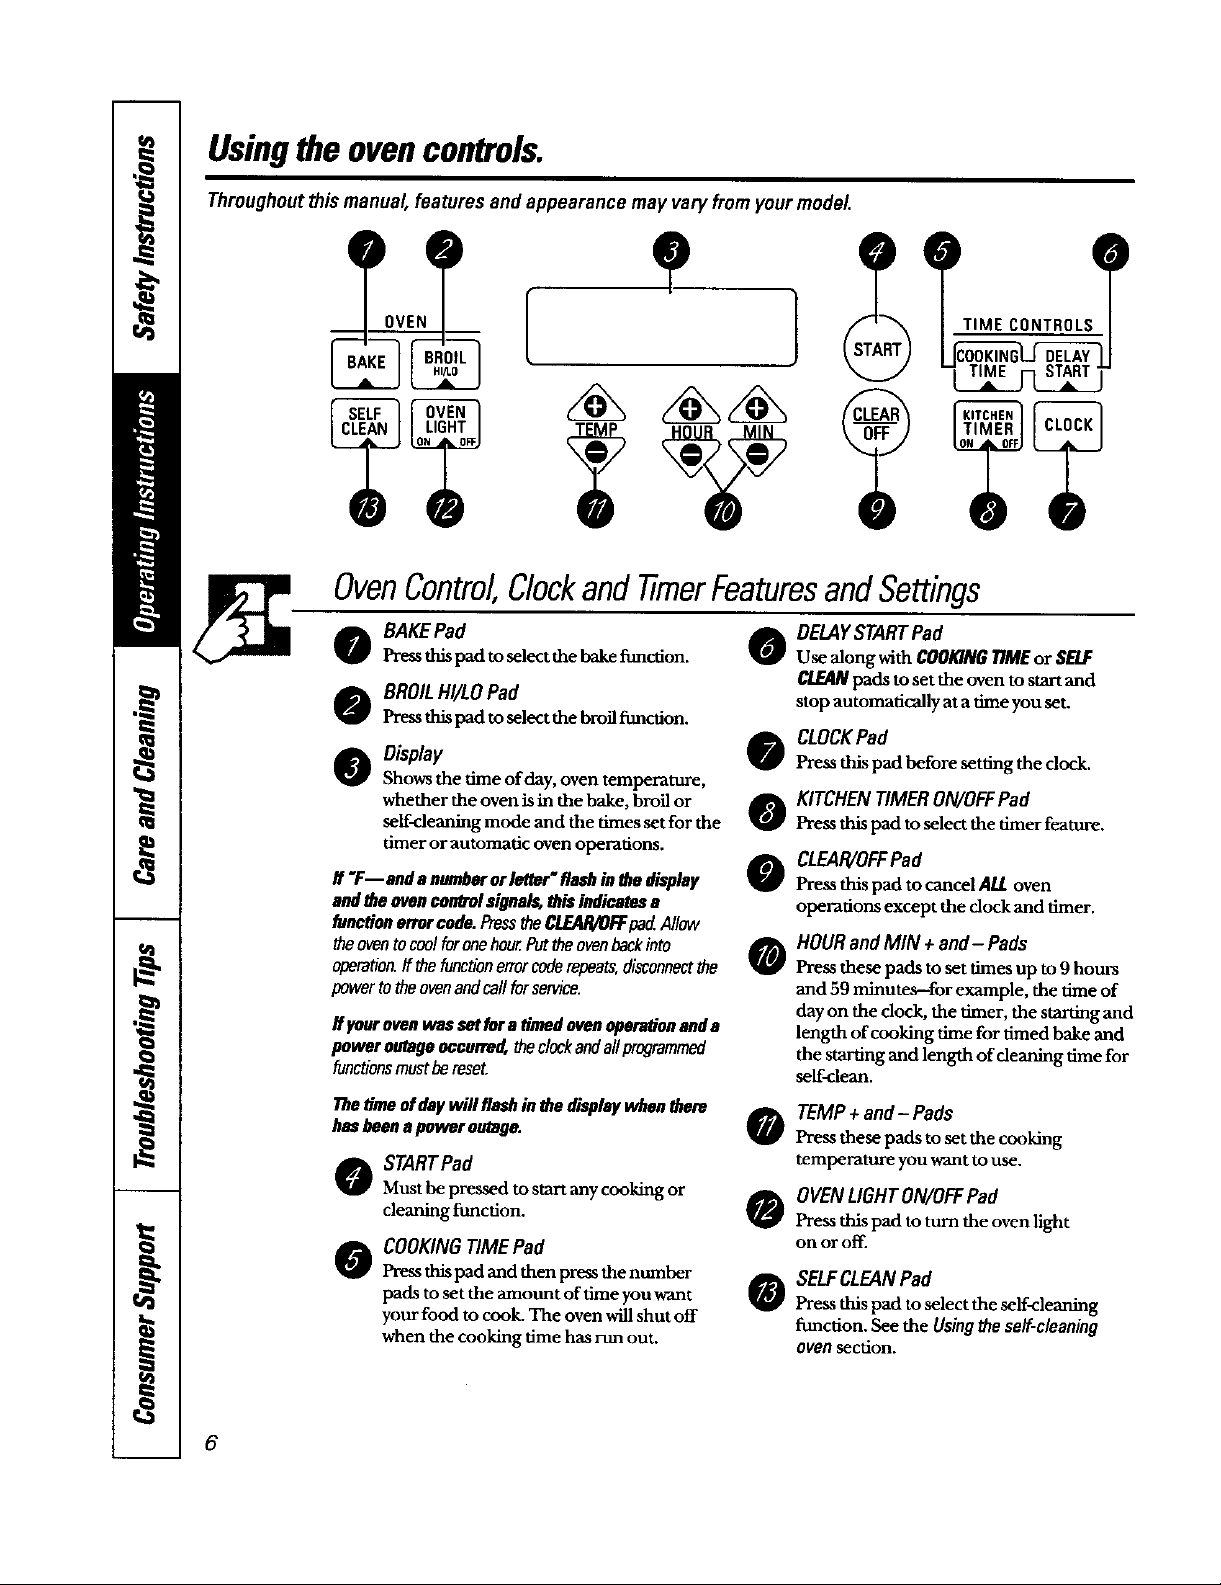
Usingthe ovencontrols.
Throughoutthismanual, features and appearance mayvary fromyourmodel
OvenControl,ClockandtimerFeaturesandSettings
o BAKEPad
Press thispad toselect the bake function. 0
o BROILHI/LOPad
Pressthispadtoselectthebroil_mction.
O Obplay
Shows the time of day, oven temperature,
whether the oven is in the bake, broil or
self-cleaning mode and the times set for the
timer or automatic oven operations.
If "F--ond anumberorletter"flashinthedisplay
andtheovencorWJ'olsignals,this indicatesa
functionerrorcode.PresstheCLEAR/OFFpadAllow
theoventocoolforonehour.Furtheovenbackinto
operation,ffthefunctionerrorcoderepeats,disconnectthe
powertotheovenandcallforservice.
if ycarovenwassetfuraOmndevenopera#onanda
poweroutagenccarre_ theclockandallprogrammed
functionsmustbereset.
Thetimeofdaywill flashinthedisplaywhenthere
hasbeenapoweroutage.
STARTPad
Must be pressed to start any cooking or
cleaning ftmction.
COOKING TIME Pad
Press this pad and then press the number
pads to set the mount of time you want
your food to cook. The oven will shut off
when the cooking time has run out.
DELAYSTART Pad
Use along with COOKINGTIMEor SELF
CLEANpads to set the oven to start and
stop automatically at a time you set.
CLOCKPad
e
Pressthispad before setting the clock.
KITCHENTIMERON/OFFPad
o
Press this pad to select the timer feature.
CLEAR/OFFPad
o
Press this pad to cancel ALL oven
operations except the clock and timer.
HOUR and MIN + and-Pads
o
Press these pads to set times up to9 hours
and 59 minutes--for example, the time of
day on the dock, the timer, the starting and
length of cooking time for timed bake and
the starting and length of cleaning time for
self-clean.
TEMP+ and- Pads
0
Press these pads to set the cooking
temperature you want to use.
OVENLIGHTON/OFFPad
0
Pressthis pad to turn the oven light
on or off.
SELFCLEANPad
0
Press this pad to select the self<leaning
function. See the Usingthe se/f-c/eaning
ovensection.
6
Specialfeaturesofyourovencontrol
Yournew touchpad controlhasadd_onal featuresthatyou maychooseto use. Thefollowingarethe
featuresandhowyoumay activatethem.
Thespecialfeaturemodescanonlybeactivatedwhilethe displayisshowingthetime ofday.
Theyremain in the control'smemory untilthe stepsare repeated.
Whenthe displayshows yourchoice,pressthe STARTpad. Thespecialfeatureswillremain inmemory
afterapower failure,except forthe Sabbathfeature, whichwill have to be mseL
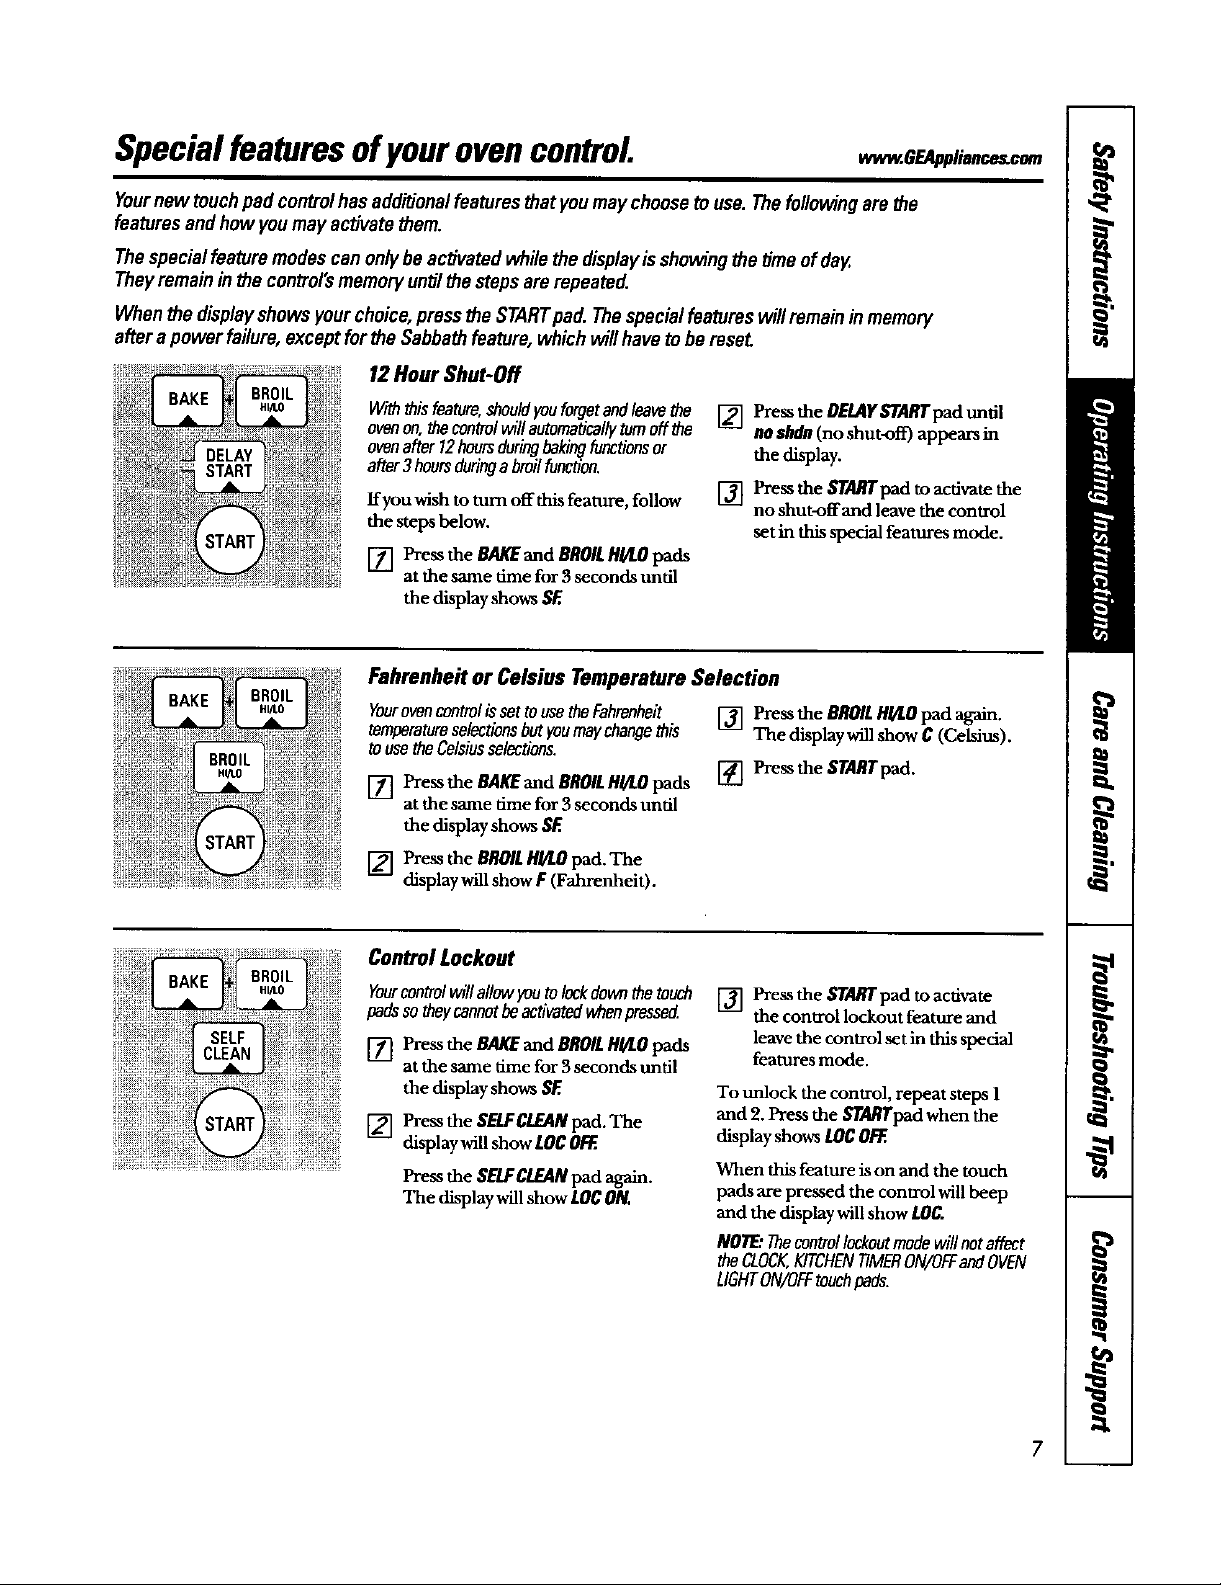
12Hour Shut-Off
Withthisfeature,shouldyouforgetand/eavathe
ovenon,thecontrolwillautomaticallyturnoffthe
ovenafter12hoursduringbakingfunctionsor
after3hoursduringabroilfunction.
ffyou wish to turn off this feature, follow
the steps below.
[] Press the eAKEand BROILHgLOpads
at the same time for 3 seconds until
[] Press the DELAYSTARTpad until
no ahdn(no shut-off) appears in
the display.
[] Press the STARTpad toacdvate the
no shut-offand leave the control
set in thisspecial features mode.
the display shows SF.
Fahrenheit or Celsius Temperature Selection
Yourovencontrolisset tousetheFahrenheit
temparatumselectionsbut youmaychangethis
touse theCelsiusselections.
[] Press the BAKEand BROILHI/LOpads
at the same time for 3 seconds until
[] Pressthe BROILHI/I.Opad affam.
The display will show C (CeMm).
[] Pzessthe STARTpad.
the display shows SF.
[] Press the BROILHI/LOpad. The
display willshow F (Fahrenheit).
Control Lockout
Yourcontrolwill allowyoutolockdownthe touch
padsso theycannotbeactivatedwhenpressed
[] Pressthe BAKEand BROILHI/LO pads
at the same time for 3 seconds until
the display shows SE
[] Press the SELFCLEANpad. The
display will show LOCOFF..
Pressthe SELFCLEANpad again.
The display will show LOCON.
[] Pressthe STARTpad toactivate
the control lockout feature and
leave the control set in this special
features mode.
To unlock the control, repeat steps 1
and 2. Press the STA/O'pad when the
display shows tOC OFF..
When this feature is on and the touch
pads are pressed the control will beep
and the display will show LOC.
NOTE:Thecontrollockoutmodewill notaffect
the CLOCK,KITCHENTIMERON/OFFandOVEN
LIGHTON/OFFtouchpads.
Specialfeaturesofyourovencontrol
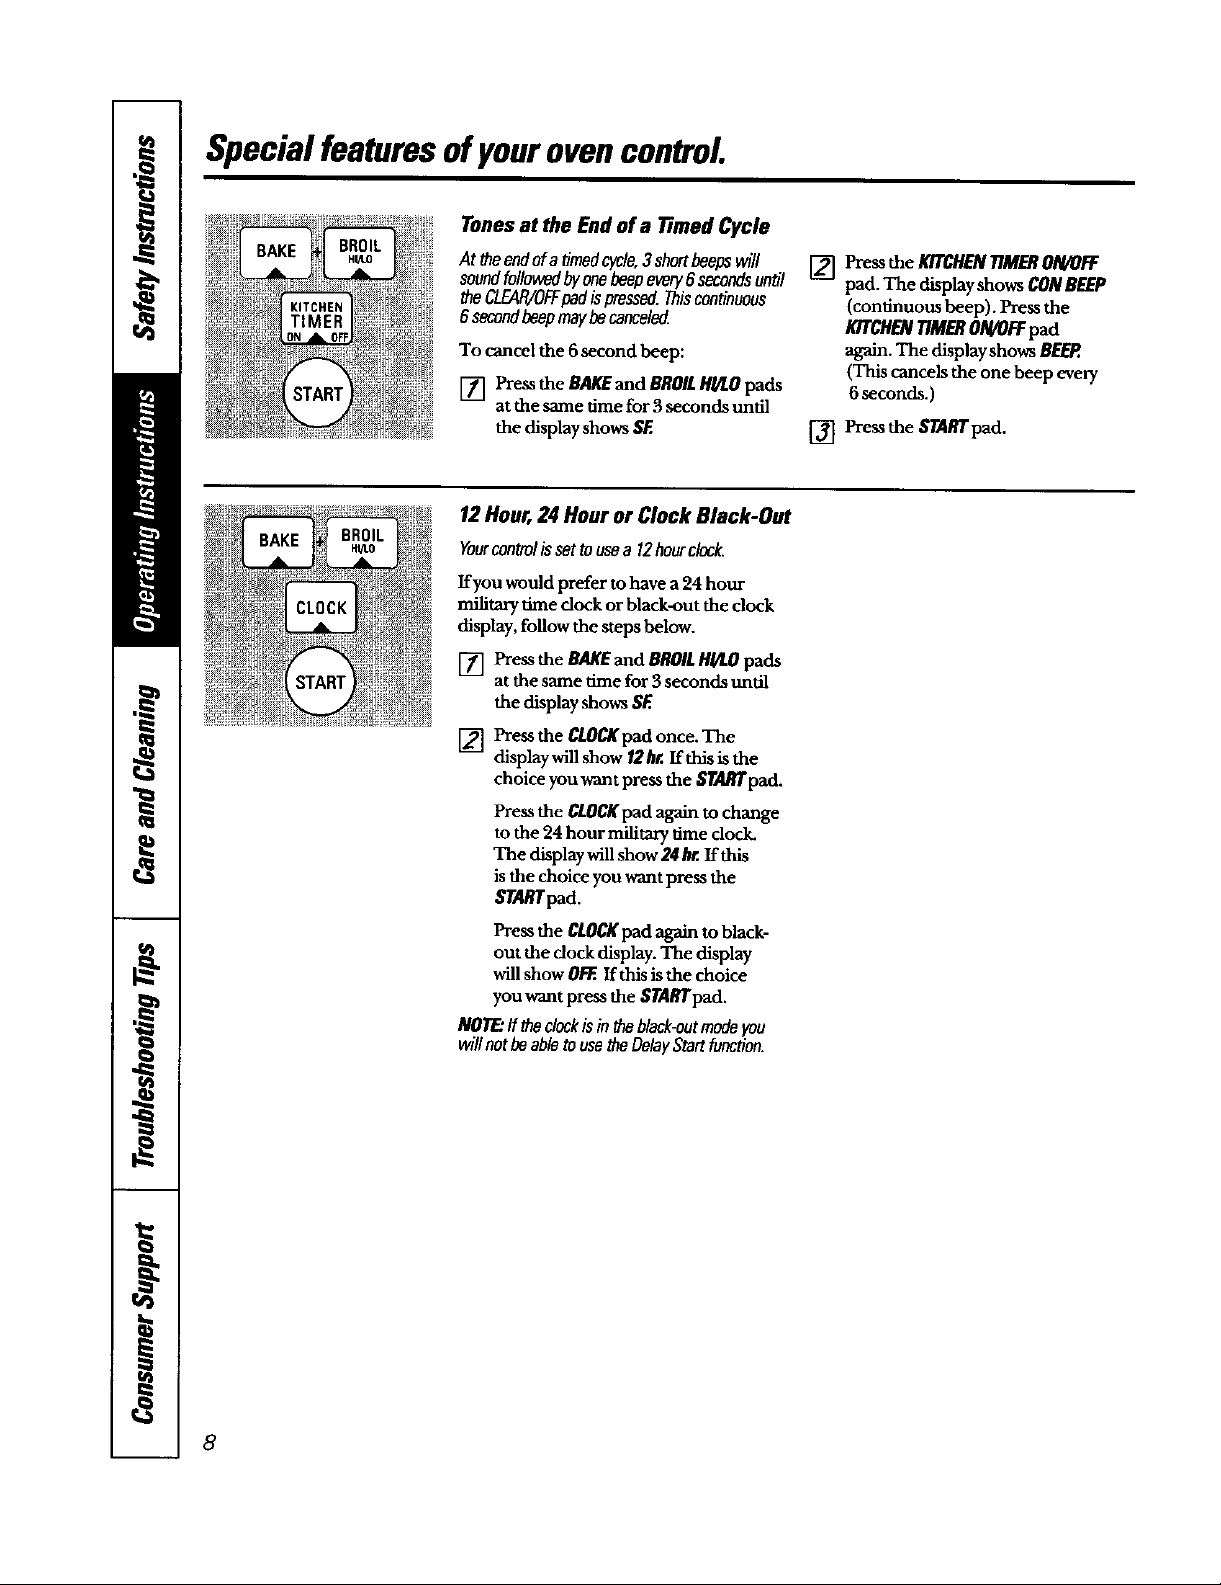
Tones at the End of a Timed Cycle
At theendofa timedcycle,3shortbeepswill
soundfollowedbyonebeepevery8secondsuntil
theCLEAIVOFFpadis pressed.Thiscontinuous
6secondbeepmaybecanceled
To cancel the 6 second beep:
[] Pressthe BAKEand BROILHI/LO pads
at the same time for 3 seconds until
the display shows SF.
12 Hour, 24 Hour or Clock Black-Out
Yourcontrolissettousea 12hourclock.
If you would prefer to have a 24 hour
military time dock or black-out the clock
display, follow the steps below.
[] Press the BAKEand BROILHI/LOpads
atthe same time for 3 seconds until
the display shows SF.
[] Press the KITCHENTIMERON/OFF
pad. The display shows CONBEEP
(continuous beep). Pressthe
K/TCHENT/MERON/0FFpad
again. The displayshows BEEP.
(This cancels the one beep every
6seconds.)
[] Pressthe STARTpad.
[] Press the CLOCKpadonce. The
display will show/2 hr. If this is the
choice you want press the _/'A/_pad.
Press the CLOCKpad again to change
to the 24 hour mili_ry time dock.
The display will show 24 hr. If this
is the choice you want press the
$7_lTpad.
Press the CLOCKpad again toblack-
out the clock display. The display
will show O/:EIf this is the choice
you want press the $TARTpad.
NOTE:If theclockisinff_ black-entmodeyou
willnotbeabletousetheDelayStartfunction.
8
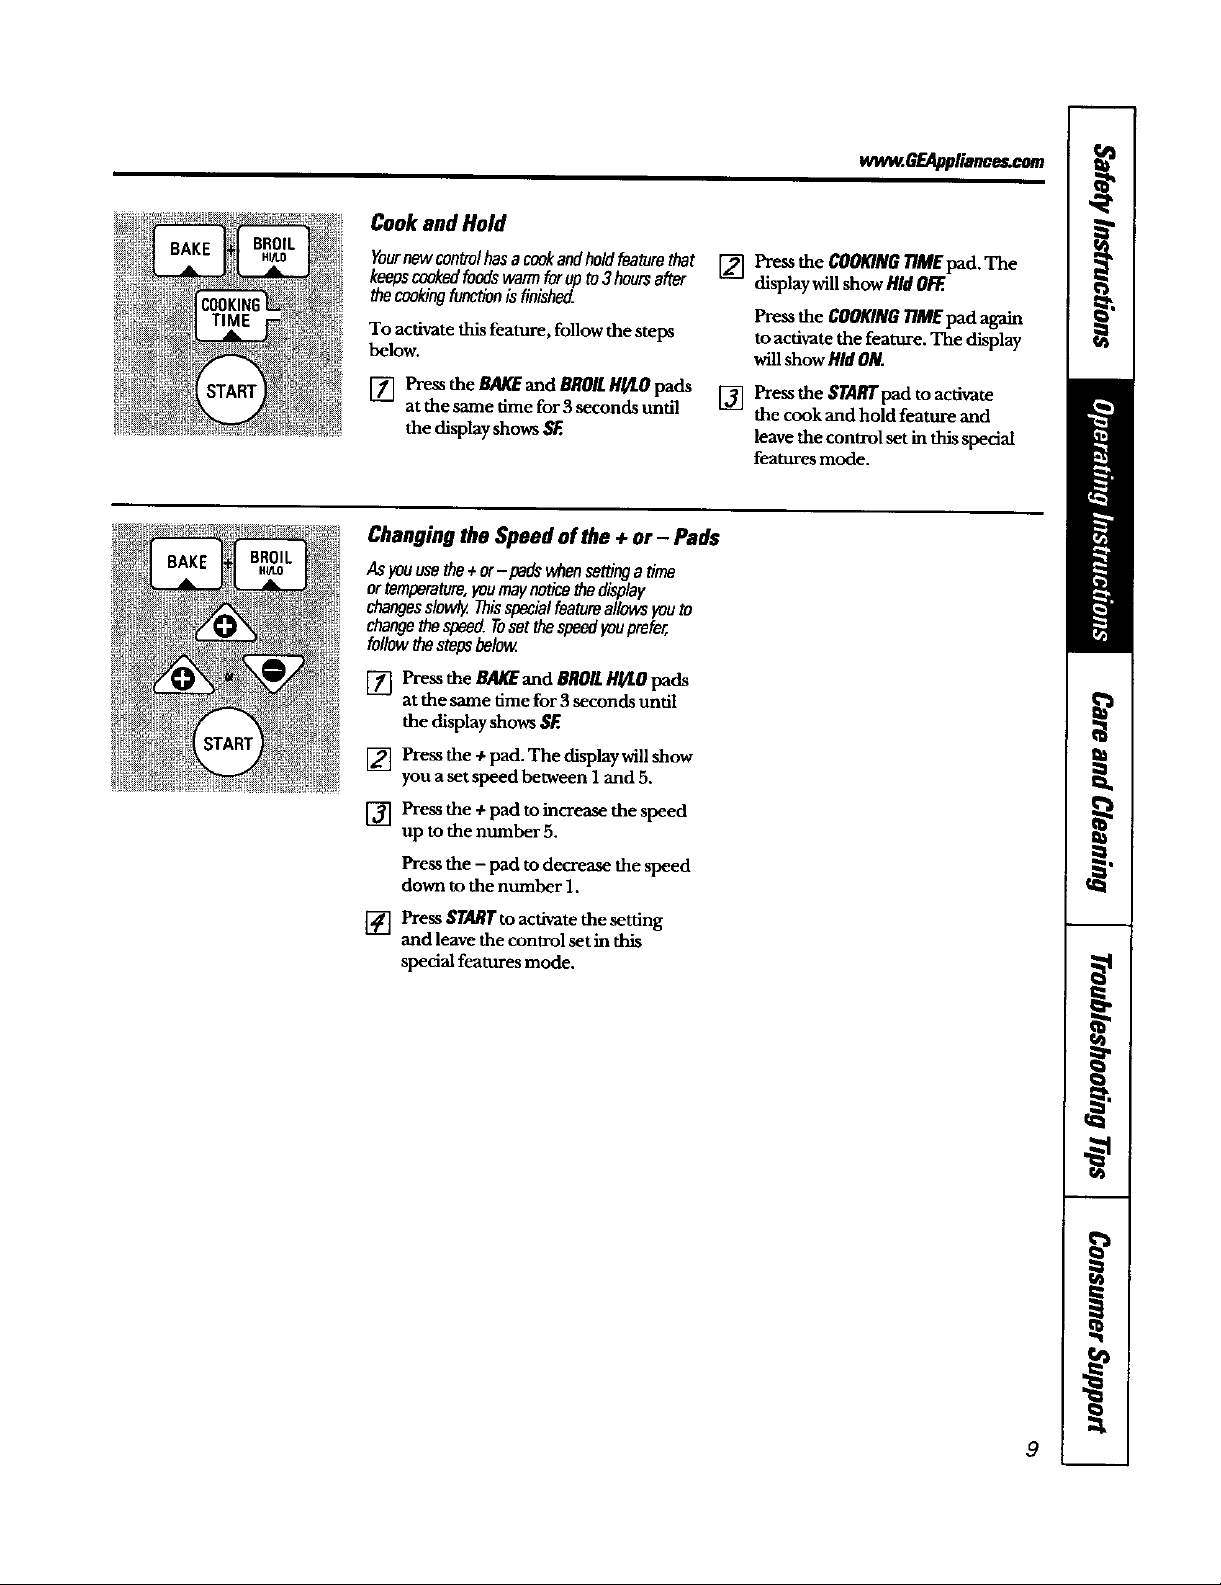
Cook and Hold
Yournewcontrolhasacookandholdfeaturethat
keepscookedfoodswarmforupto3hoursafter
thecookingf_ontionisfinished.
To activate this feature, follow the steps
below.
ww_.BEAppllance_com
[] Press the COOKING77MEpad. The
display willshow HidOl_.
Pressthe COOKING77MEpad again
to activate the feature. The display
will show HidON.
R'rART
[] Press the BAKEand BROILHULOpads
at the same time for 3 seconds undl
the displayshows SF.
Changing the Speed of the + or - Pads
AsFouusetha+or-pads whansettingatime
ortemperature,youmaynoticethedisplay
changesslowly.Thisspecia/featureallowsyouto
changethespeed.Tusetthespeedyouprefer,
followthestopsbelow
[] Press the BAKEand BROILHI/LOpads
at the same time for 3 seconds until
the displayshows SF.
Press the ÷ pad. The display will show
[]
you a set speed between 1 and 5.
Press the + pad to increase the speed
[]
up to the number 5,
Press the - pad to decrease the speed
down to the number 1.
[] Press STARTto activate the setdng
and leave the control set in this
special features mode.
[] Press the $TARIrPad t° acdvate
the cook and hold feature and
leave the conu-ol set in this special
features mode.
9
 Loading...