

GE JGSC12 Use And Care Manual
Gas Slide-in Range
a
❑
●
!
Safety [instruction s.... . . . . . . . . . . . . . . 2-6
Problem solver . . . . . . . . . . . . . . . . . . . . . . . . . . . . . . 26
Anti-Tip Device . . . . . . . . . . . . . . . . . . . ................ 2,4, 25
Thermostat Adjustment–
❑
Operating Instructions, Tips
Aluminum Foil . . . . . . . . . . . . . . . . . . . . . . . . . . 5, 14-17,23
Clock and Timer . . . . . . . . . . . . . . . . . . . . . . . . . . . . . . . 10
Features . . . . . . . . . . . . . . . . . . . . . . . . . . . . . . . . .
.
7
Oven . . . . . . . . . . . . . . . . . . . . . . . . . . . . . . . . . . . . . . . . . . . . . . . . . . . . . .
. 10-18
Baking . . . . . . . . . . . . . . . . . . . . . . . . . . . . . . . . . . . . . . . . . . . . . . . .
.
12–1 4
Broiling, Broiling Guide . . . . . . . . . . . . . . . . . . . 17,
18
Control Settings . . . . . . . . . . . 12, 16, 18
Light; Bulb Replacement . . . . . . . . . . . . . . . . 11, 21
Preheating . . . . . . . . . . . . . . . . . . . . . . . . . . . . . . . . . . . . . . . . . . . . . . . .
.
12
Roasting, Roasting Guide . . . . . . . . . . . . . . . 15, 16
Surface Cooking . . . . . . . . . . . . . . . . . . . . . . . . . . . . . . . . . . . ..... 8,9
Control Settings . . . . . . . . . . . . . . . . . . . . . . . . . . . . . . . ......8, 9
Cooktop Comparison . . . . . . . . . . . . . . 8
Cookware Tips . . . . . . . . . . . . . . . . . . . . 9
❑
“;’<
Care and Cleaning . . . . . . . . . . . . . . . . . . .
19-24
‘:>,:.
,
Broiler Pan and Rack . . . . . . . . . . . . . . . . . . . . . . . . . . . . . . . . . . 22
Continuous-Clean Oven . . . . . . . . . . . . . . . . . . . 24
Cooktop........ . . . . . . . . . . . . . . . . . . . . . . . . . . . . . . . . . . . . . . . . . . . . . . . .
.
19
Oven Bottom . . . . . . . . . . . . . . . . . . . . . . . . . . . . . . . . . . . . . . . . . . . . . . . . 23
Oven Door. . . . . . . . . . . . . . . . . . . . . . . . . . . . . . . . . . . . . . . . . . . . . . . . . . . .
.
21
Do It Yourself . . . . . . . . . . . . . . . . . . . . . . . . . . . . . . . . . . . . . . . . ,,..14
More questions
?...call
GE Answer
Center@
800.626.2000
❑
Flooring and Leveling ..................6
Flooring Under the Range . . . . . . . . . . . . . . . . . . 6
Leveling the Range . . . . . . . . . . . . . . . . . . . . . . . . . . . . . . . . . . . . . . . . 6
Removal of Packaging Tape 6
Removing Packaging Materials .................6
❑
‘G;
Consumer Services ..................27
Appliance Registration . . . . . . . . . . . . . . . . . . . . . . . . . . . . . . . . . 2
Important Phone Numbers . . . . . . . . . . . . . . . . . . . . . . . 27
Model and Serial Number Location ..........2
Warranty . . . . . . . . . . . . . . . . . . . . . . Back Cover
GE Appliances
Model:
JGSC12
164D2966P118
HELP US HELP YOU...
Read this guide carefully.
It is intended to help you operate and maintain your
new range properly.
Keep it handy
for
answers to your questions.
If
you don’t understand something or need more help, call:
GE Answer
Center@
800.626.2000
24 hours
a
day, 7 days a week
Write down the model and serial numbers.
You’ll
find the model
and
serial numbers on two labels
on the range front frame near the broiler drawer.
These numbers are also on the Consumer Product
Ownership Registration Card that came with your
range. Before sending in this card, please write these
“
numbers here:
Model Number
Serial Number
Use these numbers in any correspondence or service
calls concerning your
range.
If you received a damaged range...
Immediately contact the dealer (or builder) that
sold
you the range.
Save time and money. Before you
request service . . .
Check the Problem Solver in the back of this
guide.
It
lists
causes of minor operating problems that
;OU can
correct yourself.
@
4
i.,
@
i.,
A
WARNING
●
ALL RANGES
CAN TIP
●
INJURY TO PERSONS
COULD RESULT
●
INSTALL ANTI-TIP
DEVICES PACKED
WITH RANGE
●
SEE INSTALLATION
INSTRUCTIONS
WARNING: If the information in this
guide is not followed exactly, a fire or
explosion may result causing property
damage, personal injury or death.
— Do not store or use gasoline or other
flammable vapors and liquids in the
vicinity of this or any other appliance.
— WHAT TO DO IF YOU SMELL GAS
●
Do not try to light any appliance.
●
Do not touch any electrical switch; do
not use any phone in your building.
●
Immediately call your gas supplier from
a neighbor’s phone. Follow the gas
supplier’s instructions.
●
If you cannot reach your gas supplier,
call the fire department.
— Installation and service must be
performed by a qualified installer, service
agency or the gas supplier.
—
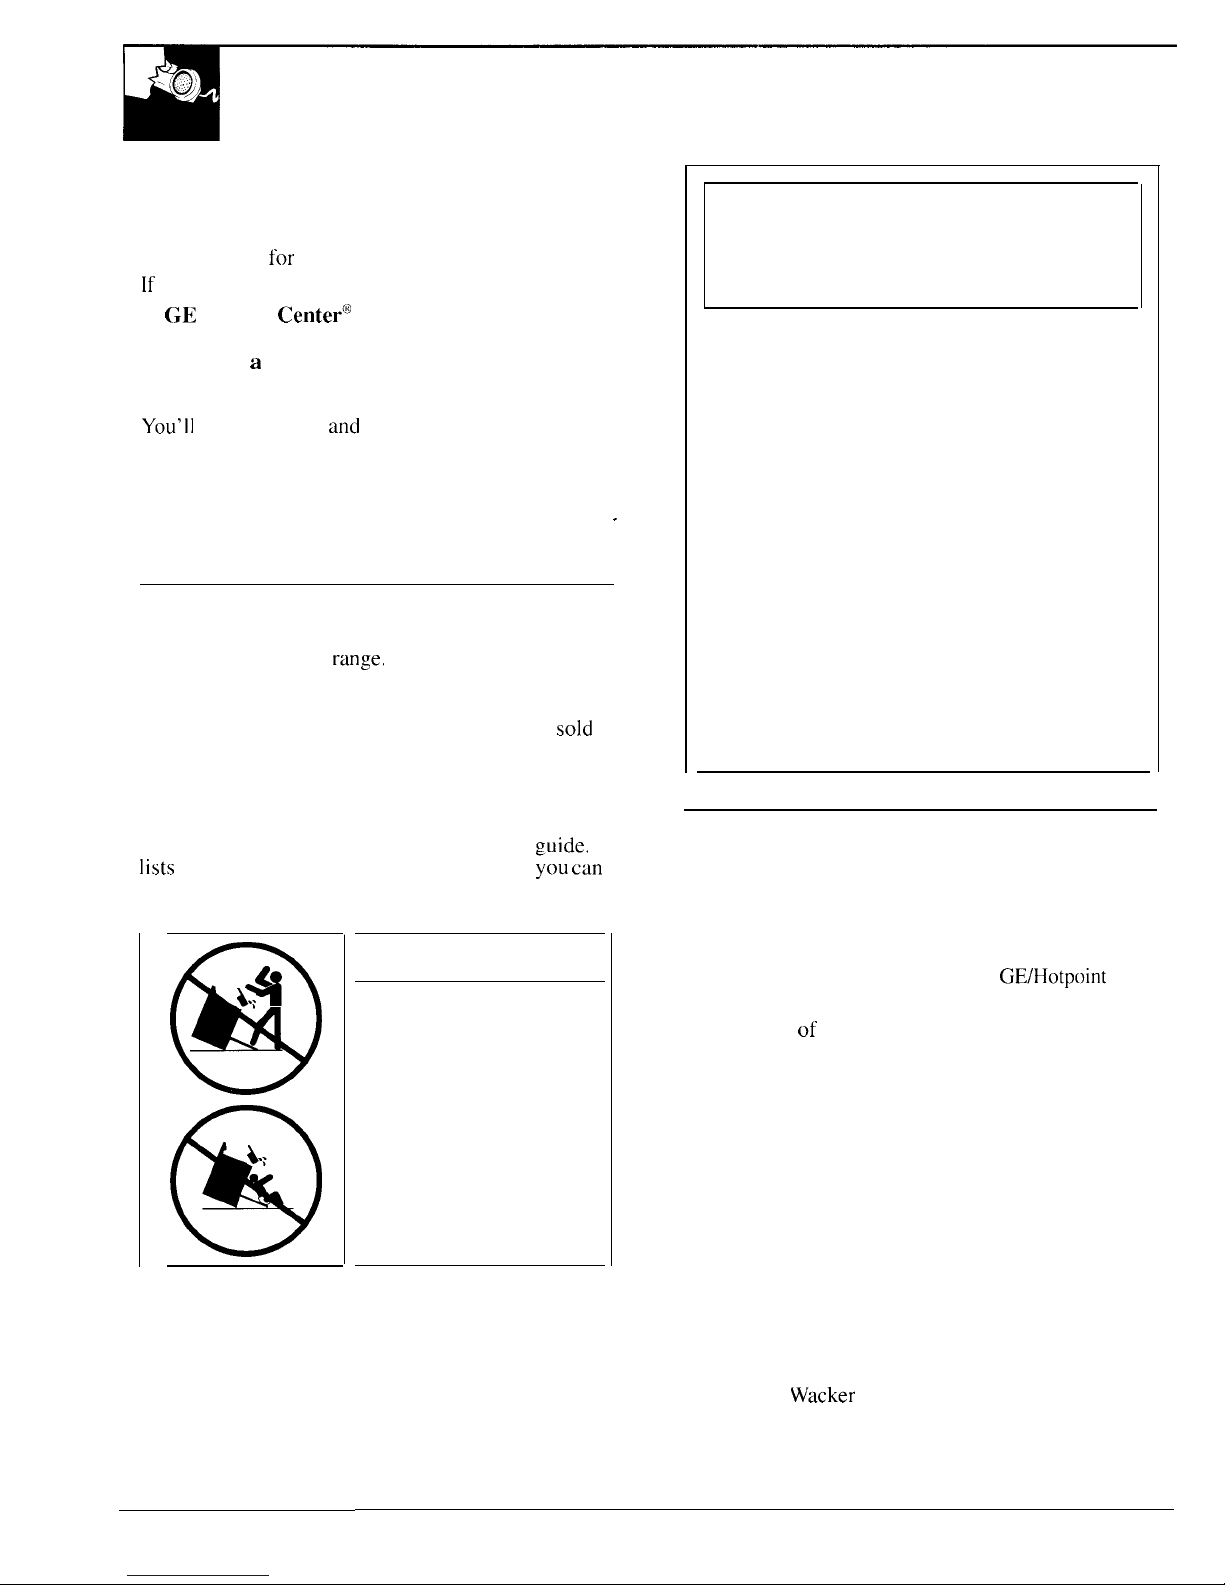
IF YOU NEED SERVICE
To obtain service, see the Consumer Services page in
the back of this guide.
To obtain replacement parts, contact
GE/Hotpoint
Service Centers.
We’re proud of our service and want you to be
pleased. If for some reason you are not happy with the
service you receive, here are three steps to follow for
further help.
FIRST, contact the people who serviced your
appliance. Explain why you are not pleased. In most
cases, this will solve the problem.
NEXT, if you are still not pleased, write all the
details—including your phone number—to:
Manager, Consumer Relations
GE Appliances
Appliance Park
Louisville, KY 40225
FINALLY, if your problem is still not resolved, write:
Major Appliance Consumer Action Panel
20 North
Wacker
Drive
Chicago, IL 60606
2
~PORTANT
SAFETY INSTRUCTIONS
Read dl instructions before using this appliance.
~.YiPORTANT
SAFETY NOTICE
●
The California Safe Drinking Water and Toxic
Enforcement Act
requires the Governor of
California to publish a list of substances known to
the state to cause cancer, birth defects or other
reproductive harm, and requires businesses to
warn customers of potential exposure to such
substances.
●
Gas appliances can cause minor exposure to
four of these substances,
namely benzene, carbon
monoxide, formaldehyde and soot, caused
primarily by the incomplete combustion of natural
gas or
LP
fuels. Properly adjusted burners,
indicated by a bluish rather than a yellow flame,
will minimize incomplete combustion, Exposure to
these substances can be minimized by venting with
an open window or using a ventilation fan or hood.
When You Get Your Range
●
Have the installer show you the location of
the range gas cut-off valve and how to shut
off
if necessary.
●
Have
your range installed and properly
grounded by a qualified installer,
in accordance
with the Installation Instructions. Any adjustment
and service should be performed only by qualified
gas range installers or service technicians.
●
Do not attempt to repair or replace any
part of your range unless it is specifically
recommended in this guide,
All other servicing
should be referred to a qualified technician.
●
Plug your range into a 120-volt grounded
outlet only.
Do not remove the round grounding
prong from the plug. If in doubt about the
grounding of the home electrical system, it is
your personal responsibility and obligation to
have an ungrounded outlet replaced with a
properly grounded, three-prong outlet in
accordance with the National Electrical Code.
Do not use an extension cord with this appliance.
●
Be sure
all
packaging materials are removed
from the
range
before operating it to prevent
fire or smoke damage should the packaging
material ignite.
~cate
the range out of kitchen traffic path
and out of drafty locations to prevent pilot
outage and poor air circulation.
“
Be sure your range is correctly adjusted by a
qualified service technician
or
instaUer
for the
type of gas (natural or
LP)
that is to
be used.
Your range can be converted for use with either
type of gas. See the Installation Instructions.
WARNING: These
adjustments must be made
by a qualified service technician in accordance
with the manufacturer’s instructions and
all
codes
and requirements of the authority having
jurisdiction. Failure to follow these instructions
could result in serious injury or property damage.
The qualified agency performing this work
assumes responsibility for the conversion.
●
After prolonged use of a range, high floor
temperatures may result and many
floor
coverings will not withstand this kind of use.
Never install the range over vinyl tile or linoleum
that cannot withstand such type of use. Never
install it directly over interior kitchen carpeting.
Using Your Range
●
Do not leave children alone or unattended
where a range is hot or in operation.
They
could be seriously burned.
●
Do not allow anyone to
climb,
stand or hang
on the oven door, broiler drawer or
cooktop.
They
could
damage the range and even tip it over,
causing severe personal injury.
●
CAUTION: ITEMS OF INTEREST TO
CHILDREN SHOULD NOT BE STORED IN
CABINETS ABOVE A RANGE OR ON THE
BACKSPLASH OF A RANGE—CHILDREN
CLIMBING ON THE RANGE TO REACH
ITEMS COULD BE SERIOUSLY INJURED.
●
For continuous clean models,
do not use oven
cleaners on any of the continuous cleaning
surfaces. Continuous cleaning surfaces can be
identified by their rough surface finish.
●
Teach children not to play with the controls
or any other part of the range.
●
Never leave the oven door open
when you are
not watching the range.
●
Always keep combustible wall coverings,
curtains or drapes a safe distance from your
range.
(C[)?ltirlued ,7e.xt [][lge)
3
WORTANT
SAFETY INSTRUCTIONS
(continued)
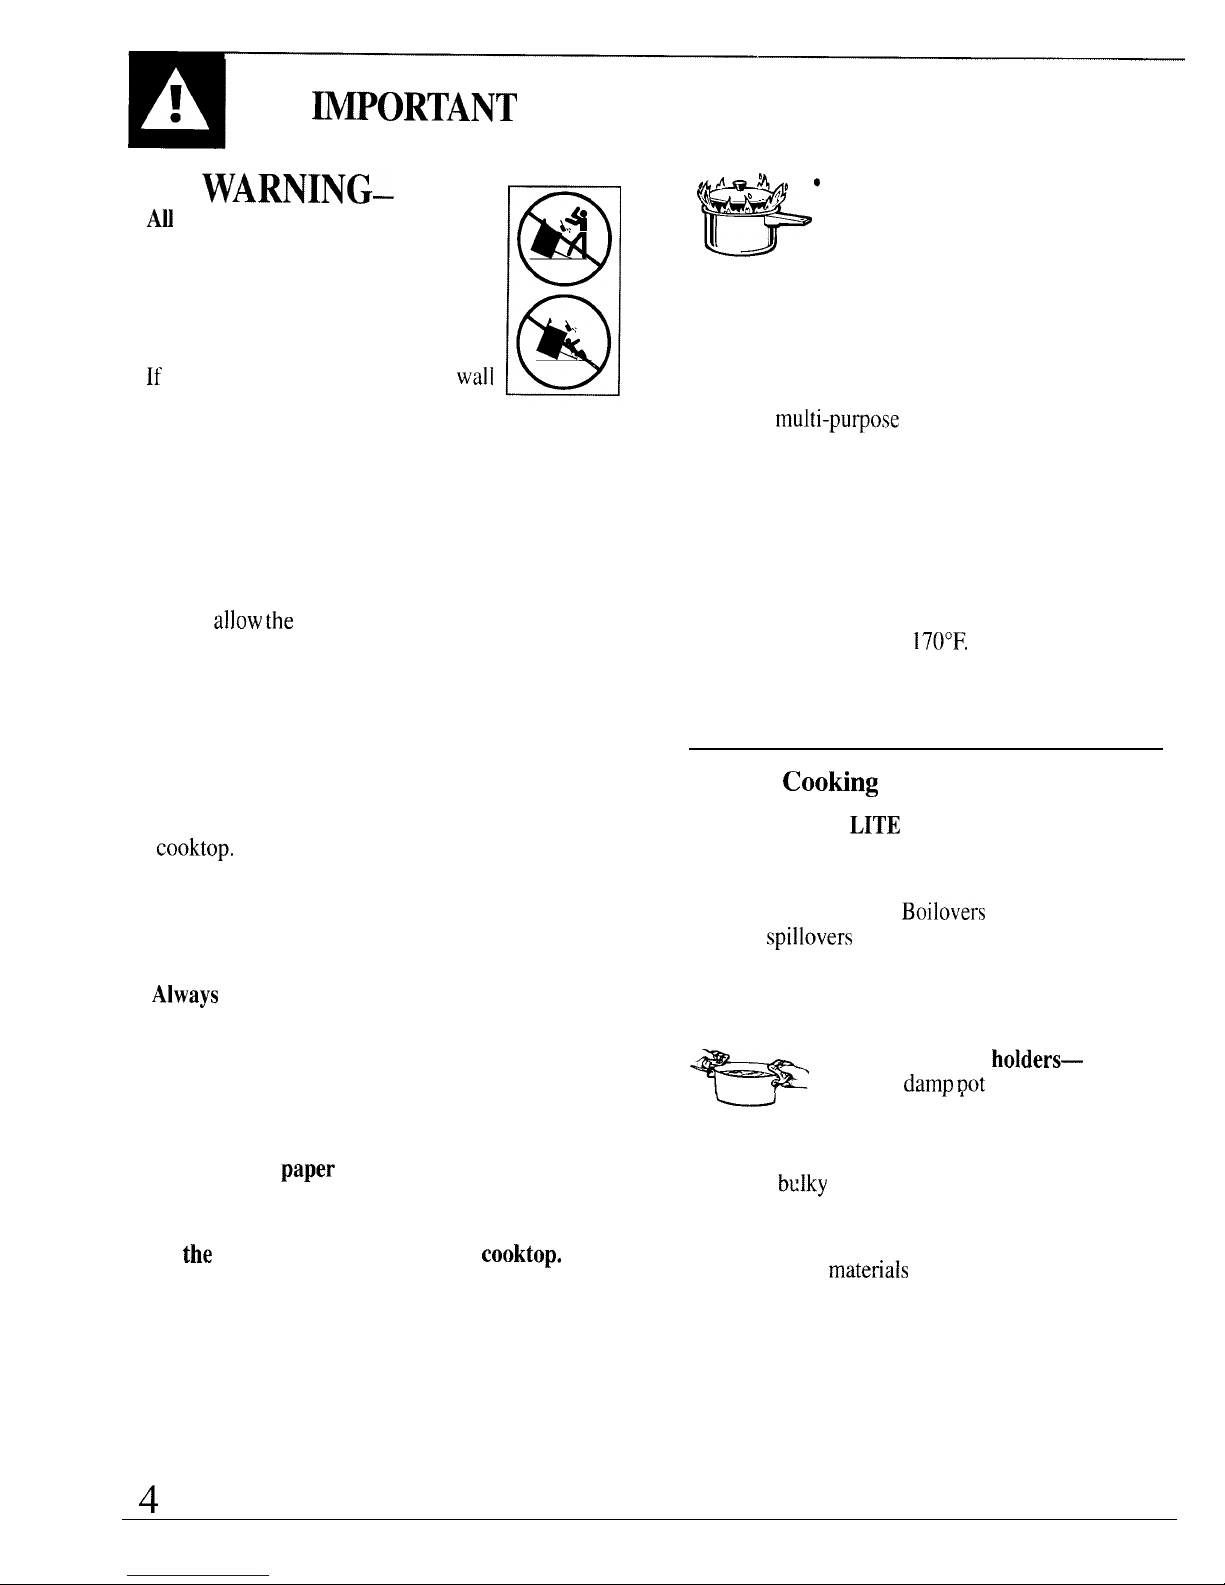
A
WARNING–
All
ranges can tip and injury could
result. To prevent accidental tipping
of the range,
attach it to the wall or
floor by installing the Anti-Tip device
supplied. Make sure the chain fits
securely into the slot in the bracket.
If
you pull the range out from the
wall
for any reason, make sure the device is
properly engaged when you push the range back
against the wall. If it is not, there is a possible risk
of the range tipping over and causing injury if you
or a child stand, sit or lean on an open door.
Please refer to the Anti-Tip device information in “
this guide. Failure to take this precaution could
result in tipping of the range and injury.
Do not
allow the
chain or bracket to damage the gas
plumbing in any way.
●
Let the burner grates and other surfaces cool
before touching them or leaving them where
children can reach them.
●
Never wear loose fitting or hanging garments
while using the appliance.
Be careful when
reaching for items stored in cabinets over the
cooktop.
Flammable material could be ignited if
brought in contact with flame or hot oven surfaces
and may cause severe burns.
●
For your safety, never use your appliance for
warming or heating the room.
●
Always
keep dish towels, dish cloths, pot
holders and other linens a safe distance
from your range.
●
Always keep wooden and plastic utensils
and canned food a safe distance away from
your range.
●
Do not leave
paper
products, cooking utensils
or food in the oven when not in use.
●
Do not store flammable materials in the oven,
or
the
broiler drawer or near the
cooktop.
●
Do not store or use combustible materials,
gasoline or other flammable vapors and liquids
in the vicinity of this or any other appliance.
●
Do not let cooking grease or other flammable
materials accumulate in or near the range.
e
4’
~
Do not use water on grease fires.
4
b ~~ ~“
Never pick up a flaming pan.
Turn the controls off. Smother a
flaming pan on a surface burner by
covering the pan completely with a well-fitting
lid, cookie sheet or flat tray. Use a multi-purpose
dry chemical or foam-type fire extinguisher.
Flaming grease outside a pan can be put out by
covering it with baking soda or, if available, by
using a multi-pu~ose dry chemical or foam-type
fire extinguisher.
Flame in the oven can be smothered completely
by closing the oven door and turning the oven
off or by using a multi-purpose dry chemical or
foam-type fire extinguisher,
●
When cooking pork,
follow the directions
exactly and always cook the meat to an internal
temperature of at least
170°F.
This assures that, in
the remote possibility that trichina may be present
in the meat, it will be killed and the meat will be
safe to eat.
Surface CooKng
●
Always use the
LITE
position when igniting top
burners
and make sure the burners have ignited.
. Never leave the surface burners unattended at
high flame settings.
Boilovers
cause smoking and
greasy
spillovers
that may catch on fire.
●
Adjust the top burner flame size so it does
not extend beyond the edge of the cookware.
Excessive flame is hazardous.
●
Use only dry pot
holders—
moist or
dam~ uot
holders on hot
1.
surfaces may result in burns from
steam. Do not let pot holders come near open
flames when lifting cookware. Do not use a towel
or other
bulky
cloth. Such cloths can catch fire on
a hot burner.
●
To
minimize
the
possibility of burns,
ignition
of flammable
materiafs
and spillage, turn
cookware handles toward the side or back of the
range without extending over adjacent burners.
●
Always turn the surface burner controls off
before removing cookware.
●
Carefully watch foods being fried at a high
flame setting.
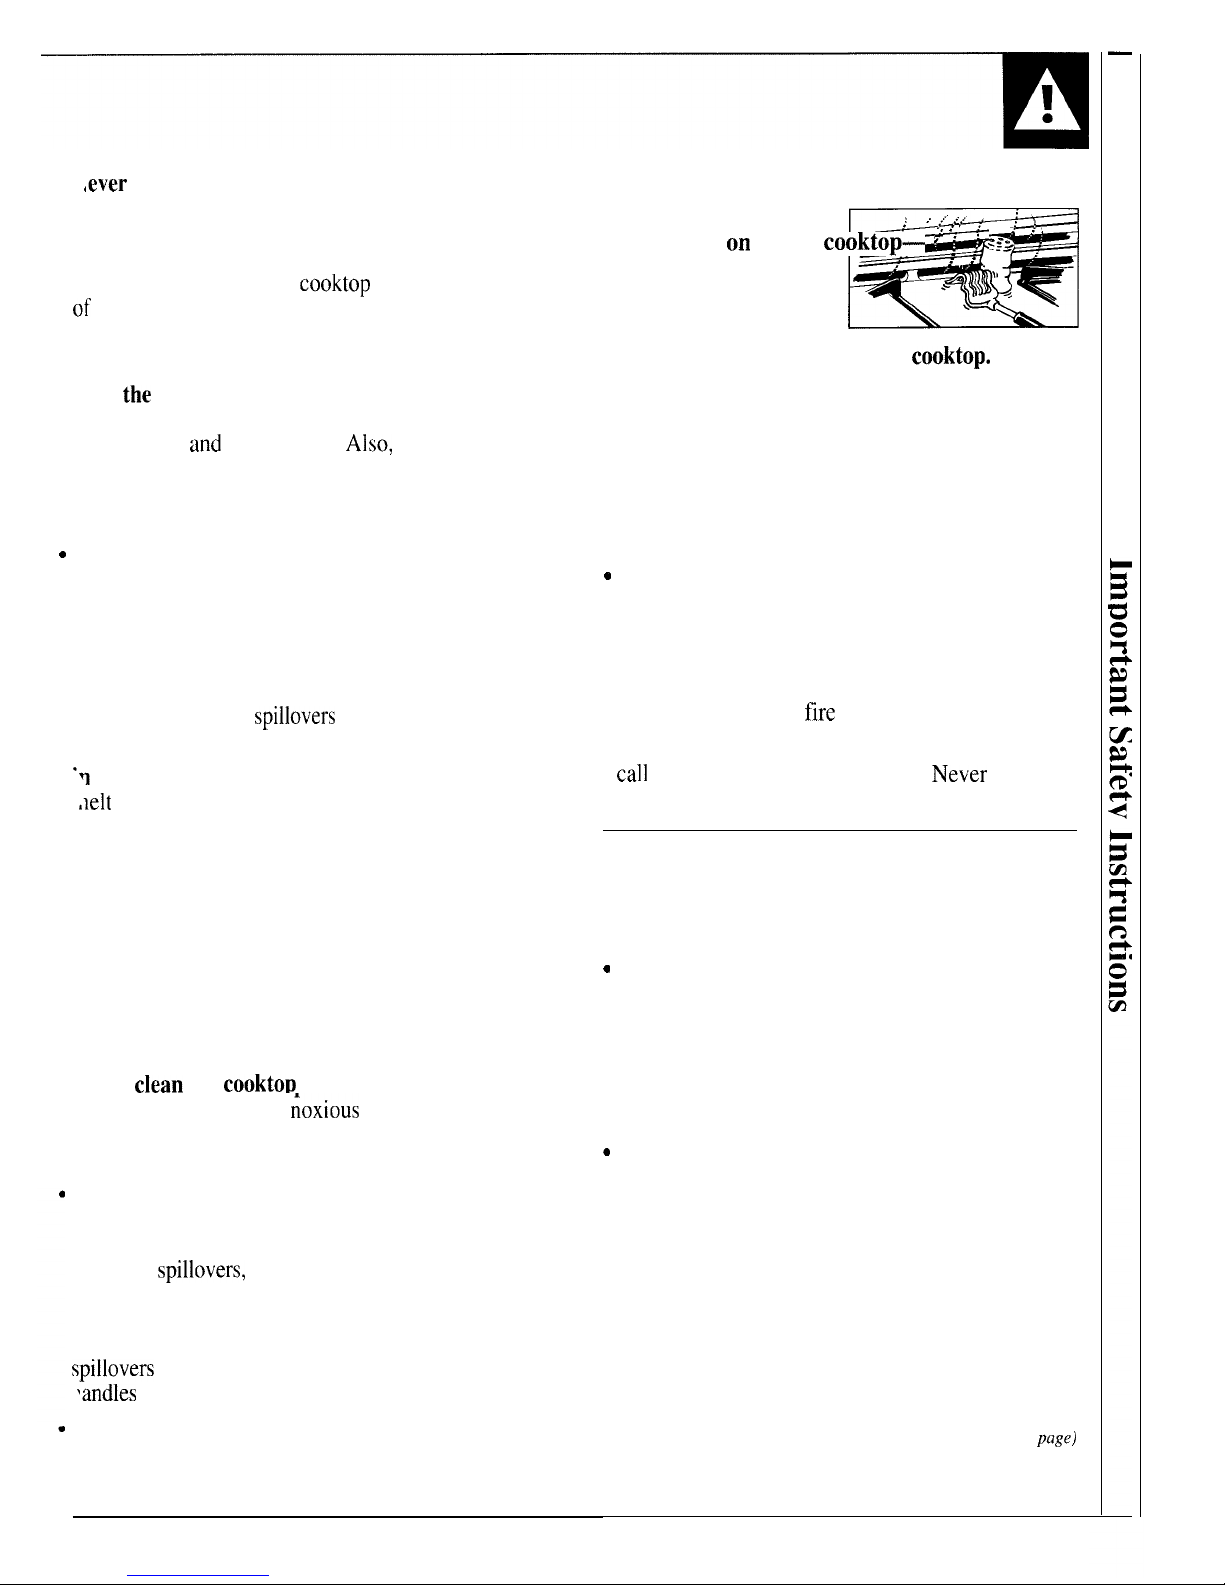
,ever
block the vents (air openings) of the
range.
They provide the air inlet and outlet that
are necessary for the range to operate properly
with correct combustion. Air openings are
located at the rear of the
cooktop
and at the top
of
the oven door.
●
Do not use a wok on the cooking surface if
the wok has a round metal ring that is placed
over
the
burner grate to support the wok.
This
ring acts as a heat trap, which may damage the
burner grate
and
burner head.
Also,
it may cause
the burner to work improperly. This may cause a
carbon monoxide level above that allowed by
current standards, resulting in a health hazard.
c
Foods for frying should be as dry as possible.
Frost on frozen foods or moisture on fresh foods
can cause hot fat to bubble up and over the sides
of the pan.
●
Use the least
possible amount of fat for effective
shallow or deep-fat frying.
Filling the pan too
full of fat can cause
spillovers
when food is added.
●
If a combination of oils or fats will be used
.V
frying,
stir together before heating or as fats
,Ielt
slowly.
●
Always heat fat slowly,
and watch as it heats.
●
Use a deep fat thermometer whenever
possible
to prevent overheating fat beyond the
smoking point.
●
Never try to move a pan of hot fat, especially a
deep fat fryer.
Wait until the fat is cool.
●
Never leave jars or cans of fat drippings
on or
near your range.
●
Never
clean
the
cooktoD
surface when it is hot.
Some cleaners produce
;oxious
fumes and wet
cloths could cause steam burns if used on a hot
surface.
Use proper pan
size—Avoid pans that are
unstable or easily tipped. Select cookware having
flat bottoms large enough to cover burner grates.
To avoid
spillovers,
make sure cookware is large
enough to contain the food properly. This will both
save cleaning time and prevent hazardous
accumulations of food, since heavy spattering or
spillovers
left on range can ignite. Use pans with
~andles
that can be easily grasped and remain cool.
When using glass cookware,
make sure it is
designed for top-of-range cooking.
●
Keep all plastics away from the top burners.
. Do not leave plastic
m
: ,’ ..’
. .
.,
items
on
the
cooktop— “
. ‘
-=>’
.
they may melt if left too ‘ ‘
~,,
close to the vent.
.“,L”
●
Do not leave any items on the
cooktop.
The
hot air from the vent may ignite flammable items
and will increase pressure in closed containers,
which may cause them to burst.
●
To avoid the possibility of a burn, always be
certain that the controls for all burners are at
the off position and all grates are cool before
attempting to remove them.
*
When flaming foods are under the hood,
turn the fan off. The fan, if operating, may
spread the flames.
●
If the range is located near a window,
do not
hang long curtains that could blow over the top
burners and create a
fire
hazard.
●
If you smell gas,
turn off the gas to the range and
call
a qualified service technician.
Ne~er
use an
open flame to locate a leak.
Baking, Broiling and Roasting
●
Do not use the oven for a storage area.
Items stored in the oven can ignite.
“
Stand away from the range when opening the
door of a hot oven.
The hot air and steam that
escapes can cause burns to hands, face and eyes.
●
Keep the oven free from grease buildup.
●
Place the oven shelf in the desired position
while the oven is cool.
Q
Pulling out the shelf to the shelf-stop is a
convenience in lifting heavy foods.
It is also
a precaution against burns from touching hot
surfaces of the door or oven walls.
●
Do not heat unopened food containers in the
oven.
Pressure could build up and the container
could burst, causing an injury.
●
Do not
use aluminum foil anywhere in the oven
except as described in this guide.
Misuse could
result in a fire hazard or damage to the range.
(continued next
page]
5
~PORTANT
SAFETY INSTRUCTIONS
(continued)
Q
When using cooking or roasting bags in the
oven,
follow the manufacturer’s directions.
●
Do not use your oven to dry newspapers.
If overheated, they can catch fire.
●
Use only glass cookware that is recommended
for use in gas ovens.
●
Always
remove the broiler pan from the oven
as soon as you finish broiling.
Grease left in the
pan can catch fire if oven is used without
removing the grease from the broiler pan.
●
If you should have a grease fire in the broiler
pan,
turn off oven, and keep oven door closed
to
contain fire until it burns out.
Cleaning Your Range
. Clean
only
parts
listed
in this Use and Care
Guide.
●
Keep range clean and free of accumulations of
grease or
spillovers,
which may ignite.
●
Make sure the broiler pan and rack are in place
correctly
to reduce the possibility of a grease fire.
SAVE THESE
c
When broiling, if meat is too close to the
‘
INSTRUCTIONS
flames, the fat may ignite,
Trim excess fat to
prevent excessive flare-ups.
FLOOmNG
AND LEVELING
Flooring Under the Range
Your range, like so many other household items, is
Whe?~
the floor covering ends at the front of the
heavy and can settle into soft floor coverings such
range, the
area
that the
range
will rest on should be
as cushioned vinyl or carpeting.
When moving the
built up with plywood to the same
level
or higher than
range
on this type of flooring, it should be installed on
the floor covering. This
will
allow the range to be
a l/4-inch-thick sheet
of plywood (or similar material)
moved
for
cleaning or servicing.
as
follows:
Leveling the Range
Use a 1 %“ open-end or adjustable wrench to equally
If using a spirit level, take two readings, with
the
level
back out the four legs. The flanges (rims) below the
placed diagonally first in one direction
and
then the
sides of the
cooktop must be raised above the top of
other.
the countertop. Carefully slide the range into its
Adjust the four legs carefully. Level the range front to
installation space. Observe that it is clearing the
back and side to side. The range
legs
must rest on the
countertop. Then place a spirit level or a glass
floor.
The range must not hang from the countertop.
measuring cup partially filled with water on one of the
oven shelves to check for levelness.
How to Remove Packaging Tape
Removing Packaging Materials
To assure no damage is done to the finish of the Check your range to insure all packaging materials
product, the safest way to remove packaging tape
and protective tape covering are removed from areas
adhesive. on new appliances is an application of a
such as the door trim,
cooktop
frame, under burner
household liquid dishwashing detergent, mineral oil
caps, end caps, etc. before using.
or cooking oil. Apply with a soft cloth and allow to
soak. Wipe dry and then apply an appliance polish to
thoroughly clean and protect the surface.
NOTE:
The plastic tape must be removed from
the chrome trim on range parts. It cannot be removed
if it is baked on.
6
FEATURES OF YOUR RANGE
@
Q@
II
Explained
Feature Index
on page
1
Broiler Drawer
3,
17.
18.22
2 Model and Serial Numbers
2
3
Removable Oven Bottom
23,24
4 Oven Shelves with Stop-Locks
5,
11, 12,
14, ~o
5
Continuous-Cleaning Oven Interior
24
6
Surface Burner Controls
8, 19
7
Surface Burners and Grates
8,20,21
8
Oven Vent
5, 11,22
9
Lift-Up
Cooktop
Locks in up position
3,
19
to simplify cleaning underneath.
i d
Anti-Tip Device
2,4, 25
Feature Index
11
Drip Pans
12
Clock and Timer
13
Oven Light Switch Lets you turn
interior oven light on and off.
14
Oven Temperature Control
15
Oven Interior Light
16
Oven Shelf Supports
Shelf positions for cooking are
suggested in the Baking and
Roasting sections.
17
Lift-Off Oven Door
Easily removed for oven cleaning.
18
Broiler Pan and Rack
Explained
on page
21
10
11
11,22
11, 12, 15
21
5,
15, 17,
18,22
7

HOW DOES THIS COOKTOP COMPARE
WITH YOUR OLD ONE?
Your new cooktop has gas burners. If you are used
The best types of cookware to use,
plLIs
heat-up
and
to cooking with induction or other electric surface
cool-down times, depend upon the type of burner or
units, you will notice some differences when you use
surface unit you have.
gas burners.
The following chart will help you to understand the
differences between gas burner
cooktops and any
other type of
cooktop you may have used in the past.
~pe
of
Cooktop
Gas Burners
*
Radiant
(Glass Ceramic)
Cooktop
o
Induction
,,,111,,,,,,
....\:\\ \lll,,,, ,+~
===..=.,
$1,,,4 ,.~z
.==
=-
=-,=,,,,,,,..-,,.==.=
--
,,,,, (,!\.\\..
+/,,,,,,,,,\\\
Electric Coil
~
e
L–)
Solid Disk
o
,~,
<:)
Description
Regular or
sealed
gas burners use
either LP gas
or
natural
gas.
Electric coils
under a glass-
ceramic
cooktop.
High frequency
induction coils
under a glass
surface.
Flattened metal
tubing containing
electric resistance
wire suspended
over a drip pan.
Solid cast iron
disk sealed to the
cooktop surface.
How It Works
Flames heat the pans directly. Pan flatness is not critical to cooking results, but
pans should be
well
balanced. Gas burners heat the
pan
right
aw~y and
change
heat settings right away. When you turn the control off, cooking stops right away.
Heat travels to the
glass
surface and then to the cookware, so pans must be
flat
on
the bottom for good cooking results. The
glass cooktop
stays hot enough to
continue cooking after it is turned off. Remove the pan from the surface unit if
you want cooking to stop.
Pans must be made of ferrous metals (metal that attracts a magnet). Heat is
produced by a
ma&netic
circuit between the coil and the pan. Heats up right away
and changes heat settings right away, like a gas
cooktop.
After turning the control
off, the glass
cooktop
is hot from the heat of the pan, but cooking stops right away.
Heats by direct contact with the pan and by heating the air under the pan. For best
cooking results, use good quality pans. Electric coils are more forgiving of
warped pans than radiant or solid disks. Heats up quickly but does not change
heat settings as quickly as gas or induction. Electric coils stay
hot
enough to
continue cooking
for a short time after they are turned off.
Heats by direct contact with the pan, so pans must be
flat
on the bottom for good
cooking results. Heats up and cools down more slowly than electric
coils.
The
disk stays hot enough
‘o
continue cooking after it is turned off. Remove the pan
from the solid disk if you want the cooking to stop.
SUWACE COO~NG
Electric Ignition
Your surface burners are lit by electric ignition,
Surface burners in use when an electrical power
eliminating the need for standing pilot
lights
with
failure occurs will continue to operate normally.
constantly burning flames.
In case of a power failure,
you can light the surface
burners on your range with a match. Hold a lit match
to the burner, then push in and turn the control knob
to the
LITE
position.
Use extreme caution when
lighting burners in this manner.
Surface Burner Controls
The knobs that turn the surface burners on and off
The two knobs on the left control the left front and
are located on the lower control panel in front of
left rear burners. The two knobs on the right control
the burners.
the right front and right rear burners.
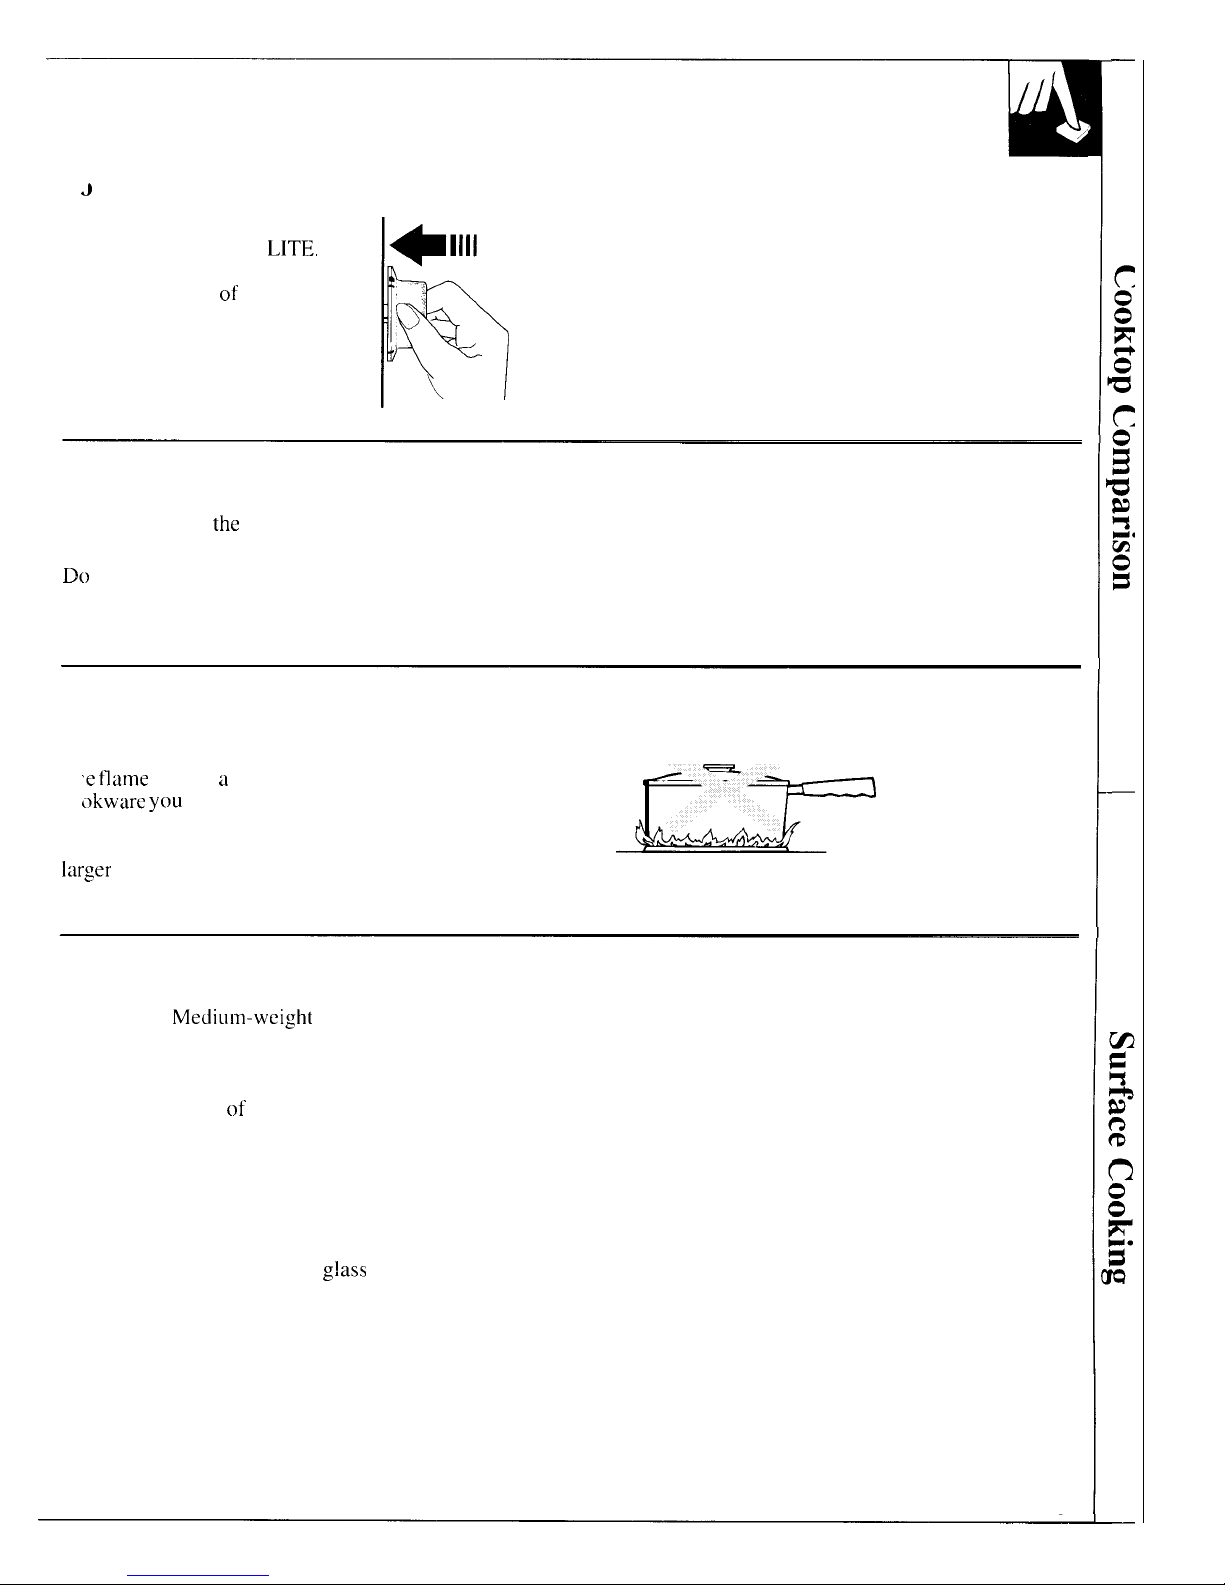
o
Light a Surface Burner
Push the control knob in and turn
After the burner ignites, turn the knob to adjust
it
counterclockwise
to
LITE.
the flame size.
You will hear a little “clicking”
noise—the sound
of the electric
spark igniting the burner.
After Lighting a Burner
Check to be sure
the
burner you turned on is the one
Be sure the burners and grates are cool before you
you want to use.
place your hand, a pot holder, cleaning cloths or other
Do
not operate a burner for an extended period of
materials on them.
time without cookware on the grate. The finish on the
grate may chip without cookware to absorb the heat.
How to Select Flame Size
Watch the flame, not the knob, as you reduce heat.
e flame
size on a gas burner should match the
okware you
are using. FOR SAFE HANDLING OF
COOKWARE, NEVER LET THE FLAME EXTEND
UP THE
SIDES OF THE COOKWARE. Any flame
larger
than the bottom of the cookware is wasted and
only serves to heat the handle.
Top-of-Range Cookware
Aluminum: Mediun-weight cookware is
recommended because it heats quickly and evenly.
Most foods brown evenly in an aluminum skillet.
Use saucepans with tight-fitting lids for cooking with
minimum amounts
of
water.
Cast Iron:
If heated slowly, most skillets will give
satisfactory results.
Enamelware:
Under some conditions, the enamel
of some cookware may melt. Follow cookware
manufacturer’s recommendations for cooking methods.
Heatproof Glass Ceramic:
Can be used for either
surface or oven cooking. It conducts heat very slowly
and cools very slowly. Check cookware manufacturer’s
directions to be sure it can be used on gas ranges.
Stainless Steel:
This metal alone has poor
heating properties, and is usually combined with
copper, aluminum or other metals for improved heat
distribution. Combination metal skillets usually work
satisfactorily if they are used with medium heat as the
manufacturer recommends.
Glass:
There are two types of
g!ass
cookware—those
for oven use only and those for top-of-range cooking
(saucepans, coffee and teapots). Glass conducts heat
very slowly.
9
 Loading...