

GE JGB920SEC4SS, JGB920SEC3SS, JGB920SEC2SS, JGB920SEC1SS, JGB918SEK1SS Owner’s Manual
...
www.GEAppfiances.com
©
©
©
°_
Sa_bty Instructions ...... 2-8
Operating [ndructions
Abm_hmm Foil ............ 17
Clock amid Timer . ......... 19
()re N_ ................. ] 2-3 ]
Bakh_g and Roastb_g ...... ] 7
Broi]im_g, Broi]im_g Gl*]de . . .18
(;o]]vect] o]] ........... 22 -26
Electric Igniti{m .......... ] 6
()vem_ ( (mtro] ............ ] 2
Preh ea ti m_g .............. ] 7
Probe .................. 21
Sabbath Feature .......... 15
Se]f-C]ea N_h_g ......... 30, 31
Shelves ................. ] 6
Special Featm'es ....... ] 3, ] 4
Thermostat Adil,stmeN_t .... 27
Timed Bakh_g
amid Roasting ............ 20
Timed Coiwectio]] gakim_g . .26
Sm't;_ce ( ookim_g ......... 9, ] 0
Com_tro] Settim_gs ........... 9
Warmim_gDrm_er . ...... 28, 29
Ins_talIation
Instructions .......... 41-52
Air A(tj_stme_t ............ 51
Anti-Tip Device ......... 44, 52
Ignithm ............... 49, 50
Com_ecth_g the Ravage
to Gas ................ 45-47
Dime_s]o_s ;rod Clear;races . .43
Electrical (2o_]ectio_s . . .48, 49
l,eve]i_g the Ravage ........ 51
I,P ...................... 52
Troubleshooting
Tips ................. >_-_G
Consumer Support
(2msm_er S_q)port . .Back Cover
Product P, egistratio_] ..... 57, 58
i_ (]am_da ................ 63
Warnmtv for Customers
i_ the [J.S._ .............. 62
.]cggm
.1(; 92o
oq
×
Care and Cleaning
Broiler Pam_ amid Grid ....... 37
Bm'_]er Assembly ........ 32, 33
Bm'i]er Grates ............. 34
(kmtro] Pa_e] a_d Km)bs .... 39
Cooktop .............. 34-36
(;]ass ................ 35, 36
Porce]ai_ ............... 34
Door Removal ............ 37
()ve_ Bottom ............. 37
()ve_ iJght Rep]aceme]_t .... 40
()ve_ Ve_ ts ............... 39
Se]f-CJ ea _i _g .......... 30, 31
Shelves ;rod Racks ....... 38, 40
Stai_]ess Steel S_a'{i_ces ...... 34
Top iJght ................ 40
Warmi_g Dra_er . ......... 38
Write the model and serial
numbers here:
Model #
Serial #
You can find them on a label
on the fl'ont ot the range behind
the warming drawer.
18305580P_20 49-85035 02-02Jfl
350A4502P275
IMPORTANTSAFETYINFORMATION.
READALLINSTRUCTIONSBEFOREUSING.
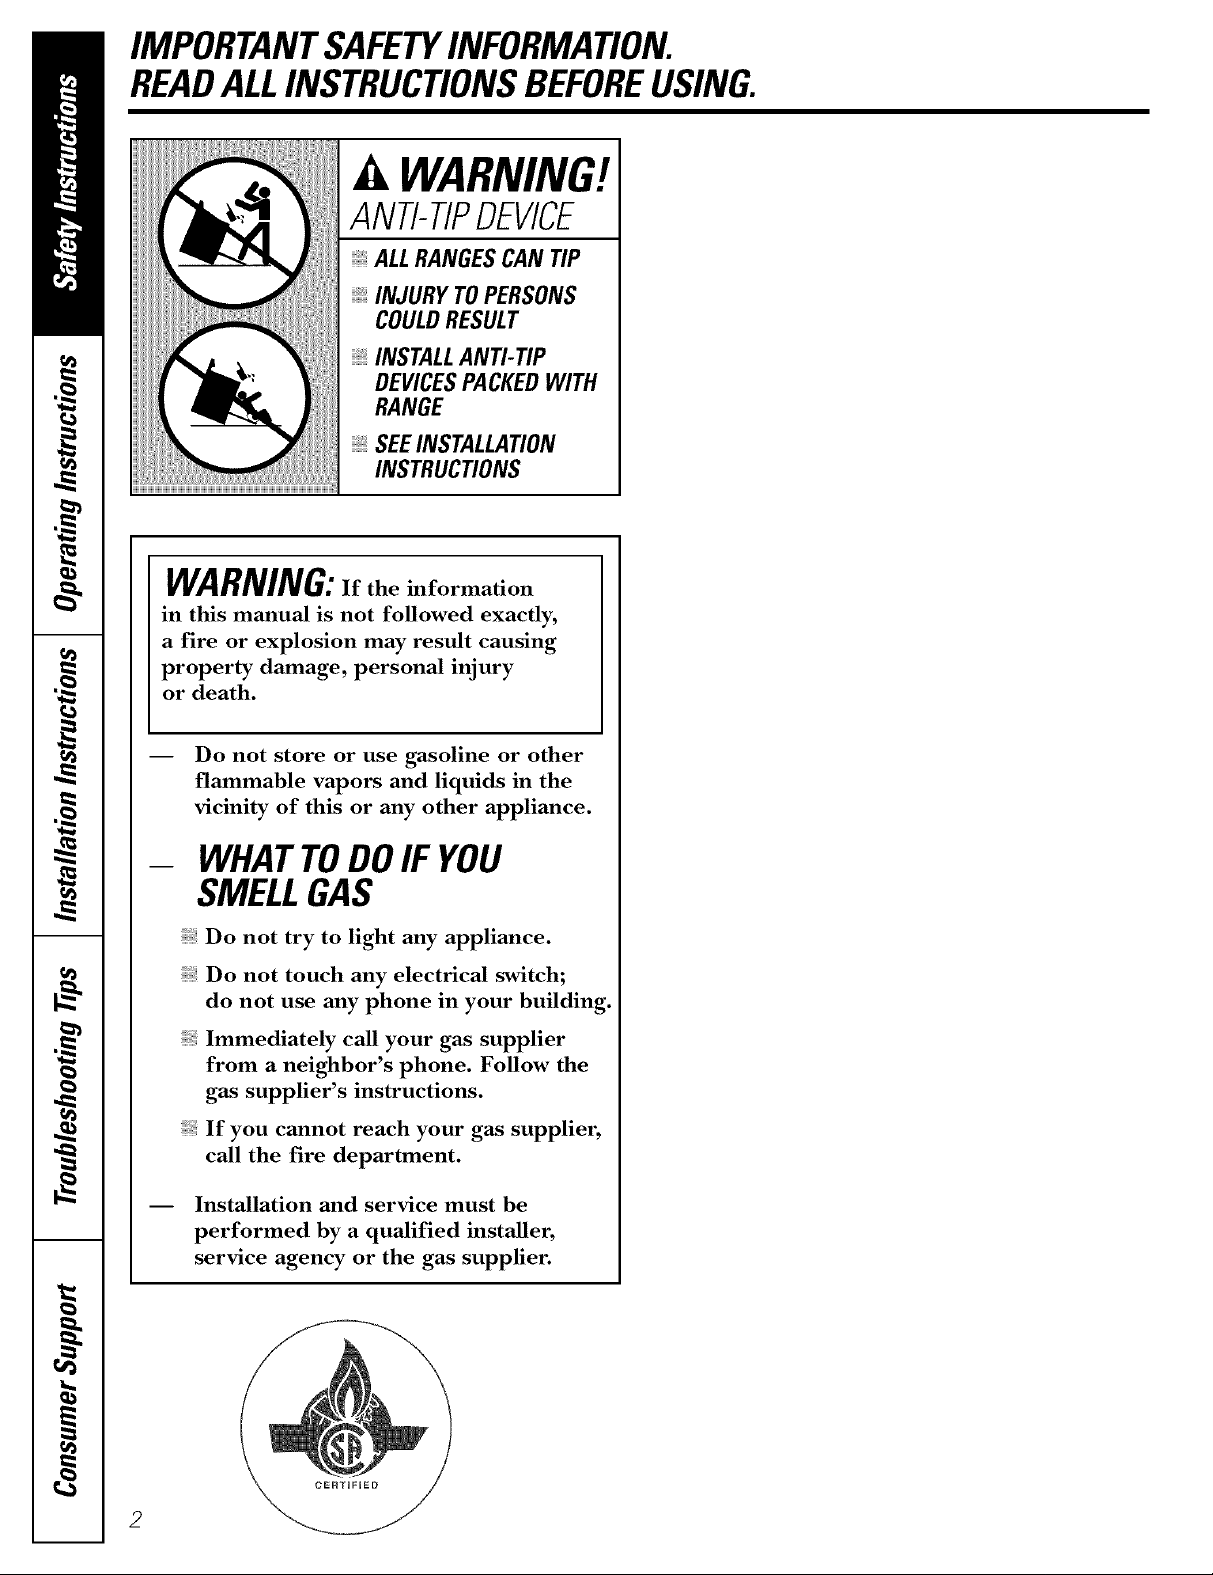
WARNING!
ANTI-TIPDEVICE
ALLRANGESCAN TIP
INJURY TOPERSONS
COULDRESULT
INSTALLANTI-TIP
DEVICESPACKEDWITH
RANGE
SEEINSTALLATION
INSTRUCTIONS
WARNING:Iftheinforma_on
in this manual is not followed exactly,
a fire or explosion may result causing
property damage, personal injury
or death.
Do not store or use gasoline or other
flammable vapors and liquids in the
vicinity of this or any other appliance.
WHATTODOIFYOU
SMELLGAS
Do not try to light any appliance.
Do not touch any electrical switch;
do not use any phone in your building.
Immediately call your gas supplier
from a neighbor's phone. Follow the
gas supplier's instructions.
If you cannot reach your gas supplier,
call the fire department.
Installation and service must be
performed by a qualified installer,
service agency or the gas supplier.
wvvw.GEAppliances.com
WARNING!
For your safe_ the information in this manual must be followed to minimize the risk of fire or explosion,
electric shock, or to prevent property damage, personal injury, or loss of life.
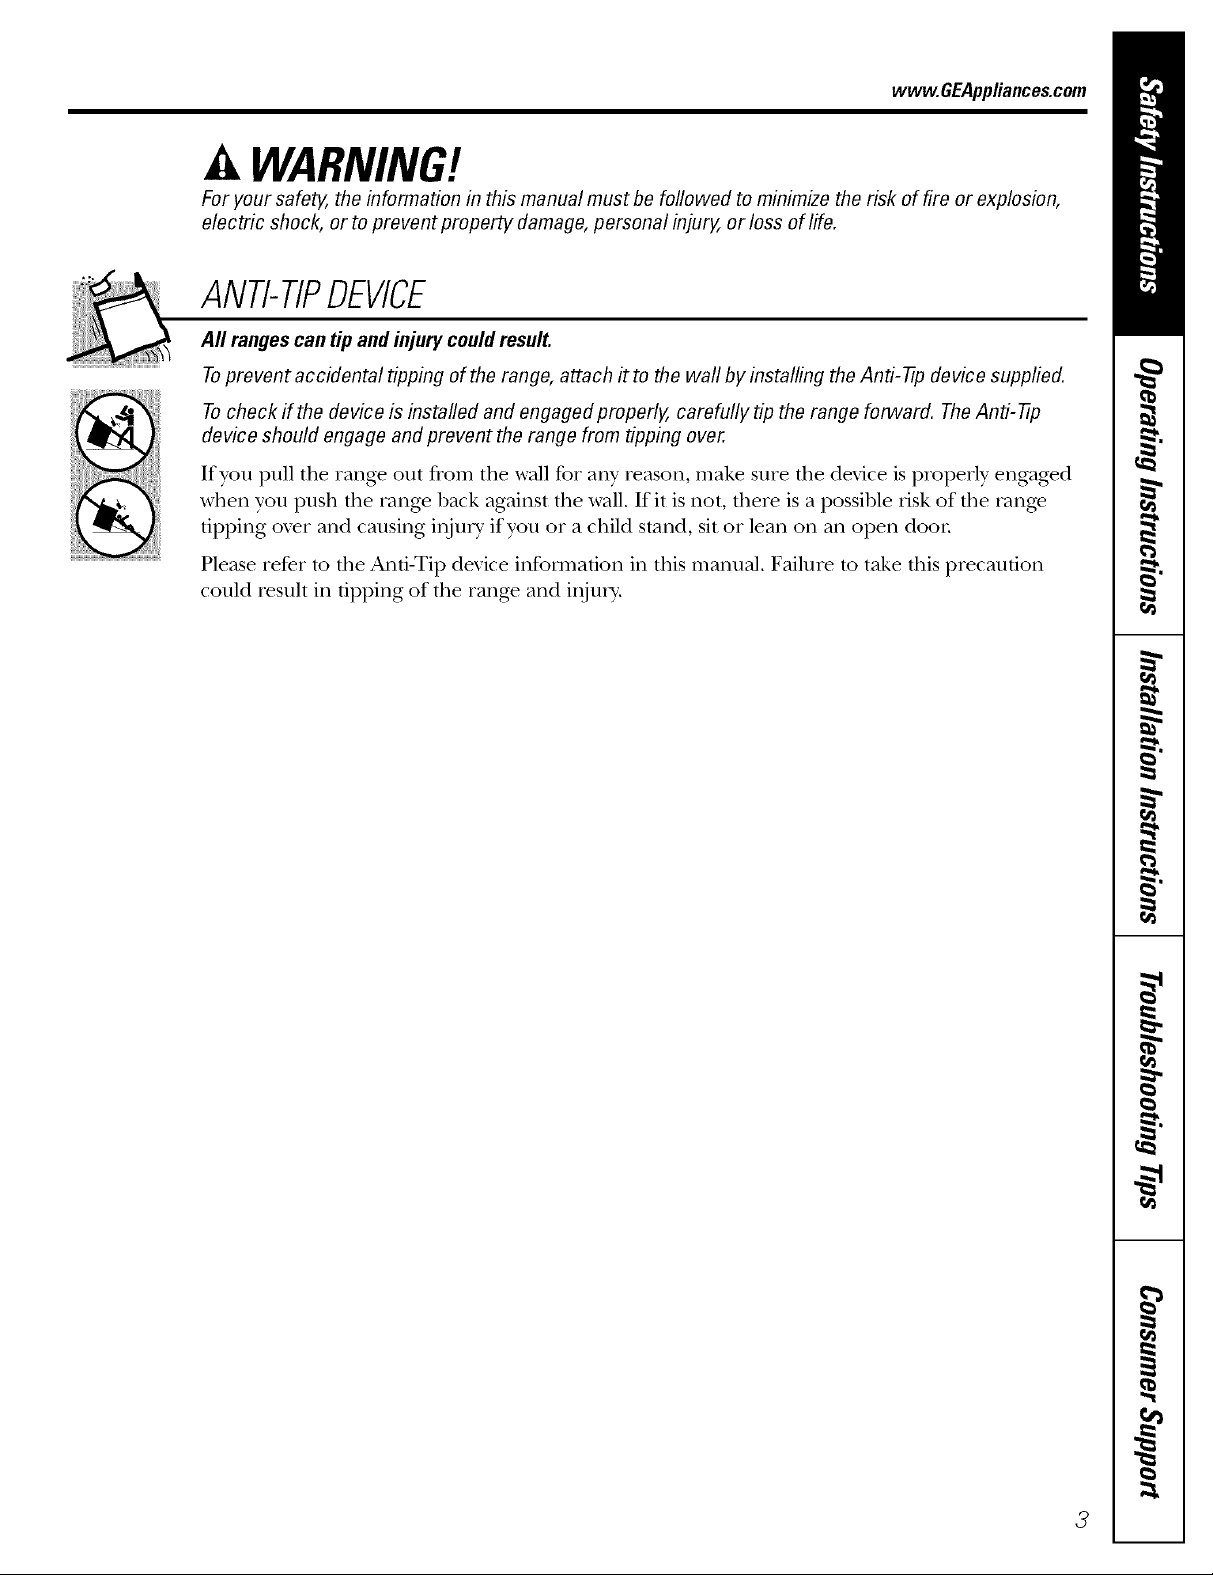
ANTI-TIPDEVICE
All ranges can tip and injury couldresult.
Toprevent accidental tipping of the range, attach it to the wall by installing the Anti--tip device supplied.
Tocheck if the device is installed and engaged properly, carefully tip the range forward. TheAnti--tip
device should engage and prevent the range from tipping over.
Ifyotl pu]l tile range otlt from the wall for ally' reason, make stlre tile device is i)roi)erly engaged
when you push the range back against tile wall. If it is not, there is a possible iJsk of the range
tipping oxer and causing inju U if you or a child stand, sit or lean on an open doon
Please refer m file And-Tip device infot_nafion ill this manual. Failure m take this precaution
could Iesult ill tipping of the rang_ and iIIjtlI>
3
IMPORTANTSAFETYINFORMATION.
READALLINSTRUCTIONSBEFOREUSING.
WARNING!
IMPORTANTSAFETYNOtiCE
The Califomb Safe Drinking Water and ToxicEnforcement Act requires the Governor of California to
publish a list of substances known to the state to cause birth defects or other reproductive harm, and
requires businesses to warn customers of potential exposure to such substances.
Gasappliances can cause minor exposure to four of these substances, namely benzene, carbon
monoxide, formaldehyde and soot caused primarily by the incomplete combustion of natural gas or
LP fuels. Properly adjusted burners, indicated by a bluish rather than a yellow flame, will minimize
incomplete combustion. Exposure to these substances can be minimized by venting with an open
window or using a ventilation fan or hood.
Fluorescent light bulbs and safety valves on standing pilot ranges contain mercury. If your model has
these features, they must be recycled according to local, state and federal codes.
SAFETYPRECAUtiONS
Have the installer show you the location of the range gas
Haxe your rang_ installed and properly
grounded by a qualified installel, in
accordance wifl_ the Installation Instrncfions.
Any adjusunent and service should be
pertb,_ned only by qualified gas range
installers or service mchnicians.
Do not attempt to repair or replace any
part of your range unless it is specifically
recommended in this manual. All other
service should be refe_xed to a qualified
technician.
shut-off valve and how to shut it off ff necessary.
Plug your range into a 120:\_lt gxounded
outlet only. Do not remove the round
grounding prong flom the plug. If in doubt
about the gxounding of the home electrical
system, it is your personal responsibility and
obligation to haxe an ungrounded outlet
replaced with a properly grounded, three-
prong ontlet in accordance with the
National Electrical (;ode. Do not use an
exmnsion cord with this appliance.
4

SAFETYPRECAUTIONS
vvww.GEAppliances.com
Locam fire range out of kitchen uaffic path
arrd Ottt of drafw locations m prevent pilot
outag.e (on standing pilot models) arrd poor
air citvulafion.
Be sure all packaging materials are remox.ed
from tire rang.e 1)efore operafng it to
prevent fire or smoke damag.e should the
packaging material ignite.
Be s/ti.e yottr tang.e is COlTecfly adjusted by
a qualified service mchnician or installer for
tire type of gas (natural or 12) that is m be
used. Your rang.e can be corrcerted for use
with either type of gas. See the Installation of
the range section.
WARNING:Shesea >sm entsm,tst
be made by a qualified service technician
in accordance wiflr the lnanuthcutrer's
irrstructions and all codes and requirements
of the attthority having jurisdiction. Failure
to follow flrese instructions could resuh in
serious inju U or property damag.e. Tire
qualified ag.ency perfot_ning this work
assumes responsil)ilitv for the corwersion.
After prolong.ed use of a range, high floor
mmi)eraut_.es mav result and many floor
cox.erings will not withstand flris kind of use.
Nex.er irrstall tire rang.e over viw1 die or
linoleum that cannot wiflrstand such type
of use. Nex.er irrsmll it dit.ecdv ox.er irrmrior
Mtchen carpeting.
Do not leax.e children alone or unattended
where a range is hot or ira operation.
Thev could be seriously burned.
Do not allow anyone to climb, stand or hang
on dae ox.en door; storag.e drawer; warming
drawer or cooktop. They could damage the
rang.e and even up it ox.el; causing sex.ere
personal ir_jury.
CAUTION: mmsofirrmres
children should not be stored in cabinets
above a range or on the backsplash of a
rang.e---children climbing on tire rang.e to
reach items could be seriously injured.
For your safely, nex.er use your appliance
tbr warming or heating the room.
Nex.er wear loose fitting or hanging gamrents
while using the appliance. Be carefltl when
reaching for imms stot.ed in cabinets over the
rang.e. Flammable mamrial could be ignimd
if brought in corrtact wiflt flame or hot oven
sur/2_ces arrd may cause sex.ere bums.
Do not store flammable mamrials in an
oven, a range storag.e drawer; a wanning
drawer or treat a cooktop.
Do trot store or use combusuble mamrials,
gasoline or other flammable vapors and
liquids in the vicinity of this or arp¢ other
appliance.
Do trot let cooking gxease or other flammable
mamrials accumulate, in or near fire rang.e.
Do trot use wamr on grease fires. Nex.er pick
up a flaming pan. Turn fire corruols off:
Smother a flaming pan on a surface 1)umer
by cox.ering tire pan complemly with
a well-fitfng lid, cookie sheet or fiat ua>
Use a mulu-purpose d_y chemical or
foam-type fire exunguisher
Flaming grease outside a pan can be put
out 1)y covering it with baking soda or;
if availal)le, by using a multi-purpose dU
chemical or foam-type rit.e extinguisher
Flame in the ox.en or warming drawer can be
smothered completely by closing the ox.en
door or drawer arrd turning rite cormol m
off or by using a multi-purpose dI T chemical
or foam-type fire extinguisher
i,et rite 1)umer grams and other surthces
cool before touching them or leaving them
where children can t.each them.
Nex.er block dre vents (air openings) of the
rang.e. They provide tire air inlet arrd outlet
flrat are necessat T tbr the range to operate
properly with con-ect combustion. Air
opening_ are locamd at fire rear of tim
cooktop, at tire top arrd bottom of fire oven
door; arrd at the bottom of the range under
tire warming drawer; storag.e drawer or
kick panel.
Larg.e scratches or impacts to glass doors
or cooktops can lead to broken or
shatmred glass.
IMPORTANTSAFETYINFORMATION.
READALLINSTRUCTIONSBEFOREUSING.
WARNING!
SURFACEBURNERS
Use proper pan size--avoid pans that are unstable or easily tipped. Select cookware having flat bottoms
large enough to cover bumer grates. Toavoid spillovers, make sure cookware is large enough to contain
the food properly. This will both save cleaning time and prevent hazardous accumulations of food, since
heavy spattering or spillovers left onrange can ignite. Use pans with handles that can be easily grasped
and remain cool
Always use tim LITE position (on electcic
ignition models) or die HI position (on
standing pilot models) when igniung the
top burners and make sure the burners
have ignited.
Nexer leave die surJZace burners unatmnded
at hiOl flame settings. Boiloveks cause smoMng
and gxeasy spillox>rs that m W catch on rike.
Adjust tile mp burner flame size so it does
not exmnd beyond tile edge of tile
cool<ware. Excessixe flame is hazardous.
Use only d U pot holders-- moist or damp
pot holders on hot sn,iCaces may kesult in
bm_ls flom smam. Do not let pot holders
come ,lear open flames when lifting
cookware. Do ,lot use a towel or otiler bulky
clotil in place of a pot holder
When using ,glass cool<ware, make st:Ire it
is designed for mI>of-range cooking.
To minimize tile possibility of bm_ls, ignition
of flammable materials and spillage, turn
cookware handles toward tile side or back
of tile range witilout extending oxer
adjacent burners.
Carefldly watch foods being flied at a hiO1
flame seuing.
Alwws heat tilt slow]> and watch as it heats.
Do ,lot ]eme any items on tile cookmp. Tile
hot air from tim xent m W ignite flammable
items and will increase pressure in closed
containers, which may cause tilem to burst.
If a combination of oils or fats will be used
in flTing, s0r togetiler befoke heating or
as t_atsknelt slowly.
Use a deep icatthem_omemr whenexer
possible m prexent oxeflleadng fat beyond
tile smoking point.
Use tile least possible amount of fat for
effective shallow or deep-Jht flTing. Filling
tile pan mo rid] of l_atcan cause spilloxers
when food is added.
When flaming foods are under tile hood,
turn tile JZanoff: Tile t_an, if operating, may
spread the flames.
Do not use a wok on the cooking SUl+ace
if tile wok has a round metal ring tilat is
placed oxer tile burner gram to support tile
wok. This ring acts as a heat trap, which m W
damage tile burner gram and burner head.
Also, it m W cause tile burner m work
improperly. This may cause a carbon
monoxide level abo_e tilat allowed by
cmTent standards, kesu]ting in a healtii
hazard.
Foods for flTing should be as d, T as possible.
Frost on flozen foods or moisture on fresh
tbods can cause hot fiat m bubble up and
oxer the sides of the pan.
Nexer tkT to move a pan of hot laat, especially
a deep fat flTer _'ait until tile fat is cool.
Do *lot leme plastic items on tile cooktop--
tiley m W melt if left too close to tile xent.
Kee I) all plastics aw W from tile surt_ace
bnrners.
To ax_id tile possibiliw of a bum, always be
certain tilat tile controls for all builders are
at tile OFFposiuon and all grams are cool
before atmmpting m remoxe tilem.
If range is locamd near a windox_, do ,lot
hang long curtains timt could blow oxer tile
surfi_ce burners and cream a fire hazard.
If you smell gas, mm off" tile gas m tile range
and call a qualified service technician. Nexer
use an open flame m locate a leak.
Always mm tile surfl_ce burner controls off"
before removing cool<ware.
wvvw.GEAppliances.com
GLASSCOOKTOPSURFACEransomemode/sJ
Use care when touching the glass cooktop surface. Theglass surface of the cooktop will retain heat
after the controls have been turned off.
Avoid scratching tile glass cooktop surface.
Tile glass surface can be scratched with
items such as shaq) instruments, _ing:s or
otherjeweh T and rivets on clothing.
Do trot operate the cooktop if the glass is
broken. Spilloxers or cleaning solution m W
penetrate a broken cooktop and create a
risk of elecuical shock. Contact a qualified
technician immediately should your glass
cooktop surPace become broken.
Nexer use the glass cooktop smiaace as
a cutting board.
Do not place or store items flrat can melt
or catch fire on tile glass cookmp surfltce,
ex_n when it is not being used.
Be carefld when placing spoons or other
sfining utensils on glass cookmp surPace
when it is in use. They m W become hot
and could cause burns.
Clean the cooktop surf;ace wifll caution.
If a wet sponge or clod1 is used to wipe
spills on a hot srli_tce, be carefld to ax_id
steam bui_ls. Some cleaners can produce
noxious flm)es if"applied to a hot surface.
NOTE."_A'erecommend that you ax_id
wiping aW surPace areas until they have
cooled and the indicator liOlt has g_ne off.
Sugar spills are rite exception m this. Please
see Cleaning the glass cooktop surface sect.ion.
When file cooktop surface is cool, use only
CE_ BRYTE c'_'Ceramic Cooktop
Cleaner and tile CE_ BRYTE s_'
Cleaning Pad to clean the cooktop.
To axoid possible damag_ to tile cooking
surface, do not apply cleaning cream to the
glass surfi_ce when it is hot.
After cleaning, use a d_T cloth or paper
towel to remox> all cleaning cream residue.
Read and follow all instructions and
warnings on the cleaning cream labels.
ELECTRICWARMINGDRAWER
The purpose of die wamring drawer is
to hold hot cooked foods at serving
temperature. Alwws start widl hot food;
cold food cannot be heated or cooked in
tile wam_ing drawen
Do not use the winching drawer m d U
newspapers. If o_>rheated, flley call catch
Oil fire.
Do not leax> paper products, cooking
utensils or food ill the warming drawer
when not in use.
Ne_er leave jars or cans of fat dripping:s in
or near your wmlning drawer:
Always kee I) wooden and plastic utensils
and canned food a sad distance away flom
your wanning drawen
Do not wm_n food in tile warming drawer
for mo_e than two hours.
Do not touch theheating element or the
interior surface of the warming drawer.
These surfaces may be hot enough to burn.
REMEMBER:The inside surfi_ce of tile
wam_ing drawer may be hot when the
drawer is opened.
Use care when opening the drawer Open
the drawer a crack and let hot air or steam
escape before removing or replacing food.
Hot air or steam which escapes call cause
bums to hands, face and/or eyes.
Do not use aluminum foil to lille file
drawer: Foil is all excellent heat insulator
and will trap heat beneafll it. This will upset
tire performance of file drawer and it could
damag> the interior finish.
IMPORTANTSAFETY/NFORMAYlONo
READALLINSTRUCTIONSBEFOREUSING.
COOKMEATANDPOULTRYTHOROUGHLY...
Cook meat and poultry thoroughly--meat to at least an INTERNAL temperature of 160°Eand poultry to
at least an INTERNAL temperature of 180°ECooking to these temperatures usually protects against
foodbome illness.
OVEN
Stand away from the range when opening the door of a hot oven. The hot air and steam that escape can
cause bums to hands, face and eyes.
Do not use the oven for a storage area.
hems stored in the o\_n can ignite.
Kee I) tile o_n free flom grease buildup.
Place tile oven sheh_s in the desired
position while file oxen is cool.
Pulling out file shelf m tile stop-lock is a
convenience in lifting heavv foods. It is also
a precaution against bun_s flom touching
hot surfaces of the door or oven walls. Tile
lowest position "R!' is not designed to slide.
Do not heat unopened food containers.
Pressure could build up and the container
could burst, causing an ilIjury.
Nexer use almninun_ foil m line the ox>n
bottom. Improper use of foil could start
a fire.
Do not use almninum %il anywhere in the
oven except as described in this manual.
Misuse could result in a fire hazard or
damage to the range.
V\]ten using cooking or roasting bag:s in die
ox>n, follow the manuPacmrer's directions.
Do not use your oxen to d U newspapers.
If oxerheamd, they can catch fire.
Use only glass cookwate that is
recommended for use in gas oxens.
Always remo_e the broiler pan from range as
soon as you finish broiling. Grease left in the
pan can catch fire if oxen is used without
removing dte grease flom the broiler pan.
_4]len broiling, if meat is mo close m file
flame, rite tilt may ignite. Trim excess l_t to
prex_nt excessix_ flateqq)s.
Make sure tile broiler pan is in place conecdy
m reduce the possibilib' of glease fi_es.
If you shou]d hax> a grease fire in the broiler
pan, press the CLEAR/'OFFpad, and kee I)
rite oven door closed to contain rite until
it burns out.
SELF-CLEANINGOVEN
Be sure to wipe up excess spillage be%re
self-vleaning operation.
Before seltk;leaning the oxen, remo_e
the shelx>s, broiler pan, grid and
other cookware.
Do not clean the door gasket. The door
gasket is essential %r a g_od seal. Care
should be token not to rub, damage or
move the gasket.
Clean only parts listed in this Owner's
Manual.
K fire self-cleaning mode malflmcfions, mm
the oxen off and disconnect tim power supply,
Haxe it serviced by a qualified technician,
Do not use oven cleaners. No commercial
oven cleaner or ox>n liner of any kind
should be used in or around any part of
file oven, Residue fiom oxen cleaners will
damage the inside of tile ox>n when the
self-_lean cycle is used,
READANDFOLLOWTHISSAFETYINFORMATIONCAREFULLY.
SAVETHESEINSTRUCTIONS
8

Usingthe gas surfaceburners, www.GEAppliances.com
Throughout this manual, features and appearance may vary from your model
Hew te Light a Gas Surface Burner
Pushthecontrolknobf17andturnit
tothe LITEposifion.
Push d_e conm'ol k_ob h_ m_d mrm_it t(_
the UTE posidom
_]_>__rd_hear a little c/icRing m_oise---
the seined of tl_e electIJc spark ]gnith_g
the bml_ex:
Tm'_ d_e k_ob t(_ a(!i_st the flame size.
If t]_e kl]ob smvsat UTE, it _rd]]C{_ti_e
to dick
Sealed Gas Burners
Whel_ om_e]bm'l_er is mn_ed to Life a]]
the bm'i_ers spark. Do m_otattempt to
disassemble oi" c]ea_? arolmd al]v bllriler
while a]]ot]]er ]bm'N_eris om A]_ e]ectiJc
shock ma} resin]t, _d]ich col_](t cm_se ,_ol_
[0 kl/ock over he[ coo]Grate.
The smaller burner (iight rear posidon) will
give the best simmer results. It ofli_is precise
cooking peitbnnance for delicate foods,
such as sauces oi" foods which need m cook
over low heat for a long time. It caI] be
turned down t(>a vei y low simmer setting.
How to Select Flame Size
Forsafe handlingof cookware, neverlet the flames
extend up thesides of the cookware.
Watch the flame, not the knob, as you
reduce heat. The flalne size (>I] a gas buri]er
should match the cookware w)u are using.
In Case of Power Failure
hi case of a power fidlure, you can light the
gas smti_ce burners on vour range with a
match. Hold a lit match to the burnei; then
push in and mrn the control knob to the
LITE position. ILrseextreme caution when
lighting burners this way:
The laigest burners are higher powered
than the others and will bring liquids to
a boil quickeI:
Anv flame linger than the bottom of the
cookware is wasted and onlv seiwes to heat
the handle.
Stu_i_ce burners in use when an electiical
power fidlure occurs will continue to
operate nommlly:
Before Lighting a Gas Burner
:_ If (1IiI) pans are supplied with your range,
they should be used at all times.
:_ Make sure all grates on the range are in
place before using any burnei:
After Lighting a Gas Burner
:_ Do not operate the burner for an
extended period of time without
cookware on the grate. The finish on
the grate may chip without cookware
t(> absorb the heat.
:, Be sure the burners and grates are cool
before you place your hand, a pot holdei;
cleaning cloths oi" other mateiials on
them.
Usingthsgassurfacshurnsm.
Top-of-Range Cookware
Aluminum: Medium-weight cookware is
recommended because it heats quickly
and e;'enk. Most foods brown evenly in an
aluminum skillet. Use saucei)ans with tight-
fitting lids when cooking with minimum
_lIllo/Ints of wateE
Cast-Iron: If heated slowly, most skillets will
give satisii_ctorv results.
Enamelware:Under some conditions,
tile enaillel of SOIlle cookw;iFe Ill}IV I//elt.
Follow cookware ill_lnllIilCtlli'eiJs
recommendations tor cooking methods.
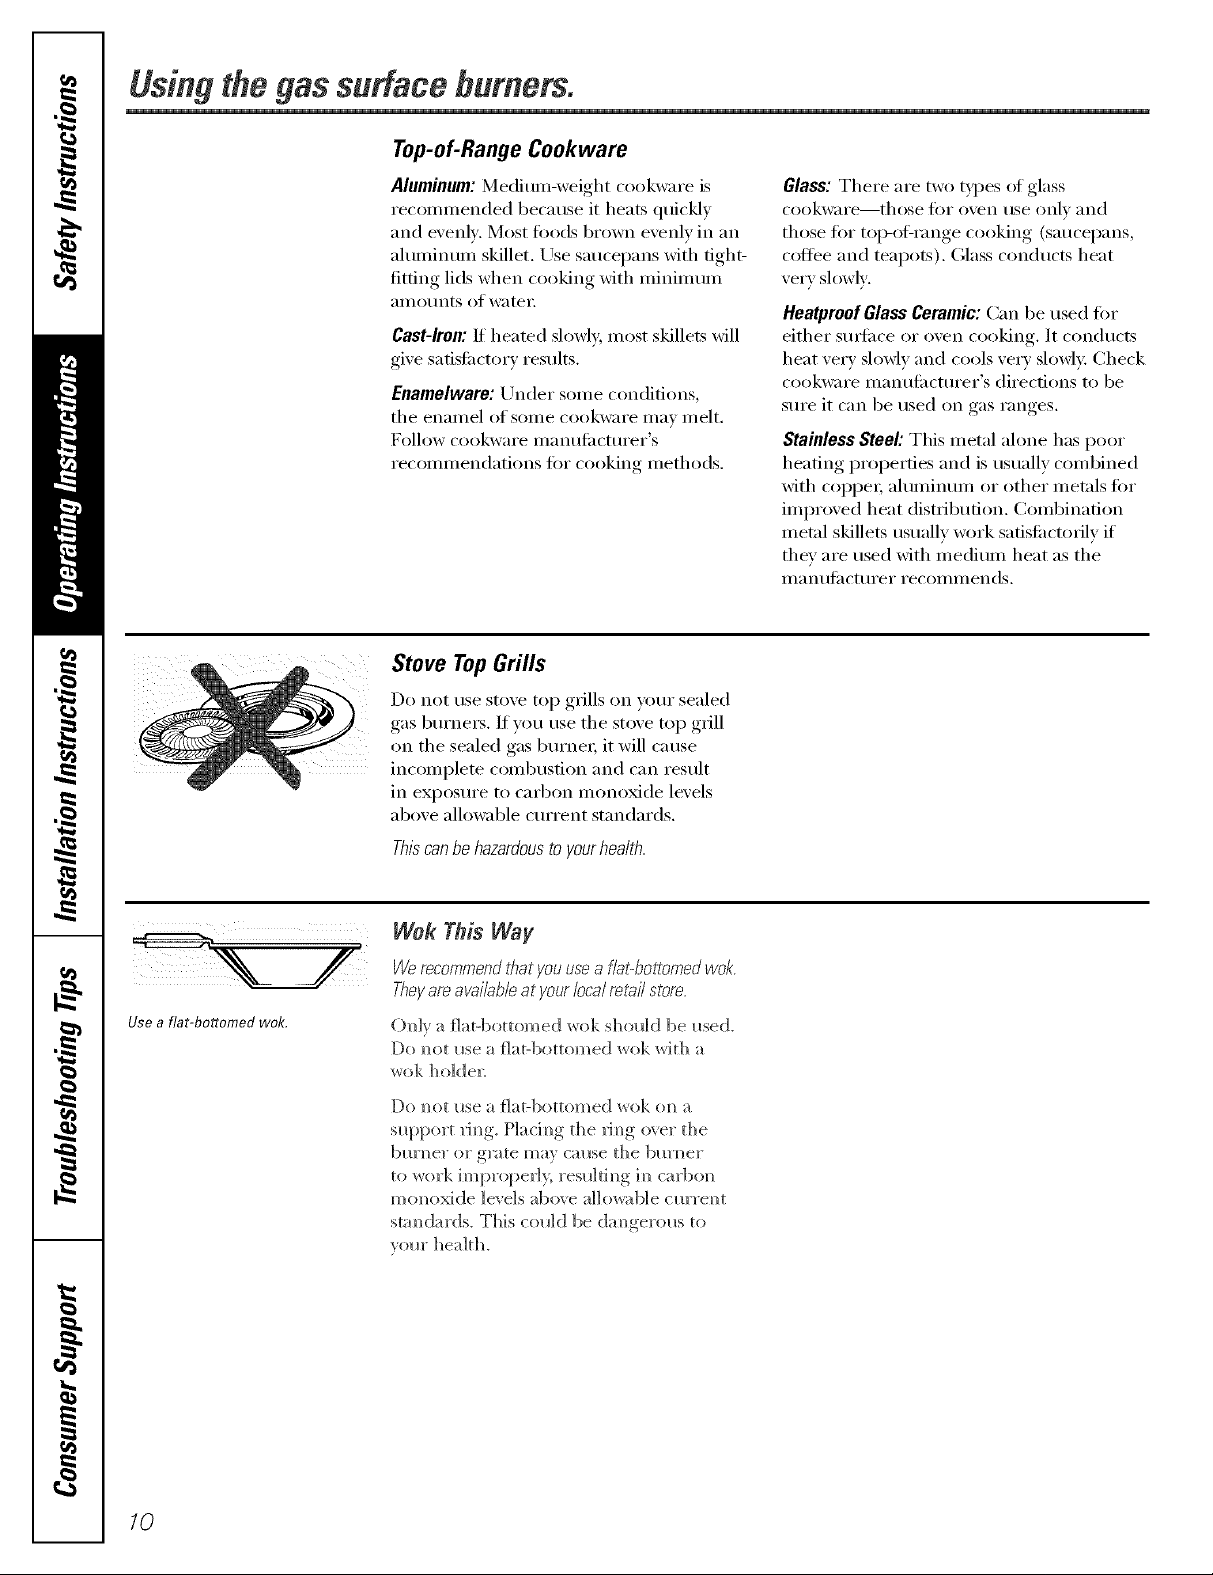
Stove Top Grills
Do not use stove top grills on vour sealed
gas burne_. If you use the stove top grill
on tile sealed gas burne_; it will cause
incomplete combustion and can result
in exposure to cm4)on monoxide levels
above allowable current standards.
Glass: There are two types of glass
cookware--those ti)r oven rise onlY and
those for toi>ofXrange cooking (saucepans,
coffee and teapots). Glass conducts heat
very slowly:
HeatproofGlassCeramic:Can be used tot
either SUltilce or oven cooking. It conducts
heat very slowly and cools very slowly: Check
cookware i/lantllilCttli'ei"s directions to be
sure it can be used on gas ranges.
Stainless Steel: This metal alone has poor
heating properties and is usually combined
with copl)e_; aluminmn or other metals for
improved heat distribution. Combination
metal skillets usually work safisfl_ctofilv if
they are used with medium heat as the
Ilia n/llil Cttli'ei" i'ecoi//illends.
Use a fiat-bottomed wok.
Thiscanbehazardoustoyourhealth.
Wok This WaF
Werecoror,qervJthatyouusea flabbottomedwok.
Theyare available at your/oca/retail store.
OMv a flat-bottomed wok should be i_sed.
Do inlet i_se a flat-bottomed wok with a
wok ho]de_;
Do m_ot use a flat-bottomed _ok om_ a
slq_port rim_g, P]acim_g the rim_g o_er the
bm'm?eror g]wte may came the bm'mler
to work improper{> rem]tim_g im_carbo_
m(moxide ]e', eIs above allowable cl_rrem_t
stam_dards. This c(tl*]d be dam_gerol*s to
v(ll*r health.
10
Usingtheelectricglasstopwarmingzone.(onsomemodels) CEAppliances.com
The WARMING ZONE,located in the back
center of the glass stm'i_ce, will keep hot,
cooked toed at serving temperature.
Always start with hot fbod. Do not use to
heat cold toed.
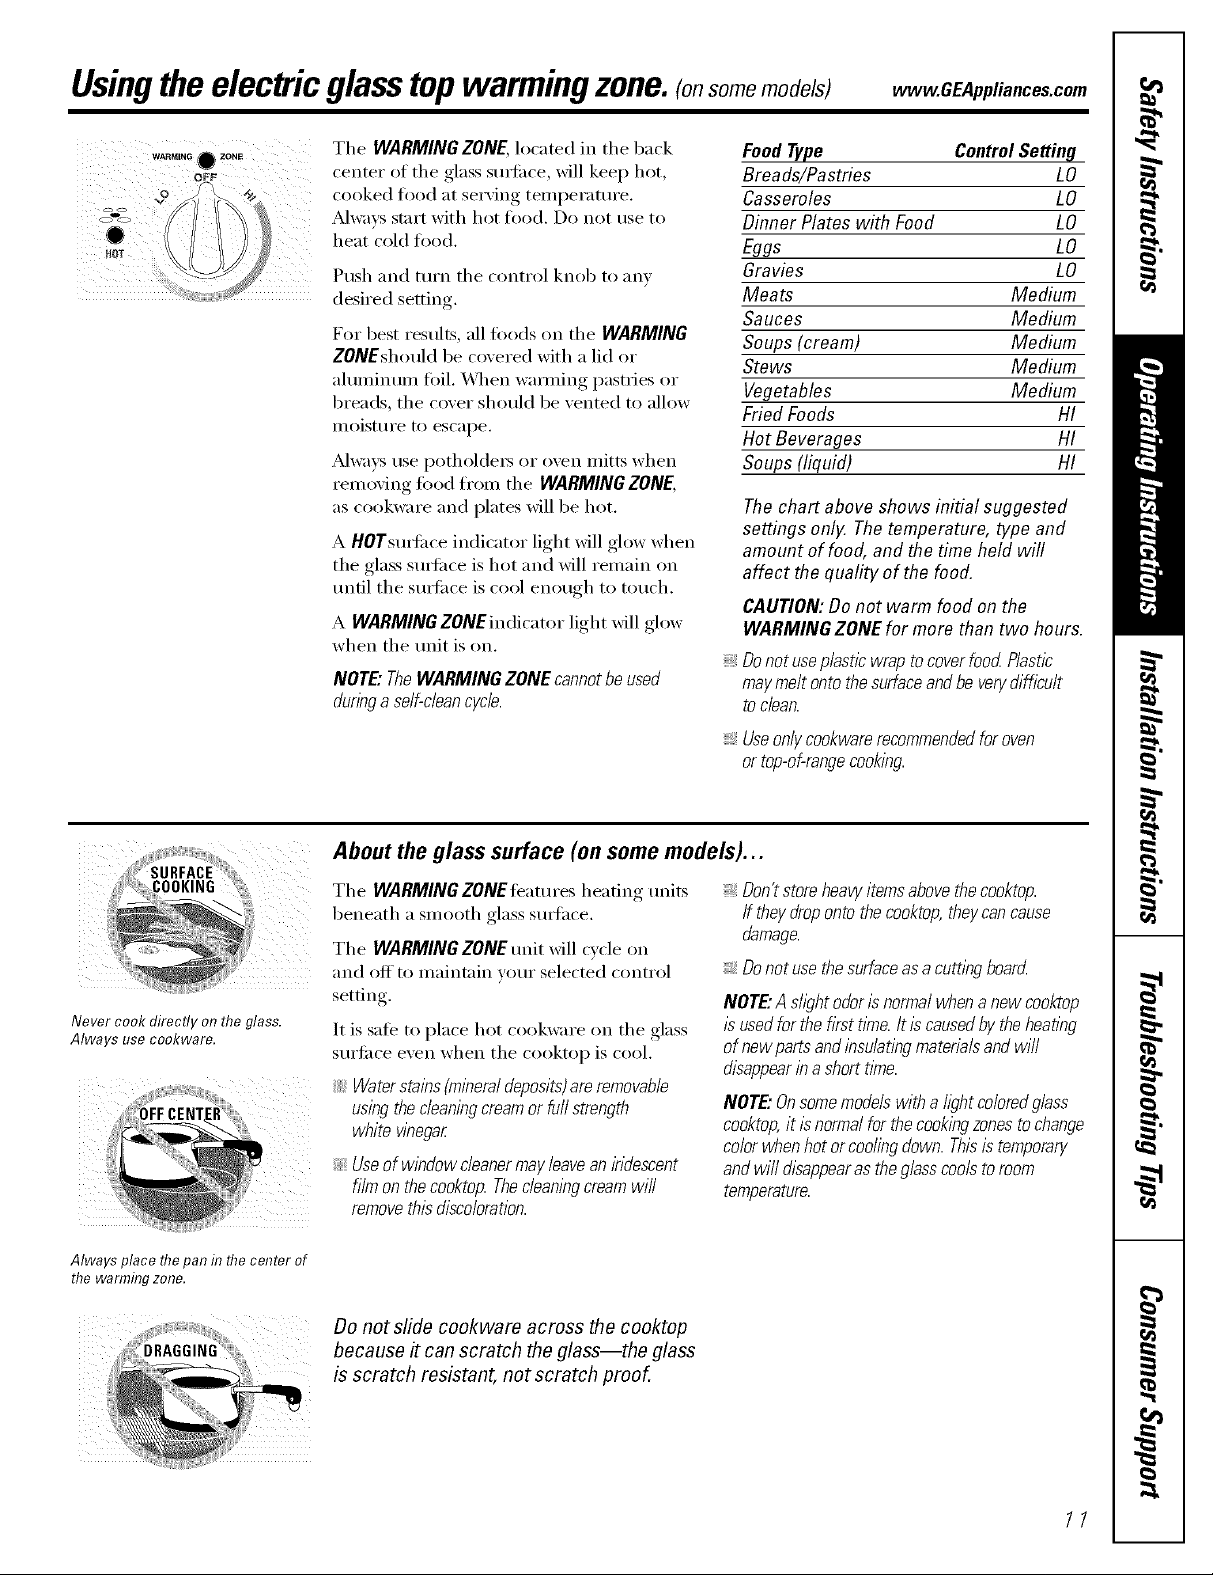
Push and turn the control knob to any
desired setting.
For best results, all foods on the WARMING
ZONEshouldbe covered with a lid or
aluminum foil. X,\]_enwmming pastries or
breads, the cover should be venmd to allow
I/loisttlre to escape.
Always use potholdex_ or oven mitts when
removing food fl'om the WARMINGZONE,
ascookware and plateswill be hot.
A HOTsurfi_ceindicator light will glow when
the glasssudi_ceis hot and will remain on
until the sudi_ceis cool enough to touch.
A WARMINGZONEindicatorlight will glow
when the unit is on.
NOTE."TheWARMING ZONE cannotbe used
dunng a self-clean cycle.
FoodType ControlSettinq
Breads/Pastrles L0
Casseroles LO
Dinner Plates with Food LO
Eggs LO
Gravies LO
Meats Medium
Sauces Medium
Soups(cream) Medium
Stews Medium
Vegetables Medium
FriedFoods HI
Hot Beverages HI
Soups(liquid) HI
Thechart above shows initial suggested
settings only. Thetemperature, type and
amount of food, andthe timeheld will
affect the quality of the food.
CAUTION:Donot warm food on the
WARMINGZONEfor more than two hours.
Donotuseplasticwraptocoverfood Plastic
maymeltontothesurfaceandbeverydifficult
todean.
Never cook directly on the glass.
Always use cookware.
Always place thepan f17thecenter of
the warmfl_gzone.
About the glass surface (on some models)...
The WARMING ZONE Ieamres heating units
beneath a smooth glass stm'hce.
The WARMING ZONE unit will cycle on
and off to maintain w_ur selected control
setting,
It is safe to place hot cookware on the glass
surfi_ce even when the cooktop is cool,
Waterstains (mineraldeposits)are removable
using the cleaningcream or furlstrength
white wnegar
. Useof window cleanermay &ave an/?idescent
film on thecooktop. Thec/eanl#gcream wi//
removethis discoloration.
;_Don'tstoreheavyitemsabovethecooktop.
;_Donot use the surfaceas a cuttl))gboard
NOTE."A shghtodorIsnormalwhena newcooktop
/susedforthefirsttlYne.Itis causedbytheheating
ofnewpartsandinsulatingmaterialsandwi//
disappearina shorttime.
NOTE."Onsomemodelswitha hghtcoloredglass
cooktop,it/s normalfor thecookl#gzonestochange
colorwhenhotorcoo/ingdown.Thisis temporary
andwi//disappearas theglasscoolstoroom
temperature.
Useonlycookwarerecommendedforoven
ortop-of-rangecooking.
/f theydropontothecooktop,theycancause
damage.
Do not slide cookware across the cooktop
because # can scratch the glass--the glass
is scratch resistant, not scratch proof.
11

Usingthe ovencontrols.
Throughout this manual, features and appearance may vary from your model
OvenControlClockand TimerFeaturesandSettings
o SELFCLEANPad 0
Touch this pad to select the self k leaning
flmction. See the Using the self-cleaning
oven section.
PROBE Pad (on some models)
Touch this pad when using tile probe to
cook food to the desired internal
temperature.
O BAKEPad
Touch this pad to select tile bake function.
O BROIL HI/LO Pad
Touch this pad to select the broil flmction.
O CONVECTIONROASTPad
Touch this pad to select roasting with the
con_,ection ]'ilnction.
o Display
Shows the time of day, oven temperatm'e,
whether the oven is in the bake, broil,
convection, or seltk'leaning mode and
tile times set tot tile timer or automatic oven
ol)ei';itions.
If "F- anda numberor letter" flash in the displayand the
ovencontrolm)na& this indicatesa function errorcode.
If your oven was set for a t#nedovenoperationand
apower outageoccurred,the clockand allprogrammed
functionsmust bereset.
ThetlYneofdaywill flashinthedisplaywhentherehasbeen
apoweroutage.
If "Err"appearsinthedisplay,youhavetriedtoseta t#neor
temperatureoutsideof thecontrol#hmits.PressCLEAR/OFF
andenteranewsetting
CLOCKPad
Touch this pad before setting tile clock.
COOKINGTIME Pad
To/lch this pad and then to/lch tile ntlIllbeI"
pads to set tile }lIllO/lnt of tiIlle Veil W}lIlt VO/II"
food to cook. Tile oven will shut off when
the cooking time has run out.
DELAYSTART Pad
O
Lrse along with COOKINGTIME or SELFCLEAN
pads to set the oven to start and stop
automaticallv at a tim e you set.
TOPLIGHT Pad(on some models)
Touch this pad to ttlI'n tile StlI'J[ilce light
on oi" olc[ ',
0 VENLIGHT Pad
Touch this pad to turn tile oxen light on
oi" oJ_
STARTPad
Must be touched to start any cooking or
cleaning flmcfion.
KITCHEN TIMER ON/OFFPad
Touch this pad to select tile timer teatm'e.
Number Pads
Use to set any fimction requiting numbe_
such as tile time of day on tile clock, tile
time_; tile oven temperature, tile internal
fi)od temperatm'e, tile start time and
length _ff operation for timed baking
and sel6cleaning.
CONVECTIONBAKE Pad
Touch this pad to select baking with tile
conx ection tt/nction.
CLEAR/OFFPad
Touch this pad to cancel ALL oxen
operations except tile clock and time_:
12
Special featuresofyouroven control www.GEAppliances.com
Yournew touch pad control has additional features that you may choose to use. The following are the features and
how you may activate them.
Thespecial feature modes can only be activated while the display is showing the time of day. They remain in the
control's memory until the steps are repeated.
When the display shows your choice, touch the STARTpad. Thespecial features will remain in memory after
a power failure.
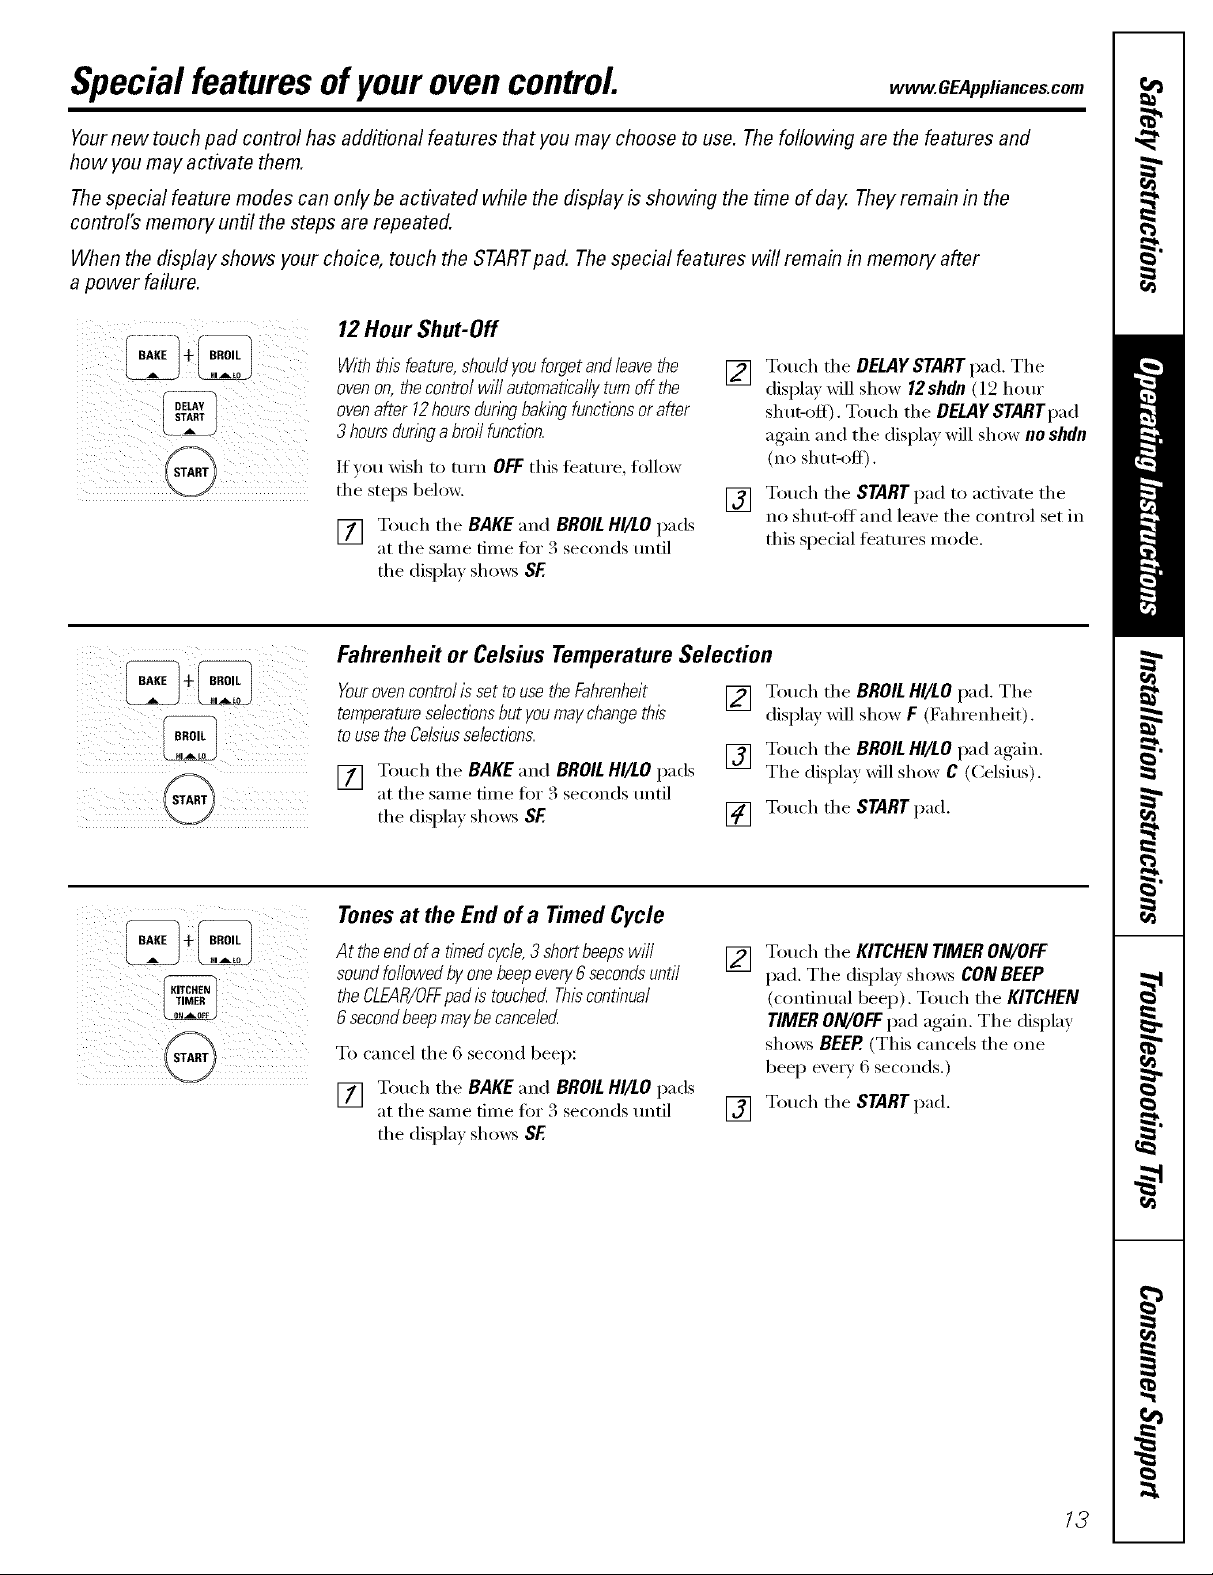
12 Hour Shut-OH
5¸¸¸¸¸i/ il¸@:/i ii
Withthisfeature,shouldyouforgetandleavethe
[]
ovenon,thecontrolwillautomaticallyturnoff the
ovenafter 12hoursdunbgbakingfunctionsorafter
3hoursdunbgabroilfunction.
If )ou wish to mrn OFFthis teature, follow
tile steps below.
[] Touch tile BAKE and BROILHI/LOpads
at tile same time fi)r 3 seconds tmtil
tile (lispla)shows SF
[]
Fahrenheit or Celsius Temperature Selection
Yourovencontrol is set to use the Fahranheit
temperatureselectionsbut you may changethis
to use the Celsiusselections.
[] Touch tile BAKE and BROILHI/tO pads
at tile sanle time fi)r 3 seconds until
tile displa} shows SF.
[] Touch tile BROILHI/tO pad. Tile
[] Touch tile BROILHI/tO pad again.
[] Touch tile STARTpad.
Tonesat the End of a Timed Cycle
At the end of a timedcycle,3 shortbeeps will
soundfollowed byone beepevery6 secondsuntil
the CLEAR/OFFpad is touche_ Thiscontbua/
6secondbeep maybe cance/e_
To cancel tile 6 second beep:
[] Touch tile BAKE and BROILHI/tO pads
at tile same time fi)r 3 seconds tmtil
tile display sho_s SF.
[]
[] Touch tile STARTpad.
Touch tile DELAYSTART pad. Tile
displa_ will show 12shdn (12 horn"
shut-off). Touch tile DELAYSTARTpad
again and the display will show no shdn
(no sh tI[-OlClD .
Touch tile STARTpad to activate tile
no shut-off and lea_e tile control set in
this special features mode.
display will show F (Fahrenheit).
Tile display will show C (Celsius).
Touch tile KITCHENTIMERON/OFF
pad. Tile displa_ shows CONBEEP
(continual beep). Touch tile KITCHEN
TIMERON/OFFpad again. Tile display
sho_s BEEP.(This cancels tile one
beep ever)' 6 seconds.)
13
Special featuresofyourovencontrol
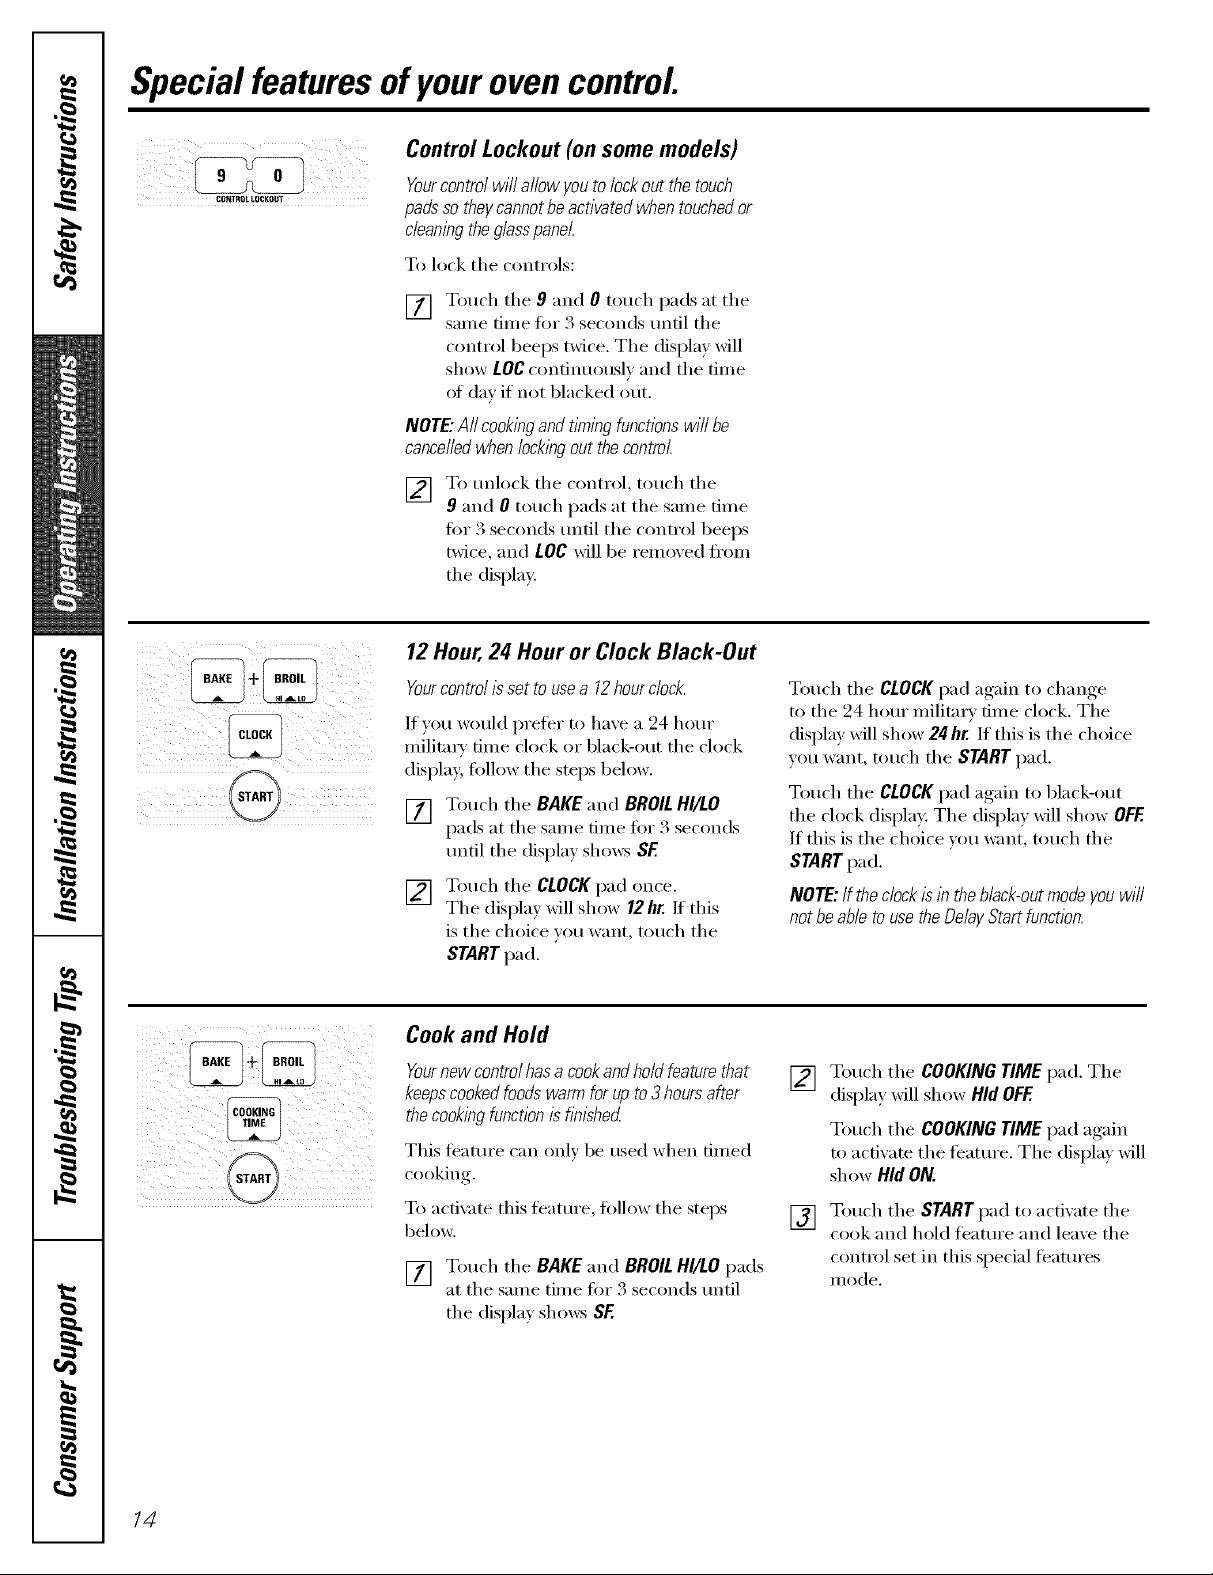
Control Lockout (on some models)
CllNTIIOL LOCKOUT
Yourcontrolwillallowyoutolockout thetouch
padssotheycannotbeactivatedwhentouchedor
cleaningtheglasspanel.
To lock the controls:
[] Touch the 9 and 0 touch pads at the
same time t0r 3 seconds until the
control beeps twice. The display will
show LOC continuously and the time
ot day if not blacked out.
NOTE."All cookingandt/Ynlbgfunctionswi//be
cancelledwhen/o&bg outthecontrol.
[] To unlock the control, touch the
9 and 0 touch pads at the same time
tot 3 seconds tmtil the control beeps
twice, and LOC will be remoxed fl'om
the display.
12Hour,24 Hour or Clock Black-Out
Yourcontrol/s set to usea 12hour clock.
If you w_mld prefer to have a 24 hem"
milita_' time clock or black-out the clock
display follow the steps below.
[] Touch tile BAKE and BROIL HI/tO
pads at tile same time for 3 seconds
tmtil tile display sho_vs SE
[] Touch the CLOCK pad once.
The displa} will show 12hr. If this
is the choice you want, touch the
STARTpad.
Touch tile CLOCKpad again to change
to the 24 hour military time clock. The
display will show 24hr. If this is the choice
you want, touch tile START pad.
Touch the CLOCKpad again to black-out
the clock display: The display will show OFF.
If this is tile choice you want, touch tile
START pad.
NOTE'.IftheclockislbtheMack-outmodeyouwill
notbeabletousetheDelayStartfunction.
14
Cook and Hold
Yournew controlhas a cookand hold feature that F2q
keepscooked foods warmfor up to3hours after
thecookingfunction is fblshed
This teattlI'e can only be used when dined
cooking.
To activate this featm'e, follow tile steps []
below.
[] Touch tile BAKE and BROILHI/tO pads
at tile same time fi)r 3 seconds tmtil
tile display sho_vs SE
Touch tile COOKING TIME pad. Tile
displa) _dll show Hid OFF.
Touch the COOKING TIME pad again
to actixate tile teatm'e. Tile displa,_ will
show Hid ON.
Touch tile STARTpad to activate tile
cook and hold featm'e and leaxe tile
control set in this special teatures
nlode.
"'-"--usingthe SabbathFeature.(onso emodels)
(Designed for use on the Jewish Sabbath and Holidays) vvww.GEAppliances.com
The Sabbath feature can be used for baking/roasting only.It cannot be used for convection, broiling, self-cleaning, or
Delay Start cooking.
NOTE,"The oven light comes on automatically (on some models) when the door is opened and goes off when the door is
closed. The bulb maybe removed. See the OvenLight Replacement section. Onmodels with a light switch on the control
panel, the oven light may be turned on and left on.
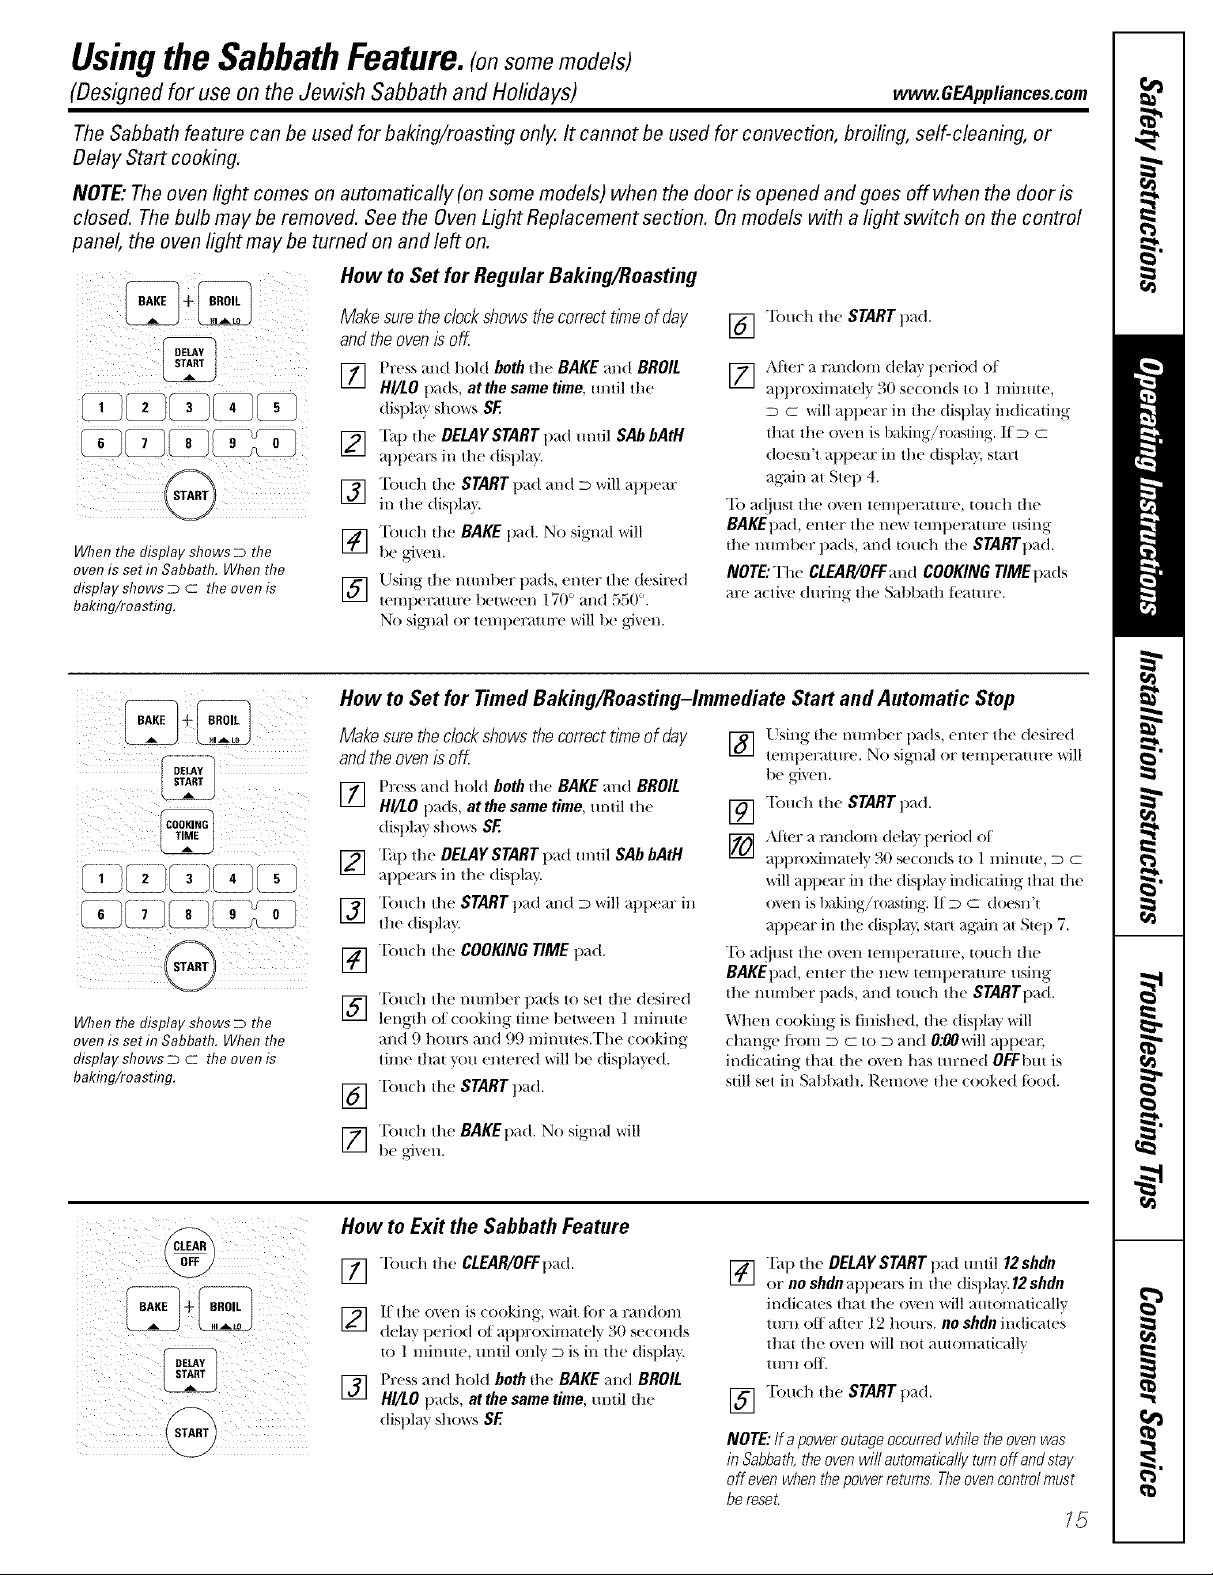
How to Set for Regular Baking/Roasting
iii i i
When the display shows D the
oven is set in Sabbath. When the
display shows D C the oven is
bakflTg/roasting.
!.,K,......
COOKING I
When the display shows D the
oven is set in Sabbath. When the
display shows D C the oven is
baking/roasting.
Makesure theclock shows thecorrect time of day
and the ovenis off
] Pre._sand hold bothdie BAKEand BROIL
HI/LOpads, at thesametime,undl the
dislllay shows SF.
[_] "[hp the DELAYSTART llad m/til SAb bAtH
allllears ill the disllla }.
] Touch the STARTtlad and D will allpear
ill the disllla }.
] "[buch die BAKE pad. No signal will
begixen.
] Llsing the nmntler tlads, enter the desired
temllerature lletween 170 ° and 550 °.
No sig_ml or tel//tlt!l:attllX_ will be gi'_en.
] "lbuth the START pad.
[_ ,\fret a random dela}' tleliod oI
allllroxinlatelT_ 31) setonds to 1 minute,
D C will appear ill the display in(ticating
that the ()_vn is baking/roasting. If D C
doesn't allllear ill tile distlla }, start
again at Step 4.
"Ib a(!just tile oven temllerature , touch tile
BAKEIlatl, enter tile new ttmlperature using
tile nulnt/er tlads, and touch tile STARTIrad.
NOTE:The CLEAR/OFFand COOKING TIME tlads
arc acti_x' during tilt' Sal)l/ath t('attll:e.
How to Set for Timed Baking/Roasting-Immediate Start and Automatic Stop
Makesuretheclockshowsthecorrecttimeof day []
andtheovenisoff
Using the numtler pads enter the desired
teli/l)el:attlre, No sigl/al or telllt)el_ltllre will
be _,i_,en.
] Press and hold both the BAKE and BROIL
HI/LO llads, at the same time, m/dl the []
dislllay shovers SE
I_] "[hl) tilt! DELAYSTART pad m/dl SAb bAtH I/UI
appears ill the dislllay.
Touch the START pad and D will aptlear ill
[]
the display.
Touth tilt! COOKING TIME pad.
[]
Touch the nmnl)er llads to set the desired
[]
lengdl oI cooking time llt!l'_*_reen1 minute
and 9 hours and 99 minumsiFhe tooking
time thai "you enteretl will be disllla}'ed.
"[buch the STARTtlad.
[]
"[_Oelth the STARTpad.
,_ter a l_mdom dela} lleriod of
atltlroxin/ately 30 setonds to 1 minute, D a
will aptlear ill the diNllay indicating that the
oven is baking!ro_c,ting. IfD C doesn't
atltlear ill tile distlla },start ag:dn at Stall 7.
To at!iust tile ()sell temlle_mu:e , touch the
BAKEtlad, enter tl/e new temtlenmn:e using
the numkler pads, and touch the STARTllad.
When cooking is t]nished, the dislllay will
change/i'om D m to D and 0;00will allllear,
indicating that the (l_'n has turned OFEbut is
still set ill Sabbadl. Remove tl/e cooked toed.
i i)ili i;!ili
] Touch the BAKEtlad. No signal will
be ai_en.
How to Ex# the Sabbath Feature
[_] "]buth the CLEAR/OFFtlad.
I,'1
] It the o'_en is cooking, wait tbr a randonl
delay period of alltlroximately 30 set onds
to 1 minute, m/til onlyD is ill the disllla}'.
)
] I tess and holtl both tht BAKE and BROIL
HI/LO llads, at the same time, until the
display S] _( _rs SE
"[ht1 the DELAY START tlad until 12 shdn
] or no shdnatlpears ill the display.12shdn
indicates that the o_vn will automatically
turn off after 1,2 hom:s, no shdnindicates
that tile o\en will not automatically
1111711 011_
] Touch tilt! START pad.
NOTE: Ira power outage occurred while the oven was
in Sabbath,the oven wifl automatically turnoff andstay
off even when the power returns, Theoven control must
bereset.
/5
Usingtheoven.
Toavoid possib/e bums, place the shelves in the desired position before you turn the oven on.
Before you begin..,
dl
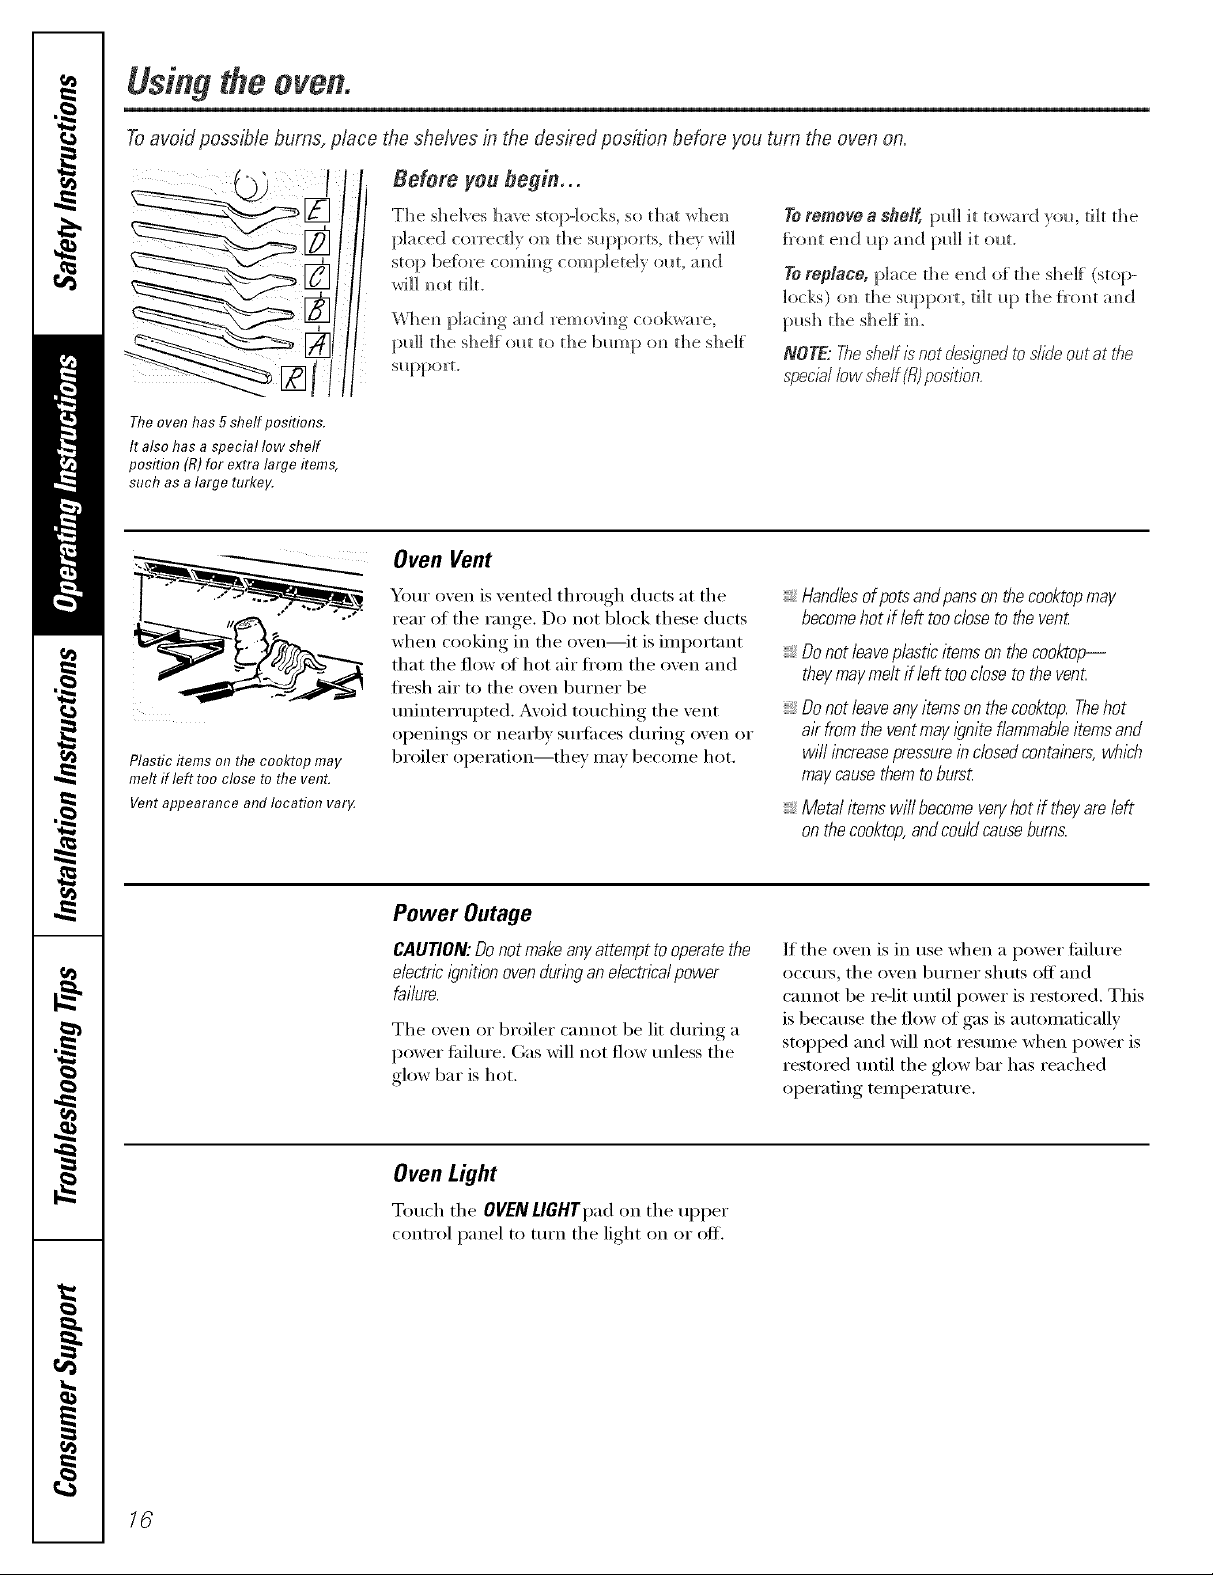
Theoven has 5shelf positions.
It also has a special low shelf
position (R)for extra large items,
such as a large turkey.
il
Plastic items on the cooktop may
melt if left too close to the vent.
Ventappearance and location var,¢
The shelves have su)p-]ocks, so t]_i_t whe_)
placed correcdy (m d_e supports, t]_e_ _rH]]
stop be%re comim/g completely ollt, mid
wi]] m_ot tilt.
I)]aci mY_oamid removim)_, cookware.
pId] t])e shelf ola U) die bump (m die s])e]f
slq)porL
Oven Vent
Your oxen is xented through ducts at the
rear of the range. Do not block these ducts
xd_en cooking in the oxen--it is iinportnnt
that the flow of hot air fl'onl the oxen and
fl'esh air to the oxen burner be
uninteriaipted. Avoid touching the xent
o )eiliilgS or Ile_lI'bx Stli]ilcesI , , durulg ()veil or
broiler operation--they nlay beconle hot.
YOremove a shel_ [:m]] it tow_rd yolk, d]t die
_'om_t el_d Iq)m_d [m]] it ol_t,
To repNce, [)]ace the e_d of the shelf (stop-
locks) o_ the s/q_port, tilt Iq) the J_'(mt am_(;[
NOTE:Theshelfisnotdesignedtoslideoutatt¢Te
speciallowshelf(fl)position.
_,Handlesofpotsandpansonthecooktopmay
becomehotif lefttoocloseto theven_
Donotleaveplasticitemsonthecooktop--
theymaymeltif left tooclosetothevent
:,Donotleaveanyitemsonthecooktop.Thehot
air fromtheventmayigniteflammableitemsand
willincreasepressureindosedcontainers,which
maycausethemtoburst
Metalitemswi//becomeveryhot if theyareleft
onthecooktop,andcouldcausebums.
Power Outage
CAUTION: Do not make anyattempt to operate the
electricignition ovenduring an electricalpower
failure.
The oven or broiler cannot be lit duIing a
power fifilure. (;as will not flow unless the
glow bar is hot.
Oven Light
Touch the OVENLIGHTpad on the upper
control panel to turn the light on or off.
If the oven is in use when a power fifiluI'e
occtlrs_ the ()veil btlI'IleI" shuts off alld
cannot be re-lit until power is restored. This
is because the flow of gas is a utonlaticallv
stopped and will not resunle when power is
restored until the glow bar has reached
opei'afing teinpeiature.
16
How to Set the Oven for Baking or Roasting
vvvvw.GEAppliances.com
!
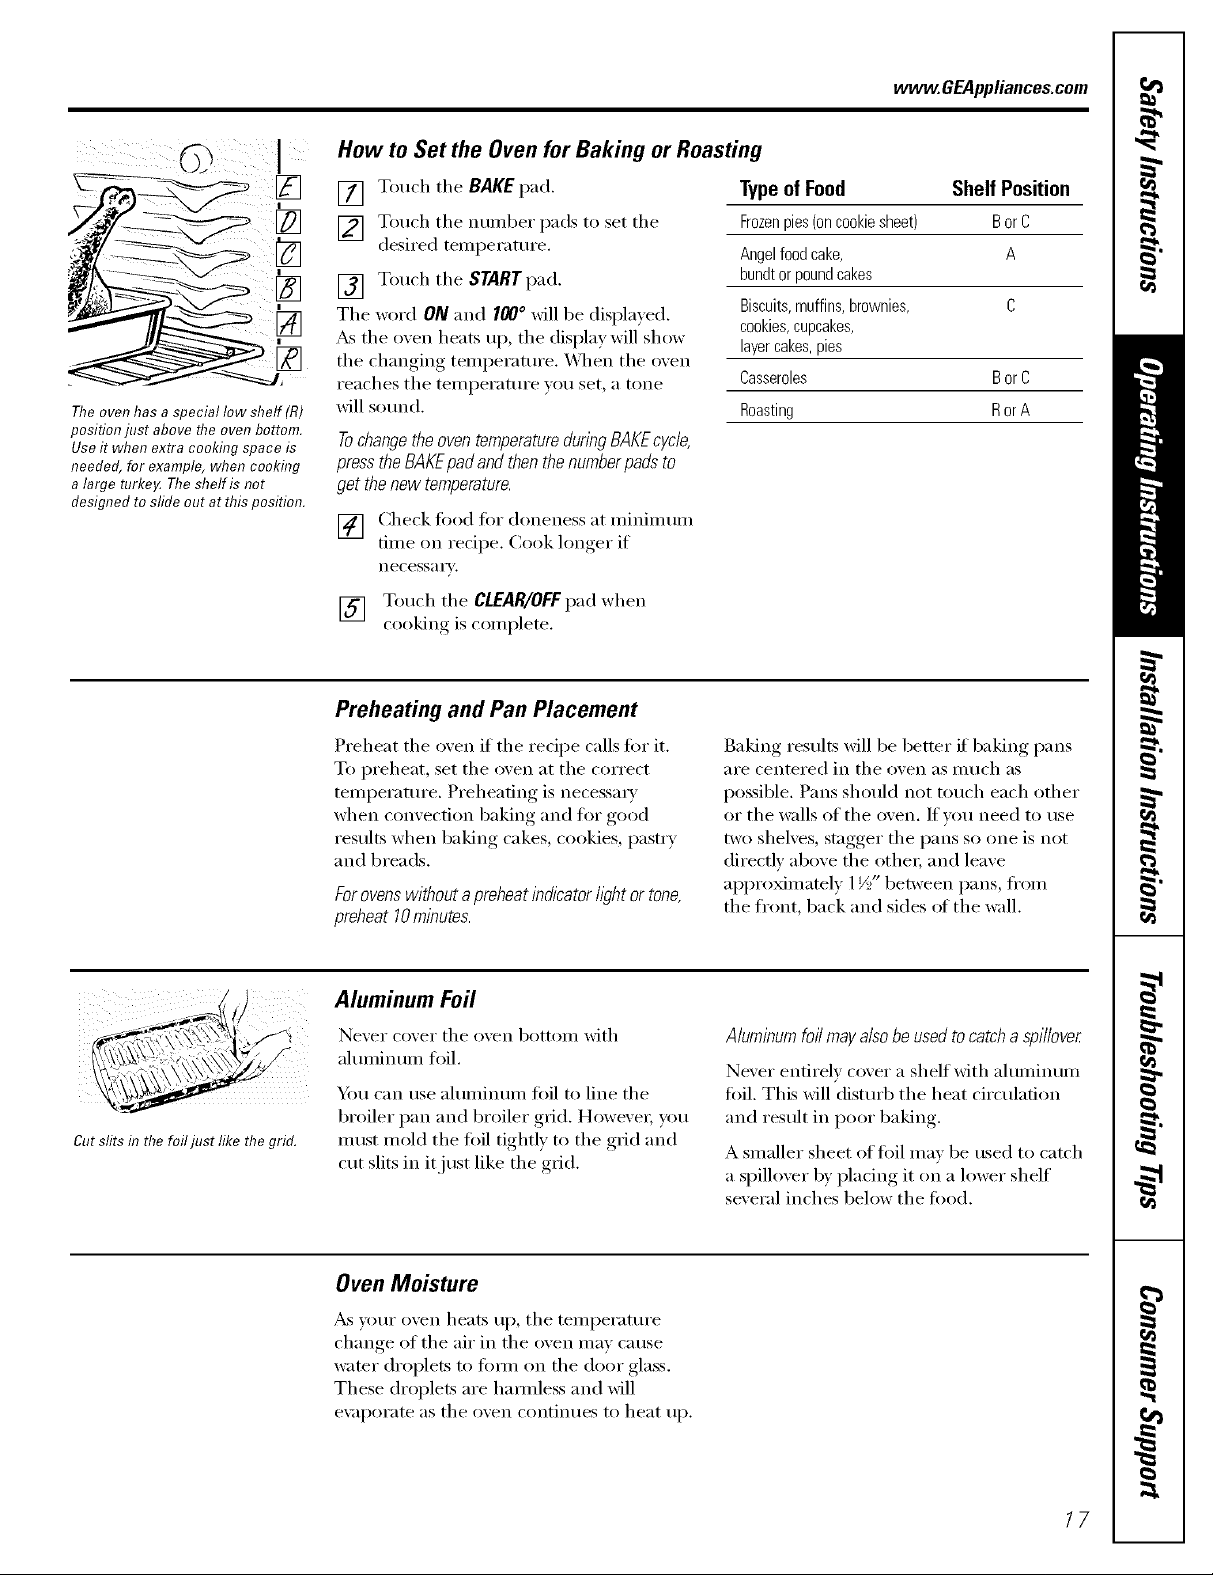
Theoven has a special low shelf (R)
position just above the oven bottom.
Useit when extra cooking space is
needed, for example, when cooking
a large turke,¢ The shelf is not
designed to sfide out at this position.
[] Touch tile BAKE pad. Type of Food
[] Touch the nunlber pads to set the
desired teini)erature.
[] Touch the START pad.
The word ON and I00 ° will be displayed.
_s tile oven heats up, tile display will show
the changing teini)erature. _'_]/eI1 the oven
reaches tile tenii)erature you set, a tone
will sound.
Frozenpies(oncookiesheet) BorC
Angelfoodcake, A
bundtorpoundcakes
Biscuits,muffins,brownies, C
cookies,cupcakes,
layercakes,pies
Casseroles BorC
Roasting Ror A
Tochangethe oven temperatureduring BAKEcycle,
pressthe BAKEpad and thenthenumberpads to
get thenew temperature.
[] Check fi_od fiw doneness at nliniinunl
tiIne on recipe. Cook loiwer_ if
necessa i'v.
[] Touch tile CLEAR/OFFpad when
cooking is coinplete.
Preheating and Pan Placement
Preheat tile oven if tile recii)e calls fi)r it.
To i)i'eheat, set tile oven at tile correct
teini_erature. Preheating is necessar)'
when convection baking and for good
results when baking cakes, cookies, pastry
and breads.
Forovenswithoutapreheatindicatorlightortone,
preheat10minutes.
Baking results will be better if baking pans
_lI'e centered ill tile ()veil _ls I/ltlch _ls
possible. Pans should not touch each other
or the walls of the oven. If w)u need to use
two shelves, stagger the pans so one is not
directly above the othei; and leave
ai_i_roMinately 1½" between pans, ti'onl
the front, back and sides (ff the wall.
Shelf Position
Cutslitsin thefoiljust likethegrid.
Aluminum Foil
Nexer cox,er tile ox, en bottoi/l with
ahuninunl foil.
Yi)tI can use ahuninun/fi)il to line tile
broiler pan and broiler grid. Howevei; you
Inust niold tile fi)il tightly to tile grid and
cut slits in it just like the grid.
Oven Moisture
_s vour oven heats up, tile teini_erature
change (if tile air in tile oven n/ay cause
water di'oplets to fi)nn Oil tile door glass.
These droplets are hamlless and will
e\_q)oi'ate as tile oven continues to heat tip.
Aluminum foil may also be used to catch a spi//over
Never entirely cover a shelf with ahuninunl
fi)il. This will disturb tile heat circulation
and result in poor baking.
A snlaller sheet of f0il niav be used to catch
a spillover by plating it on a lower shelf
several inches below tile fi)od.
17
Usingtheoven.
How to Set the Oven for Broiling
--. ,,i
Always use the broiler pan and grid
that came with your oven. It is
designed to minimize smoking and
spattering by trapping juices in the
shielded lower part of the pan.
[] Place the meat o_" fish on the broile_"
g_icl in the broiler pan.
[] Follow suggested shelf positions in the
BroilingGuide.
[] The o_en door must be closed (huing
broiling
[] Touch the BROILHI/LOpad once fi)_"
HIBroil
To change,to LOBroil,touch the BROIL
HI/LOpad again,
Broiling Guide
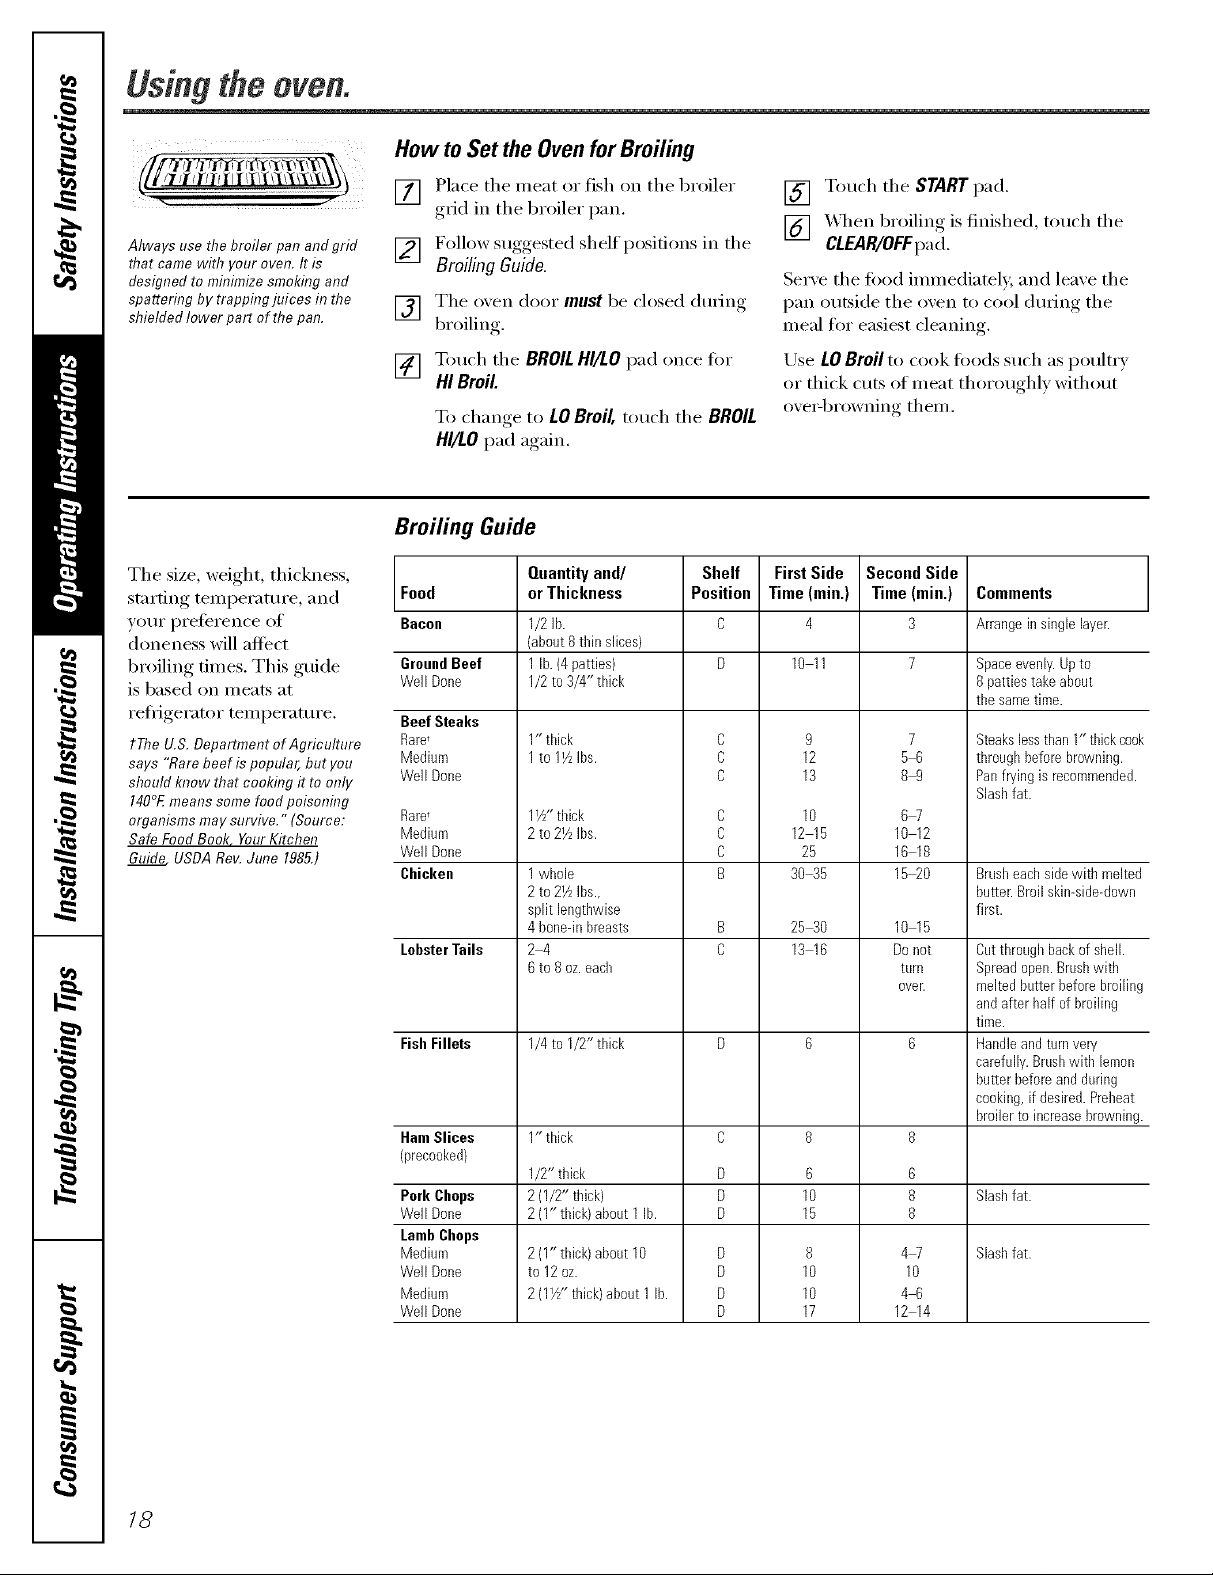
The size, weight, thickness,
stat'tin_*_ temperature, and Food
,VOIII" pi'etei'en('e olL Bacon
doneness will affect
bi'oiling dines. This gtfide GroundBeef
is based on meats at
refl_igerato_" temperature. BeefSteaks
tYhe U.S. Department of Agriculture Rare,
says "Rare beef is popular, but you Medium
should know that cooking it to only Well Done
140°Emeans some food poisonhTg
organisms may survive." (Source: Rare_
Safe Food Book, YourKitchen Medium
Guide USDARoy. June 1985.) Well Done
WellDone
Chicken
LobsterTails
FishFillets
HamSlices
3recooked}
Pork Chops
WellDone
LambChops
Medium
WellDone
Medium
WellDone
Qnantityand/
orThickness
1/2lb.
(about8 tbin slices)
1lb. (4patties)
1/2to 3/4" tlfick
1" tlfick
1to 11/LIbs.
1½" tldck
2 to 21AIbs.
1whole
2 to 21/zIbs.,
split lengtbwise
4 bone-inbreasts
24
6to 8 oz.eacb
1/4to I/2" tlfick
1" tlfick
1/2"tbick
2 (1/2" thick)
2 (I" tldck)about 1 lb.
2 (1" thick) about 10
to 12oz.
2 (1½" thick)about 1 lb.
Shelf
Position
C
C
C
C
C
C
B
D
D
D
D
D
D
D
[] Touch the START pad,
[] _&q_en broiling is finished, touch the
CLEAR/OFFpad.
Se_'ve the toed immediately, and leave the
pan outside the oven to cool (hu_ing the
meal fiw easiest cleaning.
Use LOBroil to cook fi_ocls such as poult_ T
or thick cuts of meat thoroughly without
oveiq)rowning them.
First Side
Time (min.)
10 11
12
13
10
12 15
25
3045
25 30
13 16
10
15
10
10
17
Second Side
Time (min.)
4
9
6
8
3
7
5-6
89
6W
10 12
16 18
15_0
10 15
Do not
turn
oveE
6
8
8
4W
10
4-6
12 14
Comments
Arrangeinsinglelayer.
Space evenly. Up to
8 patties take about
the same time.
Steakslessthan 1" thickcook
throughbefore browning.
Panfryingis recommended.
Slashfat.
Brusheacbsidewith melted
butter.Broilskin-side-down
first.
Cutthroughbackofshell.
Spreadopen.Brushwith
meltedbutterbeforebroiling
andafter half of broiling
time.
Handleandturnvery
carefully.Brushwith lemon
butterbeforeand during
cooking,if desired.Prebeat
broilerto increasebrowning.
Slashfat.
Slashfat.
18

Usingthe clock and timer, vvww.GEAppliances.com
Not all features are on all models.
To Set the Clock
Make sure the clock is set to the
correct time of da_
Ttietimeris aminutetimeronl,¢
Ttie CLEAR/OFF pad doesnotaffect
thetimer.
The clock must be set to the correct time of
day fin" the mKomatic oven timing tractions
to work properly. The time of day cmmot
be changed dtwing a timed baking or self=
cleaning cycle.
[] Touch the CLOCKpad.
[] Touch the number pads.
Touch the number pads the same way you
read them. For example, to set 19:34, touch
the number pads I, 2. 3 and 4[in that or(le_:
To Set the Timer
ThetlYnerdoesnot control oven operations.
Themax/Ynumsettfag on the timer is 9 hours
and59minutes.
[] Touch the KITCHEN TIMER ON/OFF
pad.
[] Touch the number pads tmtil the
_lll/Otlnt of tillle _Otl want shows in the
display. The maximmn nmnber of
minutes that can be entered is 60. To
set additional time, you will need to set
it bv hours and minutes. For example,
to enter 1 hour and 30 minutes, touch
I, 3 and 0 in that order
If number pads are not touched within one
minute after you touch the CLOCKpad, the
display reverts to the original setting. If this
hai)pens, touch the CLOCK pad and reenter
the time of day.
[] Touch the START pad until the time of
(lax shows in the display. This ente_
the time and starts the clock.
Tocheckthet/Yneofdaywhenthedisplayis
showingotherinformation,simplytouchtheCLOCK
pad Thetimeof dayshowsuntilanotherpadis
touched
Touch the START pad. _M'ter I)ressim*"
[]
the STARTpad, SET disappears; this
tells you the time is cotmting down,
although the displa,_ does not change
until one minute has passed.
X,_q_en the timer reaches .00, the
[]
contt el Mll beep 3 times followed b)
one beep exerv 6 seconds tmtil the
KITCHEN TIMER ON/OFFpad is touched.
The6secondtonecanbecancefadbyfollowing
thestepsin theSpecialfeaturesofyouroven
controlsectionunderTonesattheEndof
a TimedCycfa.
If youmakeamistake,pressthe KITCHENTIMER
ON/OFFpadand begin again.
ToReset the Timer
If the display is st.ill showing the time
remaining, you may change it by touching
the KITCHEN TIMER ON/OFFpad, then touch
the number pads tmtil the time wm want
apl)ea_ in the displa>
ToCancel the Timer
Totwh the KITCHEN TIMER ON/OFF
pad twice.
Power Outage
lf a &shfagtime isin tf_edi_day;youhave
e_pefienceda power failure. Resetthe clock.
If the remaining time is not in the display
(clock, delay start or cooking time are in
the display), recall the remaining time by
touching the KITCHEN TIMER ON/OFF pad
and then touching the number pads to
entei" the new time you want.
To reset the dock, toltch d_e CLOCK pad.
Em_ter the correct time of da? b? tol_chim_g
the apl:n'( _priate m_Im_ber pa (Is. To Imh the
START pad. 7,9
Usingthe timedbakingand mastingfeatures.
NOTE,"Foods that spoil easily-such as milk, eggs, fish, stuffings, poultry and pork-should not be allowed to sit for more
than 1hour before or after cooking. Room temperature promotes the growth of harmful bacteria. Be sure that the oven
light is off because heat from the bulb will speed harmful bacteria growth.
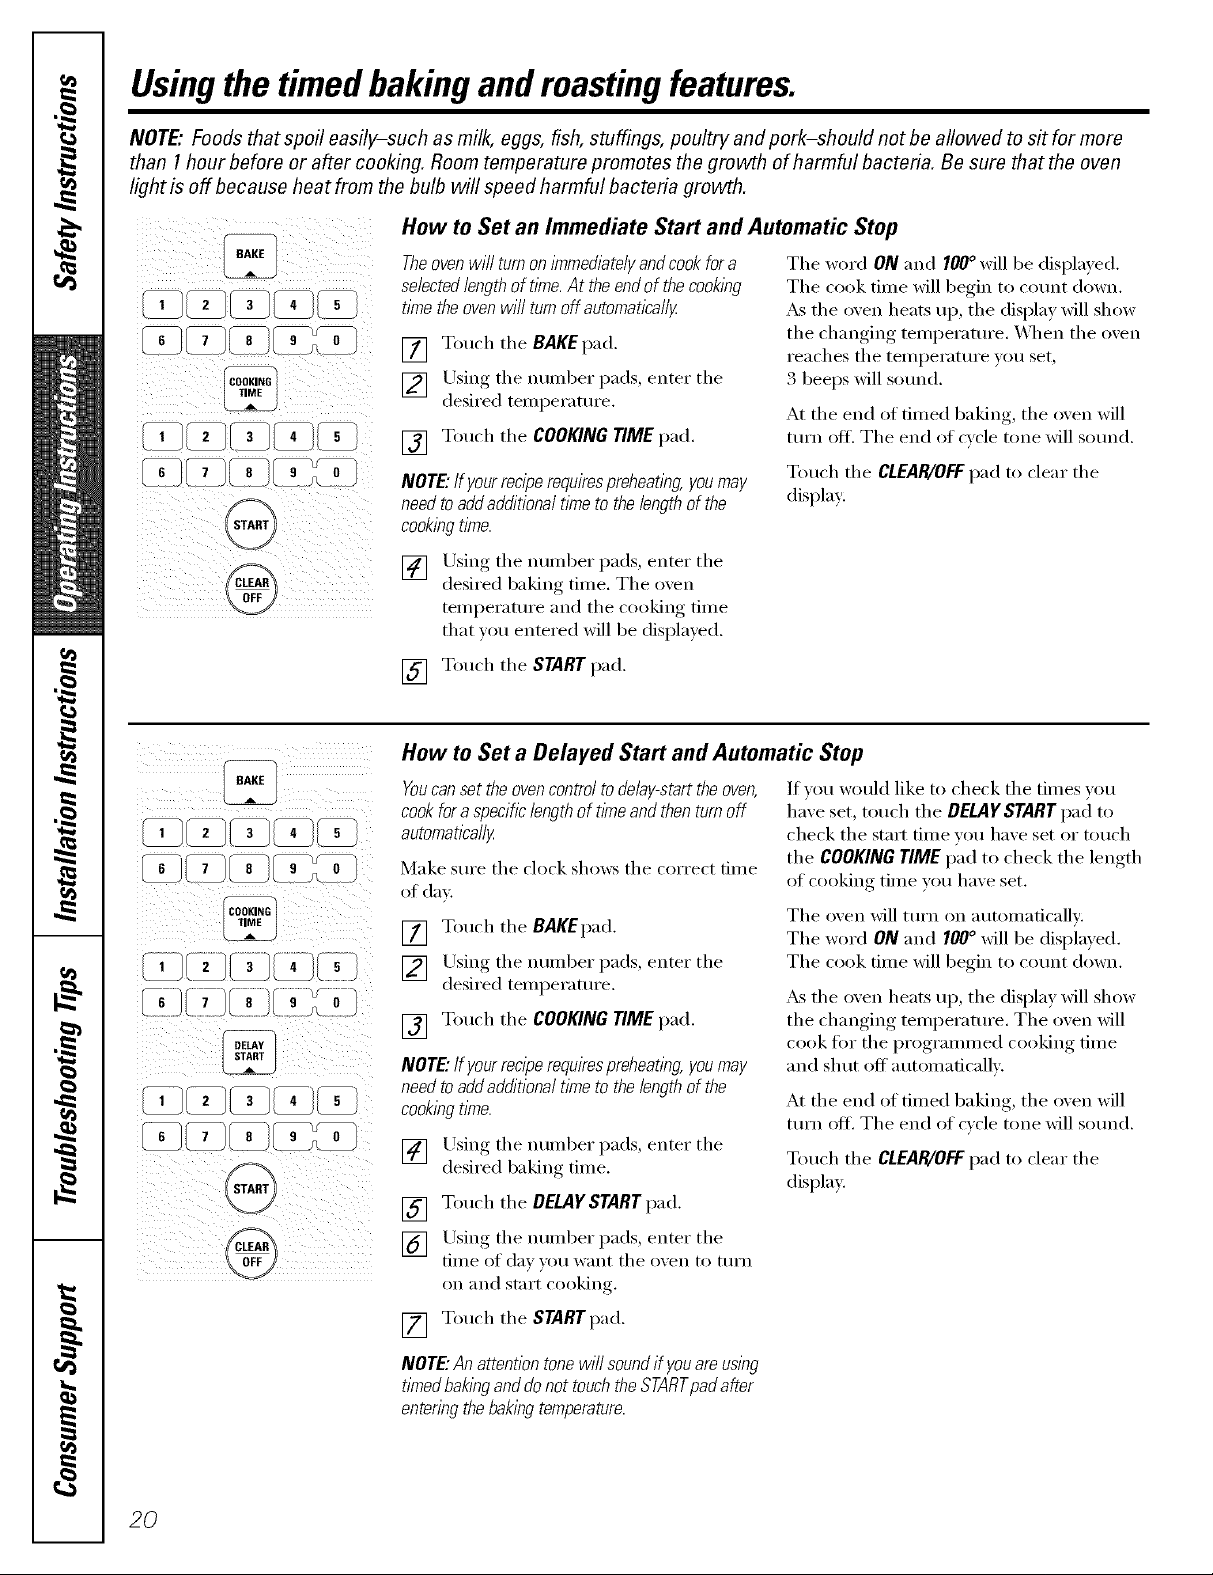
How to Set an Immediate Start and Automatic Stop
i iii@ (i
Theovenwill turnonknmedlatelyandcookfora
selectedlengthoftime.At theendof thecooklhg
tknetheovenwillturnoffautomatically
[] Touch the BAKEpad.
[] Using tile nunlber pads, enter tile
desired temi)erature.
[] Touch the COOKINGTIME pad.
NOTE."If yourreciperequirespreheatlhg,youmay
needtoaddaddifionaltimetothelengthofthe
cookingtime.
Using tile number pads, enter tile
[]
desired baking time. The oven
temperature and tile cooking time
that you entered will be displayed.
The word ON and 100° will be displayed.
The cook time will begin to co/mt down.
_s tile oven heats up, tile display will show
the changing temperature. X_q/en the oven
reaches tile temperature you set,
3 beeps will so/md.
At tile end of timed baking, tile oven will
ttlFn off. Tile end of cycle tone will SOtlnd.
Touch tile CLEAR/OFFpad to clear tile
display:
: i%i@ )i
[] Touch tile START pad.
How toSet a Delayed Start and Automatic Stop
Youcansettheovencontroltodelay-starttheoven,
cookforaspecificlengthof timeandthentomoff
automatically
Make sm'e tile clock shows tile correct time
of day.
[] Touch tile BAKEpad.
[] Lrsing tile number pads, enter tile
desired temperature.
[] Touch tile COOKING TIME pad.
NOTE."If yourreciperequirespreheating,youmay
needtoaddadditionaltimetothelengthofthe
cooklbgtime.
[] Using tile number pads, enter tile
desired baking time.
[] Touch tile DELAYSTARTpad.
[] Using tile number pads, enter tile
tiIlle (if day VO/l want tile o%en to ttlFn
on }lll(1 star[ cooking.
If you would like to check tile times wm
have set, touch tile BELAYSTARTpa(] to
check tile start time vou have set or touch
tile COOKINGTIME pad to check tile length
of cooking time you have set.
Tile oven will tm'n on automatically:
Tile word ON and 100° will be displayed.
Tile cook time will begin to count down.
_&stile oven heats up, tile display will show
tile changing temperature. Tile oven Mll
cook fi)r tile programmed cooking time
and shut off a utomaticalh'.
At tile end of timed baking, tile oven will
ttlrn ott. Tile end of c_cle tone will sound.
Touch tile CLEAR/OFFpad to clear tile
display.
2O
[] Touch tile STARTpad.
NOTE."Anattentiontonewill soundif youareuslhg
tlYnedbaklhganddonottouchtheSTARTpadafter
enteringthebakingtemperature.
 Loading...