

GE JET343G User Manual
Monogam.
Use and Care Guide
forJET343G
,%%
b
Microwave/Convection Oven
1992
Momgam.”bf
Mimowavelconuection &en

Introduction
Your new Monogram microwave/convection oven
makes an eloquent statement of style, convenience
and kitchen planning flexibility. Whether you chose
it for its purity of design, practical cooking features
or assiduous attention to detail—or for all of
these reasons—you’ll find that your Monogram
microwave/convection oven’s superior blend of form
and function will delight you for years to come.
The Monogram microwave/convection oven was
designed to provide the flexibility to blend in with
your kitchen
cabinetry.
Contents
Adapter Plugs
Aluminum Foil
Appliance Registration .................3
Auto Start . . . . . . . . . . . . . . . . . . . . . . . . . . . . . . . . . . . .
Care and Cleaning ......................30
Clock
. . . . . . . . . . . . . . . . . . . . . . . . . . . . . . . . . . . . . . . . . . . . .
Combination Cooking...........24–27
Auto Roast .....................26, 27
Cooking by
Cooking by Time .................24
Consumer Services .....................34
Control
Convection Cooking
. . . . . . . . . . . . . . . . . . . . . . . .
Extension Cords
Features . . . . . . . . . . . . . . . . . . . . . . . ..................7
Grounding Instructions .........31, 32
Installation ............................31, 32
Microwave
Panel ............................7, 8
Broiler Pan .......6,7, 10, 28–30
Broiling ..........................28, 29
Cooking by
Cooking by Time .................22
Auto Cook . . . . . . . . . . . . . . . . . . . . . . . . . . . .
Auto Defrost . . . . . . . . . . . . . . . . . . . . . . . . 17
Automatic Cooking Control
Guide . . . . . . . . . . . . . . . . . . . . . . . . . . . . . .
.............................31
..................5, 27-29
Temperature......25
7-10,22,23,28,29
Temperature......23
....,.....................32
Cooking..6,
8,9, 11–21
13–15
16
8
11
The information on the following pages will help
you operate and maintain your microwave/convection
oven properly.
Optional Accessory
An Installation Kit is available at extra cost from your
Monogram supplier.
JX16W
in wall oven.
This can be obtained from a Monogram dealer.
For a listing of dealers—or if you have other
questions—please call the GE Answer
(800.626.2000).
Model and Serial Number
Oven Lamp Replacement ...........32
Oven Shelf
Precautions to Avoid Possible
Exposure to Excessive Microwave
Energy . . . . . . . . . . . . . . . . . . . . . . . . . . . . . . .............3
Problem Solver ...........................33
Safety Instructions ....................4–6
Temperature Probe
................5,7, 20,21,23,25-27,30
Warranty .....................................35
What Your Oven Can
Ouestions?
Call GE Answer Center
80~626.2000
Installation
Cooking by Temperature 20,21
Cooking by Time ...........19, 20
Defrosting by Time ........18, 19
Microwaving Tips ..................6
Minute/Second Timer ..........16
Power Levels
....................8, 9, 11, 12, 17-21
Location .................................3
..........................5–7, 10
E
fit
converts this oven to a
Do..............9
built-
Center@
2
Before using your oven,
read this book carefully.
It is intended to help you operate and maintain your new
microwave oven properly. Keep it handy for answers to
your questions.
If you don’t understand something or need more help, write
(include
your phone number):
Consumer Affairs
GE Appliances
Appliance Park
Louisville, KY 40225
Write down the model and serial numbers.
You’ll find them on a label on the left side wall of the
control panel seen when the door is open. These numbers
are also on the Consumer Product Ownership Registration
Card that came with your microwave oven. Before sending
in this card, please write these numbers here:
Model Number
Sehal
Number
Use these numbers in any correspondence or service calls
concerning your microwave oven.
If you received a damaged oven...
Immediately contact the dealer (or builder) that sold you
the oven.
Save time and money.
Before you request service...
Check the Problem Solver in this book. It lists causes of
minor operating problems that you can correct yourself.
Be sure your microwave oven is registered.
It is important that we know the location of your microwave oven should a need occur for adjustments.
Your supplier is responsible for registering you as the owner. Please check with your supplier to be sure he has done
so; also send in your Consumer Product Ownership Registration Card. If you move, or if you are not the original
purchaser, please write to us, stating model and serial numbers.
This appliance must be registered. Please be certain that it is.
Write to: GE Appliances, Range Product Service, Appliance Park, Louisville, KY 40225
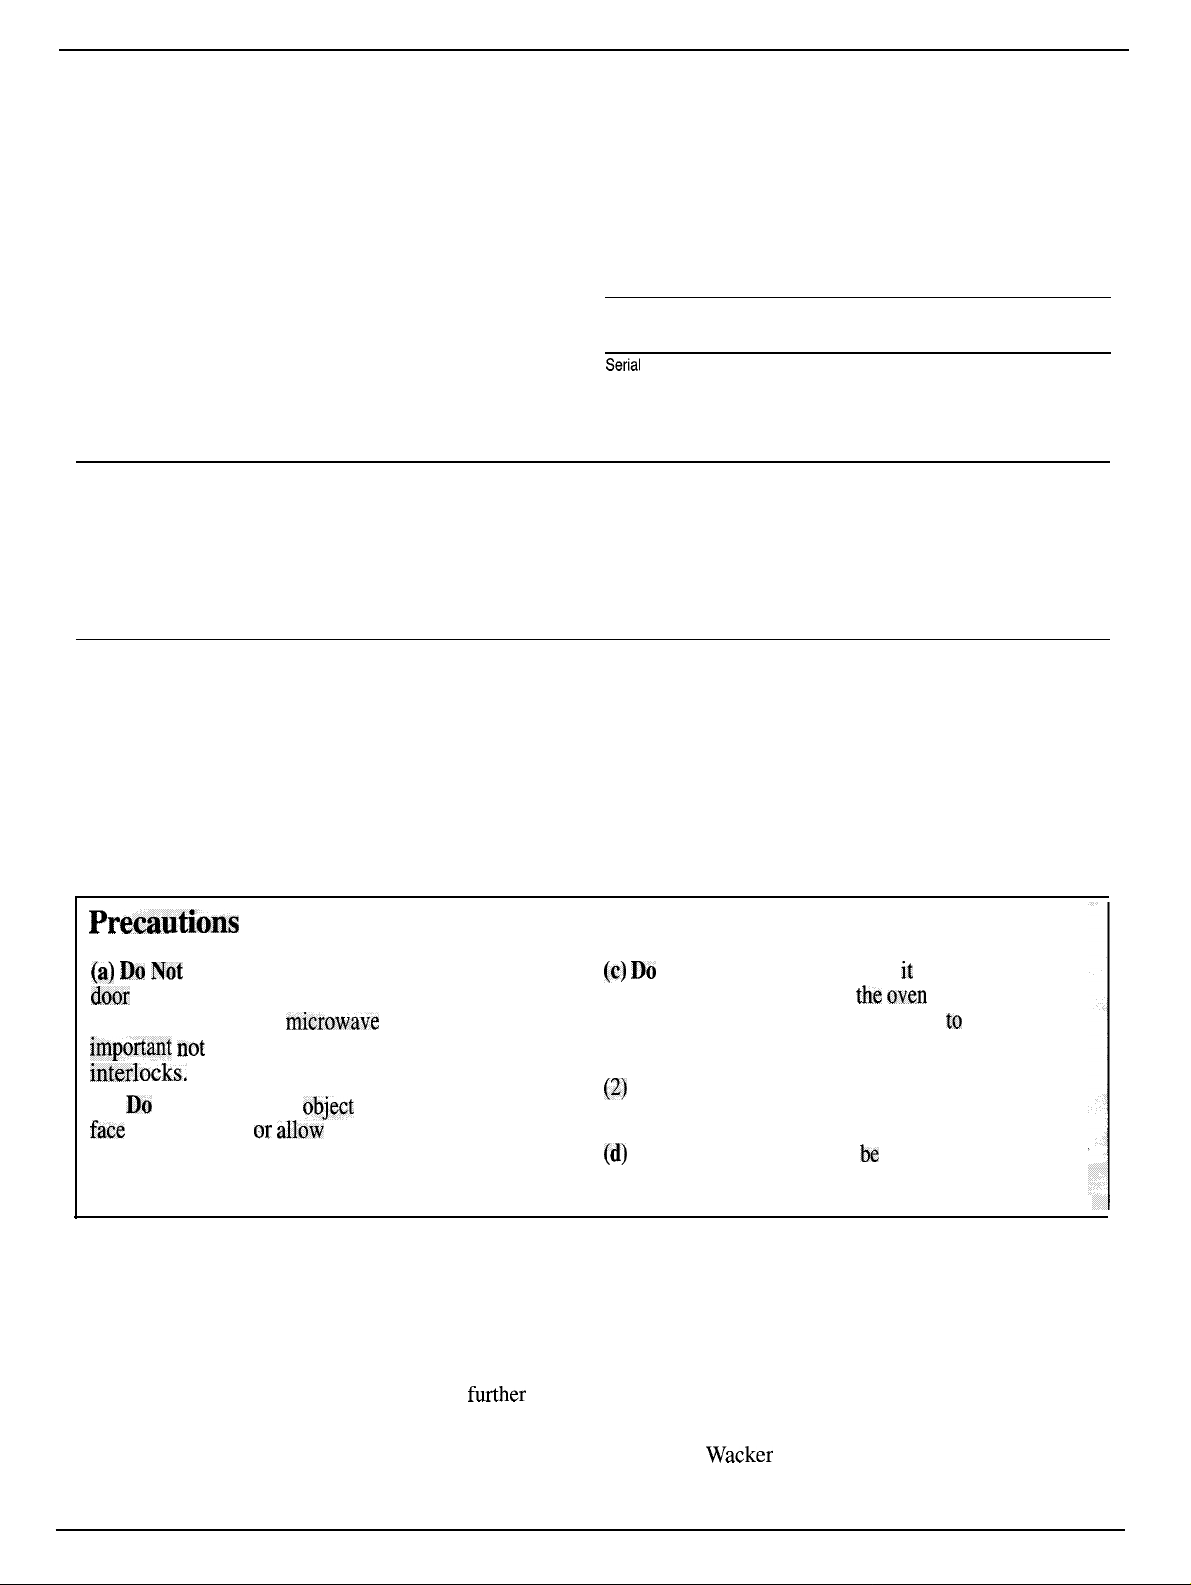
Premutions to Avoid Possible Exposure to Excessive Microwave Energy
(c) Do
(~) DO
Not
Attempt
door
open since open-door operation can result in
harmful exposure to
impotiant not
to defeat or tamper with the safety
to operate this oven with the
rrdcrowave
energy. It is
interlmks.
(b) Do Not Place
face
and the door or
any
object
between the oven front
allow
soil or cleaner residue to
accumulate on sealing surfaces.
Not Operate
particularly important that
properly and that there is no damage to the:
(1) door (bent)
(2)
hinges and latches (broken or loosened)
(3) door seals and sealing surfaces.
(d)
The Oven Should Not
anyone except properly qualified service personnel.
the oven if it is damaged. It is
the oven
be
door close
adjusted or repaired by
If you need service...
To obtain service, see the Consumer Services page in the
back of this book.
We’re proud of our service and want you to be pleased.
If for some reason you are not happy with the service
you receive, here are three steps to follow for
FIRST, contact the people who serviced your appliance.
Explain why you are not pleased. In most cases, this will
solve the problem.
ftiher
help.
NEXT, if you are still not pleased, write all the
details—including your phone number—to:
Manager, Consumer Relations, GE Appliances
Appliance Park, Louisville, KY 40225
FINALLY, if your problem is still not resolved, write:
Major Appliance Consumer Action Panel
20 North
Wacker
Drive, Chicago, IL 60606
3
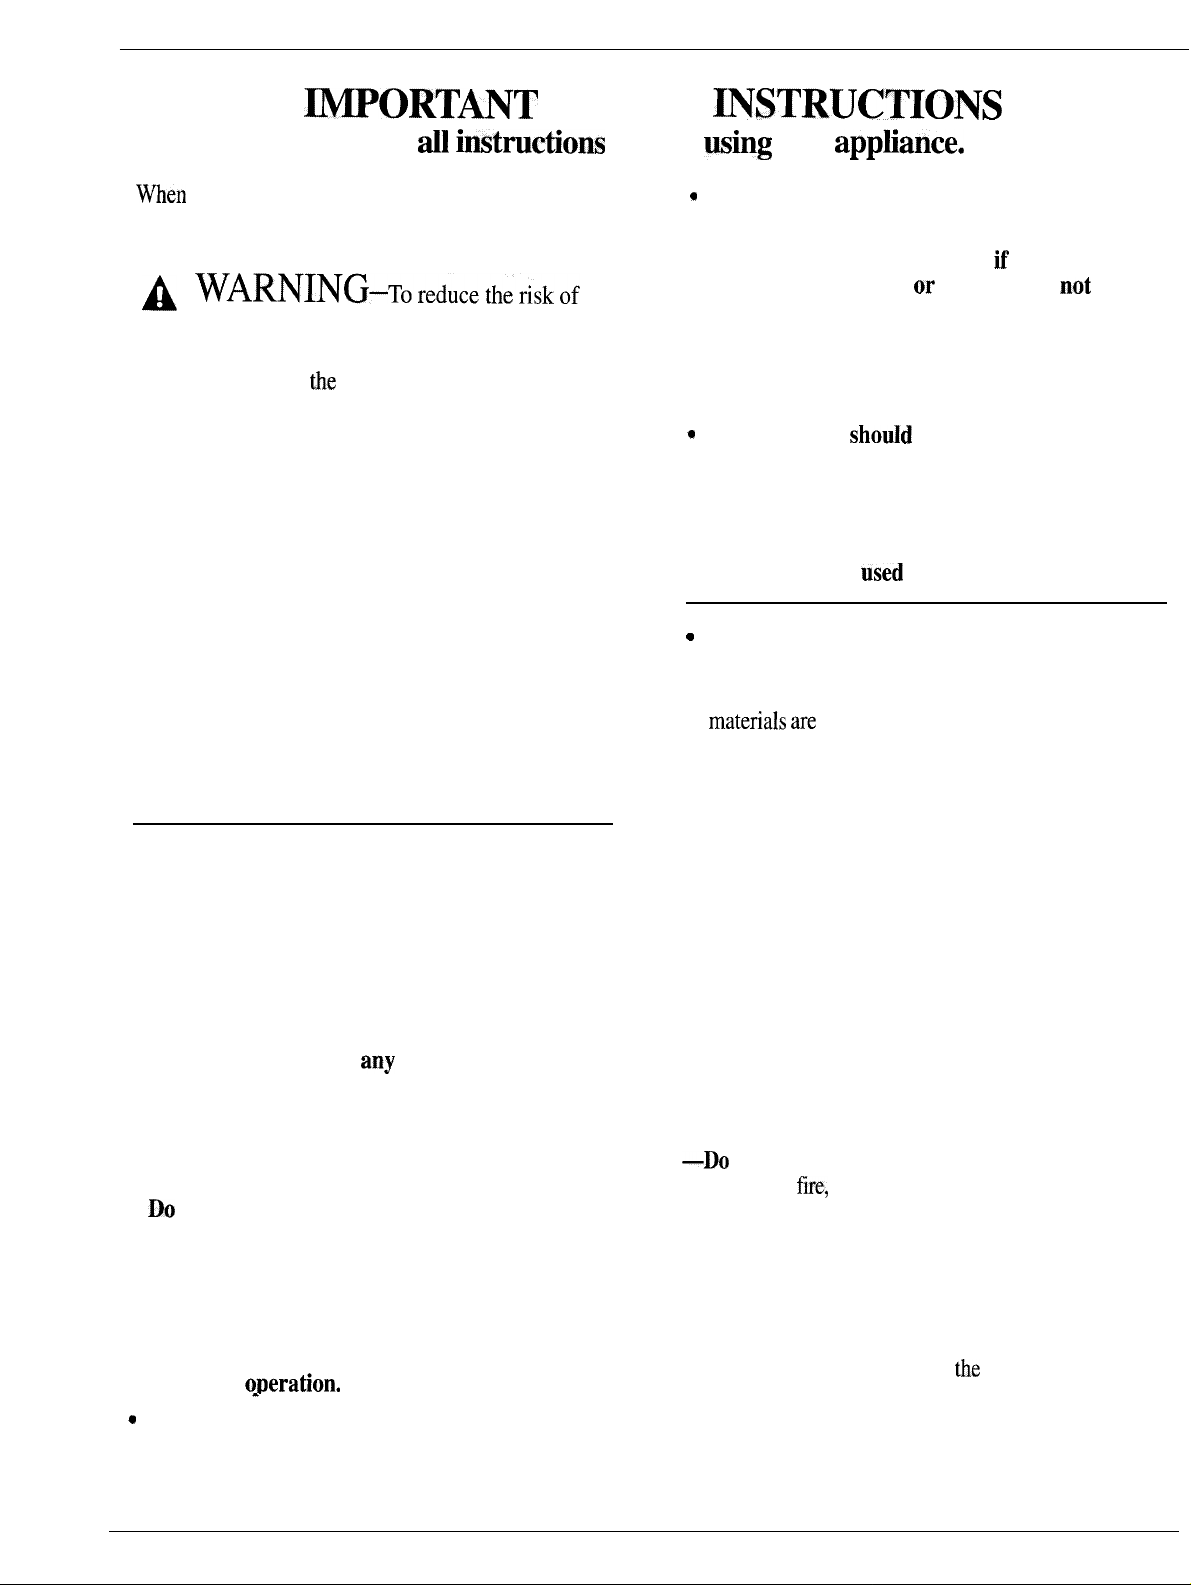
WORTANT
SAFETY
~STRUCTIONS
Read dl
men
using electrical appliances, basic safety
instmctions
before ming this
precautions should be followed, including the
following:
A WARNING-~oreducetheriskof
burns, electric shock, fire, injury to persons
or exposure to excessive microwave energy:
●
Read and follow
tie
specific “Precautions to
Avoid Possible Exposure to Excessive Microwave
Energy” on previous page.
. This appliance must be grounded. Connect only
to properly grounded outlet. See “Grounding
Instructions” in the table of contents.
●
Use this appliance only for its intended use as
described in this manual. Do not use corrosive
chemicals or vapors in this appliance. This
microwave/convection oven is specifically
designed to heat or cook food, and is not
intended for laboratory or industrial use.
●
For best operation, plug this appliance into
its own electrical outlet, to prevent flickering
of lights, blowing of fuse or tripping of circuit
breaker.
●
Do not mount this appliance over a sink. Install
or locate this appliance only in accordance with
the provided Installation Instructions.
●
Be certain to place the front surface of the door
three inches or more back from the countertop
edge to avoid accidental tipping of the
appliance in normal usage.
●
Do not cover or block
any
openings on the
appliance.
●
Do not store this appliance outdoors. Do not
use this product near water—for example, in a wet
basement, near a swimming pool or near a sink.
* Do not operate any heating or cooking
appliance beneath this microwave oven.
●
Do not mount the microwave oven over or near
any portion of a heating or cooking appliance.
●
Do not store anything directly on top of the
microwave oven surface when the microwave
oven is in
Q
Do not immerse power cord or plug in water.
●
Keep power cord away from heated surfaces,
o~eration.
.
appfiance.
@
Do not let power cord hang over edge of table
or counter.
●
Do not operate this appliance if it has a
damaged power cord
working properly, or if it has been damaged
or dropped.
●
See door surface cleaning instructions in the
Care and Cleaning section(s) of your book,
Q
This appliance
should
qualified service personnel. Contact nearest
authorized service facility for examination,
repair or adjustment.
●
As with any appliance, close supervision is
necessary when
c
To reduce the risk of fire in the oven cavity:
—Do not overcook food. Carefully attend
appliance if paper, plastic or other combustible
materiaIs me
placed inside the oven to facilitate
cooking.
—Remove wire twist-ties from paper or plastic
bags before placing bags in oven.
—Do not use your microwave/convection oven to
dry newspapers.
—Do not use recycled paper products. Recycled
paper towels, napkins and waxed paper can
contain metal flecks which may cause arcing
or ignite. Paper products containing nylon or
nylon filaments should be avoided, as they may
also ignite,
—Do not pop popcorn in your microwave oven
unless in a special microwave popcorn accessory
or unless you use popcorn labeled for use in
microwave ovens.
—Do
not overcook potatoes. They could dehydrate
and catch
fue,
causing damage to your oven.
—Do not operate the oven in microwave or
combination modes while empty to avoid
damage to the oven and the danger of fire.
If by accident the oven should run empty a
minute or two, no harm is done. However, try to
avoid operating the oven empty at all times—it
saves energy and prolongs
●
Do not use the oven for storage purposes. Do not
leave paper products, cooking utensils or food in
the oven when not in use.
or plug, if it is
be serviced only by
used
by children.
tie
life of the oven.
not
4
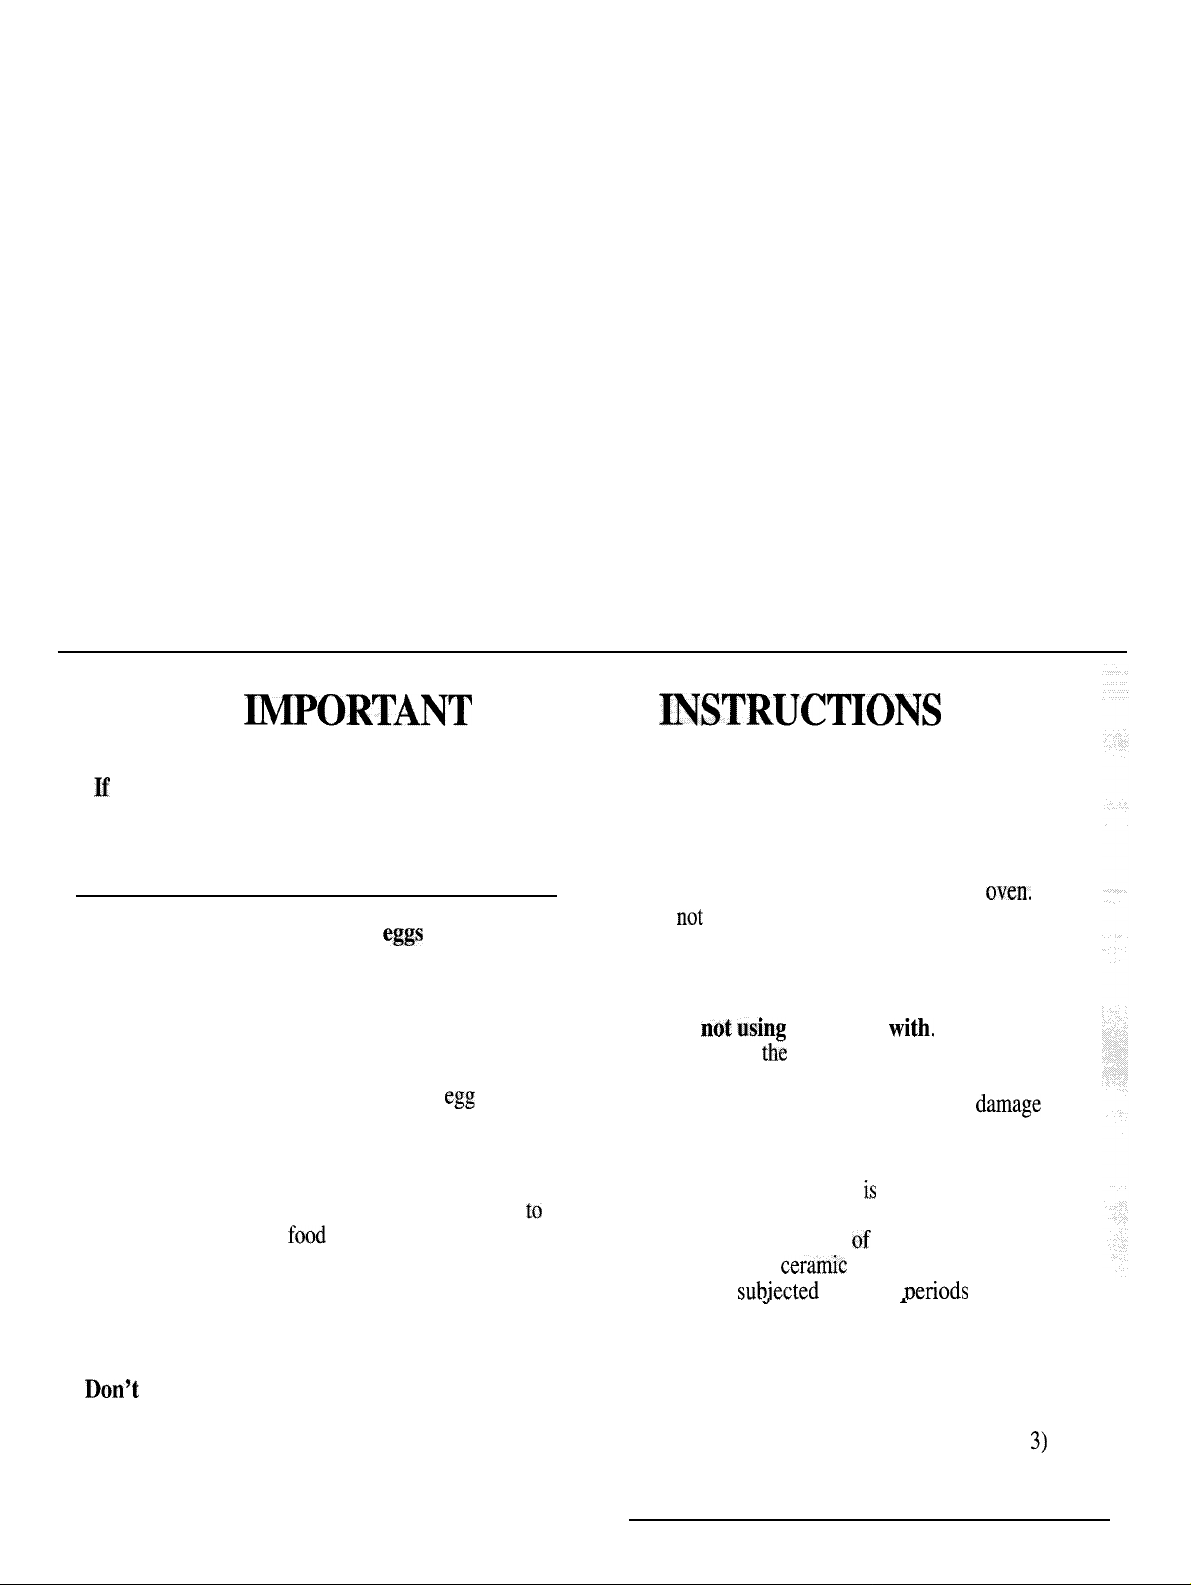
WPORTANT
SAFETY
~STRUCTIONS
* H materials inside oven should ignite, keep
oven door closed, turn oven off, and disconnect
power cord, or shut off power at the fuse or circuit
breaker panel.
●
Some products such as whole
eggs
and sealed
containers-for example, closed glass
jars—will explode and should not be heated
in this microwave oven. Such use of the
microwave/convection oven could result in injury.
●
Avoid heating baby food in glass jars, even
without their lids; especially meat and
egg
mixtures.
●
When using the convection or combination
cooking functions, both the outside and inside of
the oven will become hot. Always use hot pads
remove containers of
food
and accessories such as
to
broiler pan, oven shelf and temperature probe.
●
Do not use paper products when the microwave
convection oven is operated in the convection or
combination mode.
●
Don’t
defrost frozen beverages in narrow
necked bottles (especially carbonated beverages).
Even if the container is opened, pressure can build
up. This can cause the container to burst, possibly
resulting in injury.
●
Thermometer—Do not use regular cooking
or oven thermometers when cooking by
microwave or combination. The metal and
mercury in these thermometers could cause
“arcing” and possible damage to the
Do
not
use a thermometer in food you are
oven.
microwaving unless the thermometer is designed
or recommended for use in the microwave oven.
●
Remove the temperature probe from the oven
when
not using
probe inside
it to cook
the
oven without inserting it in food
with,
If you leave the
or liquid, and turn on microwave energy, it can
create electrical arcing in the oven, dmage oven
walls and damage the temperature probe.
●
Plastic cookware—Plastic cookware designed
for microwave cooking is very useful, but should
be used carefully. Even microwave-safe plastic
may not be as tolerant
of
overcooking conditions
as are glass or cermic materials and may soften
or char if
subiected
.
to short
~eriods
.
of
overcooking. In longer exposures to overcooking,
the food and cookware could ignite. For these
reasons: 1) Use microwave-safe plastics only and
use them in strict compliance with the cookware
manufacturer’s recommendations. 2) Do not
subject empty cookware to microwaving.
3)
Do
not permit children to use plastic cookware
without complete supervision.
●
Use metal only as directed in this book. TV
dinners may be microwaved in foil trays less than
●
When cooking pork, follow the directions
~ORTANT
*
Not
all plastic
microwave ovens.
wrap is suitable
for
Check the package for
use in
SAFEm ~STRUCTIONS
(continued)
pr~per use
*Spontaneous boiling—Under certain
special circumstances, liquids may
start to boil during or shortly after
removal from the microwave
oven.
To prevent bums from splashing
the
liquid, stir
liquid briefly before
removing the container from the
microwave oven.
,
~4Boilab1e”
plastic bags
coo~ng
pouches and
tightly
should be slit, pierced or vented as
closed
directed by package. If they are not, plastic could
burst during or immediately after cooking,
possibly resulting in injury. Also, plastic storage
containers should beat least partially uncovered
tight
because they form a
seal. When cooking
with containers tightly covered with plastic wrap,
remove covering carefully and direct steam away
from hands and face.
●
Rot foods
and steam can cause
burns. Be careful when opening
any containers
of
hot food, including
popcorn bags, cooking pouches and
boxes,
To
pr~vent
direct steam away from
possible injury,
hands
and face.
* Use of the shelf accessory.
for proper
—Remove
—Do not store
Product damage
use).
the
shelf from oven when not in use,
or cook
with shelf on floor of
may
result.
(See the
Cookbook
oven,
—Use pot holders when handling the shelf and
cookware. They may
be
hot.
—Do not use microwave browning dish on shelf.
The shelf could overheat.
—Use the shelf only when cooking on two levels.
—Be sure that the shelf is positioned properly
oven
inside the
to prevent product damage.
—Do not use the broiler pan or spatter shield
while microwaving.
. Use of
broiler pan, make sure that
on the bottom of
the
broiler pan—When inserting the
the
two stop-locks
the
drip pan are inserted in
the
oven first so that these stop-locks properly lock
the broiler pan onto the guides on the oven side
walls. When properly inserted, the word
“~ONT,” stamped into the bottom of the drip
pan, will be towards the leading edge of the pan
as you pull it out of the
oven.
SAVE THESE
INSTRUCTIONS
MICROWAVmG
●
Make sure all cookware
used
in your microwave
oven is suitable for
glass
casseroles, cooking
dishes, measuring cups,
‘nicrowavingMost
custard cups, pottery or
china dinnerware which
does not have metallic trim or glaze with a metallic
sheen can be used. Some cookware is labeled “suitable
for microwaving. ”
●
If you are not sure if a dish is microwave-safe,
G
w
J
use this test: Place in the oven both the dish you are
testing and a glass measuring cup filled with one
cup of water—set the measuring cup either in or next
to the
dish.
Microwave 1
minute
at high. If the dish
6
TWS
heats, it should not be used for microwaving. If the
dish remains cool and only the water in the cup heats,
then the dish is microwave-safe.
●
Paper towels, waxed paper and plastic wrap
can be used to cover dishes in order to retain moisture
and prevent spattering. Be sure to vent plastic wrap so
steam can escape.
●
Some microwaved foods require stirring, rotating
or rearranging.
●
Steam builds up pressure in foods which are tightly
covered by a skin or membrane.
yolks and chicken livers to prevent bursting.
If you use a meat thermometer while cooking, make
sure it is safe for use in microwave ovens.
Check the Cookbook supplied.
Pierce potatoes, egg
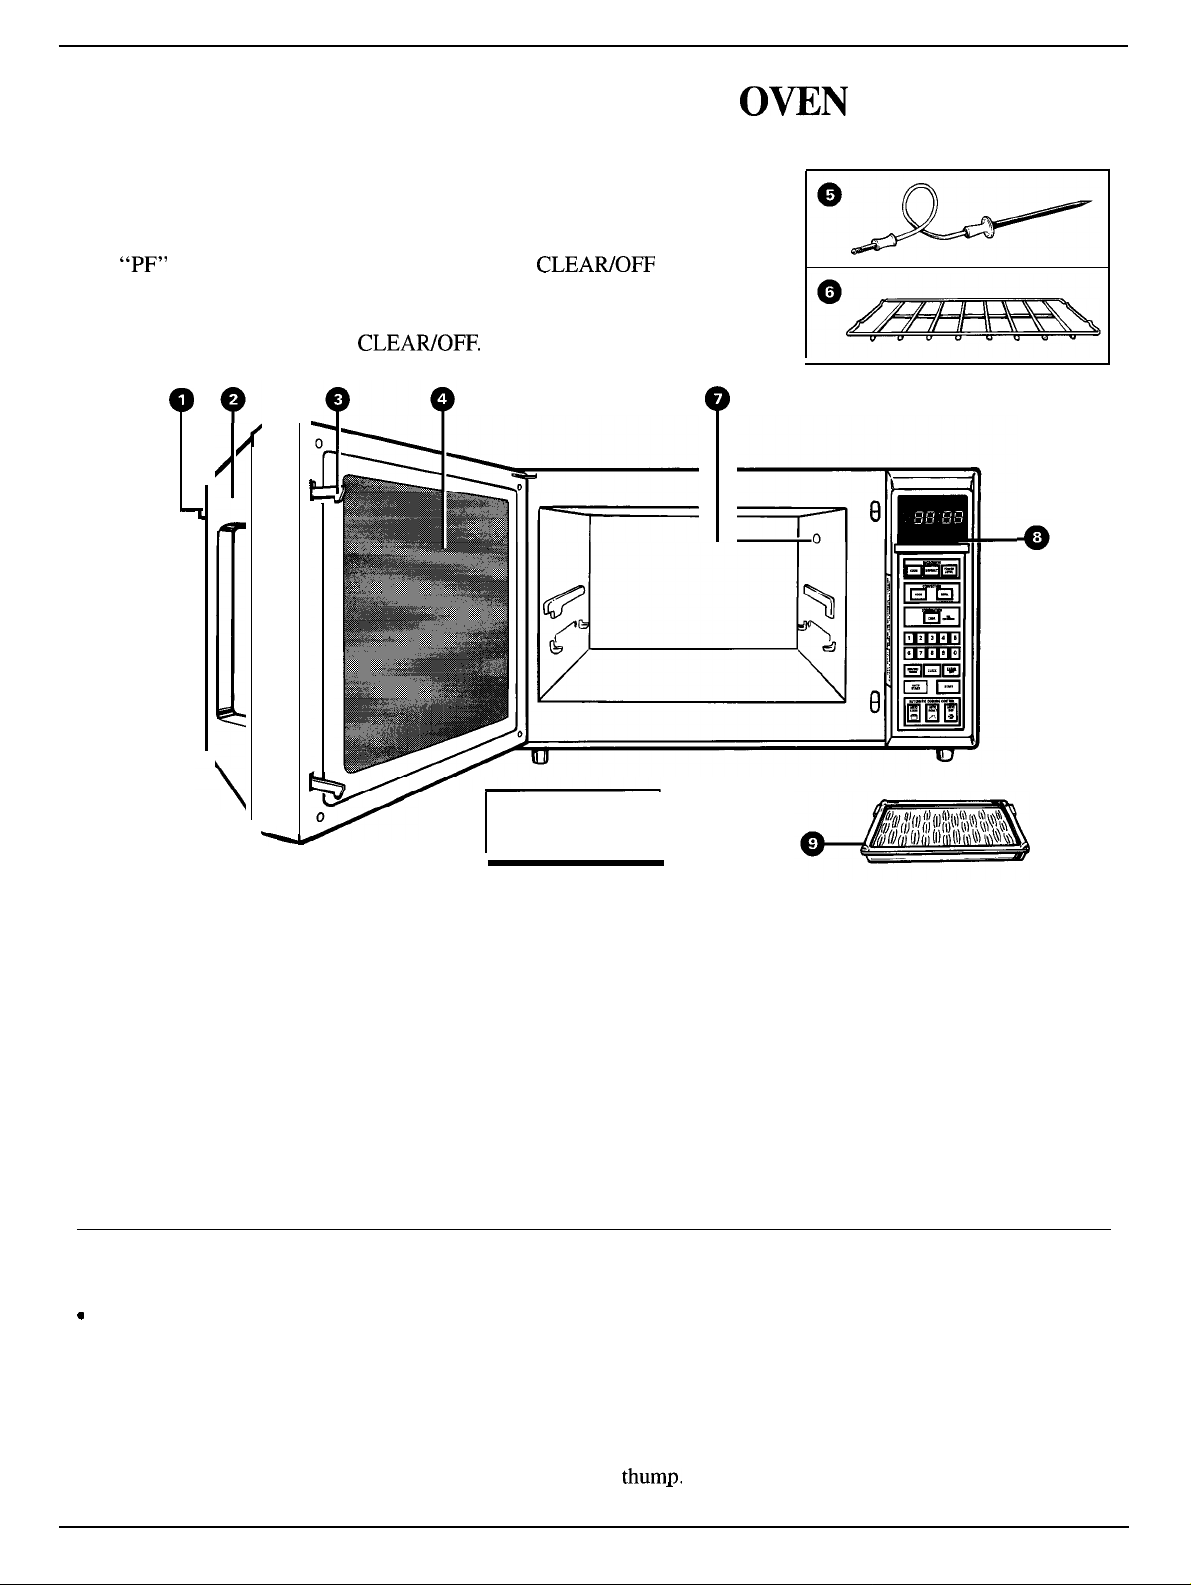
FEATURES OF YOUR
When You Plug in the Oven
The panel displays four 8’s on the upper portion and all of the oven
functions on the lower portion. After
and
“PF”
comes on in the upper portion. Touch the
and oven is ready for use and the clock can be set.
If power is disrupted at any time, the above sequence recurs, and you
must reset Clock after touching
15 seconds, all lights disappear
CLEAWOFF
CLEAWOFF.
pad
OWN
1.4 Cubic Foot
Oven Interior
1. Door Latch.
2. Door Handle.
to operate.
3.
Door Safety Lock System.
4.
Window with Metal Shield.
be viewed while keeping microwaves confined in oven.
5.
Temperature Probe.
temperature. Must be used when cooking by
temperature in microwave, convection or combination
modes and with Auto Roast function.
6.
Oven Shelf.
some microwave recipes.
Push in to open door.
Door must be securely latched for oven
Screen allows cooking to
Probe measures internal food
Use with convection, combination and
I
7.
Receptacle for Temperature Probe.
securely inserted into receptacle before oven will start
any temperature cooking.
8. Touch Control Panel.
oven functions. Further detailed explanation is shown
on following page.
Broiler Pan and Spatter Shield. See
9.
Broiling section for instructions.
NOTE:
inside walls of the microwave oven. Rating plate is
located on the left side wall of the control panel seen
when the door is open.
Oven light and oven vent(s) are located on the
All These Things are Normal With Your Microwave Oven:
●
Q
Dimming oven light and change in blower sound may
occur while operating at power levels other than high.
●
Dull, thumping sound while oven is operating.
●
Some TV-Radio interference might be noticed
while using your microwave oven. It’s similar to
the interference caused by other small appliances
and does not indicate a problem with your oven.
Steam or vapor escaping from around the door.
●
Light reflection around door or outer case.
●
During cooking you will hear “cracking” and “popping”
noises which are nothing more than normal expansion
of the oven.
●
At the end of microwave cycles you will hear a slight
thum~.
This is normal.
.
Probe must be
Use touch controls to set all
Convection
7

YOUR TOUCH CONTROL PANEL
The touch control panel allows you to set the oven controls electronically
with the touch of a finger. It’s designed to be easy to use and understand.
With your new oven, you have several cooking options. In addition to
microwave or convection cooking, you have combination cooking which
uses both methods. Also automatic microwave cooking (Auto Cook)
and automatic microwave defrosting (Auto Defrost), and automatic
combination temperature cooking (Auto Roast). Or you may make
your own 2 stage programs to suit your individualized cooking needs.
1. Display. Displays time of day, time or temperature
during cooking functions, cooking mode and
pertinent instructions after setting each part of
cooking steps telling you what to do next.
2.
Microwave Cook. Touch this pad before entering
microwave cooking time or temperature. Oven is
programmed for power level 10 automatically but
may be changed after entering time.
Microwave Defrost. Gentle thawing with little or
3.
no attention.
4.
Convection Cook. When convection cooking,
touch this pad before entering desired oven time
and temperature.
5.
Combination Cook. (See Cookbook.) Touch this
pad first when using combination cooking mode.
Number Pads. Touch these
6.
(time of day or cooking
temperature (using probe), oven temperature,
power level, or codes during Auto Cook, Auto
Roast, or Auto Defrost.
7.
MitiSec Timer. This feature uses no microwave
energy. It functions as a kitchen timer.
8. Auto Start. Allows you to program your oven to
begin cooking at a preset time of day—up to an
1 l-hour and 59-minute delay.
9. Auto Cook. Touch this pad and then number pad
for desired code number, and oven automatically
microwaves at
pre-programmed power levels and
determines the proper amount of cooking times
until the food is done and oven shuts off.
10. Auto Roast. Insert probe, touch this pad, and
desired number pad for code to combination
temperature cook meat with automatic preset
program.
11. Power Level. Touch this pad before entering
another power level number whenever microwave
energy is being
used.
12. Broil. Touch this pad for broiling. Be sure to use
splatter shield and drip pan.
Dads
to enter time
tim~, internal food
13. Clock SetiStart. When oven is first plugged
in, all segments on display are
CLOCK. “ENTER TIME” flashes, colon remains
on, and the four 8’s disappear. Enter time of day
by touching the number pads in sequence. For
example, for 1:30, touch 1, 3, and O. Touch
START. Time is set on display. To reset or change
time, touch CLOCK, enter correct time and touch
START again.
14.
Clear/Off. When touched, it stops the oven and
erases all settings except time
15. Start. Must touch this pad for oven to begin
any function.
16. Auto Defrost. Touch this pad, then code number
and food weight and the oven automatically sets
power levels and defrosting time.
l—
1
AUTO
START
I
l——
AUTOMATIC COOKING CONTROL
AUTO AU1O
COOK ROAST
I IB
fln
I
r:~’1%:
CONVECTION
INATIO N
COMB
A:;:
A
E’ ‘
1
o{day.
1
I
I
*I
I
I
show~.
@
Touch
8
-T
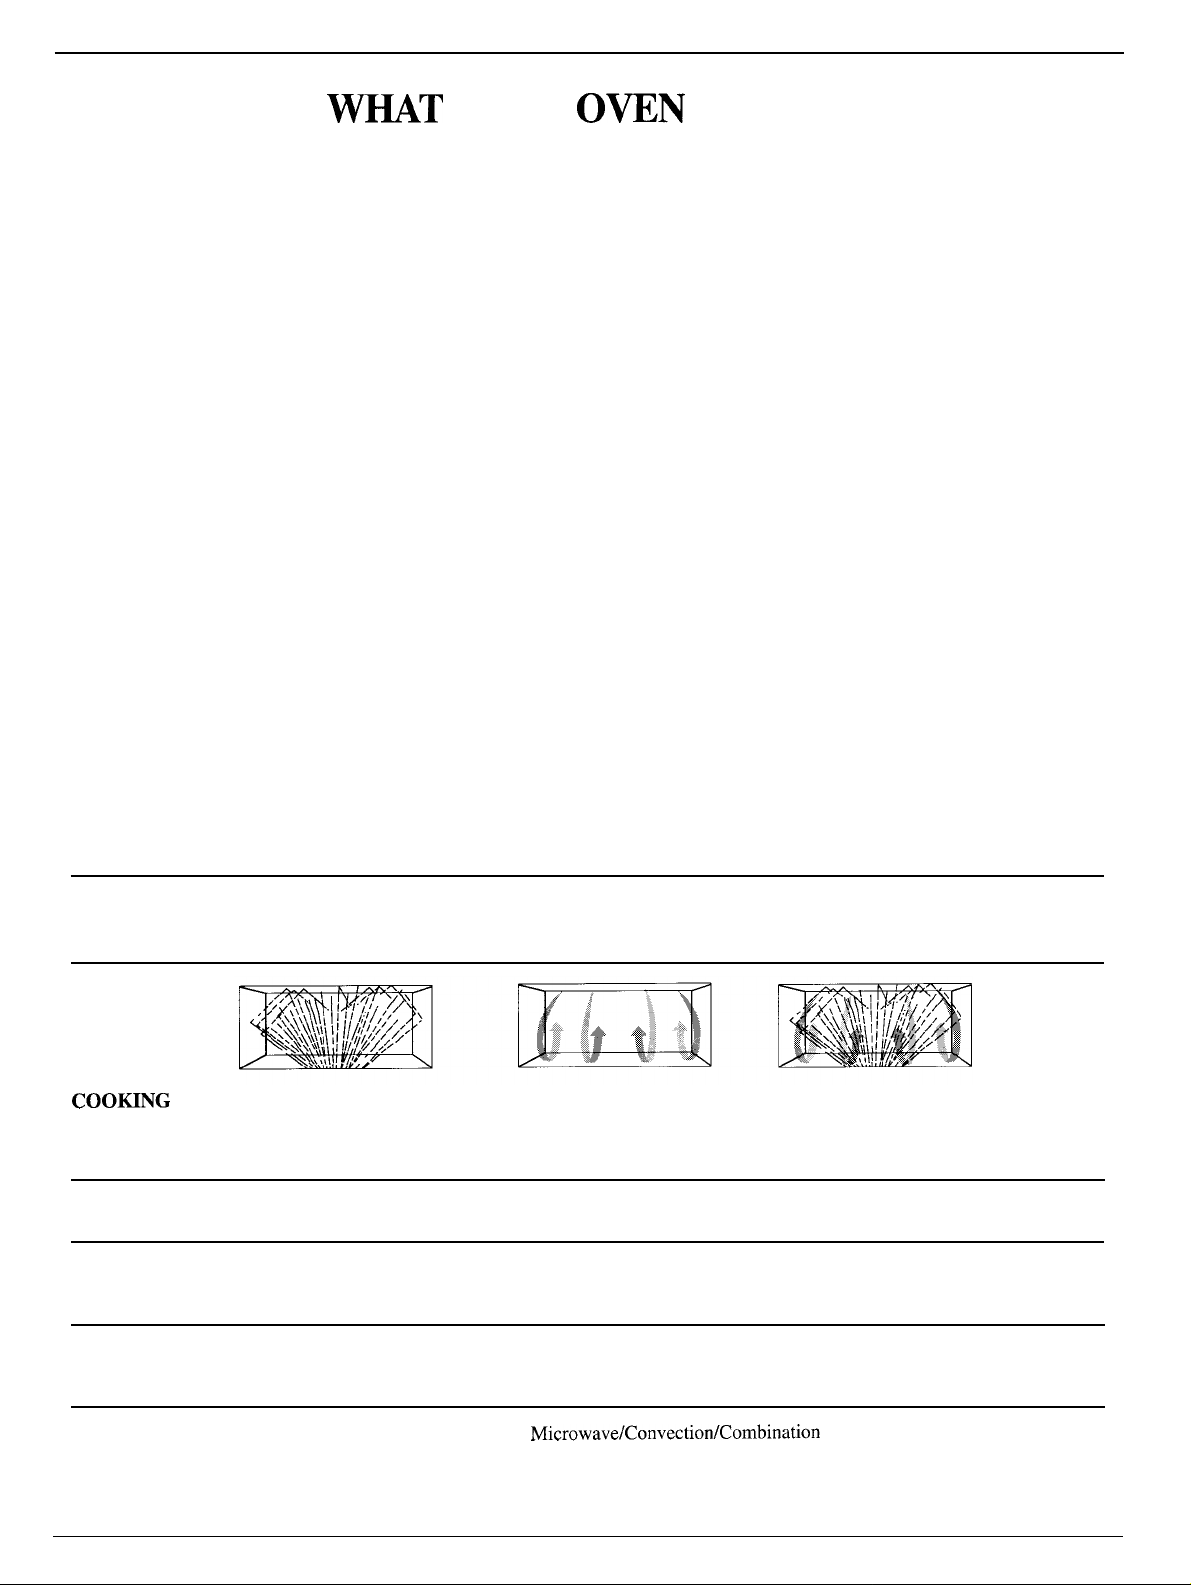
YOUR
OWN
CAN DO
Cooking with your new oven offers a wide variety
of food preparation options. Microwave cooking
uses very short, high frequency radio waves. The
movement of the microwaves through the food
generates heat and cooks most foods faster than
regular methods, while retaining their natural
texture and moisture. Microwave cooking heats
food directly, not the cooking utensil or the interior
of the oven. Reheating is easy and defrosting is
particularly convenient because less time is spent
in food preparation.
Convection cooking constantly circulates heated air
around the food, creating even browning and sealed-in
flavor by the constant motion of hot air over the food
surfaces.
Your new oven also offers the option of combination
cooking, using microwave energy along with convection
cooking. You cook with speed and accuracy, while
browning and crisping to perfection.
You can use microwave cooking, convection cooking or
combination cooking to cook by time. Simply preset the
length of cooking time desired and your oven turns off
automatically. Or you can cook by temperature, by these
methods, using the temperature probe to determine the
doneness by the internal temperature of the food. This
method takes the guesswork out of cooking, shutting
the oven off automatically when the food reaches the
desired temperature.
The Automatic Cooking Control (AUTO COOK)
feature does your microwave cooking for you. It’s
easy and convenient—just follow the step-by-step
instructions in this manual. A sensor detects steam
from the food and automatically adjusts cooking time
and power level for best results.
AUTO ROAST is a combination cooking function
that uses the temperature probe. You simply select
from 8 Auto Roast codes, and the oven automatically
adjusts power level, oven temperature and internal
food temperature to cook the food the way you want it.
AUTO DEFROST automatically sets the defrosting
time and power levels for you. You choose the
appropriate code number from 1 to 3 from the food
you are defrosting, then enter the food weight in pounds
and tenths of a pound and touch the START pad. The
oven calculates the defrosting time and changes power
levels during defrosting to give even defrosting results.
The Auto Start Timer lets you program the oven to start
cooking at a desired time, even if you’re not at home.
The following guide shows at a glance the difference
between microwave, convection and combination
cooking.
Comparison Guide
Microwave
COO~NG
METHOD
HEAT
SOURCE
HEAT
CONDUCTION by instant energy penetration.
BENEFITS
Read this book to learn the many different things
variety of cooking methods and programs designed to suit your lifestyle.
Microwave energy is
distributed evenly throughout
the oven for thorough, fast
cooking of food.
Microwave energy.
Heat produced within food
Fast, high efficiency cooking.
Oven and surroundings do
not get hot. Easy clean-up.
Convection
Hot air circulates around
food to produce browned
exteriors and seal in juices.
Circulating heated air.
Heat conducted from
outside of food to inside.
Aids in browning and seals
in flavor. Cooks some foods
faster than regular ovens.
your MicrowavelConvectionlCombination Oven can do. You will find a wide
Combination
Microwave energy and convection
heat combine to cook foods in up to
one-half the time of regular ovens,
while browning and sealing in juices.
Microwave energy and circulating
heated air.
Food heats from instant energy from
penetration and heat conducted from
outside of food.
Shortened cooking time from
microwave energy, plus browning
and crisping from convection heat.
9
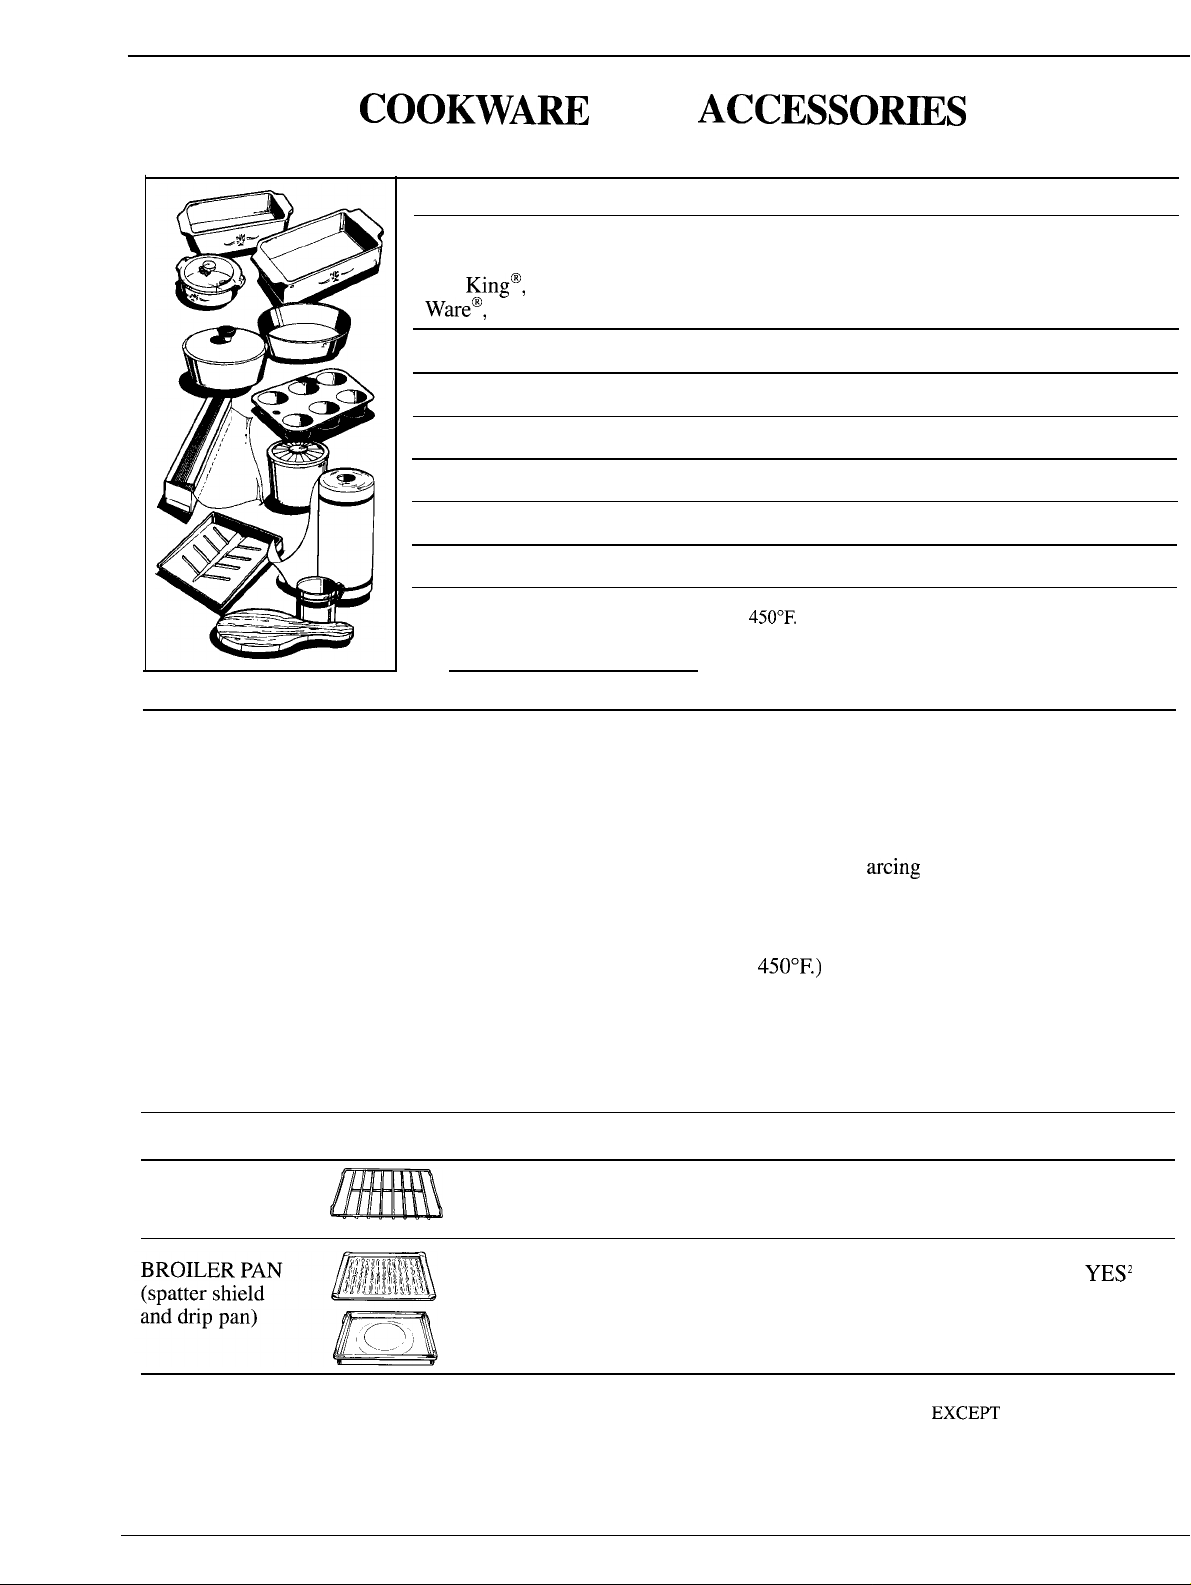
COOKWAM
AND
ACCESSOms
Cookware Tips
Cookware
Heat-Resistant Glass,
Glass-Ceramic (Pyrex@,
Fire
King@,
Corning
Ware@,
etc.)
Metal
Non Heat-Resistant Glass
Microwave-Safe Plastics
Plastic Films and Wraps
Paper Products
Straw, Wicker and Wood YES
*Use only microwave cookware that is safe to
NOTE: For more information on the proper use of cookware in your oven, see
your Microwave Convection Cookbook.
Microwave
YES
NO
NO
YES
YES
YES
450°F.
Convection Combination
YES YES
YES
NO NO
NO
NO NO
NO
NO
NO
YES*
NO
NO
Convection Cooking
METAL PANS are recommended for all types of baked
products, but especially where browning or crusting
is important.
Dark or dull finish metal pans
pies because they absorb heat and produce crisper crust.
Shiny aluminum pans are better for cakes, cookies or
muffins because these pans reflect heat and help
produce a light tender crust.
GLASS OR GLASS-CERAMIC casserole or baking
dishes are best suited for egg and cheese recipes due to
the cleanability of glass.
METAL SHELF
ACCESSORY
are best for breads and
Microwave
YES’
NO
Combination Cooking
GLASS OR GLASS-CERAMIC baking containers
are recommended. Be sure not to use items with metal
trim as it may cause
or oven shelf, damaging the cookware, the shelf or
the oven.
HEAT-RESISTANT PLASTIC microwave cookware
(safe to
for foods requiring crusting or all-around browning,
because the plastic is a poor conductor of heat.
Convection
450°F.)
YES YES
NO
arcing
(sparking) with oven wall
may be used, but it is not recommended
Combination
NO
Broil
NO
YES2
‘Some recipes may call for cooking on this oven shelf, but generally
microwaved foods should be cooked directly on the ceramic
oven floor. See Cookbook for specific instructions.
10
2
DO NOT USE IN MICROWAVE, CONVECTION OR
COMBINATION SETTING,
SPECIFIC COOKBOOK RECIPES.
EXCE~
WHERE NOTED IN
AUTOMATIC MICROWAVE
COOmG
Microwaving with the Auto Cook setting offers
especially convenient shortcut cooking for many
foods. There’s no guesswork about cooking
times, no need to look up suggested times in the
Cookbook. Instead, a sophisticated sensing device
actually detects the steam which escapes from
cooking food, and automatically adjusts the oven’s
cooking time for various types and amounts
of food.
Setting the Oven Controls
Step 1: Place food in appropriate container and cover
as directed in the Automatic Cooking Recipe Guide.
AUTO
COOK
B
n
❑
EHEE
EEEEE
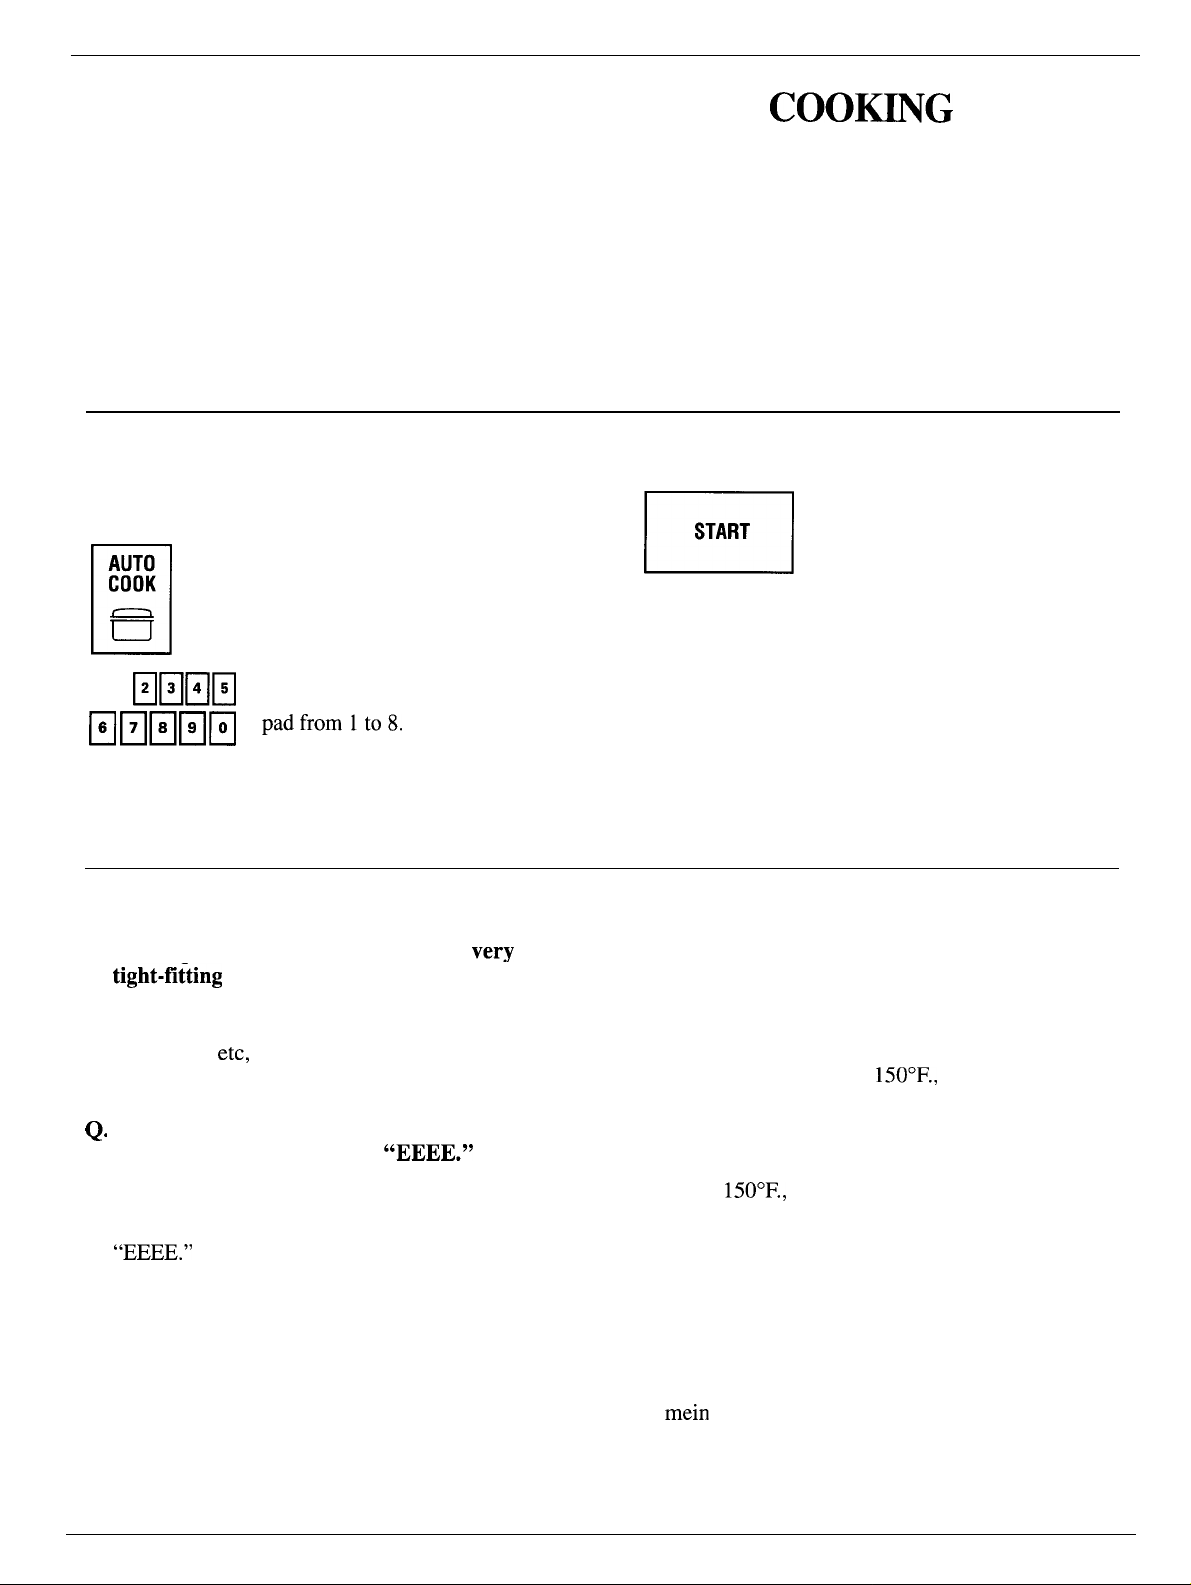
Step 2: Touch AUTO COOK.
Step 3: Select the desired Auto
Cook code by touching a number
‘adfrom1t08
Cooking containers must be covered during Auto
Cook, so this feature is best used for foods which you
wish to steam or to retain moisture. Eight Auto Cook
codes let you select a cycle ideal for many frequently
prepared foods. When oven senses the steam, the
oven signals so that you can stir or rotate the food
as directed. Once steam has been detected, the oven
automatically begins counting down the remaining
cooking time and adjusts power levels as needed.
Step 4: Touch START. DO NOT
START
n
NOTE: Oven will not accept “Auto Cook code”
if the oven is hot. If “START” and “Hot” flash on
display and “DELAY TIME” appears, you must
cool the oven before using Auto Cook or you may
choose to use time or temperature microwave
cooking.
OPEN DOOR DURING THIS
TIME. When steam is sensed,
oven signals. Stir or rotate food
as needed. Touch START to
resume cooking. Display shows
time counting down. When done,
oven displays “End,” signals and
turns off.
Questions and Answers
Q. Would plastic storage containers with
tight-fi~ting
Cooking?
A.
No. Most types of plastic storage dishes,
butter tubs,
recommended for microwaving and do not allow
steam to escape properly.
When I opened the oven door to stir my food,
Q.
the oven beeped and flashed
did I do wrong?
If the oven door is opened while “Auto” is
A.
showing in display, it will signal and flash
“EEEE.”
lids be appropriate for Automatic
etc,
with tight-fitting lids are not
“EEEE.” What
Close door and touch START.
very
Q. When I tried to enter AUTO COOK, “START”
and “Hot” flashed on display and “DELAY
TIME” appeared. Why?
A. If you had previously used your oven for
convection or combination cooking and its interior
temperature was above
DELAY TIME” and an approximate waiting time
will appear on display. If you start the oven at this
time, oven light will come on and cooling fan, but
no cooking will begin. When oven has cooled
below
150°F.,
Q. Are there some foods which do not Auto Cook
well?
A. Yes. Puddings and sauces which require frequent
stirring, candies and melted chocolate, bakery
goods or other foods where a dry or crisp surface
is desirable are best prepared by microwave time
cooking (see the Microwave Time Cooking
section). Also, extremely dry foods such as chow
mein
noodles or potato chips do not have enough
moisture to create steam for the sensor.
you can use Auto Cook function.
150°F.,
“Hot,” “START
11
 Loading...