

GE JES633, JES632 Use and Care Manual
Turntable
Microwave Oven
Sde~ lnstrudions
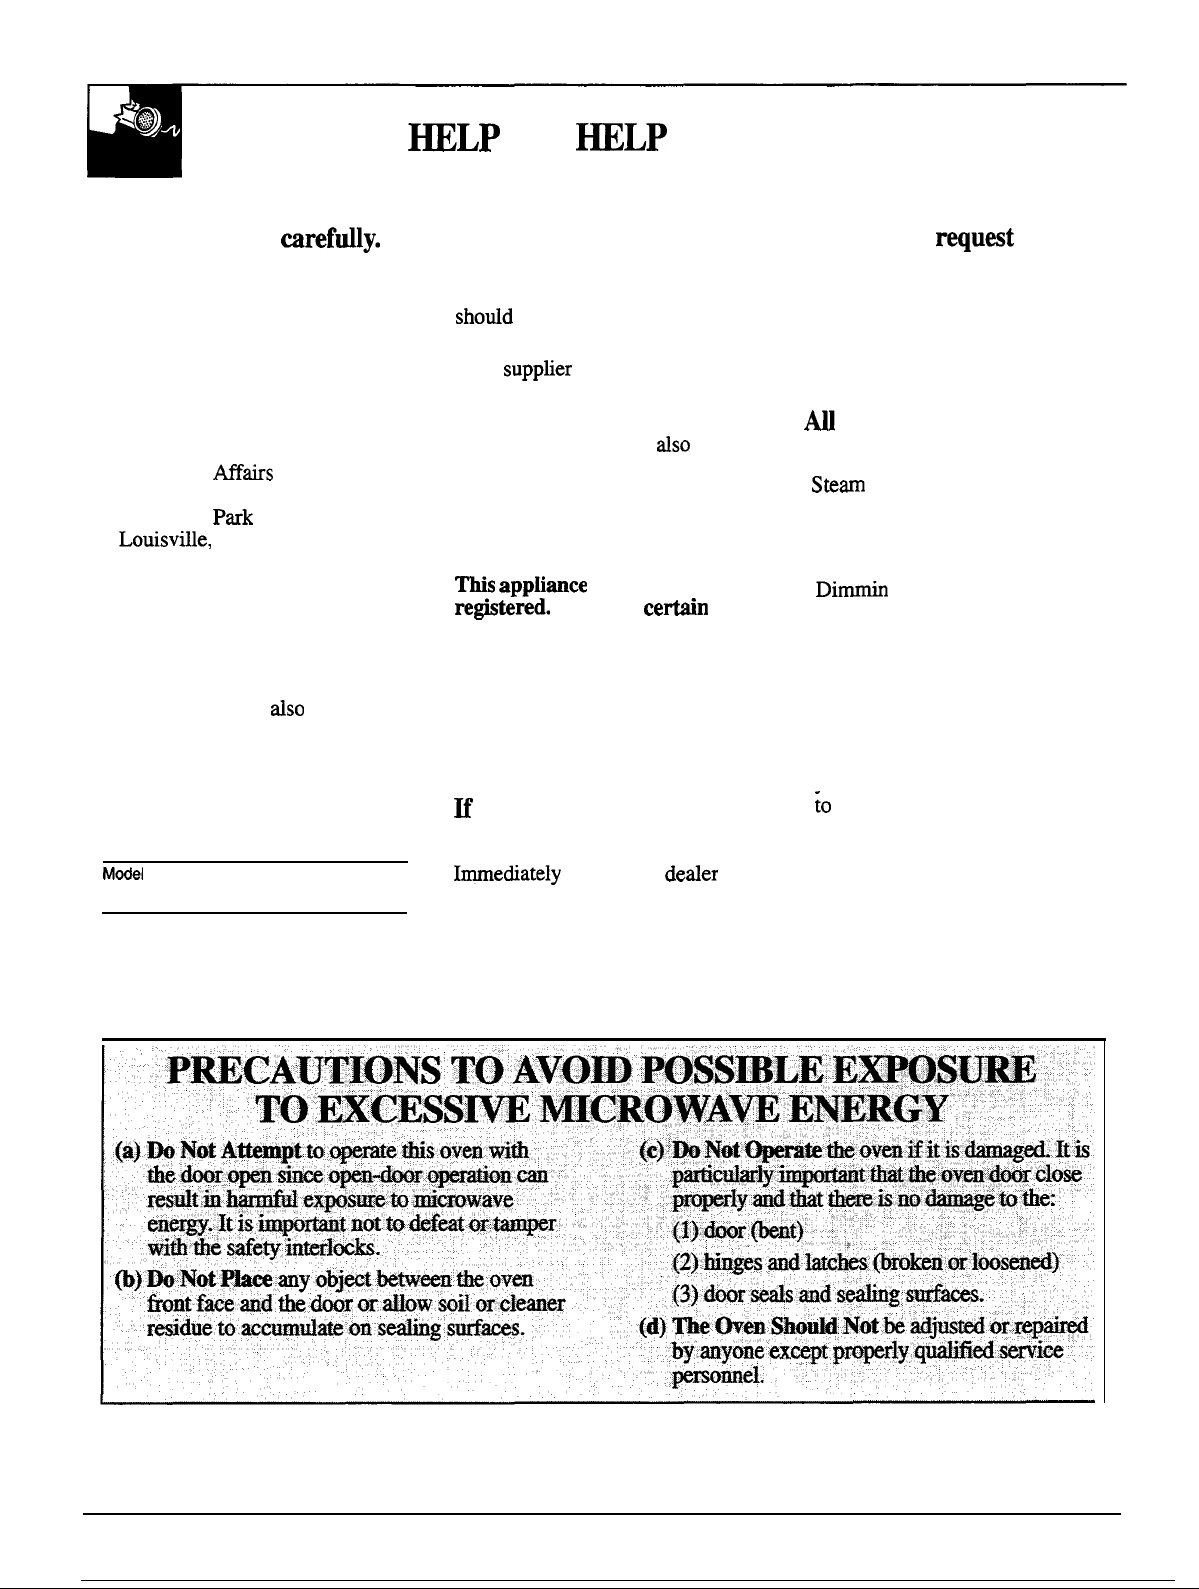
Precautions to Avoid Possible Exposure
to Excessive Microwave Energy ...........2
Operating
Add 30 Seconds . . . . . . . . . . . . . . . . . . . . . . . . . . . . . . . . . . . . . . . . .
Aluminum Foil
Auto Defrost . . . . . . . . . . . . . . . . . . . . . . . . . . . . . . . . . . . . . . . . . . 16, 17
Auto Stan . . . . . . . . . . . . . . . . . . . . . . . . . . . . . . . . . . . . . . . . . . . . . . . . . . . . .
Child LockQut . . . . . . . . . . . . . . . . . . . . . . . . . . . . . . . . . . . . . . . . . . . . .
Clock..................................................................9
Control Panel
Cooking by Time ...................................1
Cooking Complete Reminder .....................7
Cooking Guide
Defrosting by Time. . . . . . . . . . . . . . . . . . . . . . . . . . . . . . . . . . . . . . 15
Defrosting
Delayed Cooking . . . . . . . . . . . . . . . . . . . . . . . . . . . . . . . . . . . . . . . . .
Features............................................................7
Glossary of Microwave Terms . . . . . . . . . . . . . . . . . . 18
Heating or Reheating
Hold Time
Instant Cook. . . . . . . . . . . . . . . . . . . . . . . . . . . . . . . . . . . . . . . . . . . . . . . . .
Kitchen Timer
Microwaving Tips ..........................................6
Popcorn . . . . . . . . . . . . . . . . . . . . . . . . . . . . . . . . . . . . . . . . . . . . . . . . . . . . . . . . .
Power Levels .....................................6,
Program Cooking ...........................................7
Reheat . . . . . . . . . . . . . . . . . . . . . . . . . . . . . . . . . . . . . . . . . . . . . . . . . . . . . . . . . . .
Turntable
Instrudions, ~ps
.........................................4, 17
....,.........................................8,
Guide..........................................2O
. . . . . . . . . . . . . . . . . . . . . . . . . . . . . . . . . . . . . . . . . . . . . . . . . . . . . .
. . . . . . . . . . . . . . . . . . . . . . . . . . . . . . . . . . . . . . . . . . . . . . .
.................................................3, 4,7
...................3-5
.
12
.
12
.
10
9
1,
12
..............................................2l
.
10
Guide...............,......l9
10
. 12
10
. 13
10,
11
.
14
Modek:
Problem
More questions
GEAnswer Cente~
Gre
Control Panel
Turntable
[nsta[lation ..................................23, 24
Adapter
Wension
Grounding Instructions ......................23, 24
Consumer Services ..................27
Appliance Registration .................................2
Important Phone
Model and Serial Number Location ..........2
WarranW........................................Back
JES632
JES633
Solver..............................25
?...call
800.626.2000
and
Cleaning............................22
................................-.....-..-...-..22
.......................................................22
Plugs...............................................23
Cords...............................-...........24
Numbers.......................27
Microwevepowero@ti
I
of
I
tikoven k
(IEG705
Cover
700 warn.
T61Munj
GE
Apphances
~LP
US
~LP
YOU...
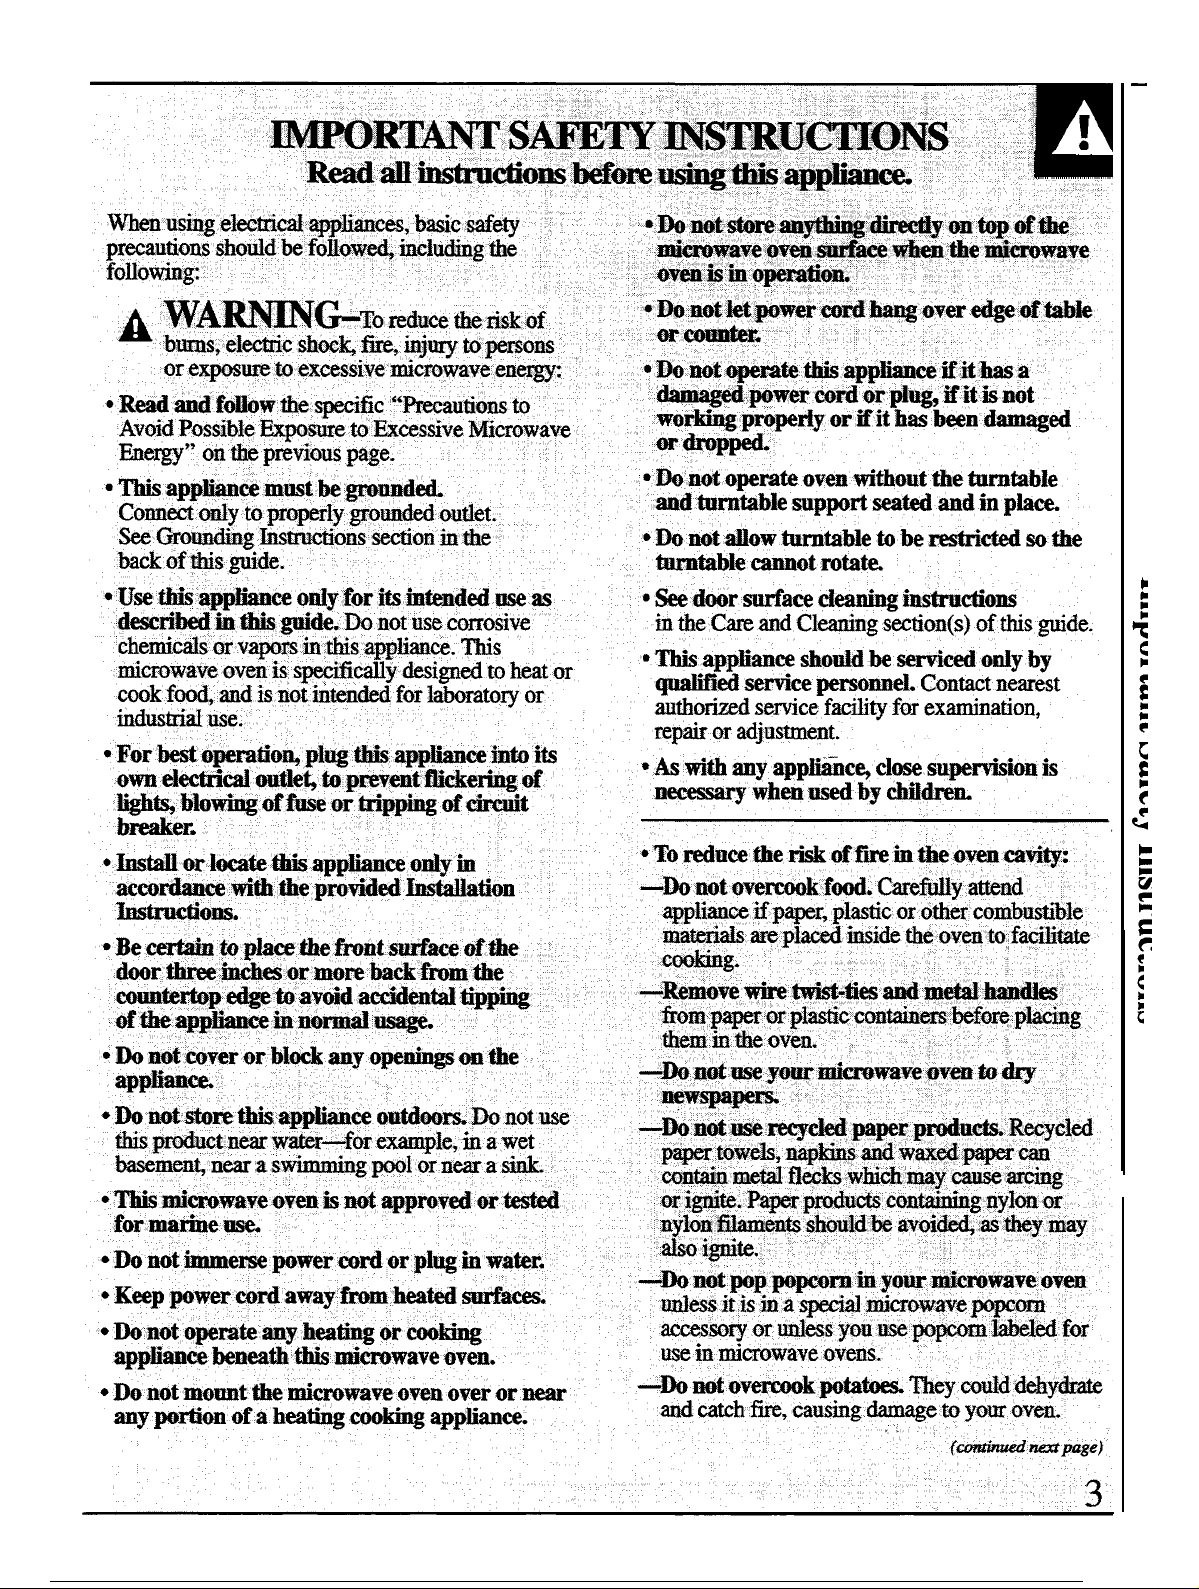
Before using your oven,
read this guide mreftily.
It is intended to help you operate
and maintain your new microwave
oven properly.
Keep it handy for answers to your
questions.
If you don’t understand something
or need more help, write (include
your phone number):
Consumer
GE Appliances
Appliance
Louisvdle, KY 40225
Mairs
Pak
Write down the model and
serial numbers.
You’ll find them on a label inside
the oven.
These numbers are
Consumer Product Ownership
Registration Card that came with
your microwave oven. Before
sending in this card, please write
these numbers here:
Mdel
Number
Serial Number
Use these numbers in any
correspondence or service calls
concerning your microwave oven.
dso
on the
Be sure your microwave
oven is registered.
It is important that we know the
location of your microwave oven
shotid
a need occur for
adjustments.
Your
supptier
registering you as the owner.
Please check with your supplier to
be sure he has done so;
your Consumer Product Ownership
Registration Card. If you move, or
if you are not the original
purchaser, please write to us,
stating model and serial numbers.
W applimce
re@temd.
that it is.
Write to:
GE Appliances
Range Product Service
Appliance Park
Louisville, KY 40225
M
you received a
is responsible for
dso
must be
Please be
cetin
send in
damaged oven...
tiediately
(or builder) that sold you the oven.
contact the
deder
Save time and money.
Before you
rquat
service...
Check the Problem Solver in the
back of this guide. It lists causes of
minor operating problems that you
can correct yourself.
Ml
these things are normal
with your microwave oven.
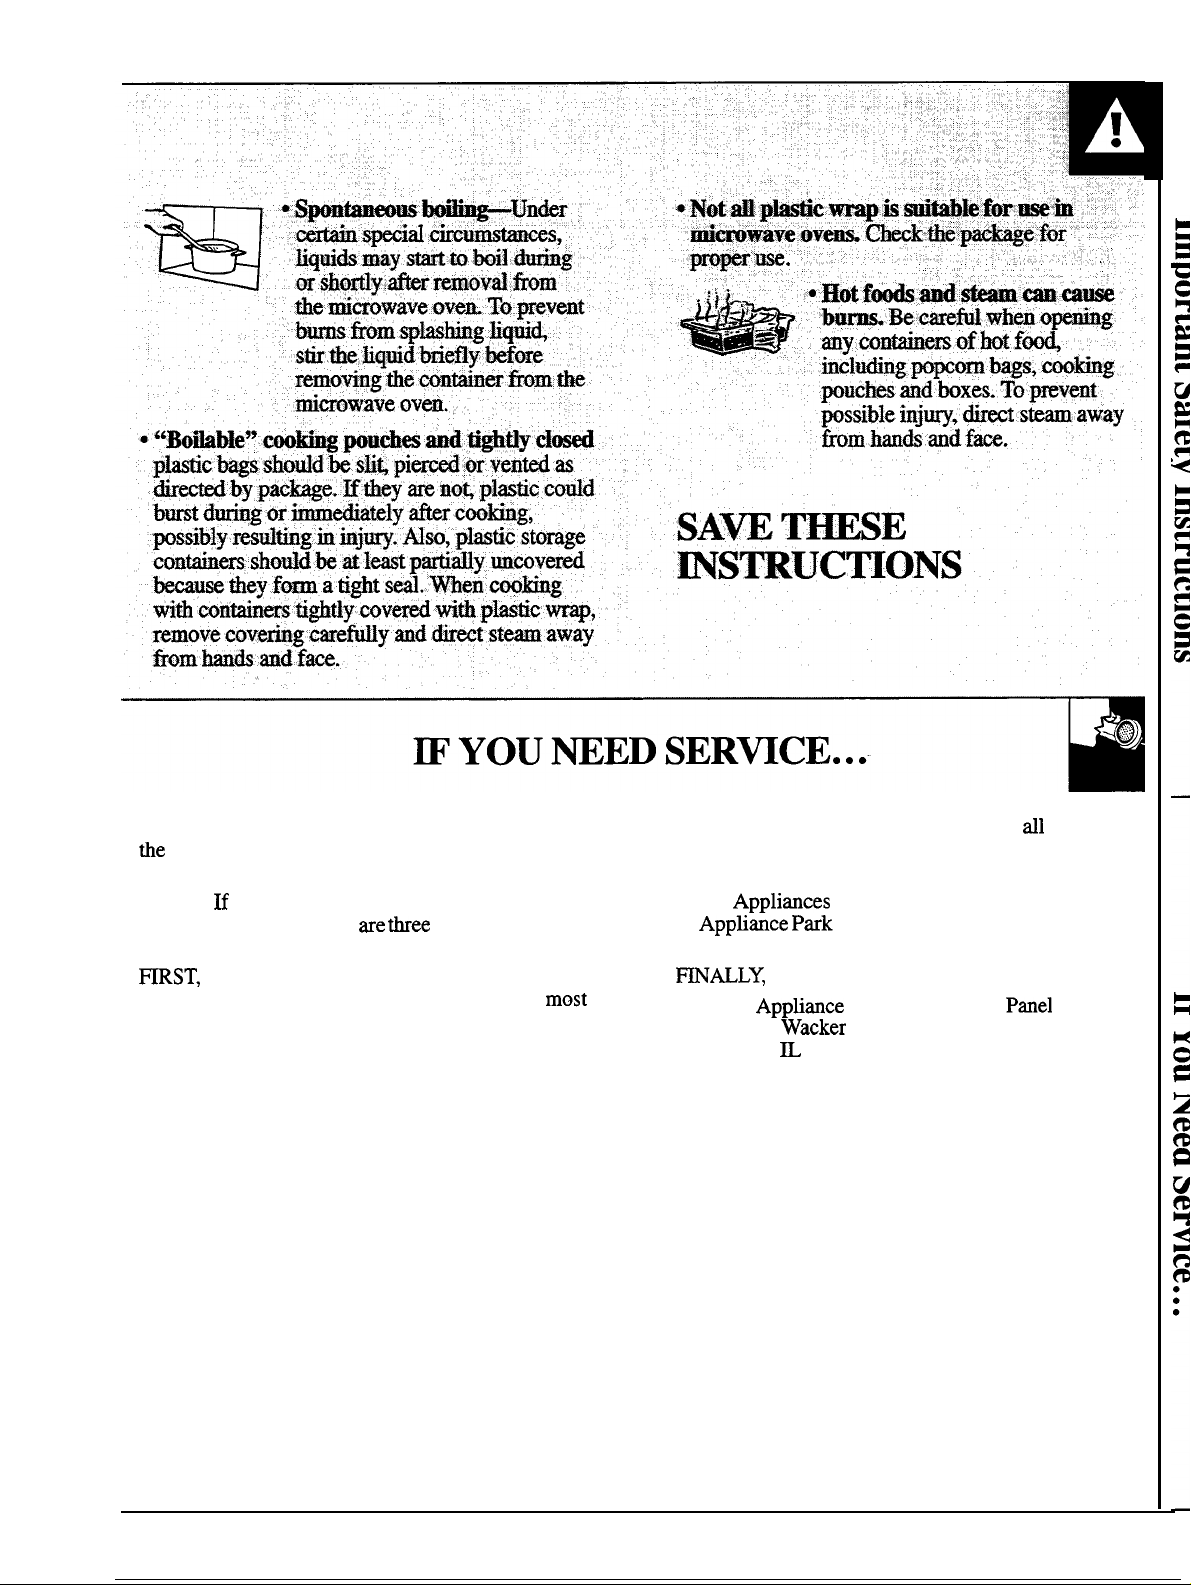
●
Stem
or vapor escaping from
around the door.
●
Light reflection around door or
outer case.
●
Dirnmin
in blower sound may occur while
operating at power levels other
than high.
●
Dull thumping sound while oven
is operating.
●
Some TV-Radio interference
might be noticed while using
your microwave oven. It’s similar
~o
other small appliances and does
not indicate a problem with
your oven.
g oven light and change
the interference caused by
2
—
k&povendmrc los@=
~~\•ð“\•D”\
discomect @wer Lord$ tir Shwt
the.fuse
●
wntiers-far
orcircuitb@erpanel.
%%
ptium tiaas w~i~md:sded
exam~~eycl~sed jars-wfi
oven
off power
hfi:and
‘
~: .explodetid shordd.~otbeh-.k.this
microwave
uveQ..Stickuse
of the microwave
ovepcordd~~t hinjury;
o Avdd h~~
eveatithout theirtids;
My.$ood in’glass
espeei~y
jars,
m@t
and
egg fitures.
●
D? hot de~frozm beyer~ ~
neeked botia (es~itiy cartinai~
Even ifthe
up. W can
rqsdting
●
Use #W
~’*
fim3/4”~gh;re~~vg~e: @p:fofi
R@the
microwave
away .tiomthe
cgnbris open~ pressmcan build
cause
in
inj~.
Ody ~
the con~er
*Meal h
-:@de
tiybemi@o~av@in
tray to the
oven,ke~
sides
,,.
box.~en ustig foiI
tie’ftiilti:lti~l
Gfthe oven.
●
.@wm m*j ‘become.hot’
~
ftiitheh&M
of.hat me-
pot holdefitiybene~
n2~W
beverages).
to
burs~.possibly
fofitraysiess
c~ver.and
tich
fti
‘Wdethecwkwn.
•Mm~~&, the,~table.-
to
toti.
Be
careti
touching theturn&le
become too hot
and after cooking.
at
in
to
dtig
the
,‘
*Me c&a*PI%tic
miwowave
used
not
be as tolerant of overcooking
@ass
cooking is very
careftiy.
or
Even microwave-safe
ceramic materials and
cookware
designed
use~, but should
plastii
conditiom
may
soften or
may
as are
if subjected to short periods of overcooking.
longer
exposures to
overcoo&g, the
food and
cookware could ignite. For these reasons:
l) Use microwave-safe
them in strict
marmfacturer’s
.compliance
recommendations.
pl~cs
only. and use
with the cookware
2)D0
not
subject empty coo&are to microwaving.
3) Do not
without
.’~~n coo~po~
exactly
te~~r-
intherernotepossibfity Wtrictimay
permit
complete
and
children towplastic cookwme
supervision.
fo~ow
.&e- ens
dwzys cookthe mea$to .m ‘titernd
of at
le~t 170?F. Ws
assures
.thst,.
be
,p*mttitie~ea~.itwUb:@ d:.md@4
w~’.be Safeto -i
*’BO’kot bofi &ba
hs&e@:~@dup.~sj@e~gyp~&d
&&mve av~ .’
‘.;
~i~l
~useittob~pssibly.~sdtig.ti:~j~..
‘“
::*@&
*&:.suc*:@~ta
‘
*~$~&’~*
-es,
,
apples;c~c~en ~v~
~d.~&:@hl*~d:~g;~*’
.(wpmtimat~n)shqukq:k
pierdto wow:~~toescape
“ dtigcootig.
for
be
char
~
,.
~~• ~..
:
‘ ‘ ‘:
:
~.
To
obtain
tie
back of this guide.
We’re proud of our service and want you to be
pleased.
service you receive, here me
further help.
~ST,
appliance. Explain why you are not pleased. In
cases, this will solve the problem.
service, see the Consumer Services page in
H for some reason you are not happy with the
tiee
steps to follow for
contact the people who serviced your
most
NEXT, if you are still not pleased, write dl the
details-including your phone number-to:
Manager, Consumer Relations
GE
Applirmces
Apphance Pmk
Louisville, KY 40225
~ALLY,
Major Apphance Consumer Action
20 North
Chicago,
if your problem is still not resolved, write:
Pnel
Wacker
~
Drive
60606
5
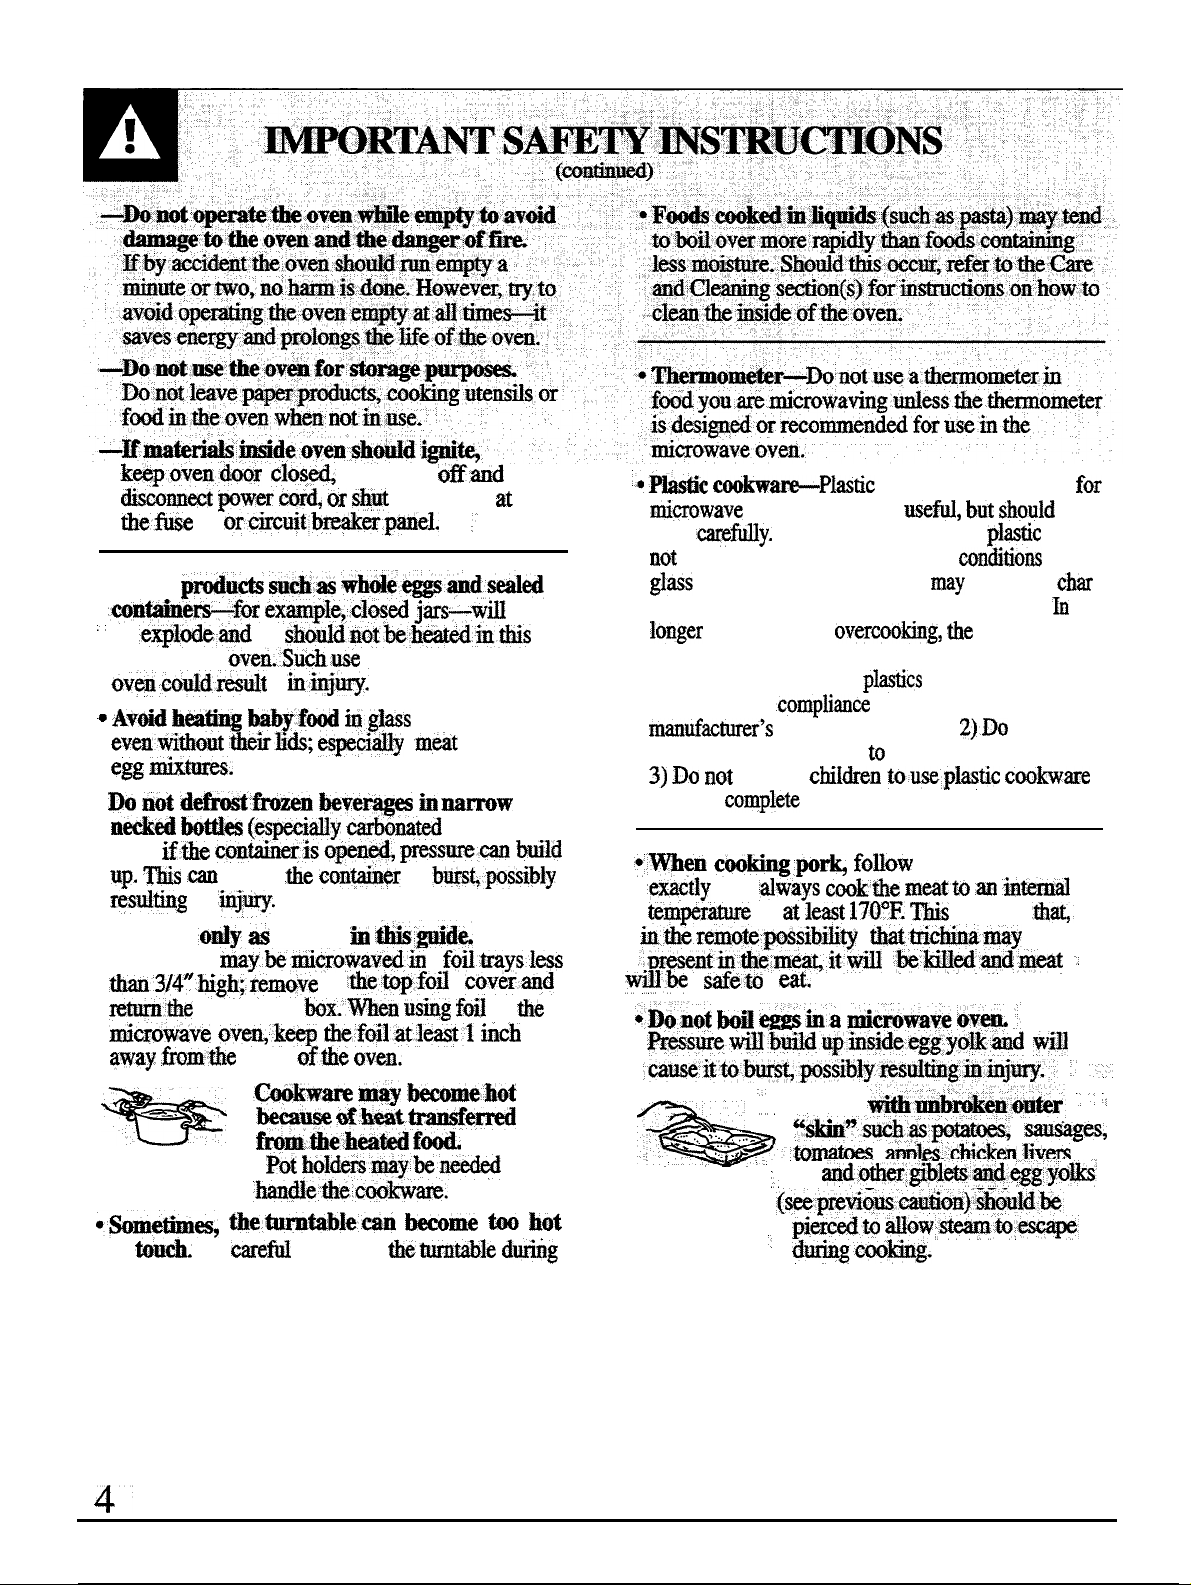
MICROWAVmG TWS
●
Make
sure
dl
cookware used in your microwave
oven is suitable for microwaving.
casseroles, cooking dishes, measuring cups,
cups, pottery or china dinnerware which does not
have
metiic ti
be used. Some cookware is labeled “suitable for
microwaving”.
●
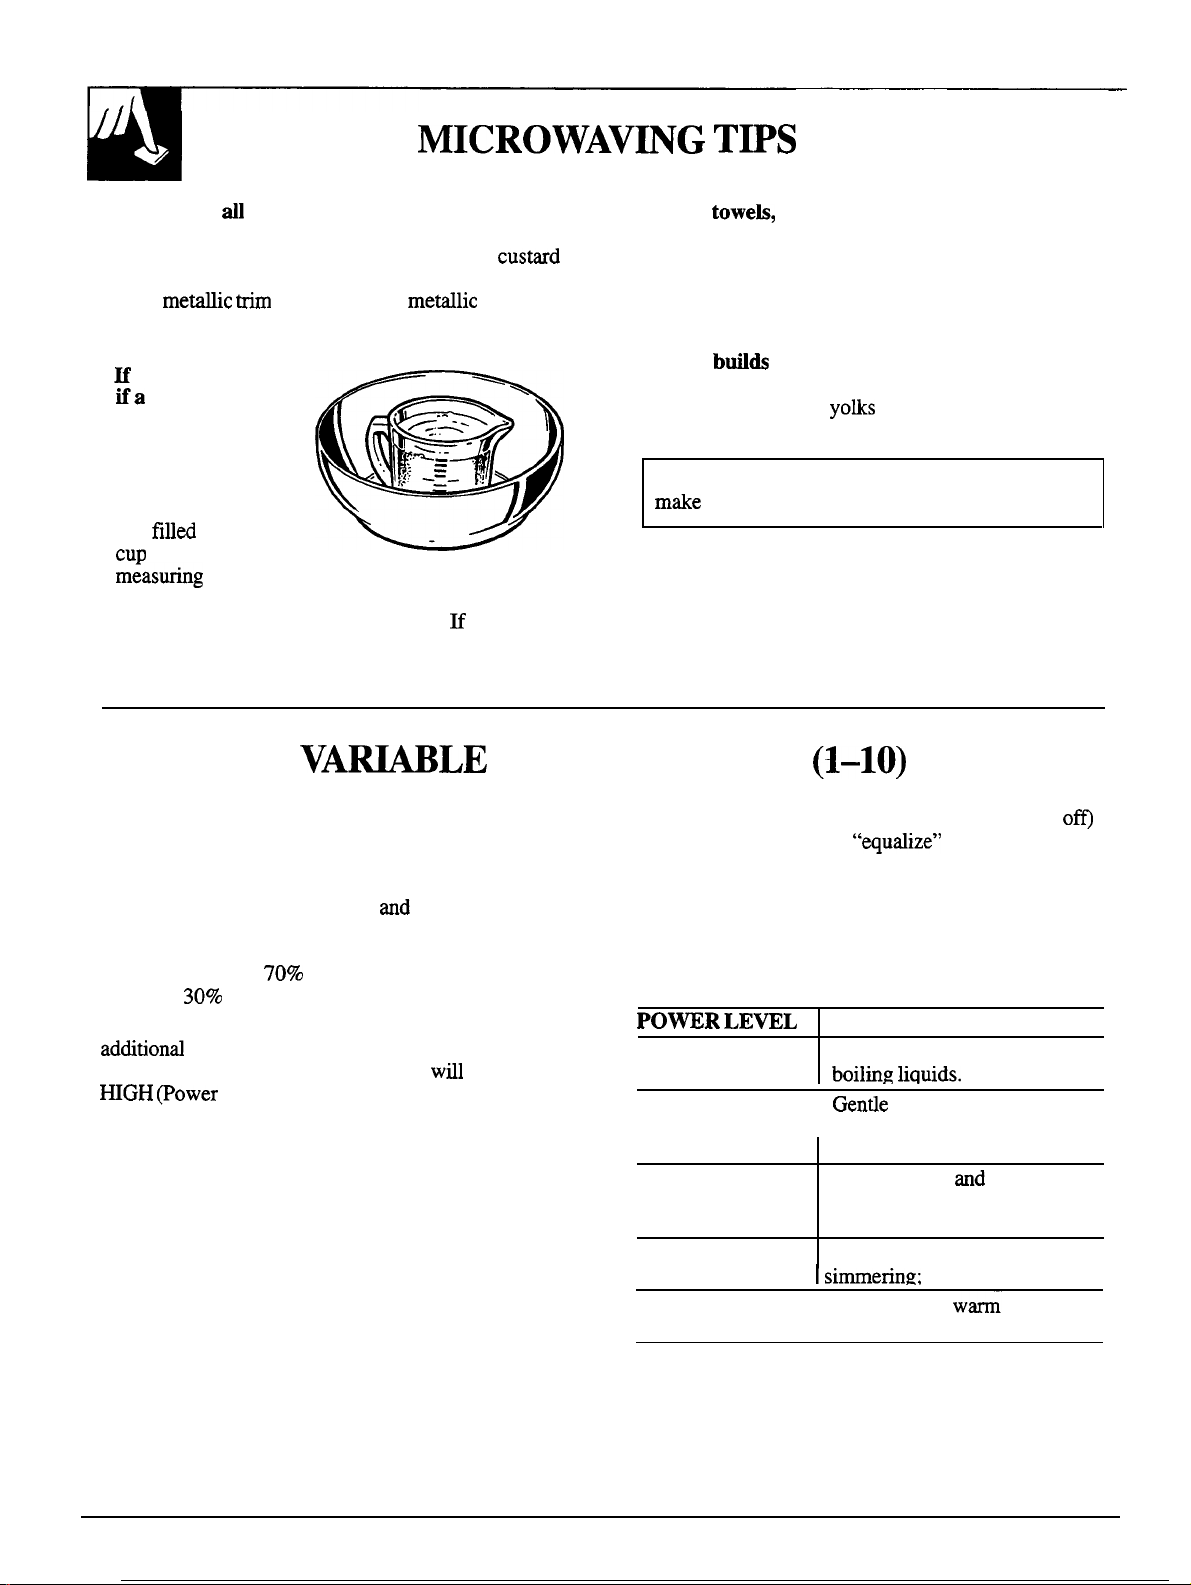
H
you are not sure
ifa
dish is
microwave-safe,
use this test:
in the oven both the
dish you are testing
and a glass measuring
cup
fifled
with one
cup
water—set the
m~asuring
Microwave 1 minute at high. If the dish heats,
it should not be used for microwaving.
remains cool and only the water in the cup heats,
then the dish is microwave-safe.
cup either in or next to the dish.
or glaze with a
Place
Most glass
metilic
U the dish
custmd
sheen can
●
Paper
●
Some microwaved foods require stirring, rotating
●
Steam
tightly covered by a skin or membrane.
Pierce potatoes, egg
prevent bursting.
toweb,
can be used to cover dishes in order to retain
moisture and prevent spattering. Be sure to vent
plastic wrap so steam can escape.
or rearranging.
btids
If you use a meat thermometer while cooking,
make sure it is safe for use in microwave ovens.
waxed paper and plastic wrap
Check the Cooking Guide.
up pressure in foods which are
yoks
and chicken livers to
VA~LE
Variable power levels add flexibility to your
microwave cooking. The power levels on your
microwave oven can be compared to the surface
units on a range. HIGH (Power Level 10) or full
power is the fastest way to cook
power. Each power level gives you microwave energy
a certain percent of the time. Power Level 7 is
microwave energy
is energy
A high setting (10) will cook faster but may need
additiond attention such as frequent stirring, rotating
or turning over. Most of your cooking
MGH @ower
more evenly and with less attention given to stirring
or rotating the food. Some foods may have better
flavor, texture or appearance if one of the lower
settings is used. You may wish to use a lower power
level when cooking foods that have a tendency to boil
over, such as scalloped potatoes.
30~0
7070
of the time. Power Level 3
of the time.
Level 10). A lower setting will cook
and
gives you 100%
POWER LEVELS
wdl
be done on
(1-10)
Rest periods (when the microwave energy cycles
give time for the food to
to the inside of the food. An example of this is shown
with Power Level 3—the defrost cycle. If microwave
energy did not cycle off, the outside of the food would
cook before the inside was defrosted.
Here are some examples of uses for various
power levels:
POWR LE~L
High 10
Meal-High 7
Medium 5 Slow cooking
Low 3
warm
1
“equrdize”
BEST USES
Fish, bacon, vegetables,
boiling tiquids.
Gende cooking of meat and
poultry; baking casseroles
I
and reheating.
such as stews and less tender
cuts of meat.
Defrosting without cooking;
I
simmering:
Keeping food
overcooking; softening butter.
I
or transfer heat
and
tenderizing
delicate sauces.
w=”
without
om
6
1
B
,
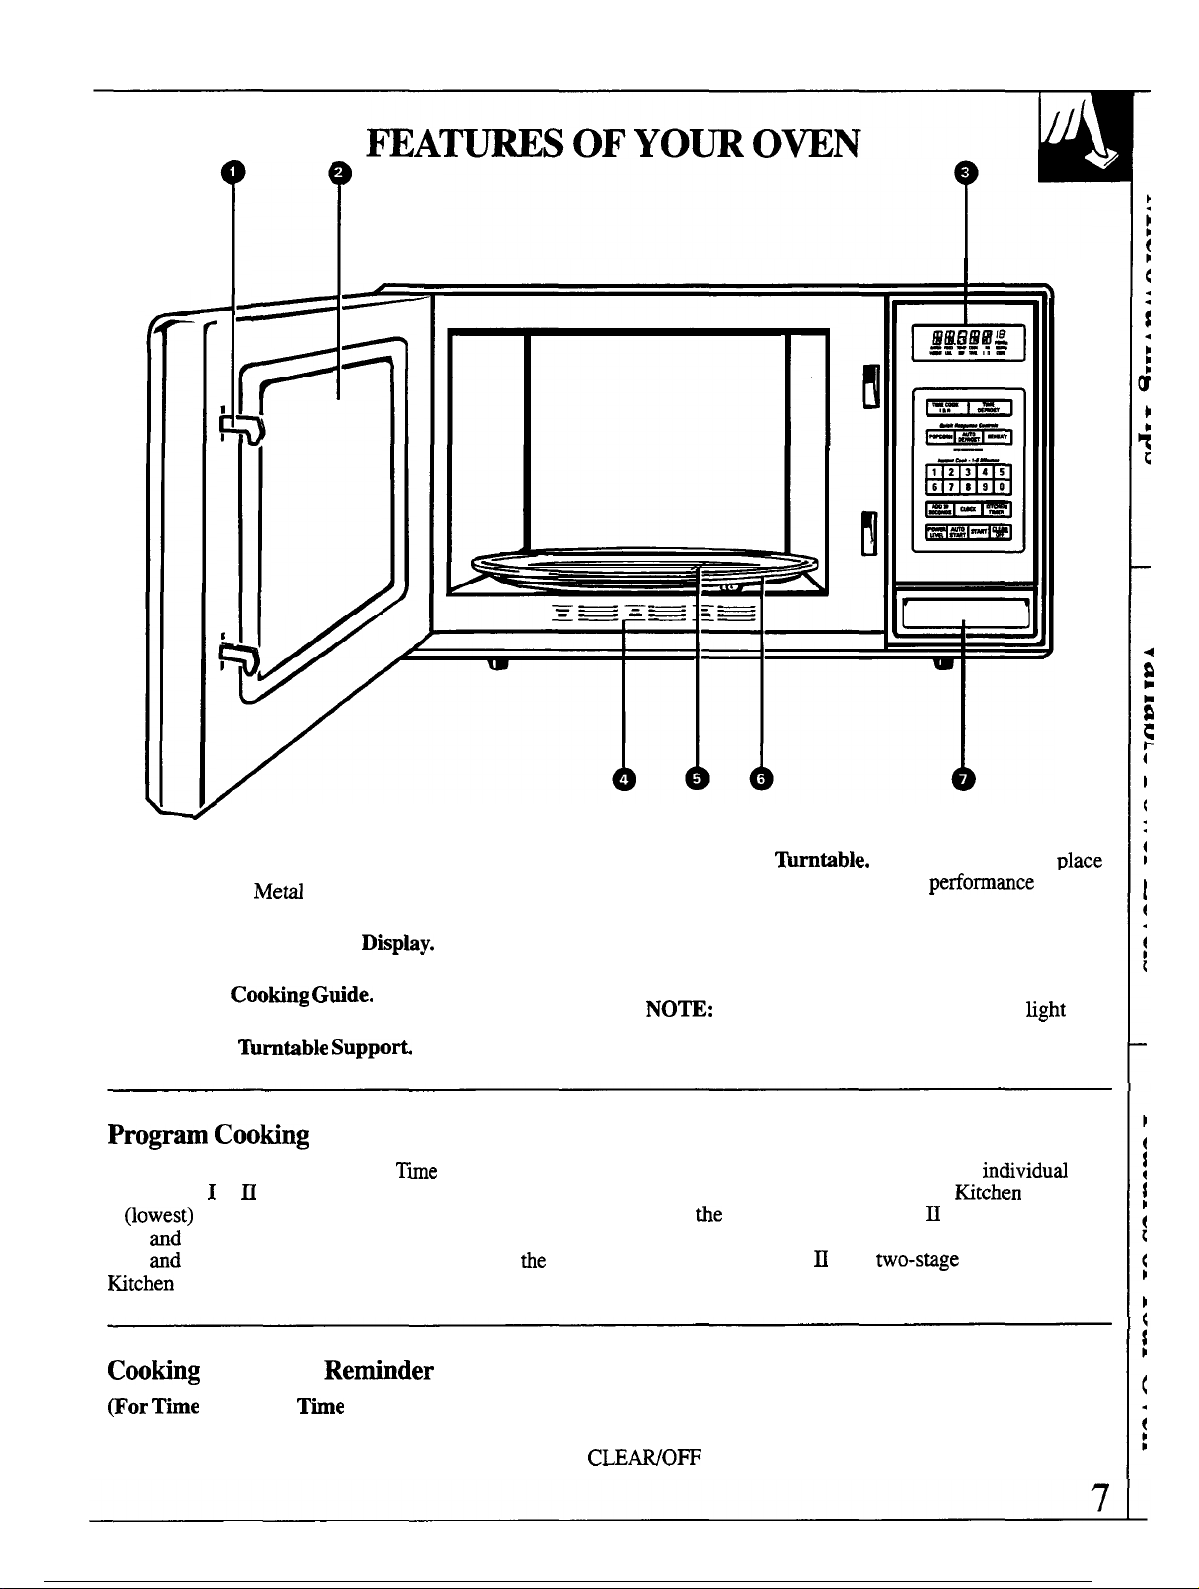
1. Door Latches.
2. Door Screen.
foods and keeps microwaves confined inside oven.
3.
Touch Control Panel and Dkplay. See Your
Touch Control Panel section for instructions.
4.
Automatic
codes for many frequently prepared foods.
5.
Removable
MeM
screen permits viewing of
Cooting Gtide.
~rntable Suppofi
Quick reference
6. Removable
when using the oven. Cooking
be unsatisfactory without the turntable in place.
turntable may be removed for cleaning.
The
7.
Door Latch Release. Press
to open door.
NO~:
located on the inside walls of the microwave oven.
Rating plate, oven vent(s) and oven
Progrm Cooting
Use your Touch Control Panel to
Time Cook
1
~owest)
time
time
Ktchen
Cooting
@or Ttie
To remind you that you have food in the oven, the oven will beep once a
minute until you either open the oven door or touch the
I
& ~ with choice of power levels from
to 10 (highest); to Reheat using a preset
and
power level; to cook popcorn using a preset
and
power level; to time kitchen tasks with
Timer; and to set the clock.
Complete
Cook and
Retinder
Ttie
Tiie
Defrost or
Defrost cycles)
the
Create your own programs to suit your
cooking style. For example: use the
delay
tie
start of Time Cook I & H or program a hold
time between Time Defrost and Time Cook I &H.
Set Time Cook I & D for a two-stige program using
different times and power levels.
CLENOFF
pad.
~rntable.
Turntable must be in
performmce w-ill
latch release button
fight
individud
fitchen
Timer to
ulace
are
Quick
Resnonse
Controls
--’
+1
16
ADD
SECONDS
POWER
LNEL
OPEN DOOR FOR GUIOE
Instant Cook - l-5
121314151
AUTO
8
CL
I
sT~RT
7
M
START
Mindes
9
I
I
0+
C~~R
4
.
8
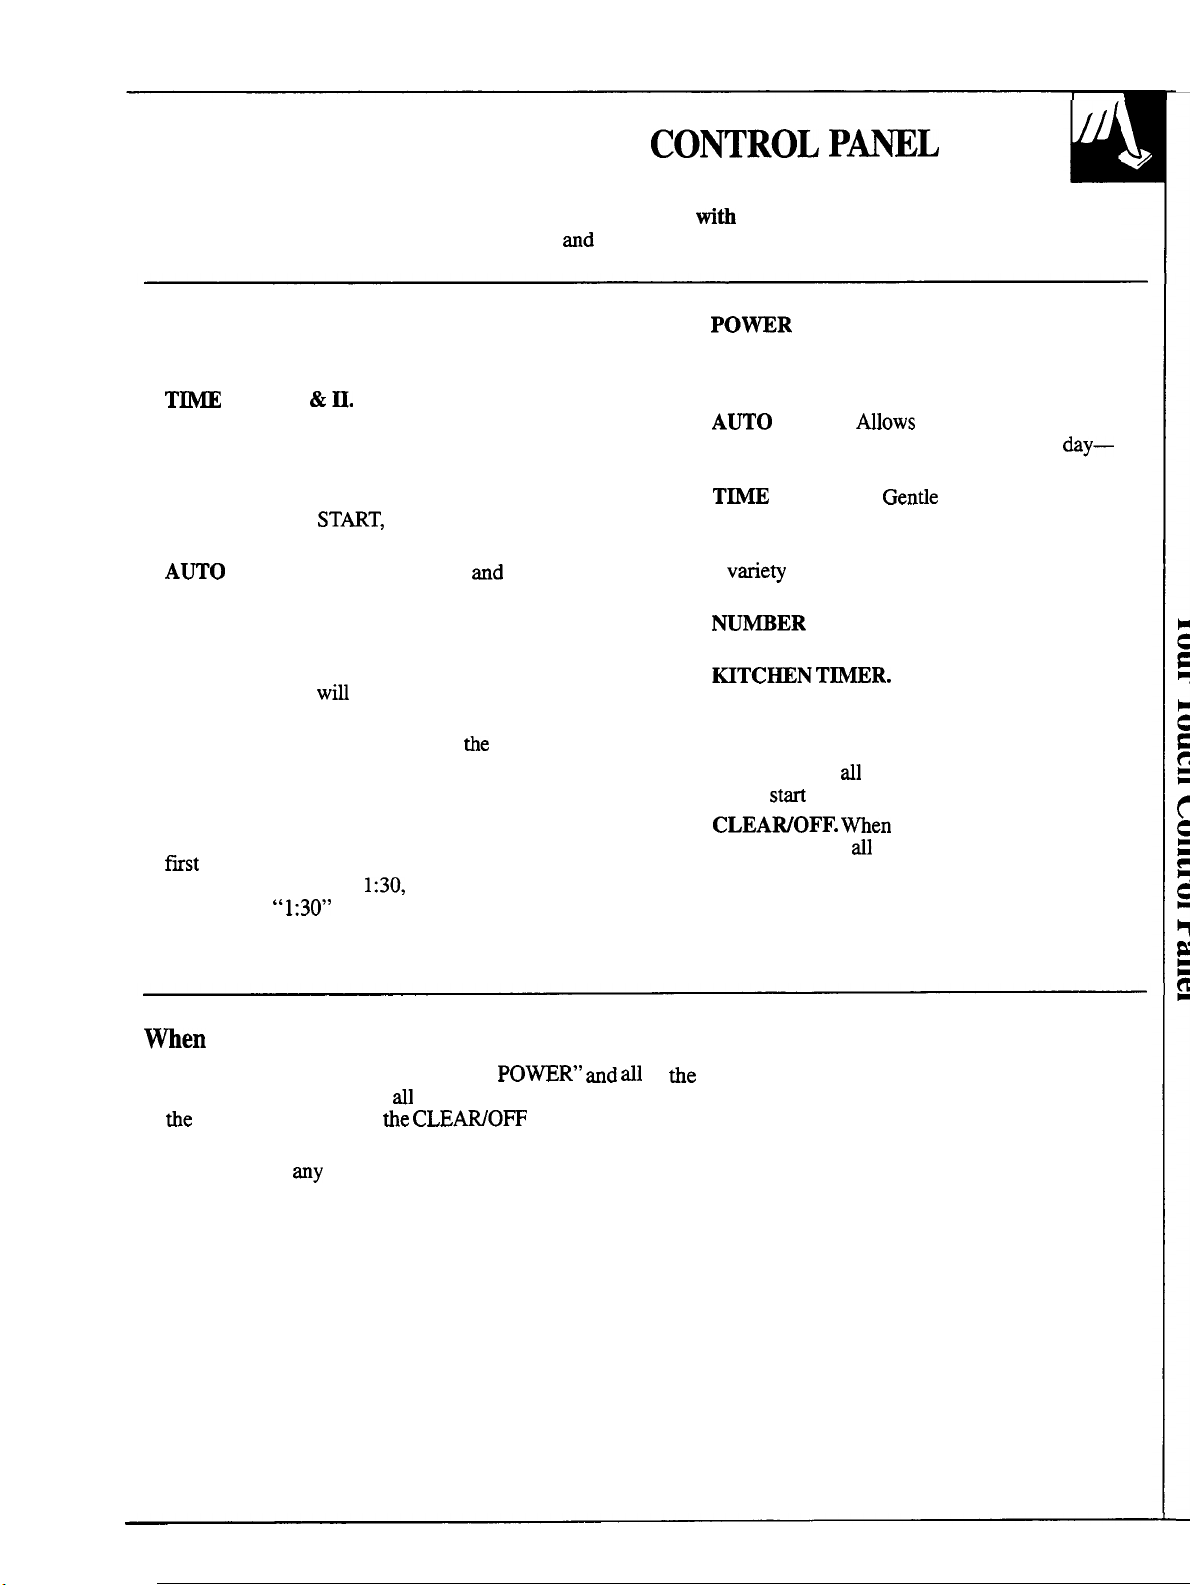
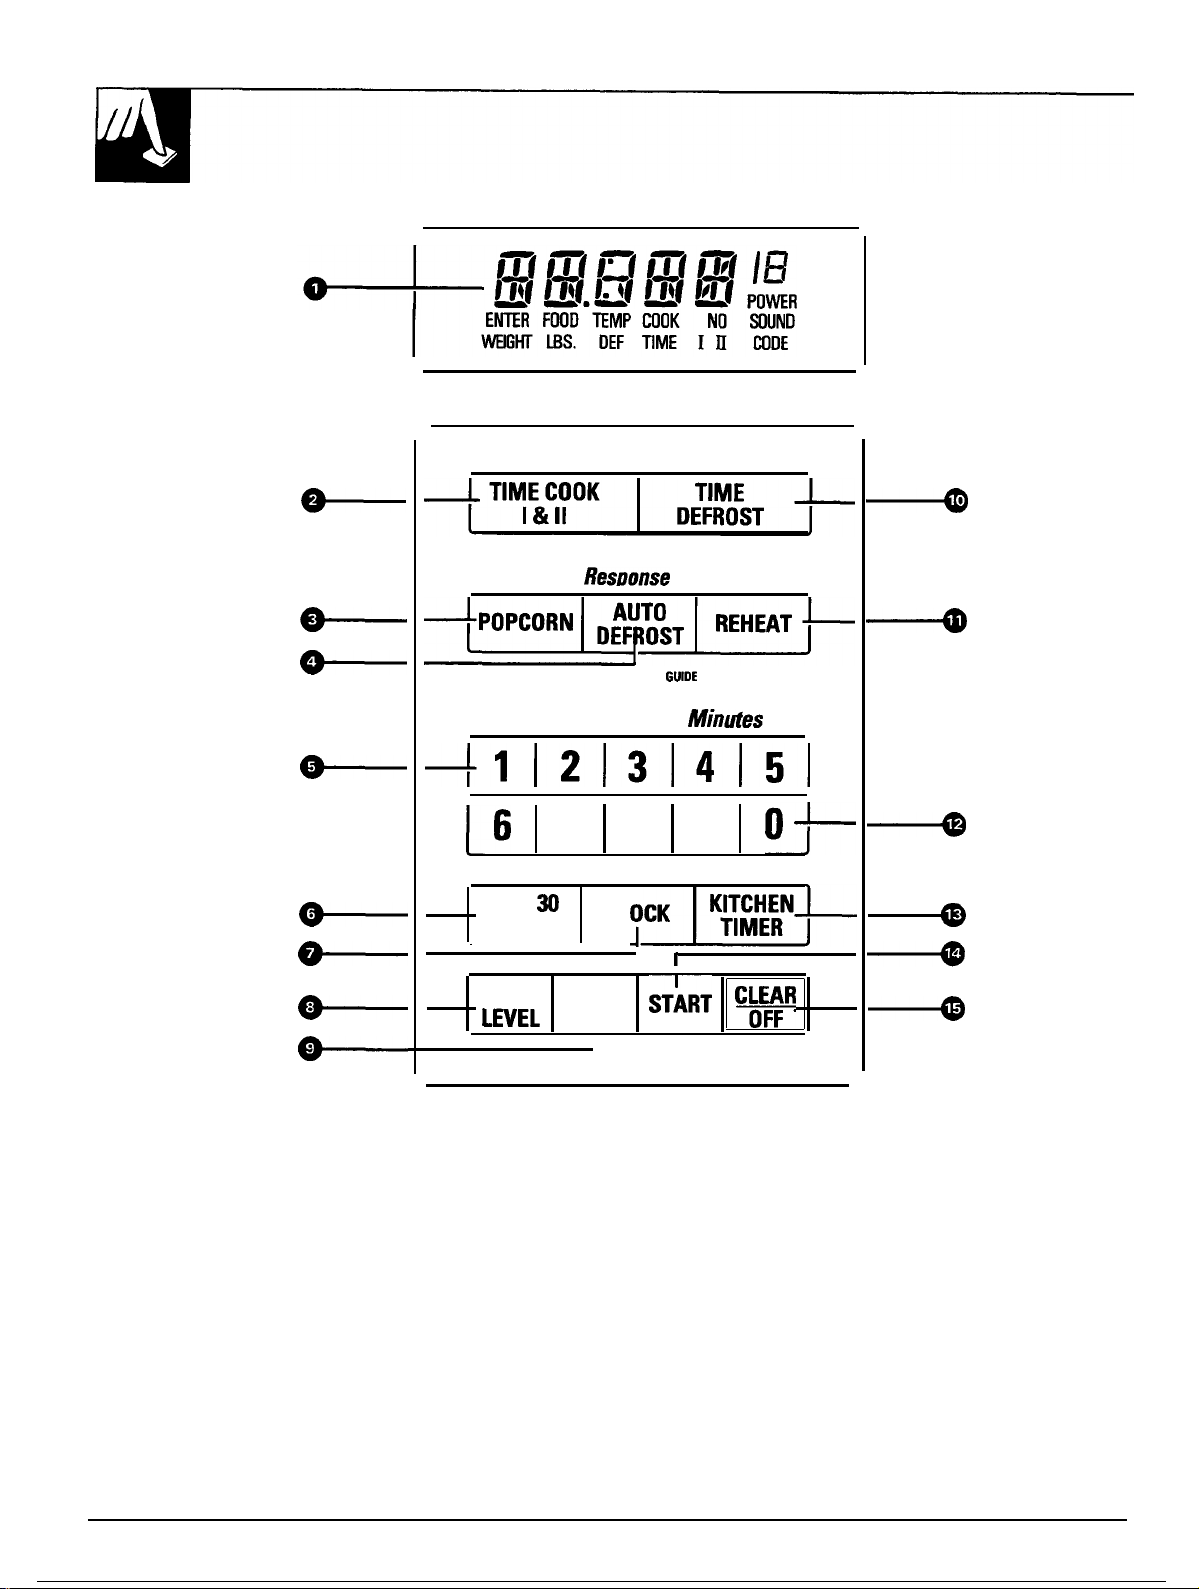
YOUR TOUCH
COmROL PWL
The Touch Control Panel allows you to set the oven controls
touch of a finger.
1. DISPLAY.
temperature during cooking functions, power
level being used, cooking mode and instructions.
2.
T~
COOK I
amount of time using automatic Power Level
10 (High).
3.
POPCORN.
microwave popcorn weighing 3.0 to 3.5 ounces.
No need to touch
immediately.
4.
A~O
DEFROST.
weight, then START. The oven automatically
sets power levels and defrosting time.
5.
INSTANT COOK.
5 for 1 to 5 minutes of cooking. No need to touch
START, the oven
6.
ADD 30 SECONDS. Press this
of cook time, to add 30 seconds to
as it’s counting down or for an “instant on” for
30 seconds.
7.
CLOCK.
check time of day while microwaving. To set clock,
fwst
touch CLOCK pad and then enter time of day.
For example, if time is
3 and O and
touch START or CLOCK pad. To reset or change
time, simply repeat above process.
It’s designed to be easy to use
Displays time of day, time or
&~.
Microwave for a selected
Touch this pad to cook prepackaged
ST~T,
wi~
Touch this pad to enter time of day or
“1:30” will appear in display. Then
the oven will start
Touch this pad
Touch number pads 1 through
start immediately.
1:30,
touch number pads 1,
and
food
pad for 30 seconds
the
cook time
and
understand.
tith
8.
9.
10.
11. REHEAT.
12.
13.
14.
15.
the
PO~R
another power level number if you want to change
from automatic Power Level 10 (High) for
cooking or Power Level 3 (Low) for defrosting.
A~O
oven to begin cooking at a preset time of
up to a 12-hour delay.
T=
Power Level 3 (Low).
a
varie~
power levels.
W~ER
the microwave.
~TCHEN T~R.
microwave energy. It functions as either a kitchen
timer, as a holding period after defrost or as a
delay timer before time or temperature cooking.
START.
pad to
CLEAWOFF. men
oven and erases
LEVEL.
START.
DEFROST.
Use Reheat for quick reheating of
of foods using different times and
PADS.
After dl selections are made, touch this
stm
the oven.
Touch this pad before entering
Mlows you to program your
day—
Gentie
thawing at automatic
Touch these pads to program
This
feature uses no
touched, it shuts off the
rdl
settings (except time of day).
men
The display panel displays “88888”, “18
functions. After 15 seconds, dl lights disappear and “RESET” appears
in
oven is ready for use.
This will happen
You Plug in the Oven
the
upper portion. Touch
any
time there is a power outage.
POWR” and dl
the
CLEAWOFF pad, set the Clock and the
of
the
oven
9
 Loading...