

GE JDS28WK2WW, JDS28CK2CC Owner’s Manual
www.GEAppliances.com
Safety Instru_tions ... 9-4
Operating Imlruc_ions
Clock and Timer ....... ] 0
Control Lockout ........ 7
Conuols ............. 6, 7
()yen ................ 8, 9
Power Outag> .......... 7
Sabbath Featule ..... 11, 12
Special Feaun_es ........ 11
SurPace Units ........... 5
Thermostat ........... 12
Care and Cleaning
Broiler Pan and Grid ... 16
Conuol gmobs ......... 13
Drip Pans ............. 17
Heating Elements ...... 13
I,ift-Off Oven Door . .... 15
I,ift-Up Cooktop ....... 17
I fight ................. 16
()yen Inmrior. ......... 15
Shelxes ............... 14
SurPace Units .......... 17
Vent ................. 14
Troubleshooting
Tips .............. 18-19
Accessories ........... 20
Consumer Support
Consumer
Support ...... Back Co_er
Product
Registration ........ 91,92
V\'anantv ............. 23
JDS2S
Write the model and serial
numbers here:
Model #
Serial #
You can find them on a label
behind the storage drawer on
the fl'ont of the range fl'ame.
ii?
164D4290P405 49-80254-1 09-04JR
IMPORTANTSAFETYINFORMATION.
READALLINSTRUCTIONSBEFOREUSING.
WARNING!
For your safe_ the information in this manual must be followed to minimize the risk of fire, electric
shock, or to prevent property damage, personal injury, or loss of fife.
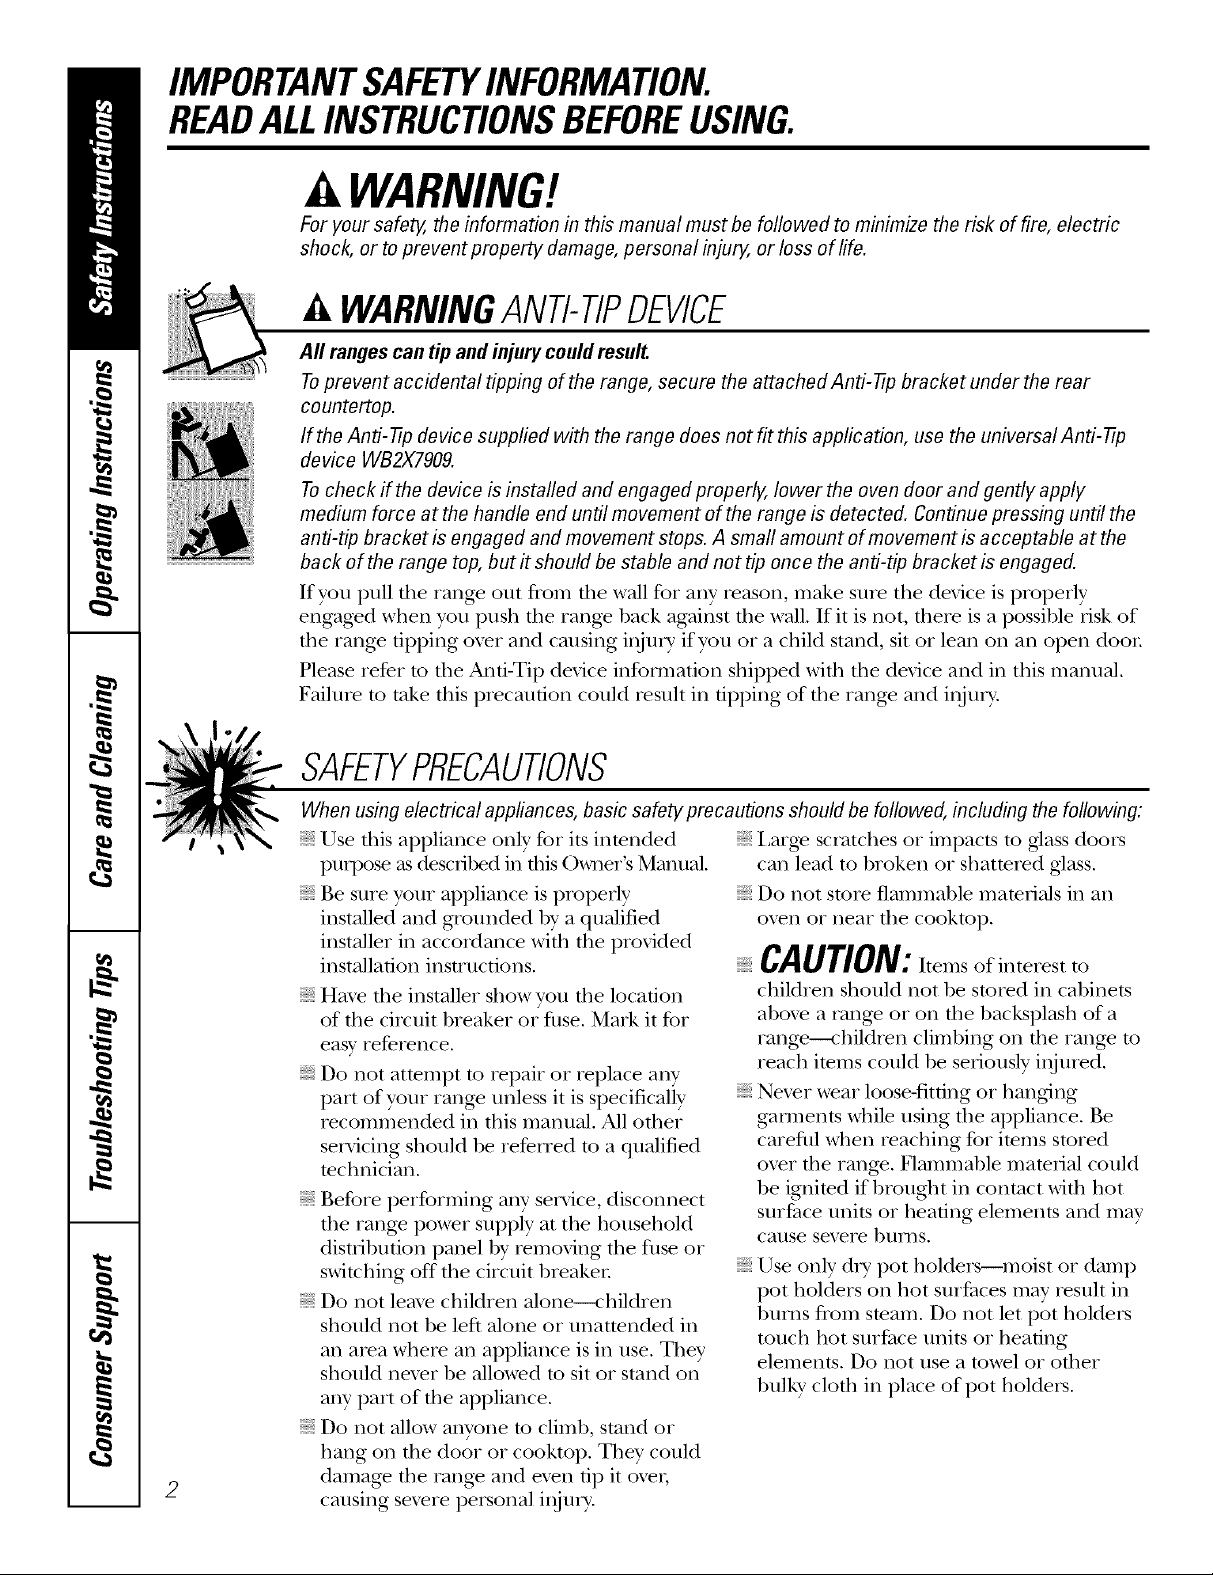
WARNINGANTI-TIPDEVICE
Aft ranges can tip and injmy could result
Toprevent accidental tipping of the range, secure the attached Anti-tip bracket under the rear
countertop.
If the Anti-tip device supplied with the range does not fit this application, use the universal Anti-tip
device WB2X7909.
Tocheck if the device is installed and engaged properly, lower the oven door and gently apply
medium force at the handle end until movement of the range is detected. Continuepressing until the
anti-tip bracket is engaged and movement stops.A small amount of movement is acceptable at the
back of the range top, but it should be stable and not tip once the anti-tip bracket is engaged.
If you pull die range out flom dm wall for ally' reason, make sure tile device is properly
engaged when you push tile range back against file wall. If it is not, there is a possil)le iisk of
tile range tipping oxer and cansing item T if you or a child stand, sit or lean on an open door
Please reDr m d_e And-Tip device infol_nafion shipped widl the device and ill this manual.
Failme m take fills precaution could result ill tipping of tile range and injm T.
SAFETYPRECAUTIONS
When using electrical appflances, basic safety precautions should be followed, including the following:
Use this appliance only for its intended l,arge scratches or impacts to glass doors
propose as described in dlis O_mer's Manual.
Be snre your appliance is i)iopedy
installed and grounded by a qualified
installer in accordance with the provided
installation instructions.
Haxe the installer show you the location
of tile circuit breaker or fllse. Mark it for
easy reference.
Do not attempt to repair or replace ally
part of your range unless it is specifically
recommended in this mannal. All other
ser\_icing should be refeixed to a qualified
technician.
Before performing any service, disconnect
tile range power supply at tile household
distribution panel by removing the fllse or
switching off tile circuit breaker
Do not leme children alone--children
should not be left alone or nnattended in
an aiea where all appliance is ill use. They
should nexer be allowed m sit or stand on
ally' part of rile appliance.
Do not allow anyone m climb, stand or
hang on tim door or cookmp. They could
2
damage file range and exen tip it ovel;
cansing severe personal il_n_>
call lead to broken or shattered glass.
Do not store flammable materials ill all
oxen or near tile cooktop.
CAUTION: ,emsofin,eres,to
children should not be stored ill cabinets
above a range or oil file backsplash of a
range--_:hildlen climbing on the range to
reach items could be seriously il_nled.
Nexer wear loose-fitting or hanging
gai_nents while using rile appliance. Be
careflfl when reaching for imms stored
o_er file range. Flammable material could
be ignimd if 1)rought in contact w_fll hot
surl_ace units or heating elements and may
canse sexere l)nl_/ls.
iiiiiiiiiiii_iii
Use only dU pot holders--moist or damp
pot holders on hot sniiCaces may Iesult ill
bums from smam. Do not let pot holders
touch hot snrPace units or heating
elements. Do not use a towel or od_er
bulky cloth ill place of pot holders.
WARNING!
SAFETYPRECAUTIONS
www.GEAppliances.com
For your safety, ne\er use your appliance
for watching or heating the room.
Teach children ,lot to plW x_,ithfile
controls or any other part of tile rang_.
Always kee I) dish rowels, dish cloths, pot
holders and other linens a sad distance
from your rang_.
Always kee I) wooden and plastic umnsils
and canned food a safe distance fiom
vonr range.
Always kee I) combustible wall cox>ring:s,
curtains or drapes a safe distance from
vonr rang_.
Do not let cooldng gTease or other flammable
materials accumulate in or near the rang>.
Kee I) file hood and grease filmrs clean
m maintain g_od x_nfing and m ax_id
grease fires.
Do not use water on grease fires. Never
pick up a flaming pan. Turn die controls
off. Smoflter a flaming pan on a surPace
unit by coveting the pan completely wiflt a
well-fitting lid, cookie sheet or fiat trW. Use
a multi-purpose di T chemical or foam-type
rite extinguisher
Flaming grease outside a pan can be put
out by cox>ring it with baking soda or, if
available, by using a muld-puq)ose d U
chemical or %am-type fire exdnguishel:
Flame in the oxen can be smothered
completely by closing tile oven door and
turning the oven off or by using a mulfi-
puq)ose di T chemical or foam-type fire
exfinguishen
Do ,lot much file sur£tce units, the heating
elements or the inmtior surPace of file oven.
These snilZaces nl W be hot enong]t to bnlrl
e_en though they are dark in color Dining
and after use, do *lot touch, or let clofl_ing
or other flammable mamdals contact rite
surPace units, areas nearl)y file surPace units
or any interior area of the oven; allow
sufi_icient time for cooling fi_t.
Pomntially hot surfaces include tile
cooktop, areas lacing file cooktop, oven
_ent opening, surfaces near file opening,
crevices around the oxen door
REMEMBER:Tlle inside snilZace of dte ox>n
may be hot when dte door is opened.
Do not store or use combustible materials,
gasoline or other flammable vapors and
liquids in the vicinity of this or any other
appliance.
COOKMEATANDPOULTRYTHOROUGHLY...
Cookmeat andpoultry thomughl)/--meat to at least an INTERNALtemperatureof 160°Fandpoultry toat least
an iNTERNALtemperatureof 180°ECookingto thesetemperaturesusual/)/protectsagainstfoodbomeillness.
SURFACECOOKINGUNITS
Useproper pan size--select cookware having flat bottoms large enough to cover the surface unit
heating element. The use of undersized cookware will expose a portion of the surface unit to direct
contact and may result in ignition of clothing. Proper relationship of cookware to surface unit will also
improve efficiency.
Never leme dte surface units nnatmnded
at higtl heat settings. Boiloxers canse smoking
and g_easy spilloxers that m W camh on fire.
Do not use almnimm] foil to line rite drip
pans or an>vhere in the o_en except as
described in this manual. Misuse could
result in a shock, fire hazard or damag> to
tile range.
Be sure rite drip pans and tile xent duct
are ,lot co\ered and are in place. Their
absence during cooking could damag>
rang> parts and wiring.
Only certain types of glass, glassA:eramic,
earthenware or other glazed containers are
suitable for cooktop service; others may
break because of the sudden chang> in
temperatm-e.
To minimize the possibili)' of bums, ig_ifion
of flammable materials and spillage, tile
handle of a container should be turned
toward the cenmr of file range wifltont
exmnding o\er nearby surface units.
Alwws utrn the surface units off before 3
removing cookware.
IMPORTANTSAFETYINFORMATION.
READALLINSTRUCTIONSBEFOREUSING.
SURFACECOOKINGUNITS(cont.)
Do ,lot immerse or soak tile remoxable
surPace units. Do *lot put them in a
dishwasher
When preparing flaming foods under
tile hood, turn tile fan on.
To ax_id tile possibility of a bun_ or
elecuic shock, always be certain tilat the
controls for all surface units are at tile
OFFposition and all coils are cool before
atmmpdng to lift or remove a unit.
Clean the cooktop with caution. If a wet
spong.e is used to wipe spills on a hot
cooktop, he carefld to ax_id smam bums.
Kee I) an eye on foods being flied at high
or medium higil heat setting:s.
Foods for fiTing should be as dry as
possible. Frost on fiozen foods or moisture
on fresh foods can cause hot l_atto bubble
up and ox.er tile sides of tile pan.
Use little fi_t for eflOcdx,e shallow or deep
t_tt fiying. Filling the pan too fltll of fat can
cause spillox.ers when food is added.
If a combination of oils or fi_ts will be used
in flying, stir tog.ether before heating, or as
Pats melt slowly.
Always heat l_atslowly, and watch as it heats.
Use a deep l_attilellnomemr whenever
possible to prevent ox.erheating l_atbeyond
tile smoking point.
WARNING'!
OVEN
Stand away from the range when opening the oven door. Hot air or steam which escapes can cause
bums to hands, face and/or eyes.
Do *lot heat unopened food containers.
Pi.essure could build up and tile container
could burst, causing an i,_nFy'.
Kee I) tile oven x.ent unobstnlcmd.
Kee I) tile ox.en flee flom grease buildup.
Place ti_e ox.en shelf in tile desii.ed position
while tile ox.en is cool. If sheh.es must be
handled when hot, do not let pot holder
contact tile heating elements.
Pulling out tile shelf m the smi>lock is a
com.enience in lifting hem?' foods. It is also
a precaution against bu,ns f,onl touching
hot surfitces of tile door or ox.en walls.
READANDFOLLOWTHISSAFETYINFORMATIONCAREFULLY.
When using cooking or roasung bags
in tile oxen, fbllow tile manufacturer's
directions.
Do *lot use tile ox.en to d, T newspapers.
If overheamd, tiley can catch on fire.
Do not use tim ox.en for a storag.e area.
Imms stored in an oven can ignim.
Do ,lot leax.e paper products, cooking
umnsils or food in tile oven when ,lot
in use.
Do ,lot use ahm)inum foil to line oxen
bottoms, except as suggested in this
manual. Improper installation of
ahm_inum tbil may result in a Iisk
of electric shock or fire.
SAVETHESEINSTRUCTIONS
4
Usingthe surfaceunits, www.GEAppliances.com
Throughout this manual, features and appearance may vary from your model.
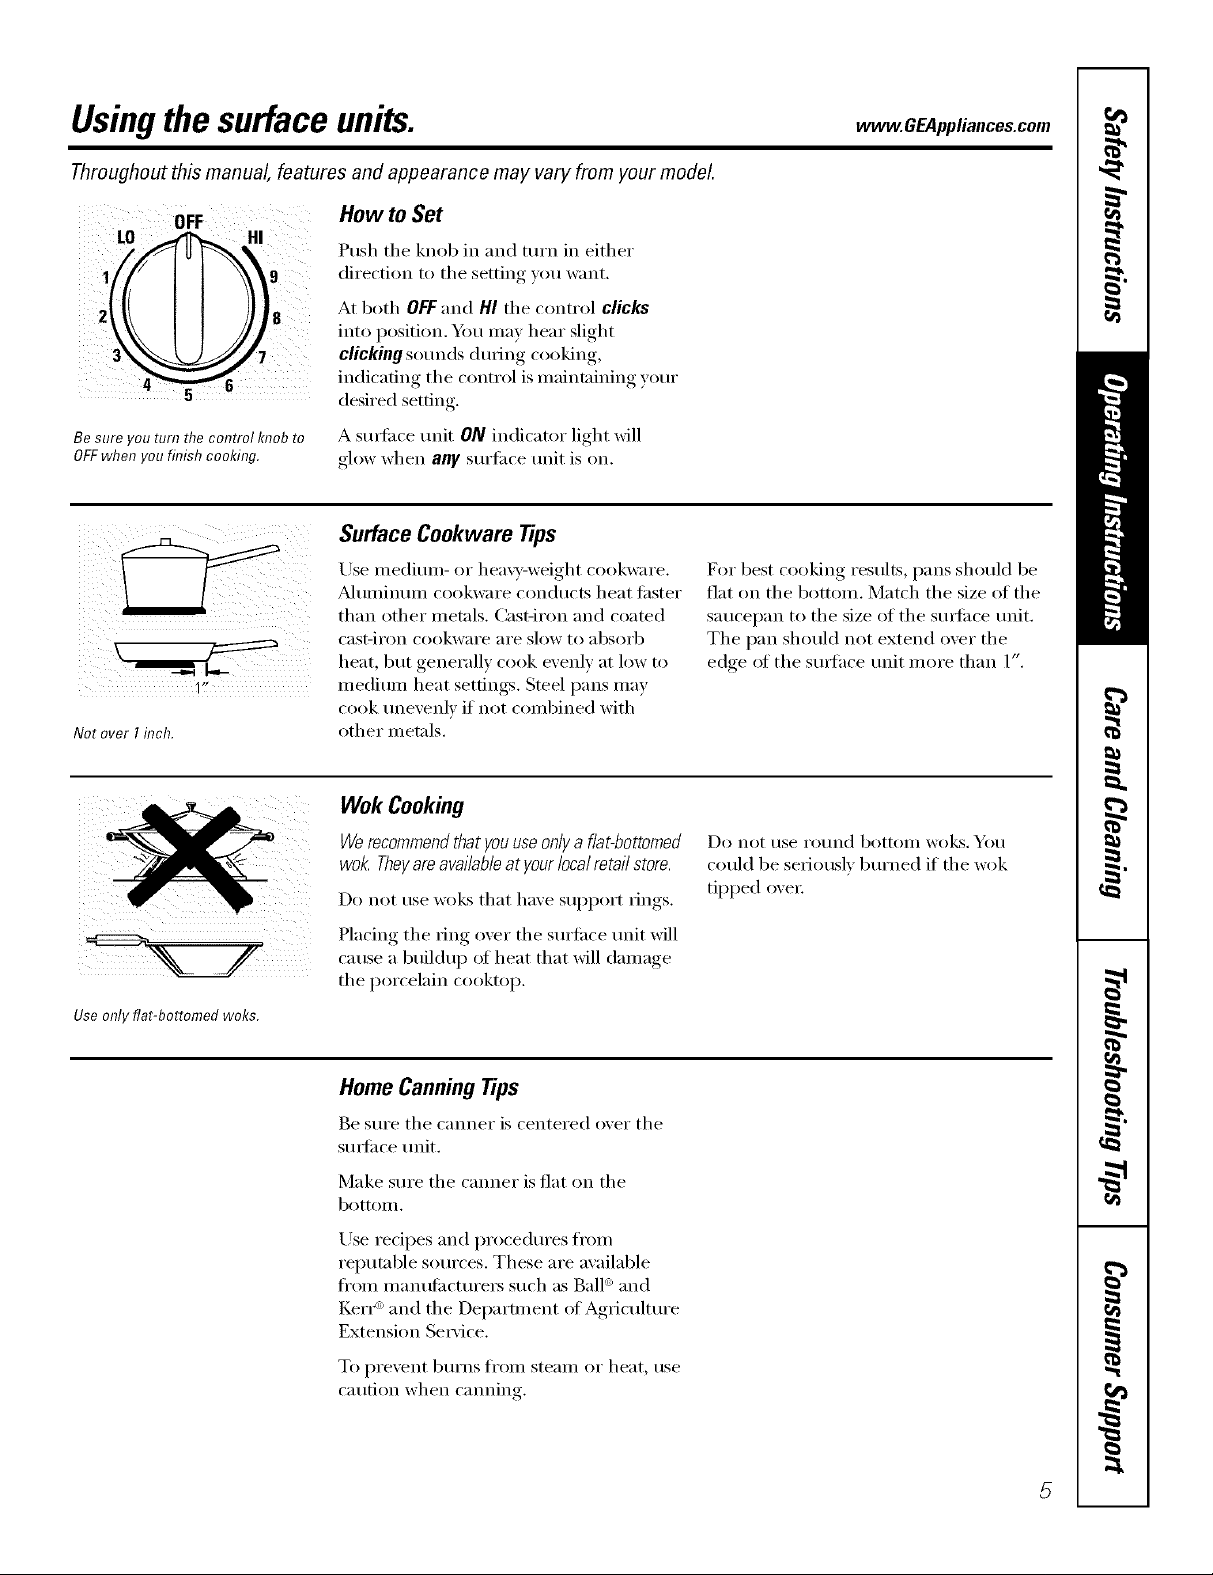
LO HI
Be sure you turn the control knob to
OFFwhen yozlfinish cooking.
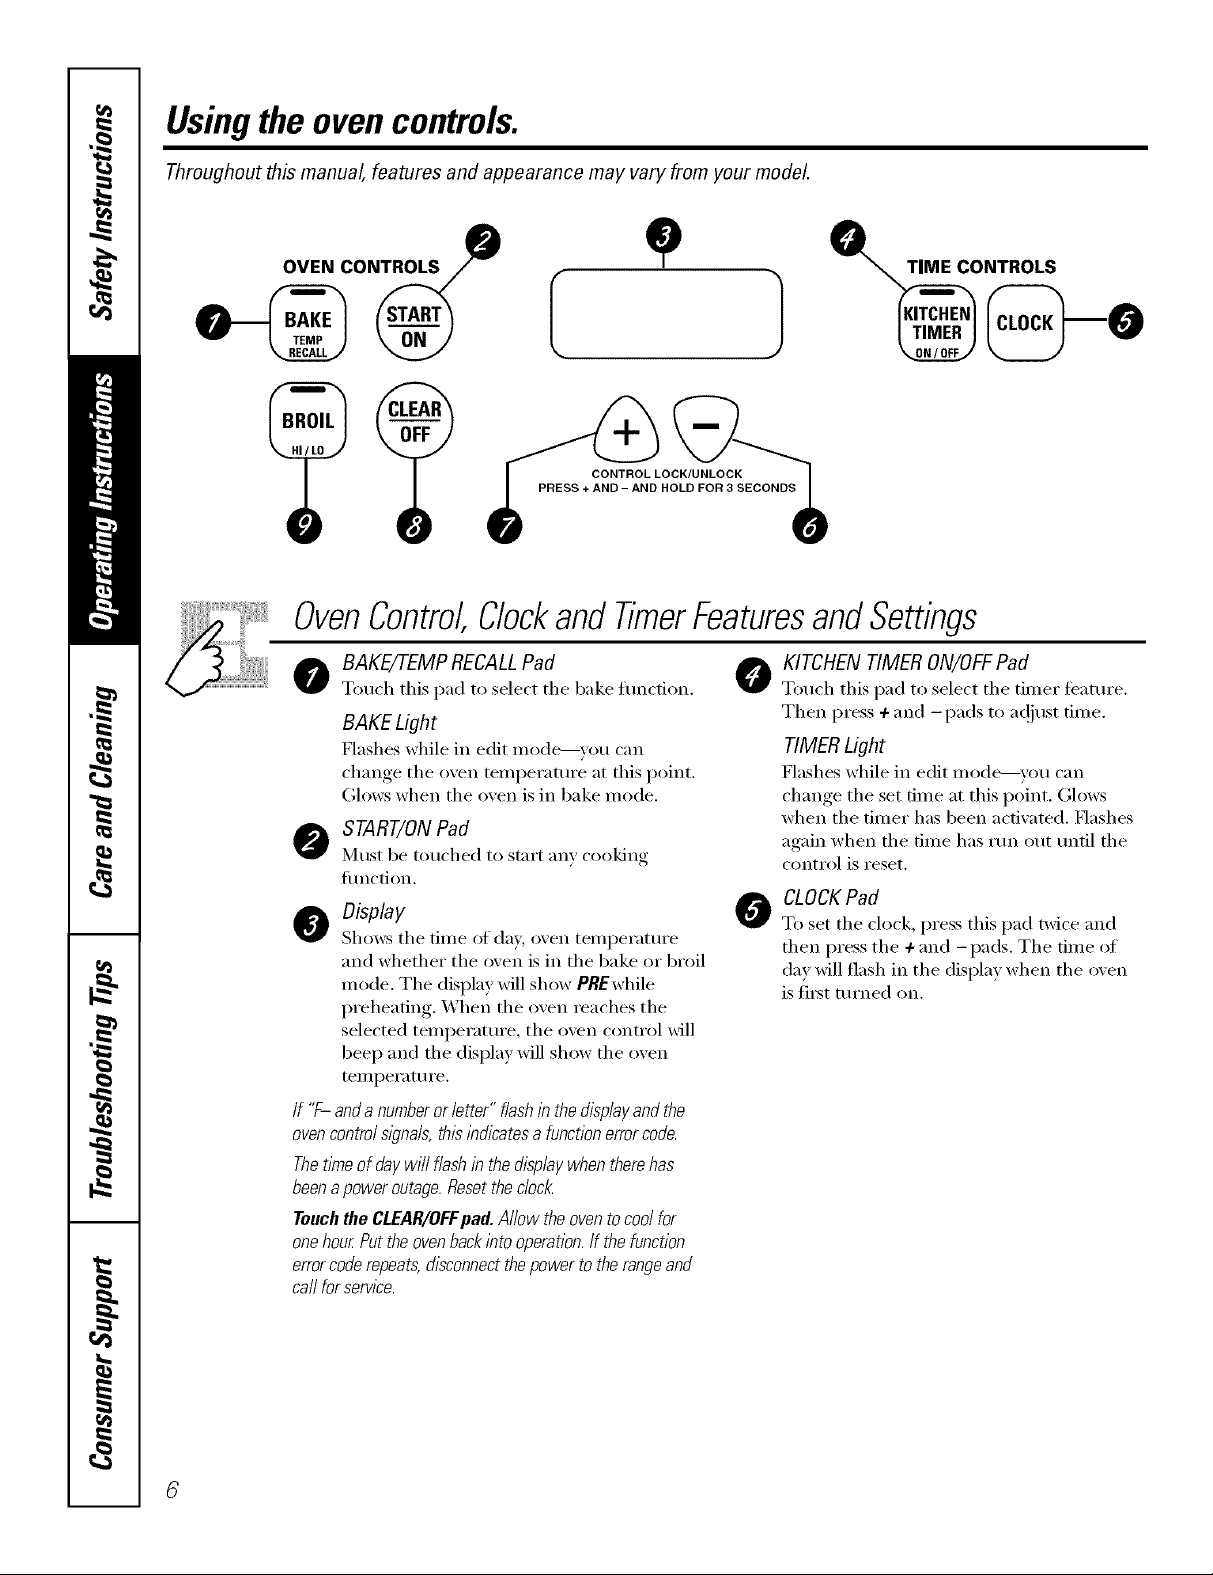
Not over I inch.
OFF
9
1I,
How to Set
Push the knob in and mrn in either
dfi'ection to the setting you want.
At both OFFand HI the control clicks
into position. Ym may hear slight
clickingso/Inds (hltJng cooking,
indicating the control is maintaining your
desired setting.
A suxl'ilce unit ON indicator light will
glow when any surti_ce trait is on.
Surface Cookware Tips
Use medium- or hea\y-weight cookware.
_kdtllllilltllll cookware conducts heat tipster
than other metals. Cast-iron and coamd
cast-iron cookware are slow to _lbsorb
heat but generall_ cook exenl_ at low to
medium heat settings. Steel pans may
cook unevenly if not combined with
other metals.
For best cooking results, pans should be
fiat on the bottom. Match the size of the
saucei)an to the size of the stu]i_ce unit.
The pan should not extend over the
edge ot the stu_hce unit more than 1".
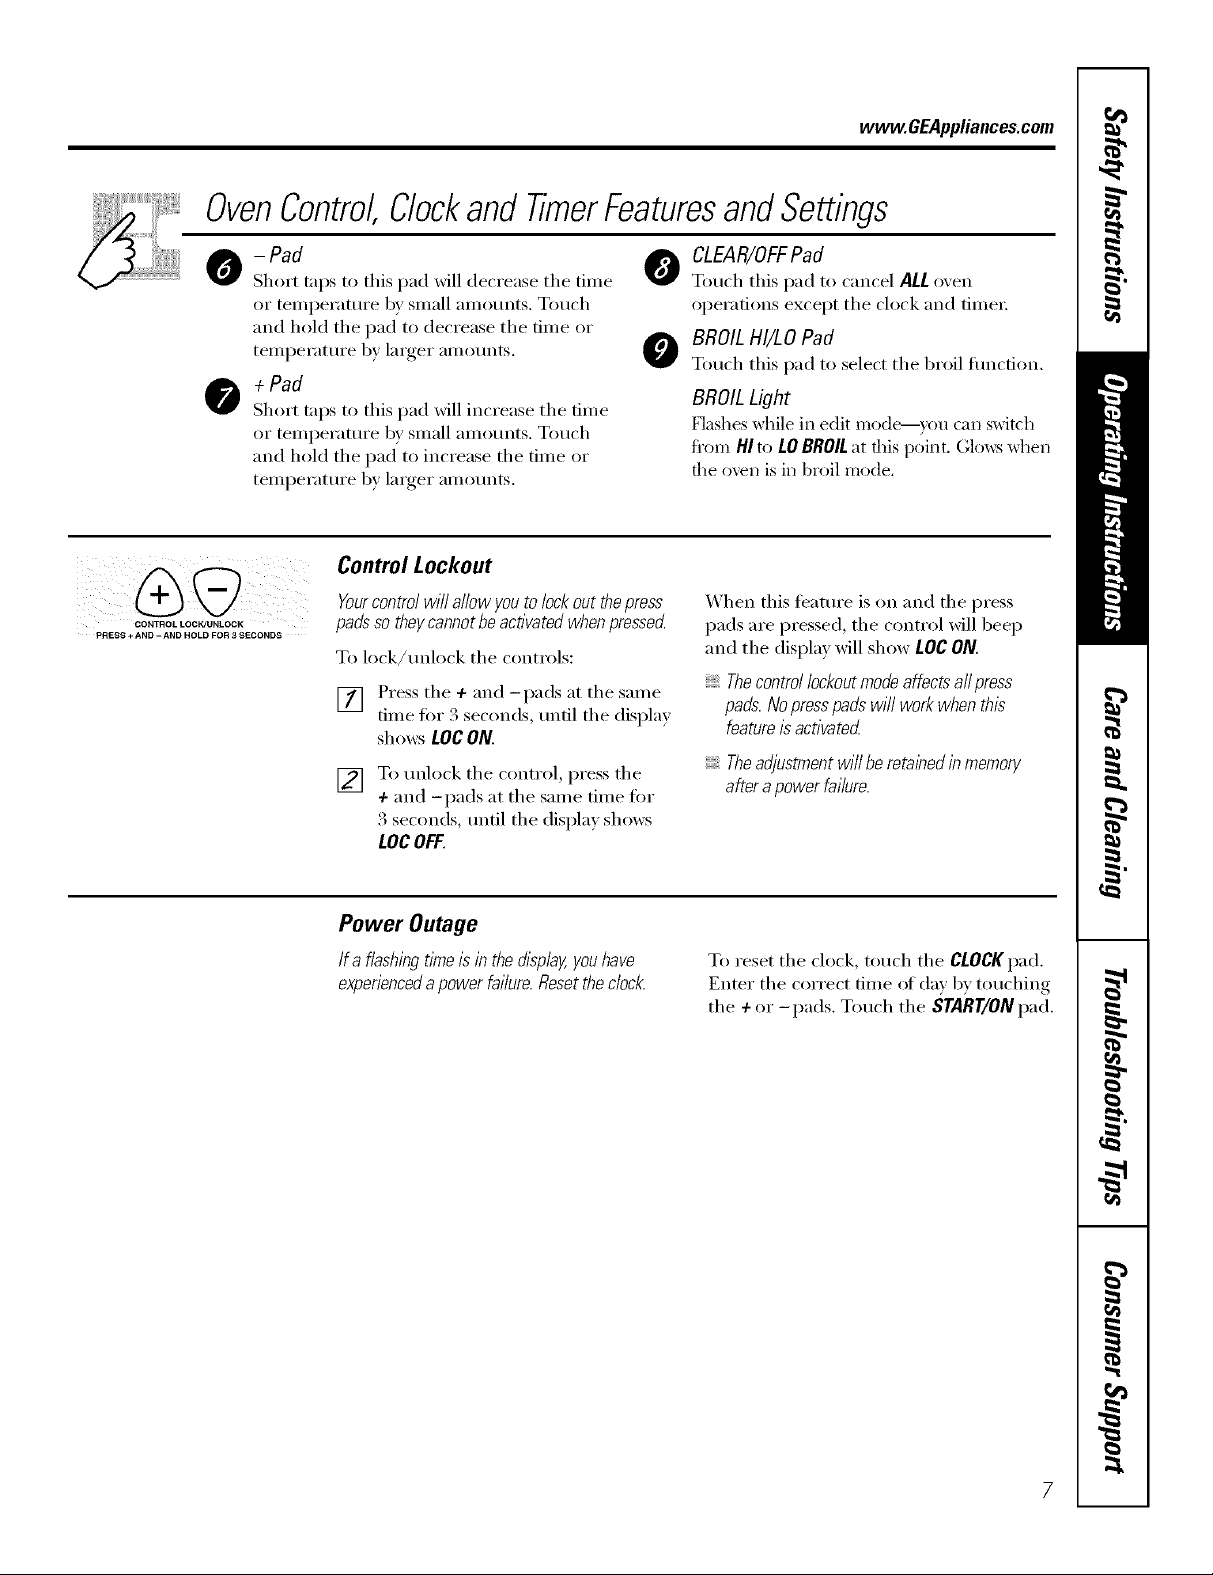
Use only flat-bottomed woks.
Wok Cooking
Werecommendthat youuseonly a flat-bottomed
wok. Theyareavailableatyour localretail store.
Do not use wo!<_that have support rings.
Placing the ring o'_er the surli_ce unit will
cause a buildu I) of heat that will damage
the porcelain cooktop.
Home CanningTips
Be sure the canner is centered o_er the
sm_i_ce refit.
Make sure the canner is fiat on the
bottom.
Use redpes and procedures fl'om
reputable sources. These are available
fl'Olll Illallt/filcttlI'eI3 s/Ich as Bald and
KerI _')and the Department of Agriculture
Extension Se_'ice.
To l)i'e_,ellt b/Irns frolll stealll or heat, rise
caution when canning.
Do not t/se ro//nd bottoIll Wo]cs. _/()/l
could be seriously burned if the wok
tipped oxen:
5
Usingthe ovencontrols.
Throughout this manual, features and appearance may vary from your model.
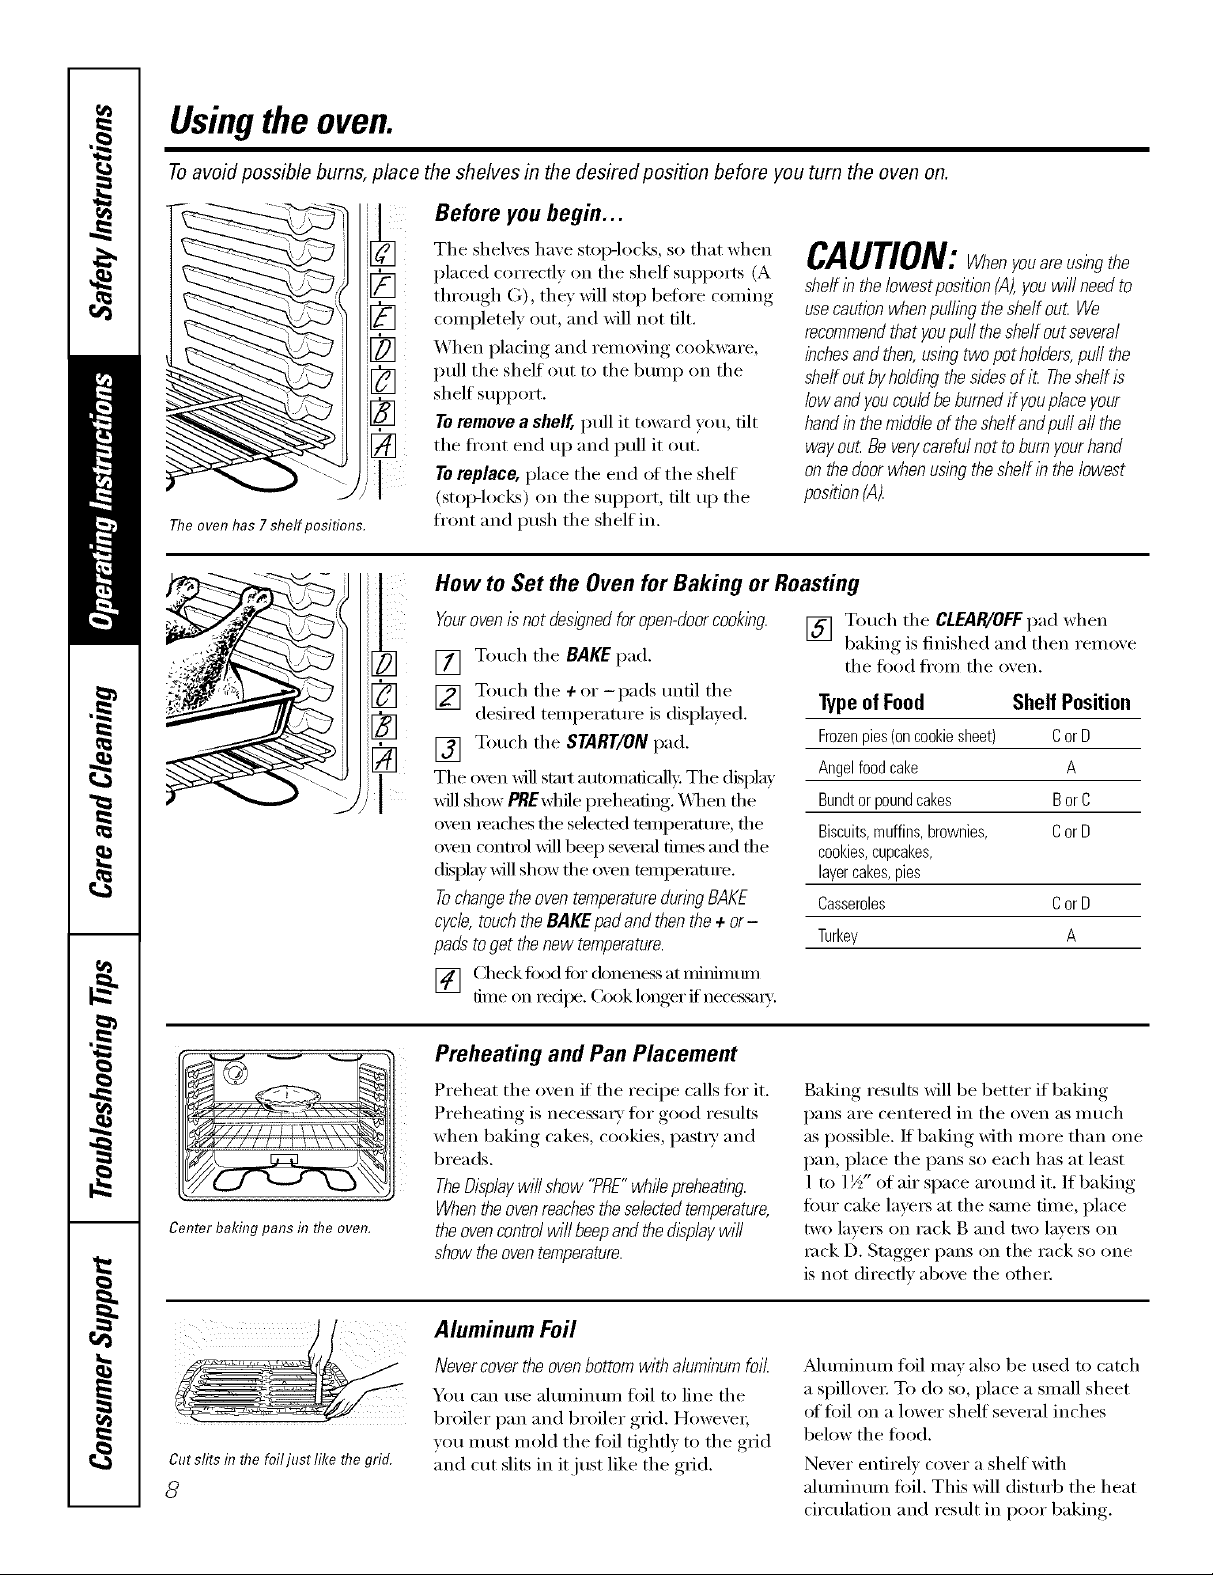
OVEN CONTROLS
0
CONTROL LOCK/UNLOCK
PRESS + AND - AND HOLD FOR 3 SECONDS
O O
OvenControl,ClockandTimerFeaturesandSettings
o BAKE/7-EMPRECALLPad O
Touch this pad to select the bake function.
BAKE Light
Flashes while in edit mode---you can
change the oven temi)eramre at this point.
Glows when the oven is in bake mode.
START/ONPad
Must be touched to stm't any cooking
fimction.
o Display
Sh(m:s the time of da)/, oven temperature
and whether the oven is in the bake or broil
mode. The display will show PREwhile
preheating. When the oven reaches the
selected temperature, the oven control will
beep and the display will show the oven
temperamre.
If '7- andanumberorletter" flashtbthedisplayandthe
ovencontrolslgna&thislbdicatesa functionerrorcode.
Thetitheof daywi//flashin thedisplaywhentherehas
beenapoweroutage.Resetthec/oc/_
Touchthe CLEAR/OFFpad.Allowtheoventocoolfor
onehourPuttheovenbackintooperation,if the function
errorcoderepeats,disconnectthepowertotherangeand
ca//forservice.
KITCHEN TIMER ON/OFFPad
Totl('h this pad to select the tiIller teattlre.
Then press + and -pads to ac!iust time.
TIMERLight
Flashes while in edit mode,---you can
change the set time at this point. Glows
when the timer has been acfiw_ted, fflashes
again when the time has rtm out until the
control is reset.
CLOCKPad
O
To set the clock, press this pad twice and
then press the € and -pads. The time of
day will flash in the display when the oven
is fiI_t turned on.
www.GEAppliances.com
OvenControl,ClockandTimerFeaturesandSettings
CONTROL LOCK/UNLOCK
PRESS + AND -AND HOLD FOR 3 SECONDS
- Pad
Short trips to this pad _dll decrease the time
or teinperature by small anlounts. Touch
and hold the pad to decrease the time or
teinl)erature by larger ainounts.
+Pad
Short taps to this pad will increase the time
or temperature by small amotmts. Touch
and hold tile pad to increase tile time or
teinl_erature by larger ainounts.
Control Lockout
Yourcontrolwill allowyoutolockoutthepress
padssotheycannotbeactivatedwhenpressed
To lock/tmlock tile controls:
] Press the + and -pads at the same
time for 3 seconds, lmtil tile displa)
shows tOC ON.
[] To tmlock the control, press the
+ and -pads at the same time for
3 seconds, tmtil tile displa) shows
tOC OFF.
O LEAR/OFFPad
Tou(h this pad to cancel ALL o',en
operations except the clock and time_:
O BROILHI/LO Pad
Touch this pad to select the broil flmcfion.
BROILLight
Flashes while in edit mode--you can switch
fl'om HI to tO BROIL at fills point. Glows wtlen
file oven is in broil mode,
When this teatm'e is on and tile press
pads are i)ressed, the control will beep
and the display will show L0C ON.
Thecontrol lockoutmode affectsall press
pads.No presspads wi// work when this
feature/s activated
Theadjustment wil/ be reta/hed in memory
after a power failure.
Power Outage
Ifa flashingtlYne/sinthedisplay,youhave
experienced a power failure. Reset the clock.
To reset the ch)ck, touch the CLOCKpad.
Enter tile correct time of day by touching
the + or -pads. Touch the START/ONpad.
Usingthe oven.
Toavoid possible bums, place the shelves in the desired position before you turn the oven on.
Before you begin...
The oven has 7 shelf positions.
[]
[]
The shelves have stop-locks, so that when
placed correctly on the shelf supports (A
3
through G), they will stop before coming
3
completely out, and will not dlt.
When placing and removing cookware,
pull the shelf out to the bump on the
shelf sui)port.
Toremove a shelf, pull it toward you, tilt
tile fi'ont end up and pull it out.
Toreplace, place the end (ff the shelf
(stoI>locks) on the support, tilt up the
front and push the shelf in.
CAUTION:Whenyouareusingthe
shelf in the/owestposition (,4),youwi// need to
usecaution whenpuffing the shelf out We
recommendthat youpuff the shelf out several
inchesandthen, usingtwo pot ho/dera,puff the
sheffout by ho/ding thesidesof iL Theshelf is
low andyou couldbe burnedif youplace your
handin the middle of the she/fand pu//aft the
way out Beverycarefulnot to burnyourhand
on thedoor when us/bgthe shelf in the lowest
position (A).
How to Set the Oven for Baking or Roasting
Yourovenis not deslgnedfor open-doorcooklhg. [] Touch tile CLEAtg/OFFpad when
[] Touch the BAKEpad. the food ti'om the o'_en.
[] [] Touch the + or -pads until the Typeof Food Shelf Position
desired temperatm'e is displayed.
[]
Touch the START/ON Frozenpies(oncookiesheet) CorD
The o'_en "_111stair autoinafical]}: The displa} Angelfoodcake A
will show PREwhile preheating. _,,_q/endie Bundtorpoundcakes BorC
men roaches the selected tempemtm'e, the Biscuits,muffins,brownies, CorD
o_en control _ill beep sevelal times and the cookies,cupcakes,
display _dll show file o_en tempelattn'e, layercakes,pies
Tochangethe oven temperatureduringBAKE Casseroles CorD
cycle,touch the BAKEpad and thenthe + or-
pads to get the new temperature. Turkey A
pad.
baking is finished and then remo_e
Center baking pans in flTeoven.
Cutslits in flTefoiljustlike flTegrid.
8
[] (_heck t0od t0r donen_s at miifimlun
dine on redlx< Cook longer if neces_llS,'.
Preheating and Pan Placement
Preheat the oven if the recipe calls tiw it.
Preheating is necessa_ T for good results
when baking cakes, cookies, past_ T and
breads.
TheDisplaywi// show "PBE"whilepreheat/bg.
Whentheovenreachestheselectedtemperature,
the ovencontrolwi// beepand thedisplaywi//
show theoventemperature.
Aluminum Foil
Nevercover the ovenbottom with aluminum foil.
You can use aluminum foil to line tile
broiler pan and broiler grid. However;
vou must mold tile foil tightly to tile grid
and cut slits in itjust like the grid.
Baking results will be better if baking
pans are centered in tile oven as much
as possible. If baking with more than one
pan, place tile pans so each has at least
1 to 1½" of air space aro/md it. If baking
Ibm" cake layers at the same time, place
two laye_ on rack B and two lave_ on
rock D. Stagger pans on the rack so one
is not directly above tile other
_Mmninmn frill may also be used to catch
a spillove_: To do so, place a small sheet
of foil on a lower shelf several inches
below tile food.
Never entirely cover a shelf with
aluminmn t0il. This will distm'b the heat
circulation and result in poor baking.
 Loading...