

GE JBP35DIM3WW, JBP23SP1SS, JBP23SN1SS, JBP23DN1WW, JBP23DN1BB Owner’s Manual
ge.com
Safety Instructions .... 2-4
Operating Ira_tructions
Clock and Timer ....... 11
Controls .............. 6, 7
Oven ................ 8-10
Power Outage ........... 7
Sabbath Feature ..... 14, 15
SeltXCleaning ........ 16, 17
Special Features ........ 13
Surface Units ............ 5
Thermostat ............ 15
Timed Baking and
Roasting Features ....... 12
Care and Cleaning
Control I_lobs ......... 18
Drip Pans .............. 92
Heating Elements ....... 18
iJft-Off Oven Door ..... 20
Lift-Up Cooktop ........ 92
Light .................. 91
Shelves ................ 19
Storage Drawer ......... 91
Surface Units .......... 22
Vent .................. 19
Troubleshooting
Tips ............... 23-25
Accessories. ........... 30
Cora_mer Support
(]onsunler
Support ....... Back Cover
Product
Re_stration ........ 27, 28
Warranty .............. 31
.]BP23
.]BP24
.]BP25
.]BP35
Write the model and serial
numbers here:
Model #
Serial #
You can find diem on a label
behind the storage drawer on
the front of the range frame.
49-80540-1 08-08JR
IMPORTANTSAFETYINFORMATION.
READALLINSTRUCTIONSBEFOREUSING.
WARNING!
Foryoursafety,theinformationin this manualmustbefollowed to minimizetherisk offire, electric shock,or to
preventpropertydamage,personalinjury,or lossof life.
ANti-TIPDEVICE
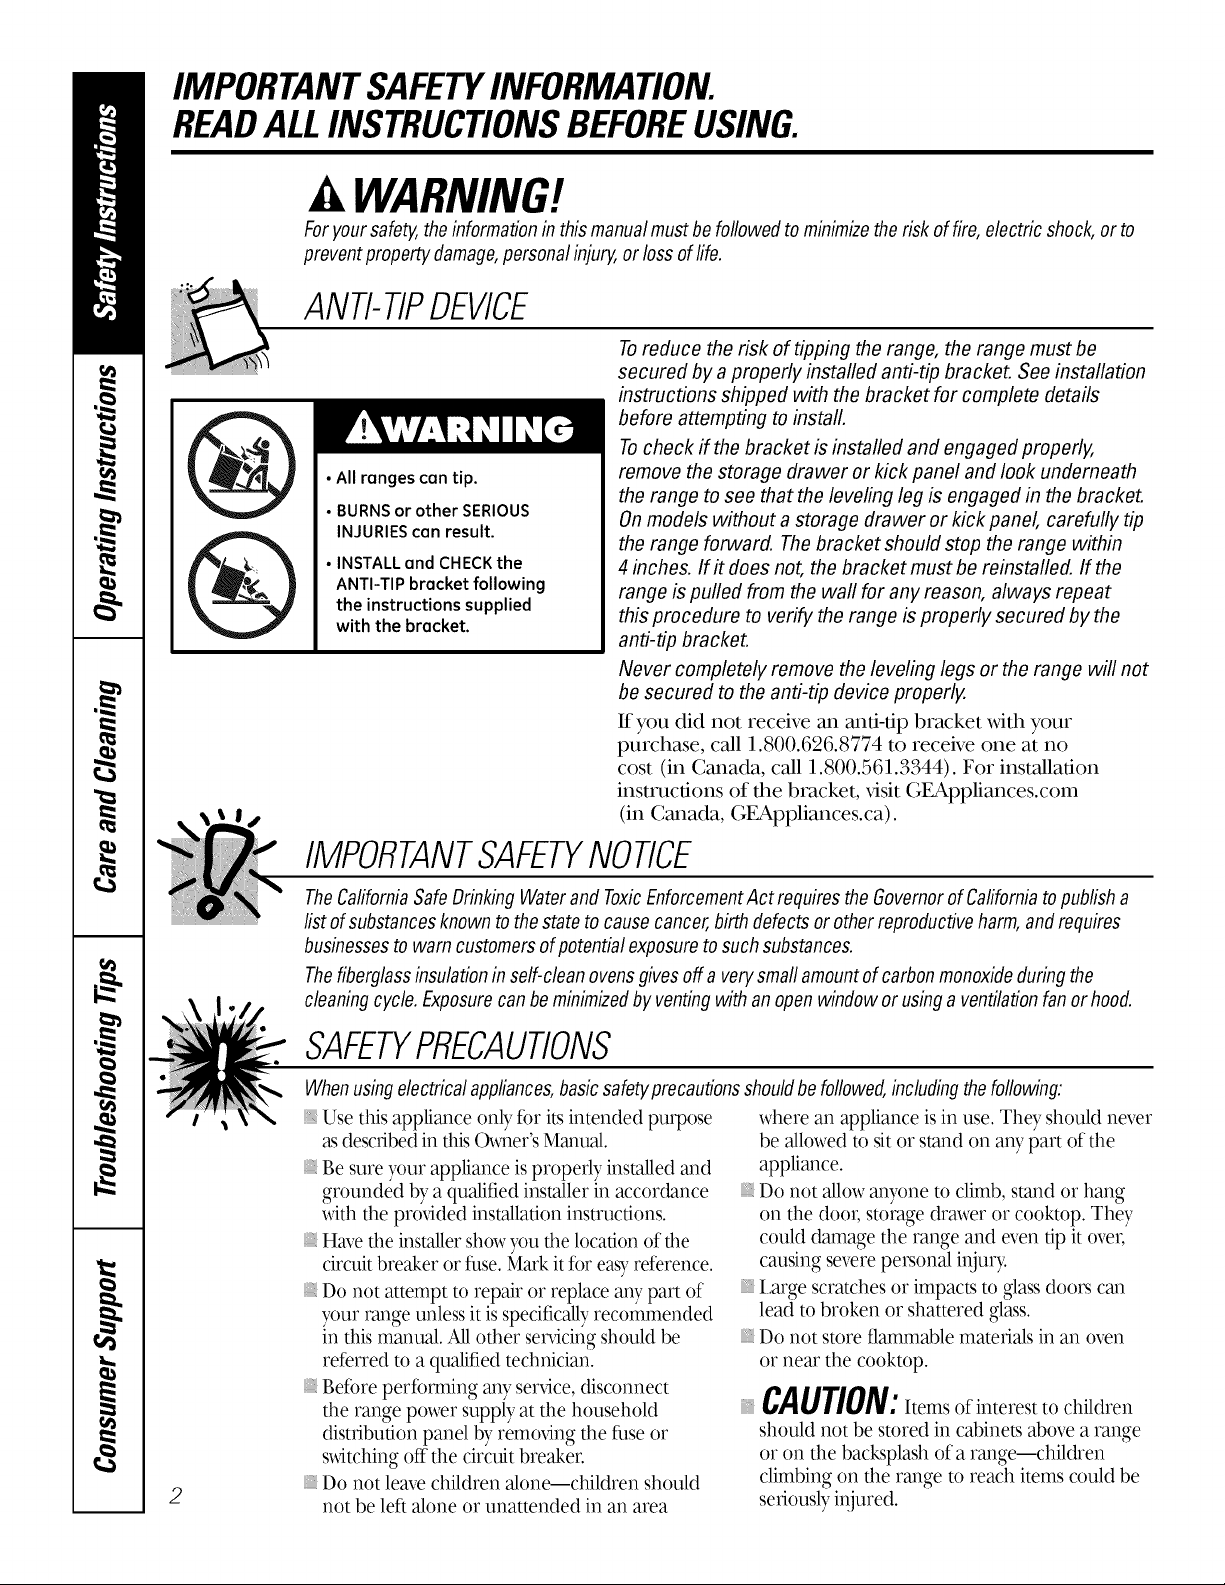
Toreduce the risk of tipping the range, the range must be
secured by a properly installed anti-tip bracket. See installation
instructions shipped with the bracket for complete details
before attempting to install.
Tocheck if the bracket is installed and engaged properly,
• All ranges can tip.
• BURNSor other SERIOUS
INJURIEScan result.
• INSTALLand CHECKthe
ANTI-TIP bracket following
the instructions supplied
with the bracket.
remove the storage drawer or kick panel and look underneath
the range to see that the leveling leg is engaged in the bracket.
On models without a storage drawer or kick panel, carefully tip
the range forward. Thebracket should stop the range within
4 inches. If# does not, the bracket must be reinstalled. If the
range is pulled from the wall for any reason, always repeat
this procedure to verify the range is properly secured by the
anti-tip bracket.
Never completely remove the leveling legs or the range will not
be secured to the anti-tip device properly.
If you did not receive an and-alp bracket with your
purchase, call 1.800.626.8774 to receive one at no
cost (in Canada, call 1.800.561.3344). For installation
instructions of the bracket, x,isit GEAppliances.com
(in Canada, GEAppliances.ca).
IMPORTANTSAFETYNOtiCE
TheCaliforniaSafe DrinkingWaterand ToxicEnforcementAct requirestheGovernorof Californiatopublisha
list ofsubstancesknownto thestate tocause cancer,birthdefectsor other reproductiveharm,andrequires
businessesto warn customersofpotentialexposuretosuch substances.
Thefiberglassinsulationin self-cleanovensgivesoff a verysmaflamountofcarbonmonoxideduringthe
cleaningcycle. Exposurecanbe minimizedbyventingwith an openwindow orusinga ventilationfanor hood.
SAFETYPRECAUtiONS
Whenusingelectricalappliances,basicsafetyprecautionsshouldbe followed,includingthefollowing
Use this appliance only fbr its intended purpose
asdescribedin thisOwner'sManual.
: Be sure your appliance is properly installed and
grounded by a qualified installer in accor_'tance
with the prodded instaUadon instructions.
: Have the installershowyou the locadon of the
circuitbreaker or fuse.MaakitR_reasyreference.
Do not attempt to repair or replace any part of
your range unless it is specificallyrecommended
in thismanual. Allother se_'icing should be
referred to a qualified technician.
gefbre perfbmdng an},serdce, disconnect
the range power supply at the household
distribution panel by remodng the fhse or
s_dtchingoff the circuit breaker.
2
Do not leavechildren alone---children should
not be lefi alone or unattended in an area
where an appliance is in use. The}, should never
be allowed to sit or stand on aW part of the
appliance.
: Do not allow anyone to climb, stand or hang
on the do(m storage drmver or cooktop. They
could damage the range and even tip it over,
causing severe personal injur}c
Large scratches or impacts to gla_s doors can
lead to broken or shattered glass.
Do not store flammable materials in an oven
or near the cooktop.
CAUTION: temsofinterestto children
should not be stored in cabinets above a range
or on the backsplash of a range--children
climbing on the range to reach items could be
seriously injured.
WARNING!
SAFETYPRECAUTIONS
ge.com
Never wear loose-fitting or hanging gamlents
while using the appliance. Be carefhl when
reaching for items stored over the range.
lqammable material could be ignited if brought
in contact xdth hot surface units or heating
elements and mW cause severe burns.
Use only dU pot holders--moist or damp pot
holders on hot surfaces inW result in burns
flom steam. Do not let pot holders touch hot
surface units or heating elements. Do not use
a towel or other bulk)' cloth in place of pot
holders.
For your safet)¢never use your appliance for
wamdng or heating the room.
Teach children not to plW xdth the controls or
any other part of the range.
Ahvayskeep dish tox_els,dish cloths,pot holders
and other linens a safedistance fromyour range.
Ahvayskeep wooden and plastic utensils and
canned food a safe distance from your range.
Ahvavskeep combustible wallcoverings,curtains
or drapes a safedistance flom your range.
Do not let cooking grease or other flammable
materials accumulate in or near the range.
Keep the hood and grease filtersclean to
maintain good venting and to avoidgrease fires.
Do not use x_:ateron grease fires.Never pick up
a flaming pan. Turn the controls ore Smother a
flaming pan on a surface unit by covering the
pan completely xdth a well-fitting lid, cookie
sheet or flat tray. Use a multi-purpose dU
chemical or foam-type fire extinguisher-
Flaming grease outside a pan can be put out by
covering it _dth baking soda on if available, by
using a multi-purpose dry',chemical or
foam-type fire extinguisher-
_Tame in the oven can be smothered completely
by closing the oven door and turning the oven
off or by using a multi-purpose dU chemical or
foam-type fire extinguisher-
Do not touch the surface units, the heating
elements or the interior surface of the oven.
These surfaces may be hot enough to burn
even though they are dark in color. During and
after use, do not touch, or let clothing or other
flammable materials contact the surface units,
areas nearby the surface units or aW interior
area of the oven; allow sufficient time for
cooling first.
Potentially hot surfaces include the cooktop,
areas facing the cooktop, oven vent opening,
surfaces near the opening, crex4ces around the
oven door:
REMEMBER:The inode surface of the oven may
be hot when the door is opened.
Do not store or use combustible materials,
gasoline or other flammable vapors and liquids
in the x4cinity of this or aW other appliance.
COOKMEATANDPOULTRYTHOROUGHLY...
Cookmeatandpoultrythoroughly--meattoatleastanINTERNALtemperatureof 160°Fandpoultrytoatleastan
INTERNALtemperatureof 180°ECookingtothesetemperaturesusuallypmtectsagainstfoodborneillness,
SURFACECOOKINGUNITS
Useproperpansize--select cookware havingflat bottomslargeenoughto cover thesurface unitheating
element.Theuseof undersizedcookwarewill exposeaportionofthesurface unittodirectcontact andmay
resultin ignitionof clothing.Properrelationshipof cookwareto surface unitwill alsoimproveefficiency.
Never leave the surface units unattended
at high heat settings, goilovers cause smoking
and greasy spillovers that may catch on fire.
Do not use aluminum foil to line the drip pans
or anywhere in the oven, except as described in
this manual. Misuse could result in a shock, fire
hazard or damage to the range.
Be sure the drip pans and the vent duct are not
covered and are in place. Their absence during
cooking could damage range parts and x_iring.
Only certain t)pes of glass,glass/ceramic,
earthem_:areor other glazed containers are
suitable for cooktop service;others maybreak
because ofthe sudden change in temperature.
To minimize the possibilityof burns, ignition of
flammable materials and spillage, the handle of
a container should be turned toward the center
of the range xdthout extending over nearby
surface units.
?
IMPORTANTSAFETYINFORMATION.
READALLINSTRUCTIONSBEFOREUSING.
SURFACECOOKINGUNITS(cont.)
Ahvays turn the surface units off before
removing cookware.
Do not immerse or soak the removable surface
units. Do not put them in a dishwasher Do not
self:clean the surface units in the oven.
"_4q/enpreparing flaming ff)odsunder the hood,
turn the fan on.
: To avoid the possibility of a burn or electric
shock, always be certain that the controls for all
surface units are at the OFFposition and all coils
are cool befbre attempting to lift or remove
a unit.
Clean the cooktop with caution. If a wet sponge
is used to xdpe spills on a hot cooktop, be
careful to avoid steam burns.
Keep an eye on 9_ods being flied at high or
medium high heat settings.
Foods for fl)4ng should be as dry as possible.
Frost on flozen foods or moisture on flesh
foods can cause hot fat to bubble up and over
the sides of the pan.
Use little fat for efIective shallow or deep fat
fl)'ing. Nlling the pan too full of fat can cause
spillovers when fbod is added.
If a combination of oils or fats xdll be used in
fl)'ing, stir together before heating, or as fats
melt slowly.
Ahvaysheat fat slowh', and watch as it heats.
Use a deep fat thermometer whenever possible
to prevent oveNeating fat beyond the smoking
point.
A WARNING!
OVEN
Standaway fromthe range whenopeningthe ovendoor.Hotair or steamwhich escapescancausebums to
hands,face and/oreyes.
Do not heat unopened food containers.
Pressure could build up and the container
could burst, causing an inju U
Keep the oven vent unobstructed.
Keep the oven flee flom grease buildup.
Place the oven shelf in the desired position
while the oven is cool. If shelves must be
handled when hot, do not let pot holder
contact the heating elements.
Pulling out the shelf to the stop-lock isa
convenience in lifting hem,y fbods. It is also a
precaution against burns flom touching hot
surfaces of the door or oven walls.
"_4q/enusing cooking or roasting bags in the
oven, follow the manufacturer's directions.
Do not use the oven to dU ne_vspapers.
If overheated, they can catch on fire.
Do not use the oven fi)r a storage area. Items
stored in an oven can ignite.
Do not leave paper products, cooking utensils
or food in the oven when not in use.
Do not use aluminum fuil to line oven bottoms.
Improper installation of aluminum fuil may
result in a risk of electric shock or fire.
SELF-CLEANINGOVEN
Donot useoven cleaners.No commercialovencleaneror ovenlinerprotective coatingof anykindshouldbe
usedin or aroundanypart of theoven.Residuefromovencleanerswill damagetheinsideof theovenwhenthe
self-cleaningcycle is used.
Do not clean the door gasket. The door gasket
is essential fbr a good seal. Care should be
taken not to rub, ('lamage or move the gasket.
Before self:cleaning the oven, remove shin};
silver-colored oven shelves (on some models)
and all other cookware.
READANDFOLLOWTHISSAFETYINFORMATIONCAREFULLY.
SAVETHESEINSTRUCTIONS
4
Be sure to wipe up excess spillage before
starting the self:cleaning operation.
If the self:cleaning mode malfunctions, mrn the
oven off and disconnect the power supply. Have
it serx4ced by a qualified technician.
Clean only parts listed in this ()x_/er's Manual.
Usingthe surface units, geoom
Throughout this manual, features and appearance may vary from your model
How to Set
Push the Mlob in and am1 in either
direction to the setting you want.
At both OFFand HI the control clicks
into position. You may hear slight
clickingsotmds during cooking,
indicating the control is maintaining your
desired setting.
Be sure you turn the control knob to A surface unit ON indicator light will
OFFwhen you finish cooking, glow when any surface unit is on.
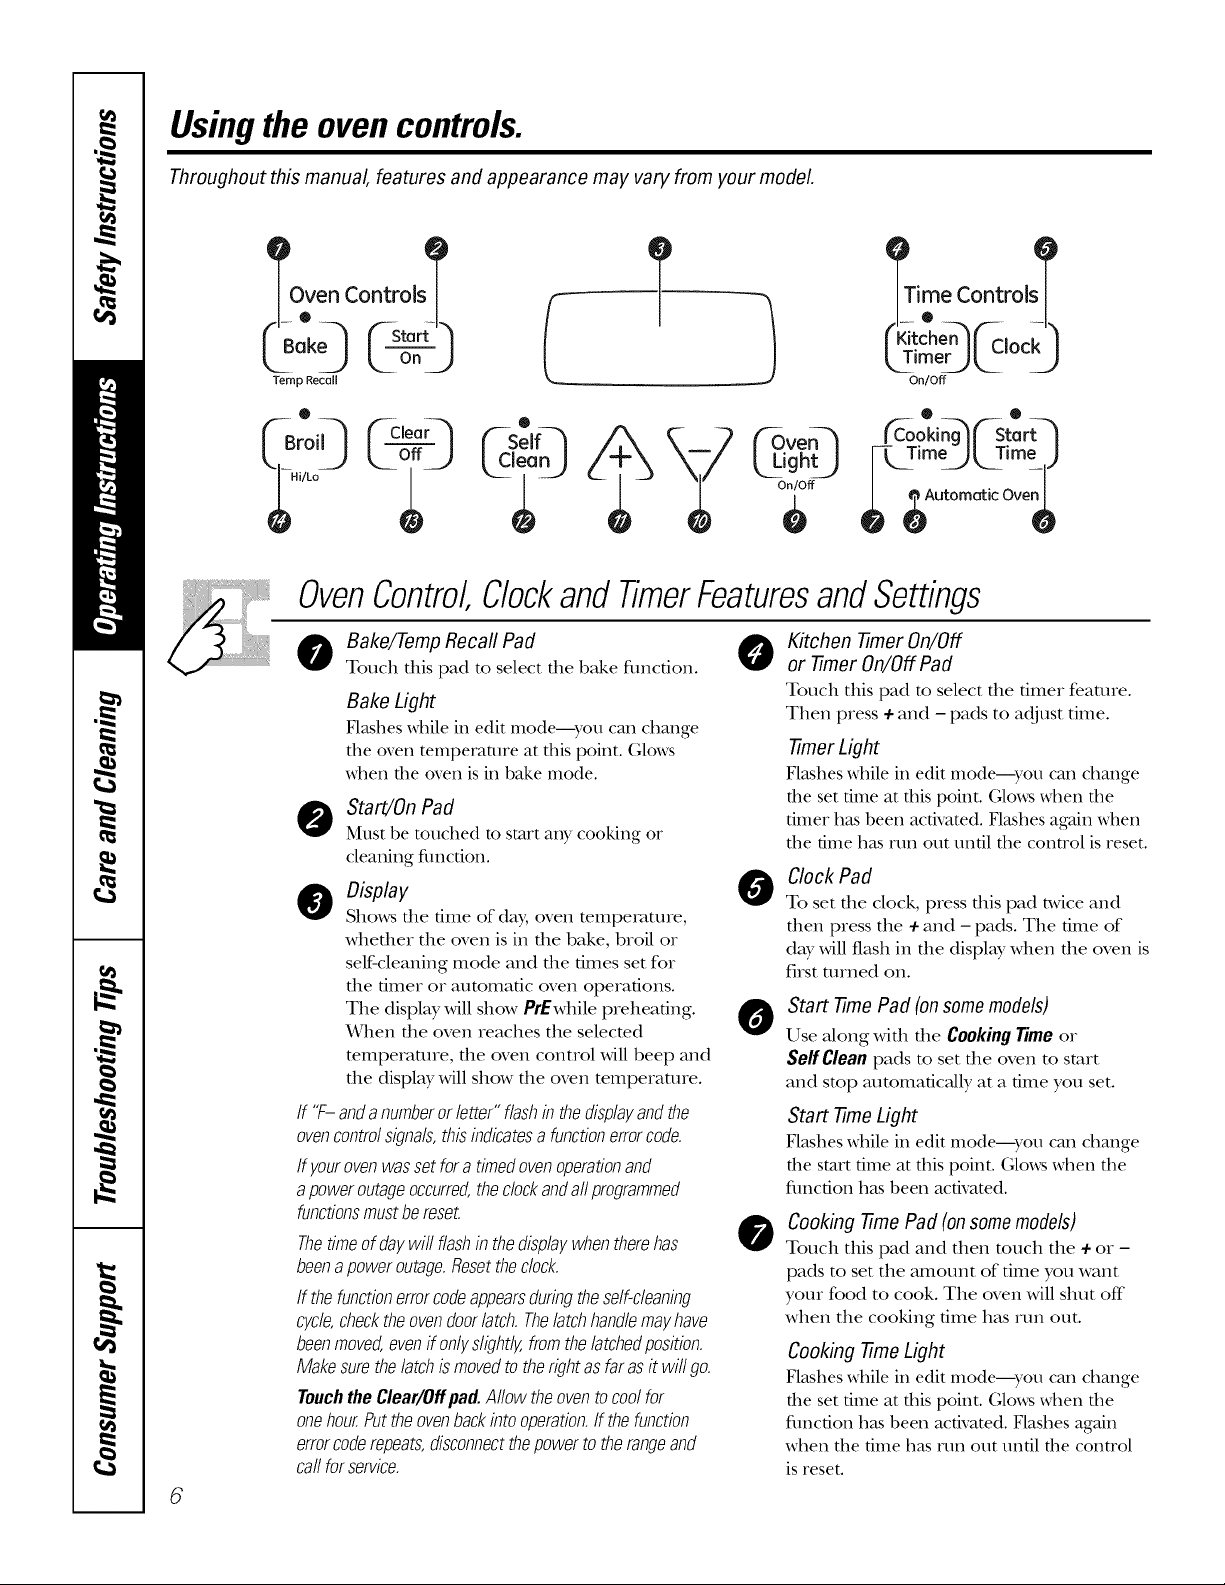
Surface Cookware Tips
1"
Not over I inch.
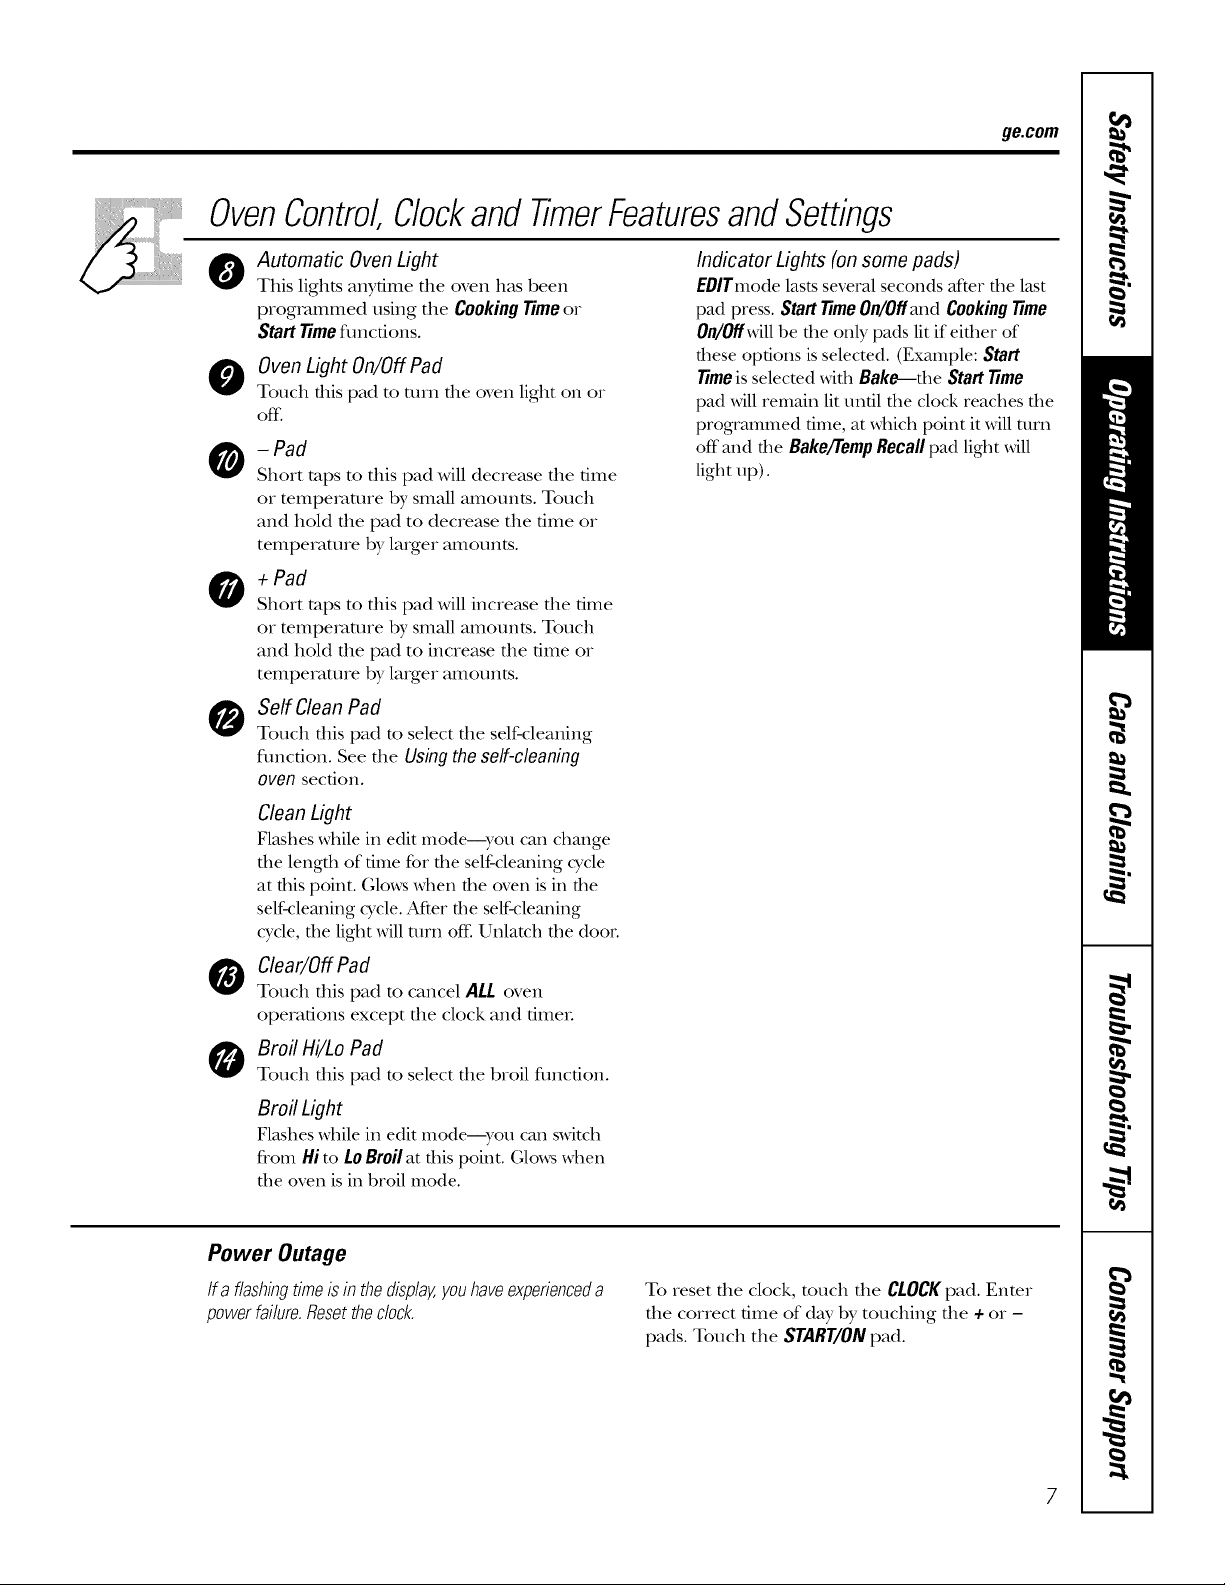
Use only flat-bottomed woks.
i!!ij(il!
Use medium- or heax3,-weigbt cookware.
Aluminum cookware conducts heat fasmr
than other metals. Cast-iron and coamd
cast-iron cookware are slow to absorb
heat, but generally cook evenly at low to
medium heat settings. Smel pans m W
cook unevenly if not combined with
other met_fls.
WokCooking
Werecommendthatyouuseonlya flat-bottomed
wok.Theyareavailableat yourlocalretailstore.
Do not use woks that have support rings.
Placing the ring over the surface unit will
cause a buildup of heat that will damage
the porcelain cooktop.
Home Canning Tips
Be sure the canner is centered over the
surface unit.
For best cooking results, pans should be
fiat on the bottom. Match the size of the
saucepan m the size of the surface unit.
The pan should not exmnd over the
edge of the surface unit more than 1".
Do not use round bottom woks. You
could be seriously burned if the wok
tipped ove_.
Use recipes and procedures flom
reputable sources. These are available
from manufacturers such as Ball®and
KerI_ and the Depamnent of Agriculture
Exmnsion Se_Mce.
To prevent burns flom steam or heat, use
caution when canning.
5
Usingthe ovencontrols.
Throughout this manual, features and appearance may vary from your model
__rb_oeven c°ntr°lst T
(Bakeq FStart- 1
®
(-seIF3
h
J
ime Controlst
On/Off
_oo:ing--_ _St: rt-'_
F!__Time_ _Time J
o
OvenControl Clockand TimerFeaturesandSettings
O ake/Temp Recafl Pad 0
Touch this pad to select the hake fimcfion.
Bake Light
Flashes while in edit mode---yot/call challge
the oven temperature at this point. Glows
when the oven is in bake mode.
O Start/OnPad
Must be touched to start any cooking or
cleaning fimction.
0 Display
Shows file time of day, oven temperature,
whether the oven is in the bake, broil or
self-cleaning mode and the times set for
the timer or automatic oven operations.
The displW will show PrEwhile preheating.
When the oven reaches the selecmd
mmperamre, the oven connol will beep and
the displ Wwill show the oven temperature.
If "F-andanumberor letter"flashin thedisplayandthe
ovencontrolsignals,thisindicatesa functionerrorcode.
If yourovenwassetfora timedovenoperationand
apoweroutageoccurred,theclockandaftprogrammed
functionsmustbereset.
Thetimeofdaywit flashin thedisplaywhentherehas
beenapoweroutage.Resettheclock.
If thefunctionerrorcodeappearsduringtheself-cleaning
cycle,checktheovendoorlatch.Thelatchhandlemayhave
beenmoved,evenffonlyslightly,fromthelatchedposition.
Makesurethelatchismovedtotherightasfarasit willgo.
TouchtheClear/Offpad.Aflowtheoventocoolfor
onehour.Puttheovenbackintooperation,ff thefunction
errorcoderepeats,disconnectthepowertotherangeand
ca//forservice.
6
Kitchen -timer On/Off
or -timer On/Off Pad
Touch this pad to select die timer feature.
Then press 4-and - pads to adjust time.
-timer Light
Flashes _d/ile in edit mode--you can change
the set time at this point. (;lo_s when tile
timer has been activated. Flashes again when
the time has run out until the conn'ol isreset.
Clock Pad
0
To set file clock, press fits pad n,vice and
then wess the 4-and - pads. The time of
day will flash in the display when the oven is
first turned on.
Start -time Pad (onsomemodels)
0
Use along with the CookingTimeor
SelfClean pads to set file oven to smxt
and stop at]t()mafic_dly at a time you set.
Start -time Light
Flashes _d_ilein edit mode--you can change
the start time at this point. (;lo_ when tile
f/lnc[ion has been activated.
Cooking -time Pad(onsomemodels)
0
Touch this pad and then touch the +or -
pads to set the amount of time you want
your food to cook. The oven will shut off"
when the cooking time has run out.
Cooking -timeLight
Flashes _t_ile in edit mode--you can change
the set time at this point. (;lo,_s when the
function has been activated. Flashes again
when the time has run out until the control
is reset.
OvenControl Clockand TimerFeaturesandSettings
ge.com
Automatic Oven Light
0
This lights anytime file oven has been
programmed using the Cooking Time or
Start Time fimctions.
O Oven Light On/Off Pad
Touch tiffs pad to turn file oven light on or
off:
- Pad
Short raps to this pad will decrease tile time
or mmpeiamre by small amounts. Touch
and hold tile pad to decrease the time or
temperature by laiger tHllotlnts.
O +Pad
Short taps to this pad will increase tile time
or mmpeiamre by small amounts. Touch
and hold tile pad to increase tile time or
temperature by laiger tHllotlnts.
O SelfgleanPad
Touch this pad to select tile self-cleaning
flmcfion. See tile Using the self-cleaning
oven secdon.
Clean Light
Flashes while ill edit Illodei-y'o/l call change
tile length of time for tile self-cleaning cycle
at this point. (;lo_s Mien the oven is ill the
self-clemling cycle. After tile self-clemling
wcle, the light will turn off: Unlatch the doon
Clear/Off Pad
O
Touch tiffs pad to cancel ALL oven
operations except tile clock and fimeI.
Broil Hi/Lo Pad
0
Touch tiffs pad to select file broil fimcfion.
Indicator Lights (on some pads)
EOlTmode lasts several seconds after the last
pad press. Start Time On/Off and Cooking Time
On/Offwill be tile only pads lit if either of
these options is selected. (Example: Start
Timeis selected with Bake--the Start Time
pad will remain lit tmfil file clock reaches file
programmed time, at which point it will turn
off mid the Bake/TempRecall pad light Mll
light up).
Broil Light
Flashes while ill edit Illodei-},'O/l call switch
from Hi to LoBroilat this point. (;l(ms when
tl/e oven is ill broil mode.
Power Outage
If a flashingtimeisinthedisplay,youhaveexperienceda
powerfailure.Resettheclock.
To reset tile clock, touch tile CLOCKpad. Enter
tile correct time of day by touching tile + or -
pads. Touch tile START/ONpad.
Usingthe oven.
Toavoid possible bums, place the shelves in the desired position before you turn the oven on.
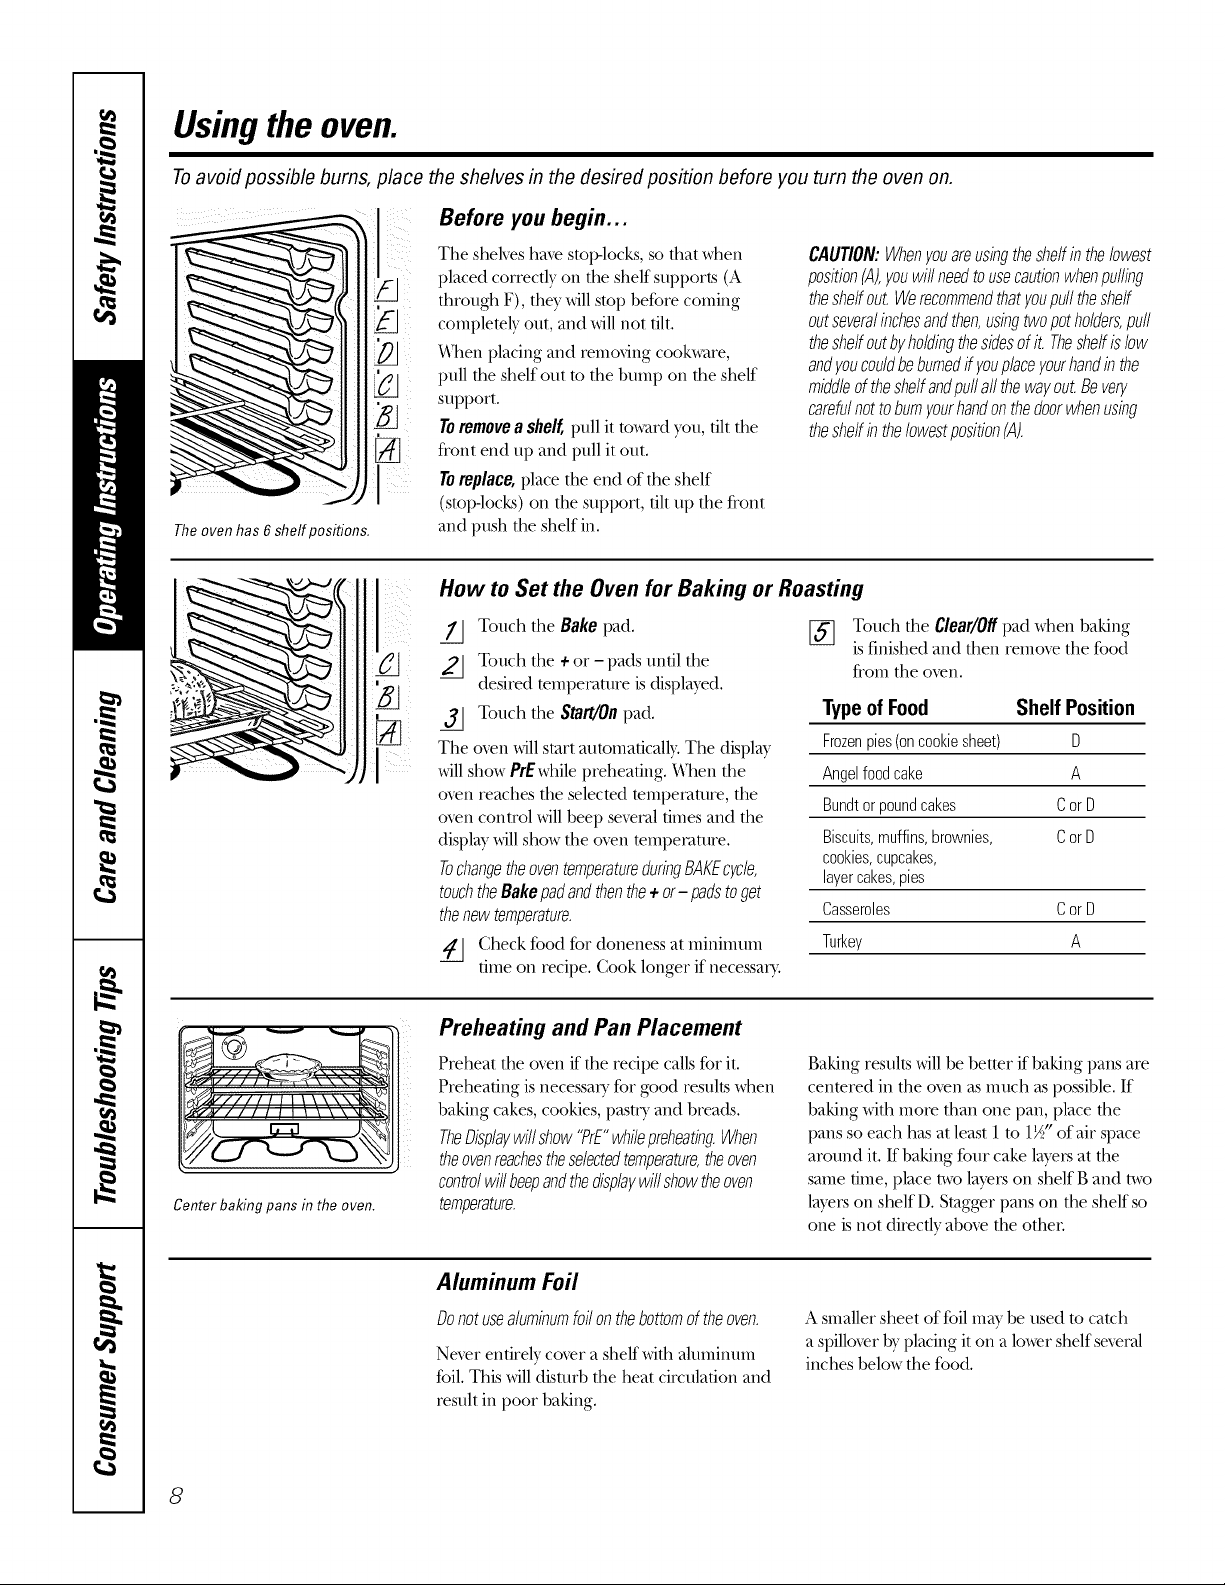
Before you begin...
The oven has 6 shelf positions.
II
The shelves haxe stop-locks, so that when
placed correctly on the shelf supports (A
through F), the}.'will stop before coming
complemly' out, and will not flit.
X&]tenplacing and remofing cookware,
pull the shelf out to the bump on the shelf
support.
Toremove a shelf, pull it toward you, flit the
fl'ont end tip and pull it out.
TOreplace, place the end of the shelf
(smpqocks) on the support, flit tip the front
and push the shelf in.
How to Set the Oven for Baking or Roasting
ZJ Touch the Bake pad.
Touch the +or - pads until the
desired tempemtui'e isdisplay'ed.
_3J Touch the Start/Onpad.
The o_en willstart aummaflcally.The display'
MIIshow PrEwhilepreheating. *alton the
oxen reaches the selected tempecature, the
oxen cona'ol willbeep several flmes and the
displW willshow the oxen mmpevatm'e.
TochangetheoventemperatureduringBAKEcN/e,
touchtheBakepadandthenthe+or- padstoget
thenewtemperature.
Check food for doneness at minimum
time on recipe. Cook longer if necessm>
CAUTION:Whenyouareusingthesheffinthelowest
position(A),youwillneedtousecautionwhenpuffing
theshelfout.Werecommendthatyoupufftheshelf
outseveralinchesandthen,usingtwopotholders,pull
theshelfoutbyholdingthesidesofit. Theshelfislow
andyoucouldbeburnedifyouplaceyourhandinthe
middleoftheshelfandpu//allthewayout.Beyen/
carefulnottoburnyourhandonthedoorwhenusing
theshelfinthelowestposition(A).
[_] Touch the Clear/Offpad when baking
Type of Food ShelfPosition
Frozenpies(oncookiesheet) D
Angelfoodcake A
Bundtorpoundcakes CorD
Biscuits,muffins,brownies, CorD
cookies,cupcakes,
layercakes,pies
Casseroles CorD
Turkey A
isfinished and then remove the %o(t
fl'om the oxen.
Center baking pans in the oven.
8
Preheating and Pan Placement
Preheat the oxen if the recipe calls%rit.
Preheaflng is necessaU %r good results when
baking cakes, cookies, pasuy and breads.
TheDisplaywillshow"PrE"whilepreheatingWhen
theovenreachestheselectedtemperature,theoven
controlwillbeepandthedisplaywillshowtheoven
temperature.
Aluminum Foil
Donotusealuminumfoilonthebottomoftheoven.
Ne_r entirely co_er a shelf with aluminum
foil. This willdisuM) the heat ciIvulaflon and
result in poor baking.
Baking resultswillbe better ifbaking pans are
cenmred in the oven asmuch as possible. If
baking with more than one pan, place the
pans so each has at least 1 m 1½"of air space
around it. Ifbaking four cake layers at the
same time, place twolayerson shelf Band two
layerson shelf D. Stagger pans on the shelf so
one isnot directly aboxe the other
Asmaller sheet of %il maybe used to catch
a spilloverhy'placing it on a lowershelf several
inches below the food.

Do not latch the oven door during broiling. The latch is used for self-cleaning only.
How to Set the Oven for Broiling
ge.com
Leave the door open to the broil
stop position. Thedoor stays open
by itself, yet the proper temperature
is maintained in the oven.
The size, weight, thickness,
starting temperature
and your preference
of doneness will aft>ct
broiling times. This guide
is based on meats at
refrigerator temperature.
I' The {LS. Deparhne_t q/
Agricultm_, sto's 'Wmv b</ is
po[aldtn; bul 3'01_skoldd k#ow lkal
co&ing it to on6' 140 F means
some #,od poiso)_i)_g"o_¢a)_isms
m_9' survive. " (Sourc_v _b I4,od
Book. _bur Kitche)_ Guid< { %l)A
t'_-v.,/u_e 1985.)
The oven has 6 sheff positions.
Pass
4 3 2 1
J
Center baking pans in the oven.
Place the meat or fish on a broiler
grid in a broiler pan designed
for broiling.
Follow suggested shelf positions in
the Broiling Guide.
If yourrangeis connectedto208volts,rare
steaksmaybebroiledbypreheatingthebroiler
andpositioningtheovenshelfoneposition
higher.
Use LoBroil to cook foods such _ts
poultry or thick cuts of meat thoroughly
without over-browning them.
Broiling Guide - 4 Pass Broil Element
Food
GrouudBeef
Beef Steaks
Rarer
Medium
Well Done
Rarer
Medium
Well Done
Chicken
Bakery Product
Bread (toast)
English Muffin
LobsterTails
FishFillets
Quantityand/ Shelf* FirstSide
or Thickness Position Time(rain.)
1lb. (4patties)
72to V4"thick
4 Ibs.(12patties)
3/4to 1"thick
1to 172Ibs.
17Z'thick
2to 272 Ibs.
1wholecut up
2to 2_½Ibs.,
split lengthwise
Breast
2to 4 slices
2 (split)
2-4
1lb. (V4to I/2'* thick)
fl
_A
Salmon
[]
Steaks
Fillets
HamSlices
(precooked)
Pork Chops
Well Done
*See illustration for description of shelf positions.
2 (1"thick)
2 (I/2 to V4"thick)
72" thick
1" thick
2 (I/Z'thick)
2 (1"thick)about 1 lb.
Touch the BroilHi/Lopad once for
HiBroil.
To change to LoBroil,touch the
BroilHi/Lopad again.
Touch the Start pad.
if] X_qlenbroiling is finished, touch the
Clear/Off pad.
SecondSide
Time(rain.)
13
15
F
E
E
D
D
E
C
C
E
F
E
E
D
D
D
D
6
8
10
10
15
20
25
25
3
3-4
18-20
10
10
6
8
10
15
11
4
6
8
8
10-12
20
25
15
1
Do not
turn
oveE
6
8
10
15
Comments
Spaceevenly.
Steakslessthan 3/4"
thick aredifficult
to cookrare.
Slashfat.
Brusheachsidewith
meltedbutter.
Broilskin-side-down
first.
Spaceevenly.Place
Englishmuffins cut-
side-upandbrush
with butter if desired.
Cutthroughbackof
shell. Spreadopen.
Brushwithmelted
butter beforebroiling
andafter half of
broilingtime.
Handleandturnvery
carefully.Brushwith
lemonbutterbefore
andduringcooking,
if desired.
Turncarefully.Do not
turn skinside down.
Slashfat.
9
Usingthe oven.
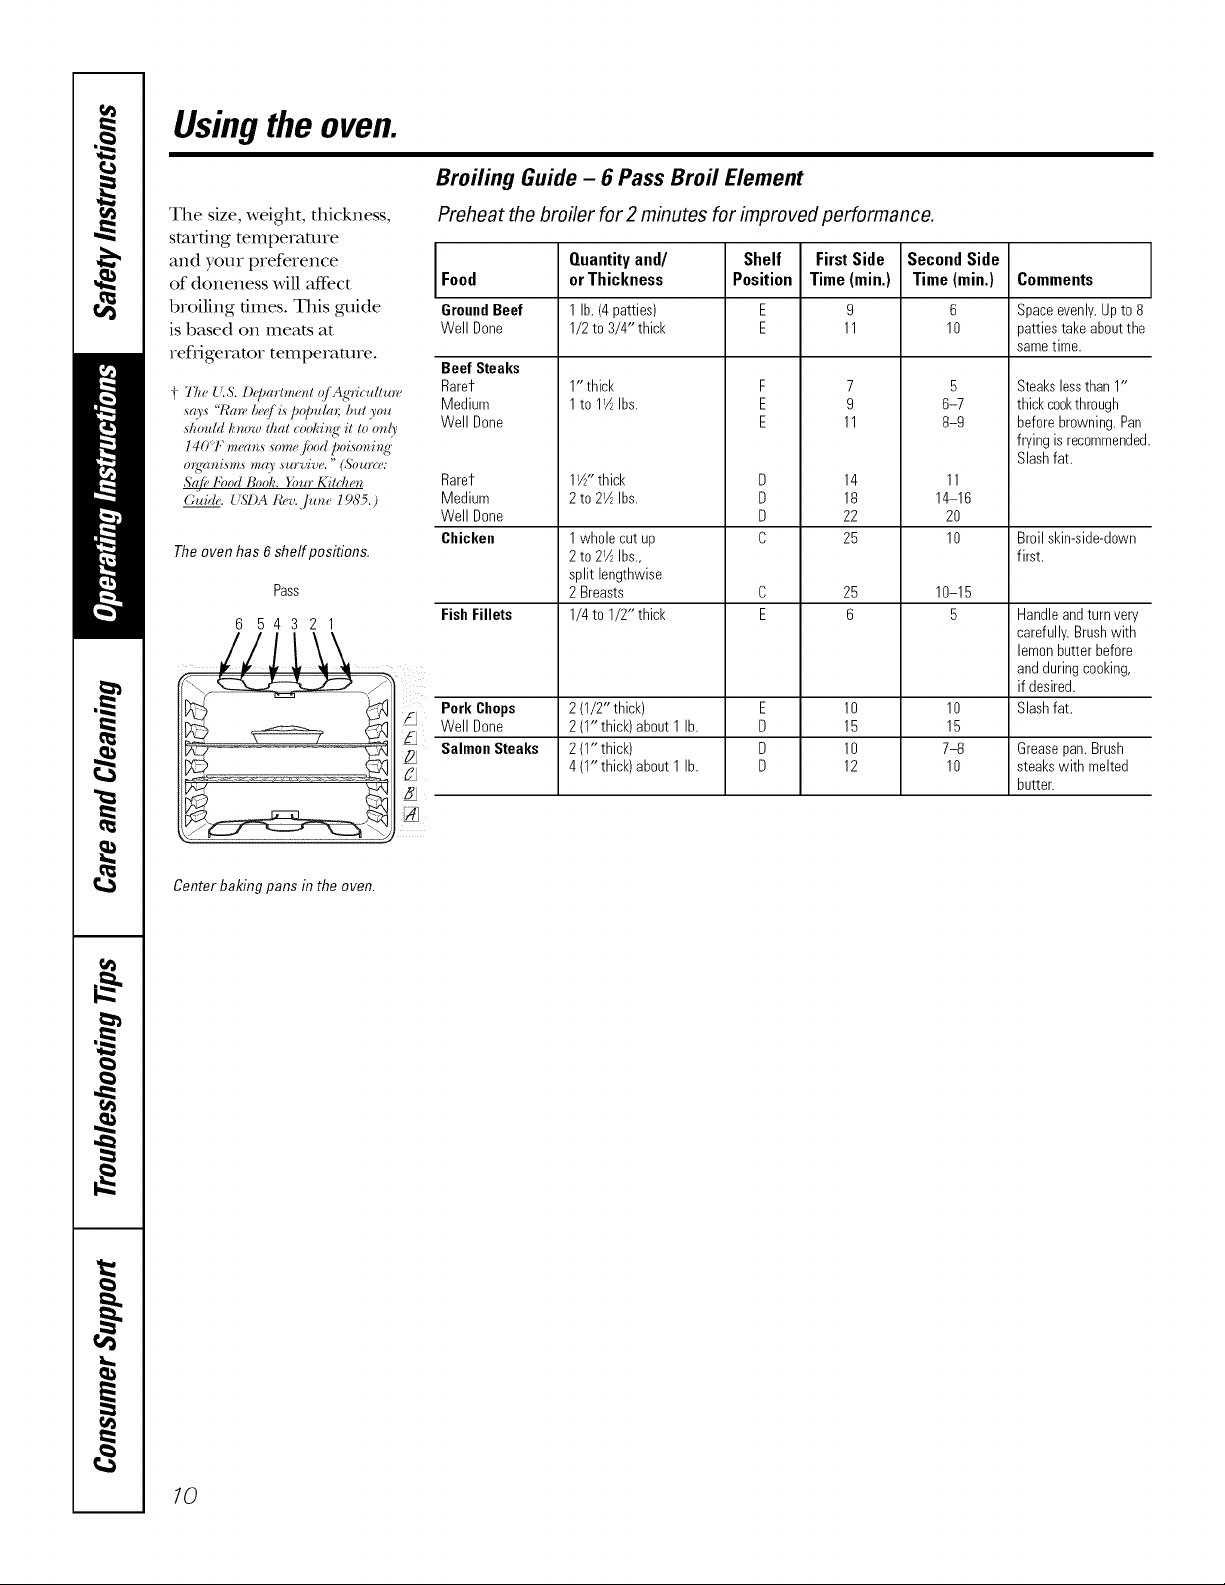
Broiling Guide - 6 Pass Broil Element
The size, weight, thickness,
starting temperature
and your preference
of doneness will aftbct
broiling times. This guide
is based oi1 meats at
refligerator temperature.
'{"The {".S. l)_JJartme_zt q/ Ag'ric*dtu_'e
sco's "lCa_" b_,q/h po/Ju&_;but you
should hnow that coohi*_g" it to o_z!_'
140'1" mec_*_,ssonm /bod poiso_zi*_g"
o_qwni,s,*,s mW survive. " (£'ou_rY':
Sc{/b bbod t_ooh. Dur Kitcl_e_z
Guide. {(S'I)A R_'v.June 19_75.)
The oven has 6 sheff positions.
Pass
6 54321
//i[\\
Preheat the broiler for 2 minutes for improved performance.
SecondSide
Food
GroundBeef
Well Done
Beef Steaks
Rarer
Medium
Well Done
Rarer
Medium
Well Done
Chicken
Fish Fillets
Pork Chops
Well Done
Salmon Steaks
Quantityand/ Shelf FirstSide
orThickness Position Time (rain.)
1 lb. (4patties) E 9
1/2to 3/4" thick E 11
1"thick F 7
1to 11½Ibs. E 9
E 11
11½-thick D 14
2to 21½Ibs. D 18
D 22
1whole cut up C 25
2to 21½Ibs.,
split lengthwise
2 Breasts C 25
1/4to 1/2" thick E 6
2(1/2" thick) E 10
2(1"thick)about 1 lb. D 15
2(1" thick) D 10
4(1"thick) about1 lb. D 12
Time(rain.)
6
10
5
6-7
8-9
11
14-16
20
10
10-15
5
10
15
7-8
10
Comments
Spaceevenly.Upto 8
pattiestakeaboutthe
sametime.
Steakslessthan 1"
thickcookthrough
beforebrowning.Pan
fryingis recommended
Slashfat.
Broilskin-side-down
first.
Handleandturnvery
carefully.Brushwith
lemonbutterbefore
andduringcooking,
if desired.
Slashfat.
Greasepan.Brush
steakswith melted
butter.
Center baking pans in the oven.
10
 Loading...