

GE GTS12BBPCRWW, GTS12BBPCRCC, GTS12BBPCLWW, GTS12BBPCLCC, GTS12BBPBRCC Owner’s Manual
...
g&com
Safety InsTtru_tions ......... 2, 3
Operating Instructions
Care and Cleaning .......... 6, 7
Control Settings .............. 4
Ice Service ................... 5
Storage Drawer ............... 4
Installation Instru_tions
Preparing to Install
the Reflig_rator . ............ 8
Reversing the Door Swing ... 9-13
Troubleshooting Tips .... 14-16
Normal Operating Sounds .... 14
Consumer Support
Consumer Support . . . Back Coxer
Product Registration ...... 17, 18
Warranty .................. 19
Modds l l ar_,d 12
Write the model and serial
numbers here:
Model
Serial
You can find them on a label
inside the refl'igerator on the
upper left side wall.
197DZI617PO04 49-60481 08-06JR
iMPORTANTSAFETYiNFORMATiON.
READALLiNSTRUCTiONSBEFOREUSING
WARNING!
Use this appliance only for its intended purpose as described in this Owner's Manual.
SAFETYPRECAUTIONS
When using electrical appliances, basic safety precaufions should be foflowed, including the following:
_:i:This refrigerator must be properly installed
and located in accordance with the Installation
Instructions before it is used.
:#;/Do not allow children to climb, stand or hang
on the shelves in the _effigeratm: Thev could
damage the refrigerator and seriously iqj m'e
themselves.
::_¢Do not touch tile cold SUlq'ilces in tile fl'eezer
compartment, particularly when hands are
damp or wet. Skin may stick to these extremely
cold sm_hces.
i)_:Do not store or use gasoline or other flammable
wq)m_ and liquids in tile vicinity of this or anv
other appliance.
i)::In reli_igeratm_ with automatic icemake_,
avoid contact with tile moving parts of tile
ejector mechanism, or with the heating element
that releases the cubes. Do not place finge_s or
hands on tile atltOlllatic icemaking mechanism
while the refrigerator is i)lugged in.
i):: Kee I) finget_ out of tile "pinch point" areas;
clearances between the cloo_ and between
the doo_ and cabinet are necessarily small.
Be carefld closing dom_ when children are
in the area.
;_JiUnplug tile reflJgerator befin'e cleaning and
making repai_.
NOTE: Westrongly recommendthatanyservlkingbe
performedby a quafified individual
i?_:Tm'ning tile control to tile OFFposition does
not remove power to tile light circuit.
_J/Do not refl'eeze fl'ozen foods which have
thawed completel>
::_ Before replacing a burned-out light bulb, the
refrigerator should be unpluggedin order to, avc,id
contact with a live wire filament. (A bm'ned-out
light bulb may break when being replaced.)
DANGER!RISKOFCHILDENTRAPMENT
PROPERDISPOSALOFTHEREFRIGERATOR
Child entrapment and suffocation are not problems
of tile past.Junked or abandoned refrigeratm_ are
still dangerous...even if they will sit fin" "just a fb'w
days." If you are getting rid of yore" old reflJgeratoi;
please follow tile instructions 1)elow to hel I) prevent
accidents.
Before YouThrewAway YourOldRefrigerator
or Freezer:
!i_ Take off tile dora3.
!i_:I,eave tile shelves in place so that children may
not easily climb inside.
Refrigerants
M1 refrigeration products contain refi_igerants,
which I//tlSt be removed prior to l)roduct disposal.
If you are getting rid of an old refrigeration
product, check with tile company handling tile
disposal about what to do.
USEOFEXTENSIONCORDS
Because of potential safety hazards under certain conditions, we strongly recommend against the
use of an extension cord.
Howe\'e_; if you must use an extension cord, it is absolutely necessary that it be a UL-listed (in tile United
States) or a CSA-listed (in Canada), 3-wire gro/mding type appliance extension cord having a gro/mding
t)pe i)lug and outlet and that tile electrical rating of tile cord be 15 amperes (minim urn) and 120 w)lts.
a, WARNING!
HOWTOCONNECTELECTRICITY
Donot, under any circumstances, cut or remove the third (ground) prong from the power cord. For
personal safe_ this appfiance must be properly grounded.
ge.com
The power cord of this appliance is equipped
with a 3-prong (grounding) plug which mates
with a standard 3-pr(mg (grounding) wall outlet to
minimize the possibiliQ, of electric shock hazard
fl'om this appliance.
Have the wall outlet and circuit checked by a
qualified electridan to make sure the outlet is
properly grounded.
Where a standard 2-prong wall outlet is
encountered, it is your personal responsibiliQ' and
obligation to have it replaced with a properly
grounded 3-prong wall outlet.
The reli-igerator should alwa D be plugged into its
own individual electrical outlet which has a voltage
rating that matches the rating plate.
This provides the best pe_tom_ance and also
I)rexents oxerloading, house wiring circuits which
could cause a fire haa_rd from oxerheated wires.
Never unplug your refrigerator bv pulling on the
power cord. Mways grip plug firefly and pull
straight out fl'om the outlet.
Repair or replace immediately all po_vr cords that
have become fl'a)'ed or otherwise damaged. Do not
use a cord that shows cracks or abrasion damage
along its length or at either end.
\,_]_en moving the refrigerator away fl'om the
wall, be careflll not to roll over or damage the
power cord.
READANDFOLLOWTHISSAFETYINFORMATIONCAREFULLY.
SAVETHESEINSTRUCTIONS
3
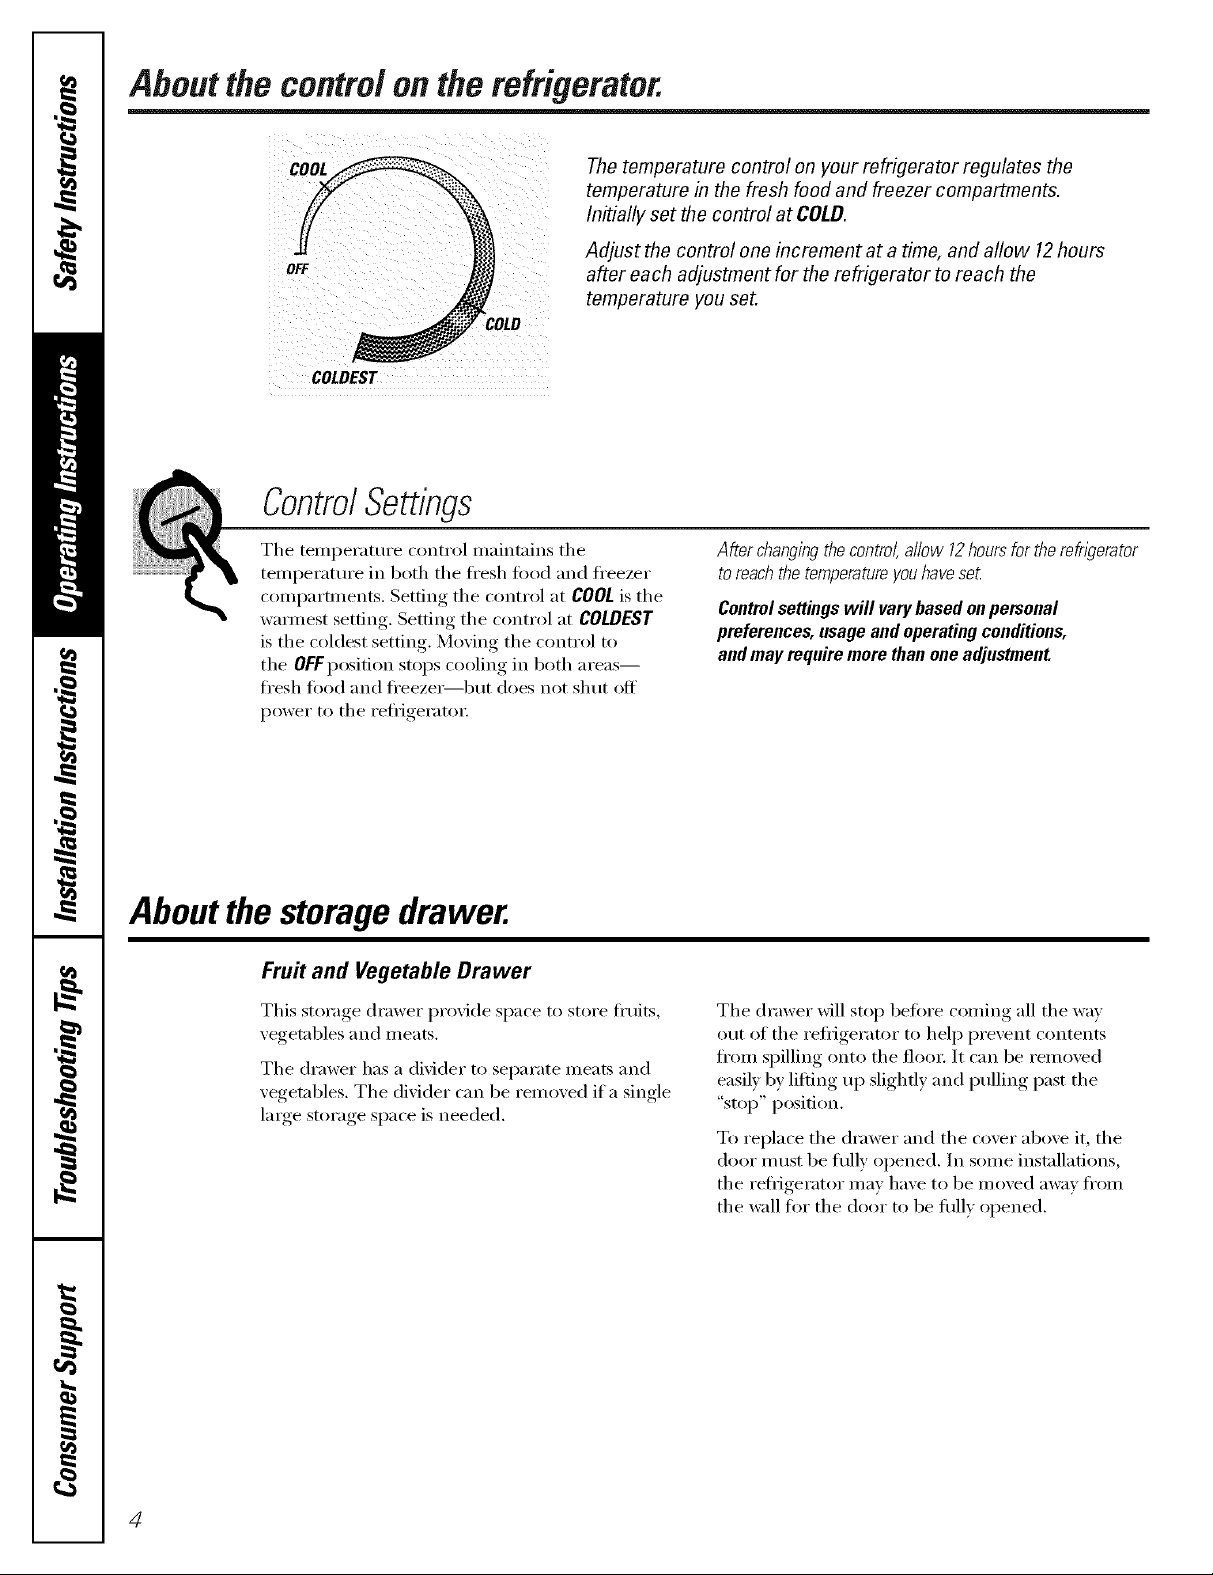
About the control on the refrigerator.
COOL
The temperature control on your refrigerator regulates the
temperature in the fresh food and freezer compartments.
Initially set the control at COLD.
OFF
Adjust the control one increment at a time, and aflow 12hours
after each adjustment for the refrigerator to reach the
temperature you set.
COLD
COLDEST
ControlSettings
The temperature control maintains the
temperature in both the fl'esh fi)od and fl'eezer
compartments. Setting the control at COOLis the
wam_est setting. Setting the control at COLDEST
is the coldest setting. Moving the control to
the OFF position stops cooling in both areas--
fl'esh fi)od and fl'eeze_but does not shut off'
power to the refl_igerato_:
Afterchangingthecontrol,allow12hoursfortherefwerator
toreachthetemperatureyouhaveseL
Controlsettingswill varybasedonpersonal
preferences,usageandoperatingconditions,
andmayrequiremorethanoneadjustment
Aboutthe storagedrawer.
Fru# and Vegetable Drawer
This storage drawer provide space to store fi'uits,
vegetables and meats.
The drawer has a divider to separate meats and
vegetables, The divider can be removed if a single
large storage space is needed.
The drawer Mll stop befiwe coming all the way
out of the refllgerator to help prevent contents
fl'om spilling onto the flora: It can be relnoved
easily by lifting up slightly and pulling past the
"stop" position.
To replace the drawer and the cover above it, the
door must be flflly opened. In some installations,
the reliigerator may have to be moved away fl'om
the wall for the door to be flflly opened.
4
Aboutice service, ge.com
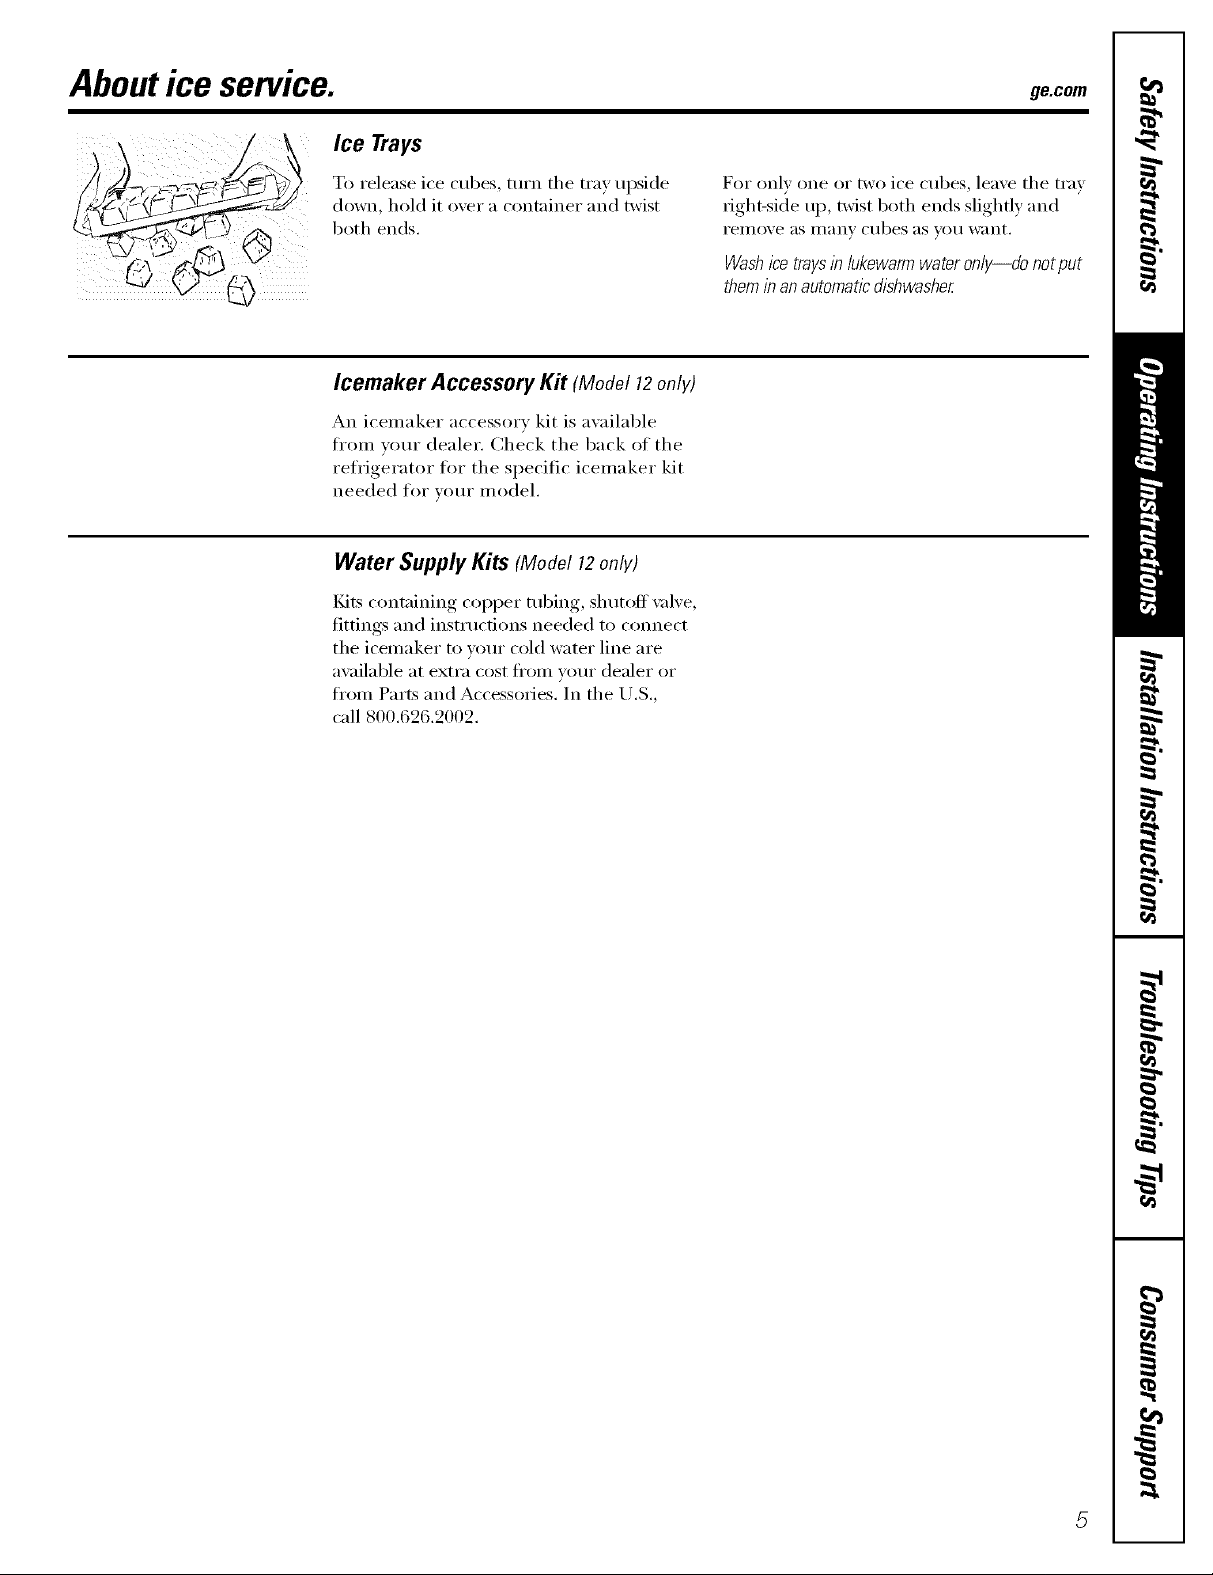
Ice Trays
To release ice cubes, turn the tray upside
down, hold it oxer a container and twist
both ends.
Icemaker Accessory Kit (Model12only)
An icemaker accessory kit is a\_dlable
fl'om vom" dealer. Check the back of the
refl'igerator fin" the specific icemaker kit
needed fin" vo m" model.
Water Supply Kits (Model12only)
Kits containing copper robing, sh utofl \;five,
fittings and instructions needed to connect
the icemaker to your cold water line are
available at extra cost fl'om your dealer or
from Parts and Accessories. In the U.S.,
call 800.626.2002.
For onl} one or two ice cubes leave the tray
iight-side up, twist both ends slightly and
i'eilloxe as ii/}lil_ c/ibes as vo/i _V}lilt,
Washicetraysiniukewarmwateron/y--do notput
theminanautomaticdishwasher
Careand cleaning ofthe refrigerator.
Cleaning the Outside
Keep the outside clean. Wipe with a clean
cloth lightly dan_pened with nfild liquid
dish detergent. D_T with a clean, soft cloth.
Donot wl_)etherefweratorwithasoileddishcloth
or wettowel Thesemayleavea residuethatcan
erodethepaint Donotusescouringpads,
powderedc/eaners,bleachorcleanerscontaining
bleachbecausetheseproductscanscratchand
weakenthepaintfinish.
Cleaning the Inside
Tohelp prevent odors,leave an open box el
baking soda in the ti'esh toed and ti'eezer
COIIlp_l I'[/Ilents.
Unplug the refrigerator before cleaning./t this
is not practical, wring excess moisture out
ot sponge or cloth when cleaning around
switches, lights or controls.
Use w;mn water and baking soda solution--
about a tablespoon (l 5 ml) of baking soda
to a quart (l liter) of water: This both cleans
and neutralizes odo_. Rinse and wipe dry:
Other parts of the reti_igerato_including
door gaskets, ti'uit and vegetable (h'awe_s,
and all plastic parts---can be cleaned the
SaIIle WaV.
Protect the paint finish.The finish on the
outside (ff the refrigerator is a high quali V,
baked-on paint finish. With proper care, it
will stay ile_qookillg and rtlst flee fi)r veai_.
Apply a coat (ff kimhen/appliance wax
when the retiigerator is new, and then
at least twice a vea_:
Defrost waterpan. The non-removable pan
is located under the compressor at the rear
ot the reti'igerator. It should be cleaned at
least once a yem: Move the reti_igerator
out fl'onl the wall as tin" as necessary, and
tmplug the power cord from the wall outlet.
i,et the compressor cool beflwe cleaning
the pan. Use a clean cloth or sponge
dampened in w:mn water and baking soda
solution---one tablespoon (15 ml) (ffbaking
soda to a quart (l liter) of watex: Do not use
cleansing powdexs, abrasive cleanexs, bleach
or cleaners containing chlorides.
Do not washanyp/astic refwerator parts in the
dishwasher
Mter cleaning the door gaskets, apply a thin
layer of petroleum jelly to the door gaskets
at the hinge side. This helps keep the
gaskets from sticking and bending out of
shape. Do not use cleansing powders or
other abrasive cleaners.
Behind the Refrigerator
Once a yem; move the reti_igerator out and
\:_ctmm the back coils. Be carefifl when
moving the reti_igerator away ti'om the wall.
M1 types of floor coverings can be damaged,
particularly cushioned coverings and those
with embossed stmfhces.
Pull the refrigerator straight out and return
it m position by pushing it straight in.
Moving the refrigerator in a side direction
may result in damage to the floor covering
or reffigerato_:
Whenpushlbg therefrigerator back,makesure you
don't rofl over thepower cord
 Loading...