

GE GHDA696P04SS, GHDA696P03SS, GHDA696P02SS, GHDA696P01SS, GHDA690P04WW Owner’s Manual
...
Safety Instructions .......... 2,s
ge.com
(11
J=
(11
Operating Instructions
Care and Cleaning .............. 9JlO
Control Panel and Settings ....... 415
Loading the Racks .................. 8
Using the Dishwasher ............ 617
Troubleshooting Tips ..... 11-12
Consumer Support
Consumer Support ........ Back Cover
Warrantg ......................... 15
GHDA696P
GHDA690P
Write the model and serial
numbers here:
Model #
Serial #
Youcan find them on the tub wall
just insidethe door.
IMPORTANTSAFETYINFORMATION.
READALL INSTRUCTIONSBEFOREUSING-
SAVETHESEINSTRUCTIONS
WARNING!
For your safety, the information in this manual must be followed to minimize the risk of fire
or explosion, electric shock, and to prevent property damage, personal injury, or death.
-&WARNING! WATER HEATER SAFETY
Under certain conditions, hydrogen gas may be produced in a water heater that has not been used
for two weeks or more. HYDROGEN GAS IS EXPLOSIVE.
Ifthe hot water has not been used for two weeks or more, prevent the possibility of damage or injury
by turning on all hot water faucets and allow them to run for several minutes. Do this before using any
electrical appliance which is connected to the hot water system. This simple procedure willallow any built-
up hydrogen gas to escape. Since the gas is flammable, do not smoke or use an open flame or appliance
during this process.
%
PROPER INSTALLATION AND MAINTENANCE
This dishwasher must be properly installed and located in accordance with the Installation
Instructions before it is used. If you did not receive an Installation Instructions sheet with
your dishwasher, you can receive one by visiting our website at ge.com.
• Connect to a grounded metal, permanent wiring
system; or run an equipment-grounding
conductor with the circuit conductors and
connect to the equipment-grounding terminal
or lead of the appliance.
• Improper connection of the equipment-grounding
conductor can result in a risk of electricshock.
Checkwith a qualified electrician or service
representative if you are in doubt whether
the appliance isproperly grounded.
• Disposeof discarded appliances and shipping
or packing material properly.
• Donot attempt to repair or replace any part
of your dishwasher unlessit isspecifically
recommended inthis manual. Allother servicing
should be referred to a qualified technician.
• To minimize the possibility of electric shock,
disconnect this appliance from the power supply
beforeattempting any maintenance.
NOTE:Turningthe dishwasher off doesnot
disconnect the appliance from the power supply.
We recommend having a qualified technician
service gout appliance.
CAUTION: Topreventminorinjuryorpropertydamage
• Contents washed in Anti-bacterial mode, if
available,may be hot to the touch. Use care
before handling.
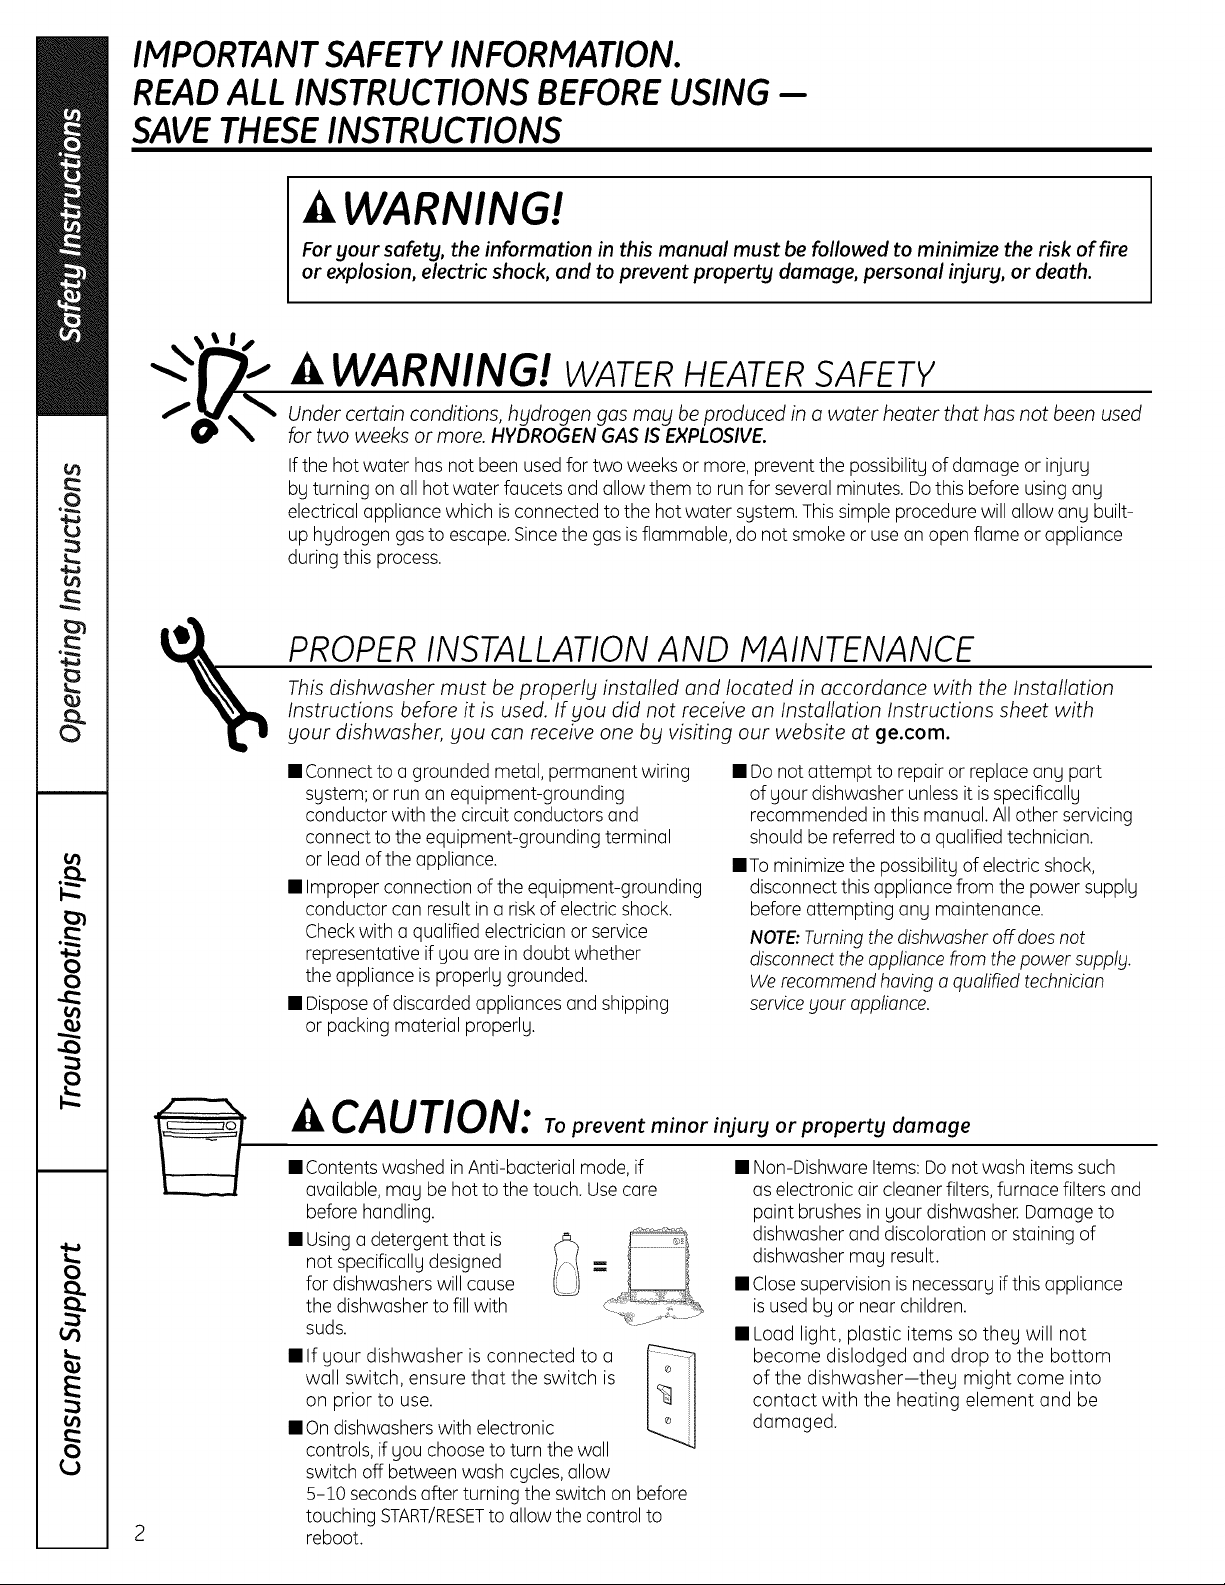
• Using a detergent that is
not specifically designed
for dishwashers will cause
the dishwasher to fill with
suds.
• If your dishwasher is connected to a
wall switch, ensure that the switch is
on prior to use.
• On dishwasherswith electronic
controls, if you choose to turn the wall
switch off between wash cycles,allow
5-10 secondsafter turning the switch on before
touching START/RESETto allow the control to
reboot.
• Non-Dishware Items: Donot wash itemssuch
aselectronic air cleanerfilters, furnace filters and
paint brushes in your dishwasher.Damage to
dishwasher and discoloration or staining of
dishwasher may result.
• Closesupervision is necessary if this appliance
isused by or near children.
• Load light, plastic items so they will not
become dislodged and drop to the bottom
of the dishwasher-they might come into
contact with the heating element and be
damaged.
WARNING! RISK OF CHILD ENTRAPMENT
PROPER DISPOSAL OF THE DISHWASHER
ge.com
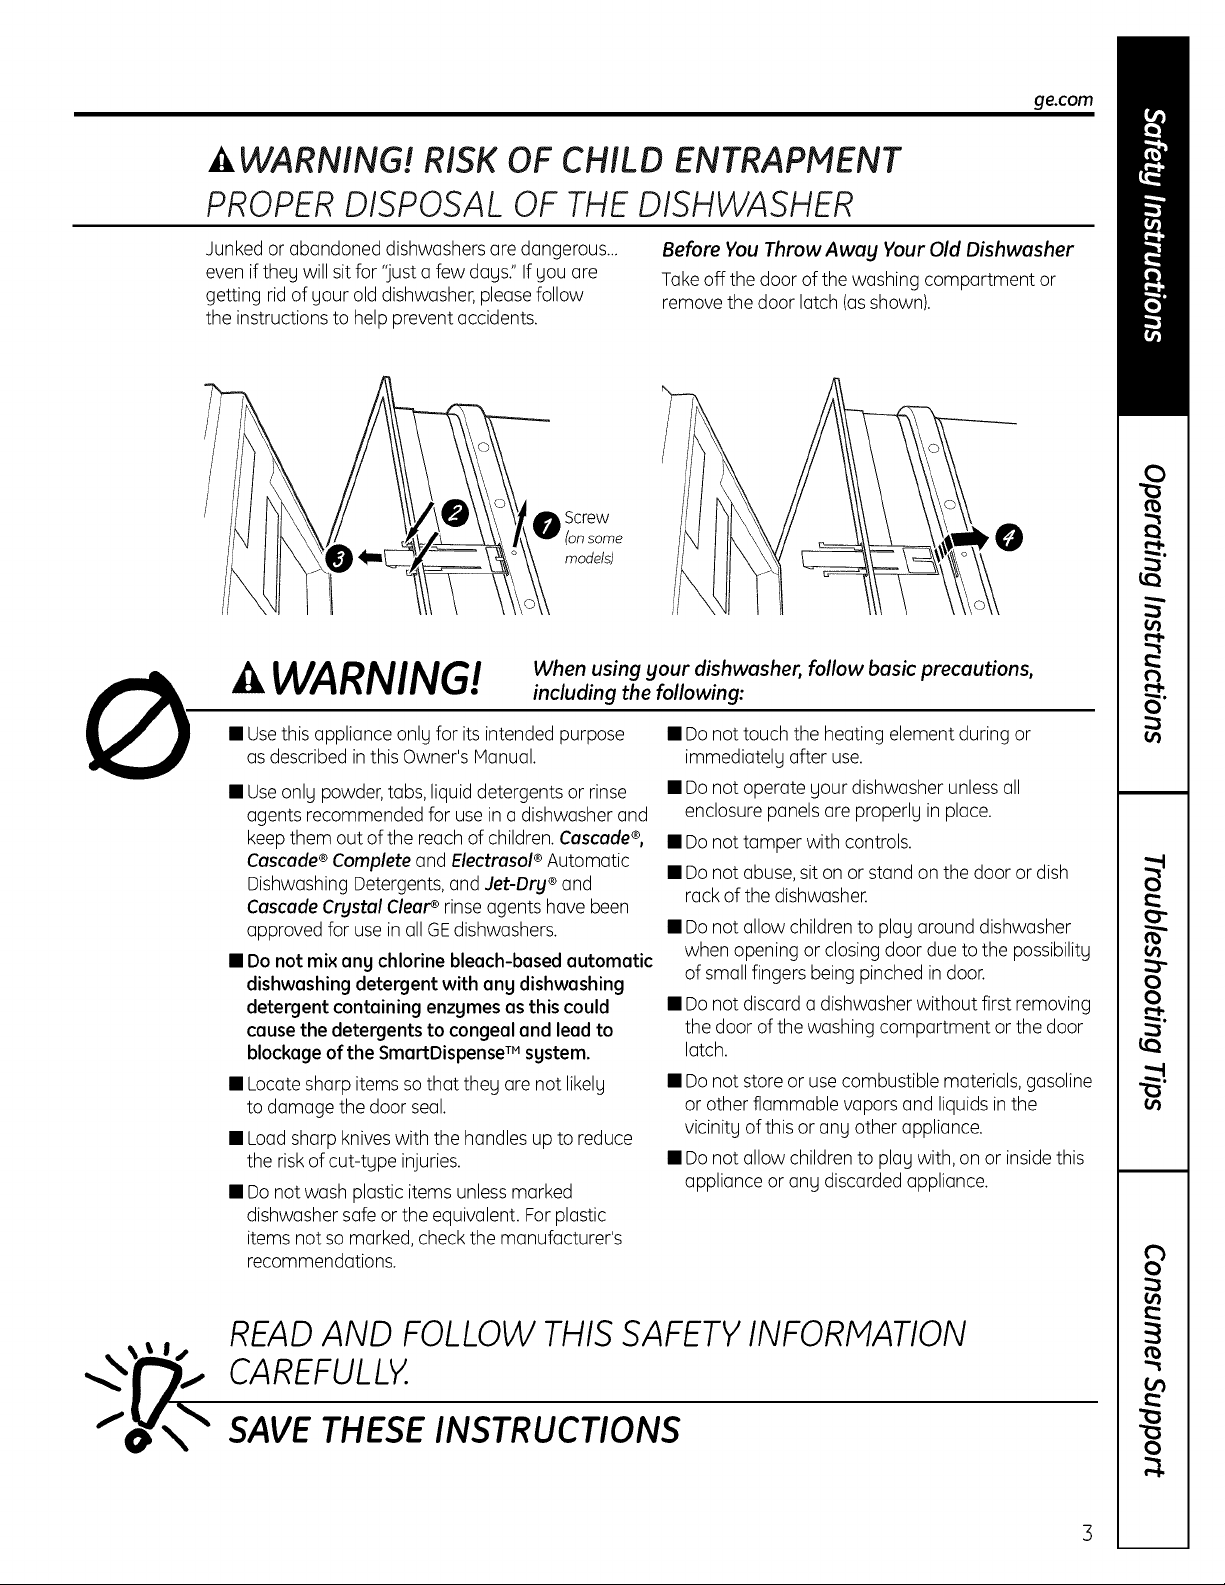
Junked or abandoned dishwashers ore dangerous...
even if they will sit for "just a few dogs."Ifyou ore
getting rid of your old dishwasher,pleasefollow
the instructions to help prevent accidents.
O Screw
(On some
models)
A WARNING!
• Usethis appliance only for its intended purpose
as described in this Owner's Manual.
• Useonly powder,tabs, liquid detergents or rinse
agents recommended for use in a dishwasher and
keepthem out of the reach of children.Cascade®,
Cascade ®Complete and Electrusol ®Automatic
Dishwashing Detergents,and Jet-Dry®and
Cascade Crystal Cleare rinse agents have been
approved for useinallGEdishwashers.
• Do not mix any chlorine bleach-bused automatic
dishwashing detergent with any dishwashing
detergent containing enzymes as this could
cause the detergents to congeal and lead to
blockage of the SmartDispenseTM system.
• Locatesharp items so that they are not likely
to damage the door seal.
• Loadsharp knives with the handles up to reduce
the risk of cut-type injuries.
• Donot wash plastic items unlessmarked
dishwasher safe or the equivalent. For plastic
items not so marked, checkthe manufacturer's
recommendations.
When using gour dishwasher, follow basic precautions,
including the following:
Before You Throw Away Your Old Dishwasher
Takeoff the door of the washing compartment or
remove the door latch (asshown).
0
• Do not touch the heating element during or
immediately after use.
• Do not operate your dishwasher unlessall
enclosure panels are properly in place.
• Do not tamper with controls.
• Do not abuse,sit on or standon the door or dish
rack of the dishwasher.
• Do not allow children to play around dishwasher
when opening or closing door due to the possibility
of small fingers being pinched in door.
• Do not discord a dishwasher without first removing
the door of the washing comportment or the door
latch.
• Do not store or use combustible materials, gasoline
or other flammable vapors and liquidsinthe
vicinity of this or any other appliance.
• Do not allow children to play with, on or insidethis
appliance or any discorded appliance.
READ AND FOLLOW THIS SAFETY INFORMATION
CAREFULLY.
SAVE THESEINSTRUCTIONS
3
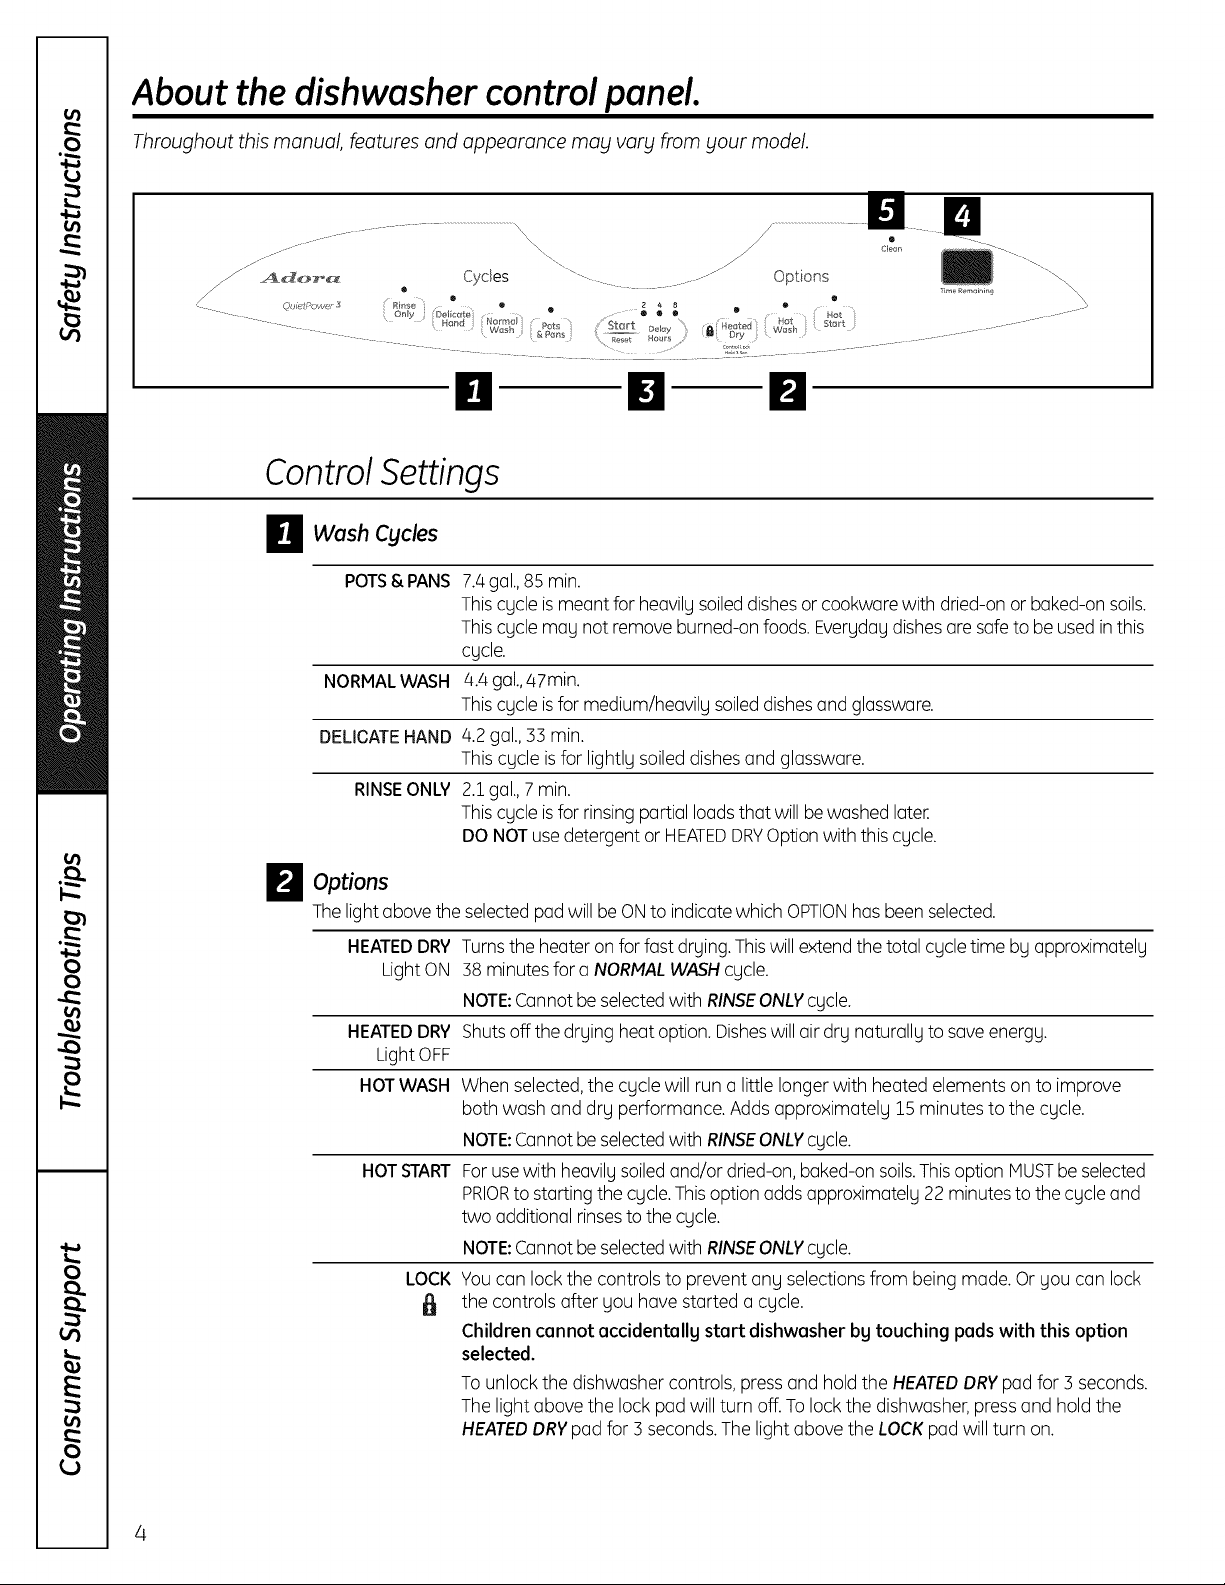
About the dishwasher control panel.
Throughout this manual, features and appearance mabl varbl from blour model.
j-
_ Ado_ Cycles _ ....
,L
........ Options
0 El 0
ControlSettings
O Wash Cycles
!111
Tree Rein _i@_°9
\
POTS& PANS
NORMALWASH
DELICATEHAND
RINSEONLY
7.4gal.,85 min.
Thiscycle is meant for heavily soileddishesor cookwarewith dried-on or baked-on soils.
Thiscycle may not remove burned-on foods.Everyday dishesaresafe to be used in this
cycle.
4.4 gal.,47min.
Thiscycle isfor medium/heavily soileddishesandglassware.
4.2 gal.,33 min.
Thiscycle is for lightly soiled dishes and glassware.
2.1gal.,7 min.
Thiscycle isfor rinsing partial loads that will bewashed later.
DONOTuse detergent or HEATEDDRYOptionwith thiscycle.
O Options
Thelight abovethe selectedpadwill be ONto indicatewhich OPTIONhasbeenselected.
HEATEDDRY
Light ON
HEATEDDRY
Light OFF
HOT WASH
HOT START
Turnsthe heater on forfast drying, Thiswill extendthe total cycletime by approximately
38 minutesfor a NORMALWASHcycle.
NOTE:Cannot be selectedwith RINSEONLYcycle.
Shutsoff the drying heat option. Disheswillair dry naturally to save energy.
When selected, the cycle will run a little longer with heated elements on to improve
both wash and dry performance. Adds approximately 15 minutes to the cycle.
NOTE:Cannot be selected with RINSE ONLY cycle.
For use with heavily soiled and/or dried-on, baked-on soils. This option MUSTbe selected
PRIORto starting the cycle. This option adds approximately 22 minutes to the cycle and
two additional rinses to the cycle.
NOTE:Cannot be selected with RINSE ONLY cycle.
LOCK
You can lock the controls to prevent any selections from being made. Or you can lock
the controls after you have started a cycle.
Children cannot accidentally start dishwasher by touching pads with this option
selected.
To unlock the dishwasher controls, press and hold the HEATED DRY pad for ] seconds.
The light above the lock pad will turn off. To lock the dishwasher, press and hold the
HEATED DRY pad for 3 seconds. The light above the LOCK pad will turn on.
_JStart/Reset
Closeand latchthe dishwasherdoor and selectthe cycle and desiredenhancements.Touchthe
START/RESETpadto begin the cycle.Thewater fill beginsimmediately, and approximately 60 secondslater
the wash action begins.
Whenthe dishwasherdoor isfully closed and latched,the control panel lightswilldisplay the last settings
you selected.Ifyou don't want to change any of thesettings, siimplytouch the START/RESETpad to begin
the cycle.
Ifthe door is closed,the indicator lightswillturn off ifthe START/RESETpad isnot selectedwithin 5 minutes.
Toactivate the display,open and closethe door or pressany pad.
DELAY HOURS
Time Remaining Display (onsomemodels)
D
During operation, the display shows the minutes remaining untilthe cycle iscomplete. Thedisplay
may adjust the remaining time while the SENSINGlight ison.Thetime displayed at the start of each
cycle may change from the factory setting as the unit customizes itselfto home use.Duringa delay
start, the display will show hours of time remaining until the cycle starts.
RESET
Youcan delay thestart ofawash cycle for up to 6 hours.Pressthe DELAYSTART
pad to choosethe number of hours you want to delay the start of the cycle;then
pressSTART/RESET.
Themachine will count down and start automatically at thecorrect time.
NOTE:Tocancelthe DELAYSTARTselectionbefore the cycle begins,repeatedly pressthe
DELAYSTARTpad untilthe display isblank.
Tochange a cycleafter washing starts:
Touchthe START/RESETpad to cancel the cycle.TheSTART/RESETlight will flash while
the water is pumped out, if needed.Thistakes approximately 2 minutes.
ge.com
Clean
TheCLEANlight is illuminated when the selected cycle and enhancements are complete. The light will
stay ON until a pad is pressedor the door is opened and then closed.
 Loading...