

Page 1
g
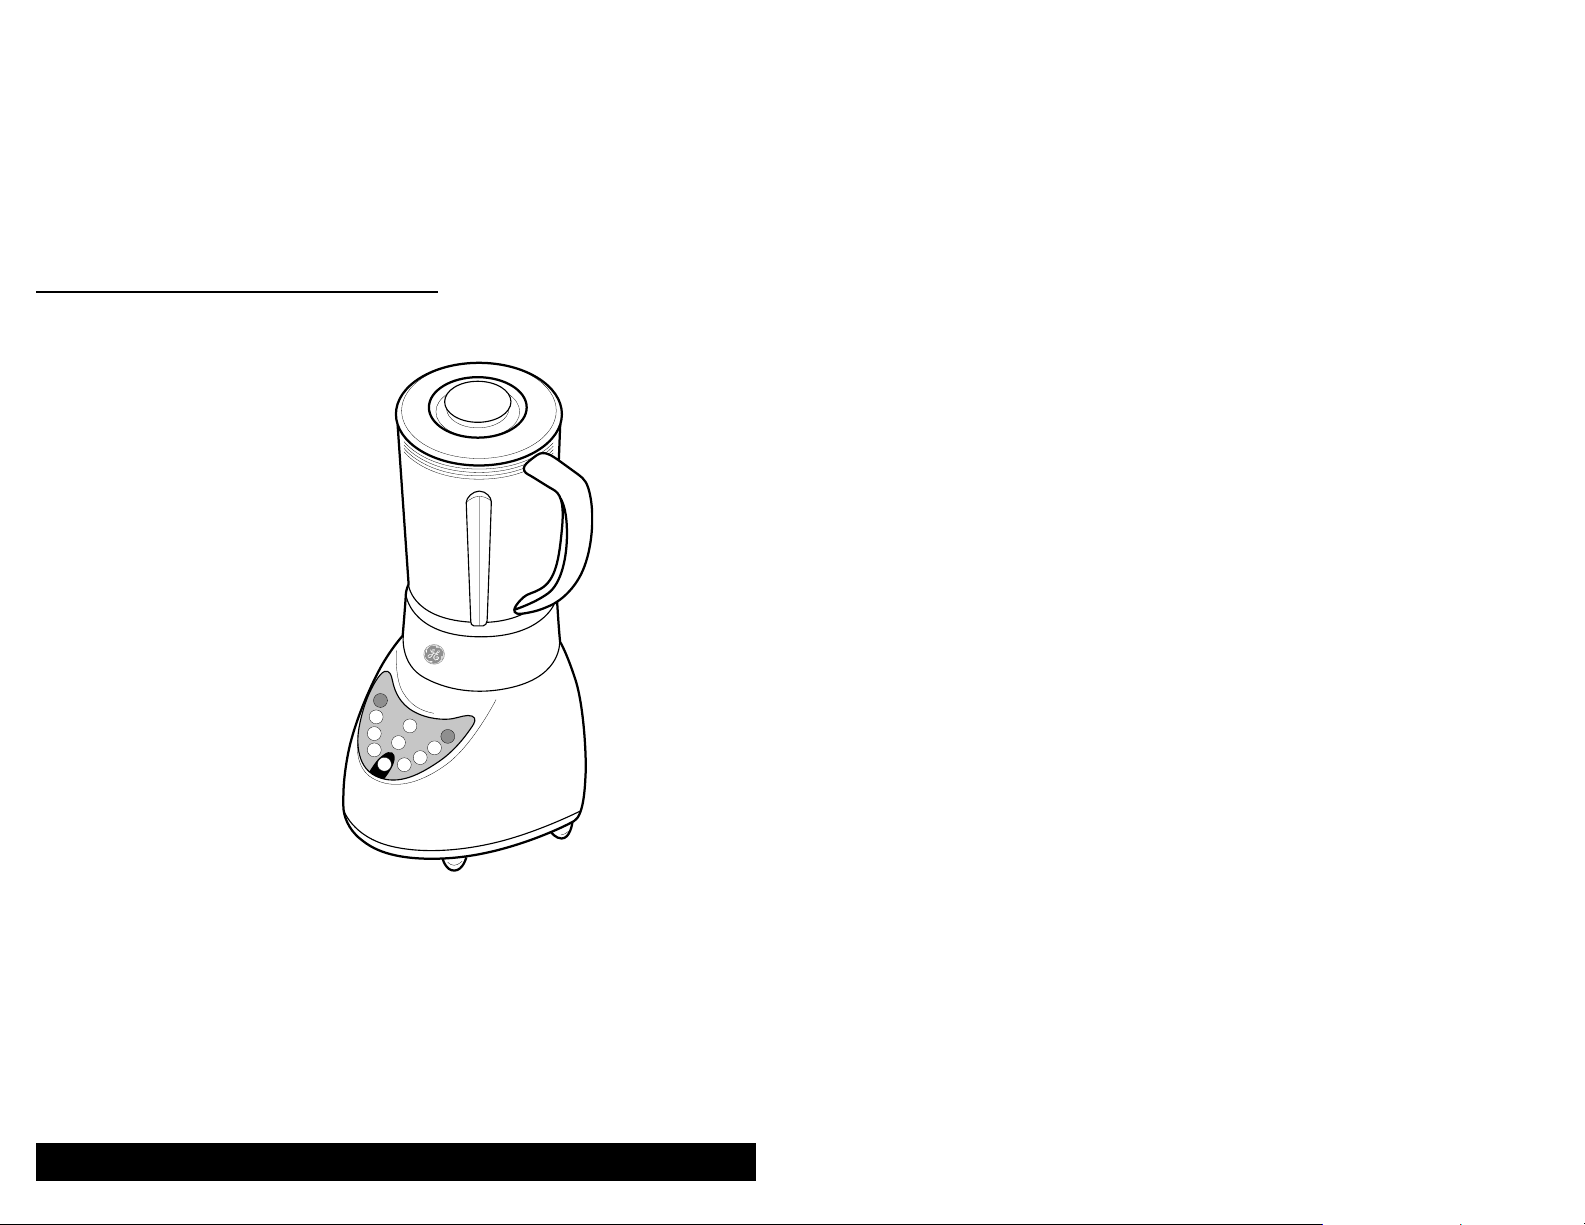
Electronic Blender
Item Stock Number
GE168944
UPC:
681131689441
www.gehousewares.com
For Customer Assistance Please Call: 1-877-207-0923
Page 2

When using electrical appliances, basic safety precautions should always be
observed, including the following:
SA VE THESE INSTRUCTIONS!
Consumer Safety Information
IMPORTANT SAFEGUARDS
1. Read all instructions carefully
before using the appliance.
2. Check that the voltage range given
on the appliance rating label corresponds with that of your main voltage.
3. Keep children away when
appliance is in use.
4. This appliance is suitable for
normal household use only and
not for commercial use.
5. Use the appliance only on a level
working surface.
6. Do not hold the appliance on the
slant while it is working.
7. Never put your fingers in the
blender jar or mill cup while
attached to blender base.
8. Do not operate the appliance with
a damaged cord or plug or after
the appliance malfunctions or has
been dropped or damaged. Return
the appliance for examination,
adjustments, or repair.
9. The use of attachments not
recommended may cause fire,
electrical shock, or risk of injury.
10. Never open the cover before the
motor has stopped.
11. Never immerse the motor base in
water; wipe with a damp cloth to
clean it.
12. Unplug the unit when not in use and
whenever you clean or move the unit.
13. To disconnect the appliance, set
control to off, grip plug and pull
from wall outlet. Never yank on cord.
14. Repairs on electrical appliances
must only be done by authorized
service personnel. Faulty,
unqualified repair work may cause
accidents or injury to the user.
15. Do not use the appliance if the
stainless steel blade is damaged.
• If the supply cord is damaged, it must
be replaced by the manufacturer or its
service agent or a similarly qualified
person in order to avoid a hazard.
Blender Safety
This appliance is intended
for household use only
.
becoming tangled in or tripping over a
longer cord. If a longer cord is necessary,
an approved extension cord may be
used. The electrical rating of the
extension cord must be equal to or
greater than the rating of the blender.
Care must be taken to arrange the
extension cord so that it will not drape
over the countertop or tabletop where it
can be pulled on by children or
accidentally tripped over. If the cutting
blades lock and do not move, this will
damage the motor. Do not use. Call the
toll-free customer assistance number for
information. Do not place blender jar in
the freezer filled with food or liquid.
This will freeze and damage the cutting
blades.
This appliance is equipped with a
polarized plug. This type of plug has one
blade wider than the other. The plug will
fit into an electrical outlet only one way .
This is a safety feature intended to help
reduce the risk of electrical shock. If you
are unable to insert the plug into the
outlet, try reversing the plug. If the plug
should still fail to fit, contact a qualified
electrician to replace the obsolete outlet.
Do not attempt to defeat the safety
purpose of the polarized plug by
modifying the plug in any way .The
length of the cord used on this appliance
was selected to reduce the hazards of
1
Page 3

Parts and Features
Blender Base
Filler cap
Blender Lid
Blender Jar
Mill Cup
Gasket
Blender Blade (white)
Mill Blade (grey)
Blender Retaining Ring
Mill Retaining Ring
Pulse
Stop
Mill
3
2
Know Your Blender
1
2
3
How to Assemble and Use
1
2
3
4
4
5
6
7
8
9
10
5
9
6
7
IMPORTANT: Your blender jar and cutting blades are subject to wear during
normal use. Always inspect jar for nicks, chips, or cracks. Always inspect cutting
blades for broken, cracked, or loose blades. If the jar or cutting blades are damaged,
do not use. Call our toll-free customer assistance number to obtain replacement
parts. Make sure blender is unplugged. Place blender base on clean, dry surface to
keep foreign particles from being pulled up into the motor during operation.
Jar and Mill Assembly
1. Place gasket onto cutting blades 3. Screw retaining ring counter
clockwise onto
jar or mill cup.
Make sure the
retaining ring is
firmly screwed
onto jar
Never place blade assembly on
base unless assembled to jar.
2. Place blades through jar opening.
Keep fingers out of jar while the unit is assembled.
Before First Use
After unpacking the blender, wash
everything except the blender base
in hot, soapy water. Dry thoroughly.
Wipe the blender base with a damp
cloth or sponge. DO NOT IMMERSE
THE BASE IN WATER. Care should
be taken when handling the blades
as they are very sharp.
8
10
11
12
13
11
12
13
Page 4

5
4
Preparing Fruits Or Vegetables
• Wash or peel the fruit or vegetables you want to process.
• Process seed fruit (such as apples, pears) with peels and cores.
• Fruits and vegetables with thick peels (e.g.. citrus fruits, melons, kiwis, beets)
must be peeled first.
• Grapes can be processed only after separation from the bunch.
• For leafy vegetables (e.g.: cabbage and spinach) and herbs, roll leaves together
tightly .
• Cut fruits and vegetables into pieces that will fit into the filler cap hole.
Operation
• The appliance is easily controlled by the touch of a button.
• The appliance can be operated only when the attachments are correctly assembled
and in place on the base.
• When the appliance is plugged in, the light under the “Stop” button will blink
to indicate the Blender is in “Stand-By” mode.
• Caution: When the light under Stop shines continuously , it means the motor
may be over -loaded or over-heated. Turn the blender off for at least three
minutes before using again.
• To stop the machine, either press the function button just used for a second
time, or press the Stop button.
• The appliance has two main functions: Blender and Mill.
Note: Pulse feature works only with Blender function
Blender:
1. The Blender jar and cutting assembly should be properly assembled and
securely placed on the blender base (see Jar/Mill assembly on page 3).
2. When the unit is plugged into the wall outlet the light under the Stop button
should blink on and off. The blender is currently in stand by mode.
3. Place all of the ingredients into the Blender jar. For the best results place liquid
ingredients in first and blend using the “stir function” for a couple seconds. Next
place all solid items into the blender jar.
4. Choose the appropriate setting for blending. Each of the following buttons can
be pressed to achieve the desired amount of blending. When the ingredients reach
your desired consistency press the function button a second time to turn off your
Blender or press the stop button. Example: Press the stir button to start blending
at the lowest speed. Press the stir button again to stop blending.
Remember the Stop button will stop the blender no matter what the function.
Stir (slowest speed) to blend peeled fruit like apples into juice
Chop (faster then stir) suitable for preparing milk shakes
Mix ( a little more power then chop) suitable for preparing harder items such as
onions
Grate (fourth most powerful) Suitable for really thick blending of pancake mix
Blend this is the second most powerful speed and should be used to blend
ingredients of different consistency . ie. Cheese with milk
Liquefy perfect for making smoothies with fruits and juice
5. There are two additional functions when using the blender. The first is the Ice
Crush feature. To crush ice cubes, just place the ice cubes into the blender jar and
put the lid on. It is not necessary to add any liquid. Press the “Ice Crush” button.
6. The second feature unique to the blender function is the pulse function. T o
utilize the pulse feature, press the Pulse button. The light will blink under the Pulse
button indicating the blender is ready for use. Press any of the other function
buttons (Stir-Liquefy) and the blender will operate only while the button is held
down. Once the button is released the blender will stop. To stop the pulse feature,
press the Pulse button a second time. The light under the Pulse button should no
longer blink.
7. Operate the blender for 3 minutes at a time. After 3 consecutive min. of
operation, let the unit rest for 1 min.
Mill:
IMPORTANT: Your mill cup and cutting assembly are subject to wear during
normal use. Always inspect the mill cup for nicks, chips, or cracks. Always inspect
the cutting assembly for broken, cracked, or loose blades. If the mill cup or cutting
assembly are damaged, do not use. Call our toll free customer assistance number to
obtain replacement parts. NOTE: Make sure base in UNPLUGGED and mill cup
and assembly are properly removed from base prior to inspection.
1. The Mill jar and cutting assembly should be properly assembled and
securely placed on the blender base (see Jar/Mill assembly on page 3).
2. When the unit is plugged into the wall outlet the light under the stop button
should blink on and off. The Mill is currently in stand by mode.
3. To use the function, just press the Mill button once to turn on. Press the mill
button again to turn off the Mill function, or press Stop to turn off.
4. Some general guidelines for grinding are listed below. However, time will vary
depending upon the amount of coffee used and your personal preference. The
best way to determine how coarse or fine to grind your coffee is to experiment
with different grinds and coffee types to suit your taste. Three and a half ounces
is the maximum capacity of the Mill. Wait 1 minute between batches in the Mill.
Grind Suggested Use Grind Time
Coarse Percolator/French Press 10 Seconds
Medium Automatic Drip 20 Seconds
Fine Espresso 30 Seconds
Cleaning
• Always unplug the appliance first before cleaning!
• Never immerse the base in water, clean it with a damp cloth.
• All other parts can be washed under the tap, running water is more efficient for
cleaning
• The cutter blades are sharp. Handle carefully . Rinse, dry, and reassemble
for storage.
• The plastic parts may be stained when processing foods with a high pigment
content. (e.g.: carrots). Use vegetable oil to clean.
• Caution: Do not clean any parts of the appliance in the dishwasher.
Page 5

6
Two-Year Limited Warranty
What does your warranty cover?
• Any defect in material or workmanship.
For how long after the original purpose?
• Two years.
What will we do?
• Provide you with a new unit.
• The exchange unit is warranted for
the remainder of your product’s
original two-year warranty .
How do you make a warranty claim?
• Properly pack your unit. We
recommend using the original carton
and packing materials.
• Include in the package a copy of the
sales receipt or other evidence of date
of original purchase. If the unit was a
gift, provide a statement specifying the
date received. Also print your name
and address and a description of the
defect.
• Return the product to your nearest
WAL★MART store with sales receipt.
is a trademark of
General Electric Company
and is used under license by
WAL★MART Stores, Inc.
Bentonville, AR 72716
What does your warranty not cover?
• Glass parts, glass containers,
cutter/strainer , blades and/or agitators.
• Commercial use or any other use not
found in printed directions.
• Damage from misuse, abuse, or
neglect.
• Products purchased or serviced
outside the USA or Canada.
How does state law relate to this
warranty?
• This warranty gives you specific legal
rights, and you may also have other
rights which vary from state to state.
•WAL★MART expressly disclaims all
responsibility for consequential
damages or incidental losses caused by
use of this appliance. Some states do
not allow this exclusion or limitation
of incidental or consequential losses so
the foregoing disclaimer may not
apply to you.
For products purchased outside the
United States and Canada, see dealer for
warranty .
WAL★MART Stores , Inc.
Bentonville, AR 72716
Customer Assistance
If you have a claim under this warranty , please call our Customer Assistance
Number. For faster service please have model, series, and type numbers ready for
operator to assist you. These numbers can be found on the bottom of your blender.
MODEL: TYPE: SERIES:
Customer Assistance Number 1-877-207-0923
Keep this number for future reference!
g
WAL★MART Stores, Inc.
Bentonville, AR 72716
 Loading...