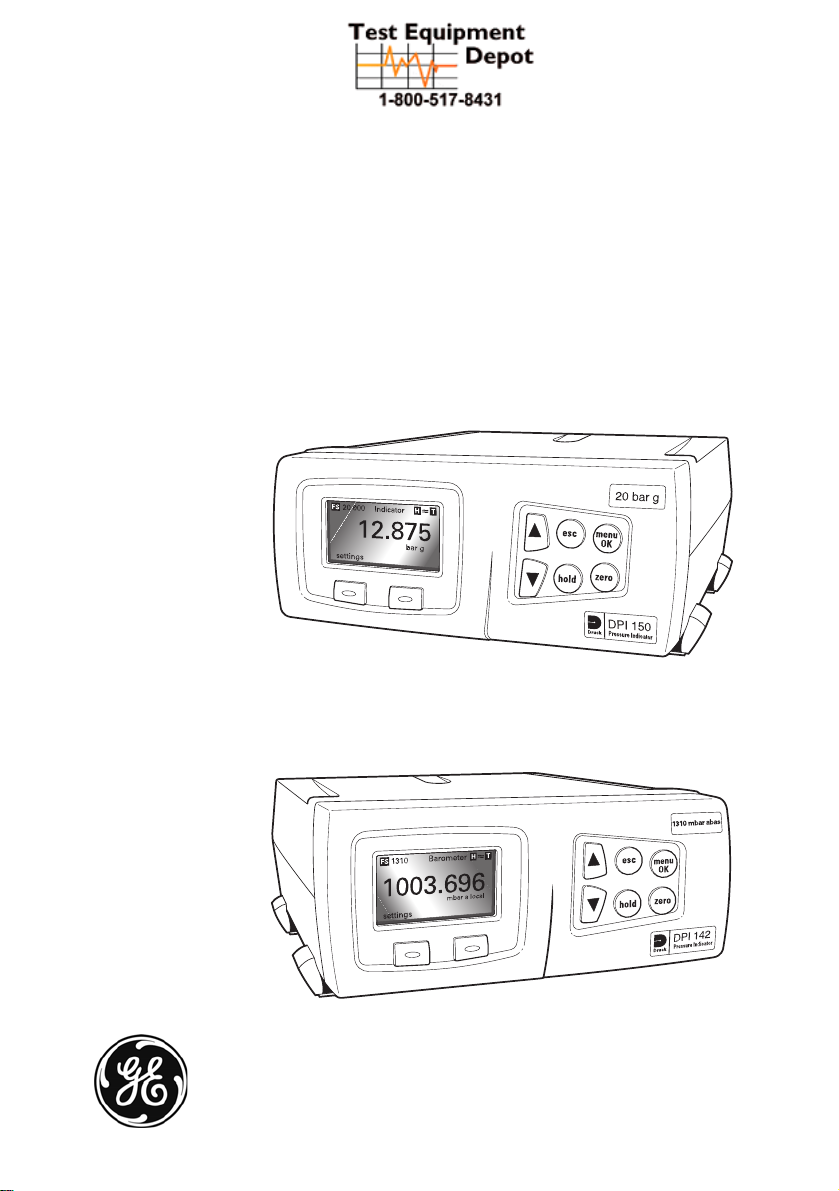
Page 1

GE Infrastructure
Sensing
Druck DPI 142/150
Pressure Indicator
Calibration manual - K382
99 Washington Street
Melrose, MA 02176
Fax 781-665-0780
TestEquipmentDepot.com
Page 2

Druck DPI 142/150 Calibration Manual
Introduction
This technical manual provides calibration instructions for the Druck DPI 142
and DPI 150 Pressure Indicators.
Scope
This technical manual provides calibration instructions for the calibration
technician of this equipment series.
Safety
The manufacturer has designed this equipment to be safe when operated using
the procedures detailed in this manual. The user must not use this equipment
for any other purpose than that stated.
This manual contains safety and operating instructions that must be followed
to make sure of safe operation and to keep the equipment in a safe condition.
The safety instructions are either warnings or cautions issued to protect the
user and the equipment from injury or damage.
Use suitably qualified* calibration technicians and good engineering practice
for all procedures in this manual.
Pressure
Do not apply pressure greater than the maximum safe working pressure to the
equipment.
Technical advice
For technical advice contact the manufacturer or subsidiary.
*A qualified calibration technician must have the necessary technical knowledge,
documentation, special test equipment and tools to carry out the required
calibration on this equipment.
Associated Publications
K343.......................................................................................DPI 142 User Manual
K344.......................................................................................DPI 150 User Manual
K381...................................................................DPI 142/150 SCPI User Manual
i K382 Issue No. 1
Page 3

Druck DPI 142/150 Calibration Manual
ABBREVIATIONS
The following abbreviations are used in this publication.
Note: Abbreviations are the same in the singular and plural.
abs absolute m metre
°C degrees Celsius mbar millibar
const constant mm millimetre
DPI digital pressure indicator (GE Druck
product)
esc escape NPT National Pipe Thread
°F degrees Fahrenheit PIN personal identification number
g gauge psi pounds per square inch
(h) hour Ref. reference
IEEE
institute of electrical and electronic
488
engineers standard 488 data
inHg inches of mercury SCPI standard commands for
kg kilogram (s) seconds
kts knots TBA to be advised
lbs pounds
CONTENTS
Title page
Introduction ..............................................................................................................................................1
Preliminary Operations...........................................................................................................................3
Calibration Check DPI 142 and DPI 150 Option A......................................................................4
Calibration Adjustment...........................................................................................5
Calibration Check DPI 150.....................................................................................................................6
Calibration Adjustment...........................................................................................7
O millimetres of water
mmH
2
RS232 serial interface communication
standard
programmable instruments
K382 Issue No. 1 ii
Page 4

Druck DPI 142/150 Calibration Manual
Glossary
Terminology
The terminology used in this manual is specific and individual interpretation
must not be introduced. The terms are defined as follows:
Adjust
Align
Calibrate
Check:
Disconnect
Examine
Inspect
Maintain
: To determine accuracy, deviation or variation by special
: To perform a critical visual observation or check for specific
: Review the work carried out by Specialists to ensure it has been
: To hold or keep in any particular state or condition especially in a
To bring to a more satisfactory state; to manipulate controls,
levers, linkages, etc. to return equipment from an out-of-tolerance
condition to an in-tolerance condition.
To bring into line; to line up; to bring into precise adjustment,
correct relative position or coincidence.
measurement or by comparison with a standard.
Make a comparison of a measure of time, pressure, temperature,
resistance, dimension or other quality with a known figure for that
measurement.
: To detach the connection between; to separate keyed or matched
equipment parts.
conditions; to test the condition of.
performed satisfactorily.
state of efficiency or validity.
Operate
Readjust
Reconnect
Reset
: Make sure that an item or system functions correctly as far as
possible without the use of test equipment or reference to
measurement.
: To adjust again; to move back to a specified condition; to bring
back to an in-tolerance condition.
: To rejoin or refasten that which has been separated.
: To put back into a desired position, adjustment or condition.
iii K382 Issue No. 1
Page 5

Druck DPI 142/150 Calibration Manual
Test: Ascertain by using the appropriate test equipment that a
component or system functions correctly.
Uncertainty
: The uncertainty of a measurement is defined as a parameter,
associated with the result of a measurement, that characterises
the dispersion of values that could be reasonably be attributed to
the measurand.
Test Equipment Depot - 800.517.8431 - 99 Washington Street Melrose, MA 02176
FAX 781.665.0780 - TestEquipmentDepot.com
Page 6

Druck DPI 142/150 Calibration Manual
Pressure units and conversion factors
Pressure unit
bar 100000
lbf/in2 (psi)
O 9806.65 inH2O [1] 249.089
mH
2
mbar 100 ftH
2
kgf/cm
2
kgf/m
mmHg 133.322
cmHg 1333.22 hbar 10000000
mHg 133322.0
mm/H
O [1] 9.80665
2
cm/H2O [1] 98.0665 inH2O (USA) [2] 248.64135
2
N/m
hPa 100
kPa 1000
MPa 1000000
torr 133.322
Factor
(Pascals)
6894.76 inHg 3386.39
98066.5 atm 101325.0
9.80665
1ftH
Pressure unit
2
lbf/ft
O [1] 2989.07
2
2
pdl/ft
2
dyn/cm
2
(UK)
tonf/ft
2
(UK)
tonf/in
O (USA) [2] 2983.6983
2
2
kp/mm
2
kp/cm
2
kp/m
Factor
(Pascals)
47.8803
1.48816
0.1
107252.0
15444300
9806650
98066.5
9.80665
Table of pressure units and conversion factors
Unit Conversion
To convert FROM pressure VALUE 1 in pressure UNITS 1
TO pressure VALUE 2 in pressure UNITS 2, calculate as follows:
VALUE 2 = VALUE 1 x FACTOR 1
FACTOR 2
Note:
The conversion factor for pressure units referenced [1] are calculated for a water
temperature of 4°C. Pressure units referenced [2] are calculated for a water temperature of 68°F these units are normally used in the USA.
v K382 Issue No. 1
Page 7

Druck DPI 142/150 Calibration Manual
Introduction
At manufacture this instrument is calibrated against precision calibration
equipment which is traceable to the U.K. National Physical Laboratory.
The DPI 142 and DPI 150 incorporate a calibration menu; for the indicator to
stay accurate, a calibration check should be carried out at chosen intervals (the
recommended maximum interval is 12 months). If the accuracy of the indicator
is not within the permissible deviation, carry out a calibration adjustment.
Using the Set-up/Status/Calibration History menu, the calibration status of
the indicator can be displayed on the front panel screen. The Calibration
History menu gives a list of dates of the stored calibration corrections.
Table 1
Absolute Pressure Calibration Equipment and Requirements
DPI 142 and DPI 150 Option A
Note: Equivalent substitutes may be used.
Range Uncertainty
required
35 mbar to 3500 mbar ±0.005% Rdg RUSKA 2465 Piston gauge
Recommended
Equipment
Type
1 K382 Issue No. 1
Page 8

Druck DPI 142/150 Calibration Manual
Table 2
Gauge Pressure Calibration Equipment and Requirements
DPI 150
Note: Equivalent substitutes may be used.
Range Uncertainty
required
25 mbar to 70 mbar ±0.005% FS,
±0.005%Rdg
200 mbar to 1 bar ±0.005%Rdg Pressurements
2 bar to 20 bar ±0.005%Rdg Ruska 2465 Piston gauge
35 bar to 200 bar ±0.005%Rdg Ruska 2465
350 bar
700 bar
±0.01%Rdg Ruska 2485 Piston gauge
Recommended
Equipment
Ruska 7050 or
7250
6000 or
Ruska 2465
Ruska 2485
Type
Indicator/
controller
Dead weight/
piston gauge
Piston gauge
K382 Issue No. 1 2
Page 9

Druck DPI 142/150 Calibration Manual
Preliminary Operations
Review and become familiar with the whole procedure before beginning a
calibration process.
Allow at least one hour for the calibrator to thermally stabilize after switching
on and before calibration.
Before starting a calibration procedure:
Carry out a leak test .
If necessary and as a separate procedure from the calibration procedure:
Notes on calibration
The pressure standard outlet port and the indicator inlet port must be at the
same level.
On gauge measurements, applying positive pressure to the reference port
produces a negative pressure.
Set the calibrator units of pressure to one of the following recommended units
of pressure measurement:
Pa, hPa, kPa, MPa, bar, mbar, torr, kgf/cm
Calibration Security
GE Druck strongly advise protection of the set-up menus in this equipment.
Unauthorised access to the calibration menu can result in degraded
performance and inaccuracy. The factory set PIN is: 4321 press MENU OK. The
code can be changed to another code of 4 digits; entering 0000 disables this
security facility.
2
.
Note; Refer to the user manual to change PIN codes.
General
1. Carry out a leak check, refer to the User Manual.
2. Connect the instrument and carry out a calibration check.
3. If necessary, carry out a calibration adjustment .
4. After completing the calibration adjustments, adjust the calibration
standard to atmospheric pressure.
5. Carry out a calibration check to verify this procedure.
6. Disconnect calibration standard from the instrument.
3 K382 Issue No. 1
Page 10

Druck DPI 142/150 Calibration Manual
Calibration Check DPI 142 and DPI 150 with Option A
After a successful leak test, set the instrument indicator mode:
1. Connect the pressure standard for the pressure range to be checked.
Note: In DPI 150 instruments, Option A connects internally to the negative
(reference) pressure port .
2. Adjust the pressure standard to the first pressure value (A) in the Table 3.
3. Compare the pressure value of the pressure standard to the value displayed
and record the difference.
4. Repeat steps 2 and 3 for pressure value (B) in the Table 3.
5. If the recorded difference exceeds the tolerance in the table, the instrument
needs a calibration adjustment.
6. Adjust the pressure standard to the first pressure value (A) in the Table 3.
Applied Pressure Tolerance
A ± 0.01%FS
B ± 0.01%FS
Pressure Ranges
The DPI 142 instrument and the DPI 150 instrument with Option A* have the
following pressure ranges.
Table 3
Applied Barometric Pressures
Barometric Range Pressure Values
A B
*750 to 1150 mbar absolute 750 mbar 1150 mbar
35 to 1310 mbar absolute 35 mbar 1310 mbar
35 to 2620 mbar absolute 35 mbar 2620 mbar
35 to 3500 mbar absolute 35 mbar 3500 mbar
Test Equipment Depot - 800.517.8431 - 99 Washington Street Melrose, MA 02176
FAX 781.665.0780 - TestEquipmentDepot.com
Page 11

Druck DPI 142/150 Calibration Manual
Calibration Adjustment
To adjust a calibration range of the DPI142 and DPI 150 Option A, proceed as
follows.1
user
supervisor
calibration
status
menu
OK
1150.00 mbara
20000.00 mbarg
21000.00 mbara
esc
menu
OK
set pressure
standard
enter actual
pressure value
produced by
pressure standard
enter PIN:
FS
20000
range
0000
+
-
3.65
mbar g
do cal.
FS
1150.00
start calibration of
this range?
press menu ok to start
esc to cancel
esc
FS
Apply nominal zero
pressure press next when
applied value is stable
FS
range
1150.00
next
esc
1150.00
3.65
menu
OK
3.65
menu
OK
750.00
next
Sampling please wait
FS
115 0.0 0
+
-
750.00
menu
OK
applied value:
do cal.
mbar g
mbar g
mbar a
menu
OK
change PIN
sensor correction
menu
OK
FS
1150.00
750.000
next
FS
1150.00
Apply positive full scale
pressure press `next`
when applied value
is stable
0.00
next
esc
FS
1150.00
1150.00
next
Sampling please wait
FS
1150.00
1150.00
applied value:
+
menu
-
OK
FS
1150.00
Do you wish to accept
cal?
1150.00
Press menu ok to accept,
esc to cancel
esc
menu
OK
menu
OK
mbar a
mbar g
mbar a
mbar g
set pressure
standard
enter actual
pressure value
produced by
pressure
standard
5 K382 Issue No. 1
Page 12

Druck DPI 142/150 Calibration Manual
Calibration Check DPI 150
After a successful leak test, set the instrument to indicator mode:
1. Connect the pressure standard for the pressure range to be checked.
2. Set the pressure standard to zero pressure, if necessary press the zero key
so that the instrument display shows zero.
3. Adjust the pressure standard to the 0% span pressure value.
4. Compare the pressure value of the pressure standard to the value displayed
and record the difference.
5. Repeat steps 3 and 4 for the 100% span pressure value.
6. If the recorded difference exceeds the tolerance in the table, the instrument
needs a calibration adjustment.
7. Adjust the pressure standard to zero pressure.
Applied Pressure
% span
0 ± 0.01%FS
100 ± 0.01%FS
The DPI 150 instrument has the following pressure ranges.
Table 4
Transducer
range
bar mbar psi Pa hPa kPa MPa
0.025 25 036 2500 25.0 2.5 0.0025
0.07 70 1 7000 70 7 0.007
0.2 200 3 20000 200 20 0.02
0.35 350 5 35000 350 35 0.035
0.7 700 10 70000 700 70 0.07
1 1000 15 100000 1000 100 0.1
2 2000 30 200000 2000 200 0.2
3.5 3500 50 350000 3500 350 0.35
7 7000 100 700000 7000 700 0.7
10 10000 150 1000000 10000 1000 1
20 20000 300 2000000 20000 2000 2
35 35000 500 3500000 35000 3500 3.5
70 70000 1000 7000000 70000 7000 7
100 N/A 1500 N/A 100000 10000 10
135 N/A 2000 N/A 135000 13500 13.5
200 N/A 3000 N/A 200000 20000 20
350 N/A 5000 N/A 350000 35000 35
700 N/A 10000 N/A 700000 70000 70
Equivalent Pressure Units
Tolerance
K382 Issue No. 1 6
Page 13

Druck DPI 142/150 Calibration Manual
Calibration Adjustment
To adjust a calibration range of the DPI 150, proceed as follows.1
user
supervisor
calibration
status
menu
OK
1150.00 mbara
20000.00 mbarg
21000.00 mbara
esc
menu
OK
set pressure
standard to
0% span
enter actual
pressure value
produced by
pressure standard
enter PIN:
0000
+
-
FS
1150.00
1003.65
range
FS
20000
start calibration of
this range?
press menu ok to star t
esc to cancel
range
esc
FS
20000
Apply nominal zero
pressure press ne xt when
applied value is stable
next
esc
FS
20000
next
Sampling please wait
FS
20000
applied value:
mbar a
do cal.
3.65
mbar g
do cal.
menu
OK
3.65
mbar g
menu
OK
0.0000
mbar g
0.0000
+
menu
-
OK
menu
OK
change PIN
sensor correction
menu
OK
FS
20000
0.0000
next
FS
20000
Apply positive full scale
pressure press `next`
when applied value
is stable
0.00
next
esc
FS
20000
20000.00
next
Sampling pl ease wait
FS
20000
20000
applied value:
+
menu
-
OK
FS
20000
Do you wish to accept
cal?
1150.00
Press menu ok to acc ept,
esc to cancel
menu
esc
OK
menu
OK
mbar g
mbar g
mbar g
mbar g
set pressure
standard to
100% span
enter actual
pressure value
produced by
pressure
standard
Test Equipment Depot - 800.517.8431 - 99 Washington Street Melrose, MA 02176
FAX 781.665.0780 - TestEquipmentDepot.com
 Loading...