

GE DBL333EB4WW, DBL333EB4CC Owner’s Manual
GEAppliances.com
Safety Instructions ......... 2-5
Operating Instructions
Control Panels ................ 6
Control Settings ............... 7
Loading and Using the Dryer ...8, 9
Installation Instructions
Electrical Requirements ....... 11
Exhausting the Dryer ......... 12
Installing the Dryer ........ 13-19
Preparing to Install the Dryer .. 10
Troubleshooting Tips ..... 20, 21
Consumer Support
Consumer Support .... Back Cover
Warranty ................... 23
DBL333
DCL333
DVL223
Write the model and serial
numbers here:
Model #
Serial #
You can find them on tile label
on the fi'ont of the left side of
the door opening.
134202100A 175D1807P436 49-90172 06-03JR
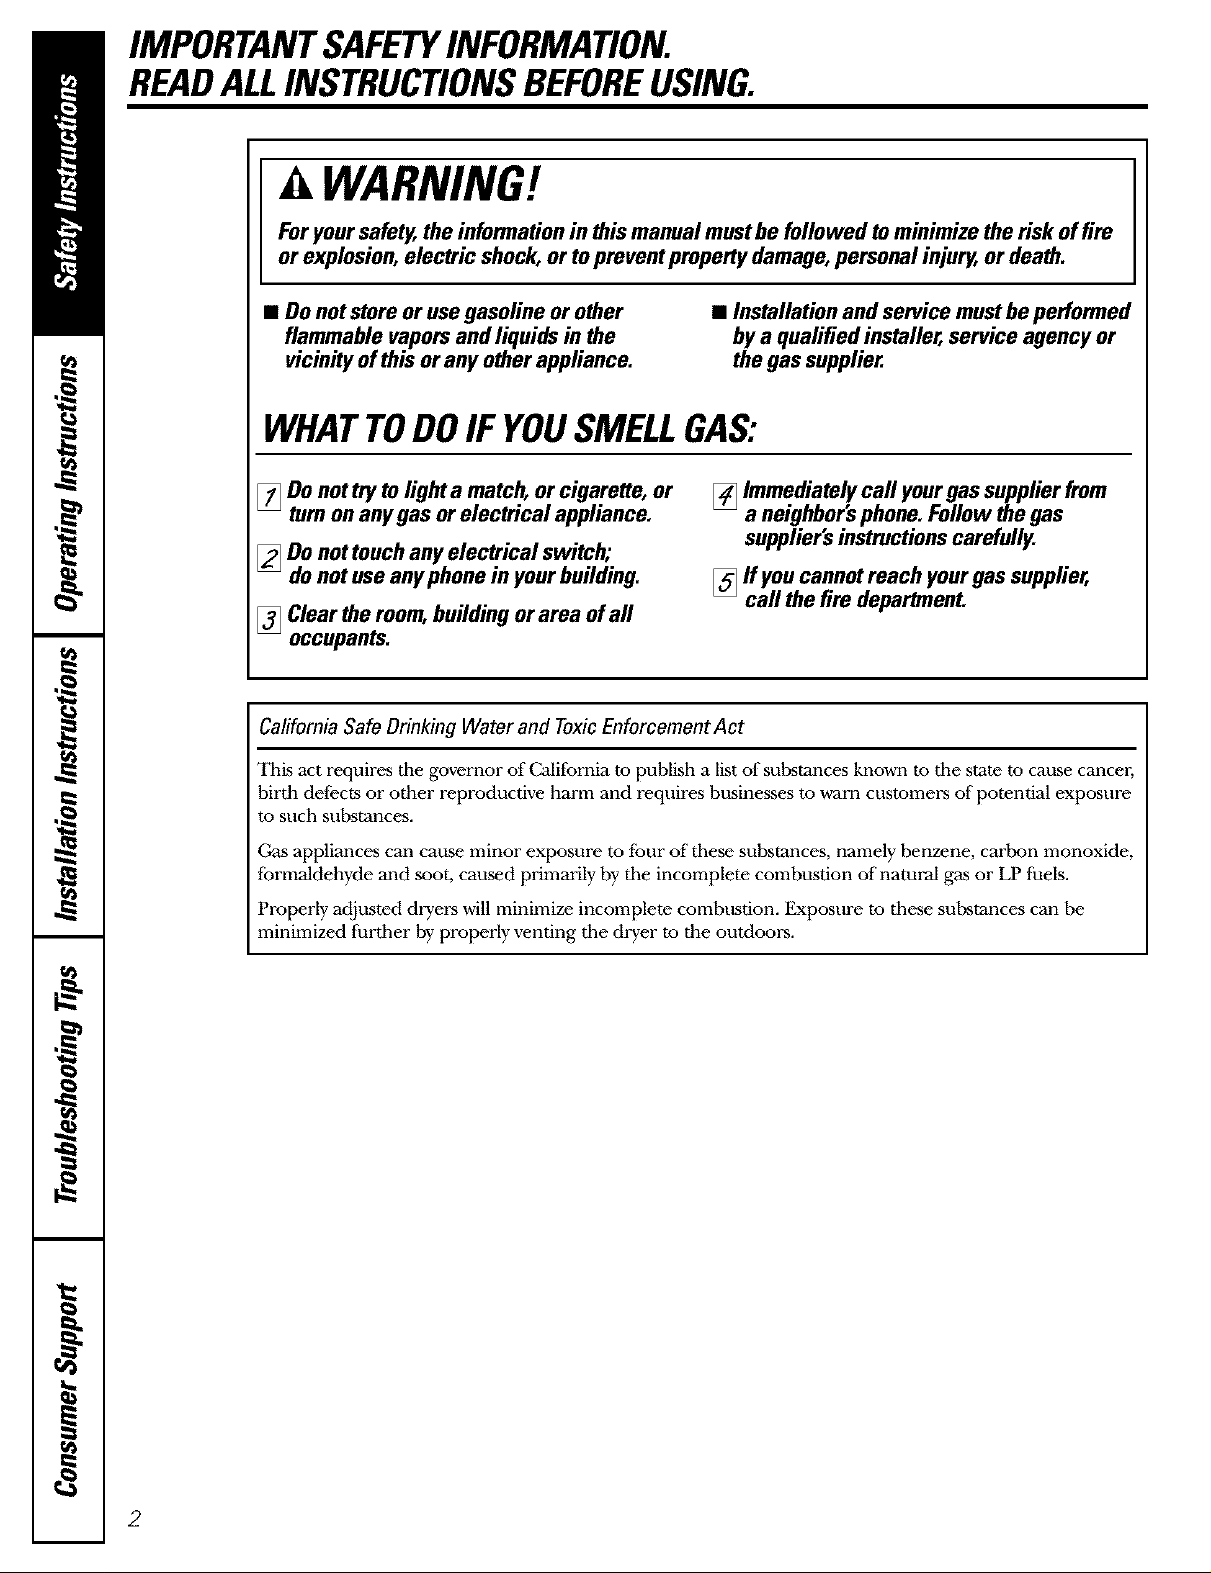
IMPORTANTSAFETYINFORMATION.
READALLINSTRUCTIONSBEFOREUSING.
A WARNING!
Foryoursafety,theinformationin this manual mustbe followed tominimize the risk of fire
or explosion,electric shock,ortopreventproperty damage,personal injury,or death.
• Do notstoreor usegasoline or other
flammable vaporsand liquids in the
vicinityof thisorany otherappliance.
• Installationand servicemustbeperformed
bya qualified installer, service agencyor
the gassupplier.
WHATTODOIF YOUSMELLGAS:
]Do nottry tolight a match, or cigarette, or
turnonany gas or electrical appliance.
]Do nottouch any electrical switch;
donotuse any phone in yourbuilding.
[] Clear the room,building orarea of all
occupants.
Cafifomia Safe Drinking Water and Toxic Enforcement Act
This act requires tbe governor of California to publish a list of substances known to tbe state to cause cancel;
birth defects or other reproductive harm and requires businesses to warn customers of potential exposure
to such subsvances.
Gas appliances can cause minor exposure to [our of tbese substances, namely benzene, carbon monoxide,
formaldehyde and soot, caused primarily by tile incomplete combustion of natural gas or LP fuels.
Properly adjusted dryers will minimize incomplete combustion. Exposure to tbese substances can be
minimized furtber by properly venting tile dryer to tim outdoors.
[]Immediately call yourgassupplierfrom
a neighborsphone.Follow the gas
supplier'sinstructionscarefully.
[] ff youcannotreach yourgas supplier,
call the fire department.
2
GEAppliances.com
A WARNING!
PROPERINSTALLATION
This dryer must be properly installed and located in accordance with the Installation Instructions
before it is used.
Properly ground dryer to conform with all
governing codes and ordinances. Follow
details in the Installation Instructions section.
Install or store where it will not be exposed
to temperatures below freezing or exposed
to the weather.
Connect to a properly rated, protected and
sized power supply circuit to avoid electrical
overload.
Remove all sharp packing items and dispose
of all shipping materials properly.
YOURLAUNDRYAREA
Keep the area underneath and around your
appliances free of combustible materials, such
as lint, papm; rags, chemicals, gasoline and
other flammable vapors and liquids.
Keep the floor around your appliances clean
and dry to reduce the possibility of slipping.
Keep area around the exhaust opening and
surrounding areas fl'ee from the accumulation
of lint, dust and dirt.
Exhaust/Ducting:
[]This dryer MUSTbe exhausted to the outside.
[]Use only rigid metal 4" diameter ductwork
inside the dryer cabinet. Use only rigid metal
or flexible metal 4" diameter ductwork for
exhausting to tile outside. USEOFPIJtSTIC OR
OTHERCOMBUSTIBLEDUCTWORKCANCAUSE
A FIRE.PUNCTUREDDUCTWORKCANCAUSEA
FIREIFIT COLLAPSESORBECOMESOTHERWISE
RESTRICTEDIN USEORDURINGINSTALLATION.
Follow de'mils in the Installation Instructions section.
• Close supervision is necessary if this appliance
is used by or near children. Do not allow
children to play on, with or inside dlis or
any other appliance.
• Keep all laundry aids (such as detergents,
bleaches, etc.) out of the reach of children,
preferably in a locked cabinet. Observe all
warnings on container labels to avoid injury.
• Never climb on or stand on the dryer top.
Do not obstruct tile flow of ventilating ail:
Do not stack or place laundry or throw rugs
against the front or back of the drym:
• Do not install or store this appliance where
it will be exposed to the weathen
3

IMPORTANTSAFETYINFORMATION.
READALLINSTRUCTIONSBEFOREUSING.
A WARNING!
WHENUSINGYOURDRYER
• Never reach into the dryer while the drum is
moving. Before loading, unloading or adding
clothes, w-ait until the drum has completely
stopped.
• Cleanthelint filter before eachload to prevent
lint accumulation inside the dryer or in the
room. DONOT OPERATETHEDRYERWITHOUT
THELINTFILTERIN PLACE,UNLESSTHEDRYING
RACKIS IN USE.
• Do not wash or dry articles that have been
cleaned in, washed in, soaked in or spotted
with combustible or explosive substances
(such as wax, oil, paint, gasoline, degreasers,
dry-cleaning solvents, kerosene, etc.) which
may ignite or explode. Do not add these
substances to the wash v_aten Do not use or
place these substances around your washer
or dryer during operation.
• Any article on which you have used a cleaning
solvent or that contains flammable materials
(such as cleaning cloths, mops, towels used in
beauty salons, restaurants or barber shops,
etc.) must not be placed in or near the dryer
until solvents or flammable materials have
been removed. There are many highly
flammable items used in homes such as
acetone, denatured alcohol, gasoline, kerosene,
some household cleaners, some spot removers,
turpentines, waxes, wax removers and products
containing petroleum distillates.
• The laundry process can reduce the flame
retardancy of fabrics. To avoid such a result,
carefully follow the garment manufacturer's
care instructions.
• Do not dry articles containing rubbm; plastic,
or similar materials such as padded bras, tennis
shoes, galoshes, bath mats, rugs, bibs, baby
pants, plastic bags, pillows, etc. that may melt
or burn. Some rubber materials, when heated,
can under certain circumstances produce fire
by spontaneous combustion.
• Do not store plastic, paper or clothing that
may burn or melt on top of the dryer during
operation.
• Garments labeled OryAwagfrom Hoator Do Not
YumbloDry (such as life jackets containing
Kapok) must not be put in your drym:
• Do not dry fiberglass articles in your dryen
Skin irritation could result fi'om the remaining
particles that may be picked up by clothing
during subsequent dryer uses.
4
• To minimize the possibility of electric shock,
unplug this appliance from the power supply
or disconnect the dryer at the household
distribution panel by removing the fuse or
switching off the circuit breaker before
attempting any maintenance or cleaning
(except the removal and cleaning of the lint
filter). NOTE:Turning the Cycle Selector knob
to an off position, or pressing PAUSEdoes NOT
disconnect the appliance from the power supply.
• Do not spray any type of aerosol into, on or
near dryer at any time.
• Do not place items exposed to cooking oils in
your dryen Items contaminated with cooking
oils may contribute to a chemical reaction that
could cause a load to catch fire.
• Never attempt to operate this appliance
if it is damaged, malfunctioning, partially
disassembled, or has missing or broken parts,
including a damaged cord or plug.
• The interior of the machine and the exhaust
duct connection inside the dryer should be
cleaned at least once a year by a qualified
technician. See the Loading and Using the Oryor
section. Do not use any type of spray cleaner
when cleaning dryer interiol: Hazardous fumes
or electrical shock could occm:
• If yours is a gas drym, it is equipped with an
automatic electric ignition and does not have
a pilot light. DONOTATTEMPT TOLIGHTWITH
A MATCH.Burns may result from having your
hand in the vicinity of the burner when the
automatic ignition turns on.
• You may wish to soften your laundered fabrics
or reduce the static electricity in them by using
a dryer-applied fabric softener or an anti-static
conditionen We recommend you use either a
fabric softener in the wash cycle, according to
the manufacturer's instructions for those
products, or try a dryer-added product for
which the manufacturer gives written assurance
on the package that their product can be safely
used in your drym: Service or performance
problems caused by use of these products are
the responsibility of the manufacturers of
those products and are not covered under
the warranty to this appliance.
WHENNOTUSINGYOURDRYER
GEAppliances.com
Grasp the plug firmly when disconnecting this
appliance to avoid damage to the cord while
pulling. Place the cord away from traffic areas
so it will not be stepped on, tripped over or
subjected to damage.
Do not attempt m repair or replace any part
of this appliance or attempt any servicing
unless specifically recommended in this
Owner's Manual or in published use>repair
instructions that you understand and have
_lle skills to carry out.
• Before discarding a dr/el; or removing it
from smwice, remove tile dryer door to
prevent children from hiding inside.
• Do not tamper with controls.
.._'j,,, READANDFOLLOWTHISSAFETYINFORMATIONCAREFULLY.
i_'\_ SAVETHESEINSTRUCTIONS
5

Aboutthecontrolpanel
Youcan locate your model number on the label on the front of the left side of the door opening.
Model DBL333
START TEM PERATURE LESSam
MEDIUM COTTONS
Amo_nc
OlqlMUMDRY
M0EDRY
2O 3O 40
MOREDRY
50
El o 0
Model DCL333
MOREDRY
START
START
OR11MUMDRY
COTTONS
AUTOM4_TC
REGL#-4RHEAT
MOEDRY
LESSDRY
LESSDRY
EASY CARE
AUTOMAT/C
TIMED DRY
6o
LESSDRY
._ EASY CARE
m//F_T
AUTOMAT/C
B
Model DVL223
START
B
START
FLUFF
NOHEAT
10 20 30 40
19
6o MIN
OPllMUMDRY_i_
CO'I-FONS _,_,,,_
A_X'_
gg _ a
N 3O
2O
B
6
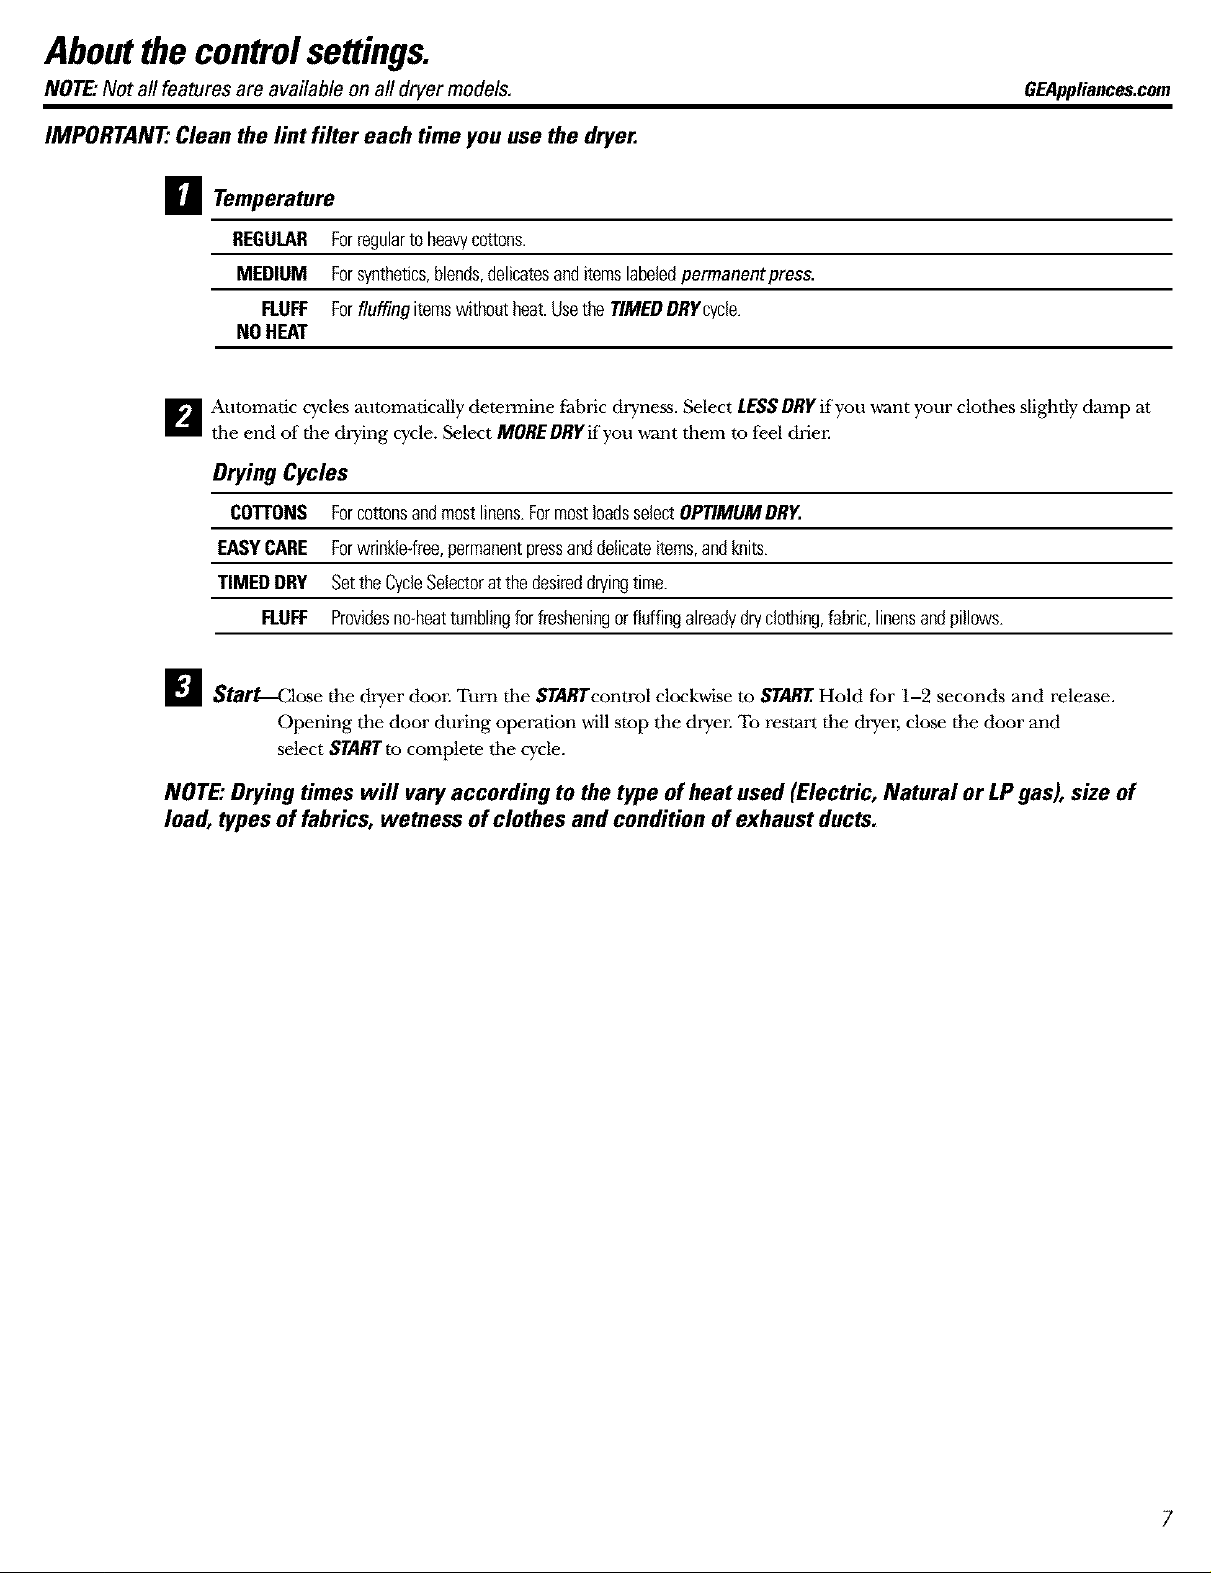
Aboutthecontrolsettings.
NOTE."Not all features are available on all dryer models. GEAppliances.com
IMPORTANT: Clean the lint filter each time you use the dryer.
H Temperature
REGULAR Forregulartoheawcottons.
MEDIUM Forsynthetics,blends,delicatesanditemslabeledpermanentpress.
FLUFF Forfluffing itemswithoutheat.Usethe TIMEDDRYcycle.
NOHEAT
_'_ Automatic cycles automatically determine fhbric dryness. Select LESSDRYif you want your clothes slightly damp at
tile end of the drying cycle. Select MOREDRYif you vcant them to feel drier.
Drying Cycles
COI'I'ONS Forcottonsandmostlinens.FormostloadsselectOPTIMUMDRY.
EASYCARE Forwrinkle-free,permanentpressanddelicateitems,andknits.
TIMEDDRY SettheCycleSelectorat thedesireddryingtime.
FLUFF Providesno-heattumblingforfresheningorfluffingalreadydryclothing,fabric,linensandpillows.
D Start_lose the dryer door. Turn the STARTcontrol clockwdse to START Hold for 1-2 seconds and release.
Opening the door during operation will stop the dryer. To restart the dryer, close the door and
select STARTto complete the cycle.
NOTE:Drying times will vary according to the type of heat used (Electric, Natural or LP gas), size of
load, types of fabrics, wetness of clothes and condition of exhaust ducts.
7

i_1"._
Loamng using uryer.Always follow the fabric manufacturer's care label when laundering.
and the
_1__
dO[{ SortingandLoadingHints
_ As a general rule, if clothes are sorted properly DO not overload. This wastes energy and causes
for the washer, they are sorted properly for wrinkling.
the dryer.
Donot add fabric softener sheets once the load has
become warm. Theymay cause fabric softener stains.
Do notdry the followingitems: fiberglass items,
woolens, rubber-coated items, plastics, items with
plastic trim and foam-filled items.
Bounce®Fabric Conditioner Dryer Sheets have been
approved for use in all GEDryers when used in
accordance with the manufacturer's instructions.
CamandCleaningof theDryer
The Exterior:Wipe or dust any spills or washing
compounds with a damp cloth. Dryer control
panel and finishes may be damaged by some
laundry pretreatment soil and stain remover
products. Apply these products away from the
dryen The fabric may then be washed and dried
normally. Damage to your dryer caused by these
products is not covered by your warranty.
The Lint Filter: Clean the lint filter before each
use. Remove by pulling straight up. Run your
fingers across the filter. A waxy buildup may" form
on the lint filter from using dryer-added tfbric
softener sheets. To remove this buildup, wash the
lint screen in warm, soapy w-aten Dry thoroughly
and replace. Do not operate the dryer without
the lint filter in place.
Have a qualified technician vacuum the lint
from the dryer once a year.
The Exhaust Duct: Inspect and clean the exhaust
ducting at least once a year to prevent clogging.
A partially clogged exhaust can lengthen the
drying time.
Follow these steps:
[_ Turn off electrical supply by disconnecting
the plug from the wall socket.
[_ Disconnect the duct from the dryer:
[_ Vacuum the duct with the hose attachment
and reconnect the duct.
The Exhaust Hood:Check from the outside that
the flaps of the hood move freely when operating.
Make sure that there is no wildlife (birds, insects,
etc.) nesting inside the duct or hood.
8
 Loading...