

Page 1
9100410000217/169063
CUSTOMER ASSISTANCE
If you have a claim under this warranty, please call our Customer Assistance Number.
For faster service, please have the model, type and series numbers ready for the
operator to assist you. These numbers can be found on the bottom of your appliance.
MODEL :________________ TYPE :_______________ SERIES :________________
Customer Assistance Number 1-877-207-0923 (US) or 1-877-556-0973 (Canada)
Keep these numbers for future reference!
For more information, please visit us at www.walmart.com
TWO-YEAR LIMITED WARRANTY
What does your warranty cover?
• Any defect in material or
workmanship.
For how long after the original
purchase?
•Two years.
What will we do?
•Provide you with a new one!
• For those items still under warranty
but no longer available, WAL-MART
reserves the right to replace with a
similar GE branded product of equal
or greater value.
How do you make a warranty claim?
• Save your receipt.
•Properly pack your unit. We
recommend using the original carton
and packing materials.
•Return the product to your nearest
WAL-MART store or call Customer
Assistance at 1-877-207-0923 (US) or
1-877-556-0973 (Canada)
What does your warranty not cover?
•Parts subject to wear, including,
without limitation, glass parts, glass
containers, cutter/strainer, blades,
seals, gaskets, clutches, motor
brushes, and/or agitators, etc.
• Commercial use or any other use not
found in printed directions.
• Damage from misuse, abuse, or
neglect, including failure to clean
product regularly in accordance with
manufacturer’s instructions.
How does state law relate to this
warranty?
• This warranty gives you specific legal
rights, and you may also have other
rights which vary from state to state
or province to province.
• THIS WARRANTY IS IN LIEU OF ANY
OTHER WARRANTY OR CONDITION,
WHETHER EXPRESS OR IMPLIED,
WRITTEN OR ORAL, INCLUDING,
WITHOUT LIMITATION, ANY
STATUTORY WARRANTY OR
CONDITION OF MERCHANTABILITY OR
FITNESS FOR A PARTICULAR
PURPOSE.
•WAL-MART, GE AND THE PRODUCT
MANUFACTURER EXPRESSLY
DISCLAIM ALL RESPONSIBILITY FOR
SPECIAL, INCIDENTAL AND
CONSEQUENTIAL DAMAGES OR
LOSSES CAUSED BY USE OF THIS
APPLIANCE. ANY LIABILITY IS
EXPRESSLY LIMITED TO AN AMOUNT
EQUAL TO THE PURCHASE PRICE PAID
WHETHER A CLAIM, HOWEVER
INSTITUTED, IS BASED ON CONTRACT,
INDEMNITY, WARRANTY, TORT
(INCLUDING NEGLIGENCE), STRICT
LIABILITY OR OTHERWISE. SOME
STATES OR PROVINCES DO NOT
ALLOW THIS EXCLUSION OR
LIMITATION OF INCIDENTAL OR
CONSEQUENTIAL LOSSES SO THE
FOREGOING DISCLAIMER MAY NOT
APPLY TO YOU.
What if you encounter a problem with
this product while using it outside the
country of purchase?"
• The warranty is valid only in the
country of purchase and you follow the
warranty claim procedure as noted.
is a trademark of General Electric
Company and is used under the
license by WAL-Mart Stores, Inc.,
Bentonville, AR 72716
g
MARKETED IN CANADA BY:
Wal-Mart Canada Corp.
1940 Argentia Road,
Mississauga, Ontario L5N1P9
For product service, call customer service at
1-877-207-0923 (US) or 1-877-556-0973 (Canada)
Item Stock Number
169063
UPC: 681131690638
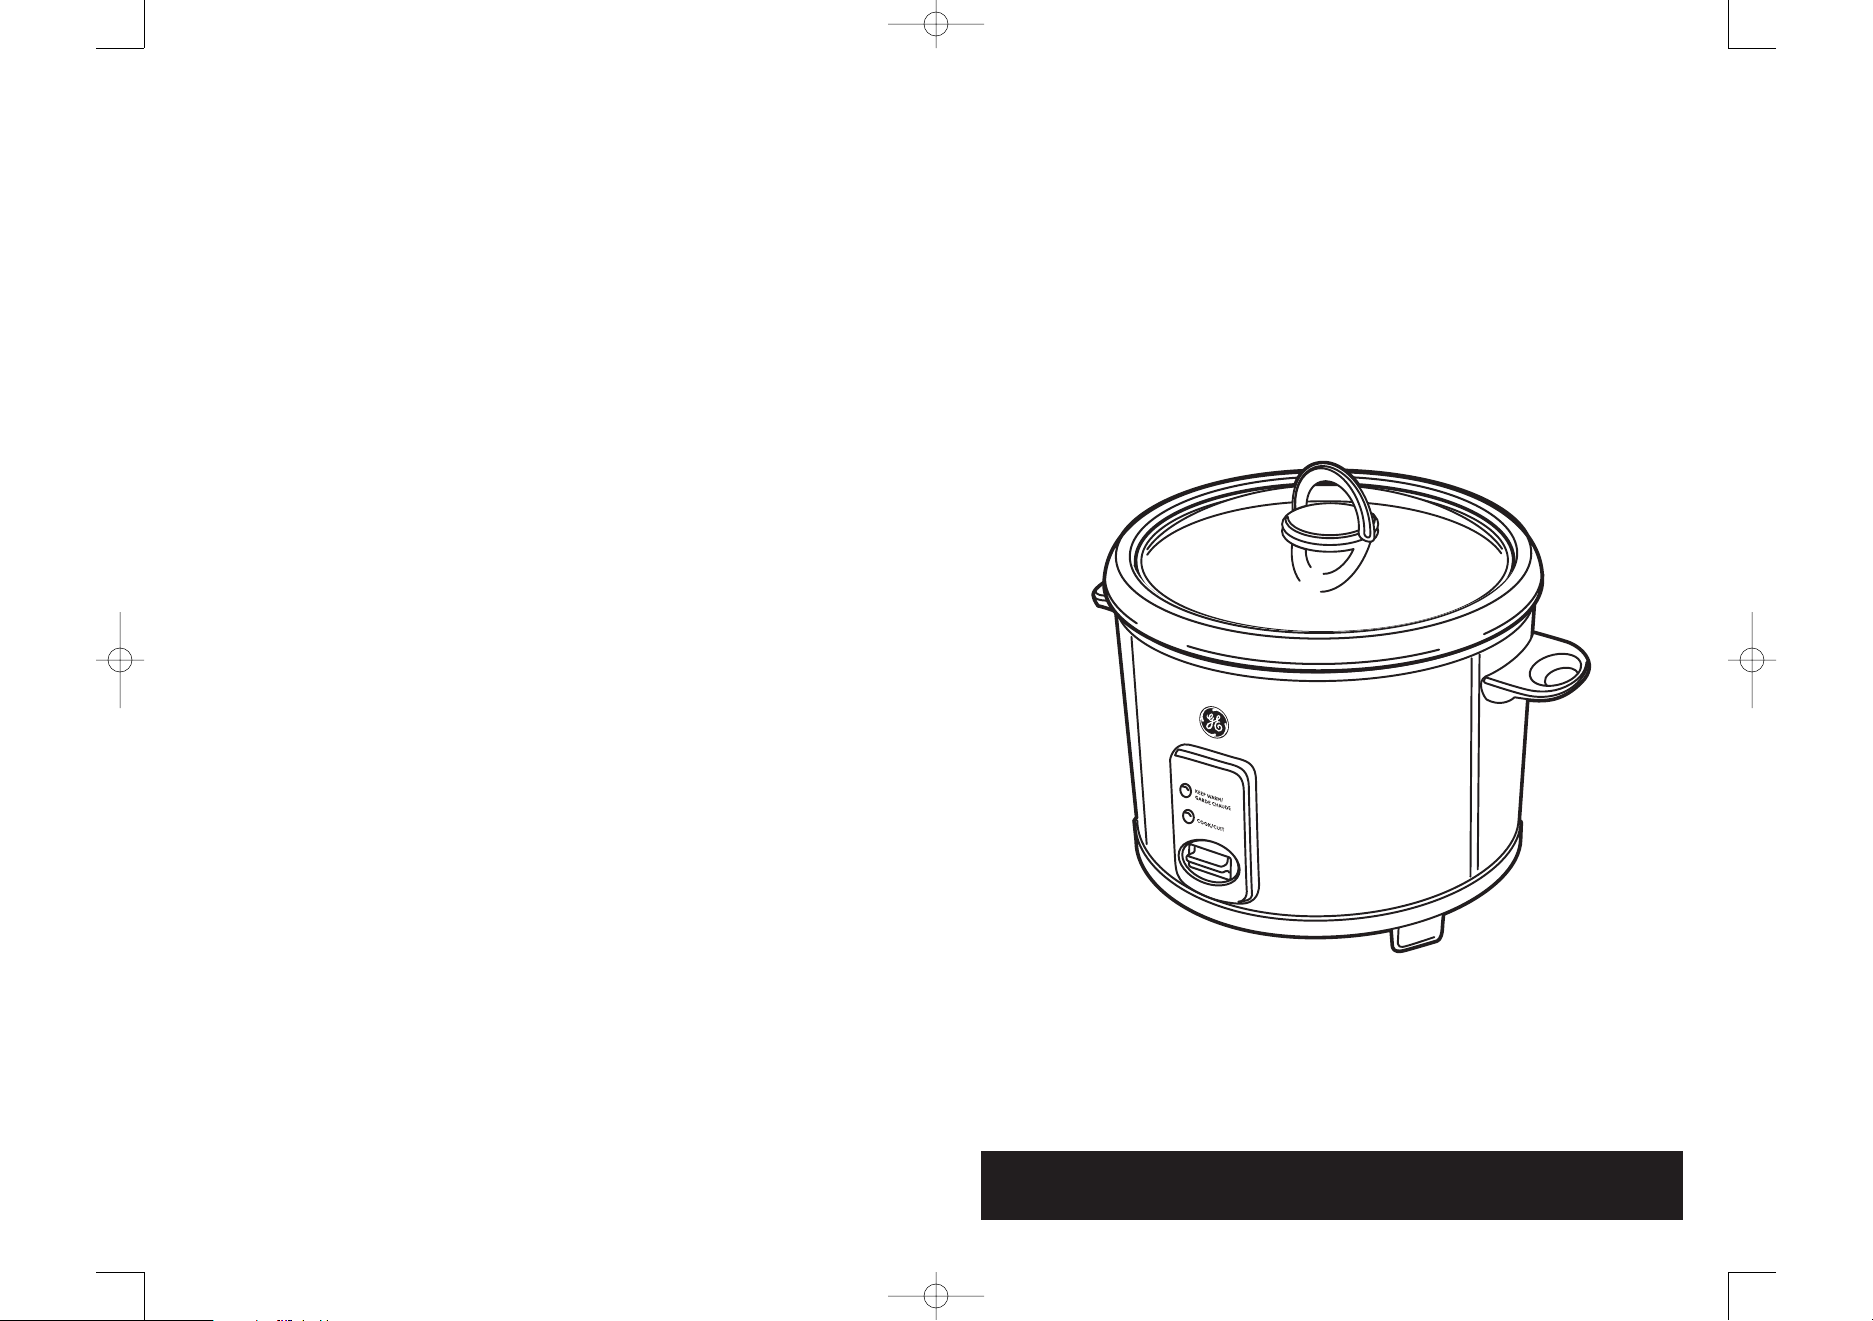
Rice Cooker/Steamer
g
Printed in China
16906306EFM1.qxd 5/20/06 8:36 AM Page 1
K
eep W
arm
C
ook
Page 2

THIS APPLIANCE IS FOR HOUSEHOLD USE ONLY.
No user-serviceable parts inside this rice cooker.
Do not attempt to service this product. A short power supply cord is provided to
reduce the risk resulting from becoming entangled in or tripping over a longer
cord. An extension cord may be used if care is exercised in its use. If an extension
cord is used the marked electrical rating of the extension cord should be at least
as great as the electrical rating of the RICE COOKER. The extension cord should be
arranged so that it will not drape over the countertop or tabletop where it can be
pulled on by children or tripped over unintentionally.
Do not immerse base in water or other liquids. No liability can be accepted for any
damage caused by non-compliance with these instructions or any other improper
use or mishandling.
SAVE THESE INSTRUCTIONS
IMPORTANT SAFEGUARDS
When using electrical appliances, basic safety precautions should always be
followed, including the following:
1. READ ALL INSTRUCTIONS BEFORE USING.
2. Do not touch hot surfaces. Use pot holders when removing cover or handling
hot containers. Use handles or knobs.
3. To protect against electrical shock, do not immerse cord, plug or heating unit in
water or other liquids.
4. Close supervision is necessary when any appliance is used by or near children.
5. Unplug from outlet when not in use and before cleaning. Allow to cool before
putting on or taking off parts, and before cleaning.
6. Do not operate any appliance with a damaged cord or plug or after the
appliance malfunctions, or has been damaged in any manner. Call our toll-free
customer service number for information on examination, repair or
adjustment.
7. The use of accessory attachments not recommended by the manufacturer
may cause injuries.
8. Do not use outdoors.
9. Do not let cord hang over the edge of the table or counter, or touch heated
surfaces.
10. To protect against burns caused by accidental spillage of hot liquid, locate unit
on a level and firm surface away from traffic areas where bumping could upset
it.
11. Do not place on or near a hot gas or electric burner, or in a heated oven.
12. Extreme caution must be used when moving any appliance containing hot
food, water or other hot liquids.
13. To disconnect, remove plug from wall outlet.
14. Do not use appliance for anything other than intended use.
15. To reduce the risk of electrical shock, cook only in the inner pot. Do not pour
liquid into outer pan.
E2 E3
SAVE THESE INSTRUCTIONS (CONT.)
Polarized Plug
This appliance has a polarized plug (one blade is wider than the other). To reduce
the risk of electric shock, this plug is intended to fit into a polarized outlet only one
way. If the plug does not fit fully into the outlet, reverse the plug. If it still does not
fit, contact a qualified electrician. Do not attempt to modify the plug in any way. If the
plug fits loosely into the AC outlet or if the AC outlet feels warm do not use that outlet.
Congratulations on the purchase of your new RICE COOKER! You are now the
proud owner of an extremely versatile and effective appliance.
You can expect perfect rice every time as well as prepare steamed foods.
MORE IMPORTANT SAFEGUARDS
• CAUTION: This appliance generates heat and escaping steam during use.
Proper precautions must be taken to prevent risk of burns, fires or other
damage to persons or property.
• All users of this appliance must read and understand this OWNER’S MANUAL
before operating or cleaning this appliance.
• The cord of this appliance should be plugged into a 120 volt AC electrical outlet
only.
• When using this appliance, provide adequate air space above and on all sides
for air circulation. Do not allow this appliance to touch curtains, wall coverings,
clothing, dishtowels or other flammable materials during use.
• Do not leave appliance unattended during use.
• This appliance generates steam. Do not operate uncovered.
• If this appliance begins to malfunction during use, immediately unplug the
cord. Do not use or attempt to repair the malfunctioning appliance. Do not
use the INNER POT or LID if cracked or chipped.
• This appliance is for HOUSEHOLD USE ONLY.
• Unplug the RICE COOKER when not in use.
• Use the RICE COOKER on a hard, flat surface. Do not place near heat, an open
flame or on a soft surface (such as carpeting). Avoid placing it where it may tip
over during use. Dropping the RICE COOKER may cause it to malfunction.
• Avoid electrical shock by unplugging before washing or adding water.
• To avoid burns, stay clear of the steam vent during cooking. Also, wait for the
RICE COOKER to cool down completely before touching or cleaning the LID,
INNER POT, or HEATING PLATE.
• Never use the INNER POT on a gas or electric cook top or an open flame.
• Do not leave the RICE PADDLE or MEASURING CUP in the INNER POT while unit
is on and in use.
• Please use measuring cup that was provided in the Rice Cooker. A standard
measuring cup SHOULD NOT BE USED.
16906306EFM1.qxd 5/20/06 8:36 AM Page 3
Page 3

E4 E5
• Washing rice – Bran gives an unpleasant smell to the cooked rice. Be sure to
wash rice thoroughly. Washing with water effectively removes bran quickly
and thoroughly. NOTE: Some rice suppliers suggest not washing rice because
vitamins may be lost.
• After use, wash the INNER POT, STEAMING BASKET and LID in warm, soapy
water.
• Rinse thoroughly and dry.
• Avoid keeping the RICE COOKER in operation:
- When there is only a small amount of rice left in the INNER POT
- When RICE PADDLE and/or MEASURING CUP is inside the RICE COOKER
- To warm up cold rice
COOKING HINTS
HOW TO USE YOUR RICE COOKER
1. Measure the amount of rice you would like to cook. A 2⁄3cup (160 ml)
MEASURING CUP is included with your RICE COOKER. Filling the MEASURING
CUP with uncooked rice will make about 2 cups of cooked rice. NOTE: The RICE
COOKER is capable of cooking up to 10 MEASURING CUPS of uncooked rice.
Many varieties of rice can be used, including basmati, wild rice, black rice,
Arborio, risotto, saffron rice, short and long grain. Do not use instant rice with
this RICE COOKER. Whole grains such as barley can also be prepared with the
RICE COOKER. Follow package directions.
2. Wash the measured rice in a separate bowl, if desired.
3. Put rice in the INNER POT and add water. Approximately 11⁄2plastic measuring
cups of water per 1 plastic measuring cup of rice. For every additional cup of
uncooked rice increase water by 1 cup. For example, to cook 4 cups of
uncooked rice, add 41⁄2MEASURING CUPS of water. Adjust the amount of water
to your personal taste.
4. Brown rice will take longer to cook. We suggest adding an additional 3⁄4cup of water.
5. Set the INNER POT into the rice cooker. Make sure that the INNER POT is in
direct contact with the HEATING PLATE by turning it slightly from left to right
until it properly fits onto the heating plate.
NOTE: If the outside of the INNER POT is wet when placed in the RICE COOKER,
this may cause a crackling noise until the unit heats up. Also, this may damage
the inner working of the appliance, so always wipe the outside of the pot
completely before use.
6. Cover with the LID. WARNING: Do not operate this appliance uncovered –
steam is generated during use.
7. Plug the cord into a 120 volt AC electrical outlet. Switch the RICE COOKER ON by
pushing the button down. Make sure the COOK LIGHT is on. Steaming will begin shortly.
8. The switch will pop up and the KEEP WARM LIGHT will come on when cooking is
complete. NOTE: The length of steaming time is subject to your own personal taste.
9. After cooking it is important to let the rice stand for 5-10 minutes of steaming
without removing the LID. Carefully open the LID, taking care to avoid escaping
steam. Use the RICE PADDLE, or other long handled utensils, to mix the rice
well to allow steam to escape.
CAUTION: Steam will escape. Do not touch the INNER POT or HEATING UNIT
until they have cooled.
10. Allow the appliance to cool completely before cleaning.
11. Disconnect the plug from the wall outlet when not in use.
1
2
3
4
5
Knob
Lid
Steaming Basket
Inner Pot
Keep Warm Light
Cook Light
Power Switch
Handles
Heating Unit
Handle
Measuring Cup
Rice Ladle
6
1
2
3
5
7
6
4
7
8
9
10
8
9
10
Clean the LID, INNER POT, RICE PADDLE, STEAMING BASKET and MEASURING CUP,
following the cleaning instructions on page 8.
DO NOT IMMERSE THE HEATING UNIT OF YOUR RICE COOKER IN WATER OR
OTHER LIQUIDS.
PREPARING YOUR RICE COOKER FOR USE
KNOW YOUR RICE COOKER
11
12
11
12
16906306EFM1.qxd 5/20/06 8:36 AM Page 5
Keep Warm
Cook
Page 4

E6 E7
Asparagus 8 – 10 minutes
Bean Sprouts 3 – 4 minutes
Beans: Green, Wax, French cut 8 – 10 minutes
Broccoli 11 – 13 minutes
Brussel Sprouts 11 – 13 minutes
Cabbage, shredded 6 – 8 minutes
Cabbage, wedges 14 – 16 minutes
Carrots 8 – 10 minutes
Cauliflower 11 – 13 minutes
Celery 8 -12 minutes
Collared Greens, Spinach 6 – 11 minutes
Mushrooms (fresh, sliced) 3 – 4 minutes
Pea Pods 4 – 6 minutes
(1) Potato 10 – 12 minutes
(3) Potatoes 19 – 22 minutes
Squash (Acorn, Butternut) 13 -16 minutes
Zucchini 10 -12 minutes
The steaming times in this chart are a guide and should be adjusted to suit the
different quantities or thickness of food and to suit your own taste.
STEAMING TIME AND TEMPERATURE
*Altitude affects the temperature at which water boils and thus the cooking time.
It’s especially true at high altitudes where longer cooking times are necessary. We
have outlined a general guide to follow. Test for desired consistency when cooking
times indicated have been reached. As you cook with this appliance, adapt times
and measurements to your own personal tastes.
1. Clean and prepare your food or vegetables.
2. Place the INNER POT into the RICE COOKER HEATING UNIT. The length of
steaming time is subject to your own personal tastes: depending if you prefer
al dente (crunchy) or more well done steamed vegetables.
3. Find the vegetable on the steaming chart on the following page. Measure the
water needed according to the time vegetables are required to cook. Add
water accordingly to the INNER POT.
4 ounces of water = 7 - 9 minutes
8 ounces of water = 15 - 17 minutes
4. Place the STEAMING BASKET on the rim of the inner pot.
5. Add vegetables and put the LID onto the appliance. Switch to COOK position
for the appropriate time as shown in the chart.
6. Please unplug this appliance after use.
NOTE: The rice cooker doesn’t automatically turn to warm setting when steaming
is done, watch time and manually stop cooking cycle.
HOW TO USE YOUR STEAMING BASKET
VEGETABLE COOKING TIME
Rice
Uncooked
Water with Provided
Measuring Cup
Water Line Inside
Inner Pot
Amount of
Cooked Rice
RICE/WATER MEASUREMENT CHART
1 Cup 11/2Cups Line 1 2 Cups
2 Cup 21/2Cups Line 2 4 Cups
3 Cup 31/2Cups Line 3 6 Cups
4 Cup 41/2Cups Line 4 8 Cups
5 Cup 51/2Cups Line 5 10 Cups
6 Cup 61/2Cups Line 6 12 Cups
7 Cup 71/2Cups Line 7 14 Cups
8 Cup 81/2Cups Line 8 16 Cups
9 Cup 91/2Cups Line 9 18 Cups
10 Cup 101/2Cups Line 10 20 Cups
16906306EFM1.qxd 5/20/06 8:36 AM Page 7
Page 5

This appliance should be cleaned after every use.
• Unplug the RICE COOKER when not in use or before cleaning. Never immerse
HEATING UNIT in water or any other liquids. Allow the RICE COOKER to cool
completely before cleaning.
• Do not use abrasive cleaners, scouring pads or steel wool to clean the RICE
COOKER.
•To clean the HEATING UNIT, lightly wipe the exterior with a damp cloth or
sponge. Do not immerse the HEATING UNIT into water or any other liquid. Dry
thoroughly with a soft cloth.
• The INNER POT is coated with a non-stick coating to make cleanup easier. To
clean, remove the INNER POT from the RICE COOKER and fill with hot water
from the tap. Let it sit for a while and then wash with hot, soapy water. Rinse
thoroughly and dry.
• The MEASURING CUP, STEAMING BASKET and RICE PADDLE can be washed in
warm, soapy water. They are not dishwasher safe.
•Wipe down the inside of the LID, if necessary, with a clean, damp cloth or
sponge.
• Make sure that the grains of rice do not stick to the HEATING PLATE in the
bottom of the HEATING UNIT. If this occurs, remove immediately. If grains of
rice are stuck onto the HEATING PLATE, a non-abrasive pad can be used to
remove it. Polish the area for good contact between the HEATING PLATE and
the bottom of the INNER POT.
• This appliance has no user serviceable parts. Do not attempt to repair this
appliance yourself as you could cause damage to yourself and to this
appliance.
• This appliance is for household use only.
• Do not use bleach, vinegar, or other harsh chemicals to clean the RICE COOKER.
HOW TO CLEAN YOUR RICE COOKER
E8 E9
NOTES
16906306EFM1.qxd 5/20/06 8:36 AM Page 9
 Loading...