

Page 1
“When You Need More Than Staples.”
Toll Free: 800-658-8788
Fax: 801-927-3037
info@abcoffice.com
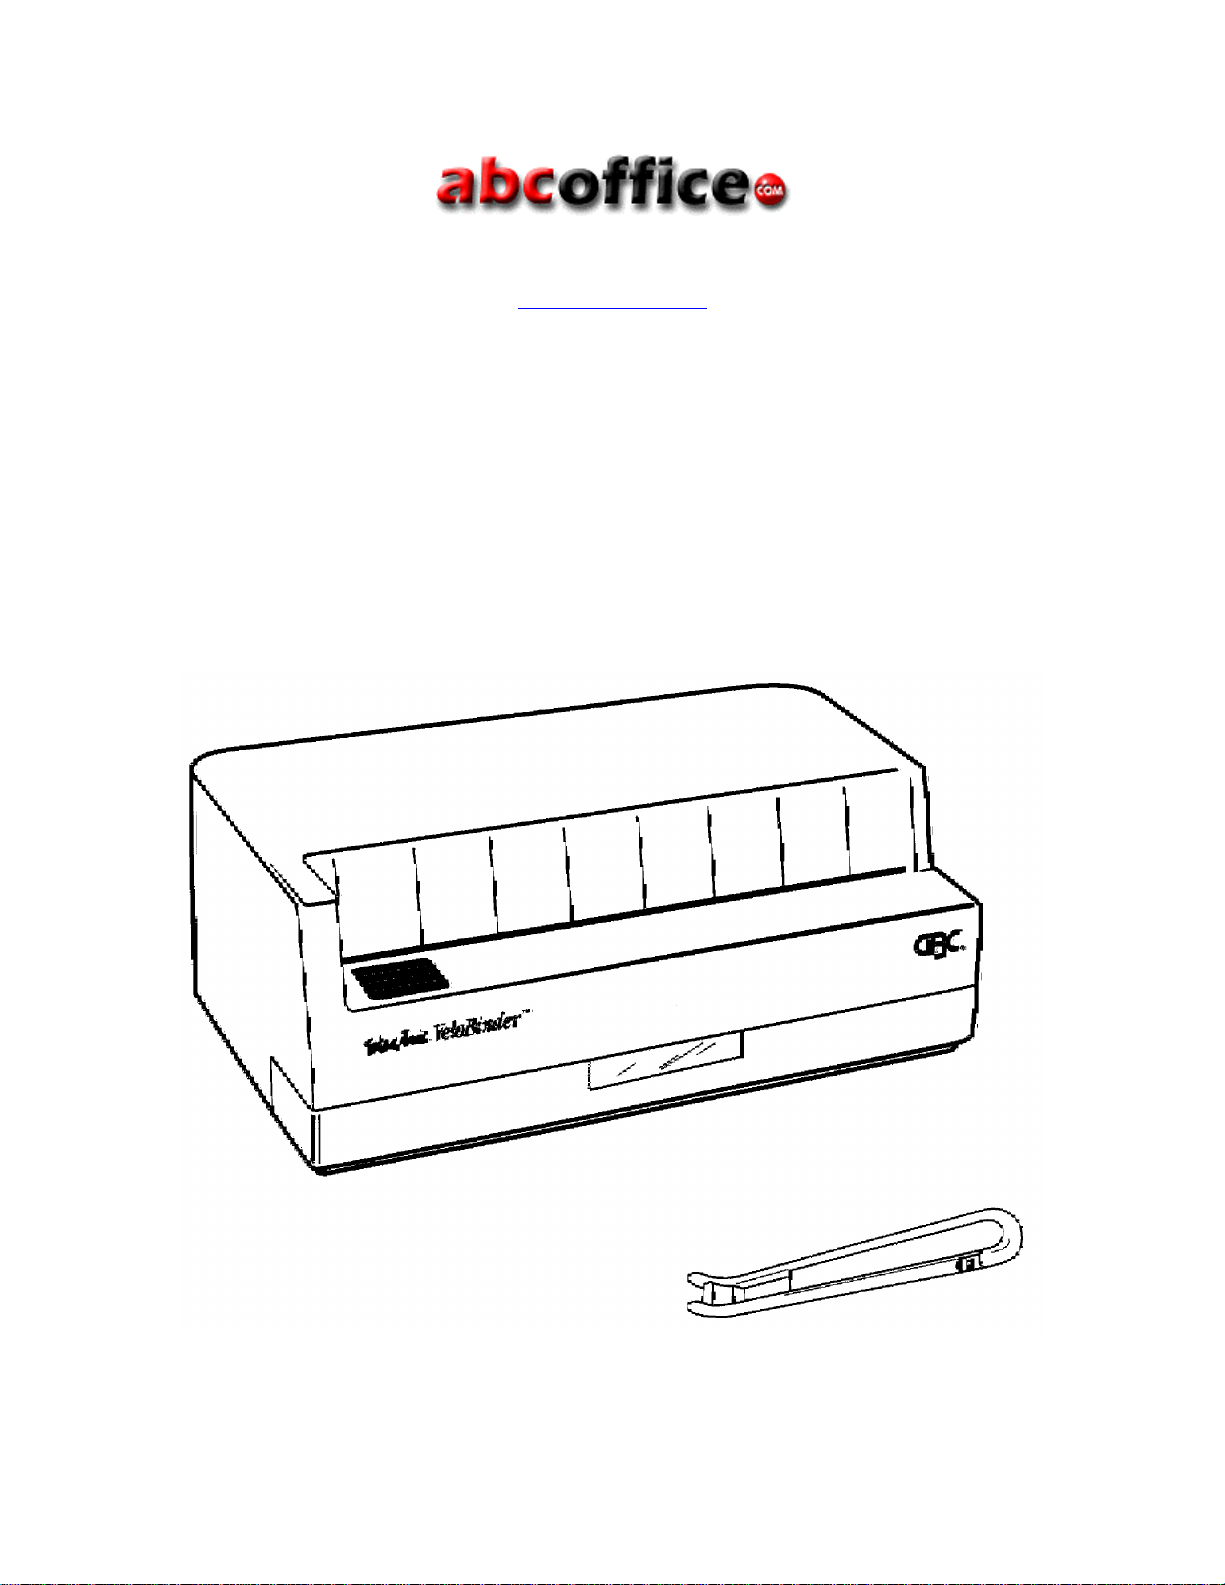
Electric VeloBinder
Operating Instructions
Page 2

2
IMPORTANT SAFEGUARDS
Warning: For your protection, do not connect the equipment to electrical power or
attempt to operate it until you read these instructions completely. Keep these
instructions in a convenient location for future reference.
Warning: To guard against injury, the following basic safety precautions must be
observed in the set-up and use of this equipment.
GENERAL SAFEGUARDS
§ Use the equipment only for its intended purpose of punching and binding
documents.
§ Use caution when operating the electric punch.
§ Do not place the equipment on any unstable stand or table. The system may fall,
causing serious bodily injury. Move the equipment and table combination with
care. Quick stops, excessive force, and uneven floor surfaces may cause the
system and table to overturn. Before moving the equipment, pull out the Debris
Tray and discard paper to prevent spilling inside the machine.
ELECTRICAL SAFEGUARDS
Warning: To reduce the risk of shock, always observe the following safeguards.
§ The equipment must only be operated from the type of power source indicated in
these Operating Instructions and the serial label located on the rear panel of the
unit.
§ The socket (outlet) should be located near the equipment and should be easily
accessible.
§ The equipment is provided with an attachment plug suitable for use in the country
of purchase. Connect the plug only to a suitable receptacle.
§ Unplug the equipment before moving it, or when it is not in use for an extended
period of time.
§ Do not operate the unit with a damaged power supply cord or plug, after it
malfunctions, or after it has been damaged in any manner.
§ Do not let the power supply cord contact hot surfaces or sharp objects.
§ Do not overload electrical outlets beyond their capacity, as this can result in fire
or electrical shock.
CARE INSTRUCTIONS
§ Wipe exterior only with a damp cloth. Do not use any detergents or solvents.
§ Empty the Debris Tray frequently. Failure to empty the tray may result in debris
lodging in the equipment and causing damage to the equipment.
Page 3

3
SERVICE
Do not attempt to service or repair the equipment yourself. Unplug the unit form the
electrical outlet, and contact an authorized service representative under the following
conditions:
Ø When the power supply cord or plug is damaged or frayed.
Ø If liquid has been spilled into the equipment.
Ø If the electric punch has been exposed to rain or water.
Ø If the unit has been subjected to excessive shock through being dropped or rough
handling.
Ø If the unit does not operate normally when following these Operating Instructions.
§ Adjust only those controls that are specified in these Operating Instructions.
GBC SPECIFICATIONS
Punch Capacity: Up to 20 sheets of 20 lb. Bond per lift.
Do not punch more than 2 transparent covers at one time. Punching
more than recommended may result in damage to the punch
mechanism.
Binding Capacity: Up to 7/8” (22mm)
Dimensions: 13”W x 7”D x 4.5”H (316mm x 170mm x 109mm)
Weight: 7.8 lbs. (3.5kg) excluding packaging material.
Electrical: Applicable rating marked on serial plate located on equipment.
115V – 60Hz, 3.1 A
230V – 50/60Hz, 1.5 A
100V – 50/60Hz, 3.5 A
Duty Cycle: 8/15 (On/Off) min.
PUNCHING (FIGURE I)
1. Place the paper in the Punch Throat (A), align the paper fully to the left, and press
the Punch Button (B).
2. Only up to 20 sheets of 20# bond paper should be punched at one time (fewer
sheets if the paper is heavier). Punch covers separately, and only 2-3 covers (no
more than 2 transparent covers) at a time.
3. If you try to punch too much paper, the paper may become jammed in the Punch
Throat. UNPLUG THE MACHINE. Depress the Jam-Stopper knob (C) and
Page 4

4
slowly turn it clockwise, while gently pulling on the paper until the paper is
released. Then plug in the machine and press the Punch Button to cycle once.
This will insure that the punching pins return to proper position.
4. Empty the Debris Tray (D) to prevent paper chips from interfering with the punch
operation. The viewing window is conveniently positioned so that you can see
wh4en the Debris Tray is becoming filled and should be emptied.
5. After the entire document is punched, you are now ready to bind.
INSERT (FIGURE II)
1. Choose a VeloBinder® strip set, consisting of a strip with pins and a strip with
slots. If you’re using a cover, choose a cover set to color-coordinate with your
VeloBinder® strips.
2. Place your pages between the front and back cover.
3. Put the punched document, face up, onto the table with the punched holes over the
edge of the table. Insert the pins through the punched holes. Turn the document
over and lay flat on the table.
4. Place the slotted strip, with the four open slots facing up, over the four pins.
SNAP (FIGURE III)
1. Hold the VeloBinder® tool with the curved end up, and your forefinger on the
inside of the curve.
2. Wi th your other hand, place a finger on the center of the strip. While holding the
strip firmly on the table, slide the VeloBinder® tool over the pins from the
outside of the right end of the strip to the center, pushing the pins securely into the
slots.
3. Slid the VeloBinder® tool over the pins form the left edge of the strip to the
center. A snapping sound indicates a proper bind.
4. Gently pull the strip and pages in opposite directions so that the binding strip
completely covers the edge of the paper. Your document is now complete!
Page 5

5
DEBIND (FIGURE IV)
1. To remove or add pages to your bound document, use the small hook, labeled
“debind”, on the end of the VeloBinder® tool. Place the document on a flat
surface, face down. Insert the debinding tool hook firmly into the slotted strip at
the “point” of each pin and gently flip up the pin points.
2. Straighten all; pins so they’re perpendicular to the slotted strip.
3. Remove slotted strip and add or subtract sheets as desired.
REBIND
Pages may be removed and new pages inserted repeatedly. To rebind, simply follow
“Insert” and “Snap” steps.
 Loading...