How it Works
Log In / Sign Up
Buy Points
How it Works
FAQ
Contact Us
Questions and Suggestions
Users
Garrett
Loading...
#
11674xx
2
1140070
1140900
4
1141370
5
1141450
5
1141560
5
1142160
4
1151173
1151970
1166050
5
1167700 MT 5500
1167720 MT 5500 International
11678XX
11684 Series
2
АT MAX
1199271
A
Ace 150
16
ACE 200i
5
ACE 250
16
ACE 250 PRO
ACE 300i
6
ACE 350
2
ACE 400i
6
ACE series
ACE series detector
AND GTAX 550
Apex
AT Gold
3
AT Max
4
AT Pro
3
AT PRO INTERNATIONAL
10
Atx
2
C
CE APEX
CS 5000
CSI 250
2
E
Euro Ace
9
F
FISHER M-SCOPE
G
Graphic Target Profiling 1350
GTA 500
GTAX1250
2
GTAx 500
GTAx 550
GTI 1500
GTI 2500
19
GTI 2500 PRO
GTP 1350
4
I
Infinium
Infinium Land & Sea
Infinium LS
3
Investigator CX Plus
Investigator G-500
2
M
MAGNASCANNER CS 5000
2
MAGNASCANNER MT 5500
MAGNASCANNER PD 6500
Master Hunter CX Plus
Metal Detector GTI 1500
Metal Detectors GTAx 550
MS-3
MT 5500
P
PD 6500i
3
PRO-POINTER
4
Pro-Pointer AT
5
Pro-Pointer AT 1140900
Pro-Pointer II
5
S
Scorpion gold stinger
2
SEA HUNTER MARK II
3
Sea Hunter Mark II None
SEA HUNTER MARK ll
SuperScanner
3
SuperWAND
2
T
THD
3
TREASURE ACE 100
TREASURE ACE 300
TreasureHound
Treasure Hound CX
W
WT-1
Z
Z-Lynk
Z-Lynk Wireless
Loading...
Loading...
Nothing found
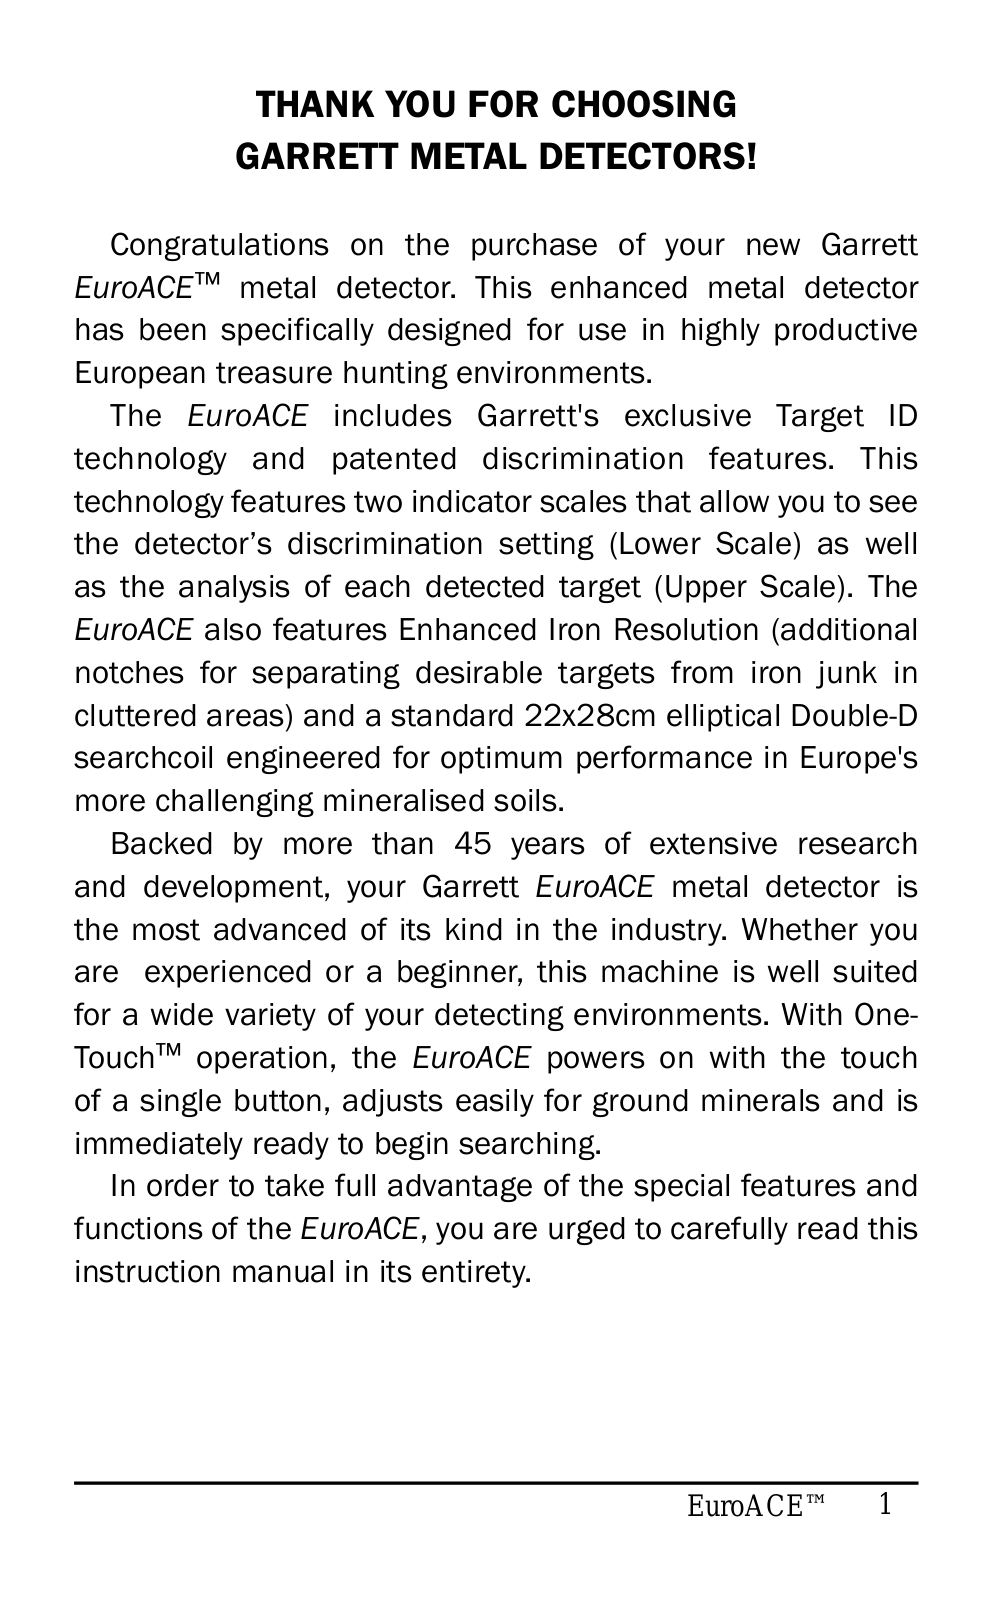
Euro Ace
User guide
25 pgs
2.38 Mb
1
User guide [cs]
14 pgs
849.1 Kb
0
User guide [es]
27 pgs
4.13 Mb
0
User guide [fr]
6 pgs
197.11 Kb
0
User guide [hu]
2 pgs
192.13 Kb
0
User guide [nl]
6 pgs
227.92 Kb
0
User guide [sl]
8 pgs
253.93 Kb
0
User guide [tr]
7 pgs
410.24 Kb
0
User Manual [de]
6 pgs
195.64 Kb
0
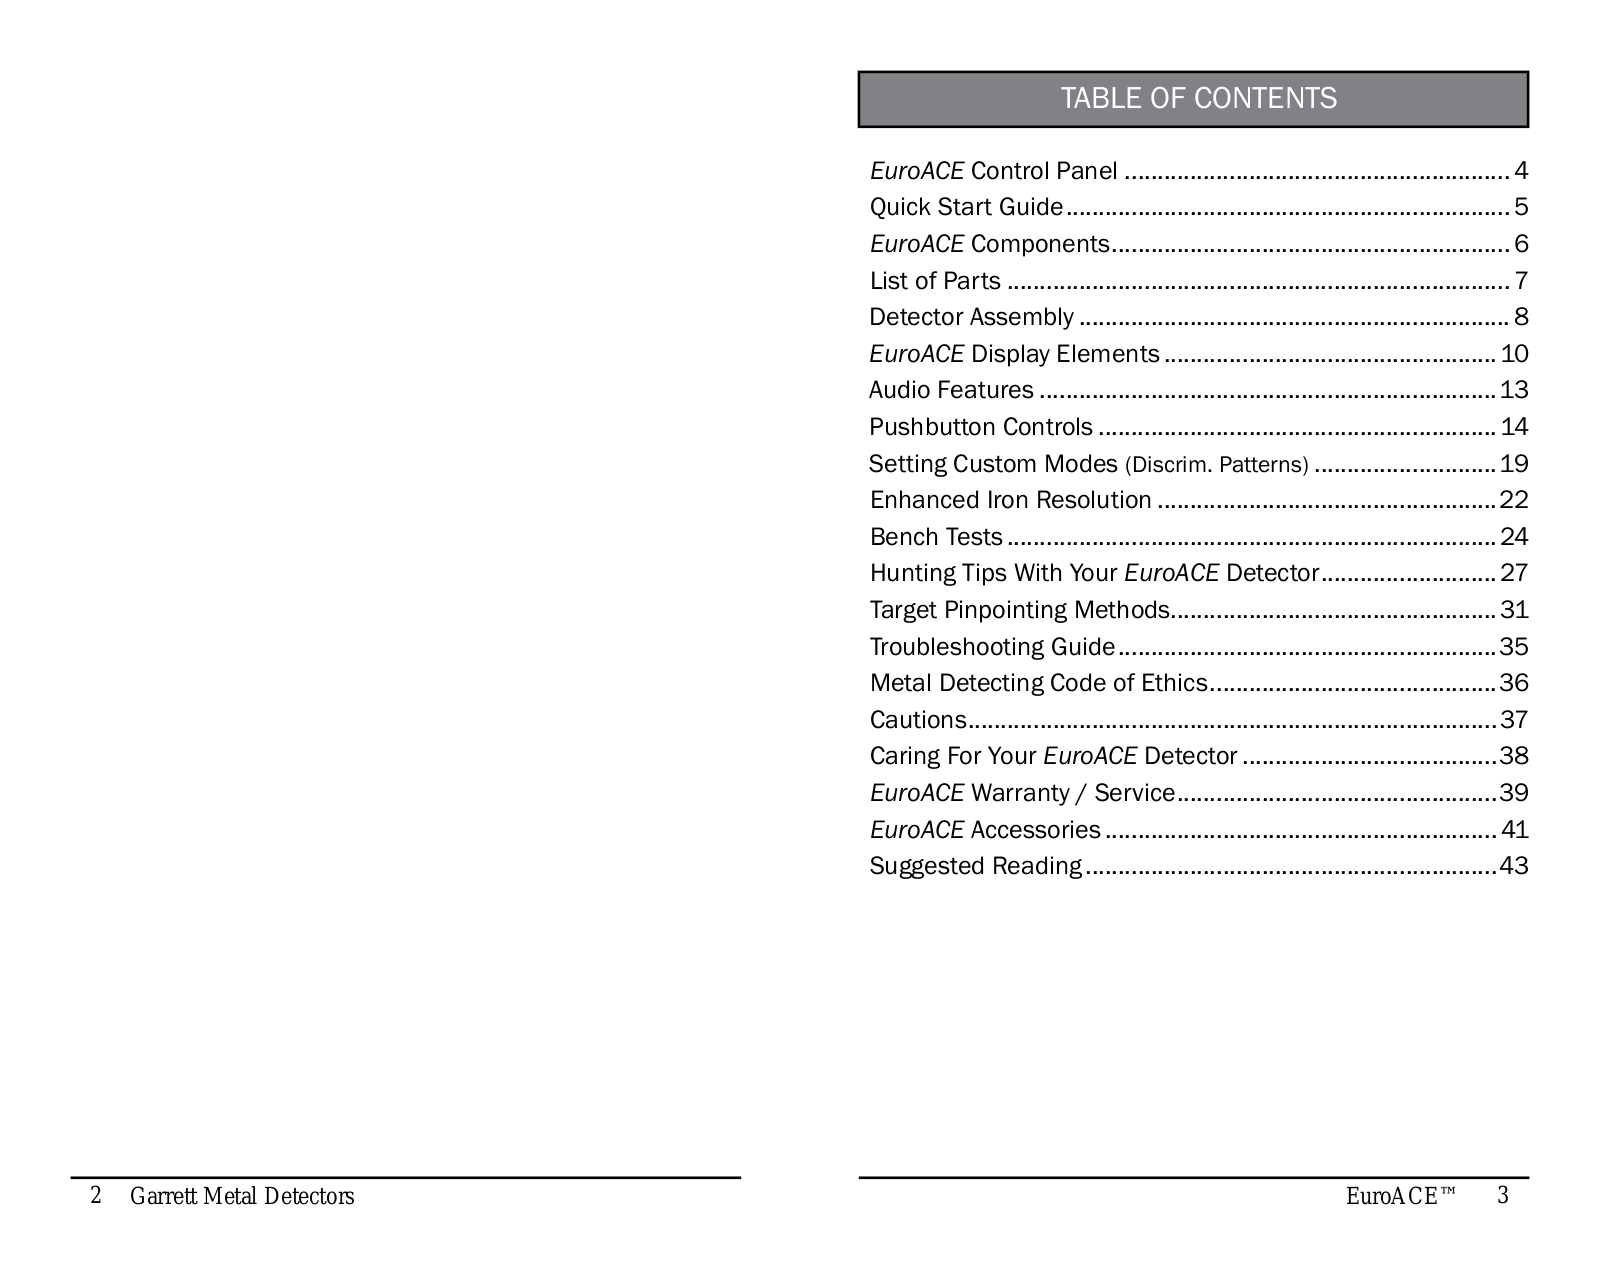
Table of contents
Loading...
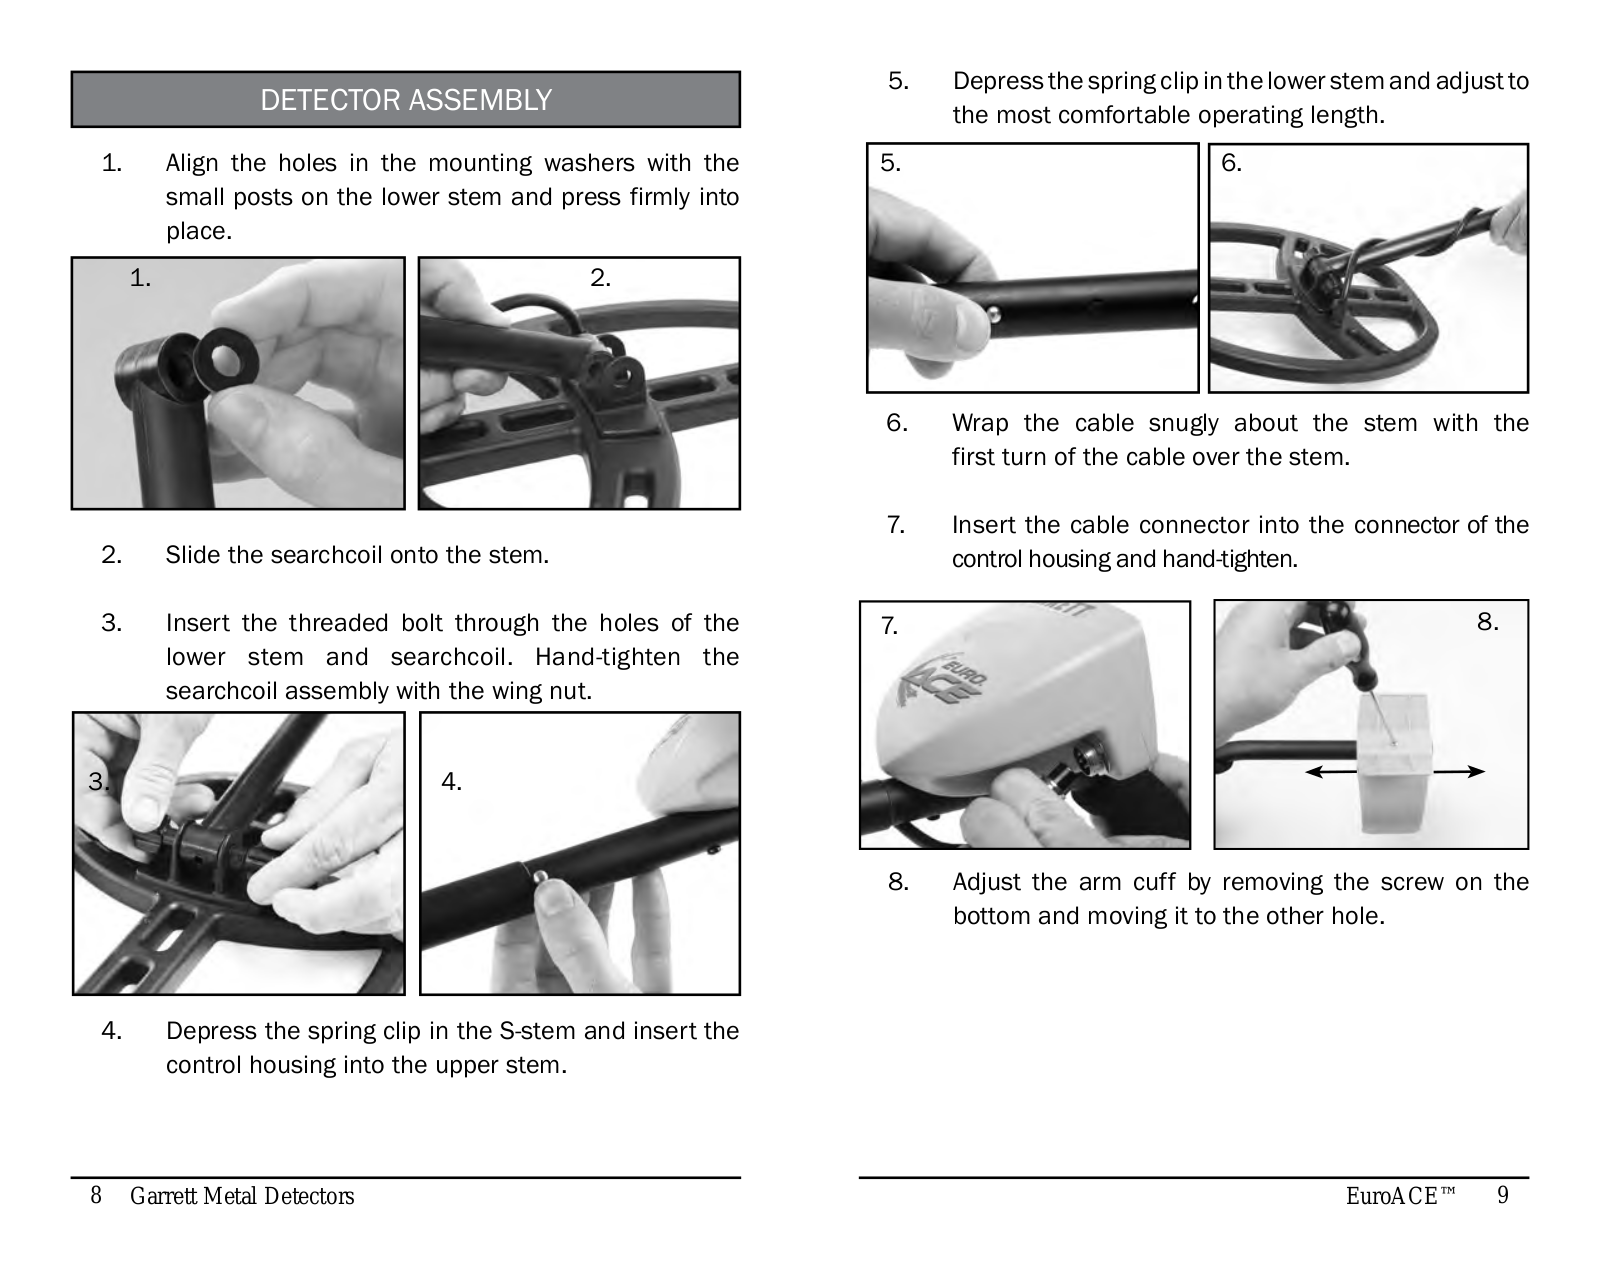
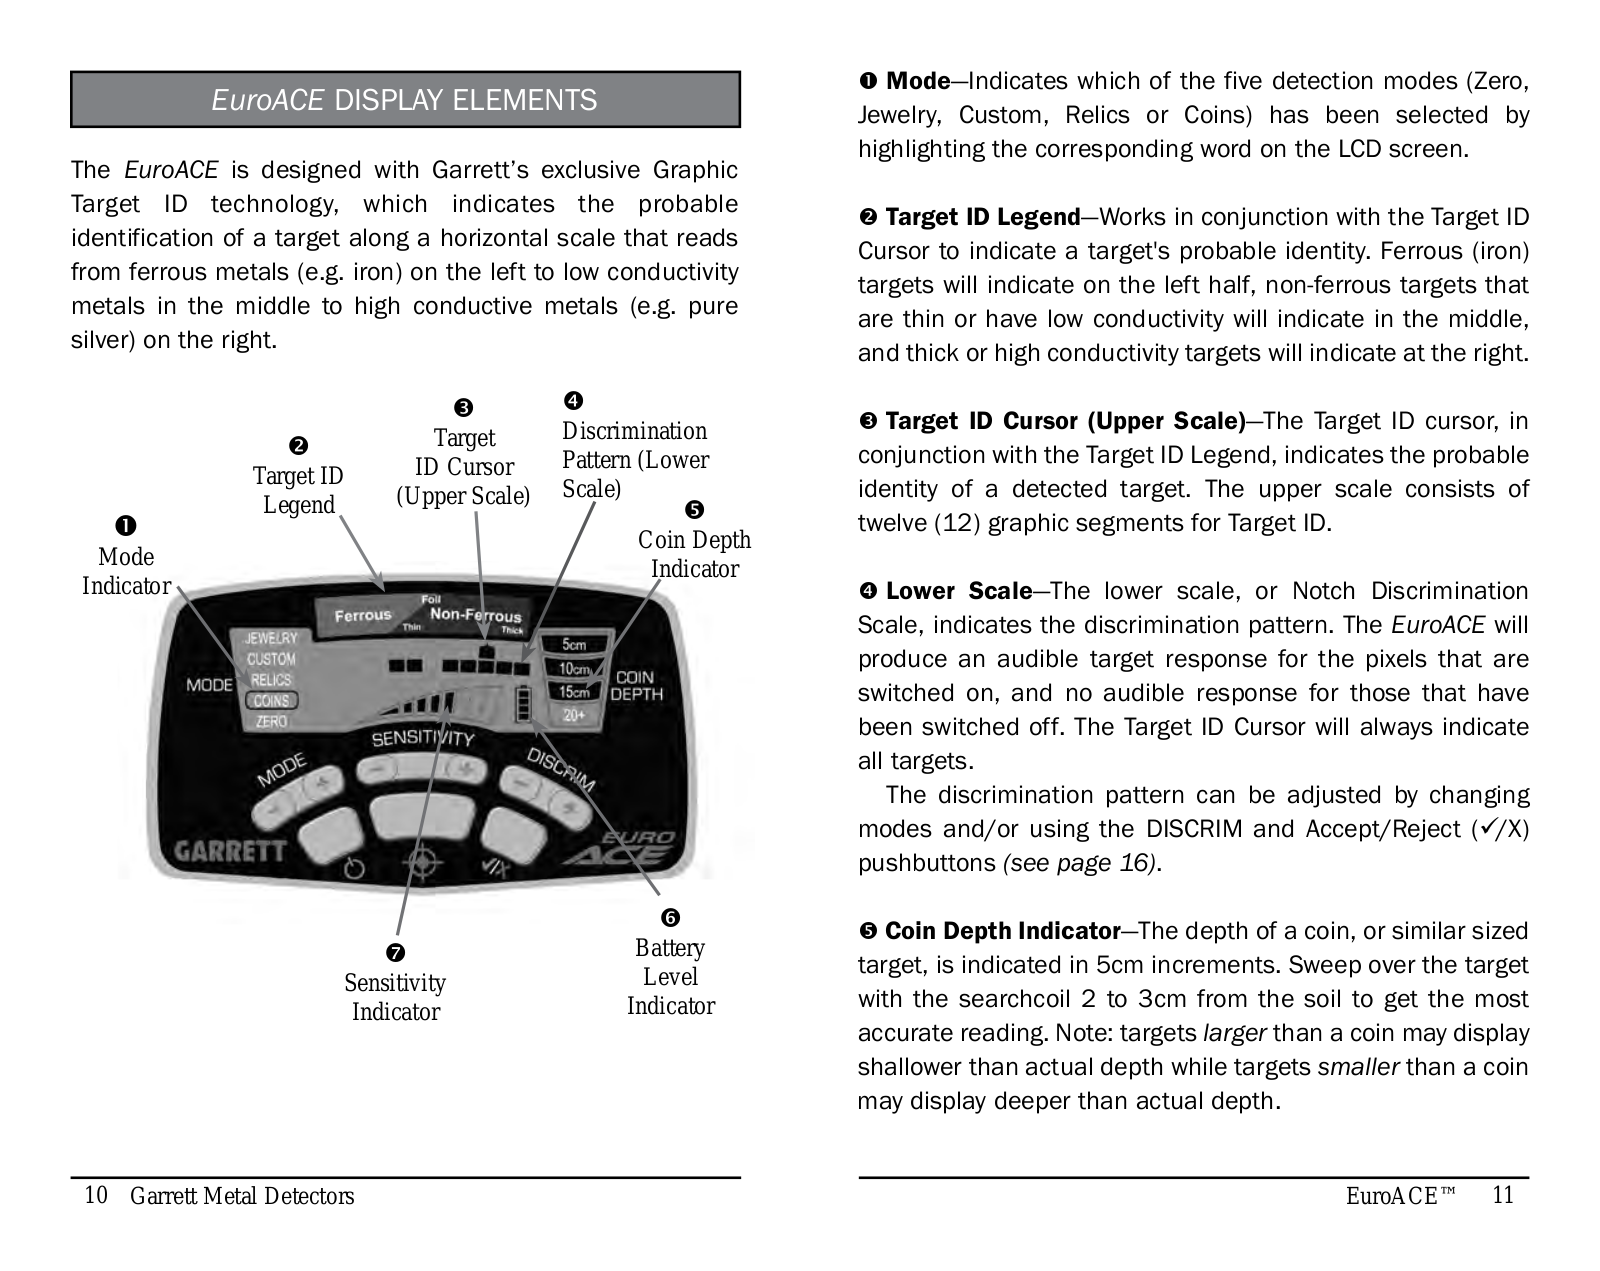
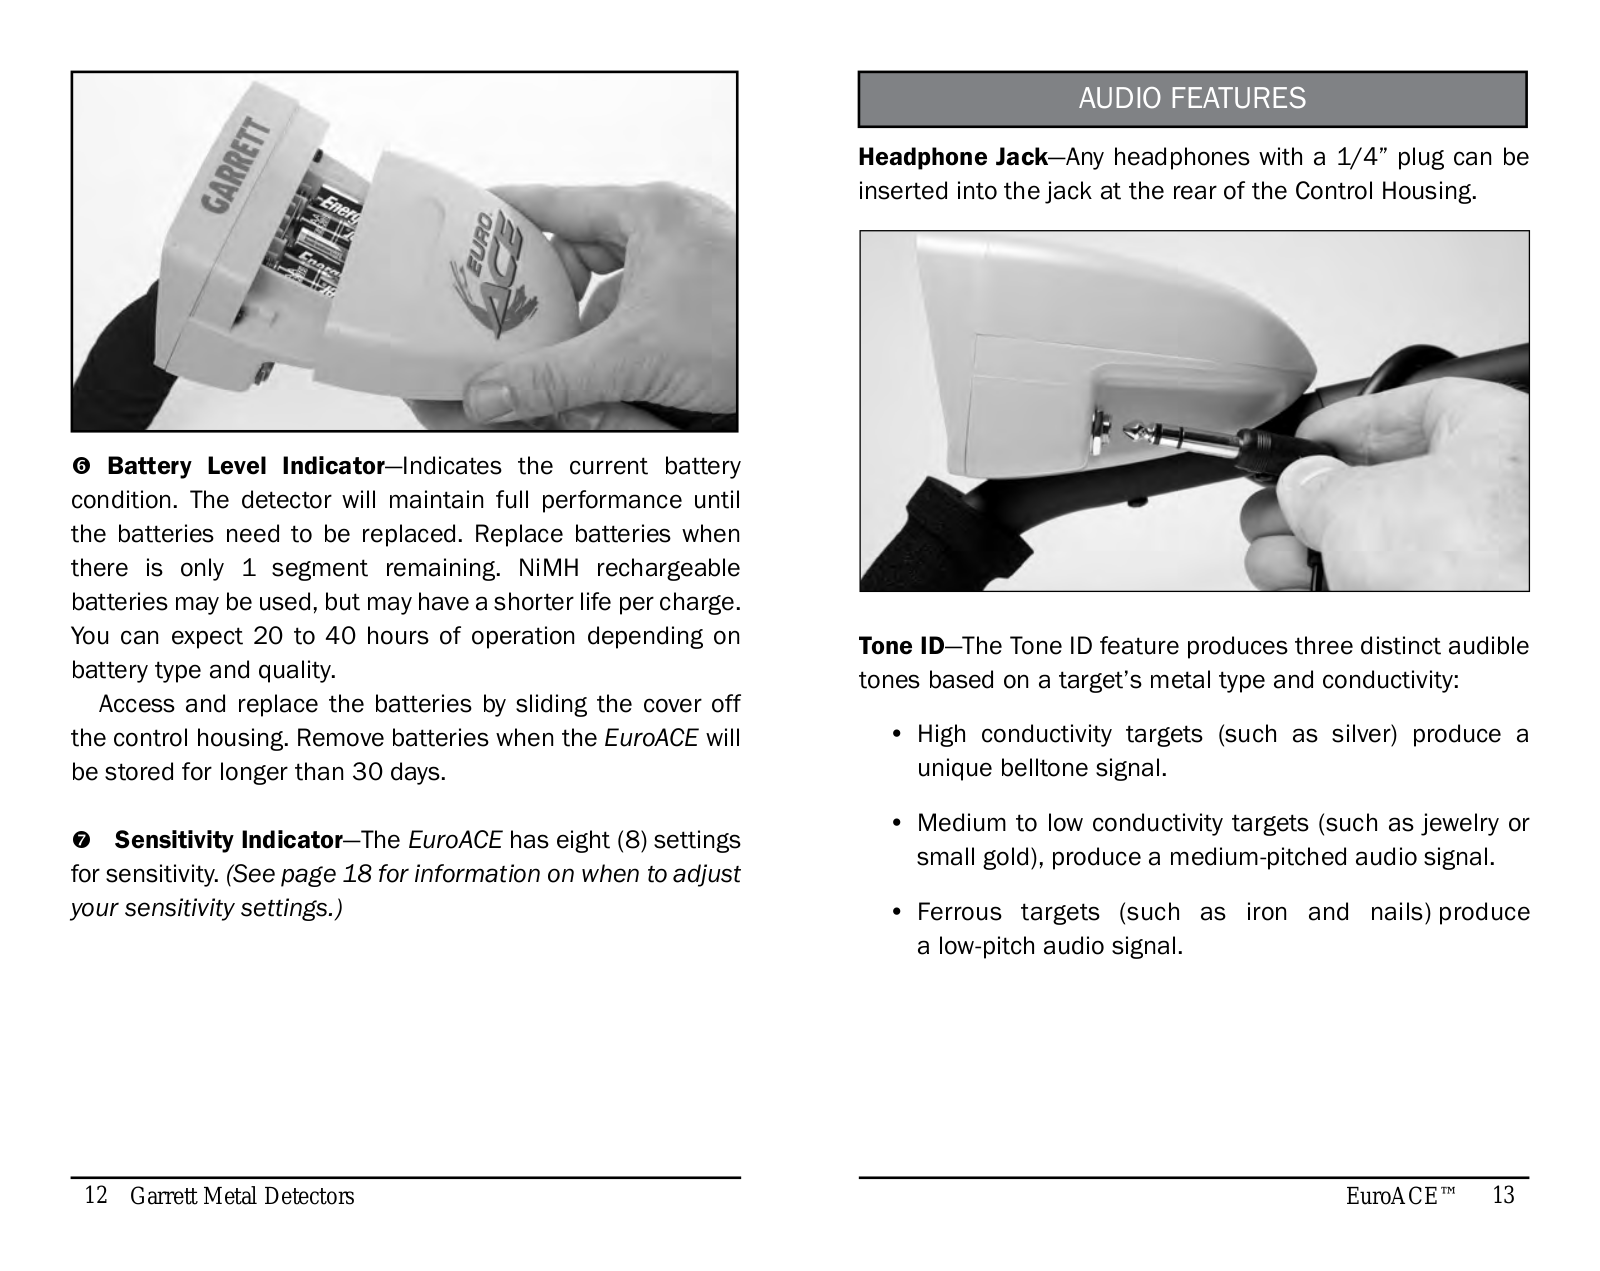
Garrett EURO ACE User guide
...
Garrett User guide
Download
Specifications and Main Features
Frequently Asked Questions
User Manual
Download
Loading...
+
hidden pages
Unhide
You need points to download manuals.
1 point = 1 manual.
You can buy points or you can get point for every manual you upload.
Buy points
Upload your manuals
 Loading...