

Garland G139 User Manual
Grow Light Garden
contents
replacing your grow light tube
practical growing advice
safety advice
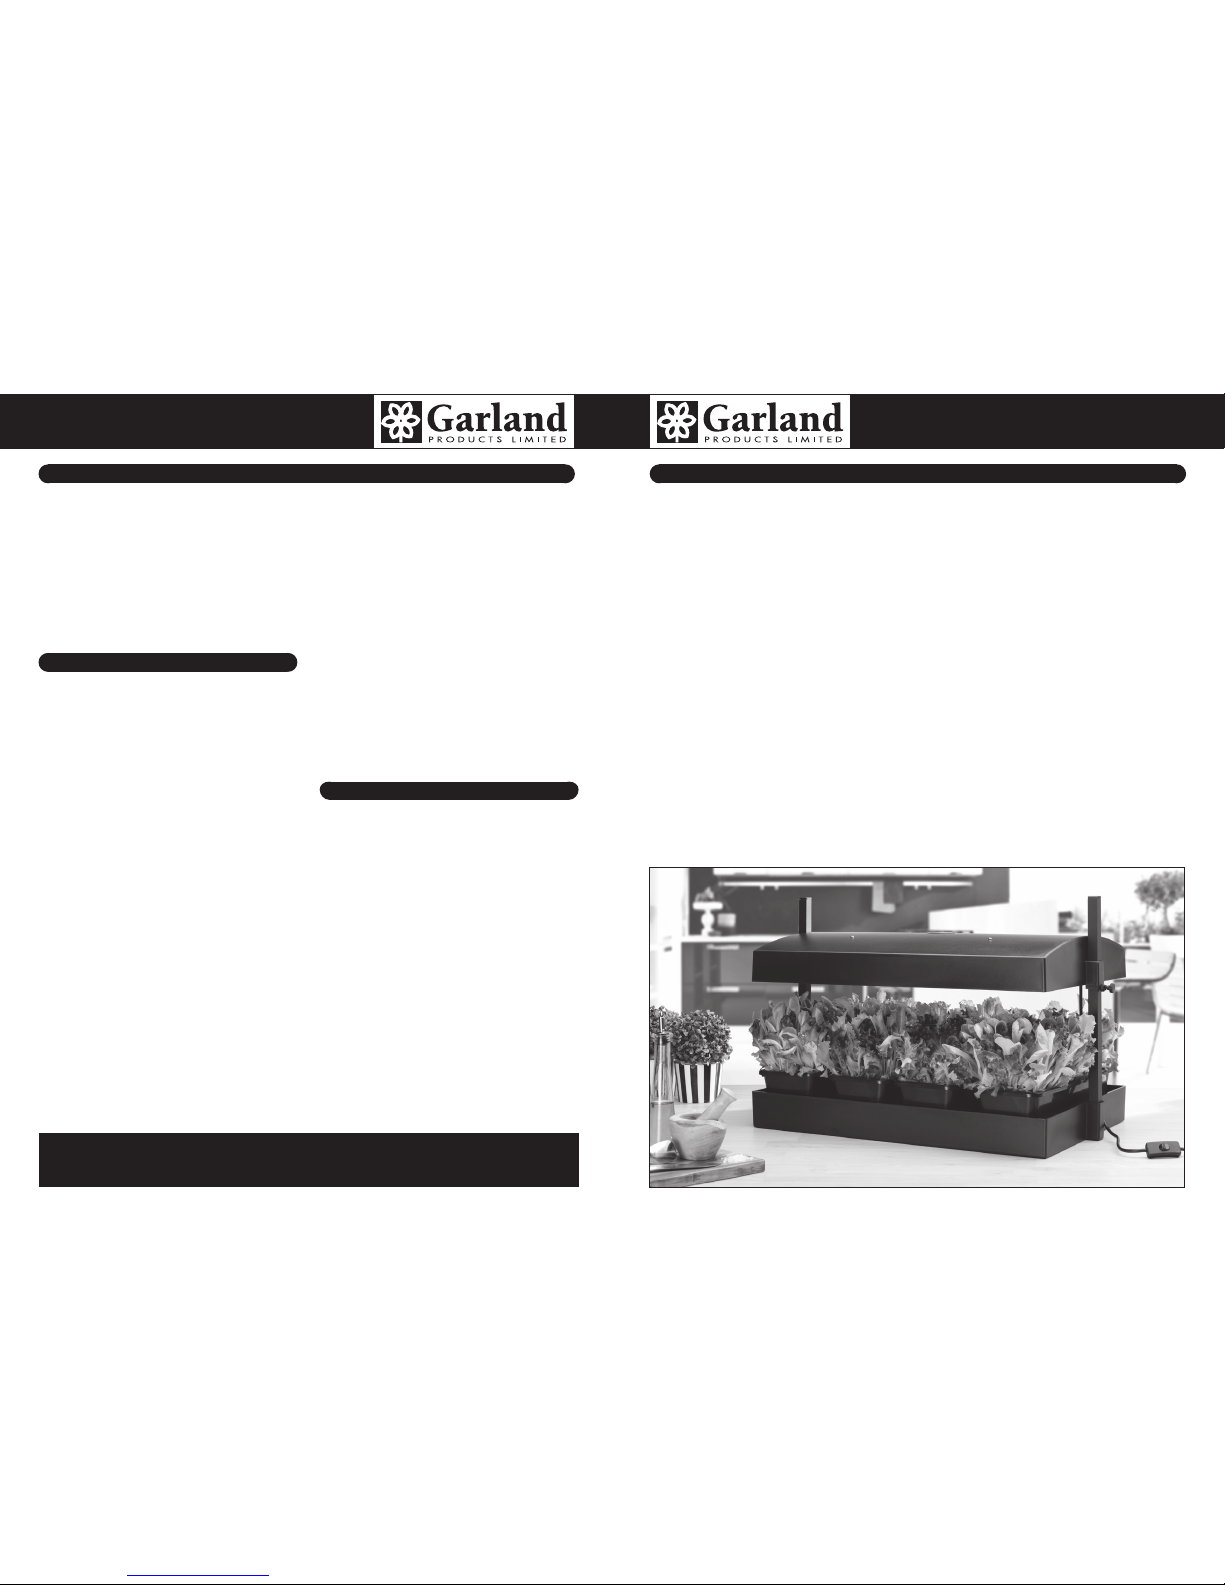
Thank you for purchasing the Grow Light
Garden. The product comprises a height
adjustable light fixture which houses two
full spectrum light tubes in the canopy.
You can use this product to raise ‘cut and
come again’ salad leaves and herbs all year
Each Grow Light Tube can last for up
to 10,000 hours but there will come a
time when it will need to be replaced.
Simply refer to Step 2 of the assembly
instructions to remove the old tube and
replace with a new tube. As the light fixture
will already be held in position under the
curved hood, you may find it easier to replace
the Grow Light Tube by placing the Grow
Light Garden upside down on a flat surface.
To grow successfully from seed, there are
three key ingredients - food, light and
water. Food and water can be supplied by
you, while the Grow Light Garden provides
the missing ingredient, thanks to the full
spectrum light provided. The Grow Light
Garden provides 6400 Kelvin light
bringing the perfect balance of white, red,
blue, green and yellow light for your plants.
What is more, this is provided all year
round, even during the dark winter months.
When you initially plant your seeds,
the canopy can be positioned at its
maximum height. Once the seedlings sprout,
lower the base of the canopy to about 6cm
from the sprouts. This keeps the seedlings short and stubby rather than long and
skinny. As the plants continue to grow,
keep moving the canopy, maintaining the
distance of 6cm.
It is important to remember that darkness is
part of the natural growing cycle for plants.
Give your plants a rest by turning the lights
off for a period of the day. Most vegetables,
herbs and garden flowers are ‘long
day’ plants requiring an average of 16
hours of light per day. ‘Short day’ plants
requiring around 12 hours of light a day
include azaleas, poinsettias and begonias.
Consider using an automatic timer or simply
switch off your lights when you go to bed.
We recommend rotating the Growing Trays
once a week as the light is more intense
in the centre of the unit than at each end.
Clean the Grow Light Tubes as needed as
dust can significantly reduce the light output.
Be careful not to over water your plants,
particularly when they are very young as this
can lead to ‘damping off’ and can kill seedlings.
It is better to water little and often. Once plants
develop and become established, they will
benefit from the addition of a liquid fertiliser.
For dosage rates, please refer to the user
instructions provided by the manufacturer.
• This product is designed for indoor use
only.
• Always turn off the power to the Grow Light
Garden when inserting, adjusting or
removing the Light Tubes. If you insert a
Light Tube when the power is on, it may
trigger an automatic safety mechanism,
resulting in the light shutting off. If this
happens, turn the power off and make sure
that the Light Tubes are fully seated in the
ballasts. Wait for thirty seconds and then
turn the power on again. This will reset the
unit so that the lights operate normally.
• Use the power cord only with a properly
grounded electrical outlet.
• If water is spilled near the power source,
unplug the unit before you wipe up the water.
• Do not place objects on top of the
Grow Light Garden canopy.
• For on/off manual control of the lights, use
the switch located on the power cord.
Qty Description
1 Curved canopy
1 Flat base tray
1 Self watering platform insert
1 Capillary matting section
2 Aluminium square tube sections
2 Plastic plugs (for aluminium tube sections)
2 Height adjuster clamps with black nuts & thumbscrews
4 Growing trays
1 Power cord with on/off switch
2 Grow lights (comprising ballast and tube)
2 Nanotech reflectors
4 Fixing bolts
4 Nuts
4 Ballast clips
round, thanks to the ideal light conditions
provided. Keen gardeners can also get a
‘head start’ by raising early season
seedlings for the garden or greenhouse.
The four individual growing trays allow for
easy succession planting.
First Avenue, The Pensnett Estate, Kingswinford, West Midlands, England, DY6 7TZ
Tel: 01384 278256 Fax: 01384 400091 Web: www.garlandproducts.com Email: sales@garlandproducts.com

Step 8 (optional)
Place the Self Watering Platform Insert inside the
flat based tray of the Grow Light Garden as shown
in Fig 7. Cover with the Capillary Matting Section,
dark side up, draping the excess over one end of
the Self Watering Platform Insert only. Place the 4
Growing Trays on top of the Capillary Matting.
To ‘self water’ your plants, pour water directly
into the flat based tray, ensuring that the excess
capillary matting is in direct contact with the
water. The capillary matting will naturally draw
water across its entire length. As long as
you ensure that the growing mix in your trays is
in direct contact with the capillary matting through
the 24 holes in the
base of each tray,
your plants will
in turn draw on
water by capillary
action – see Fig. 8.
Assembly Instructions
Assembly of this product should take in the
region of 30 minutes. The only tools you will
require will be a hammer, or preferably
rubber mallet, and a crosshead screwdriver.
Firstly please check the contents list on the
previous page to ensure that you have all
the required parts to complete the assembly.
Step 1 (refer to Fig. 1)
Place the curved canopy upside down on a flat surface. Take a fixing bolt and slot it through one of the
holes of the canopy - the head of the bolt should
be on same face as the oval branding badge.
Slot a ballast clip over the exposed threaded
section of the fixing bolt and secure it in place by
threading a nut on to the bolt. Tighten so that the
mounting clip is securely held in position
against the exposed underside of the canopy.
Repeat for all 4 mounting clips.
Step 5 (refer to Fig. 5)
Insert each of the aluminium tubes into the two
slots in the flat base tray. Using a rubber mallet,
force the tube into the slot to achieve a firm fix.
If a rubber mallet is not available, use a regular
hammer but cushion the impact on the end
of the tube to prevent the tube profile from
becoming damaged.
Step 6 (refer to Fig. 5 & 6)
Insert the supplied steel black nuts into each of
the 2 Height Adjuster Clamps as shown. Slide
each of the Height Adjuster Clamps over each of
the exposed aluminium tubes and secure at the
desired height using the thumbscrews. Be
careful not to over tighten the thumbscrews
– a soft grip is all that is required. Now slide
the canopy section over the exposed tube
sections until it is supported by the Height
Adjuster Clamps. You can adjust the height of
the canopy as required. Finally using the plastic
plugs, cap each of the exposed tube sections.
Step 7
Connect the power cord to your electrical
supply. The unit is now ready for use.
Step 4 (refer to Fig. 4)
Locate each of the Grow Lights into position
by pushing them into the ballast clips. Do not
push directly on the light tubes themselves,
for fear of them breaking, rather exert the
pressure on the ballast holding each of the
tubes.
Step 2 (refer to Fig. 2 & 3)
Peel off the blue protective file from each
Nanotech reflector. Place each ballast on a flat
surface. Now remove each of the Grow Light
Tubes from the ballasts by rotating the tube
through 90 degrees to unlock it from the ballast.
Push each Nanotech reflector down on to the
ballast so that it clips into place along the full
length and is held firmly – a small amount of
force is required. Refit each of the Grow Light
Tubes by sliding the pins on the ends of the
Grow Light Tube into the ballast sockets and
then rotate through 90 degrees to lock into place.
Step 3
Before attempting to locate the Grow Lights
into position, connect the power cord into
the exposed sockets at one end of each of
the lights. Do not plug the power cord into
the mains supply yet.
Fig.7
Fig.4
Please not e that use of
the self watering inse rt
and capil lary mat ting is
optiona l and not esse ntial
to healthy plant development.
Steel Black Nut
Height
Adjuster
Clamp
Thumbscrew
Fig. 4
Steel Black Nut
Height
Adjuster
Clamp
Thumbscrew
Fig. 4
Canopy
Plastic Plug
Flat Base Tray
Aluminium
Tube
Height Adjuster
Clamp
Fig. 5
Ballast
Clip
Fig.2
Fig.1
Nut
Curved
Canopy
Ballast
Clip
Bolt
Nanotech
Reflector
Grow Light
Tube
Nanotech
Reflector
Fig. 6
Stage 1
Stage 2
Fig.8
Grow Light Tube
Nanotech
Reflector
Ballast
Pins
Slide Pins into
Socket
Rotate 90o until
Tube ‘locks’ into
place
Fig.3
Grow Light
Tube
Power Cord
 Loading...