

Page 1
M®inenT
User manual
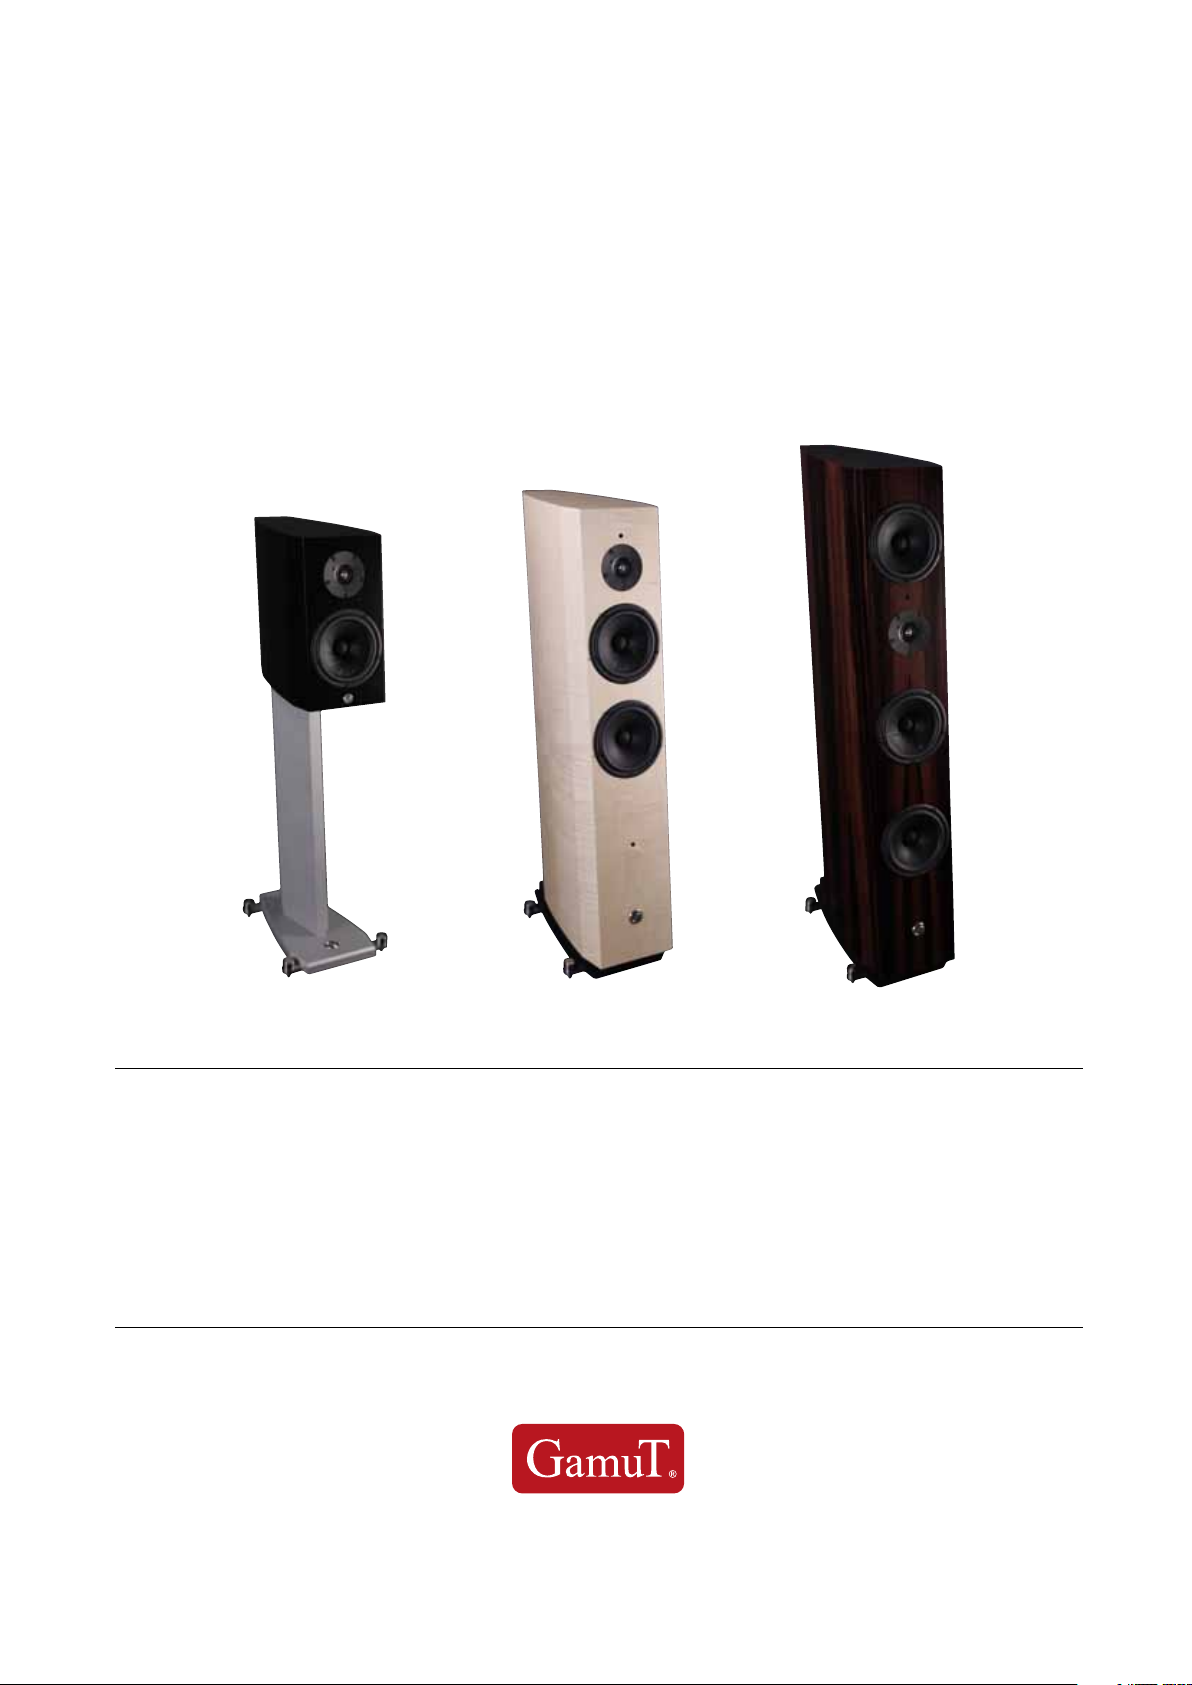
M3, M5 & M7 Speakers
www.gamutaudio.com
© GamuT Audio, All rights reserved, GamuT Audio, Siggaardsvej 2 - DK6818 Aarre - Denmark
Page 2

Introduction Setting up
The materials and constructions chosen for a
GamuT product will make it last a life time and give
you years of musical enjoyment. Thank you for
choosing a GamuT product.
With the M®inenT Series we are giving you all
our know-how from the El Superiores plus a great
package of newly developed solutions to give you
an exquisite yet affordable package, all made in
Denmark with the use of superior craftsmanship.
The further expanded value for money, we
owe to the new enclosure using the Low resonance Hornex® design to further minimize stored
energy, and the new spike system that allows easy
set and perfect grounding even on heavy carpeting. A new Tweeter was also designed to eliminate
overexposure to transient/resonant signals from
the recorded material, and the new Woofer for
the M5, and Woofers for the M7, were designed
to give more weight and authority to the lowest
octaves. The Mid-Woofer used in the M3 and
M7, the NRLI Network, the DC coupled midrange
and the Internal Dynamic Damping Dividing we all
inherited directly from the El Superiores.
A speaker is an acoustic instrument; it will work
with your room and generate a combined character. To minimize the negative inuence from the
room and optimize the linearity of the combined
reproduction please follow the simple guide lines
below.
To ne trim the performance, go to the advanced
setup section. Distances are measured from the
Tweeter.
Minimum recommendations in a regular
setup:
Distance to side walls: 4’ or 1,2m
Distance to the rear wall: 3’ 4” or 1,0m
With the “Narrow room” setup (excessive toe-in
where axis meet in front of the listening position):
Distance to side walls: 2’ 4”
Distance to the rear wall: 4’or 1,2 m
With both the regular setup and the Narrow
room setup, position you speaker a minimum of
10’ or 3m apart and the listening position a minimum of 10’ or 3m from the speaker.
With a regular setup point the speaker straight
forward.
With the Narrow room setup (where the 3’
clearance to the side room cannot be achieved,
requires a 16’ wall distance) toe-in the speakers so
that the axis of the tweeter is crossing app. 2’–3’
or 60–90 cm in front of the listening position.
Adjust the spikes so that a line starting from the
top point of the Midrange (the driver below the
tweeter), and running in parallel with the top of the
speaker, is pointing to your ear height in the listening position.
If trimming of the bass, midrange or tweeter
level is needed; you can adjust the Bass balance
by changing the position of the speaker, the midrange character by adjusting the tilt of the speaker,
and the tweeter level by adjusting the toe-in.
Visit the advanced setup section for instructions or
e-mail us at: info@gamutaudio.com
2
M®inenT User manual – M3, M5 & M7 Speakers
Page 3

Connections
Spike adjustment: The new Spike system is
designed to penetrate heavy carpeting, by using a
sharply shaped center Spike. The Spike is locked
by the outer Knob. Loosen the knob counter
clockwise to allow adjustment of the Spike. Use
an Allen key (Unbrako), size 6 mm, to adjust the
spike. Adjust the spikes to have an even weight
distribution (same slight resistance when turning
the key) to eliminate movement of the speaker.
When the Speaker is positioned in its desired position turn the outer Knobs Clockwise by hand, until
they lock, to lock the spikes.
Connecting to the amplier:
The newly designed proprietary GamuT Terminals
are made to allow the use of 3 different connections: 8mm spades, 4 mm banana plugs or
stripped wire (Bi-wire only). The terminals come
with a connector bracket to connect the two pairs
of terminals. The upper pair is input for the
Tweeter, the lower pair is input for the Mid/
Woofer section. To optimize for Bi-wiring re-
move the bracket by removing the terminal nuts.
(The positive input is on the right hand side viewed
from the back). Connect your speaker cable to the
speaker before connecting to the amplier.
• For single wire connection we recommend
using the + input for the tweeter (upper right
terminal) and the – input for the Mid/Woofer
(lower left terminal).
• When using Banana plugs insert the plugs
in the center hole, make sure the t is as tight
as possible.
• When using a Spade, loosen the desired
terminal nut and insert the spade between the
terminal and the bracket (single wire use).
• When using a stripped wire remove the
terminal nut and insert the stripped wire into
it. Position the stripped wire onto the conical
part of the terminal base and re-position the
terminal nut onto the thread and turn the nut
until it locks the wire.
M®inenT User manual – M3, M5 & M7 Speakers
3
Page 4

Optimizing
the sound
1. Running in (breaking in):
Running in (breaking in): Speakers are electro
mechanical devices. As any mechanical device
a speaker needs running in before it reaches its
optimum performance level. During the development phase we have carefully aligned and trimmed
all components to have a perfect balance when
2. Advanced setup:
• Positioning; Optimizing the Bass character & balance: Please go to the “Setting
Up” section to nd the minimum distances to
walls etc. and choose your way of setting up:
“Regular” or
“The Narrow Room” setup
fully run in, so please allow for the speaker to have
a run in period of up to 200 Hours of music playing and an ageing of minimum 6 months before
they reach their optimum performance. During the
run in period the nal positioning of the speaker
cannot be determined as the bass character will
change. Please also allow time for the mid and
tweeter character to fall into place.
• A room has standing modes of energy.
The most harmful modes are positioned in
multiplications of 1/2 fractions of the room
dimensions, I.e. the position where the room
length, width and height is divided with 2, 4, 8,
16 etc. The obvious solution is to avoid these
positions by positioning the speaker in uneven fractions of the room dimensions.
• The preferred divisions of room dimen-
sions are: 1/3, 2/7, 1/5 & 1/7 see the diagram
below.
Example
Measurements Results
Divided
by 7
Example width 5 meters 0,72 1,0 1,44 1,67 2,0 2,16
Example length 7meters 1,0 1,4 2,0 2,33 2,8 3,0
Divided
by 5
2 ×
divided
by 7
Divided
by 3
2 ×
divided
by 5
3 ×
divided
by 7
Your measurements
Your measured
width – write here
Your measured
length – write here
Measurements Results
Divided
by 7
Divided
by 5
2 ×
divided
by 7
Divided
by 3
2 ×
divided
by 5
3 ×
divided
by 7
4
4
M®inenT User manual – M3, M5 & M7 Speakers
Page 5

• The process to calculate is to draw your
room with measured dimensions and draw
lines with the specied divisions of the dimensions both length and width wise. Choose the
positions that exceed the minimum requirements for clearance to the walls and allows
the minimum spacing between the speakers.
Speaker
Width /7
Width /5
2 × Width /7
Length /7
2 × Length /7
Length /5
Where each of the
measured lines cross,
you have a possible
speaker position.
• Tilting; Optimizing the midrange character: Use the guidelines from the “Setting
Up” section to adjust the tilt of the speakers.
Adjustments of the tilt of the speaker will have
the following sonic effect:
By tilting the speaker towards the front,
i.e. leaning more forward, the midrange character will be more aggressive or “forward”.
By tilting the speaker towards the back,
i.e. leaning more backwards, the speaker will
be less aggressive or “laid back”. Fine trim the
speaker tilt to optimize the midrange character.
You have 6 possible listening positions
Length /3
Length /5
2 × Length /5
Length /7
2 × Length /7
3 × Length /7
M®inenT User manual – M3, M5 & M7 Speakers
5
Page 6

• Toe-in: Optimizing the tweeter character:
You have chosen to setup using the “Regular”
or the “Narrow Room” setup. By adjusting the
toe-in the tweeter level and character can be
optimized
• In a “perfect” acoustic environment our
speakers are designed to be listened to app
20-25 degrees off axis, which corresponds
to a normal setup with the speakers close to
pointing straight. By using toe-in the tweeter
will point more towards the listening position
thereby increasing its level, as the highest level
from the tweeter is obtained directly on axis.
• In the Regular Setup, with the tweeter
axis pointing close to straight, use toe-in to
increase the tweeter levels, and use toe-out to
decrease the tweeter levels
• In the Narrow Room Setup, The tweeter
axis is toed-in to meet in front of the listening
position. To increase the tweeter levels toe-out
the speakers, and to decrease the tweeter
levels toe-in the speakers.
Please note that the increase/decrease in
toe when using this solution is more critical
compared to using the Regular setup, only a
few degrees change of Toe will cause a great
change in subjective tweeter level.
Length /5
The optimized low
frequency speaker
location
Width /7
Less high frequency;
more toe-in
Width /7
The Narrow Room
More high frequency;
less toe-in / pointing
more directly to
the ear
The optimized
listening position
6
M®inenT User manual – M3, M5 & M7 Speakers
Page 7

Care & Maintenance
Maintaining the performance:
Over time, a mechanical connection will loosen
slightly, and will deteriorate due to atmospheric
inuence.
To keep the optimum performance, clean and
tighten the connections on a regular basis.
A clean cloth slightly soaked in spirit is recommended to clean the gold plated connections and
cables.
Maintaining the surfaces:
Clean the lacquered and fabric covered surfaces
using a clean damp cloth, or a soft brush, soaked
in a light detergent solution.
Cleaning the Drivers:
When cleaning the speaker drivers, be sure not
to apply excessive pressure, these are delicate
items and bending or deforming the diaphragms
will deteriorate the sonic performance, a soft brush
without detergent is recommended.
M®inenT User manual – M3, M5 & M7 Speakers
7
Page 8

Technical data
M®inenT 3 M®inenT 5 M®inenT 7
Construction
Bass / Mid Drivers
High Freq. Driver
Frequency Response 39 – 50000 Hz 34 – 50000 Hz 31 – 50000 Hz
Impedance
Sensitivity for 2.8V Input 88 dB 90,5 dB 90 dB
Crossover Points 2100 Hz 530 Hz & 2150 Hz 260 Hz & 2100 Hz
Size (W × H × D) mm 400 × 226 × 456 1210 × 226 × 575 1280 × 226 × 642
2 Way Impulse Optimized
Bass Reex
1 × 182mm Dynamic linear
Mid-Woofer
Transient correct 38mm
Double Diaphragm
Ring Radiator
5 Ohms nominal
minimum 4 Ohms
at 220 Hz
2 Way Added Bass Impulse
Optimized Bass Reex
1 × 182mm Dynamic Linear
Mid-Woofer &
1 × 182mm Woofer
Transient correct 38mm
Double Diaphragm
Ring Radiator
4 Ohms nominal
minimum 3,2 Ohms
at 200 Hz
3 Way Dual Bass Impulse
Optimized Bass Reex
1 × 182mm Dynamic Linear
Mid-Woofer &
2 × 182mm Woofer
Transient correct 38mm
Double Diaphragm
Ring Radiator
4 Ohms nominal
minimum 3,1 Ohms
at 240 Hz
Weight 22 Kg 34 Kg 45 Kg
www.gamutaudio.com
© GamuT Audio, All rights reserved, GamuT Audio, Siggaardsvej 2 - DK6818 Aarre - Denmark
 Loading...