

Page 1
2 43
CONTENTS
23
25
28
33
34
36
37
TRAPPED
PROLOGUE
CHARACTERS
GETTING STARTED
CONTROLS
OPTIONS
PLAYER ACTIONS
SAVE/GAME OVER
STATUS SCREEN
4
ITEM
MAP/FILE
5
LIVE SELECTION/PARTNER
7
THE MERCENARIES
9
HINTS & TIPS
12
MASCOT CAPSULE
14
17
19
Page 2
4 41
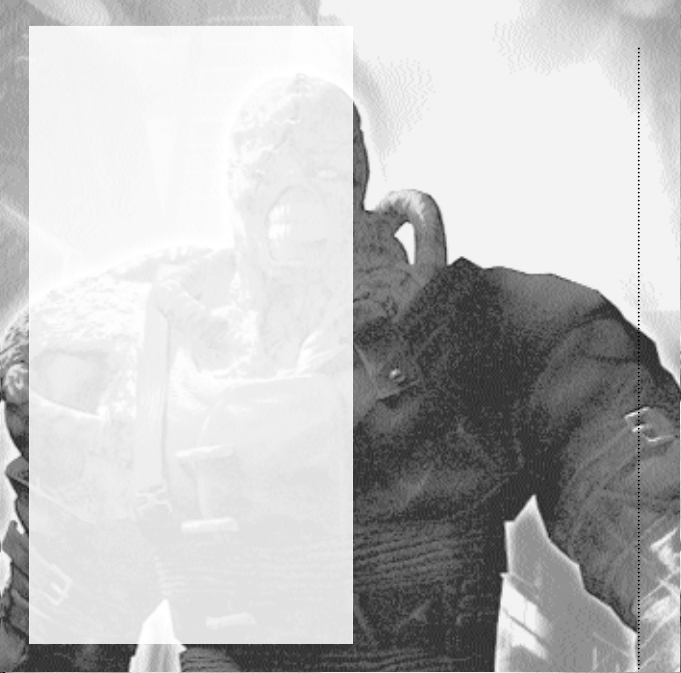
It all began as an ordinary day in
September. An ordinary day in Raccoon City,
a city controlled by Umbrella Corporation.
No one dared to oppose Umbrella, and that
lack of strength would ultimately lead to
the city's destruction.
If only they had the courage to fight...
Once the wheels of justice begin to turn,
nothing can stop them - nothing! But it may
already be too late.
Now it's Raccoon City's last chance and
my last chance ...
My last escape ...
Page 3
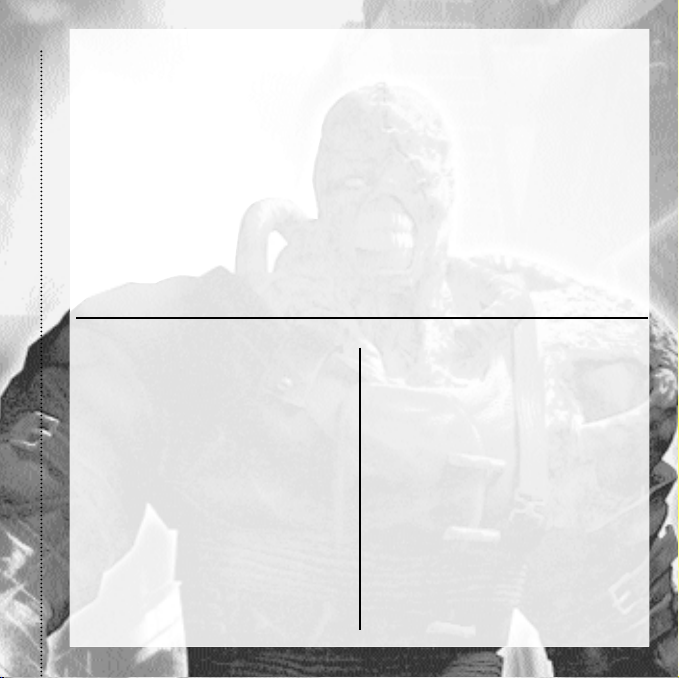
PROLOGUE
A month and a half have passed since the
incident...
September has come to Raccoon City, a
small industrial city in the American
Midwest. People are starting to forget the
chaos at the mansion as their everyday lives
return to normal. The bizarre incident that
occurred in the Arclay Mountains, the
destruction of the special taskforce
S.T.A.R.S., Umbrella corporation's secret
biological weapons laboratory hidden in
an old mansion, the power of T-Virus that
turns humans and animals into horrible
monsters ... how could it all happen here?
People could not believe the survivors'
reports. Stories of their incredible
experiences and of strange biological
weapons and zombies were beyond the
townsfolks' imagination. The surviving
S.T.A.R.S. team members headed to Europe
even before the town heard the full details
of what had happened.
Page 4
6 39
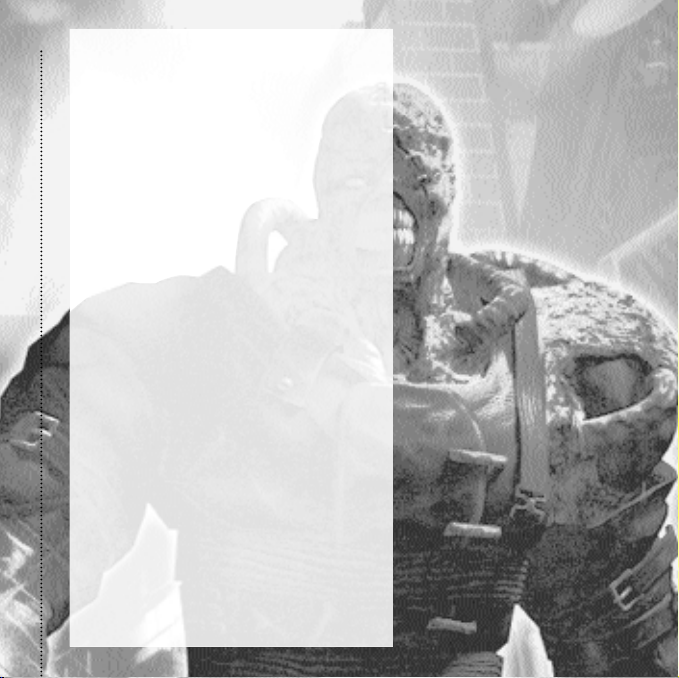
They hoped it was all over. But then it
happened again. Suddenly, a series of
inexplicable murders occurred and a
strange disease began invading
neighbourhoods.
T-Virus was flowing into the city ...
The invisible plague snuck up silently and
turned the unsuspecting citizens into
monsters.
People cursed their foolishness. But the
nightmare had already begun ...
The future was out of their control.
Raccoon City was on the brink of
collapse ...
Page 5
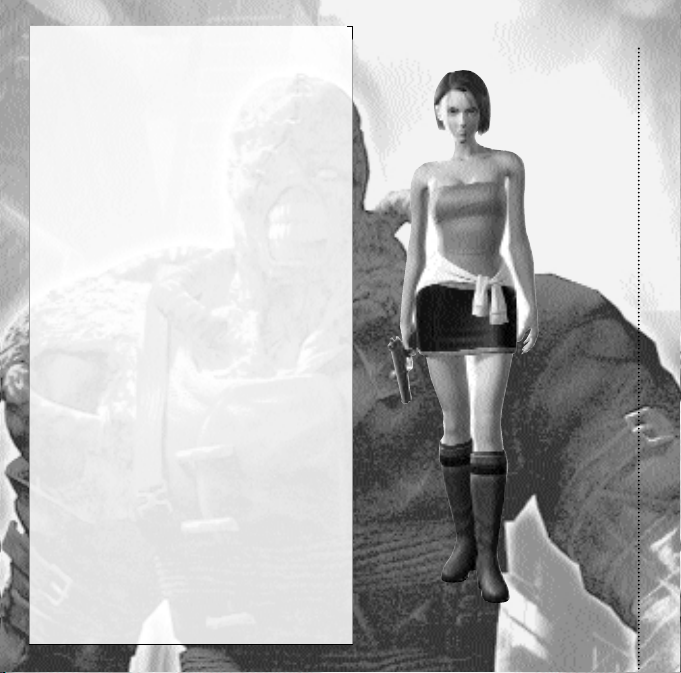
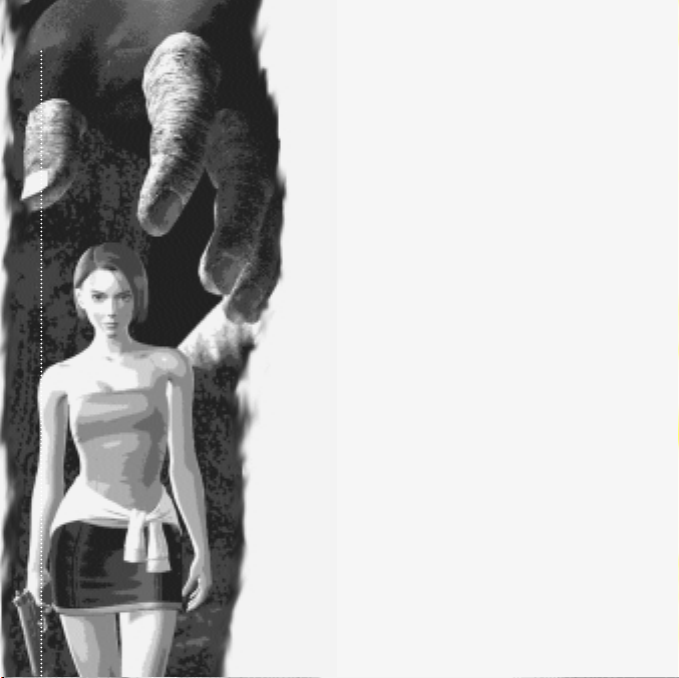
CHARACTERS
JJIILLLL VVAALLEENNTTIINNEE
Age/23 Blood type/B
Height/166 Weight/49kg
Jill is a member of S.T.A.R.S., a special
taskforce in the Raccoon City Police
Department. She is a specialist in
disarming explosive traps. With her
experience training in the U.S. Delta Force,
she is one of the survivors of the original
incident that occurred in the Arclay
Mountains. Cheerful and independent, Jill
has a strong sense of justice. Though she
has a healthy emotional side, she is a
talented woman with strong will and
excellent judgment.
S.T.A.R.S
Special Tactics and Rescue Service
S.T.A.R.S, was founded under the
jurisdiction of the Raccoon City Police
Department to deal with increasing
terrorism and crime.
Page 6
8 37
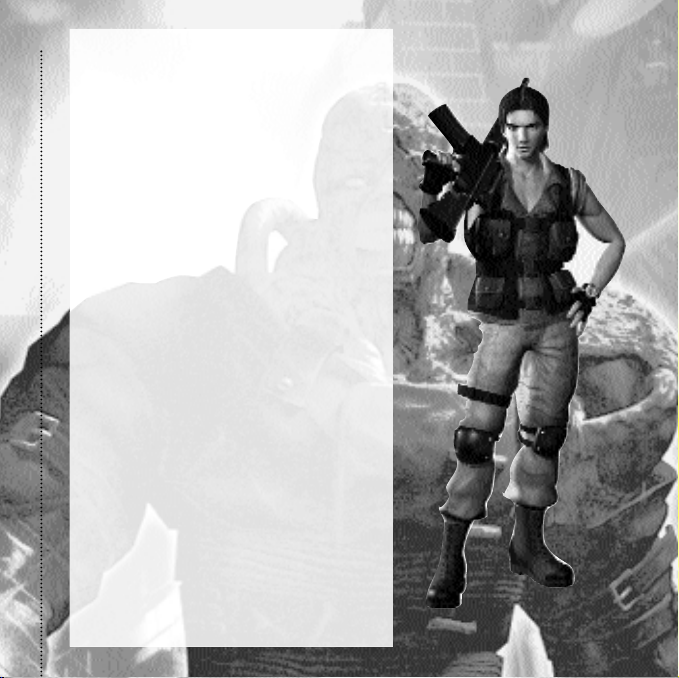
CARLOS OLIVEIRA
Age/21 Blood type/0
Heiqht/182cm Weight/83kg
Carlos is from South America. His exact
nationality is unknown but he carries Indian
blood. He is a U.B.C.S. soldier, in charge of
heavy firearms, security and mission back-
up. He is also responsible for weapons
maintenance. At first sight he may appear
inexperienced and immature. He is actually
warm-hearted, with a strong sense of right
and wrong.
U.B.C.S
Umbrella Biohazard Countermeasure
Service
Formed separately from Umbrella's special
taskforce, U.B.C.S. is a rescue force
comprised mainly of war criminals and
exiled soldiers. Though the team has a high
mortality rate, it has been very successful
in crucial rescue missions.
Page 7
9
GETTING STARTED
When "Run Resident Evil 3" is selected from the
launcher, a introduction movie will be displayed
on the screen. Press the Accept Button (joypad
X/Keyboard M) to skip the movie to the title
screen.
NEW GAME
Start a NEW GAME from the Main Menu. You
can choose to play your game in HARD or EASY
MODE.
- HARD MODE - More difficult challenge.
- EASY MODE - Less challenging play.
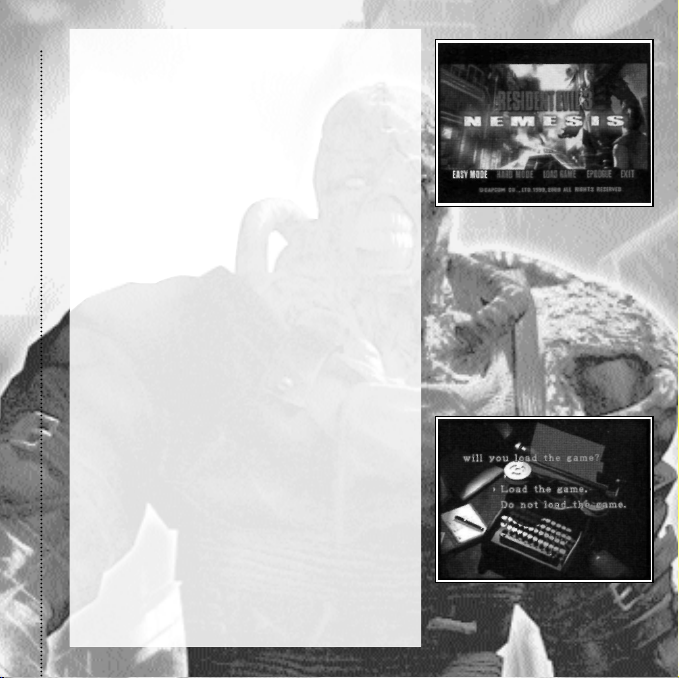
LOAD GAME
Select "LOAD GAME" from the title screen
when restarting a previously saved game.
You will then see a Load Screen. Select the
desired save game to continue that game.
Page 8
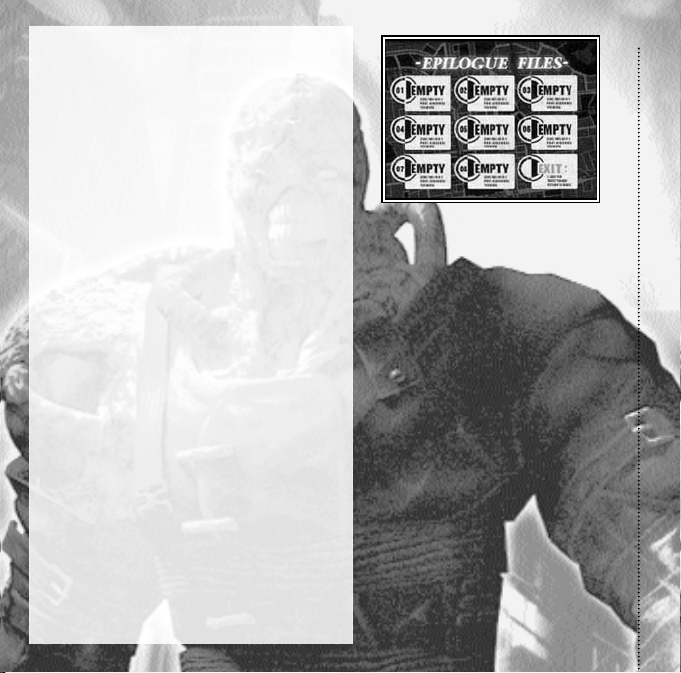
EPILOGUE
Allows you to access the epilogues of the
characters from the Resident Evil series,
starting with Jill. There are 8 epilogues in
all and the number of epilogues that you
can access increases as the number of your
completed game increases.
EXIT
Quits the game and returns to the
launcher/desktop.
Page 9
12 31
TR
CON OLS
JOYPAD
This control setup is the default setup for the
Microsoft ® SideWinder® Joypad. However, the
game can be played with other joypads.
DIRECTIONAL BUTTONS
Up
Down
Right
Left
Move Forward
Move Backward
Turn Right
Turn Left
L Button
R Button
Change Target
While aiming with the R
Button, press this button to
change target
Draw Weapon (towards
enemies only)
Hold down this button and
press Select/Action Button
to attack
Note:0nly when a weapon is
equipped.
Page 10

X Button
Y Button
Z Button
A Button
B Button
C Button
KEYBOARD
Cursor Keys
Up
Down
Right
Left
View Map / Select
Different Maps
Select Tarqetable Objects
Not Used
Select /Action (Accept,
Examine, Attack [while
pressing R button])/ Zoom
In/Out Map
Cancel /Run (To run, hold
down this button whilst
using the directional
buttons.)
Toggle Status Screen
Move Forward
Move Backward
Turn Right
Turn Left
Page 11
14 29
Space, Enter, C
Esc, V
B
S
X
Z
M
Numeric Keypad
8
2
6
4
Function Keys
F1
F4
F5
F6
F8
F9
Select/Action/Map (Zoom In/Out)
Cancel/Run
Change Target
Draw Weapon (towards enemies only)
Draw Weapon
(towards all targetable objects)
Toggle Status Screen
Display Map, Press M again to view map list.
Move Forward
Move Backward
Turn Right
Turn Left
About Resident Evil 3
Toggle Status Screen
OPTIONS
Display Map
Toggle between Window Mode and Full Screen
Mode
Quit game
Page 12

OPTIONS
While playing the game, press F5 on the
keyboard to display the OPTIONS menu. The
OPTIONS consists of the following setup tabs:
Video, Audio, Keyboard, Game Controller and
Others.
VIDEO
Allows you to change the settings in the VIEW
MODE.
AUDIO
Allows you to change the SOUND and BGM
settings.
KEYBOARD
Allows you to check and change the
configuration for your keyboard.
Right-click to change each setting.
CONTROLS
Allows you to check and change the
configuration of the game controller.
Right-click to change each setting.
OTHERS
Allows you to check and change other settings
Page 13

16 27
RESET TO DEFAULT SETTING
Click on "Reset to Default Setting to (320 x 240,
16 bit colour full screen" in the launcher in order
to reset the setting.
When the setup is restored to its default setting,
click on "OK" to exit.
Page 14

PLAYER ACTIONS
BASIC ACTIONS
- ATTACK
Press down the Draw Weapon button
(Keyboard X / joypad R), and the
Select/Action Button (Space, Enter,
joypad A.)
When the player has a weapon equipped,
he/she can "Attack". Press the
directional UP or DOWN Arrow keys to
aim the weapon up or down while
pressing the Draw Weapon button.
- PUSH OBJECTS
Hold down the directional UP Arrow key.
Some objects can be moved by pushing
them. Face the object you want to move
and hold down the directional key. If the
object cannot be moved, your character
will not make a move to push it.
Page 15

18
- CLIMB/DESCEND STAIRS
Hold down the directional key (UP Arrow)
and press the Select/Action key
(Keyboard Space, Enter, or
C/joypad A)
Press the directional UP Arrow key and
the Select/Action key to climb up or to
go down stairs. If the place where you
are located does not allow you to go up
or down, the character will not make the
move to do so.
ADVANCED ACTIONS
The below actions are all advanced actions.
Depending on where you use these advanced
actions, you will be able to proceed through
the game with an advantage.
Page 16

- DODGE
Press the Draw Weapon key (Keyboard
X/joypad R) the moment an enemy
attacks you.
Note: You cannot dodge when you are
severely injured.
Attack.. Press the Select/Action key
(Keyboard Space, Enter, or C/joypad A)
while holding down Keyboard X/joypad R.
Dodge attacks
Draw Weapon... Hold down Keyboard
X/Game Pad R.
When an enemy grabs your character or
your character is down, you can escape
more quickly by rapidly pressing the
directional keys and a button such as the
Select/Action button (Keyboard Space,
Enter, or C/joypad A), Cancel key
(Keyboard Esc or V/joypad B), Draw
Weapon key (Keyboard X or S/joypad R),
or Change Target key (Keyboard B/Game
Pad L).
Quickly press the keys repeatedly.
19
Dodge attacks.
Tap the buttons repeatedly.
Page 17

20
- QUICK 180 DEGREES TURN
Press the Cancel button (Keyboard Esc or
V/ joypad B) while moving backwards
(and pressing the directional Down Arrow
key) to turn 180 degrees.
- ATTACK OBJECTS
In some areas of the game, certain
objects can be used to attack enemies by
shooting at the objects. These objects
are called Attack objects.
When drawing a weapon towards all
targetable objects with the Keyboard S
key, you will be able to search for
targets according to their order of
priority. This can prove to be very useful
against enemies.
Oil drum (Attack object)
Page 18

SAVE/GAME OVER
SAVE
To save game data, you must place an ink
ribbon into a typewriter. Ink ribbons and
typewriters can be found in various places
throughout the game.
Once you have found an "ink ribbon", stand
in front of the typewriter and press the
Select/Action button (Keyboard Space,
Enter, or C/joypad A). You will be asked if
you want to save your progress. Choose YES
or NO and follow the instructions on the
screen.
Note: You will need to find an ink ribbon
each time you want to save, so use your ink
ribbons wisely.
To continue a previously saved game, select
LOAD GAME from the title screen.
Note: If you overwrite an old game with a
new game, the old game will be deleted.
Page 19

22 21
GAME OVER
The player can be injured if attacked by any
enemy. Depending on the degree of injury
the player receives, the player's move will
change.
The degree of injury can be checked against
the electrocardiogram found in the Game
screen and Status screen. If a certain
amount of damage is accumulated, the
player will die and the game is over.
The game will also end when your partner
dies.
Page 20

STATUS SCREEN
Pres
s the Statu
displa
y th
item
s he/sh
(Keyboar
screen
.
e Statu
e i
d Esc
s
Scree
s screen
s carrying
, V/joypa
n Toggl
. Thi
. T
o exit th
d B
) or selec
e key
s scree
(Keyboar
n show
e Statu
t EXI
T locate
d Z/joypa
s you
s screen
d C) durin
r character'
,
press
the Cance
d a
t the
top righ
g th
e gam
s conditio
t sid
n
l ke
e of th
e to
and
y
e
PLAYE
ELECTROCARDIOGRA
R
ITE
M MESSAG
M
EQUIPPE
D WEAPO
E
ITEM COMMAND
N
GAM
E COMMAND
ITE
S
M LIS
S
T
Page 21

24 19
PLAYER
Your current character.
ELECTROCARDIOGRAM
Player's condition.
Fine Hardly injured
Danger Critical with serious wounds
Poison Poisoned
EQUIPPED WEAPON
The currently equipped weapon and the amount of ammunition that is loaded in
the weapon.
ITEM LIST
The items you currently possess.
ITEM MESSAGE
The name of the item and its description.
Page 22

ITEM COMMANDS
USE... To use the items you possess.
COMBINE...To combine items you possess.
CHECK... To examine the items you
possess.
GAME COMMANDS
FILE... Allows you to view the files you
have.
MAP... Allows you to view the rooms
and areas you have visited.
EXIT... Allows you to exit the Status
screen.
Page 23

26 17
E OPTIONEN
IT M
USE ITEM
To use an item from the item list, highlight
the item you want to use and press the
Select/Action key (Keyboard Space, Enter
or C/joypad A). You then have three options
in the command window. Select USE to use
the item.
EQUIP WEAPON
To equip a weapon, highlight the weapon
from the item list and press the
Select/Action button (Keyboard Space,
Enter or C/joypad A). Then select "EQUIP"
from the command window. To unequip a
weapon, select "EQUIP" again.
Note: You must equip a weapon before you
can use it.
Note: You can only equip one weapon at a
time.
Page 24

ITEM BOX
You will notice that your character can only
carry a limited number of items at any one
time. In order to carry the items you might
need at a certain time, you can store other
items in an item box. The item boxes are
located in various places throughout the
game.
Stand in front of the item box and press
the Select/Action button. The. 'ltem Select
screen will appear. You can exchange items,
store items or take items out of the box in
the Item Box screen. Highlight an item,
then press the Select/Action button.
Note: You cannot throw away or lose items
except for items such as ammos or keys.
Note: You can store up to 64 items in the
item box.
Page 25

28
CHECK ITEM
Use this option to examine an item or weapon
you have acquired. Highlight the item, then
select CHECK to see further information about
it. Try to check every item to find useful
information.
COMBINE ITEMS
Some items such as the weapons have a different effect or use when combined
with other items. Try combining items to discover new uses.
Open the Status screen and select the item you want to combine with the
Select/Action button (Keyboard Enter, Space or C/joypad A). Next, the item
window will appear. Select COMBINE from the command window and then select
the item you want to combine that item with.
Examples of Combining Items
Handgun + Handgun bullets You can load ammo.
Page 26

Green Herb + Red Herb
Herbs can be mixed together.
Green Herb + Red Herb has the effect of completely restoring your
character's vitality.
Herbs have various effects, depending on the combination.
You can make a Mixed Herb.
29
Page 27

30
MIXING AMMO
You can create ammo for the Handgun, Shotgun,
Magnum, and Grenade Launcher by mixing gun
powders,
Ammo can be made by combining "Gun Powder" with
"Reload Tool".
Gun Powder A + Reload Tool = Handgun Bullets.
Gun Powder B + Reload Tool = Shotgun Bullets
Combinations of "Gun Powders" can create very
powerful"Gun Powders".
Gun Powder A + Gun Powder B = Gun Powder C
Gun Powder C + Reload Tool = Grenade Rounds
Gun Powder A
Note: Grenade Rounds can be mixed with Gun Powder.
As you create bullets, your skill will improve, making
you able to create even more bullets.
Reload Tool
Page 28

A / E M P FIL
As you explore, you will acquire maps and
files. These items will be automatically stored
separately from your other items.
MAP
Select "MAP" from the Status screen to
display the "MAP screen"
(You can also get to the Map screen by
pressing M on the Keyboard or X on the
joypad.)
On outdoor maps, you can zoom in and out by
pressing the Select/Action button (Keyboard
Space, Enter, or C /joypad A). You can also
move the map up, down, right, or left with the
directional buttons.
FILE
From the Status screen, select "FILE" from
the command window to display the archived
files. Select the file whose messages you
wish to view.
Hints may develop from these notes.
Page 29

32 11
LIVE SELECTION/PARTNER
LIVE SELECTION
In-game events called Live Selection will
occur when your character faces dangerous
situations. When a Live Selection begins,
you will have the opportunity to make a
choice. Your selection will change the
direction of the story. Make sure to make
the decision carefully but quickly.
When a Live Selection occurs, the screen
will look like the screen shown to the right
and display a selection of the choices you
have. Select one choice within a limited
time.
If you do not make a choice fast enough,
you may be left in a more dangerous
situation!
Page 30

PARTNER
During the game, you may need a partner
character's help. When you are actually in
control of a partner character, the Status
screen will change accordingly. The basic
controls are the same as for your main
character.
During the game, you may be in a situation
where your character moves together with
a partner character. In this case, if the
partner character dies, the game ends.
3
Page 31

HINTS & TI S P
I CANNOT DEFEAT THE ENEMIES.
Find out what indicates that they are really dead.
When the enemies die, the enemies will collapse and you will see a pool of
blood around the corpses.
USE THE WEAPONS EFFECTIVELY.
Each weapon has its own special characteristic. Find out which weapon is
most effective against different kinds of enemies.
USE THE ATTACK OBJECTS.
If you use them well, you will be able to defeat the enemies that are
difficult to defeat.
USE "DODGE" AND "180 DEGREES QUICK TURN".
With these moves, you will be able to avoid enemy attacks more effectively.
Note: If you still cannot defeat the enemies, try running away from them.
Page 32

36 7
I CANNOT RECOVER MY HEALTH.
Try searching every corner of each stage.
You will find health recovery items such as "Herbs"
and "Aid Sprays".
I CANNOT SOLVE THE PUZZLES.
When you discover new areas, try various things.
Also, try reading the files and memos found in
rooms.
Page 33

NOTES
37
Page 34

38
NOTES SYSTEMANFORDERUNGEN
Page 35

NOTES
39
 Loading...