

Page 1
INSTALLATION INSTRUCTIONS
Product
7160-1299
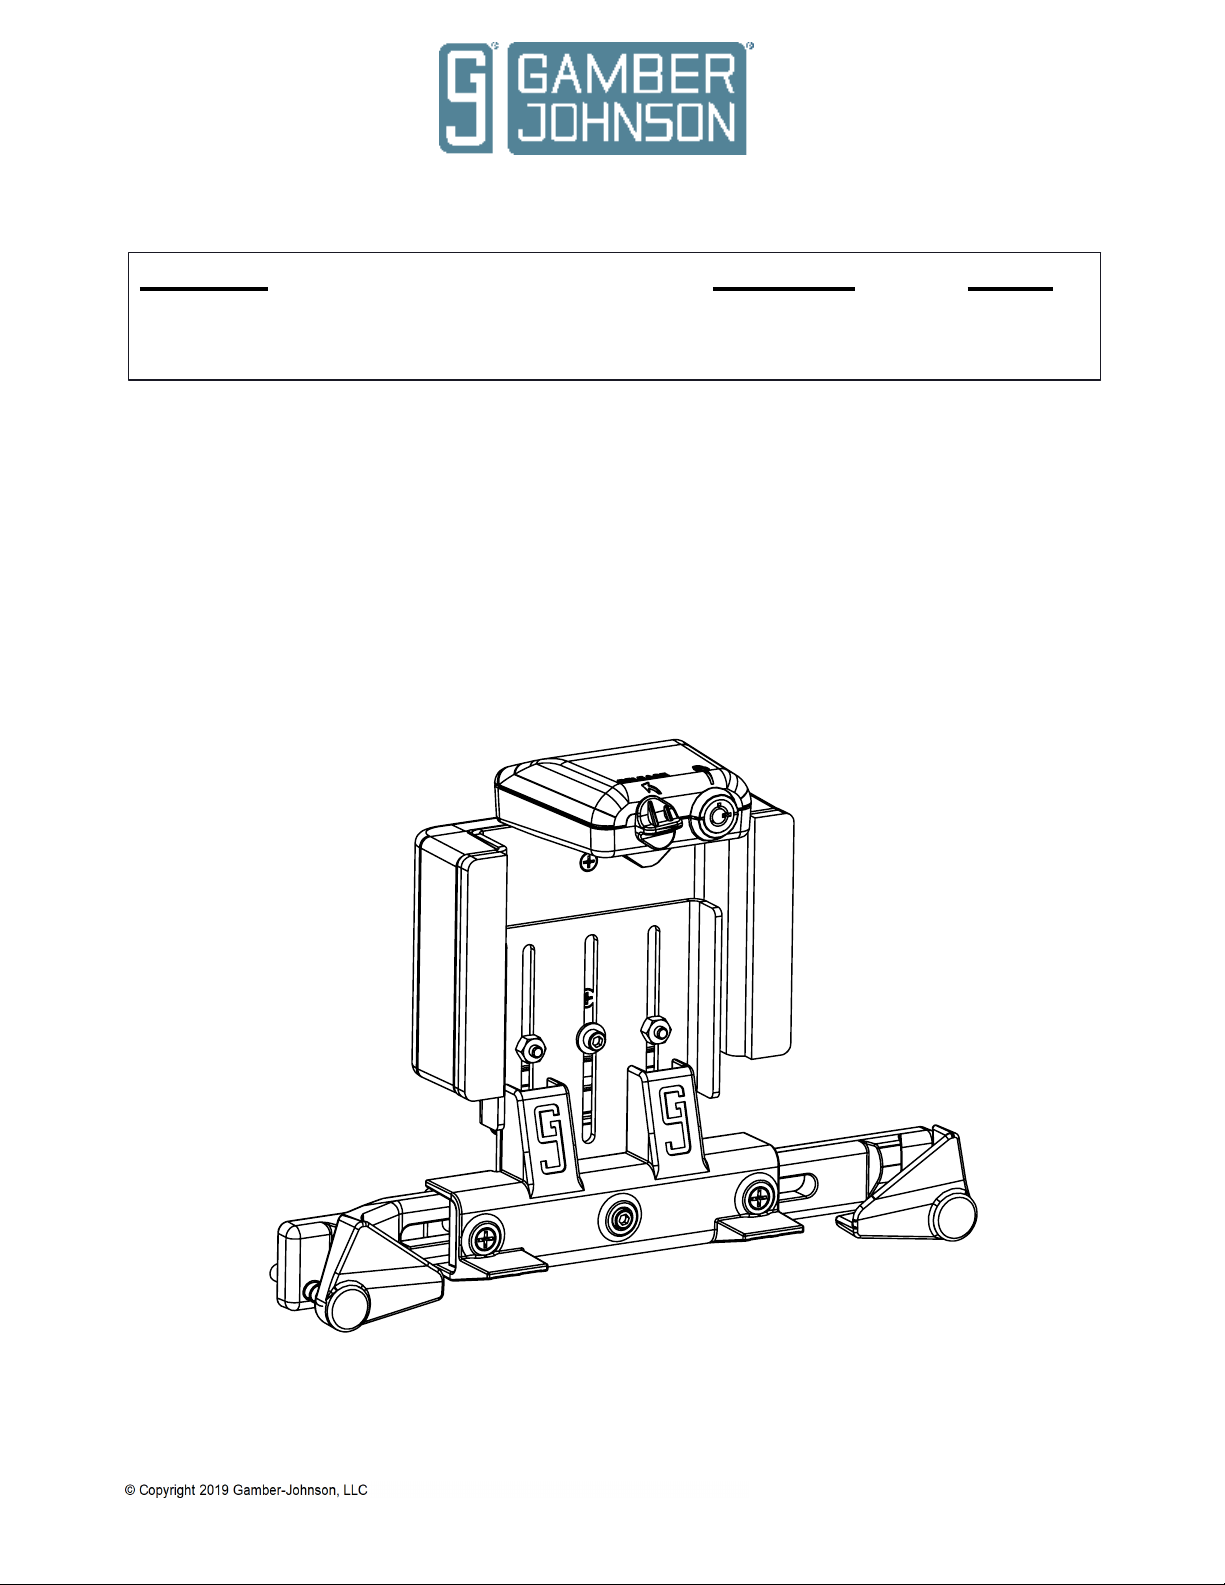
NOTEPAD TOUCH - UNIVERSAL TABLET CRADLE
TM
Revision
Rev. A
Form
INST-893
Printing Spec:
PS-001
This instruction sheet is for the NotePad Touch - Universal Tablet Cradle only. For
instructions on features, set-up, and operation of the computer, please refer to the manual
provided by tablet manufacturer.
This cradle is designed to be used with a variety of Gamber-Johnson mounting systems.
Installation instructions for other Gamber-Johnson products are provided with each individual
product.
This instruction sheet is for the following products:
Item No. 7160-1299-00
Item No. 7160-1299-10
Small
Large
Product Mounting Disclaimer
Product Mounting Disclaimer
Gamber-Johnson is not liable under any theory of contract or tort law for any loss, damage, personal injury, special, incidental or consequential damages for personal injury or other damage
Gamber-Johnson is not liable under any theory of contract or tort law for any loss, damage, personal injury, special, incidental or consequential damages for personal injury or other damage
of any nature arising directly or indirectly as a result of the improper installation or use of its products in vehicle or any other application. In order to safely install and use Gamber-Johnson
of any nature arising directly or indirectly as a result of the improper installation or use of its products in vehicle or any other application. In order to safely install and use Gamber-Johnson
products full consideration of vehicle occupants, vehicle systems (i.e., the location of fuel lines, brakes lines, electrical, drive train or other systems), air-bags and other safety equipment is
products full consideration of vehicle occupants, vehicle systems (i.e., the location of fuel lines, brakes lines, electrical, drive train or other systems), air-bags and other safety equipment is
required. Gamber-Johnson specifically disclaims any responsibility for the improper use or installation of its products not consistent with the original vehicle manufactures specifications
required. Gamber-Johnson specifically disclaims any responsibility for the improper use or installation of its products not consistent with the original vehicle manufactures specifications
and recommendations, Gamber-Johnson product instruction sheets, or workmanship standards as endorsed through the Gamber-Johnson Certified Installer Program.
and recommendations, Gamber-Johnson product instruction sheets, or workmanship standards as endorsed through the Gamber-Johnson Certified Installer Program.
If you need assistance or have questions, call Gamber-Johnson at 1-800-456-6868
1 / 6
Page 2
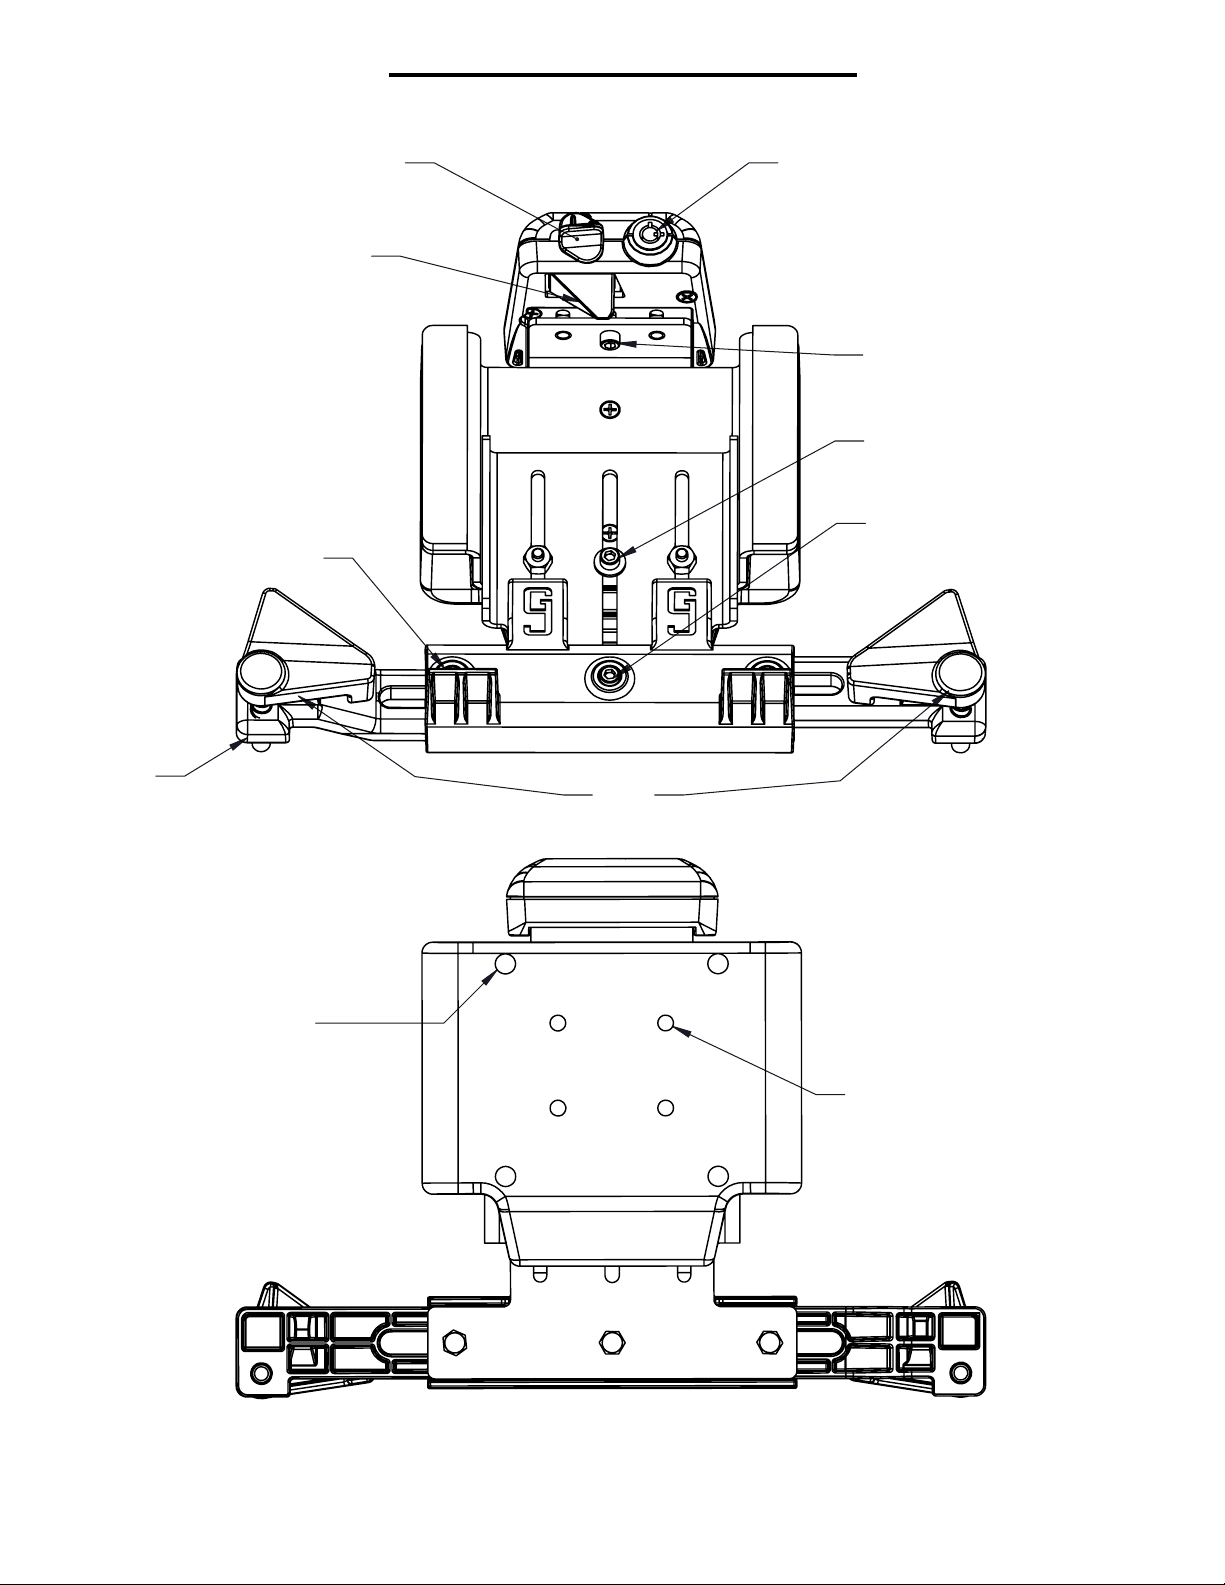
FEATURE IDENTIFICATION
Release Button
Slam Latch
Bottom Tabs
Barrel Key Lock
Adjustment Screw 1
Adjusts Slam Latch Depth
Adjustment Screw 2
Adjusts Cradle Height
Adjustment Screw 3
Adjusts Cradle Arms
Arms
VESA 75mm Mounting Pattern
1/4-20 Threads
1/4-20 x 0.500" hardware provided
Ears
AMPS Mounting Pattern
#10-32 Threads
#10-32 x 0.500" hardware provided
2 / 6
Page 3

Adjustment Instructions
All adjustments are done with a 9/64 allen wrench (provided)
*Example Using 7160-1299-00 With a 10" Tablet*
1. Loosen 3 adjustment screws and fully extend cradle
- DO NOT fully remove screws
Adjustment Screws
Ears
2. Rotate ears counter clockwise until the tablet can fit under them
- DO NOT fully remove ears
3. Place tablet in cradle and slide slam latch onto the front of the tablet
4. Hold slam latch in place and remove the tablet, tighten screw 1
- Fit check tablet
Latch Touching Tablet Face
Slam Latch
Screw 1
Tablet
3 / 6
Page 4

Adjustment Instructions
5. Place tablet in cradle and slide bottom tabs up until they contact the tablet
- Remove the tablet and tighten screw 2
- Perform a fit check
Bottom Tabs
Slide Up
Adjustment
Screw 2
6. Place tablet in cradle and slide arms in
until the ears contact the side of the tablet
- Remove the tablet and tighten screw 3
- Perform a fit check
Slide Ears In
To Contact Tablet
Adjustment
Screw 3
7. Double check the ears are at the correct depth
- Ears should be touching the front of the tablet but NOT pinching
4 / 6
Page 5

Adjustment Instructions
8. (Optional) Thread 1/4-20 nuts onto ear bolt to lock rotation
1/4-20 Lock Nuts
9. (Optional) Rotate the lock counter clockwise to lock the cradle
"Locked" Position
"Un-Locked" Position
5 / 6
Page 6

DOCKING AND UNDOCKING THE COMPUTER
OPERATION - DOCKING
1. Place the tablet into the
bottom of the cradle.
2. Rotate the tablet into the
cradle, overcoming the
resistance until the Release
Button returns to the "Latched"
position. The slam latch will
come over the front of the tablet.
There will also be an audible
confirmation as the latch system
springs downward.
3. Optional - With the dock in the
"Latched" position, turn the lock
to the "LOCKED" position
(CCW).
Insert Bottom First
Rotate Top
OPERATION - UNDOCKING
1. Turn the lock to the
"UNLOCKED" position (CW).
2. With your hand on the top of
the tablet, push up on the blue
Release Button until the
computer is free to move forward.
While the dock is "Un-Latched",
rotate the tablet forward to clear
the Slam Latch. This can be done
right or left handed.
3. Pull the tablet up to remove it
from the cradle.
6 / 6
 Loading...