

Page 1
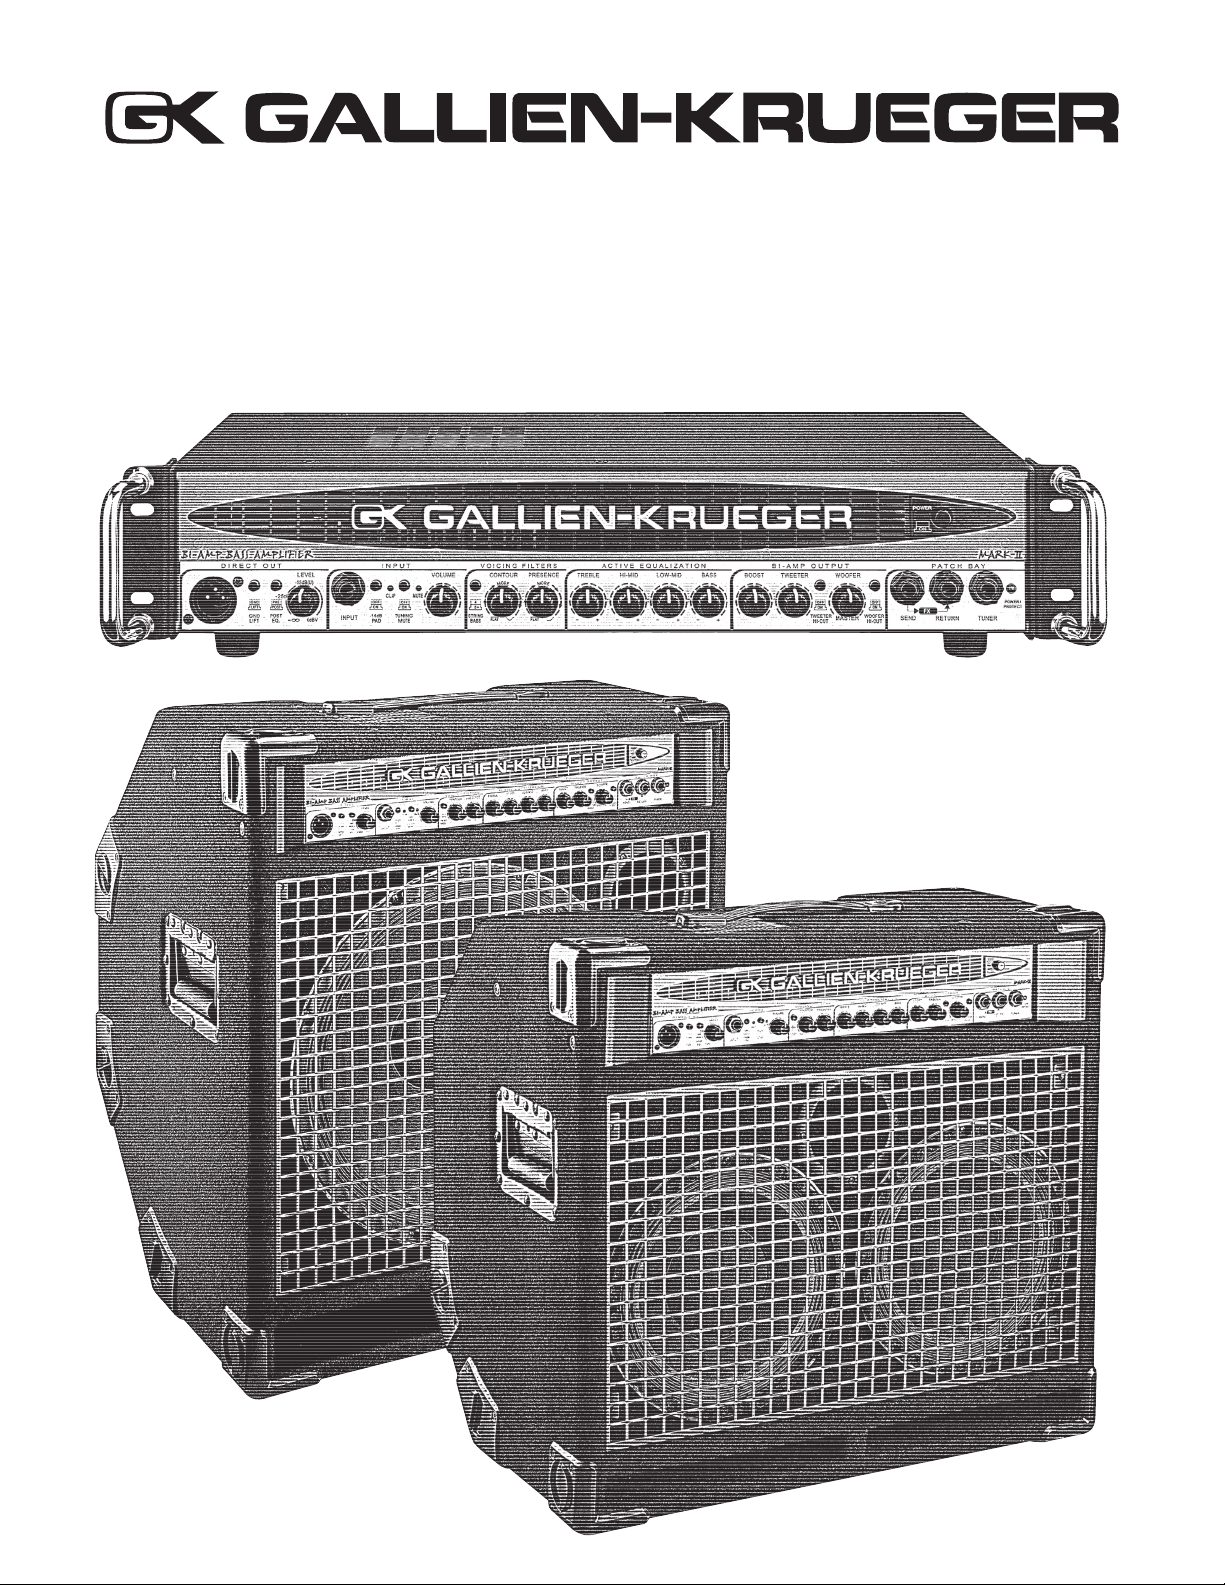
700RB-II & 1001RB-II
Owner’s Manual
Page 2
Congratulations
Your purchase of a new Gallien-Krueger amplifier is
surely the result of much careful consideration on your
part. For our part, we at Gallien-Krueger are pleased
that you chose us, and are determined that you will
be a satisfied customer. In choosing GK, you now
own an amplifier with many unique features which
will allow you to create your own distinct sound.
To get the most out of your new amplifier please take
Introduction
a few minutes to read through this manual. If you
are in a hurry, we suggest you at least read through
the Quick Start section before setting up your new
rig. This will help get you started and give you a
few quick tips, but is not a substitute for reading the
rest of the manual.
Your amplifier should have come with the following
items, please check the contents of the box to ensure
that you have everything.
Included with the 1001RB-II or 700RB-II Head:
Rack mount Ears with Hardware 2
Power Cord 1
Owner’s Manual 1
Warranty Card 1
Safety Instructions Sheet 1
Included with the 1001RB-II or 700RB-II Combo:
Power Cord 1
Owner’s Manual 1
Warranty Card 1
Safety Instructions Sheet 1
700RB-II & 1001RB-II
Always Listening
I have never seen the point in doing things the way
others have done them. I also have not been very
interested in following the latest fad. I’m a Stanford
educated engineer who worked my way through
school as a musician. Like all musicians, I have
lugged amplifiers up stairways and into car trunks,
always wondering why these things had to be so
heavy, bulky, and hard to handle.
As I am the principal innovator at GK, our products
reflect my attitudes and life experiences. I don’t
mod el my desig ns after other ma nufacturers’
products. Instead, I believe new and old problems
are best solved with new solutions. Having taken our
own path, GK products enjoy a unique, unmatched
sound, allowing you every opportunity to make an
original statement.
If your amplifier did not come with all the items listed,
or if you encounter problems while setting up your
new equipment, please contact your local dealer or
GK as soon as possible.
Gallien-Krueger, Inc.
2234 Industrial Drive
Stockton, CA 95206
phone: (209) 234-7300
fax: (209) 234-8420
Internet: www.gallien-krueger.com
Email: info@gallien.com
Having supported my products for over thirty years, I
have learned from the story they tell. Gallien-Krueger
is a reflection of that story, and has a commitment
to support that legacy. Just as the products I created
over thirty five years ago are still telling their story,
the products we create today will be talking to us
tomorrow.
We’ll be listening,
Robert Gallien
2
Page 3
700RB-II & 1001RB-II
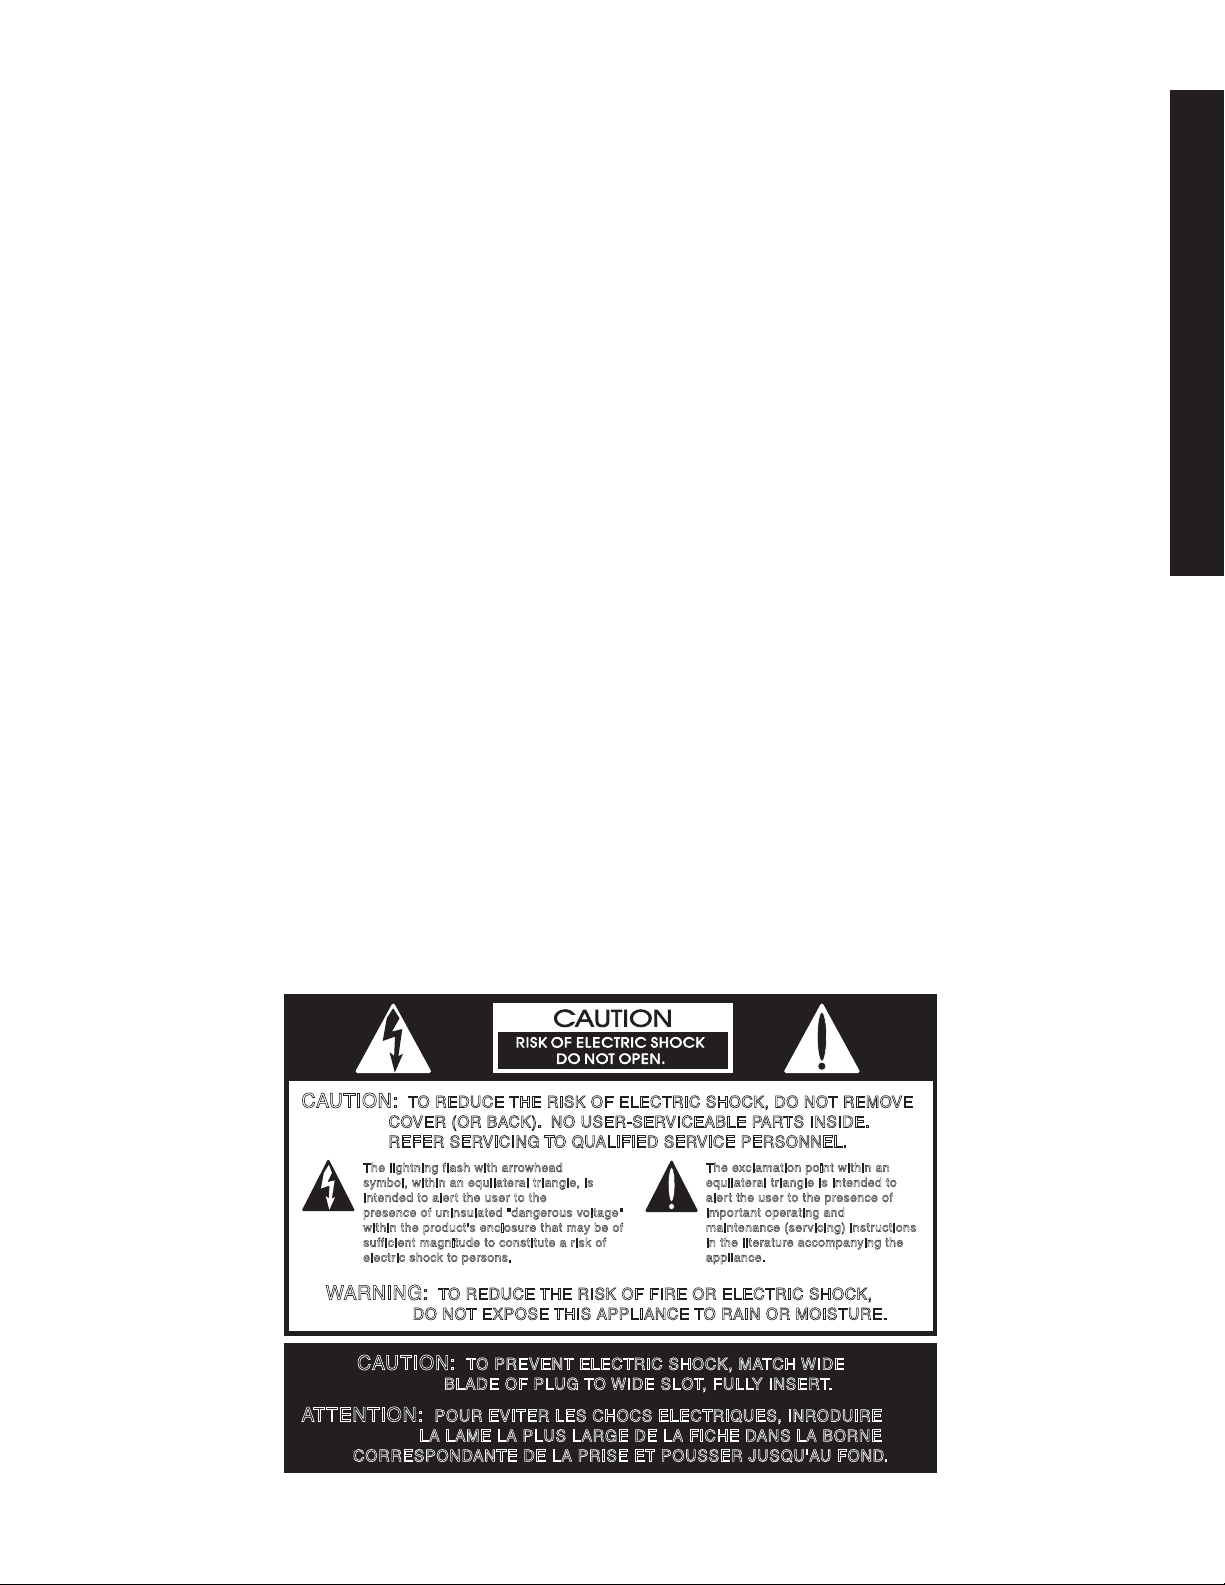
CA
UTION:
T
O REDUCE
THE RISK OF ELECTRIC SHOCK, DO NO
T REMO
VE
CO
VER (OR BA
CK).
NO USER-SER
VICEABLE P
AR
TS INSIDE.
REFER SER
VICING
T
O Q
U
ALIFIED SER
VICE PERSONNEL.
CA
UTION:
T
O PREVE NT ELECTRIC SHOCK, MA
TCH
WIDE
BLADE O F PLUG
T
O
WIDE SL O
T
, FULL
Y INSER
T
.
A
TTENTION:
POUR E VITER LES C HOCS ELECTR IQ
UES
, INR
ODUIRE
L A LAME LA P LUS LARGE D E LA FICHE D
ANS LA BORNE
CORRESPO ND
ANTE DE LA PRISE E T POUSSER J USQ
U'A
U FOND
.
W
ARNING:
T
O REDUCE
THE RISK OF FIRE OR ELECTRIC SHOCK,
DO NO
T EXPOSE
THIS APPLIANCE
T
O RAIN OR MOISTURE.
The lig htning flas h w ith arro
whe ad
sym bol, within an equ ilat er
al tr
ian gle
, i s
int ende d to al er
t t he u ser to the
pre senc e of un insu lat ed " dangero us v
olt age"
wit hin the pro duct 's encl osure t hat ma
y b e of
suf fici ent mag nitu de to c onstitu te a r
isk of
ele ctr
ic shoc
k t o pe rsons
.
The e
xcl amat ion poi nt w ith in a n
equ ilat er
al tr
ian gle is inte nded to
ale r
t t he u ser to the pre senc e of
imp or
tan t op er
ati ng a nd
mai nten ance (s er
vic ing) instr
uct ions
in the liter
atu re a ccompan
yin g th e
app lian ce
.
Table Of Contents
S a f e t y I n f o r m a t i o n . . . . . . . . . . . . . . . . . . . . . . . . . . . . . . . . . . . 4
Q u i c k S t a r t . . . . . . . . . . . . . . . . . . . . . . . . . . . . . . . . . . . . . . . . . . . . . 5
F r o n t P a n e l C o n t r o l s . . . . . . . . . . . . . . . . . . . . . . . . . . . . . . . . . 6
R e a r P a n e l C o n t ro l s . . . . . . . . . . . . . . . . . . . . . . . . . . . . . . . . . . 7
H o r n B i - A m p S y s t e m . . . . . . . . . . . . . . . . . . . . . . . . . . . . . . . . . 8
S a m p l e S e t t i n g s . . . . . . . . . . . . . . . . . . . . . . . . . . . . . . . . . . . . . . . . 9
Te c h Ta l k . . . . . . . . . . . . . . . . . . .. .. .. .. .. . . . . . . . . . . . . . . . . 1 0
S p e c i f i c a t i o n s . . . . . . . . . . . . . . . . . . . . . . . . . . . . . . . . . . . . . . 1 2
Warning!
This amplifier is capable of producing high sound
pressure levels. Continued exposure to high SPL’s
can cause dameage to your hearing. Always set
the volume at a safe listening level or use hearing
protection if the unit is operated at higher levels.
Table of Contents
Page 4

Safety Information
700RB-II & 1001RB-II
Please read all enclosed safety precautions before
connecting or operating this product.
Verify Line Voltage and Amperage: Your new
amplifier has been factory configured for use with
the following:
120 Volt/60Hz 15 A circuit for USA/Canada.
230 Volt/50Hz 10 A circuit for UK/Australia.
240 Volt/50Hz 10 A circuit for Europe.
100 Volt/50Hz 15 A circuit for Japan.
Safety Information
220 Volt/50Hz 10 A circuit for Korea.
Verify AC Circuit Capacity Before Use: The high
power output of your amplifier may require heavy
current draw under full-load conditions. Connecting
the amplifier to a line with specifications other than
indicated above can create a safety or fire hazard and
may damage the amplifier. Connecting to the same
circuit used by other heavy-power devices, such
as high-wattage lights, may cause circuit breakers to
trip. It is always a good idea to avoid using any audio
equipment on the same AC circuit as equipment with
motors, such as air conditioners or refrigerators. This
will lessen the possibility of power variation and elec
trical start-up noise affecting your sound.
AC Power Cord: To avoid safety hazards, use only
the power cord supplied with your unit. If a replacement
cord is needed, make certain to use a standard IEC
compliant cord. Damaged power cords should be
replaced immediately. When setting up, make certain
that the AC plug is easily accessible. If you do not intend
to use the amplifier for a considerable length of time,
disconnect the plug from the AC Mains Socket.
Earth Grounding Connection: To prevent electric
shock, do not remove the grounding plug on the power
cord, or use any plug or extension cord that does not
have a grounding plug provided. Make certain that
the AC outlet is properly grounded as well. Do not
use an adapter plug with this product.
Do Not Open the Amplifier Enclosure:
are no user-serviceable parts inside this product.
Opening the amplifier enclosure may present a shock
hazard. Modification to the product will void your
warranty. If liquid enters the unit, or any metal
object such as a paper clip accidentally falls inside
the enclosure, disconnect the unit from the AC power
source immediately and consult an authorized service
station.
Setup: To insure proper operation and to avoid
potential safety hazards, place the unit on a firm, level
surface. Do not plug or unplug the instrument or
speaker cable while the amplifier power is on.
Heat & Ventilation: For proper ventilation, make
sure there is at least 8” of clearance above the unit
for combos and 1.75” (one rack space) of clearance
above the unit for heads. Avoid using in extremely
hot or cold locations and areas that are exposed to
direct sunlight or near heating equipment. Avoid using
in moist or high humidity areas.
Cleaning & Maintenance: Clean only with a dry
-
cloth. Never use benzene, thinner, alcohol, or other
volatile cleaning agents. Do not use abrasive cleaners,
as they may damage the finish of metal parts. Avoid
spraying inse cticides near the unit . No other
maintenance should be necessary.
Traveling: If Traveling with the unit frequently, we
recommend a road case or cover to protect it from
scratches and road wear.
Packaging: The carton and packing materials used in
shipping your new amplifier were specifically designed
to cushion it from the shocks and vibration that occur
during transport. We suggest that you save the carton
and packing materials for use in shipping, in the event
you move, or the amplifier needs repair.
There
4
Page 5

700RB-II & 1001RB-II
Quick Start
Plug It In: Set the power switch to Off and con-
nect the supplied power cord to the amplifi er’s AC
receptacle and an AC power outlet of proper voltage
(see safety information on page 4 for details).
External Cabinets: If using an external speaker
cabinet, connect it to the free speaker output. If you
are using two 8 ohm or one 4 ohm external cabinet
with a combo amplifi er, disconnect the internal speaker.
Be sure not to exceed the recommended speaker load
below.
Maximum Recommended Speaker Loads:
EXTERNAL TOTAL
CABINET(S) LOAD
1 x 8 ohm = 8 ohms
1 x 8 ohm = 4 ohms
1 x 4 ohm = 4 ohms
2 x 8 ohm = 4 ohms
The internal speaker load for both the 210 and 115
combos is 8 ohms. You may disconnect the internal
speakers from the back of the head if you wish to run
one 4 ohm or two 8 ohm external cabinets.
Note: If you are using a GK Horn Bi-Amp compatible
speaker cabinet, set it to Bi-Amp using the switch on
the back of the cabinet. (See Page 8 for more details
on GK’s Horn Bi-Amp System)
Combo Features
Speaker Confi gurations: The 1001RB-II and 700RB-
II combos are loaded with GK’s own Paragon custom
ferrite loudspeakers.
1001RB-II/115 or 700RB-II/115
One 8 ohm 15” speaker plus horn
1001RB-II/210 or 700RB-II/210
Two 16 ohm 10” speakers plus horn
Rock-Back Design: For practicing or close monitoring situations, tilt the cabinet back into its Rock-Back
positon. For stronger lowend response and audience
projection, use the combo in the upright position.
Lock N’ Roll Transport System:
Roll transport system is designed for quick and
easy rolling of the combo on fl at surfaces such
as carpet, fl ooring, pavement, etc. To engage
the lock and roll handle, slide the locking latch
(below the handle) to the right, and lift the handle
up until it stops. Let go of the locking latch and
the handle will lock into place. Tilt the combo
back and you’re ready to go. The 3” wheels on the
bottom of the cabinet will automatically engage
and allow for smooth rolling.
Note: Never lift the amplifi er by the Lock N’ Roll
handle. It will bend. Instead use the spring-loaded
handles on the sides of the combo amplifi er.
The Lock N’
Quick Start
Initial Front Panel Control Settings: Set all EQ
controls and the Boost control to 12 o’clock. The
Voicing Filters should be turned all the way down to
get a fl at response. Set the Input and Master Volumes
at 0.
Connect Your Bass: Using an instrument (shielded)
cable, connect your bass to the Input jack and press
the power switch on.
Input and Master Volume Settings: Set the
master to 12 o’clock then gradually increase the
preamp volume control to a comfortable listening
level. If the Clip LED by the input jack lights up while
playing, engage the -14dB Pad button.
Page 6

Front Panel Features
171110987654321 12 13 14 15 16 18 19 20 21 22 232524
Front Panel Features
700RB-II & 1001RB-II
1) Balanced Direct Out: An electronically balanced
low impedance output that you can run to your P.A.
system via a mic cable.
2) Ground/Lift: Used to eliminate hum when
connnecting to equipment that is running on a
different ground system.
3) Pre/Post EQ Button: Sets the Direct Out signal
before or after the EQ.
4) Direct Out Level: Controls the output level of
the Direct Out.
5) Input: A standard ¼” input jack to plug
in active or passive basses using an instrument
(shielded) cable.
6) -14dB Pad & Clip LED: Reduces the input
signal from your bass. Press in if the Clip LED lights
up excessively
7) Tuning Mute Button: Mutes all output signals
except for the Tuner output. LED turns on when
“Tuning Mute” is engaged.
8) Volume: Sets the pre-amp gain after the input
stage.
9) 4/5 String Bass: When engaged, this extends the
low frequency range.
10) Contour: Cuts the mid-range frequencies while
boosting lows & highs.
11) Presence: Adds edge and definition to higher
frequencies.
12) Treble: Active shelving type control which
boosts and cuts the high frequencies.
13) High Mid: Active bandpass type control which
boosts and cuts at about 1kHz.
14) Low Mid: Active bandpass type control which
boosts and cuts at about 250Hz.
15) Bass: Active shelving type control which boosts
and cuts the low frequencies.
16) Boost: A post EQ gain stage using GK’s exclusive
Valve Effect technology, which adds ‘growl’ as it is
turned up.
17) Tweeter: Master volume control for the 50 watt
horn amp. Output signal is 5kHz and above.
18) Tweeter Hi-Cut: Cuts frequencies above
10kHz, which is useful for reducing hiss from the
tweeter.
19) Woofer/Master: Master volume control
for the woofer (Main) amplifier. Output signal is
full-range.
6
Page 7

700RB-II & 1001RB-II
321
Rear Panel Features
Rear Panel Features
20) Woofer Hi-Cut: Cuts frequencies above 5kHz
from the Woofer output.
21) Effects Send: When used, the signal path is
in-series, meaning all of the signal goes through the
Effects Loop.
22) Effects Return: Returns the Effects Loop signal
to the signal path. May also be used as a secondary
input for another instrument or CD player. The preamp
signal is not interupted if the Send jack is not used.
23) Tuner Out: Parallel output comes directly off
of the input stage. Unaffected by the Mute button or
any of the preamp functions.
24) Power/Protect LED: The LED will be red for
5 seconds during power-up, then turns blue when the
amp is ready. Should a fault occur, the amp will mute
and the LED will turn red until the fault is corrected.
23) Power On/Off Button: If you’re not sure what
this does, you should probably not be operating
electronic equipment.
1) AC Receptacle: Standard IEC Receptacle. The
power cord plugs in here.
2) 700W or 480W Amp Only: ¼” speaker output
jacks. Impedances Lower than 4 Ohms should not be
used. Higher impedances such as 8 Ohms, 16 Ohms,
or No Load are acceptable. One 4 Ohm, one 8 Ohm,
or two 8 Ohm cabinets are okay. One 4 Ohm and one
8 Ohm together is not recommended. The internal
speakers equal an 8 Ohm load. No damage will
result from operating the amplifier with the speakers
disconnected.
Speakon Outputs: High current twist-lock Speakon
3)
output connectors. Pins 1+ and 1- send a fullrange
signal from the Main (Woofer) amplifier. Pins 2+ and
2- send a signal 5kHz and above from the Tweeter
amplifier. Use a four-conductor Speakon cable when
connected to a GK Horn Bi-Amp compatible speaker
cabinet. Use a standard two-conductor Speakon cable
when connected to a non-GK cabinet or if you’re using
a Speakon to ¼” adapter. See Horn Bi-Amp System
on page 8 for more information.
Caution:
Do not connect a Speakon cable labeled “Bridge
Mode” to the Speakon Outputs. This may
result in damage to the amplifier.
Page 8

Horn Bi-Amp System:
Your amplifier incorporates GK’s unique Horn Bi-Amp System. This feature is automatically engaged
when you connect to a GK HBA compatible enclosure, giving you completely independent control of
the tweeter and woofer signals. Now you can push the woofers to the max while the tweeter remains
clean, crisp, and free of clipping distortion. A smooth tight tone is easily dialed in by adjusting the
Tweeter and Woofer Master controls on the amplifier’s front panel.
Horn Bi-Amp System
700RB-II & 1001RB-II
Horn Bi-Amp Mode: This mode requires a GK
Horn Bi-Amp compatible bass cabinet. Use a
pr operly wired four-conductor Speakon cable to
connect to your cabinet. Set the switch on the back
of your GK HBA compatible enclosure to Bi-Amp.
In this mode, the cabinet’s internal crossover is
bypassed. Use the Woofer/Main knob to control the
ouput signal to the woofer, and the Tweeter knob to
control the ouput signal to the horn.
Note: The 50W horn amplifier has a fixed frequency
output of 5kHz and up (high frequencies only). It
will not provide a useable signal to drive a seperate
speaker cabinet.
GK Speakon Cable Wire Configuration:
1+ Woofer Amp +
1- Woofer Amp 2+ Horn Amp +
2- Horn Amp -
Fullrange Mode: This mode is compatible
with virtually any standard bass cabinet. Use a
¼”
two-conductor Speakon cable or a
cable to connect to your cabinet. If using a GK
HBA compatible enclosure, set the switch on
the back of the cabinet
the cabinet’s internal passive crossover is used to
split the signal between the woofer and horn. Use
the Woofer/Main knob on the front of the amplifier
to control your output level. The Tweeter knob is
not used.
Note: To avoid the risk of damage to the amplifier,
do not use a four-conductor Speakon cable with non
GK cabinets. Instead use a two-conductor Speakon
or ¼” speaker cable.
CAUTION: UNDER NO CIRCUMSTANCES
SHOULD THE WOO FER /MA IN AMP AND
THE 50 WATT HORN AMP BE CONNECTED
TOGETHER!!!
to Fullrange. In this mode,
speaker
8
Page 9

Sample Settings:
700RB-II & 1001RB-II
Your GK amplifier is versatile in its sound and tone. Below are a few suggested amp settings that can
be used as starting points to define your own sound.
Note: At higher playing levels the contour
should be set lower for mid-range clarity. To
get 800RB voicing, the contour should be set to
0 or 10 only.
Slap:
Rock:
Both pickups recommended.
Both pickups recommended.
Sample Settings
Reggae:
Jazz/Fusion:
Front pickup recommended.
Both pickups recommended.
Page 10

Tech Talk
700RB-II & 1001RB-II
Tech Talk
Your GK amplifier is designed to be flexible and
user-friendly for maximum performance. This is
accomplished through these important features:
High Current Capability: When a power amplifier
is pushing a speaker cone and it needs to reproduce a
high-power transient like a string slap, the amp must
be able to deliver a high current pulse to maintain
cone control. If the amplifier can’t do this it simply
cuts the transient off, producing an unresponsive
less out front sound. Creating these high current
pulses requires extra power devices (four times the
current required to deliver its rated power), larger
supply capacitors, and intelligent protection logic.
GK is the only instrument amplifier manufacturer
that goes to the trouble and expense, and it is a big
reason why GK amplifiers sound louder and cleaner
than other brands at the same power rating.
Active Equalization: There are a wide variety of
equalizers used in instrument amplifiers today. Passive
equalizers are great but only allow you to cut (signal
loss), not boost (signal gain). Graphic equalizers
provide plenty of variation, but are much better for room
equalization. When used with instruments, they tend
to sound unnatural or synthetic. Parametric and semiparametric equalizers can sound natural and offer a great
deal of flexibility but require some technical knowledge
and great ears. The equalizer in GK amplifiers is unique
in the industry and reflects over 30 years of continuous
development and refinement. We’ve developed a
rotary, four-band, active equalizer optimized for bass
guitar. The active circuitry allows you to either boost
or cut at a given frequency with greater integrity in
signal reproduction. The treble is a shelving type control
that boosts the high frequencies evenly. Respectively,
the bass is a shelving control that evenly boosts the
low frequencies. The high mid and low mid are peak
(bandpass) type controls with fairly wide Q (bandwidth)
patterns which are much more ‘musical’ sounding. Each
of the four bands are connected in series, meaning the
output of the first band is fed directly into the input
of the next and so on. This eliminates the rippling or
combing that can happen with parallel EQ circuits.
The overall result from all of this is an equalizer that’s
flexible, yet easy to use and sounds natural even at
extreme settings.
Voicing Filters: The three-stage voicing filter
simplifies the process of shaping and coloring your
tone, enabling the amplifier to accommodate a wide
variety of playing styles with minimal fuss.
4/5 String Bass: The 4/5 String filter extends the
low frequency range of the amplifier to accomodate
the extra low range of the B string on 5 and 6 string
bass guitars. 4 string players may also find desirable
results with this filter as well.
Contour: The Contour is based on the same contour
circuit as the 800RB, but adds a variable control for
precise tone shaping. With the control at zero, the
response is essentially ‘flat’, as in no shaping. As
the contour is increased, it scoops out the midrange
while subtly emphasizing the lows and highs.
Additionally, it compensates to keep the overall
volume level constant. With it’s variable control, the
Contour will accomodate everyone from the smooth
finger-style player to the aggressive slap player.
Presence: The Presence control adds extra sparkle
on the high-end for better clarity and ‘openness’ in
your tone. This is particularly useful when soloing
or playing chords.
The Valve Effect (Boost): Your GK amplifier
incorporates what we call the Valve Effect, or
G.I.V.E (Gate Induced Valve Effect) technology.
We use field effect devices with the gate biased in
such a way that emphasizes the optimum harmonic
content of the signal. This is controlled by the
Boost knob. Raising the Boost while lowering the
Master will add more growl while keeping the sound
level relatively consistent. The ‘growl’ is actually
a small amount of even order harmonic distortion.
For most playing situations, start with the Boost at
12 o’clock. Reduce for a cleaner sound or increase
for more growl.
10
Page 11

700RB-II & 1001RB-II
Horn Bi-Amp Operation: Bass players have always
liked the growl they get from a slightly overdriven
poweramp. The problem is that growl sounds great
through woofers but will destroy the horn (tweeter).
In a typical fullrange system, there is no way to
get that growl while keeping the definition that
the horn provides. In GK’s Horn Bi-Amp system,
an active (electronic) crossover allows a fullrange
signal through to the main (woofer) amplifier,
while only the high frequency portion of the signal
(5kHz and above) is allowed through to the 50 watt
Horn amplifier. There are three primary benefits
to this system over a traditional fullrange system.
Significantly reduces the risk of blowing out
•
the horn’s diaphram.
More accurate and natural sounding signal
•
reproduction.
Allows you to add as much growl to the woofer
•
signal as you want while keeping the horn
crystal clear.
Headroom: Your GK amplifier uses a high
gain, low noise FET input stage with such a large
dynamic range (60v p-p) that even basses with
active electronics may not need to use the input
pad. The benefit to you is a cleaner signal with
less his and much less overall noise.
Efficency: The power supply of your amplifier
uses a unique design which switches between a
low voltage rail for normal output levels and a
high voltage rail to accomodate peak levels. This
much more efficient approach allows us to build
amplifiers with significantly greater output level
at a fraction of the heat and weight. We’ve also added
a tempaerature sensitive cooling system with a
variable speed fan. Under normal conditions, the
fan will be off or spinning at a low speed. As the
amplifier works harder, the fan speed increases,
maintaining a safe temperature level.
Intelligent Protection Circuitry: GallienKrueger amplifiers use intelligent protection
cicuitry which constantly monitors for any unsafe
operating conditions such as short circuits or im
properly wired speaker cables. If an unsafe condition
is detected, the output signal is immediately muted
and the power light changes from blue to red. The
amplifier will remain muted until the fault is
removed. If the protection cicuit activates while
playing, turn the amplifier off and check that you
have not exceeded the maximum recommended
load described in this manual.
Direct Out: Your GK amplifier includes an
electronically balanced DI (Direct Inject) ouput for
connecting to PA and recording consoles.This output is
calibrated for 1.0V (0 dBV) and can be adjusted via
the Level control to match the input sensetivity of
the mixing console. A Ground (Gnd) Lift switch is
included to remove hum and buzz when connecting
to equipment powered by a different ground system.
The Post EQ button allows you to set the Direct Out
signal to either ‘Pre’ or ‘Post’ EQ.
Pre EQ: With the Post EQ button out (Pre),
th e Direct Out signal is fed str aight from the
input stage and is only effected by the -14dB Pad,
Tuning Mute, and the Direct Out Level control.
Adjustments to the voicing filters or EQ section
will have no effect on the Direct Out signal.
Post EQ: With the Post EQ button out (Post),
any changes you make in the voicing filters, EQ
section, Effects Loop (if used) and the Boost will
effect the Direct Out signal going to the mixing
console.
A Final Word: You should now have a thorough
understanding of how your new GK amplifier
works and the advantages it offers in helping to
get ‘YOUR’ sound. If you have any questions or
comments, please visit our website at www.gallienkrueger.com or send us an email to info@gallien.
com. We wish you the best of times on your musical
journey wherever it may lead you.
Tech Talk
Page 12

Block Diagram
Output Power:
Main Amp
1001RB-II 460W @ 8 Ohms
700W @ 4 Ohms
700RB-II 320W @ 8 Ohms
480W @ 4 Ohms
Horn Amp 50W @ 8 Ohms
75W @ 4 Ohms
Audio Inputs:
Instrument Input
Level 0.6V Rms
w/ -14dB pad 1.6V Rms
Impedance 1M Ohm
Return Input
Impedance 50k Ohm
Audio Outputs:
Send Output
Impedance
Tuner Output
Impedance
DI Output
Impedance
Speaker Out
Neutrik Speakon
Equalizer:
Bass +10dB @ 60Hz
Lo-Mid +6dB/-10dB @ 250Hz
Hi-Mid +6dB/-10dB @ 1kHz
Treble +12/-17dB @ 7kHz
Voicing Filters:
4/5 String Bass +11dB@20Hz
Contour +2dB@50Hz /
-10dB@500Hz /
+3dB@7kHz
Presence +9dB@10kHz
¼” Mono, Unbalanced
¼” Mono, Unbalanced
¼” Mono, Unbalanced
220 Ohm
¼” Mono, Unbalanced
10k Ohm
XLR, Balanced
500 Ohms
¼” Mono, Unbalanced x2
®
x2
Crossover: Triple pole constant
voltage crossover at 5kHz
Noise: -90dB “A” weighted
Cooling: Variable Speed Fan
Protection:
Dimensions:
Head 3.5H x 17W x 8.2D
210 Combo 21.3H x 23W x 15.5D
115 Combo 24.7H x 21.7W x 18D
Weight:
1001RB-II 21.5 lbs
700RB-II 18 lbs
1001RB-II/210 80.5 lbs
700RB-II/210 78 lbs
1001RB-II/115 77 lbs
700RB-II/115 75.5 lbs
Consumption:
1001RB-II 1476W(full),
317W(average)
700RB-II 994W(full),
230W(average)
Fuse: 100V - 120V T 15 A
220V - 240V T 10 A
Mains Voltage:
Full short circuit, thermal & RF
protection. Stable into reactive
and mismatched loads. Five
second muted warm-up.
USA/Canada 120 Volt/60Hz
UK/Australia 230 Volt/50Hz
Europe 240 Volt/50Hz
Japan 100 Volt/50Hz
Korea 220 Volt/50Hz
Mains Connect: Standard IEC Receptacle
700RB-II & 1001RB-II Amplifi ers
Owner’s Manual
Part # 160-0260-A1
 Loading...