

Page 1
USER’S MANUAL
Page 2

Contents
Table of Contents
............................................... 1 Introduction
2Uses for the Multi Mixer...........................
Operation................................................... 3
....................................3 Battery Installation
................................3 Using the Multi Mixer
..........................................4 Input Channels
........................................4 Volume Controls
..........................................4 Output Section
Specifications.........................................5-6
Introduction
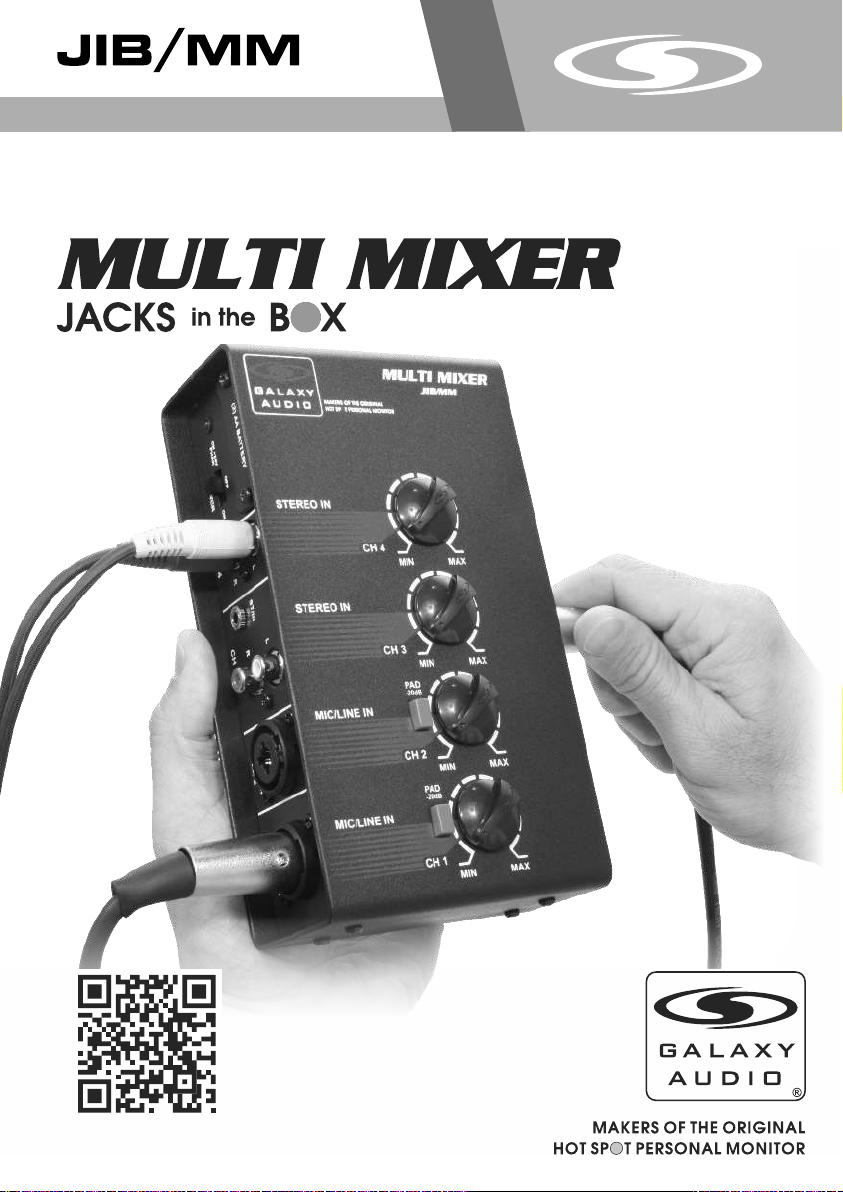
Thank you for purchasing the Galaxy Audio JIB/MM Multi Mixer.
Please visit our website (galaxyaudio.com) for the latest updates
and FAQ on all of our products and manuals. The MM is designed
to solve many of the patching and mixing problems that arise when
connecting various audio devices together. It features a wide variety
of input and output connectors including balanced XLR, balanced
1/4", stereo RCA, and stereo 1/8" to accommodate most of the
cables found in pro and consumer audio situations. The MM also
features a stereo Headphone output jack with a dedicated volume
control to monitor the entire mix. The high gain/wide dynamic range
design of the MM ensures that you will never have trouble matching
levels between audio devices.
For the most up to date manual and information
visit www.galaxyaudio.com.
1
Page 3
Uses for the Multi Mixer
Uses for the Multi Mixer include:
1. Adding inputs to an existing mixer by creating a sub-mix of two
or more sources before sending the signals to the main mixer or
powered speaker.
2. Serving as a sophisticated cable adapter that not only adapts
the connector type but also provides the correct impedance with
adjustable level control.
3. Serving as the main mixer for solo or duo acts as well as AV
presentations.
4. As a mixer for rehearsals when its impractical to set up the
entire PA.
5. Interfacing pro audio gear with consumer audio gear.
6. Battery operation allows remote location use where AC power is
unavailable.
7. As an emergency back-up mixer to have along just in case.
As you can see, the Galaxy Audio Multi Mixer may be the most
versatile piece of audio gear that you can own.
POWER
CH 4 CH 1CH 2CH 3
+24V PHAN +24V PHAN
PHAN
ON +24V
ON
R
(2) AA BATTERY
OFF
STEREO IN
ST/IN
STEREO IN
LLR
STEREO IN
STEREO IN
MIC/LINE IN
MIC/LINE
IN
MIC/LINE IN
MIC/LINE
IN
CH 4
CH 3
CH 2
CH 1
PAD
-20dB
PAD
-20dB
MIN MAX
MIN MAX
MIN MAX
MIN MAX
MIC / LINE
OUTPUT
STEREO
LEVEL
HEADPHONE
500mA
DC IN 4.5V
BALANCED MONO OUTPUTS
L
R
MIN MAX
2
Page 4

Operation, Battery Installation & Using the Mul ti Mixer
Battery Installation:
Switch Power to the OFF position. Remove the two screws securing
the Battery Drawer from the left side of the MM. Install two AA
alkaline batteries, observing the correct polarity shown inside the
battery tray. Re-install the Battery Drawer being careful to not pinch
any wires. The MM may also be powered using an optional AC
adapter. See the Specifications section for the proper type.
Using the Multi Mixer:
The following illustration shows just some of the many ways the
MM may be connected with other audio devices. For best
performance, always use high quality shielded cables of the correct
type. Switch the power ON and turn all Volume Controls to
minimum before connecting other audio devices to the MM.
iPod is the registered trade mark of Apple Computer, Inc.
3
Page 5

Input Channels, Volume Controls & Output Secti on
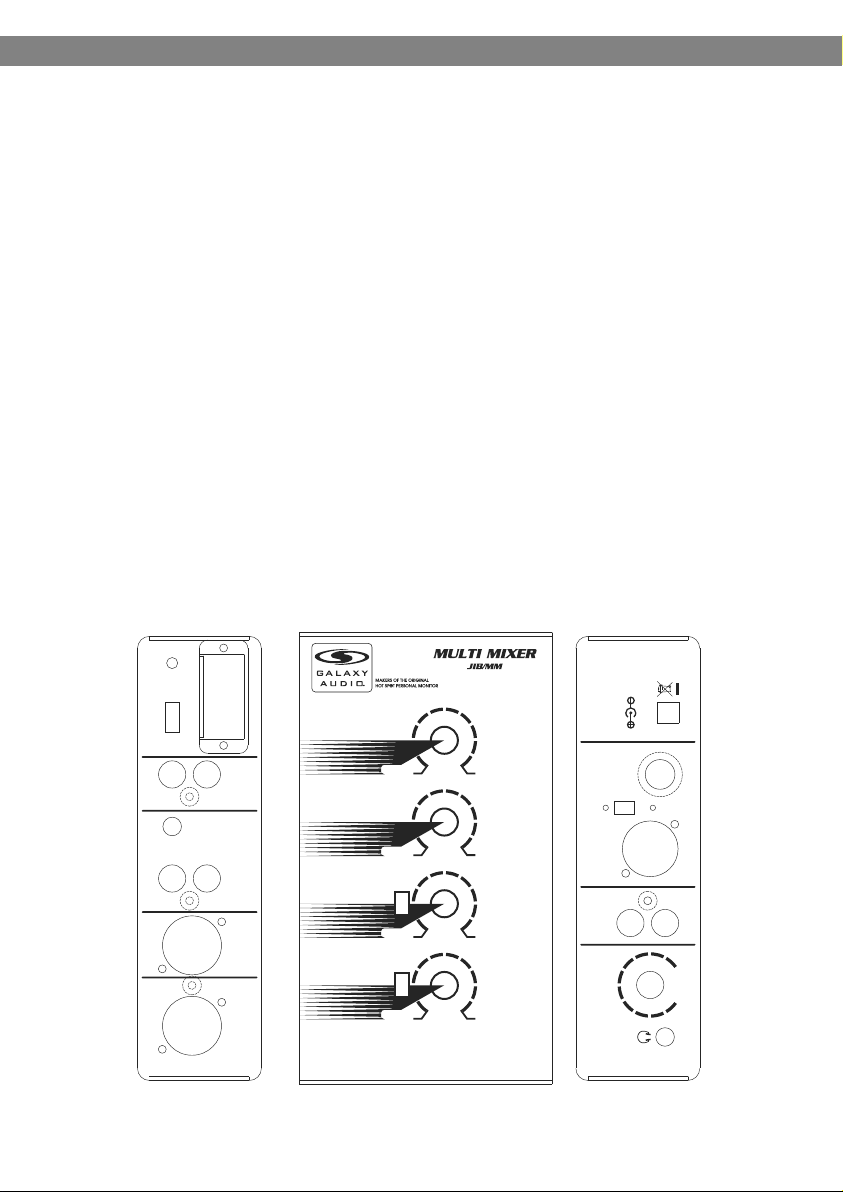
Input Channels:
The Input Channel connectors are numbered 1 through 4 and
located on the left side of the unit. Inputs 1 and 2 are Balanced
Combination jacks that accept either XLR Mic or 1/4" line cables.
Phantom Power is supplied to the XLR connectors on Inputs 1
and 2 when the Power Switch is in the ON +24v PHAN position.
If Phantom Power is not required the MM should be operated with
the Power Switch in the ON position. Channel 3 features both
Stereo RCA and Stereo 1/8" jacks for convenience, however we
do not recommend using both types simultaneously. Channel 4
features Stereo RCA jacks.
Volume Controls:
Volume Controls, which correspond to channels 1 through 4, are
located on the top panel of the MM. Channels 1 and 2 also feature
Pad switches, located next to the Volume Controls, which will
reduce the gain (of the XLR inputs only) by –20dB to accommodate
very strong input signals. The Pads are engaged when the switches
are in the down position. Optimum performance is obtained when
the Volume Controls can be set generally in the middle of their
range rather than at the extreme MIN or MAX.
Output Section:
Various Output jacks are located on the right side of the MM. The mix
created with the 4 Input Volume Controls will appear at all Output
jacks. Stereo signals from Inputs 3 and 4 are presented in stereo at
the RCA and 1/8" Headphone Outputs. The Headphone Level
controls only the volume of the Headphone Output jack. This may
also be used as a master volume control if the Headphone Output
jack is patched to a line input on another device. Stereo signals from
Inputs 3 and 4 are summed to mono at the XLR and 1/4" Balanced
Mono Outputs. The “Mic/Line switch” located between the XLR and
1/4" Balanced M ono Outputs allows for selecting eit her
a “Mic Level” Balanced Mono Output or a “Line Level” Balanced
Mono Output.
4
Page 6

Specifications
CH 1 & 2
Mic Inputs:
Input Type: XLR
Input Impedance: 4k (2k with pad)
Input Sensitivity: Minimum : 3mV RMS (-51dBV)
(Without Pad) Nominal: 22mV RMS (-33dBV)
Max Input Level: Pad Off: 649mV RMS (-3.8dBV)
Pad On: 6.5V RMS (16.3dBV)
Pad: -20dB
Phantom Power: +24V
Line Inputs:
Input Type: 1/4" TRS
Input Impedance: 10k
Input Sensitivity: Minimum: 14mV RMS (-37.2dBV)
Nominal: 112mV RMS (-19dBV)
Max Input Level: 3.2V RMS (10dBV)
CH 3
Input Type: Left/Right RCA, 1/8" TRS
Input Impedance: 15k Min
Input Sensitivity: Minimum: 159mV RMS (-16dBV)
Nominal: 495mV RMS (-6.1dBV)
Max Input level: 15.8V RMS (+24dBV)
CH 4
Input Type: Left/Right RCA
Input Impedance: 15k Min
Input Sensitivity: Minimum: 159mV RMS (-16dBV)
Nominal: 495mV RMS (-6.1dBV)
Max Input level: 15.8V RMS (+24dBV)
Main RCA outputs
Nominal Output Level: 1V RMS (0dBV)
Maximum Output: 2.9V RMS (9.2dBV)
Mono outputs
Nominal Line Level Output: 1V RMS (0dBV)
Maximum Line Level Output: 2.9V RMS (9.2dBV)
Nominal Mic Level Output: 32mV RMS (-30dBV)
Maximum Mic Level Output: 99mV RMS (-20.8dBV)
Headphone Outputs
Power Output: 30mW Stereo @ 32 Ohm
Distortion
THD: 0.01% (22Hz – 22KHz @ Nominal Volume)
5
Page 7

Noise
S/N: >80dB
Misc.
Batteries: 2 x AA (Alkaline)
Typical battery Life: About 15 Hours
DC In Requirements: 4.5VDC (regulated), 500mA minimum.
Barrel plug: 4mm O.D. and 1.74mm I.D., center positive.
Dimensions: 7.2" x 4" x 2.1" (L x W x H)
(182.4 x 102.3 x 53 mm)
Weight: 2.3 lbs (1.03 kg)
Compatible Galaxy Audio AC Adapter: JIB/UA4.5-14
(JIB/UA4.5-14 Shown)
6
Page 8

THREE Y E AR LIMITE D W ARRANTY
WARRANTY Information can be viewed online at
http://www.galaxyaudio.com/warranty.php
Specifications in this manual are subject to change without notice.
For the most up to date manual and information
visit www.galaxyaudio.com.
1-800-369-7768 www.galaxyaudio.com
© Copyright Galaxy Audio 2014
Printed in China
V20140730
 Loading...