

Fusion Bikes Vintage Instruction Assembly Manual

Fusion Vintage Bike
Instruction Assembly Guide
Dear Customer,
Thank you for purchasing the Fusion Range of Mountain Bikes.
THIS IS A PARTIALLY ASSEMBLED BICYCLE
REQUIRING THE ATTACHMENT OF THE
FOLLOWING PARTS IN ACCORDANCE WITH THE
MANUFACTURER’S INSTRUCTIONS
The bike you have bought comes 85% assembled so there are only a few remaining components
requiring attention.
Please note that if you are not familiar with mountain bike components and have limited in
experience in this field, we strongly recommend you take it to a professional for proper assembly.
This assembly manual is suitable for the following models:
• Vintage Ladies Classic Model 2013 (Model)
• Vintage Ladies Classic Model 2014 (Model)
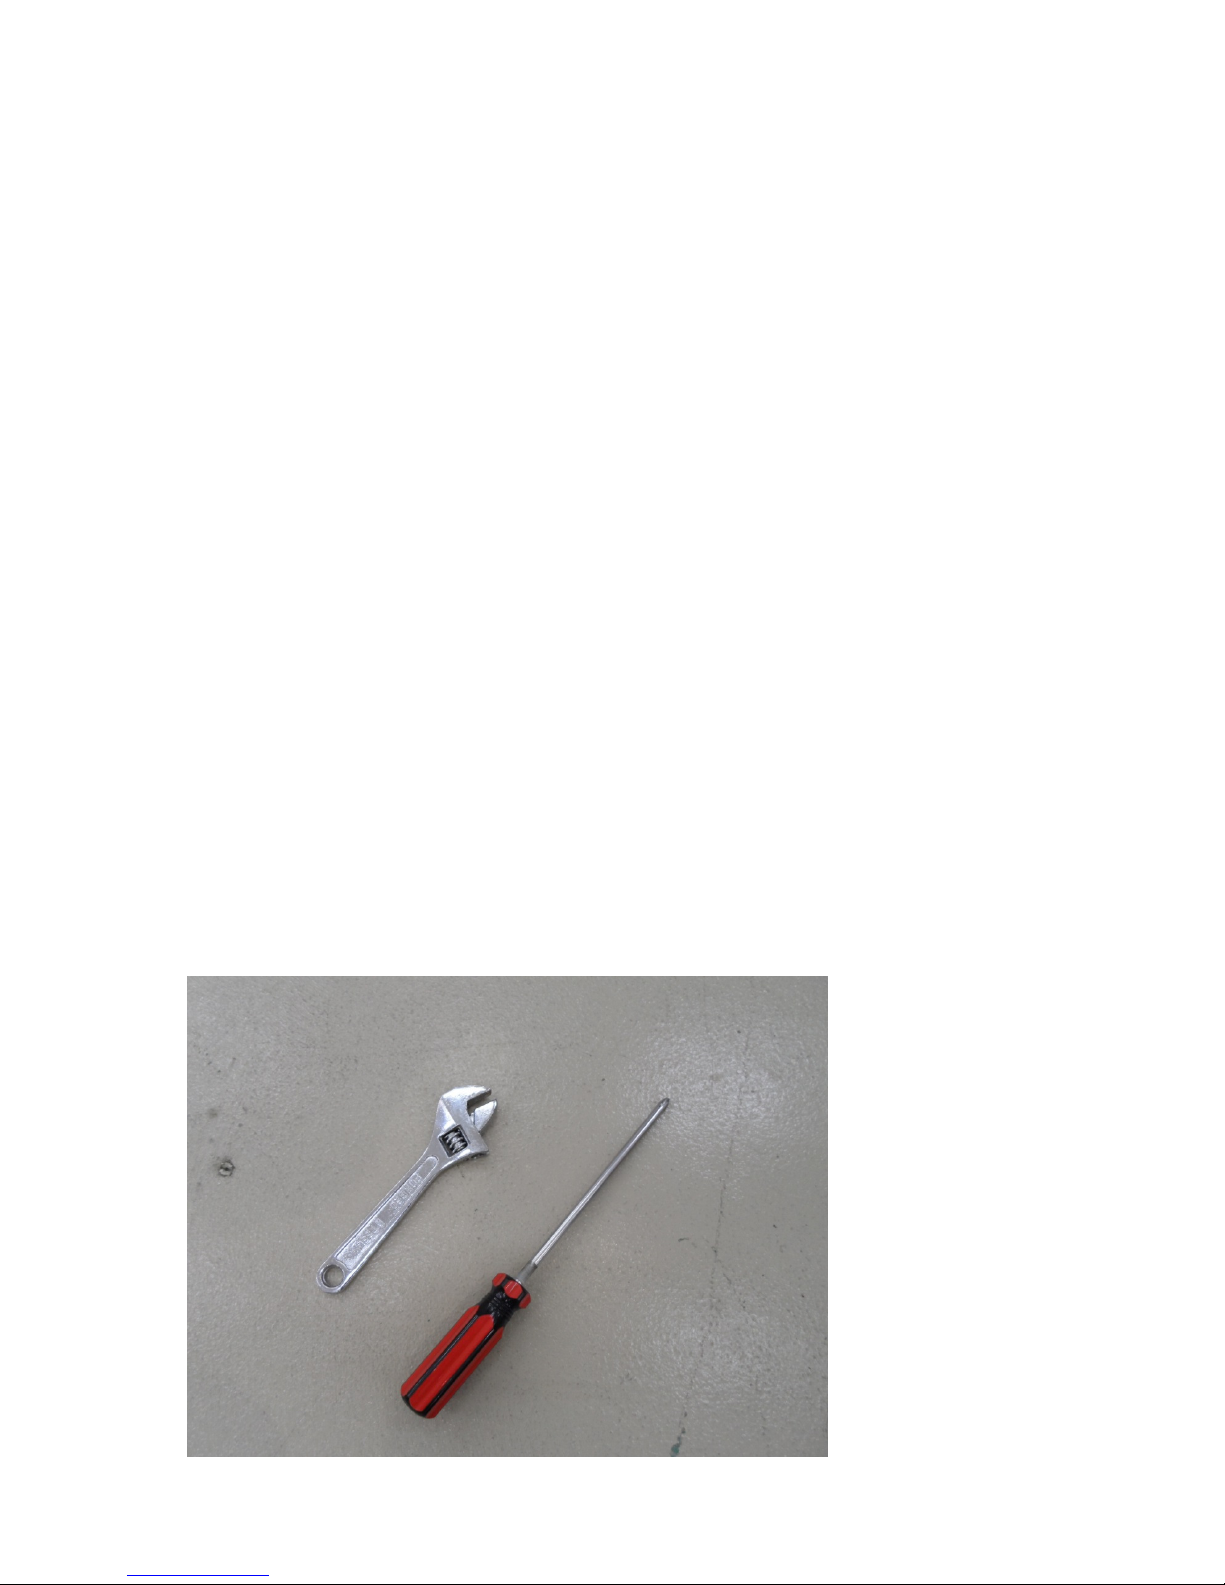
Step 1: tools required –
Before you begin, please ensure you have the following tools. These tools will be required in the
assembly process.
• Adjustable spanner and
• phillips head screwdriver
• Allen key (provided)
As a general guide, the assembly should take 45 minutes to an hour depending on individual
knowledge and previous assembly experience. Again, we strongly recommend you take it to a
professional for proper assembly if you are not comfortable with the process.
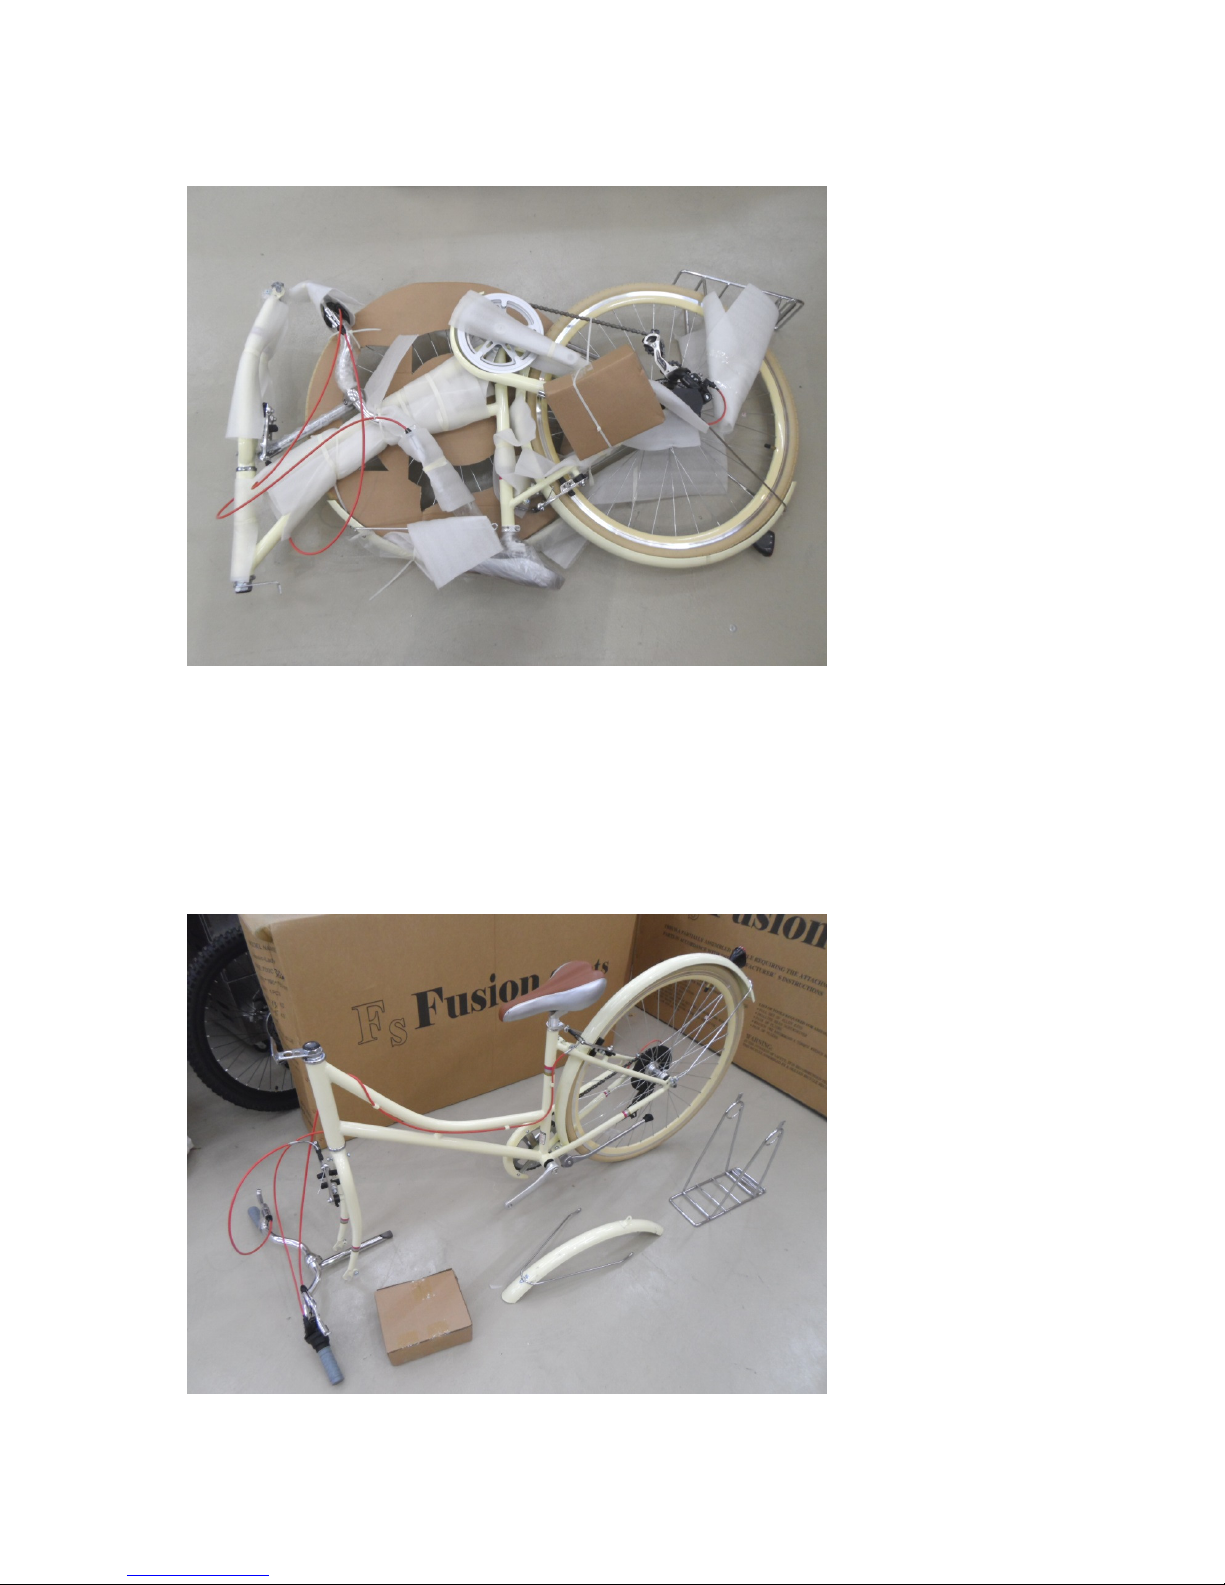
STEP 2:
Now that we have the right tools, let begin by removing the bike out of the box
.
Step 3: Remove protective plastics and cable tie from bike. Be careful not to cut the brake
cable during this process.
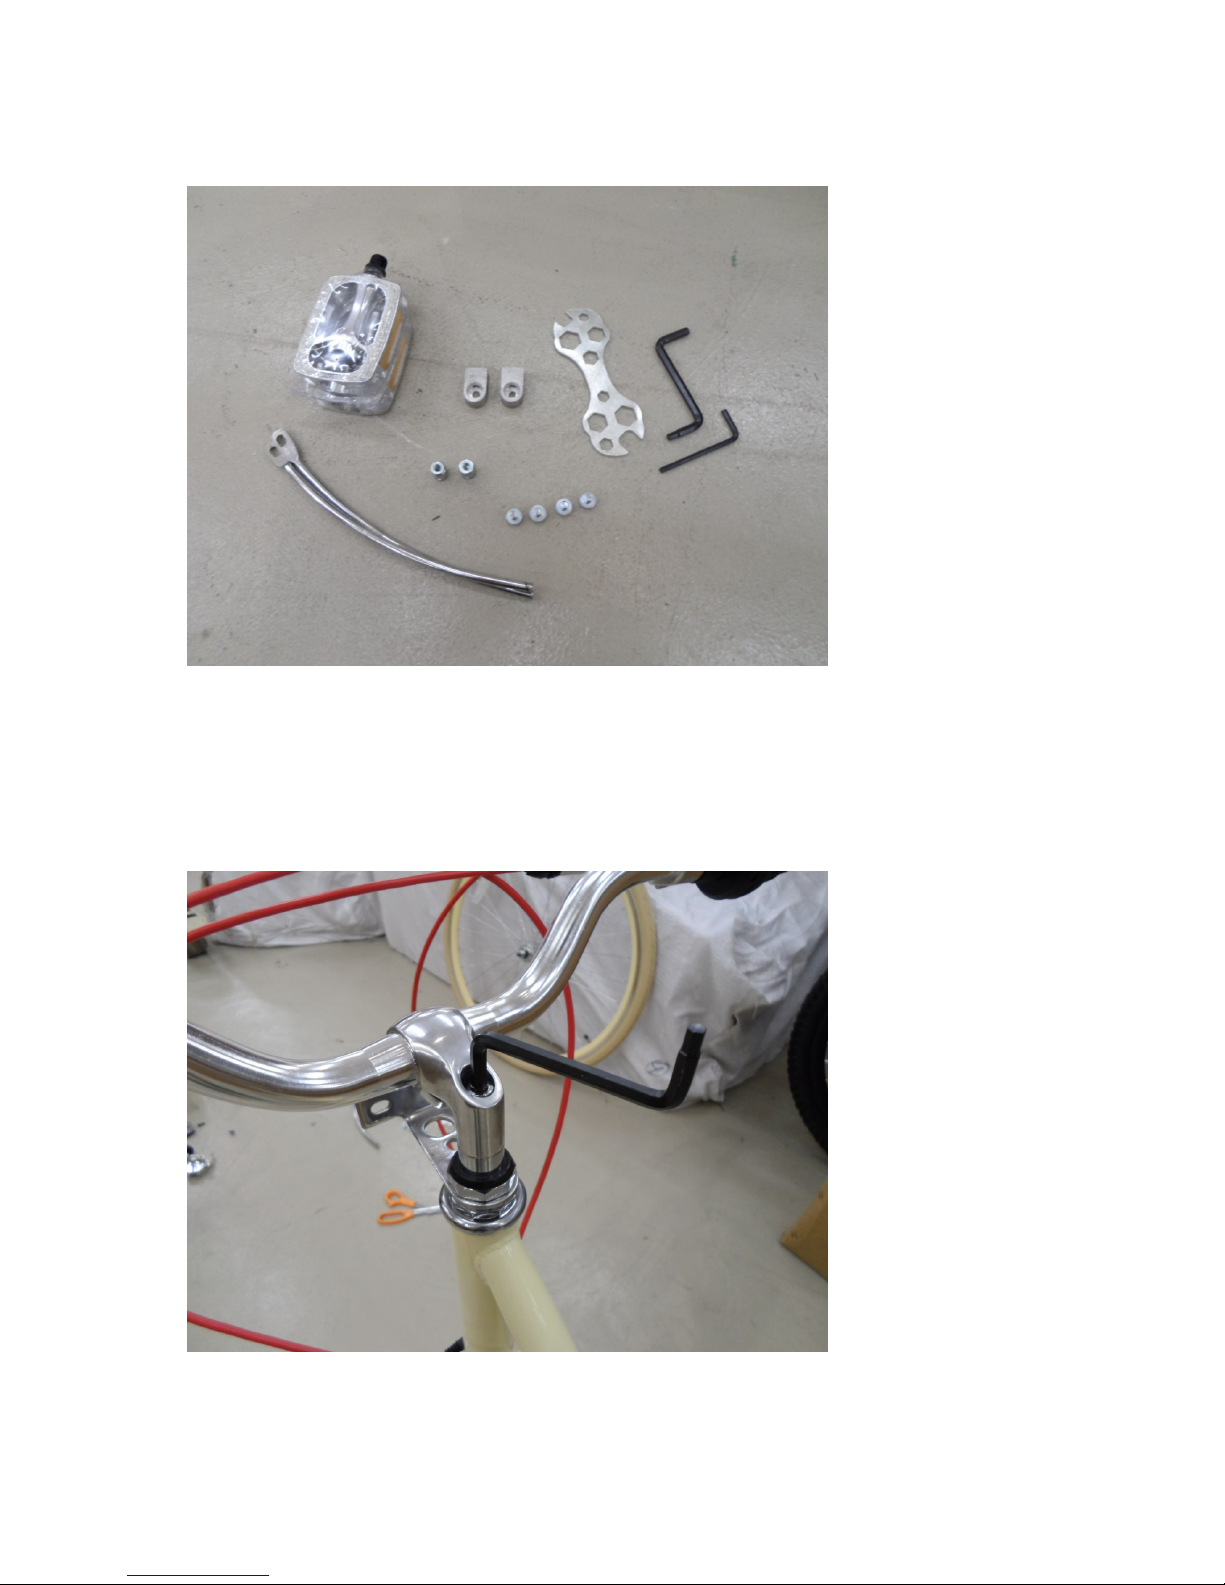
Step 4: Empty contents from small box
Step 5: Install handle bar on bike stem. Use allen key provided in small box and tighten
firmly.
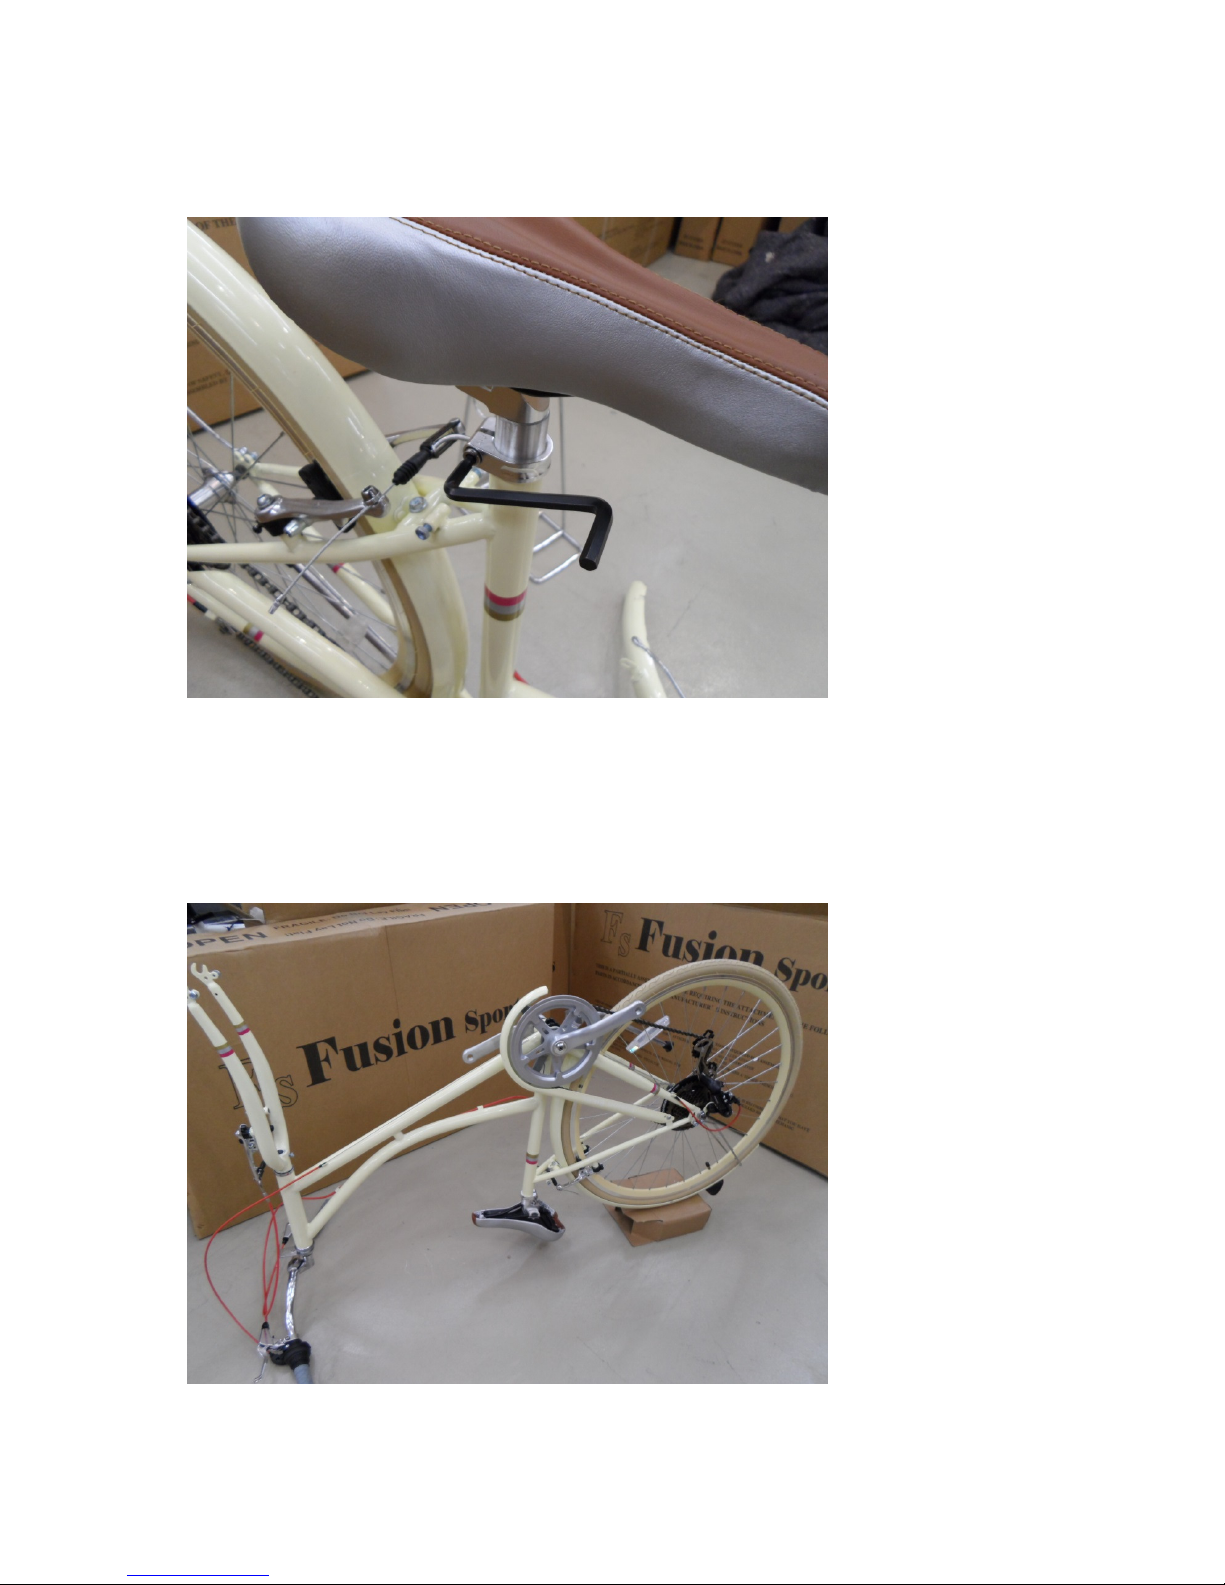
Step 6: Place seat on frame and tighten, If you are a novice rider place seat at a lower
height. Otherwise, you should just be able to tip toe with your feet when sitting on the seat.
Step 7: Place bike upside down. Place small box underneath rear mud guard to help support
this process
 Loading...