

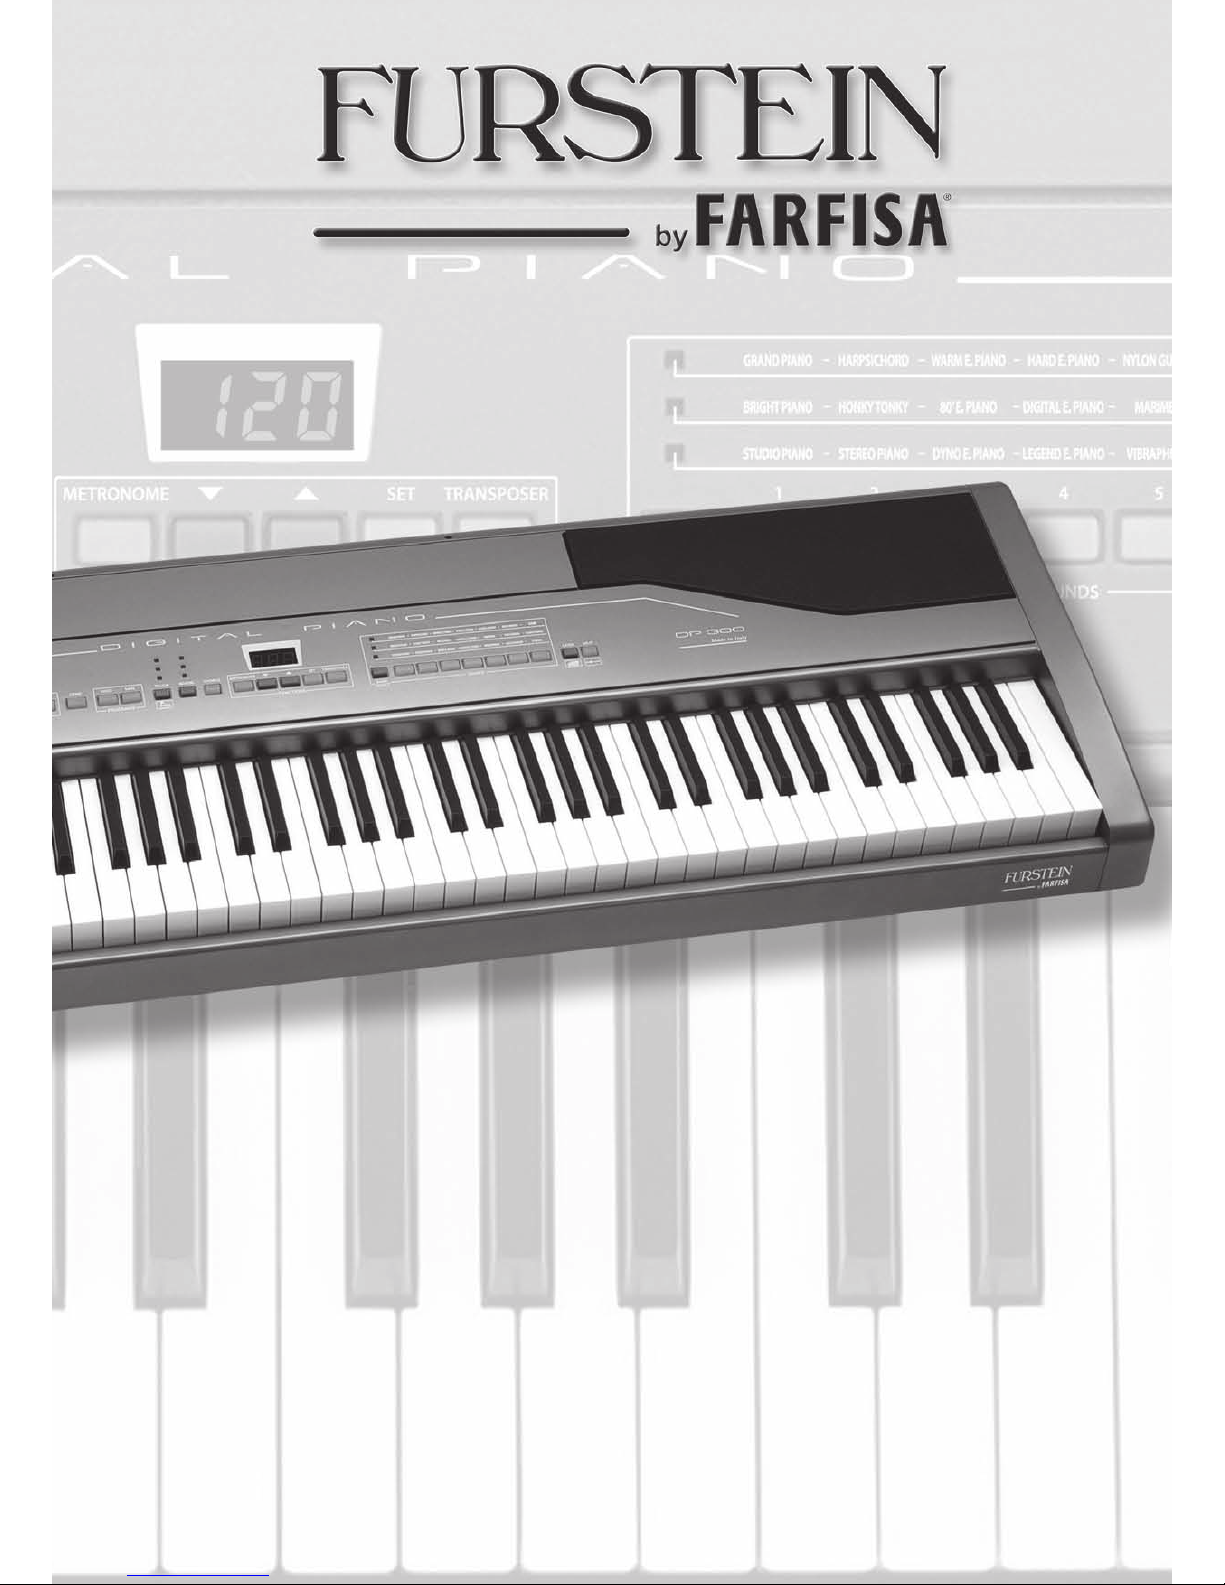
Furstein DP 300 User Manual
1
ITALIANO
USER’S MANUAL
DP 300

2
3
ITALIANO
Table of Contents
1. TECHNICAL FEATURES .............................................4
2. PACKING CONTENT ...............................................4
3. ACCESSORY UPON REQUEST ..................................5
4. MUSIC STAND ........................................................5
5. WARNINGS ...........................................................6
6. POWER SUPPLY ...................................................... 7
7. SOCKETS ................................................................8
8. THE SUSTAIN PEDAL ............................................... 8
9. CONTROL PANEL ....................................................9
10. USE INSTRUCTIONS ..............................................10
SWITCH ON/OFF .................................................10
GENERAL VOLUME...............................................10
DEMONSTRATIVE SONGS (DEMO) ......................10
SOUNDS ..............................................................10
DIVISION OF THE KEYBOARD (SPLIT) .....................10
COMBINATION OF TWO SOUNDS (DUAL) ...........12
TRANSPOSITION OF THE NOTES (TRANSPOSER)
.....12
THE EFFECTS .......................................................13
REVERBERATION ................................................................. 13
CHORUS ............................................................................. 13
DYNAMIC OR TOUCH-SENSITIVITY .......................13
METRONOME ......................................................13
HOW TO ADJUST THE SPEED OF THE METRONOME ............ 13
HOW TO SET THE DIVISIONS OF THE METRONOME............ 14
HOW TO SET THE VOLUME OF THE METRONOME .............. 14
THE RECORDER (SEQUENCER) .............................. 14
HOW TO RECORD THE 1st TRACK ....................................... 14
HOW TO RECORD THE 2st TRACK ....................................... 14
HOW TO RECORD ANOTHER TWO SONGS ........................ 15
THE PROGRAMMES ............................................15
HOW TO RECALL A PROGRAM ........................................... 15
HOW TO SAVE A PROGRAM .............................................. 15
SPECIAL FUNCTIONS (SET) ...................................16
SELECTION OF THE 3 SONGS OF THE SEQUENCER ............. 16
SELECTION OF THE FUNCTIONS ......................................... 16
MOVING OF THE OCTAVE OF THE LOWER SOUND ...................... 16
ASSIGNING OF PEDAL ................................................................. 16
TUNING RANGE ........................................................................... 16
SELECTION OF MIDI SETTINGS ............................................ 16
TRANSMIT CHANNEL....................................................................16
(LOCAL CONTROL ON/OFF..........................................................16
PROGRAM CHANGE ON/OFF ...................................................... 16
11. CONNECTION TO A COMPUTER ...........................17
MINIMUM SYSTEM REQUISITES ........................................... 17
PROCEDURE FOR COMPUTER CONNECTION ...................... 17
FREE MUSICAL SOFTWARE DOWNLOADABLE FROM INTERNET
..... 17
12. MIDI CONNECTION ..............................................18
WHAT IS MIDI ..................................................................... 18
13.
CONNECTION TO AN EXTERNAL AMPLIFIER
................. 18
14. PROBLEM SOLVING ..............................................19
15.
TABLE OF SOUNDS AND RELATIVE PROGRAM CHANGE
...19
16. MIDI IMPLEMENTATION CHART ............................. 20
WELCOME,
Thank you and congratulations for having chosen this Digital Piano. For its correct use, please read this guide before
use and keep the manual for future consultation.
Instrument identification
For any communication, always quote the model (DP 300) reported at the bottom
of the instrument.
MODEL
DP 300
RATING
13.5V
25W
SER. N°.
H425 0160
4
DEMO: 7 Demonstrative songs
AMPLIFICATION: Stereo 15 + 15 watt (RMS) - Two
high-efficiency Ø 100 mm loud
speakers - Sound system: Bass Reflex
AC/DC ADAPTER: Input Vdc= 13,5 V / I = 3,25 A
(central positive – 6.3 and 3 mm)
13.5 V DC INPUT: Socket for connecting mains adapter
LINE OUT RIGHT
AND LEFT/STEREO: Sockets for connection to external
amplifier
PEDAL: Socket for “sustain” pedal
USB TO HOST: Connection to a computer for data
reception and transmission.
MIDI OUT: Socket to transmit MIDI data to other
instruments.
PHONES: 2 Sockets for STEREO headphones
DIMENSIONI: 1312 x 390 x 143 mm
PESO: 18,5 Kg
KEYBOARD: 88 keys with “hammer action”
TOUCH: immediate exclusion and restoration
of touch-sensitivity (Dynamic) on 4
levels
POLYPHONY: 64 notes at most
DISPLAY: 3 digits
BASIC SOUNDS: 21 polyphonic tones
MIXED SOUNDS: mix of two sounds
TRANSPOSER: shifting of +/– 12 semitones
TUNING RANGE: A3 (from 427Hz to 453Hz step 0.5Hz)
EFFECTS: CHORUS, 3 editable REVERBER
METRONOME: immediate control with 6 signatures:
1/4, 2/4, 3/4, 4/4, 6/8 and 12/8
and volume adjustment
PROGRAMMES: 7 programmes for the configuration of
the keyboard
SEQUENCER: REC and PLAY to record and listen.
Memorising of 3 songs or Song with
2 tracks each. The recording data
permanently remains in the memory.
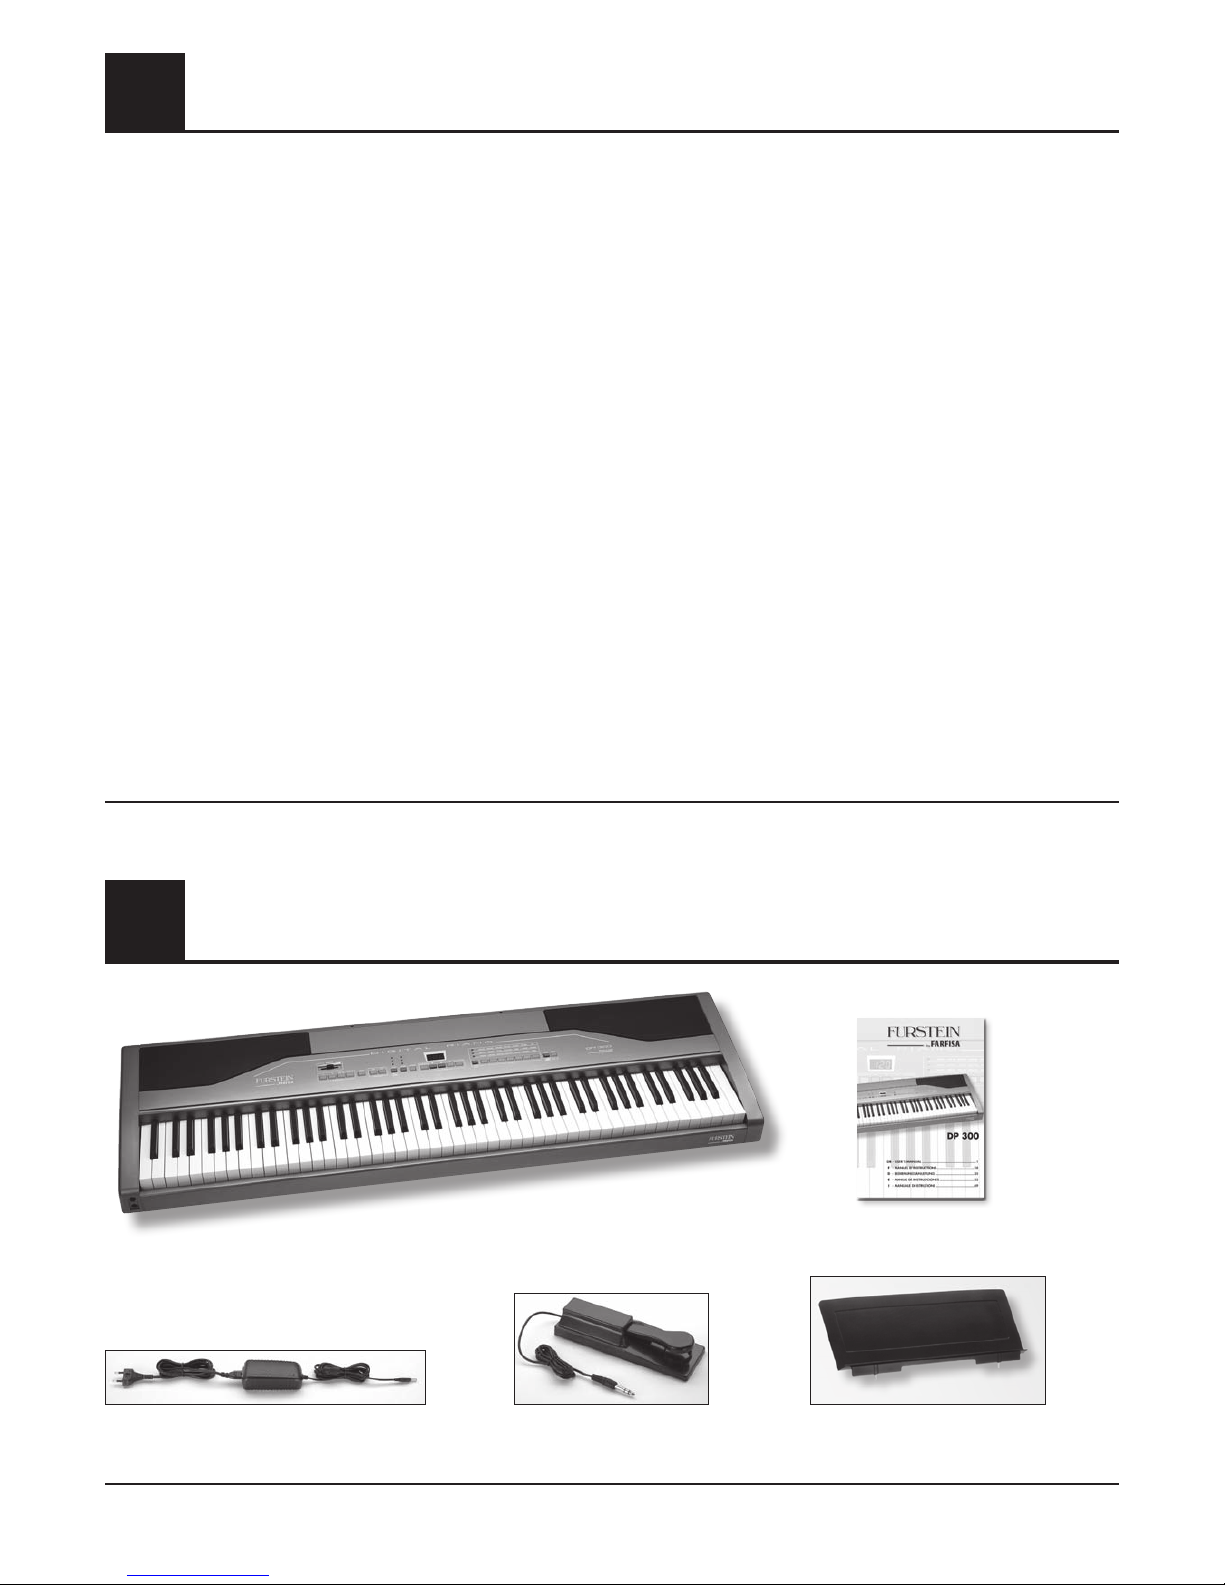
1.Technical features
Sustain pedal
2.Packing content
BONTEMPI S.p.A. reserves the right to amend, without prior notice, the product features
Digital piano
Adapter ADS 1332
Music stand
User’s Manual
5
ITALIANO
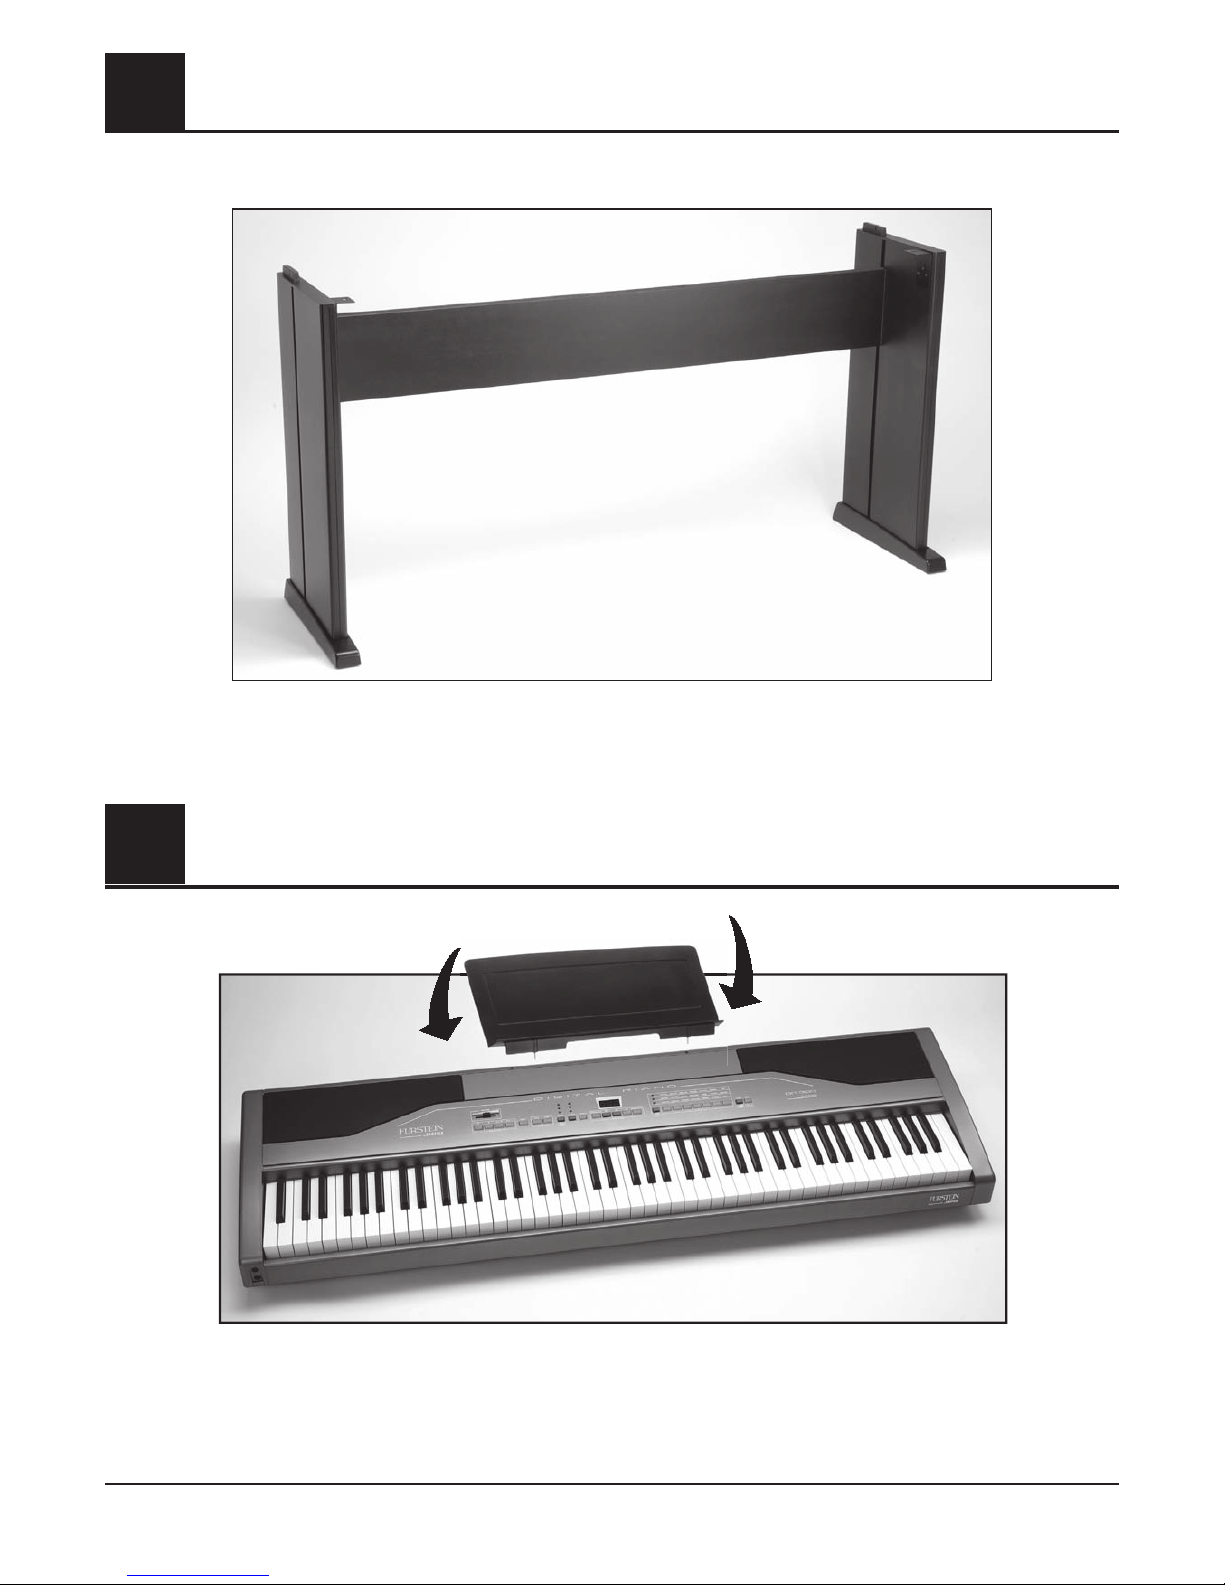
4.Music stand
Insert the music stand in the appropriate holes.
3.Accessory upon request
CN 230: Console
6
5.Warnings
When using electric products, it is necessary to follow certain basic precautions, including:
1. Carefully read the manual before using the instrument.
2. The presence of an adult is required when the instrument is used by children.
3. Do not use the instrument near water like, for example, near a washbasin, a swimming pool, on a wet surface, etc.
4. The instrument is able to generate such sound level to cause permanent damaged to hearing. Do not use for long periods
with high volume.
If you notice a hearing loss immediately consult a doctor.
5. The instrument must be displaced in order to allow its adequate ventilation.
6. The instrument must be displaced away from heat sources like radiators, stoves, solar ray, etc.
7. Do not obstruct the air inlets of the power supplier with objects like curtains, clothes, etc.
8. Do not place objects with naked flames on the keyboard like for example ignited candles.
9. Ensure objects or liquids do not fall inside the cabinet.
10. Ensure there is sufficient ventilation to the adapter: the ventilation slots must not be covered with objects like newspapers, table
cloths, curtains, etc...
11. The instrument must be taken to an after-sales assistance centre if:
a) It has been exposed to rain.
b) It does not seem to work normally or shows an evident decrease in performance.
c) It has fallen or the cabinet is damaged.
d) Objects or liquid has fallen inside.
e) The adapter AC/DC socket is damaged.
12. Do not attempt to repair the instrument yourself; all operations must be carried out by authorised staff penalty the voiding of
the warranty rules.
13. Do not clean using alcohol, solvents or similar chemical substances. Clean the instrument using a soft cloth dampened in a
mild solution of water and neutral detergent. Soak the cloth in the solution and wring out until almost dry.
ADAPTER WARNINGS
1. When connecting the plug to the mains ensure:
a) not to have wet hands (danger of electric shock);
b) not to pull it from the cable, but from the same plug.
2. The instrument must be connected to the mains only using the AC/DC adapter envisioned by the manufacturer. Alternatively,
another AC/DC adapter can be used, as long as it has the same nominal values of those of the adapter supplied with
the equipment, with the same or better features. The identification and power supply data are on the bottom of the same
product.
3. When the instrument is not used for long periods, the AC/DC adapter must be disconnected from the mains.
4. The AC/DC adapter must be directly connected to the mains: do not interpose other plugs.
5. Do not expose the adapter to drops or squirts of water.
6. Do not position the adapter behind furniture or in hidden positions.
7
ITALIANO
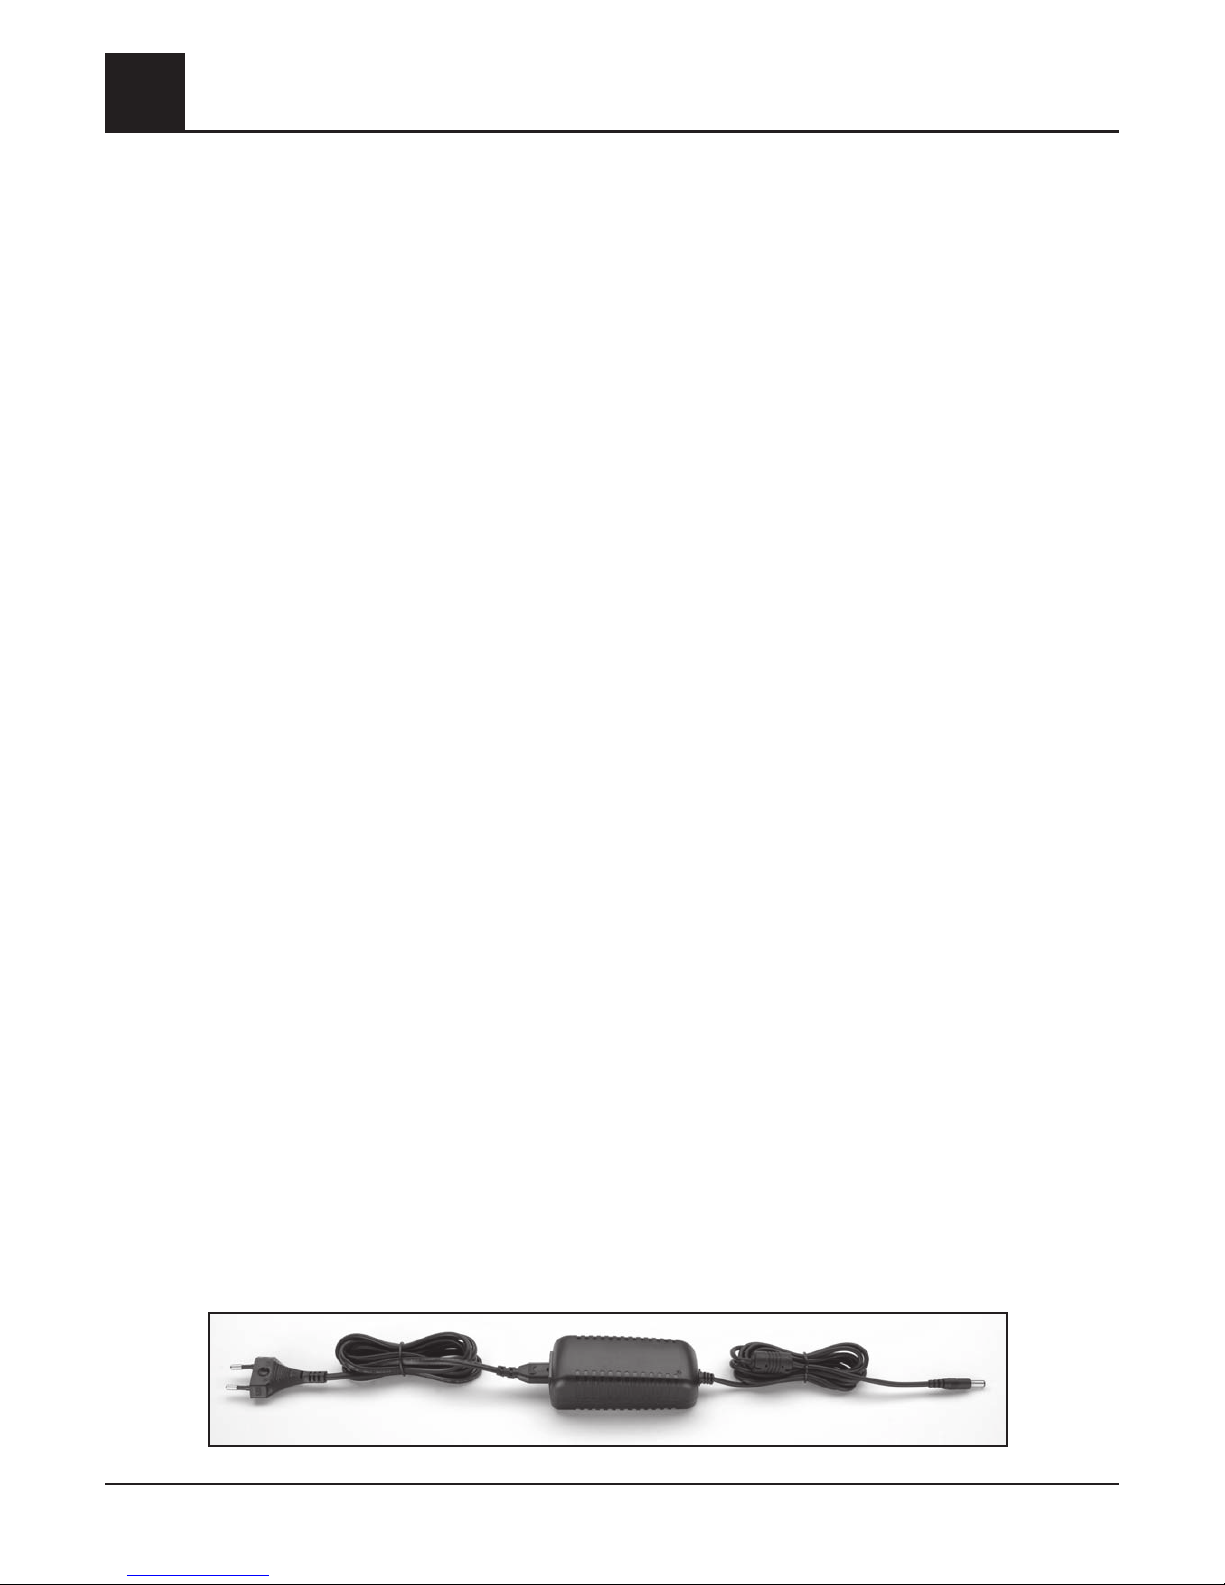
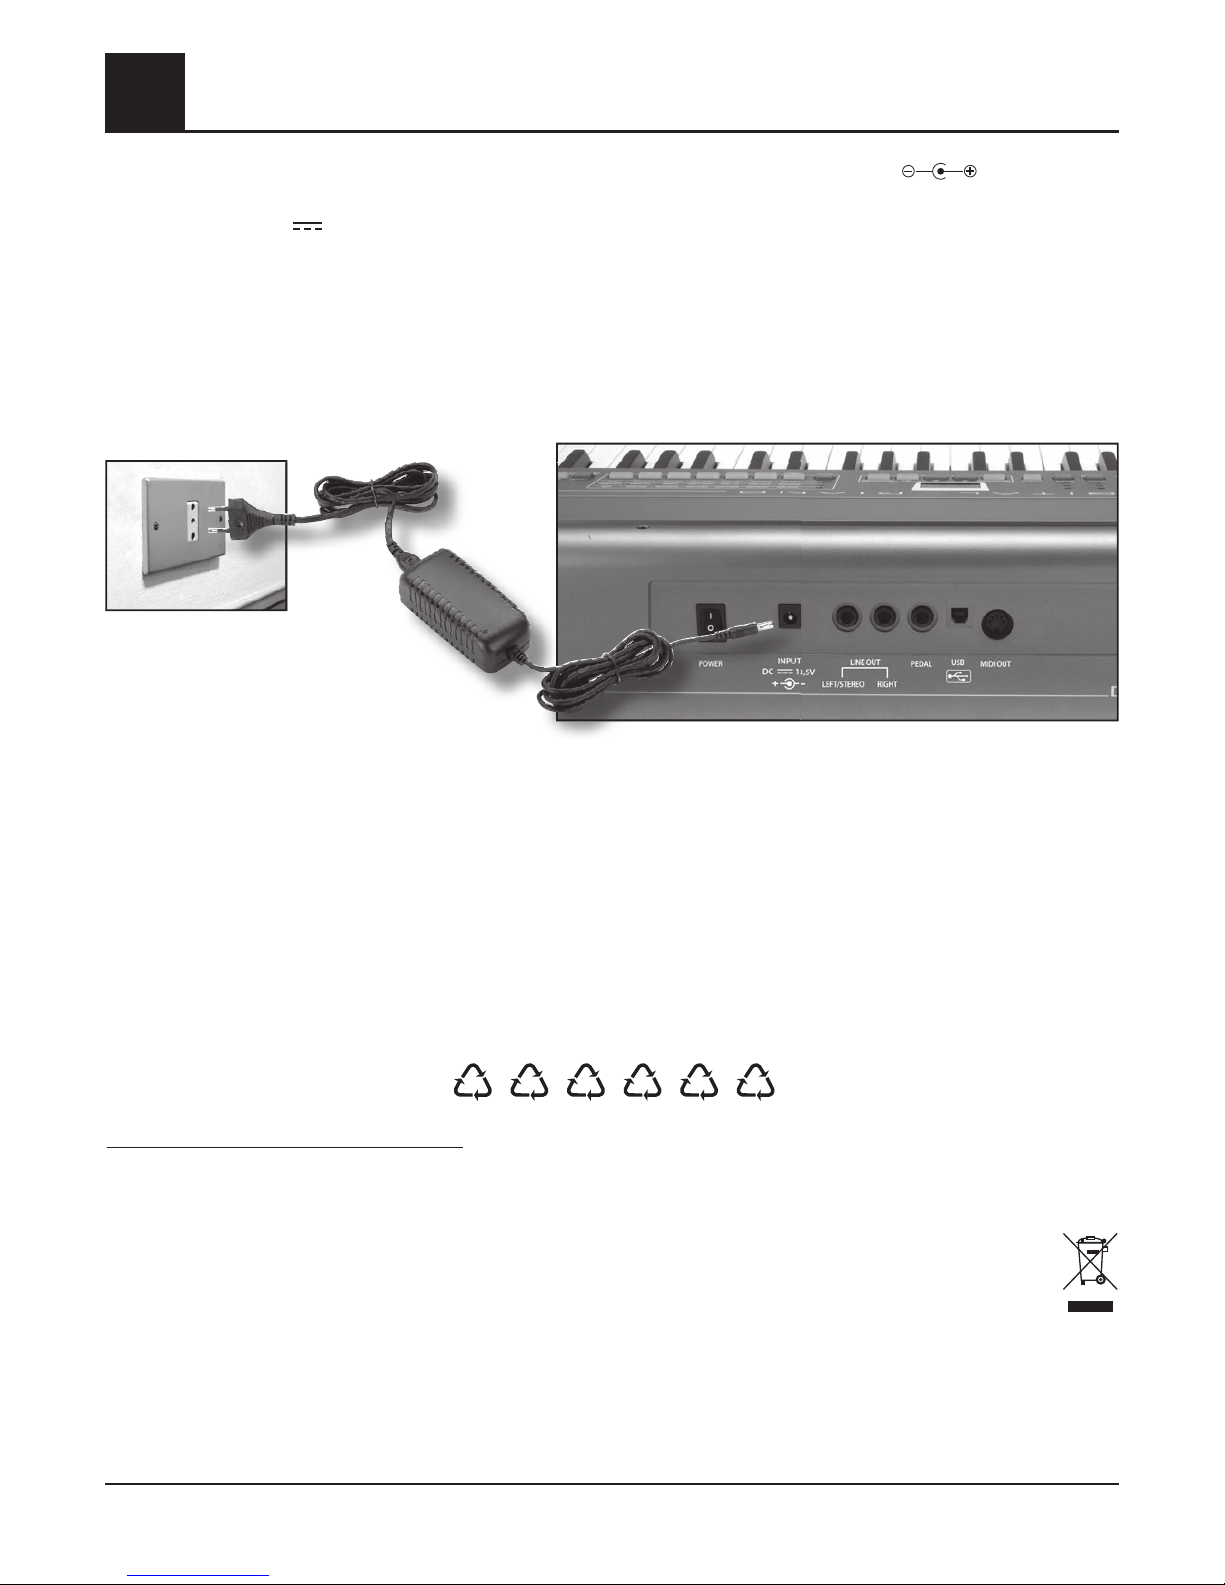
6.Power supply
The power supply is supplied by the provided AC/DC ADS 1332 adapter (V = 13.5Vdc / I = 3.25 A) central positive.
Such equipment is compliance with the national and international Standards on electrical safety.
Insert the jack in the DC 13,5V socket. Alternatively, another AC/DC adapter can be used, as long as it has the same nominal
values of those of the adapter supplied with the equipment, with the same or better features.
RECOMMENDATION: The network socket must be easily accessible to be able to connect the adapter’s plug.
ATTENTION: Every adapter, even if equipped with safety insulation, must be regularly examined to avoid possible risks due to
damages to the cable, to the plug, to the casing or to other parts. In case of faults, only contact qualified staff.
WASTE DISPOSAL STANDARDS
For information regarding the disposal of the items mentioned here below, please refer to Council Administration office regarding
specialised waste collection centres.
1 - PACKAGING DISPOSAL
Take the paper, cardboard and corrugated board to the appropriate waste collection centres. Plastic material must be placed in
the relevant collection containers.
The symbols indicating the various types of plastic are:
Key for the different types of plastic materials:
PET = Polyethylene terephtalate • PE= Polyethylene, code 02 for PE-HD, 04 for PE-LD • PVC =Polyvinyl chloride • PP= Polypropylene
• PS= Polystyrene, Polystyrene foam • O= Other polymers (ABS, Laminates, etc.)
2 - WASTE DISPOSAL OF USED ELECTRICAL AND ELECTRONIC APPLIANCES
All articles displaying this symbol on the body, packaging or instruction manual of same, must not be thrown away into
normal disposal bins but brought to specialised waste disposal centres. Here, the various materials will be divided by
characteristics and recycled, thus making an important contribution to environmental protection.
01
PET02PE03PVC
05
PP06PS
07
O
8
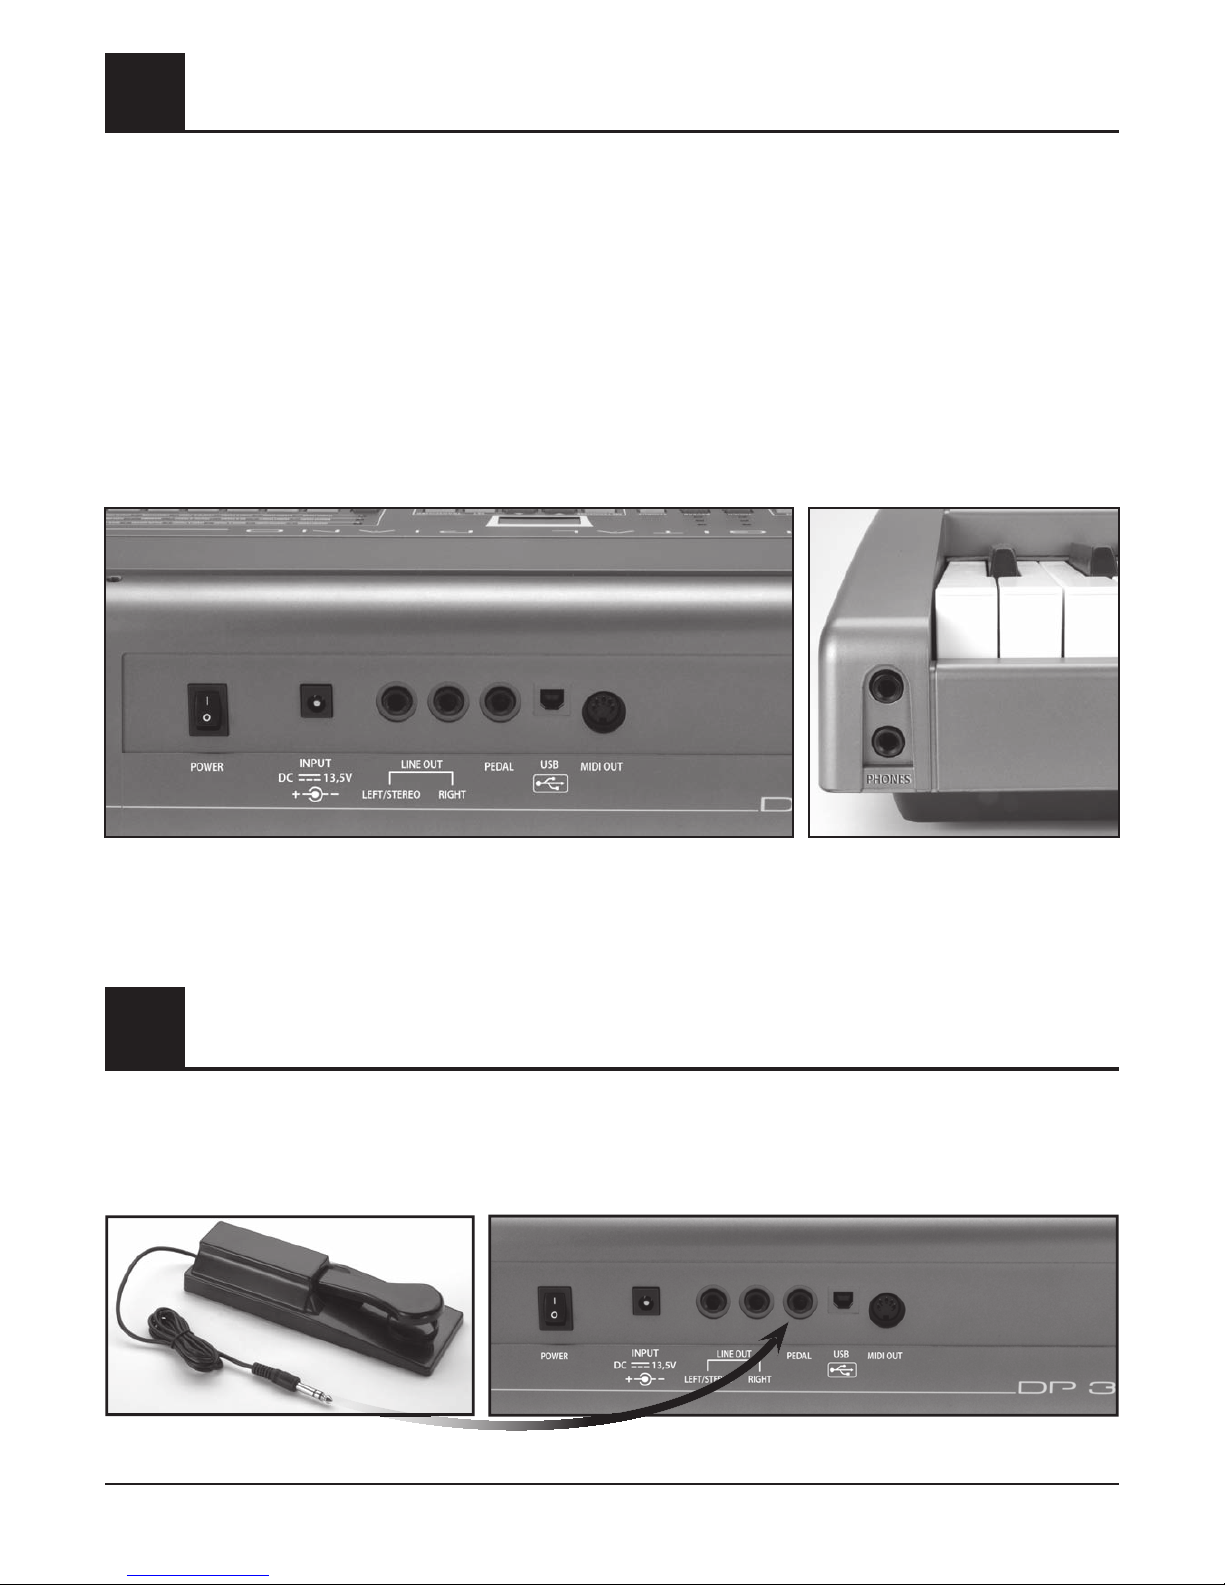
7.Sockets
POWER - To switch the instrument on and off.
INPUT DC 13.5 V - Allows powering the instrument by means of an AC/DC adapter.
LINE OUT (LEFT/STEREO - RIGHT)
- Mono audio output of the left and right channels for connection to an external amplification.
The LEFT/STEREO output, by inserting a STEREO connector, allows detecting both LEFT and RIGHT signals.
PEDAL - Socket for sustain pedal.
USB - Socket for connecting the digital piano to a computer using a USB cable (not included).
MIDI OUT - Socket for connecting the digital piano, using an appropriate cable (not included), to a MIDI unit and transmit data.
PHONES - There are 2 sockets present for headphones placed on the left front side of the instrument. The upper excludes the
internal amplifier upon insertion of the headphone’s jack, whereas the lower one does not. We recommend using headphones
with 16-32 Ohm impedance
8.The Sustain Pedal
A normally-open pedal switch can be connected to the PEDAL socket.
It is used to lengthen the sound of the notes.
 Loading...