

Page 1
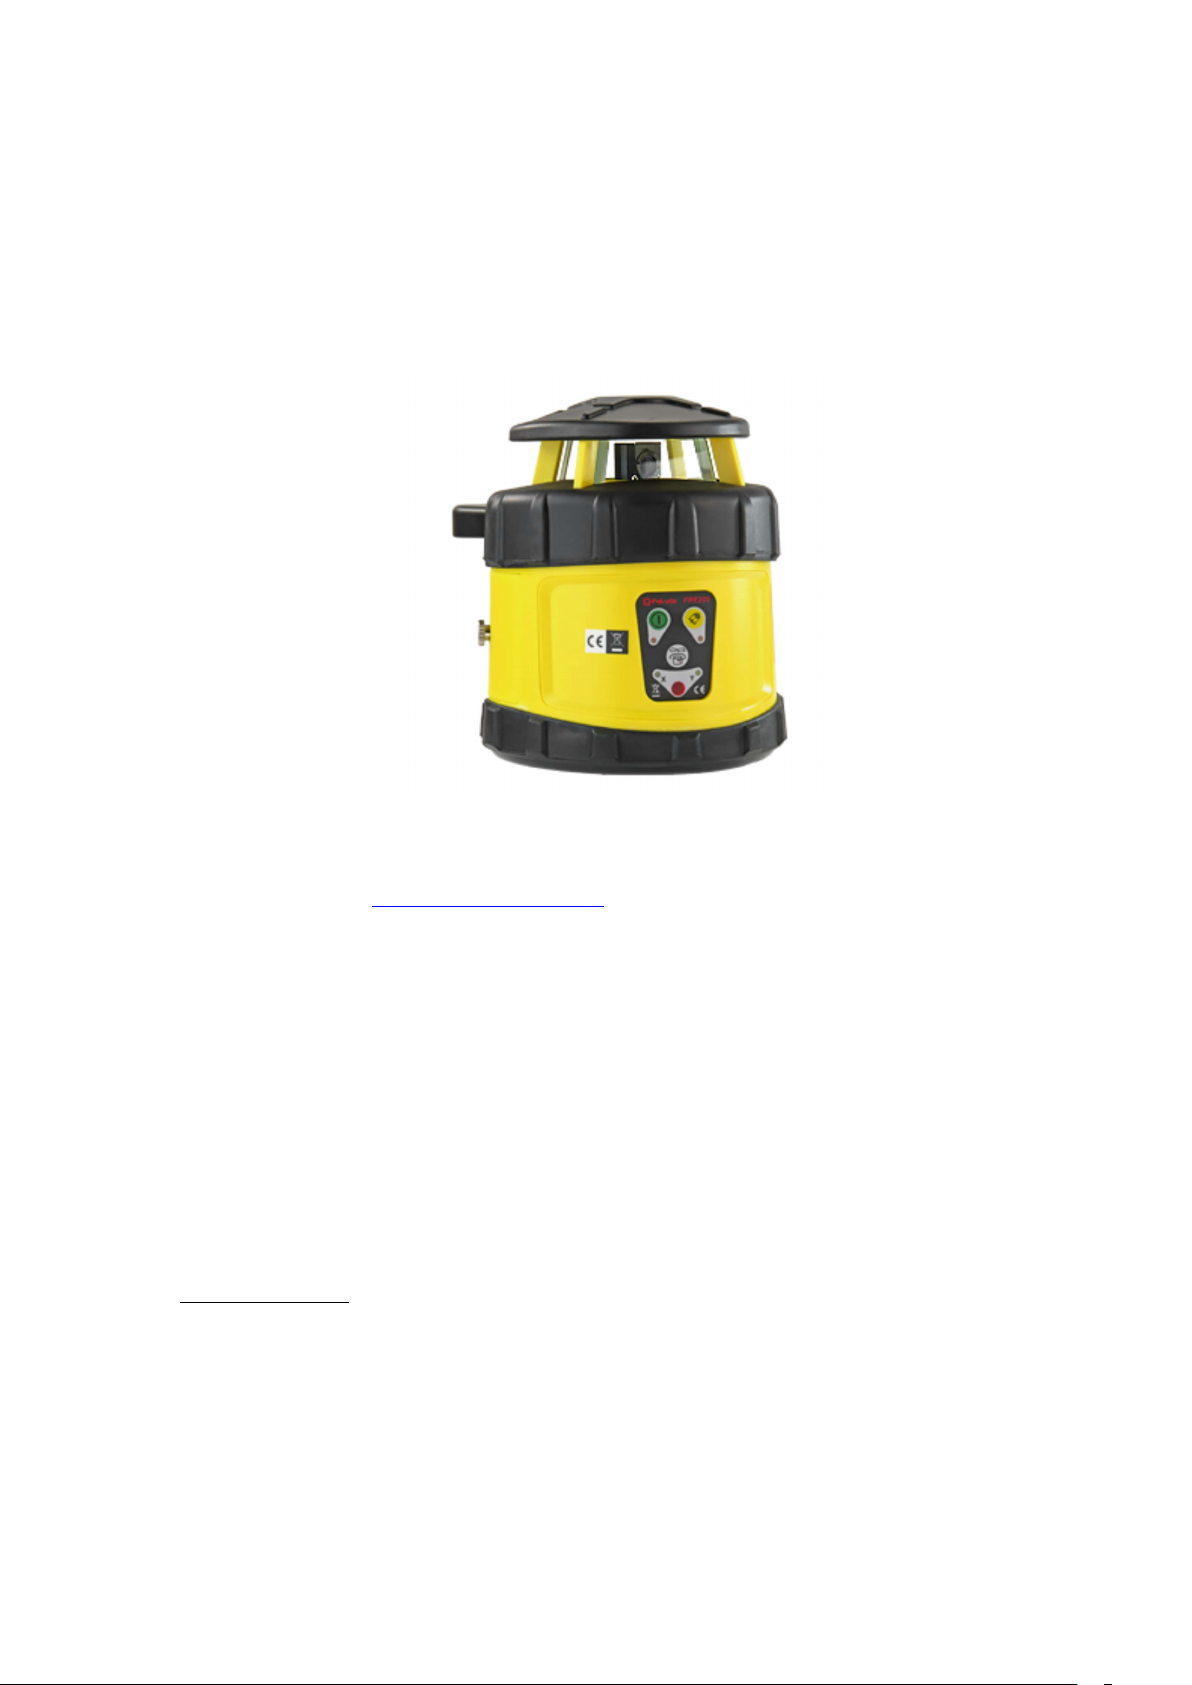
Fukuda FRE-205
1
INSTRUCTIONS
Supplied by Laser Levels Online – The Laser Level Specialists
www.laser-level.co.uk Tel: 08000 869 769
Thank you for purchasing the Fukuda FRE-205 Auto Rotary laser level kit.
These instructions are intended to explain the quick basics to operating this
equipment. If you purchased a New “DUO” kit, then an EK-112R cross-line
laser level is also included.
For any more information, or if the laser requires calibration or repair; then
please contact our Service Department on Tel. 01246 260 007.
Email: [email protected] We are here to help.
Power source:
Unscrew the battery cover screw & remove panel.
Fit 4 x type AA high capacity Ni-MH rechargeable batteries. The mains
charger (supplied) will charge these batteries in around 6-8 hours. It takes 4
to 5 charge/discharge cycles for the batteries to reach their maximum
capacity.
Page 2
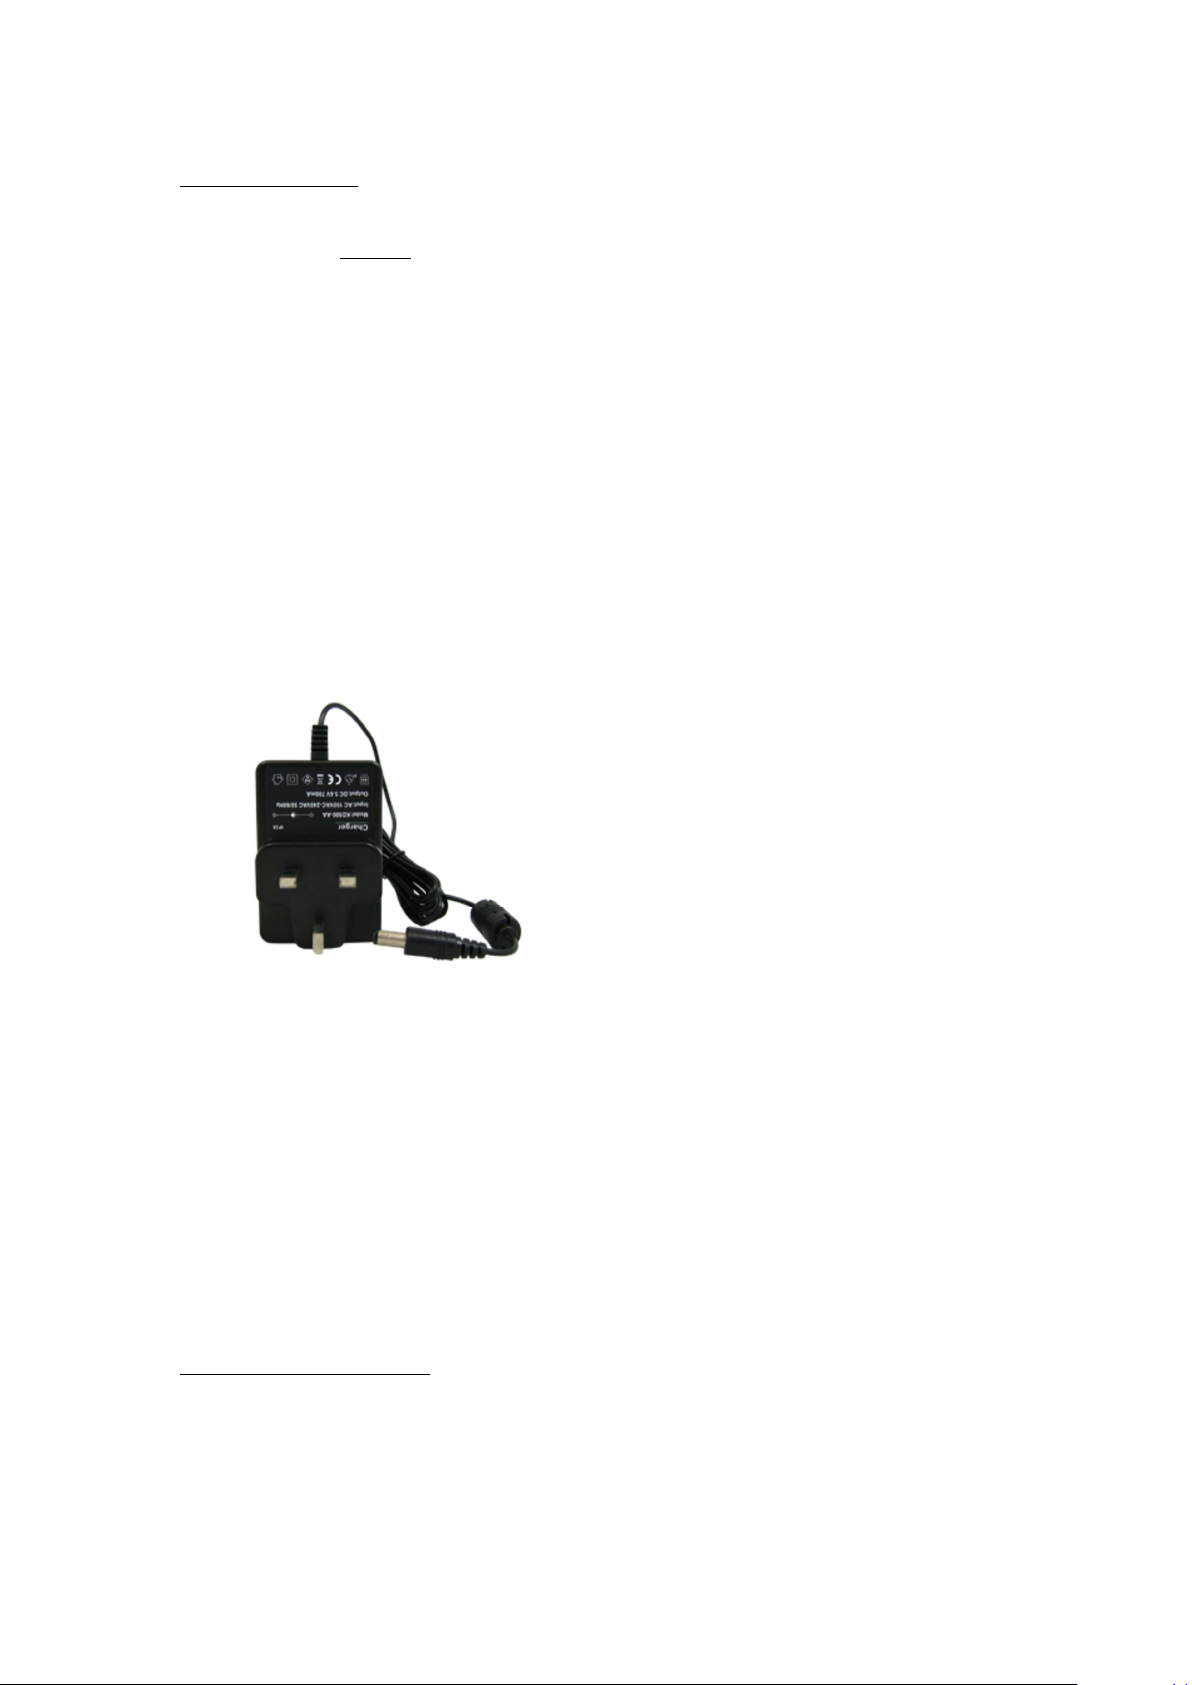
Mains Charger:
2
The general procedure to adopt is to use the laser by day & charge it up
overnight. You cannot damage the system by "over-charging".
When plugged into a mains supply, the red Charger LED flashes ON/OFF
every second.
Connect to the laser socket & the Charger LED should be ON continuously. ie.
Red LED = charging; Green LED = sufficient charge to operate the laser.
Even though the Green LED is ON, we recommend a full 6-8 hour charge
time.
The FRE-205 can be operated with the charger connected to the mains
supply, if required. Please note, this can and must only be done indoors and
where site safety rules permit 230V use.
On receipt of your new laser, we recommend that you fully charge the
batteries for 6-8 hrs.
When on charge, there is NO indication on the laser itself; only the LED on
the Charger.
Four type AA alkaline batteries can be used instead or in emergency, but do
NOT attempt to recharge them, otherwise serious damage will occur to both
the batteries and the laser instrument.
Positioning the Laser:
Mount the FRE-205 on a generally level, firm surface or 5/8” threaded tripod.
To operate correctly, this surface must be within +/-5 deg of true horizontal.
The laser can be used indoors or outdoors, where it is waterproof to IP54.
Page 3

Controls:
3
Power ON/OFF via the green button. Red LED illuminates, the laser takes 15
to 20 seconds to auto level, then the prism head rotates & projects a visible
red laser beam. (If the red LED flashes, this denotes low battery power - so
recharge laser as soon as possible).
The central speed control button, stops the red dot then increases the head's
rotational speed in 4 steps, up to a maximum speed of 600rpm.
For Indoor work use slower speeds, where the beam is easier to see; but for
Outdoor Groundworks – operate the laser at its maximum speed; which gives
the best range, when used with the supplied Laser Detector.
Grading:
This is a DUAL grade facility laser level. This means that the instrument can
be switched to Manual (to over-ride the level sensors) and then the User can
set a grade (incline/slope) in the X axis only, Y axis only or both together.
For X & Y alignment, please see the markings on the black rubber TOP of the
laser, where an arrow points in the direction of the axis being set.
Setting a single axis slope.
This sets the slope/grade in the X axis.
Procedure – switch ON, FRE-205 then auto levels. Press central top button
(bubble level symbol) on the Remote Control & the green LED X illuminates
on the Laser. The FRE-205 is now set to MANUAL.
Again on the Remote Control, press either the + or - buttons to set
appropriate grade/slope required. This is done by holding your finger on the
buttons, not just clicking it on & off.
To return to Auto level, press central top button again (on your Remote
Control) & green LED goes off. The Laser will stop rotating, wait to find true
level again, then automatically restart, self levelled.
Setting Y axis slope.
The procedure is similar to setting the X axis (as described above).
Procedure – switch ON, FRE-205 then auto levels. Press central top button
(bubble level symbol) on the Remote Control & the green LED X illuminates
on the Laser. The FRE-205 is now set to MANUAL.
Then press the bottom right-hand button (marked either X/Y or Adjust) on
the remote control, the Green Y axis LED illuminates and the X LED goes off.
Page 4
Again by pressing either the + or - buttons, the Y axis can now be set.
4
To return to auto (self) level, press the "bubble level, MANUAL" button again.
Automatic Drift System (ADS) - ie. "bump sensor":
Operated via yellow button, showing a "picture of a tilted instrument"
Once the FRE-205 is ON and rotating in the auto (self) levelled mode, the
automatic drift system can be activated. Press the button, the red LED will
flash on/off for 20 secs after which the LED will be red continuously.
ADS is now ON.
If the Laser is knocked or caught by a gust of wind, for example; the laser
head will stop rotating and the red ADS LED flash to warn the User of the
problem.
Return to the laser to check all is OK, then press the ADS button again. The
laser will reset back to AUTO level.
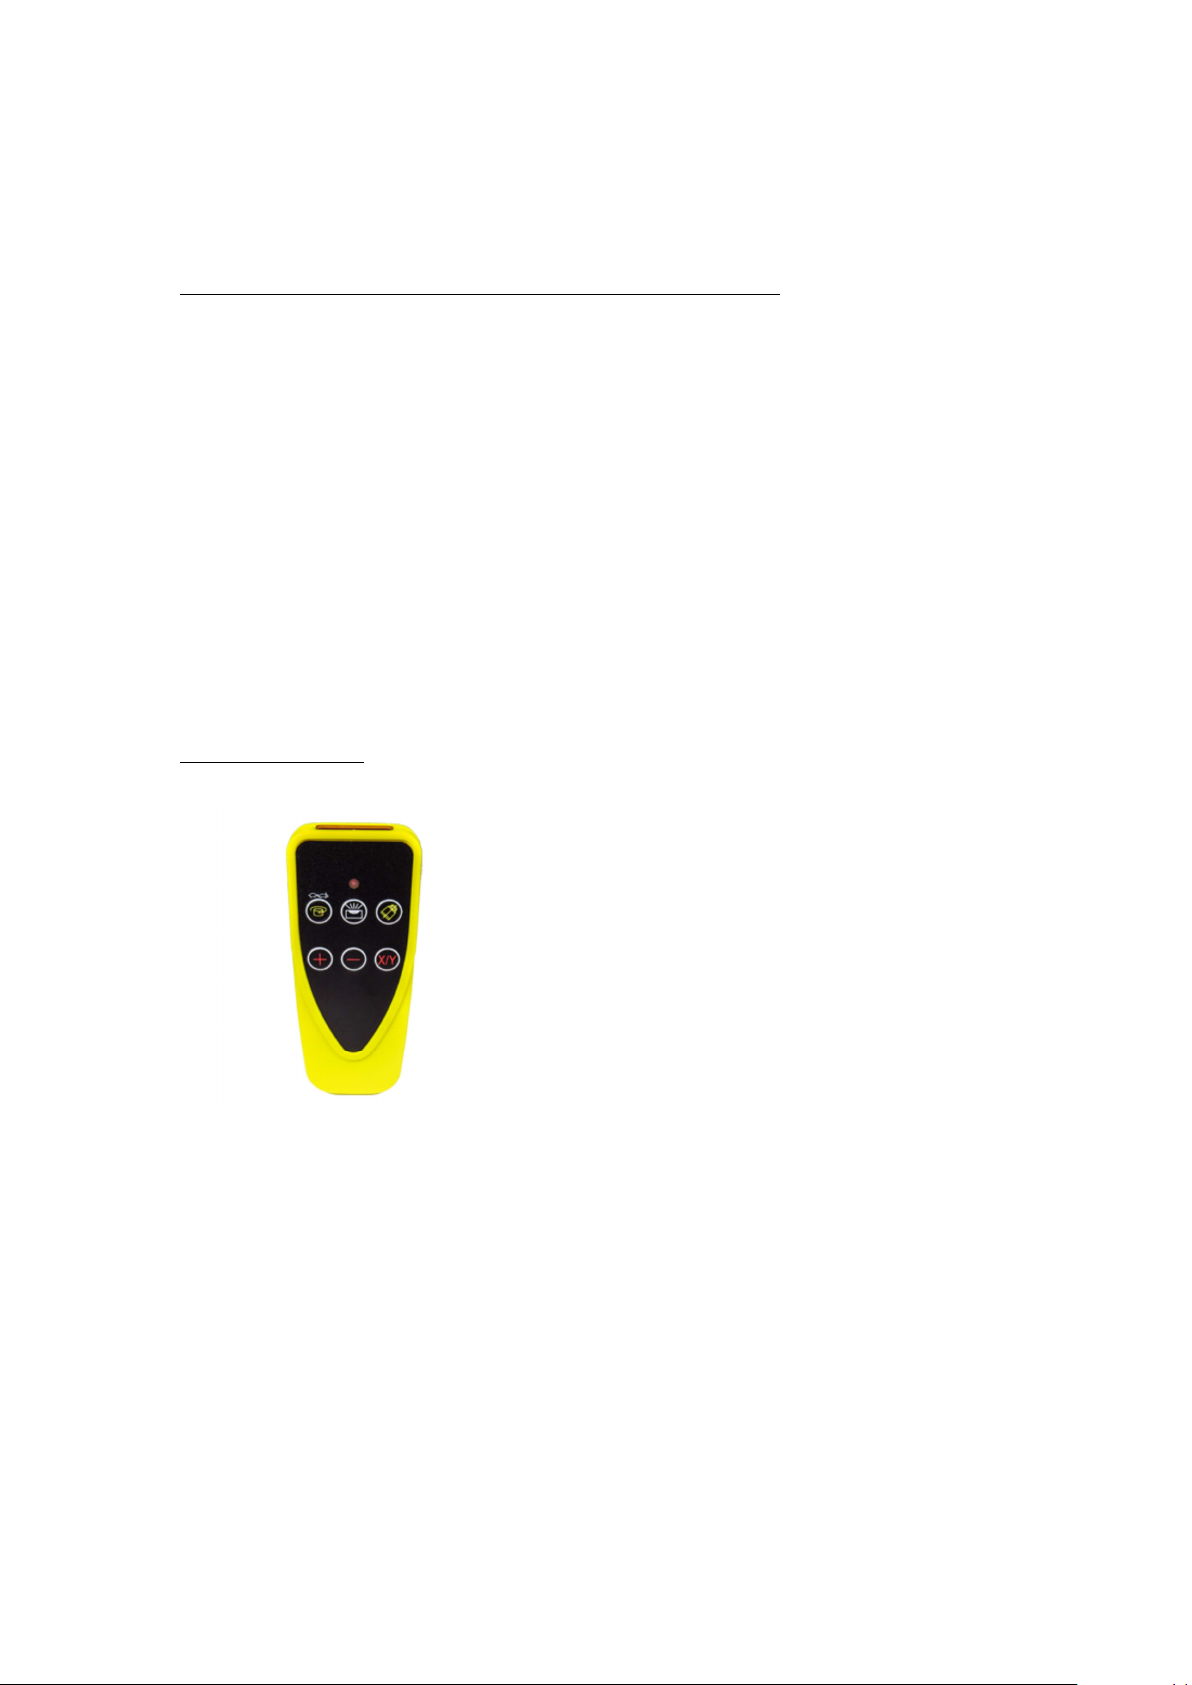
Remote Control:
Fit 2 x AAA batteries, taking care with correct polarity.
The Remote’s keypad can set the following functions:
1. Rotating speed in increments, slow for indoors, fast (max.) for outdoors.
2. Auto / Manual (grade) setting.
3. ADS (see above)
4. Red +/- buttons to set required slope/grade.
TIP! It is better to use the Remote Control rather than the instrument's
keypad, because then you do not disturb the laser's sensitive mechanism.
5. Button marked either X/Y or "Adjust" to change from X to Y axis grading.
Page 5
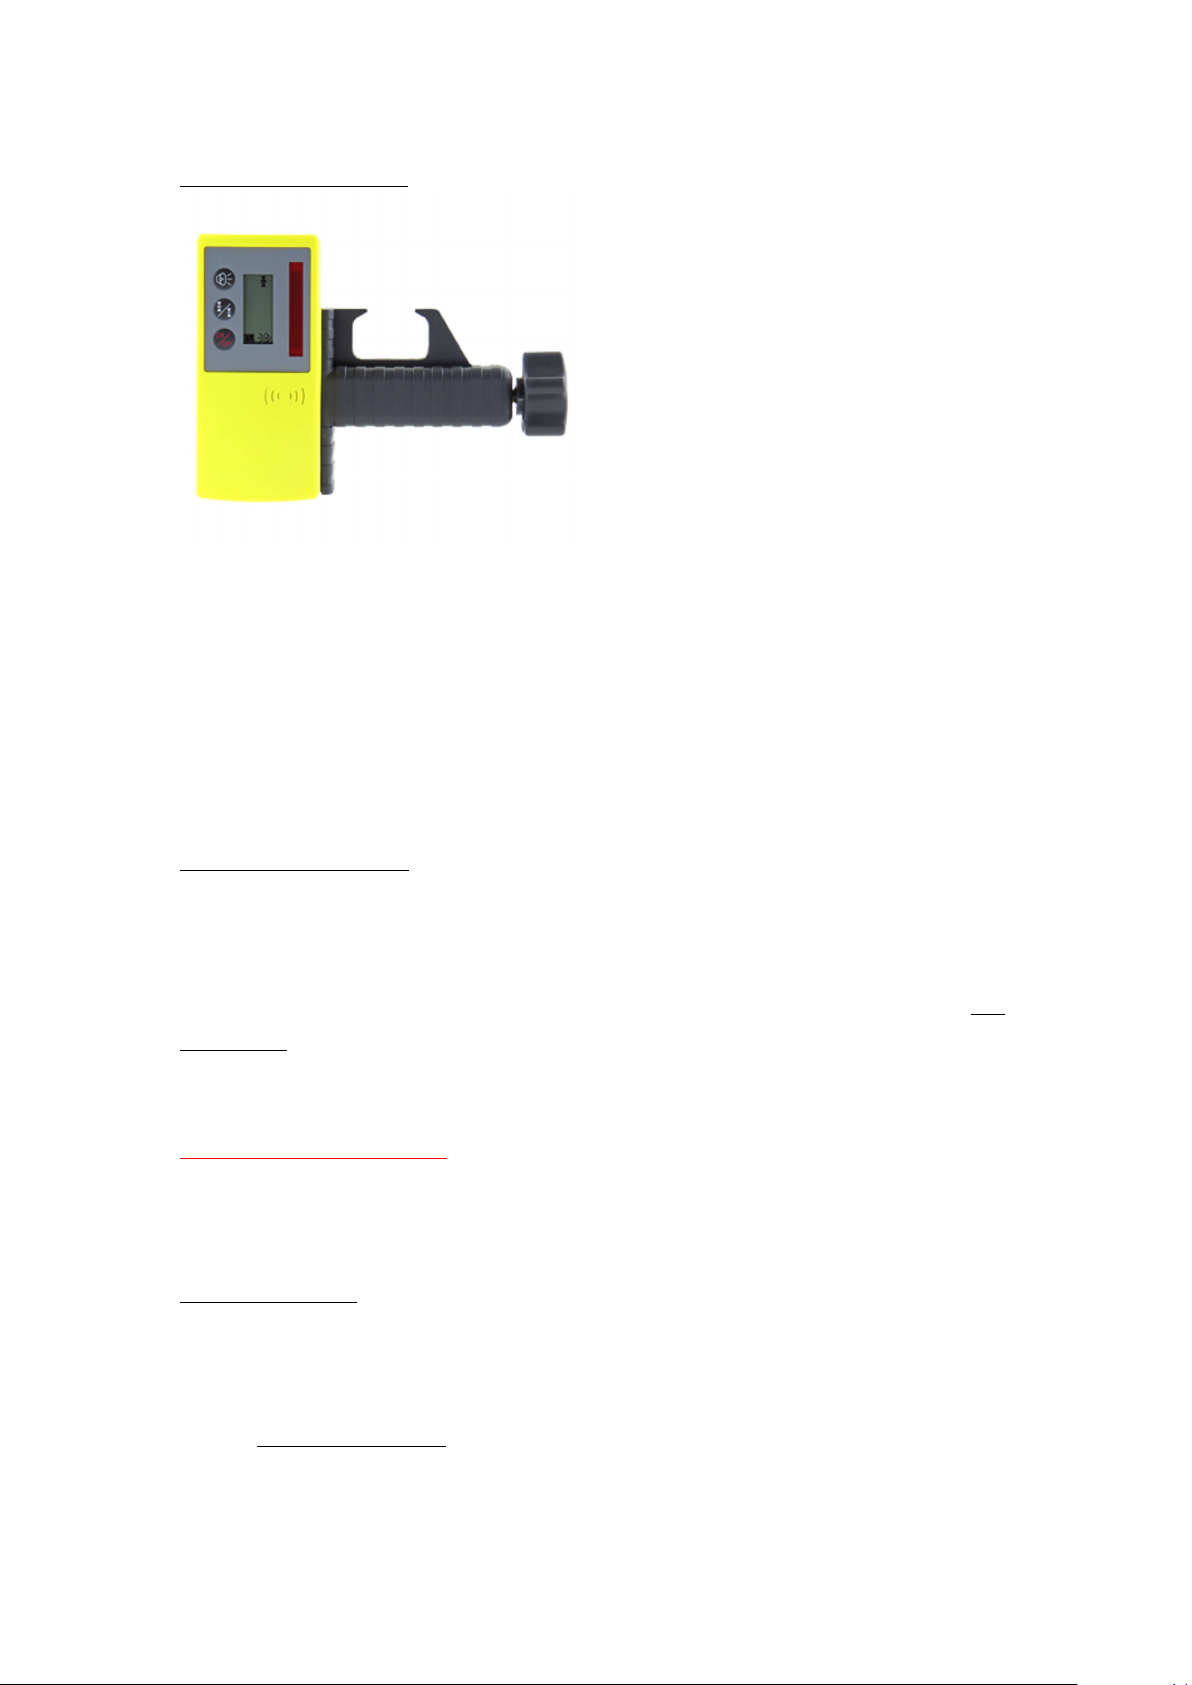
Detector (receiver):
5
Fit the supplied 9V battery, polarity marked. Power up - via red ON/OFF
button.
The middle button sets sensitivity ie coarse (+/-2mm) or fine setting(+/-
1mm)
Top button switches the audible sounder ON or OFF, if required.
A rear LCD repeats the main front display.
Use with or without its staff mounting bracket.
Detector Procedure
Face the detector towards the laser & locate the rotating laser beam via the
red pick-up window.
If the sun is low in the sky & into the red window, shield it with a cupped
hand to prevent false readings. Positioning the FRE-205 itself in full sun is not
a problem, but the detector window can in some instances be affected by
direct bright sunlight or reflections. So please take extra care!
SAFETY PRECAUTIONS:
Comply with class 2 laser operating safety procedures.
Display a Laser Safety Notice in the work area.
General Advice:
This is an accurate measuring device - so to give good service, look after it!
Prevent the FRE-205 from receiving severe knocks, bangs or vibration.
Store the laser & its accessories in the supplied carry case.
If wet, dry before storing & keep in storage temps between 5 to 30 deg C.
Remove all batteries before long term storage, to prevent internal damage.
Page 6
There are NO User serviceable parts. (This would void the warranty).
6
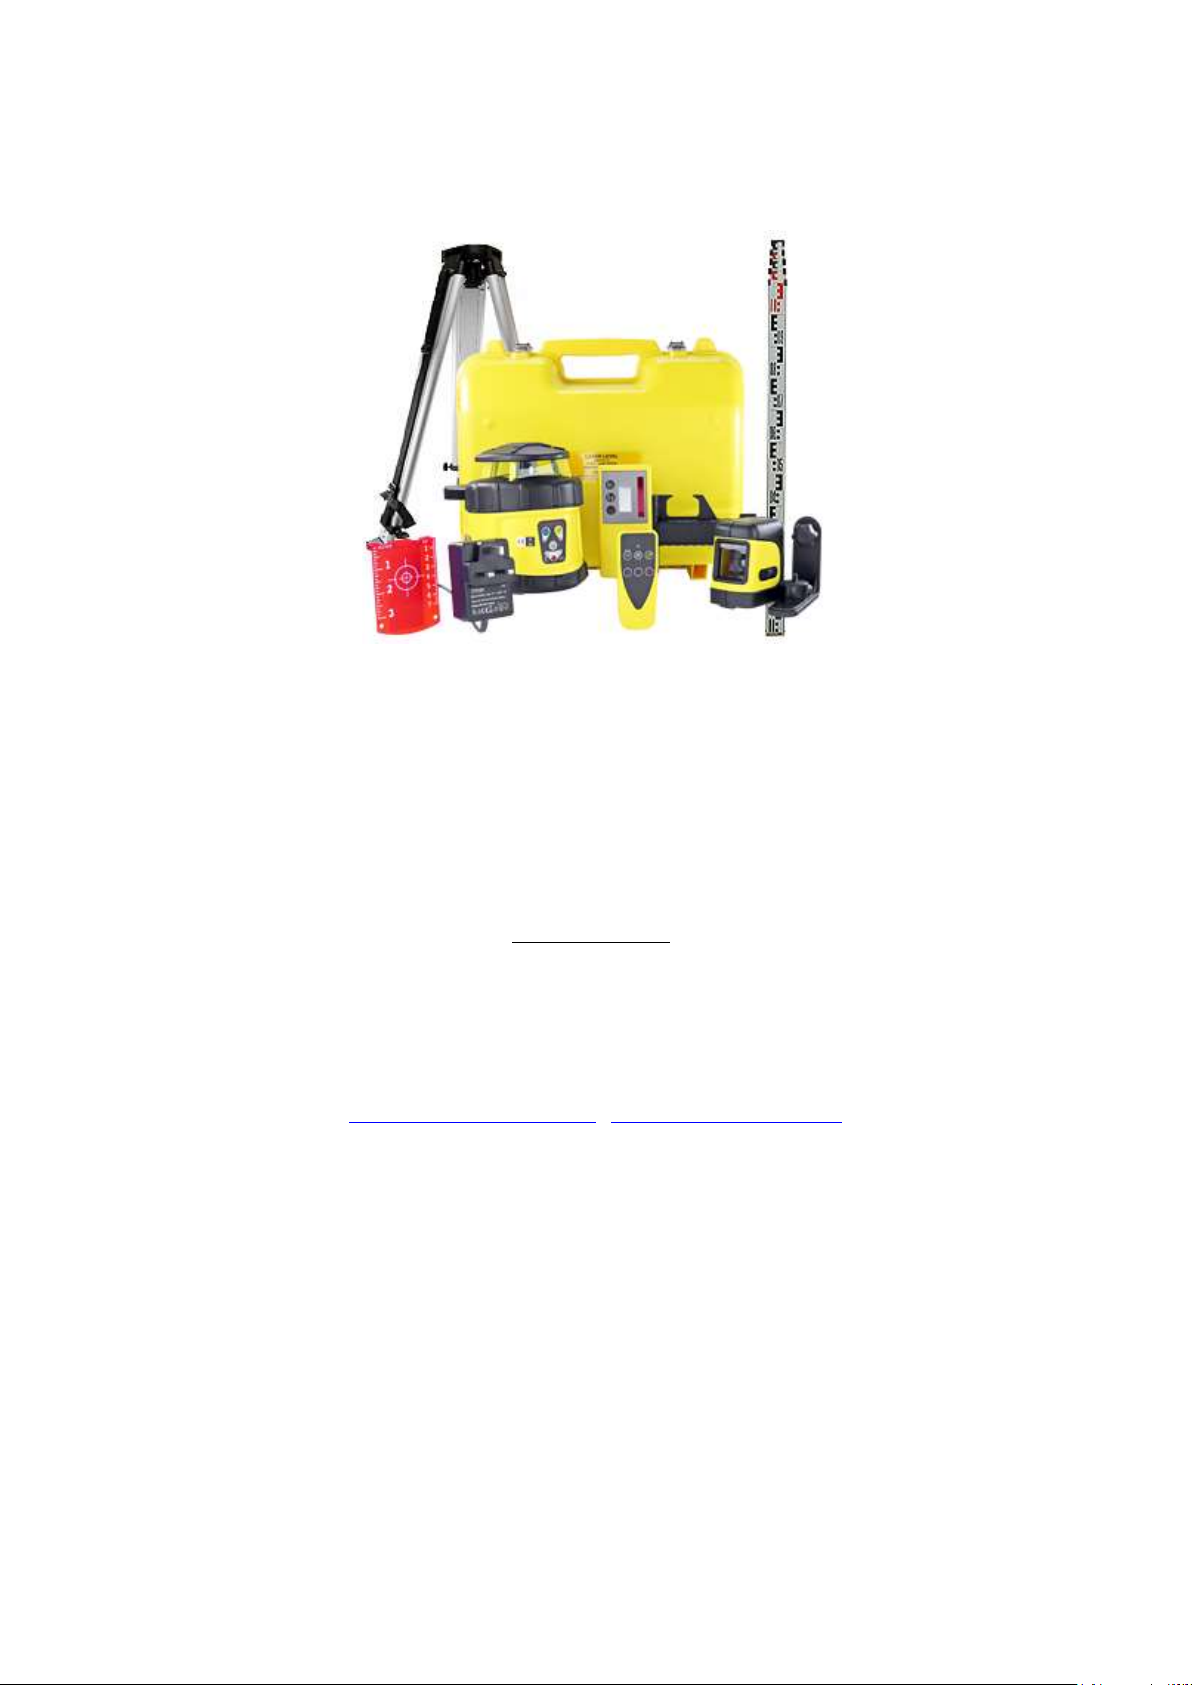
(DUO kit pictured)
We offer a full back-up service including repairs, calibration & usage advice.
Accessories for the various Trades are also available, on request.
eg. Tripods, staffs, pole kits & wall brackets etc.
To contact us:
Laser Levels Online, Unit 35, Bridge Business Centre,
Beresford Way, CHESTERFIELD, S41 9FG. England.
Tel: 01246 269 777 / Service Tel: 01246 260 007
[email protected] www.laser-level.co.uk
“Laser Levels Online” is an online trading division of
P. R Engineering Ltd
 Loading...