

Page 1
P3PC-3812-01ENZ0
ScanSnap N1800 Network Scanner
Salesforce Chatter Add-in User’s Guide
Page 2

Contents
Introduction .................................................................................. 4
■ About This Manual ............................................................... 4
■ Opening Help ........................................................................ 5
Chapter 1 Overview ................................................................. 6
1.1 Features of the Salesforce Chatter Add-in .................... 7
1.2 System Requirements ..................................................... 8
Chapter 2 Installation/Uninstallation ................................... 10
2.1 Installing the Salesforce Chatter Add-in ..................... 11
2.2 Uninstalling the Salesforce Chatter Add-in ................ 13
Chapter 3 Regular User Operations ..................................... 14
3.1 Posting the Scanned Data to Salesforce Chatter ....... 15
2
Page 3

3
Page 4
Introduction
Thank you for using the Salesforce Chatter Add-in.
This manual aims to provide administrators and regular users with an overview of the Salesforce
Chatter Add-in, and instructions on its installation, uninstallation, and operations.
We hope that this manual will provide you with useful information in order to utilize the Salesforce
Chatter Add-in.
Trademarks
Salesforce, the Salesforce logo, and Salesforce CRM are registered trademarks or
trademarks of salesforce.com, inc. in the United States and other countries.
ScanSnap and the ScanSnap logo are registered trademarks or trademarks of PFU LIMITED
in Japan.
Manufacturer
PFU LIMITED
International Sales Dept., Imaging Business Division, Products Group Solid Square East
Tower, 580 Horikawa-cho, Saiwai-ku, Kawasaki-shi Kanagawa 212-8563, Japan
Phone: (81-44) 540-4538
© PFU LIMITED 2011
■About This Manual
Symbols Used in This Manual
The following symbols are used in this manual:
This symbol alerts operators to particularly important information. Be sure to
read this information.
This symbol alerts operators to helpful advice regarding operations.
4
Page 5
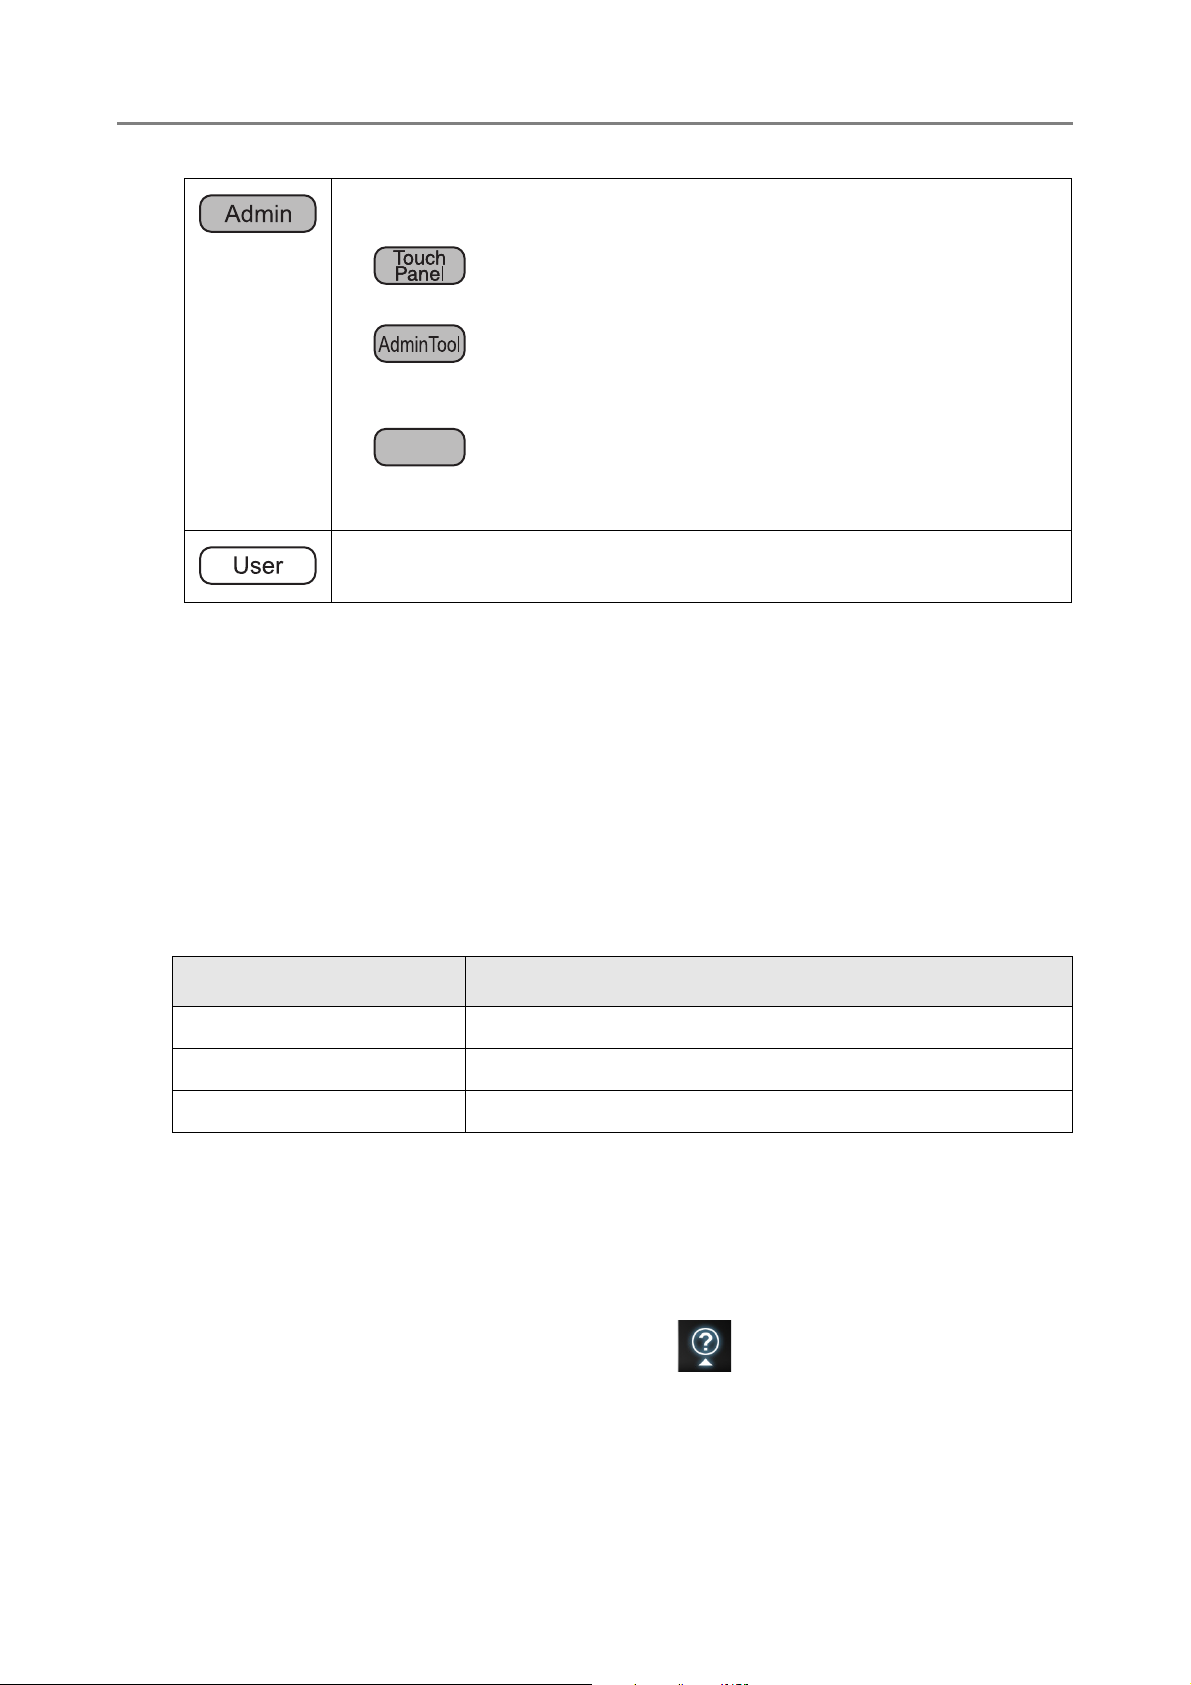
This symbol is used to indicate information about administrator operations.
Central Admin
Console
Each operation method is indicated by the following symbols:
z
Administrator operating via the LCD touch panel.
z
Administrator operating via the network interface using the Network Scanner
Admin Tool.
z
Administrator operating via the network interface using the Scanner Central
Admin Console.
This symbol is used to indicate information about regular user operations.
Screen Examples in This Manual
The screen examples in this manual are subject to change without notice in the interest of
product improvement.
The actual windows and operations may differ depending on the operation method. If the
actual screen differs from the screen examples in this manual, operate by following the actual
displayed screen.
Abbreviations Used in This Manual
The following abbreviations are used in this manual:
Abbreviation Name
Admin Tool Network Scanner Admin Tool
Central Admin Console Scanner Central Admin Console
Scanner ScanSnap N1800
■Opening Help
When the [Help] button is available on the window or dialog box that is displayed during the
operation, you can open Help by pressing it.
Help provides information about items on the screens and actions to take for the messages.
On the touch panel, the Help button is displayed as .
5
Page 6

Chapter 1
Overview
This chapter provides an overview of the Salesforce Chatter Add-in.
1.1 Features of the Salesforce Chatter Add-in ........................................................... 7
1.2 System Requirements ............................................................................................ 8
6
Page 7

1.1 Features of the Salesforce Chatter Add-in
The Salesforce Chatter Add-in is an application used for posting scanned data to
Salesforce Chatter.
Posting scanned data to Salesforce Chatter enables scanned data to be viewed from
anywhere at anytime by logging into Salesforce Chatter via a Web browser.
For details about how to install and uninstall the Salesforce Chatter Add-in, refer to
"Chapter 2 Installation/Uninstallation" (page 10).
For the Salesforce Chatter Add-in, the following is regarded as user information.
z User name, password, and security token used for Salesforce authentication on
the [Salesforce Authentication] window
z List of accounts (up to five user names)
z Posting method, setting for whether to post a message, posting destination
z Scan settings
z Setting for whether to remember the password
z Message and description for posting
z File name format
When scanner user information is backed up and restored, this information is also backed
up and restored.
For details about how to back up or restore user information, refer to the Operator’s Guide
of the ScanSnap N1800.
7
Page 8

1.2 System Requirements
The Salesforce Chatter Add-in runs under the following conditions:
Scanner System Version
ScanSnap N1800 ss001 01.01.01.0046 or later
Access to the Internet must be possible for using the Salesforce Chatter Add-in and
posting to Salesforce Chatter.
A Salesforce account that is enabled for posting to Salesforce Chatter must be created in
advance.
1.2 System Requirements
8
Page 9

9
Page 10

Chapter 2
Installation/Uninstallation
This chapter explains how to install and uninstall the Salesforce Chatter Add-in.
For details about operations of the ScanSnap N1800, refer to the Operator’s Guide of the
scanner model.
2.1 Installing the Salesforce Chatter Add-in............................................................. 11
2.2 Uninstalling the Salesforce Chatter Add-in........................................................ 13
10
Page 11

2.1 Installing the Salesforce Chatter Add-in
Central Admin
Console
The Salesforce Chatter Add-in can be installed by selecting
"NetScanner_ScanToSalesforce_1.1.1" on the [Add-in Software] window, and pressing
the [Install] button.
"1.1.1" in the name of the file to be installed indicates the version.
The version may change when a new file is provided for the Salesforce Chatter Addin.
When the Salesforce Chatter Add-in is installed, "ScanToSalesforce" is shown in the list.
11
Page 12

2.1 Installing the Salesforce Chatter Add-in
There is no need to configure an Add-in settings file or set whether to show the
keyboard.
The keyboard can be shown regardless of the [Show On-Screen Keyboard] setting.
On the regular user’s [Main Menu] and [Job Menu] window, the [Scan to Salesforce
Chatter] button is shown.
Example: On the [Main Menu] window, the button is shown as below.
12
Page 13

2.2 Uninstalling the Salesforce Chatter Add-in
Central Admin
Console
The Salesforce Chatter Add-in can be uninstalled by selecting "ScanToSalesforce" on the
[Add-in Software] window, and pressing the [Uninstall] button.
When the Salesforce Chatter Add-in is uninstalled, "ScanToSalesforce" is deleted from the
list.
User information for the Salesforce Chatter Add-in is not deleted.
13
Page 14

Chapter 3
Regular User Operations
This chapter explains regular user operations after the Salesforce Chatter Add-in is
installed.
For details about operations of the ScanSnap N1800, refer to the Operator’s Guide of the
scanner model.
3.1 Posting the Scanned Data to Salesforce Chatter............................................... 15
14
Page 15

3.1 Posting the Scanned Data to Salesforce Chatter
Post the scanned data to Salesforce Chatter.
Up to 100 files can be posted to Salesforce Chatter at one time.
1. On the [Main Menu] or [Job Menu] window, press the [Scan to Salesforce
Chatter] button.
D The [Salesforce Authentication] window appears.
When the following conditions are satisfied, Salesforce authentication is
performed for the previously used Salesforce account and the [Scan to
Salesforce Chatter] window appears.
z If you logged in with an account other than a guest account
z If the password was set to be remembered
15
Page 16

3.1 Posting the Scanned Data to Salesforce Chatter
2. Enter a user name and password for logging into Salesforce. When you
are logged into the scanner with an account other than a guest account,
select whether to remember the password.
If you have logged into Salesforce before, you can select the previously used
user name from the [Account List] window, which is shown by pressing .
16
Page 17

3. Press the [OK] button.
D The [Scan to Salesforce Chatter] window appears.
To change the scan settings, press for [Scan Settings]. For details, refer to
the Operator’s Guide of the ScanSnap N1800.
17
Page 18

3.1 Posting the Scanned Data to Salesforce Chatter
4. Press for [Method], and select a method for posting scanned data.
z For [Post to Chatter], select whether to post with a message for [Post Message].
To post a message, press , and enter a message on the [Chatter Information]
window.
z For [Post as an attachment], messages cannot be posted.
5. Press for [Post to].
D The [Destination Selection] window appears.
18
Page 19

6. Press for [Object].
D The [Object Selection] window appears.
7. Select an object for a destination.
D In [Destination List] on the [Destination Selection] window, a list of destinations
are shown according to the selected object.
8. Select a destination in [Destination List], and press the [OK] button.
To filter destinations to be shown in the destination list, enter a search string in
[Search Keyword], and press .
Destinations containing the search string are shown.
D The selected destination is shown in [Post to].
19
Page 20

3.1 Posting the Scanned Data to Salesforce Chatter
9. For [File Name], enter a file name for the scanned data to be posted to
Salesforce Chatter.
z The following file names cannot be used:
z CON
z PRN
z AUX
z CLOCK$
z NUL
z COM0 - COM9
z LPT0 - LPT9
z The following symbols cannot be used:
\ / * " : < > ? |
On the [File Name] window which is shown by pressing for [File Name], a
default file name format can be selected.
10. Press the [Scan] button.
When [Scan Viewer] is [Off], press the [Scan&Post] button.
D The scanning starts.
D The procedures after scanning or for viewing the scanned data are the same as
when scanned data is sent via e-mail or saved to a folder. For details, refer to the
Operator’s Guide of the ScanSnap N1800.
11. When the posting process is completed, the [Main Menu] or [Job Menu]
window is shown again.
20
Page 21

21
Page 22

ScanSnap N1800 Network Scanner
Salesforce Chatter Add-in
User’s Guide
P3PC-3812-01ENZ0
Issue date June 2011
Issued by PFU LIMITED
zThe contents of this manual are subject to change without notice.
zPFU LIMITED assumes no liability for incidental or consequential
damages arising from the use of this Product, and any claims by a
third party.
zCopying of the contents of this manual, in whole or in part, as well
as the scanner applications is prohibited under the copyright law.
 Loading...