

Page 1

Copyright Fujitsu Australia Ltd and its licensors © 2007
1
17inch / 19inch Color LCD MONITOR
User’s Manual
Before operating the monitor, please read this manual thoroughly, and
retain it for future reference. It will help you to operate your monitor easily.
All rights reserved
Page 2
Copyright Fujitsu Australia Ltd and its licensors © 2007
2
Contents
1. Notice ………………………………………………….….. 3
(a). Safety Instructions …………………..…….. …….…. 3
(b).Information for Infrared Remote Control………….... 4
2. Technical description .................................................... 5
(a). Input and Output ports Introduction …………. …….5
(b). General Function Introduction ........................……..6
(c). Accessories with the Monitor………………….. …….6
3. Setting the monitor…………………………………………7
(a). Infrared Remote Controller operation ……………… 7
(b). Keypad operation ……………..……………………… 8
(c). OSD Menu introduction ……………………….. …….9
4. FAQ ...................................................................... …… 12
5. Appendix I ………………………………………………….13
6 .Appendix II ………………………………………… ……..14
The ”lightening flash and arrow head” within the
triangle is warning sign alerting you of
“dangerous voltage” inside the product.
The “exclamation point” within the triangle is a
warning sign alerting you of important
instructions accompanying the product.
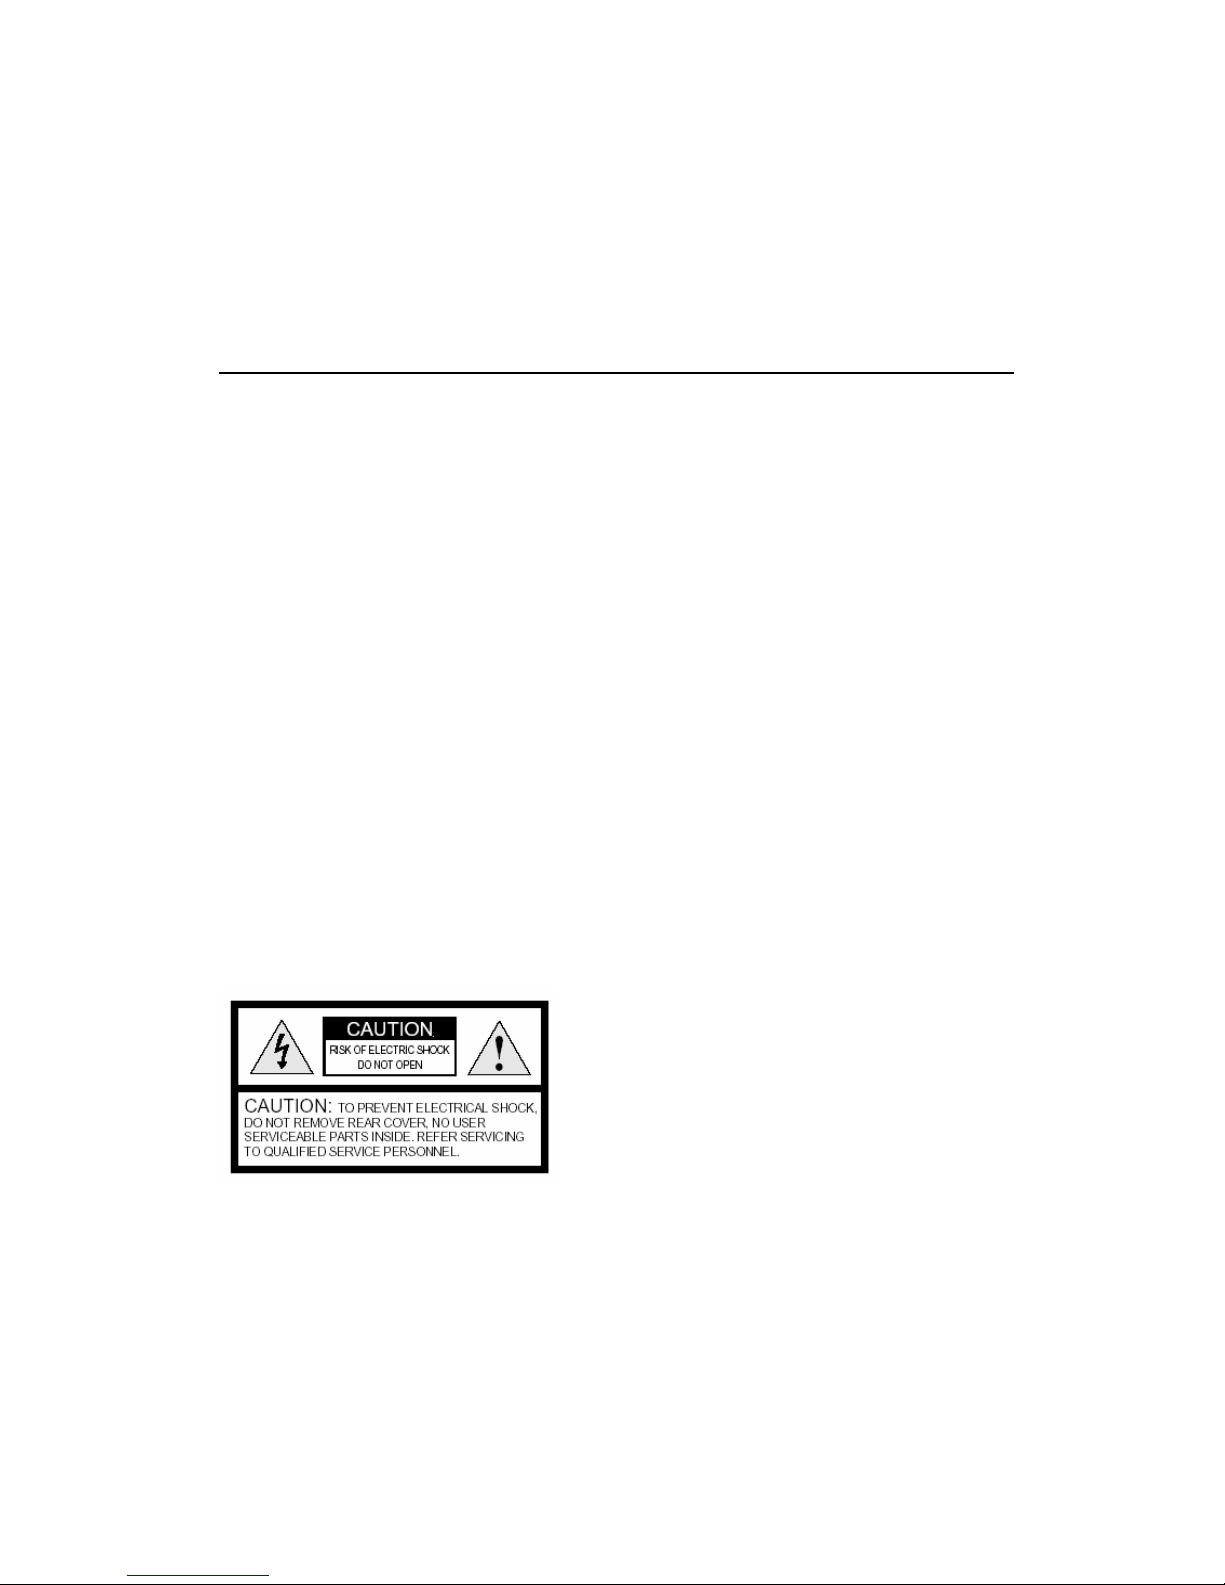
WARNING: To prevent FIRE or SHOCK hazard, do not open the case and expose this
appliance to rain or moisture.
Page 3

Copyright Fujitsu Australia Ltd and its licensors © 2007
3
1. Notice :
(a).... Safety Instructions
1). Please read instructions before operating this appliance.
2). Only use the AC adapter provided. Warranty may be void if you connect any
unauthorised AC adapter to your LCD monitor. Only use recommended and approved
parts.
3). Do not use any cover, or enclose the AC adapter with any objects, eg: such as cloth
or a box which might shorten the life of the equipment or cause a fire incident.
4). This appliance is supplied with a three pronged power cable for your safety, use
only a similar/compatible replacement if required.
5). Install monitor away from sunlight or equipment that produce heat sources such as
radiators, stoves, etc.
6). Do not install monitor in places with high temperature, high humidity or strong
electromagnetic radiation.
7). Unplug power cord from electrical outlet when electrical storms eg: lightning occurs.
8). Before connecting input/output ports such as VGA port, BNC port, S-video port,
Audio port, etc, it is strongly recommended that the monitor be turned off and the AC
power cord removed from the electrical outlet.
9). Do not move or shift the monitor when it is powered on.
10). Place the monitor on a solid, sturdy base or stand, and make sure that the stand
is strong enough to support the weight of the monitor.
11). Do not place any weighty objects on the monitor.
12). Do not touch, push or rub the surface of the LCD screen with any sharp or hard
objects.
13). When the surface of the LCD screen becomes dusty, wipe it gently with a soft
cotton cloth or other soft material like chamois leather. Do not use acetone, toluene or
alcohol to clean the surface.
Page 4

Copyright Fujitsu Australia Ltd and its licensors © 2007
4
14). Wipe off water, or saliva as soon as possible, as long exposure time to liquids
can cause deformation and color fading to the LCD screen.
15). The materials of LCD monitor can be recycled, please place any parts of the
monitor at a suitable place when they are in the end of life.
16). This LCD monitor is designed for normal home or business application. Please
ask for technical assistance if the monitor will be subject to other environments with
high temperature, high humidity, liberation, strong radiation, etc.
(b). Information for Infrared Remote Control
1). Do not place the Remote Controller in places with high temperature or high humidity
2). Do not place it under sunshine or near other radiator.
3). Do not shield the Infrared window of the monitor with any object.
4). Please take out the battery when not in use for an extended period.
5). the Remote control must face Infrared window for effective operation
CAUTION:
Information in this document is subject to change without notice. Please
contact us if you have any questions or suggestions.
Page 5

Copyright Fujitsu Australia Ltd and its licensors © 2007
5
2. Technical Specifications :
(a). Input/Output Interface Description
1). PC graphics Analog VGA input connector
This is a D-Sub type blue female connector, it can support Vertical Refresh
Frequency from 50 to 75Hz, and the Horizontal Frequency is depending on each
different model. Generally, 12 inches LCD can support up to SVGA 75Hz, 13.3 to
15 inches LCD can support up to XGA 75Hz, 17 to 19 inches LCD can support up
to SXGA 75Hz.
2). BNC input connector
Video input signal
3). S-Video input connector
This is a black female D-S terminal connector; it can be connected to DVD, SVCD,
VCD, Satellite receiver, S (Super)-VHS videocassette recorder, or video games. It
can provide good improved picture resolution, sharpness, and clarity than
Composite Video.
4). RCA Audio of Video (Video Audio in) input connector
These are two RCA type female connectors. The RCA connectors provide audio
input for BNC and S-Video output equipments. It is a stereo sound input, Red color
RCA is for Right
sound channel, white color RCA is for Left sound channel.
5). PC audio input connector
This is a black 3.5mm phone jack, it can be connected to a PC sound card output
port, it is a stereo sound input channel.
6). Headphone output connector
This is a black 3.5mm phone jack; you can connect a plug of a stereo headphone or
external stereo speaker with power supply.
7). DC power supply input connector
Page 6

Copyright Fujitsu Australia Ltd and its licensors © 2007
6
This is a black male DC power outlet, the centre is plus polarity, its size is 2.0 mm
diameter. The power consumption of the monitor is source from this connector.
The following photo is diagram of actual input/output ports:
(b). General Function Introduction :
This LCD monitor adopts :
a high luminance, high contrast, and quick response time color TFT LCD as its
display unit, and is based on high quality and high efficiency driver circuits;
Wide viewing angle;
High resolution, rich colors;
Stylish and slim aspect;
Convenient GUI OSD menu operation, you can use keypad or remote
controller to operate the LCD monitor.
Low power consumption, healthy and be good for keeping clean environment.
(c). Accessories with the monitor
The following parts are contained in the accessory box
1). One AC adapter with AC power cord;
2). One Infrared remote controller;
3). One D-Sub 15-pin PC VGA cable;
4). One user manual;
5). One 3.5mm stereo phone plug to 3.5mm stereo phone plug cable;
Caution:
Please contact our sales personnel if you have any questions about the
accessories.
S-VIDEO BNC
AUDIO
(R)
AUDIO
(L)
PC AUDIO IN
EARPHONE
VGA AC POWER
Page 7

Copyright Fujitsu Australia Ltd and its licensors © 2007
7
3....Setting the Monitor :
For convenient operation to the LCD monitor, please use the remote control as first
choice.
(a). Infrared Remote Controller Operation :
POWER :
Press the <power> button on the remote controller to turn the monitor ON or OFF.
Turning off the remote control defaults to Stand-By position. It does not turn off the
power supply
MUTE :
Press the <MUTE> button on the remote controller to turn the sound ON or
OFF. When the sound is switched off the “mute” symbol is displayed.
IMAGE :
Press the <IMAGE> button to select a suitable image color effect,
such as STANDARD, BRIGHT, SOFT or USER defined colour depth.
CALL :
Press the <CALL> button to display the present signal source name and
related information.
MODE :
Press the <MODE> button to select the signal sources (input ports), such as
VGA, AV, S-Video, and monitor. This is a shortcut key to jump to input signal
sources selection.
MENU :
Press the <MENU> button to pop the OSD menu on no menu status, or exit
present menu level to its Main menu level. If you continue press <MENU> it
will return to main menu on the screen.
(
<<<< ) :
Page 8

Copyright Fujitsu Australia Ltd and its licensors © 2007
8
Press the (
<<<<
) button to move the cursor (highlight bar) from OSD to Main level to
Sub menu of right side, or decrease the parameter value of some
menu adjustment, such as Brightness, Volume, etc.. In addition, this is a
shortcut key to decrease the volume value at no menu status.
( >>>> ) :
Press the (
>>>>))))
button to move the cursor (highlight bar) from OSD top Main level
to Sub menu of right side, or increase the parameter value of some
menu adjustment, such as Brightness, Volume, etc. . In addition, this is a
shortcut key to increase the volume value at no menu status.
( ∧∧∧∧ ) :
Press the <
∧∧∧∧
> button to move the cursor (highlight bar) upwards. In addition,
this is a shortcut key to increase the value of channel number at no menu status.
<
∨∨∨∨
> :
Press the <
∨∨∨∨
> button to move the cursor (highlight bar) downwards. In addition, this
is a shortcut key to decrease the value of channel number at no menu status.
Page 9

Copyright Fujitsu Australia Ltd and its licensors © 2007
9
(b). Keypad Operation :
For 5-Key operation, the keypad includes < Power ON/OFF>, < MENU>, < - >,
<
+
>, and <
Source >.
The following picture is keys position map of 5-Key LCD monitor
The description of every key :
Power ON/OFF :
Press the <ON/OFF> key on the keypad to turn the Monitor ON or OFF. This brings
the monitor to Stand-By (power saving) status, not shutting power supply. To turn off,
unplug from electrical outlet
Menu :
Press the <MENU> key to pop the OSD menu on no menu status, or exit
present menu level to its Main menu level. if you continue press <MENU> \
button at Monitor input source, the Monitor main menu will be popped on the screen.
< - > :
Press the <VOL-> key to move the cursor (highlight bar) from OSD to Main
level to Sub menu of right side, or decrease the parameter value of some
menu adjustment, such as Brightness, Volume, etc.. In addition, this is a shortcut
key to decrease the volume value at no menu status.
< + >
:
Press the <VOL+> button to move the cursor (highlight bar) from OSD to
Main level to Sub menu of right side, or increase the parameter value of
some menu adjustment, such as Brightness, Volume, etc.
IR Sensor
LED
Page 10

Copyright Fujitsu Australia Ltd and its licensors © 2007
10
Source :
Press the <Source> key to select the signal sources (input ports), such as VGA,
AV and S-Video. This is a shortcut key to jump to input signal sources selection.
LED lamp
::::
When No signal input or input signal is not right, it becomes orange color. When input
signal is right, it becomes green colour;
(c). OSD Menu Introduction :
Press the <MENU> button, pop the to main menu.
1.
The is the Main menu of sub-menus: Brightness, Contrast, Saturation,
Sharpness and Hue. Press the VOL+/+ key or VOL -/- key (VOL: Volume) to
confirm and adjust the value of each sub-menu items. Press the Source key to
select the sub-menu you expect (display bright when you select it)
.
Menu Diagram:
Page 11

Copyright Fujitsu Australia Ltd and its licensors © 2007
11
2.
The is the Main menu of sub-menus : H-Position, V-Position, H-Size,
Phase, Auto Config & Auto Color. Press the VOL +/+ key or VOL -/- key ( VOL:
Volume) to confirm and adjust the value of each sub-menu items. Press the Source key
to select the sub-menu you expect (display bright when you select it). If the image is
displayed on the screen abnormally or incorrectly, such as image shift, jitter,
background noise ( flicker noise, waterfall noise, etc. ) and so on, you can use the
‘Auto Config’ function (just press the key) to make a auto adjustment under the full
screen display state. The abnormal or incorrect images will disappear.
Menu Diagram:
3.
The is the Main menu of sub-menus: AV, S-Video and VGA(PC) signals.
Press the VOL +/+ key or VOL -/- key ( VOL: Volume) to confirm each sub-menu items.
Press the Source key to select the input signal (the sub-menu) you expect (display
bright when you select it).
Page 12

Copyright Fujitsu Australia Ltd and its licensors © 2007
12
Menu Diagram:
4.
The is Main menu of the sub-menus: OSD Position, 10 Muti-Language and
Color Temperature, Factory Reset and Display Mode. Press the VOL +/+ key or VOL -/-
key ( VOL: Volume) to confirm and adjust the value of each sub-menu items. Press the
Source key to select the sub-menu you expect (display bright when you select it).
Menu Diagram:
Page 13

Copyright Fujitsu Australia Ltd and its licensors © 2007
13
4. FAQ (Trouble Shooting) :
1). No image, no LED display
Check the power supply of monitor, such as AC adapter, AC power outlet, DC \
power connection.
2). No image, LED is orange color
Check input signal sources and its cables, or if the monitor is at standby status.
3). Prompt “Input Not Supported” or “Out Of Range”
Check the resolution of the PC VGA output. We recommend the resolution is not
higher than XGA 75Hz (for 15” monitor) and no higher than SXGA 75Hz (for 17” and
19” monitor). The optimum vertical refresh frequency of LCD is 60Hz.
4). Image position is not right
Do the “Auto Config” or manually adjust the image.
5). There are “water wave”, “twinkling point”, or incorrect colour on the screen
Check the cable of input signal source and the quality of that signal source
6). The volume of speaker is too low or noisy.
Check the volume value, increase the volume via adjusting the OSD menu, and
check the sound source quality.
7). No sound
Check the sound is mute or not.
Page 14

Copyright Fujitsu Australia Ltd and its licensors © 2007
14
5. Appendix I
CAUTION: Please consult our sales personnel and check the actual goods to get the
detailed specification before you purchase the monitor
6. Appendix II
Different resolution supported by the monitor (Depending on different model)
LCD Panel
Size : 17” / 19”
Contrast:700:1 / 800:1(Typ.)
Luminance: 270 cd/ m² / 300 cd/ m²(typ.)
View angle: H - 170ْ V – 160 ْ / H - 178ْ V – 170ْ (Typ.)
Total Response time: 5ms / 5ms (Typ.)
Input/Output signal
PC VGA: analog, 0.7Vp-p, with TTL H/V sync
Audio: 0.5Vrms
Headphone out: 100mW(Typ.)
Input/Output port
One PC VGA input port
One Composite Video input port
One S-Video input port
Two mono(Left and Right channel) audio for video
One stereo audio for PC
One BNC input port
One stereo audio output for headphone
Power supply
DC: 12V 4A(according to different model)
Weight
About 4.5Kg(Depending on different model)
Package size
17” 438 x 145 x 380(LxWxH)mm
19” 470 x 175 x 500(LxWxH)mm
(Depending on different model)
Power consumption
About 30W(Depending on different model)
Environmental
Considerations
Operation temperature:0ºC~ 50ºC
Operation humidity:10% ~ 90%
Storage temperature:20ºC~ 60ºC
Storage humidity: 5% ~ 95%
Page 15

Copyright Fujitsu Australia Ltd and its licensors © 2007
15
VGA (17”\19”)
640 x 480 -- 60 Hz
640 x 480 -- 72 Hz
640 x 480 -- 75 Hz
640 x 350 -- 70 Hz
720 x 400 -- 70 Hz
SVGA (17”\19”)
800 x 600 -- 56 Hz
800 x 600 -- 60 Hz
800 x 600 -- 72 Hz
800 x 600 -- 75 Hz
XGA (17”\19”)
1024 x 768 -- 60 Hz
1024 x 768 -- 70 Hz
1024 x 768 -- 75 Hz
SXGA (17”\19”)
1280 x 1024 -- 60 Hz
1280 x 1024 -- 70 Hz
1280 x 1024 -- 75 Hz
 Loading...