

Fujita CGTV5106 Owner's Manual

CGTV5106
51 cm color television
OWNER S MANUAL
Please read this manual carefully before using this TV set and keep it
for future reference.
CGTV5106
TV
+
FUJITA

CONTENTS
Before Operation
Basic operation
Warning and cautions.................................................................................1
Installation...................................................................................................2
Aerial connection........................................................................................2
Preparation of the remote control...............................................................2
Function buttons and external sockets.....................................................3
Front panel of the TV set...........................................................................3
Rear panel of the TV set.............................................................................3
Using the remote control............................................................................4
Switching the TV set on/off........................................................................5
Watching TV ................................................................................................6
Watching TV program................................................................................6
Program swap and auto scan functions.....................................................7
Searching channel.......................................................................................8
Full automatic mode.................................................................................8
Semi-automatic search..............................................................................9
Manual fine tune......................................................................................10
Program skip ...........................................................................................11
Convenient picture and sound control functions...................................12
Multiple picture modes ...........................................................................12
Black stretch and noise reduce................................................................13
Mute and Fade ........................................................................................14
Time functions............................................................................................15
Clock setting and timer on/off functions................................................15
Sleep timer and program preset ...........................................................16
Setup function .........................................................................................17
Screen saver and Calendar.....................................................................17
AVL .........................................................................................................18
Organise function......................................................................................19
Seting the lock...........................................................................................20
DVD Operation
Basic Playback..........................................................................................22
Advanced Playback...................................................................................23
Special Function .......................................................................................24
DVD System Setup....................................................................................25
Playable Discs...........................................................................................29
Disc Protection and DVD Characteristics...............................................30
Others
Connection to the external audio and video equipment.......................31
Troubleshooting guide .............................................................................32
Specifications............................................................................................33
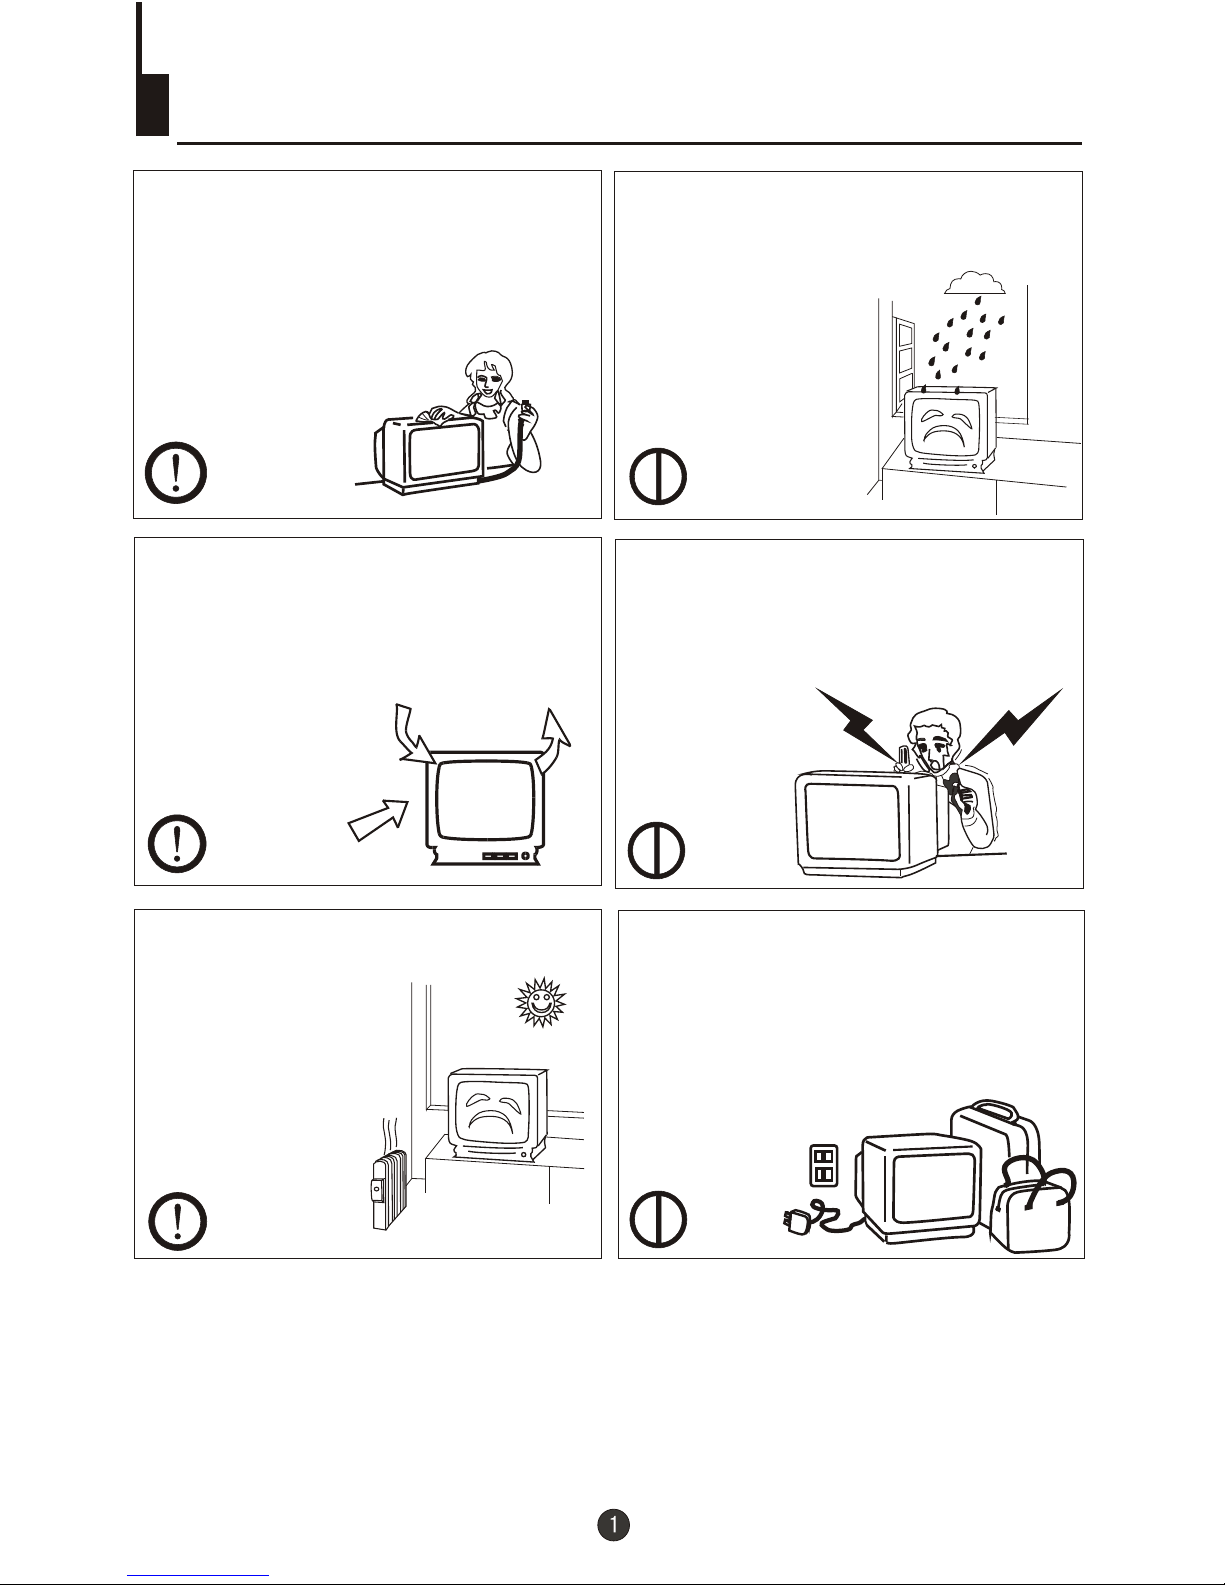
Warning and cautions
1. When you clean the TV set, please
pull out the power plug from AC outlet.
Don't clean the cabinet and the
screen with petrol, paraffin or other
powerful solvents. Permanent damage
will result !
4. Do not place the TV set near rain or
moisture as it may cause an electric
shock, or the TV set to catch fire. The
TV set must only
be used in dry in
door locations.
5. The back cover must only be
removed by a registered electrical
service person. Removing the back
cover may result in electric shock, fire
or damage to
the TV set.
3. Don't place the
TV set in direct
sunlight or near a
heat source.
6. If the TV set is not going to be used
for a long time, or there is a severe
thunder & Lighting storm, we
recommended that the TV set be
disconnected you disconnect the TV
set from the AC power outlet and
remove the aerial plug.
Cleaning the tube
If the picture tube require cleaning, disconnect the power and use a dry
soft cotton cloth. Do not use any cleaner or abrasive cloths.
2. In order to prolong the life of the
product, please use in a well
ventilated location.
Leave a 10cm gap
around it. Do not
obstruct air flow with
soft furnishings
above or beneath.

OUT
IN
VIDEO
L R
AUDIO
COAXIAL
Installation
Aerial Connection
If the picture is not clear or snowy, we recommend that you use an outdoor
aerial.In different places, the suitable antenna type and position are different.
Preparation for the remote control
Battery installation
Tips for remote operation
Remove the battery cover.
! When the remote control will not be used
for a long period of time or when the
batteries are worn out, remove the
batteries to prevent leakage.
! Do not throw the batteries into fire.
Dispose of used batteries at your local
recycling centre.
! Do not drop, dampen or disassemble
the remote control.
Insert two size AA batteries matching
the +/-polarities of the battery to the +/marks inside the battery compartment.
!
!
300 twin-lead cable
Antenna adapter
75 coaxial cable
Plug
AC power socket
Aerial input
75 standard
coaxial type
Note:
* It is recommended that a 75 ohm coaxial antenna is used to avoid
interference.
*To avoid interference from electrical signals, do not bind the antenna
cable together with any mains lead.
(Not supplied)
(Not supplied)
22

Function Buttons and External Sockets
Rear panel of the TV set
Front panel the TV set
OUT
IN
VIDEO
L R
AUDIO
Audio left channel input terminal
Audio right channel input terminal
Audio left channel output terminal
Audio right channel output terminal
Antenna input socket
Video input terminal
Video output terminal
COAXIAL
COAXIAL
PROGRAME
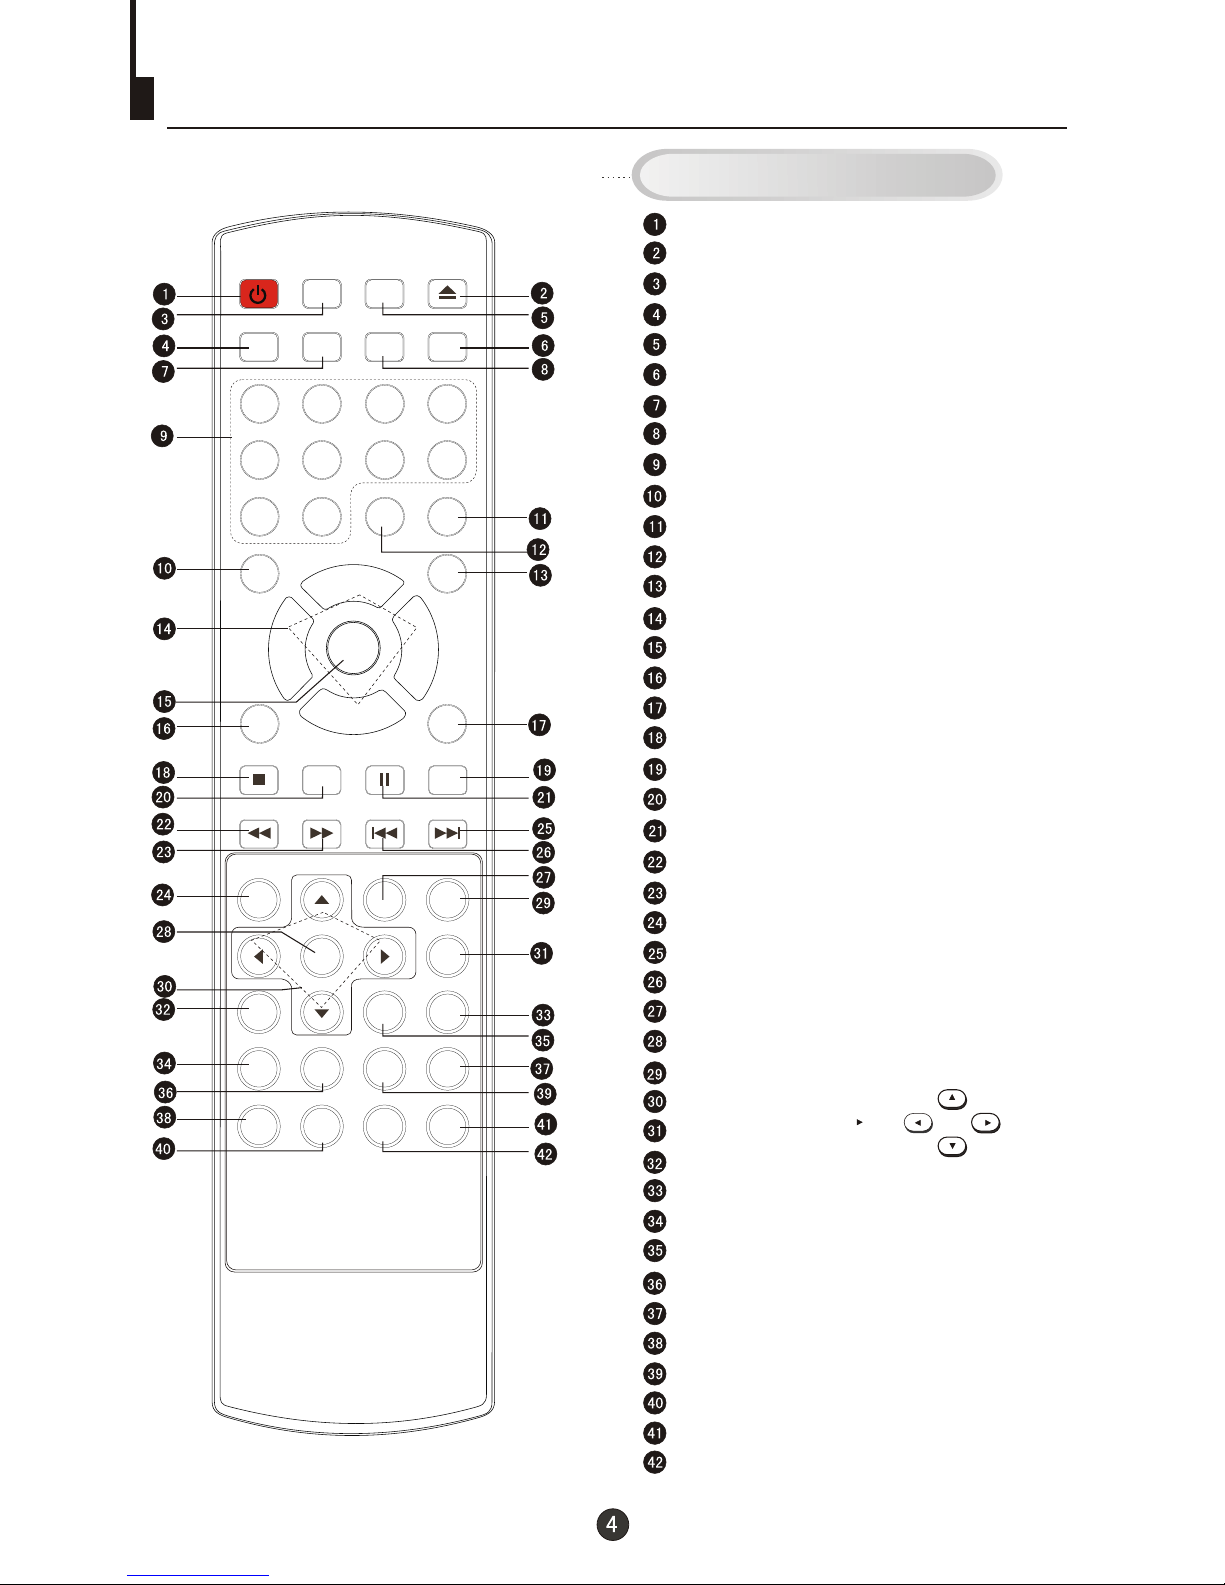
Using the Remote Control
Stand By
DVD Open/close
Calendar
Scan
TV Time Menu
Mute
Former Program
Call Screen Display
Program Number
(Not available)
TV/AV Exchange
Digital Selector
TV/DVD
Volume/Channel Selection
MENU
Exit Screen Display
Picture Mode
DVD STOP
(Not available)
DVD SETUP
DVD PAUSE/STEP
DVD FAST REVERSE
DVD FAST FORWARD
DVD MENU
DVD NEXT
DVD PREVIOUS
DVD REPEAT
DVD PLAY/ENTER
DVD A-B REPEAT
DVD Cursor Move button
DVD SLOW
DVD ANGLE
DVD SEARCH
DVD Audio
DVD TITLE
DVD PROGRAM
DVD CALL
DVD SUBTITLE
Zoom
DVD 10+
Child Lock
(Not available)
Buttons on the remote control
UP
DOWN
LEFT
RIGHT
POWER TIME
OPEN/CLOSE
SCAN SWAP CALL
MUTE
1 2 3 4
5 6 7 8
99 00
-/---/--
TV/AV
TV/DVD
P+
P-
V- V+
MENU
EXIT P.STD
STOP
SETUP
PAUSE/STEP
REV FWD . PREV NEXT
D.MENU
REPEAT
A-B
PLAY/ENTER
SLOW
ANGLE
TITLE/PBC
SEARCH
AUDIO
SUBTITLE
D.CALL
CALENDAR
PROGRAM
ZOOM
10+
H.LOCK
4
AUTO
BG
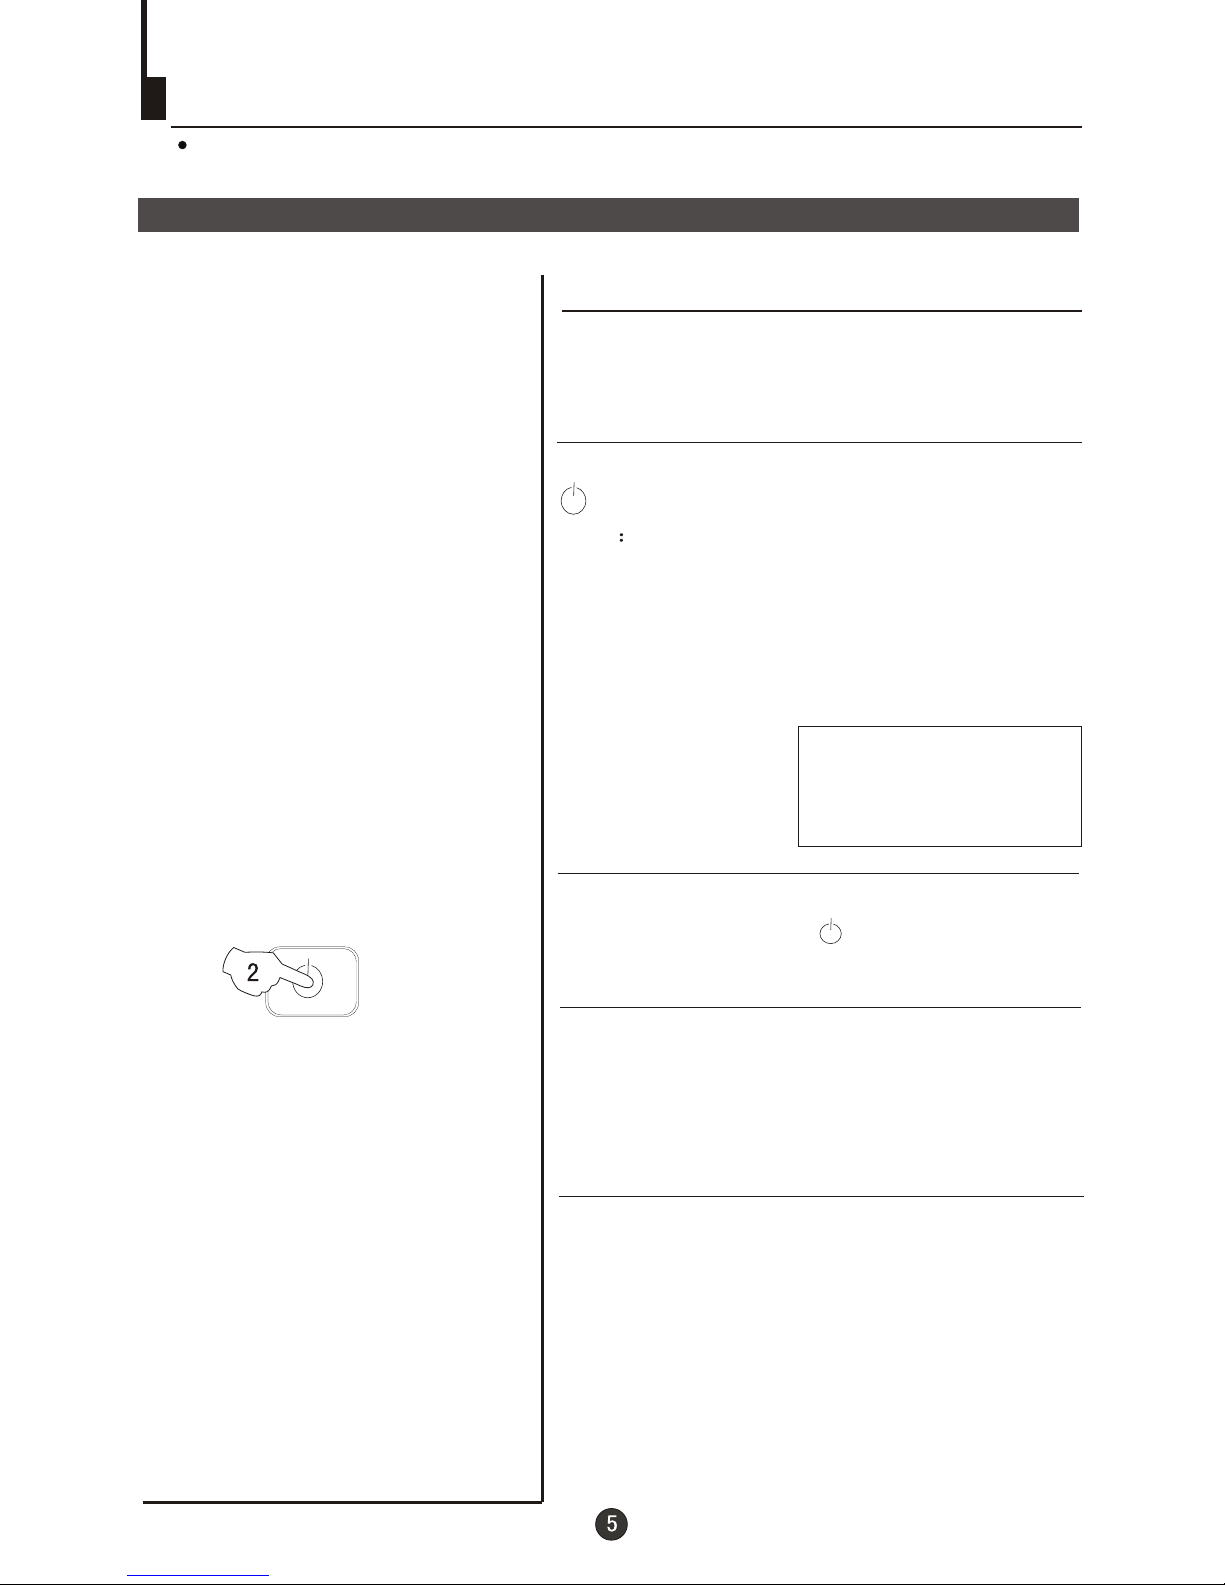
Switching on/ off the TV set
Switching the TV set on/ off
Switching the TV set on/ off
2 If the indicator is lighting in red, press the button
on the remote control again.
Note
1 When you can't operate the TV set with a
remote control, you can turn it pressing
the P+ on the TV set (Child Lock must
be turned off).
on by
/- buttons
2 If you want to change to standby mode,
press down the button on the remote
control. Press again to switch back on.
3 If you want to fully switch off the power supply
for the TV set, please press the power switch
button on the front panel.
Auto switch off function
POWER
This section explains the use of the power button and remote handset
to turn your unit on and off.
1 Press the AC power switch on the front of the
TV. The power indicator will light.
If transmissions are finished for the day, the
Automatic Power Off feature will put the TV to
standby automatically. The Automatic Power
Off feature will not operate in AV mode or
when the background is set to off (see page
17).
P+
P-
V- V+
MENU
P+
P-
V- V+
MENU
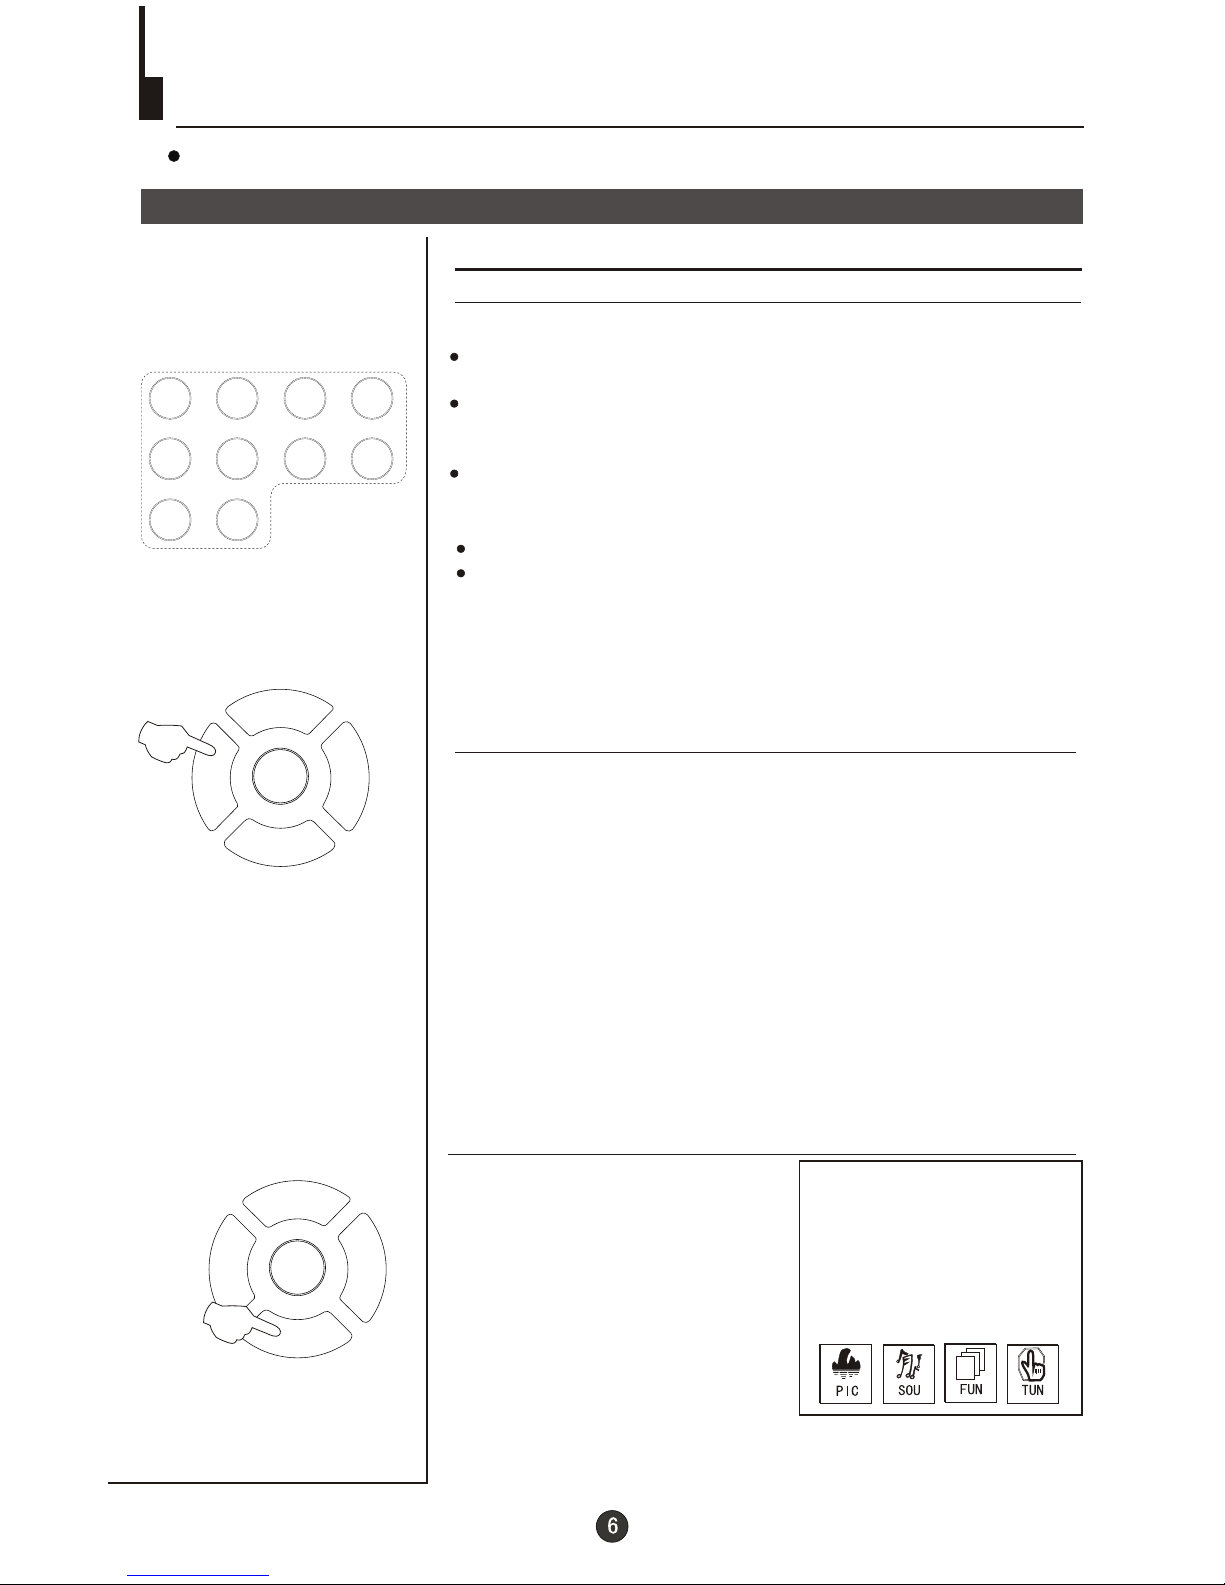
Watching TV
Watching TV programs
How to select TV program
Select the desired program
Select the desired sound
You can watch a TV program on a channel which has been tuned to a broadcast.
1 Using number buttons
2 Using the P+/- buttons
Press the P+ button to increase channel number.
Press the P- button to decrease channel number.
Press the V-/+ buttons on the remote or the front of the
TV set to adjust the volume level. The range is 0~100. When
the volume buttons are pressed the volume level is
displayed automatically on the TV screen.
Directly enter the channel number with the numeric keypad
on the remote control.
To select channel numbers between 10 ~ 99 press [-/--] button
and enter the two digit channel number
To select channel numbers between 100 ~ 218 press [-/--] button
twice and enter the 3 digit channel number
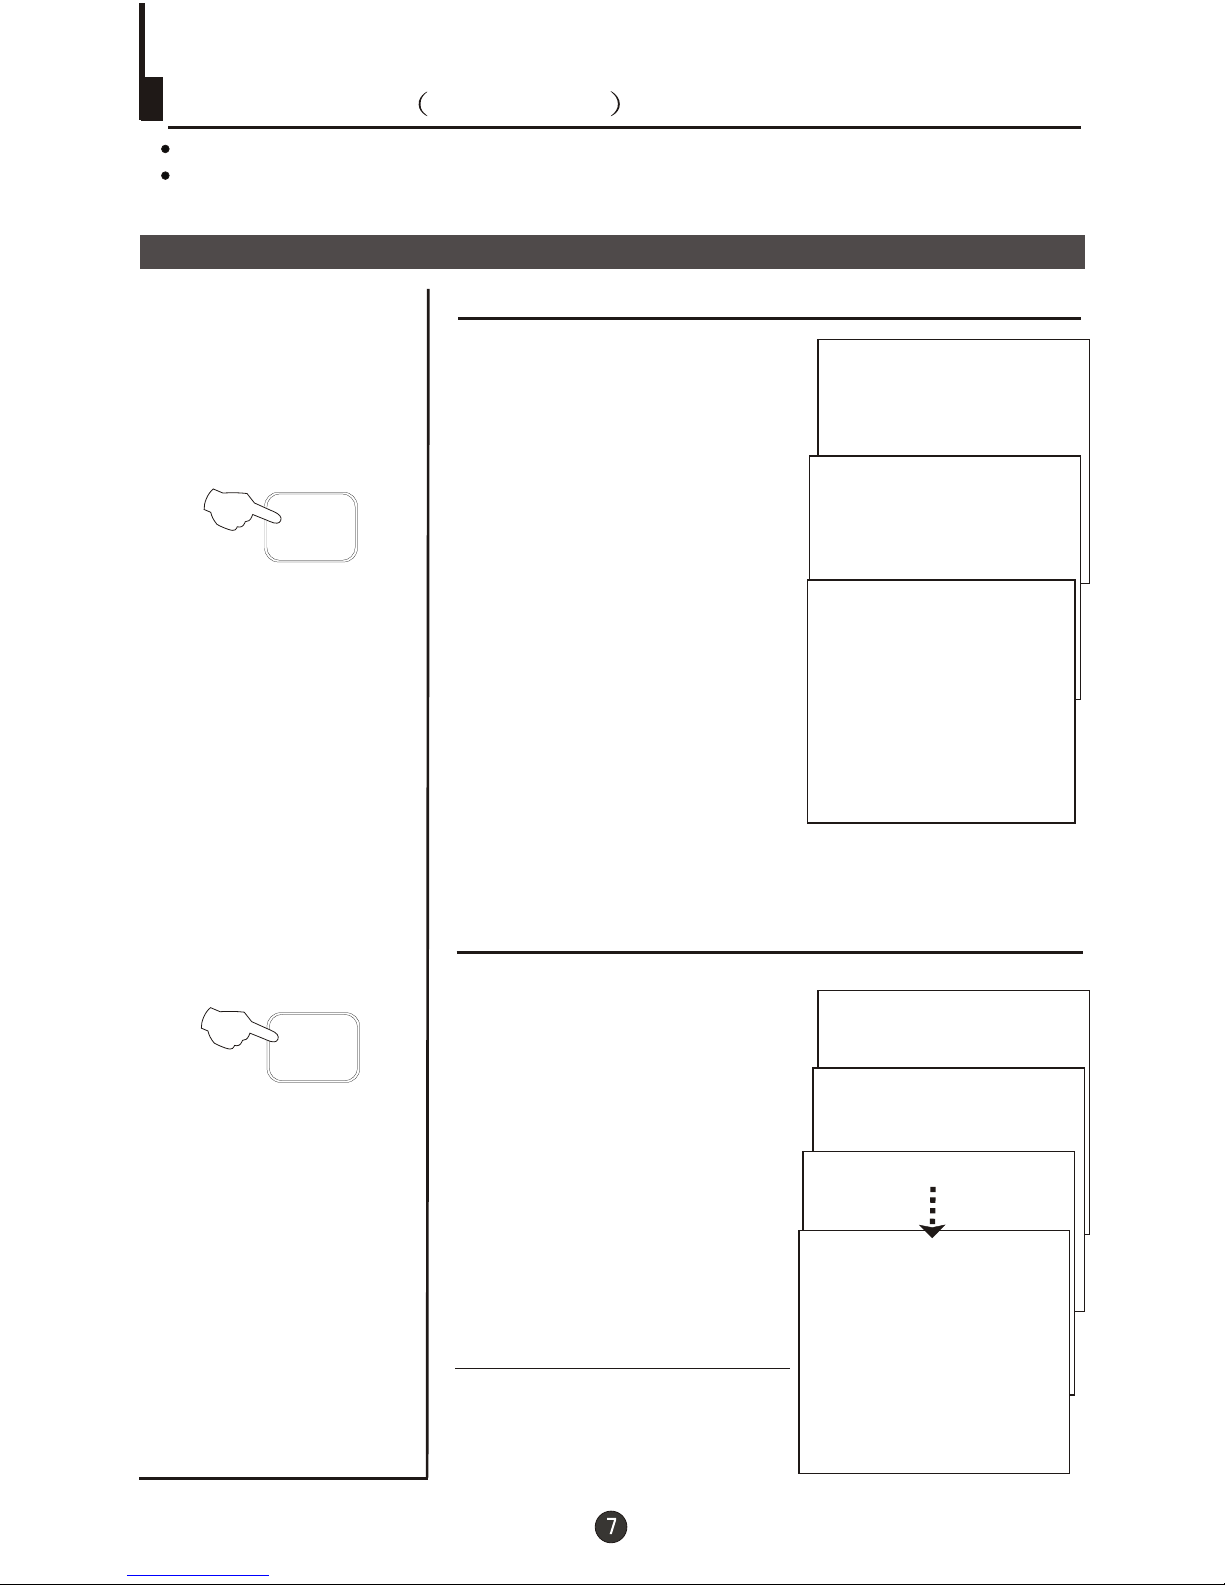
How to select the menu
Press the MENU button and
the menus will appear at the
bottom of the screen. The
PIC icon will initially be
flashing. Each subsequent
press of the menu button
will highlight SOU (sound),
FUN (function), TUN
(tuning) icons respectively.
Press the P- button to display
the appropriate menu.Press EXIT to exit.
1 2 3 4
5 6 7 8
99 00
18
AUTO
BG
8
AUTO
BG
18
AUTO
BG
Watching TV continued
Press the SWAP button to select the channel you were watching previously.
Auto scan function scans through all programs in memory including those with
"skip" set to "off" (see "Program skip" on page 13).
Program swap and auto scan functions
Program swap
Auto program scan
1 Press the SCAN button to
scan through all the memorised
TV programs. The scan will
pause for about 2 seconds on
each channel.
2 If you want to stop the
function during auto tunning,
simply press the SCAN button
again.
SWAP
SCAN
Press the SWAP button to
select the channel you were
watching previously.
1
AUTO
BG
BROWSE
2
BROWSE
3
BROWSE
1
AUTO
BG
BROWSE
P+
P-
V- V+
MENU
P+
P-
V- V+
MENU
AUTO SEARCH
152.25MHz
Searching channel
This TV set has three methods to set the channels, which are respectively full
automatic, semi automatic and manual fine tune.
-
In this section, how to use the remote control to set the channel is explained. You
can also use the buttons on the TV set to set channel.
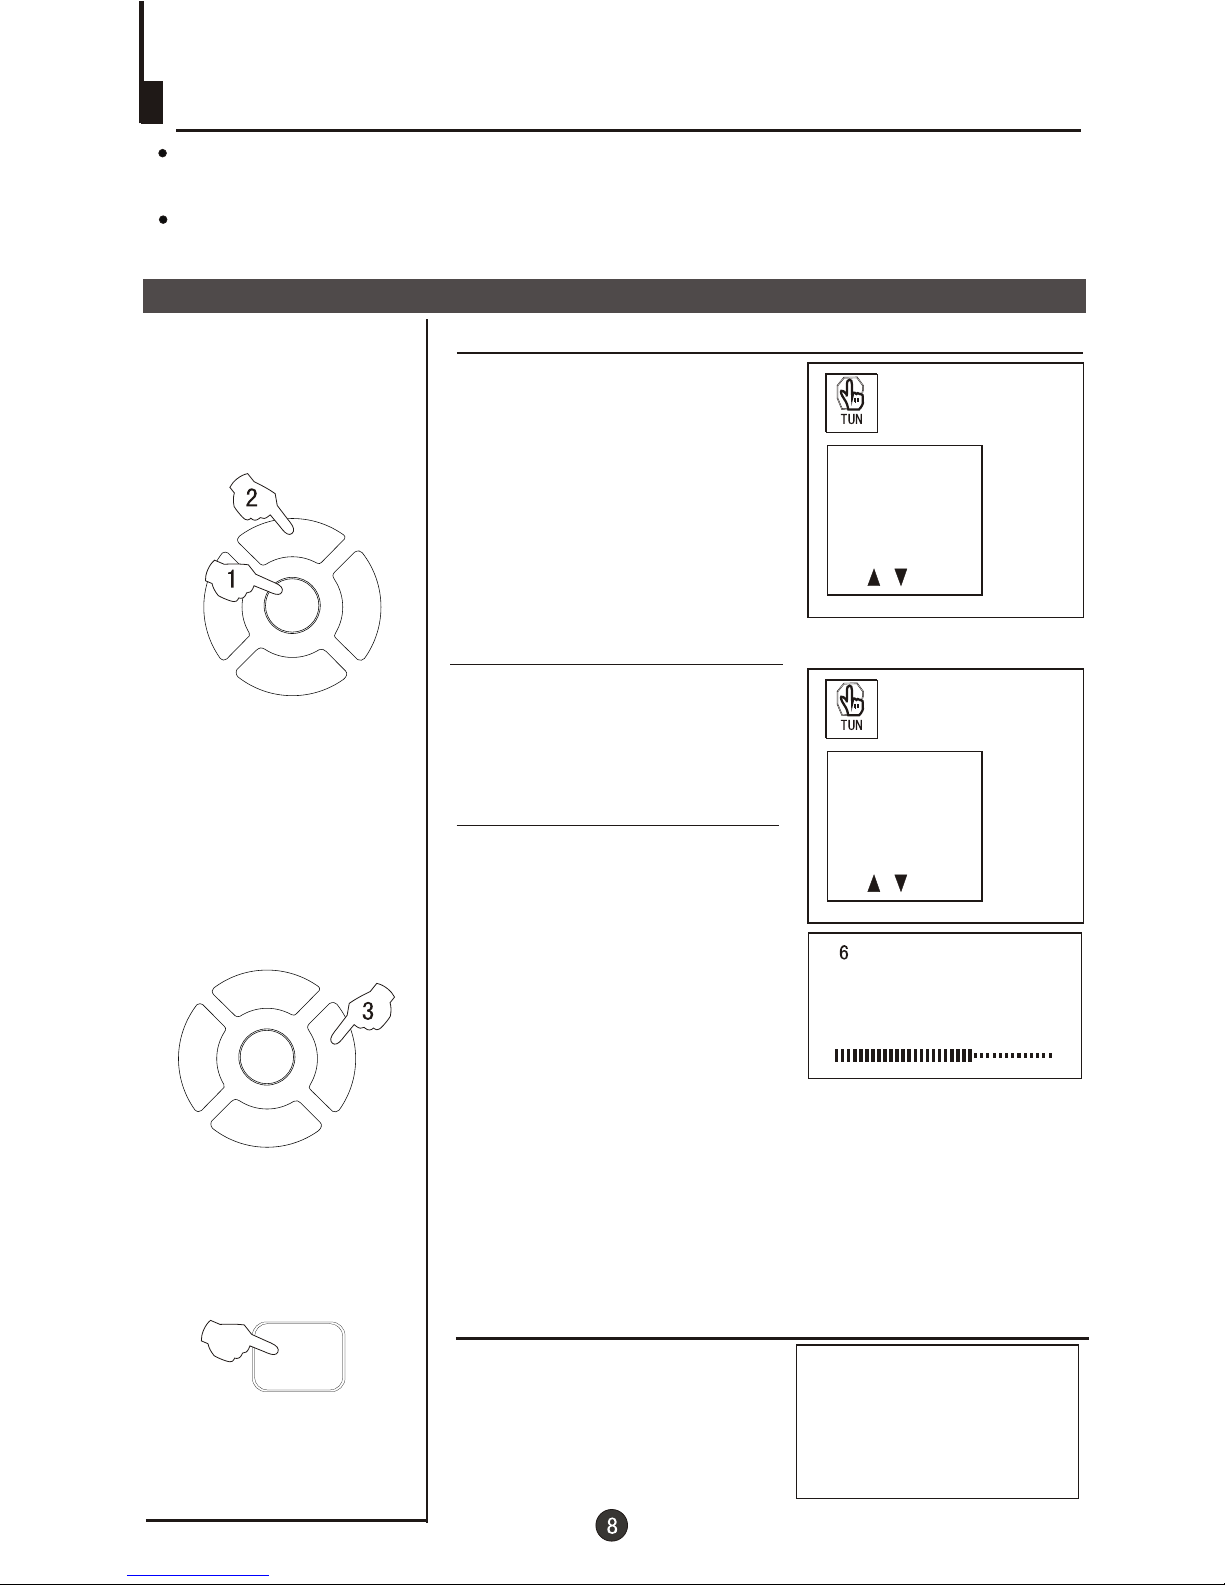
Full automatic mode
Automatic search
1 Press the MENU button. The
MAIN MENU will appear with the
PIC (picture) icon flashing. Press
the MENU button a further 3 times
until the TUN (tuning) icon is
flashing.Press P- to enter the
TUNING menu.
2 buttons to
select "AUTO SEARCH".
Press the P+/-
3 Press the V+ button to
start automatic search function
operates. All channels that are
locally available will be preset in
the order that they are found.
Depending in which location you
are, this is generally not in the
order you expect. Please see
Page 19 (Organise).
Display function
Press the CALL button, then
the channel number and the
systems will be displayed on
the screen.
3
AUTO
I
PROG NO
ORGANISE
SEARCH
FINE TUNE
AUTO SEARCH
PROG NO
ORGANISE
SEARCH
FINE TUNE
AUTO SEARCH
CALL
P+
P-
V- V+
MENU
P+
P-
V- V+
MENU
1
AUTO
BG
6
Searching channel
Continued
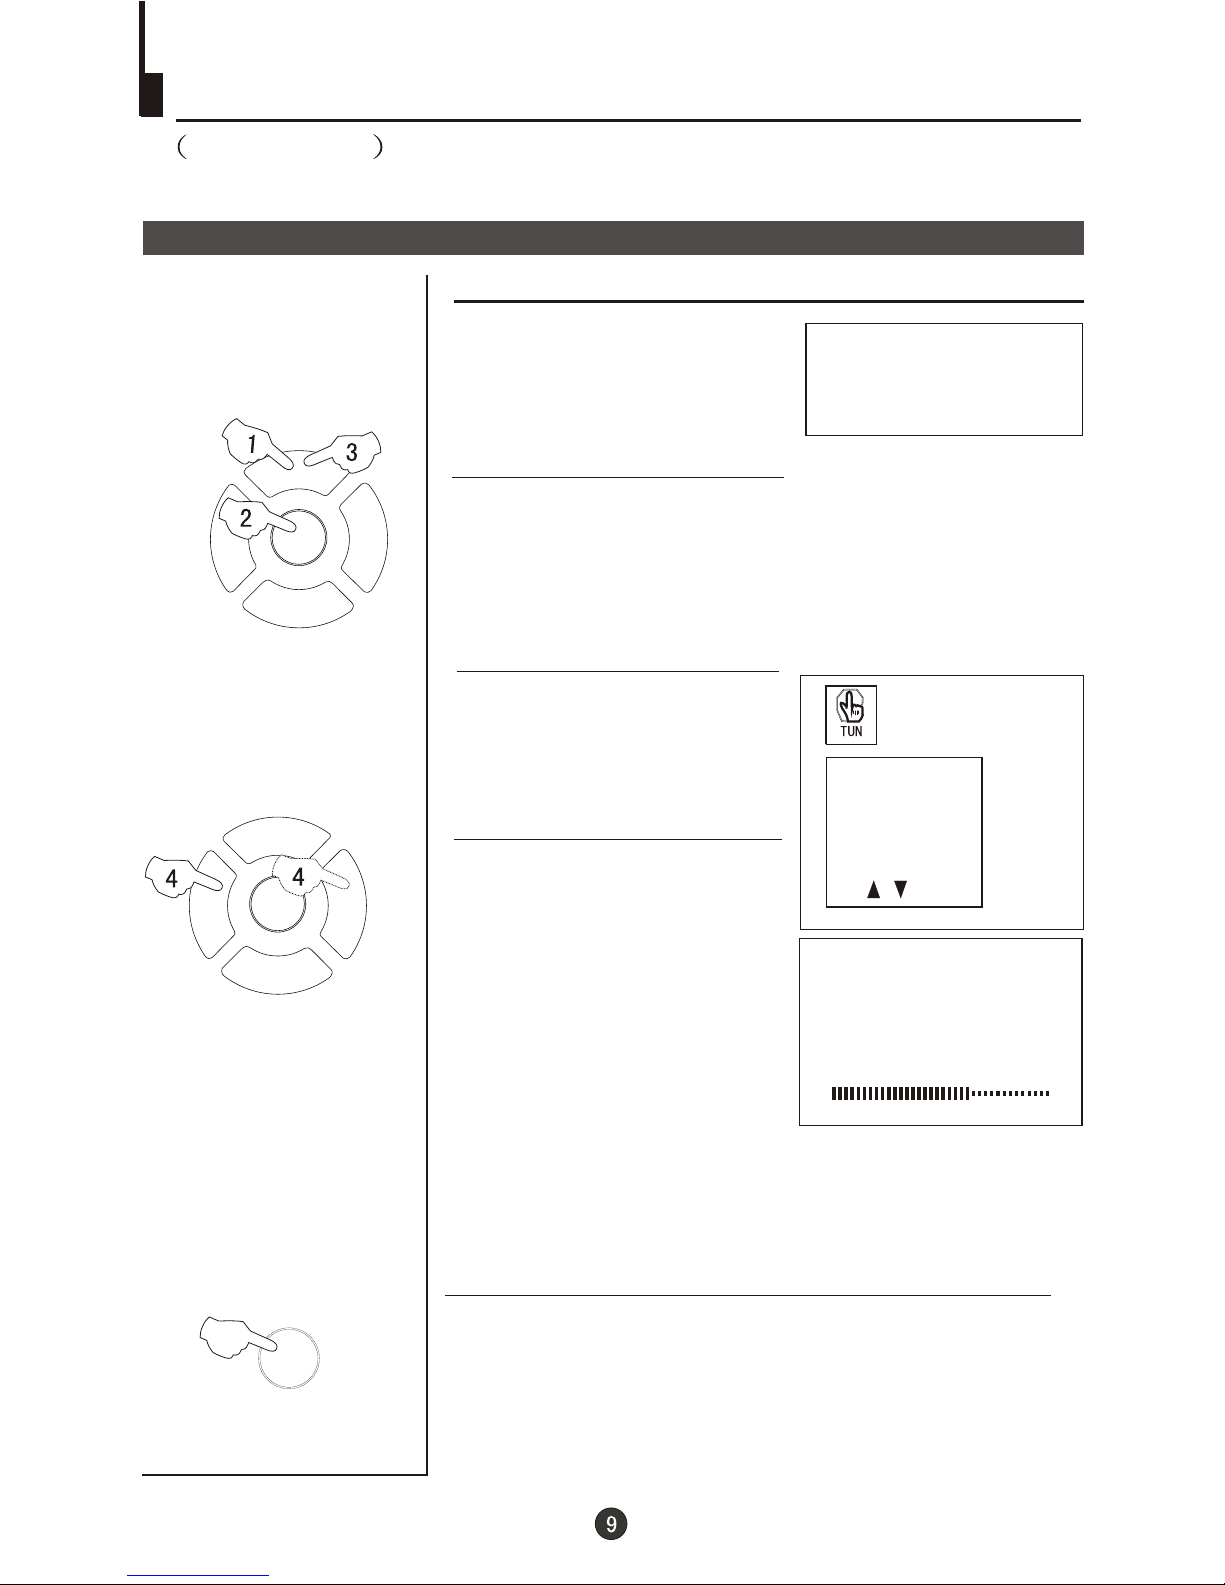
Semi-automatic search
Semi-automatic search
1 Press the P+/- buttons or the
PROGRAMME NUMBER (0-9) to
choose the desired channel
(e.g. Channel 1).
3 buttons to
select "SEARCH".
Press the P+/-
4 Press the V- button to
search downwards or the V+
button to search upwards.
SEARCH
152.25MHz
To turn off the on-screen menu
In general, after you press the MENU button, the menu
display (PIC, SOU, ) will automatically disappear
within 30 seconds. If you want to eliminate these contents
immediately, please press the EXIT button.
item
FUN,TUN
PROG NO
ORGANISE
SEARCH
FINE TUNE
AUTO SEARCH
2 Press the MENU button. The MAIN MENU will appear
with the PIC (picture) icon flashing. Press the MENU button
a further 3 times until the TUN (tuning) icon is flashing.
Press P- to enter the TUNING menu.
EXIT
 Loading...