

Page 1

MAX COMBO NET
ENGLISH
USER'S MANUAL
(2012 11 05) manual.indd 3 2012-11-05 �� 8:48:07
Page 2
1
GENERAL SAFETY 2
GENERAL INFORMATION 3
I. UNPACKING 3
II. FEATURES 3
III. REMOTE CONTROL UNIT (RCU) 4
IV. HOW TO SETTING RCU FOR TV 6
V. FRONT PANEL 8
VI. REAR PANEL 9
INSTALLING EQUIPMENT 10
CHANNEL LIST GUIDE 11
MENU GUIDE 13
MAIN PAGE 13
I. CHANNEL MANAGER 13
II. INSTALLATION 15
III. OPTIONS 20
IV. UTILITY 22
V. ACCESSORY 23
PVR Guide 24
TROUBLESHOOTING 31
SPECIFICATIONS 32
BRAND LIST 178
TABLE OF CONTENTS
To disconnect the apparatus from the mains, the plug must be pulled out
from the mains socket, therefore the mains plug shall be readily operable.
(2012 11 05) manual.indd 5 2012-11-05 �� 8:48:08
Page 3
2
GENERAL SAFETY
Please read the following recommended instructions carefully to avoid the risk of
your physical Injury before the product is operated.
Do not cover the receiver and keep clear space around the receiver for sufficient.
Check the receiver’s operation voltage 90~250V, 50Hz~60Hz, 12V 2.5A Adaptor
Keep liquid away from the receiver.
The receiver shall not be exposed to dripping or splashing an
d no objects that filled
w
ith liquid shall not be placed on the receiver.
Unplug the receiver from the wall outlet before cleaning.
Use a soft cloth and a mild solution of washing-up liquid to clean the casing.
Do not block the receiver’s ventilation slots which are provided for ventilation and
protection from overheating.
Please maintain the receiver in a free airflow.
Do not allow the receiver to be e
xposed to hot, cold or humid condition.
D
o not use any cable and attachment that are not recommended as these may
damage your equipment.
Please unplug the receiver from the wall outlet and disconnect the cable between
the receiver and the antenna when you will not use it for long time.
Do not remove the cover to reduce the risk of electric shock.
Do not attempt to service the receiver yourself.
Refer all
serving to qualified service personnel.
M
anual may be updated as new features.
WARNING
(2012 11 05) manual.indd 6 2012-11-05 �� 8:48:08
Page 4
3
GENERAL INFORMATION
Please ensure that the following items are included with the receiver in your pack-
ing.
1) Remote Control Unit (RCU)
2) Batteries (2EA)
3) CD with user manual
4) 12V 2.5A Adaptor
· Supports MPEG-2, MPEG-4, H.264 and fully DVB compliant
· Satellite & Terrestrial receiver
· 2 Slot smart card
· DiSEqC 1.0, 1.1 1.2 and
· Aspect ratio adjustment 4:3 (16/9 crop), 4:3 (16/9 letterbox), 16:9 (4/3 pi
llar box)
· User friendly OSD and operation
· Total 10,000 Channels Programmable
· Multi-language audio support / Multi-language menu text support
· Favorite channel selections
· Parental Guide and rating control
· EPG(Provider Electronic Program Guide) for On Screen Channel Information
· On-Screen Display with 65,536 Color
· Blind scan(Power Scan) & Powerful EPG
· Zoom Function in Pause
· Dolby Digital Bitstream Out
through S/PDIF(Optical)
· Seletable output for 1080p, 1080i, 720p,576p and 576i format
· USB 2.0 Host (Access to HDD, USB memory, Others etc)
· Upgrade Software & Update Channel Database through USB 2.0 Port and RS232
· MP3 File Play by USB 2.0
· PVR Ready via USB
· Recorded file play on PC
· Reservation Recoding by EPG function
· Multimedia file play by USB 2.0
· Home streaming
I. UNPACKING
II. FEATURES
(2012 11 05) manual.indd 7 2012-11-05 8:48:08
Page 5
4
GENERAL INFORMATION
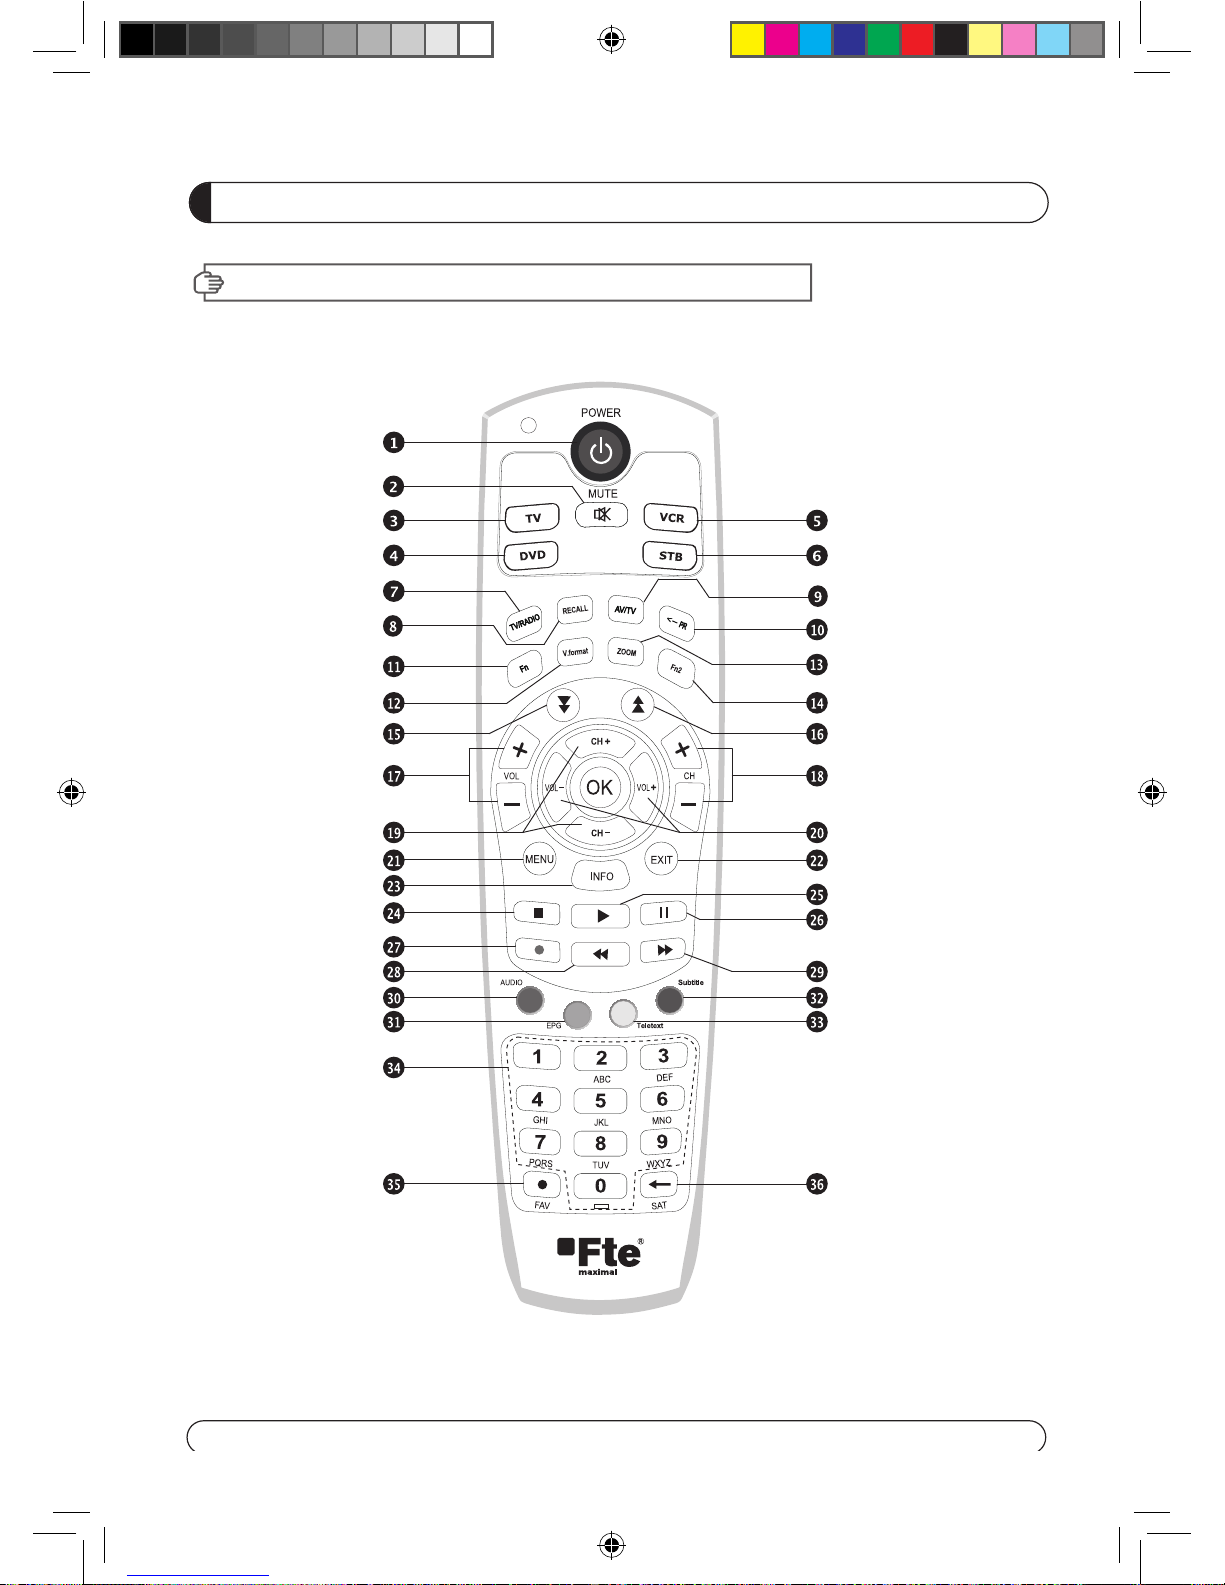
III. REMOTE CONTROL UNIT (RCU)
(2012 11 05) manual.indd 8 2012-11-05 �� 8:48:08
Page 6
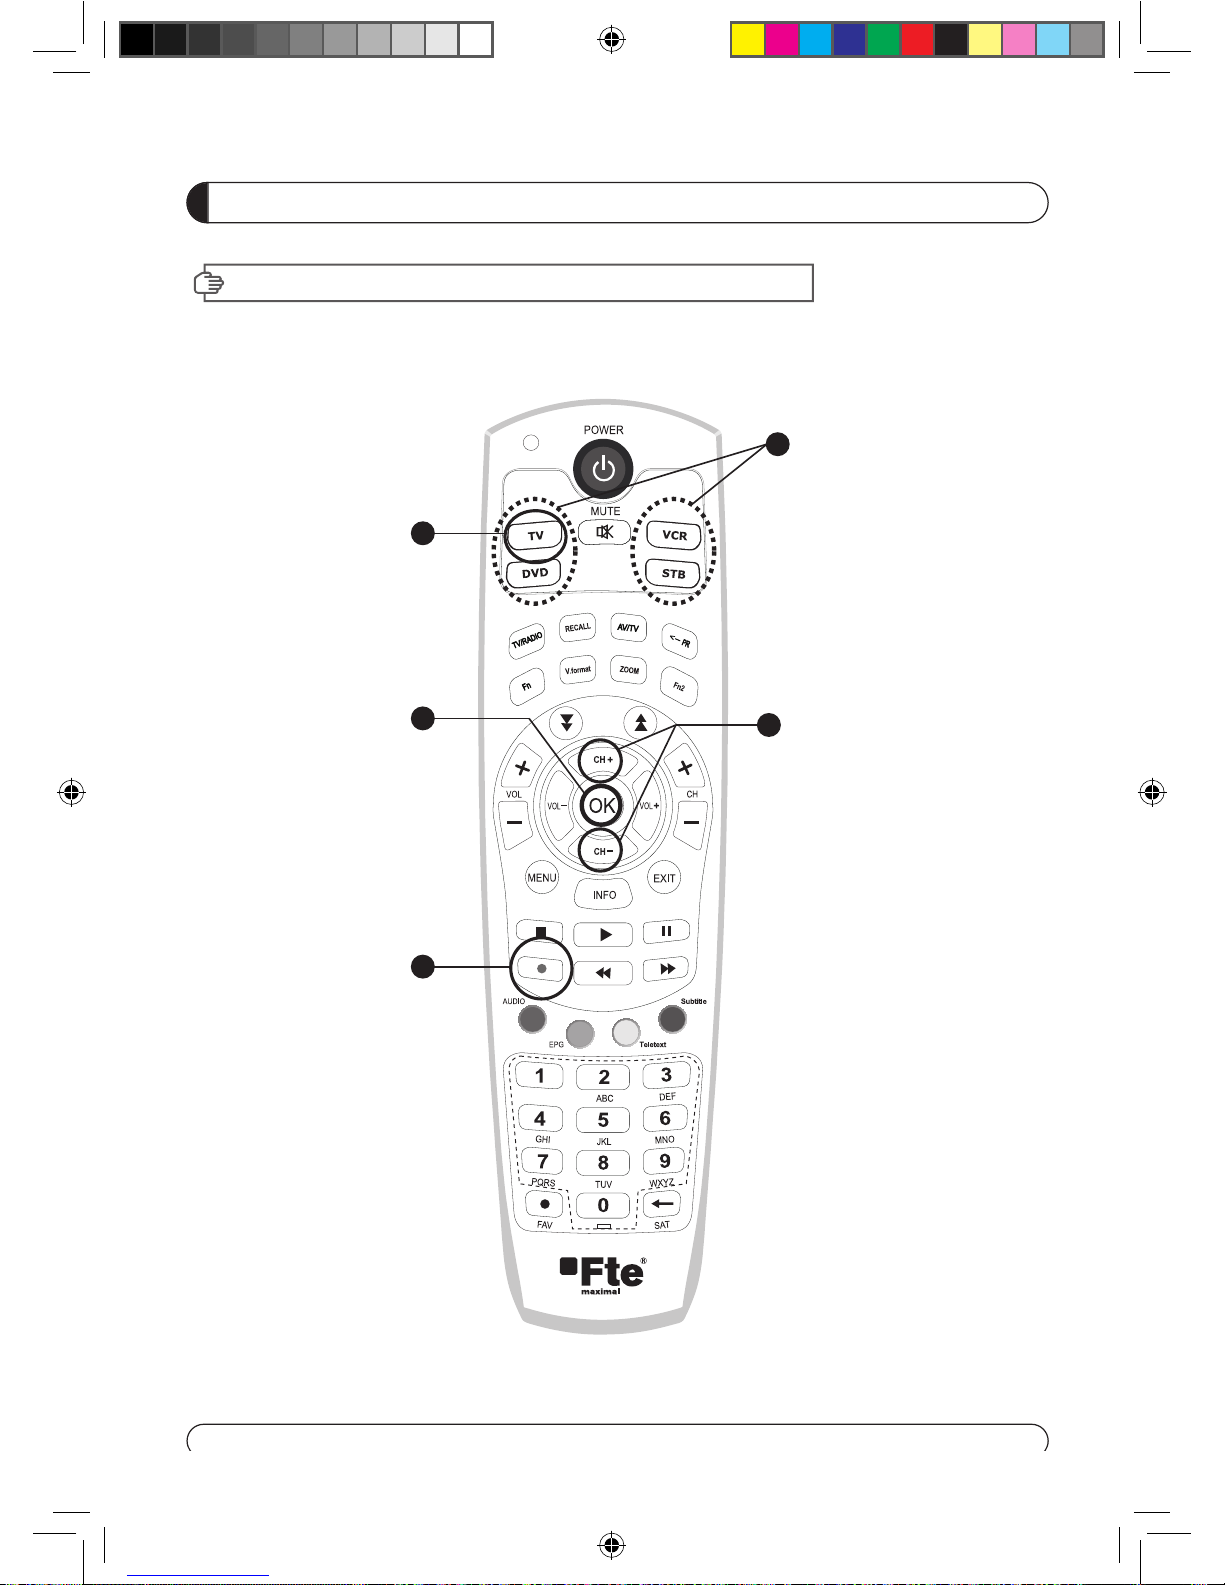
5
GENERAL INFORMATION
III. REMOTE CONTROL UNIT (RCU)
1. POWER Switch the receiver between operation and standby mode.
2. MUTE Enable or disable the audio.
3. TV Switch to TV mode.
4. DVD Switch to DVD mode.
5. VCR Switch to VCR mode.
6. STB Switch to STB mode.
7. TV / RADIO Switch between TV and Radio.
8. RECALL Select the previously viewed channel.
9. AV / TV Select the TV or AV mode.
10. ←PR Select the previously viewed channel.
11. Fn Network File Manager / Reboot.
12. V. Format Switch to HD Type.
13. ZOOM Select Zoom IN/OUT.
1
4. Fn2 Reserved.
1
5. Move down a page in the channel list.
16. Move up a page in the channel list.
17. V+ / V- Turn volume up or down.
18. P+ / P- Change channels up or down on normal mode.
19. ▲▼ Change channel or move to the item in the menu.
20. ◀ ▶ Adjust the volume or move to left or move item in the menu.
21. MENU Display the main menu on screen.
22. EXIT Return to the
previous menu or normal viewing mode from a menu.
2
3. INFO Display the program information box on the screen and edit the name of favorite
channel list.
24. STOP Stop recording or playing.
25. PLAY Display file lists and plays slow/normal.
26. PAUSE Pause the playing picture or go to normal mode.
27. RECORD Record the program.
28. REWIND Start reverse playback and change the speed of reverse playback.
29. F / F
Start fast forward or fast motion playback and change the speed of forward playback.
3
0. AUDIO Change the audio languages.
31. E
Subtitles
Teletext
PG Display the TV or Radio program guide.
32. Enable subtitles mode.
33. Enable teletext mode.
34. Numeric buttons Select the TV or Radio service channels and individual menu.
35. FAV Toggle the selected favorite mode.
36. SAT Toggle the selected Satellite list.
(2012 11 05) manual.indd 9 2012-11-05 �� 8:48:09
Page 7
6
GENERAL INFORMATION
IV. HOW TO SETTING RCU FOR TV
4
3
2
5
1
(2012 11 05) manual.indd 10 2012-11-05 �� 8:48:09
Page 8
7
GENERAL INFORMATION
IV. HOW TO SETTING RCU FOR TV
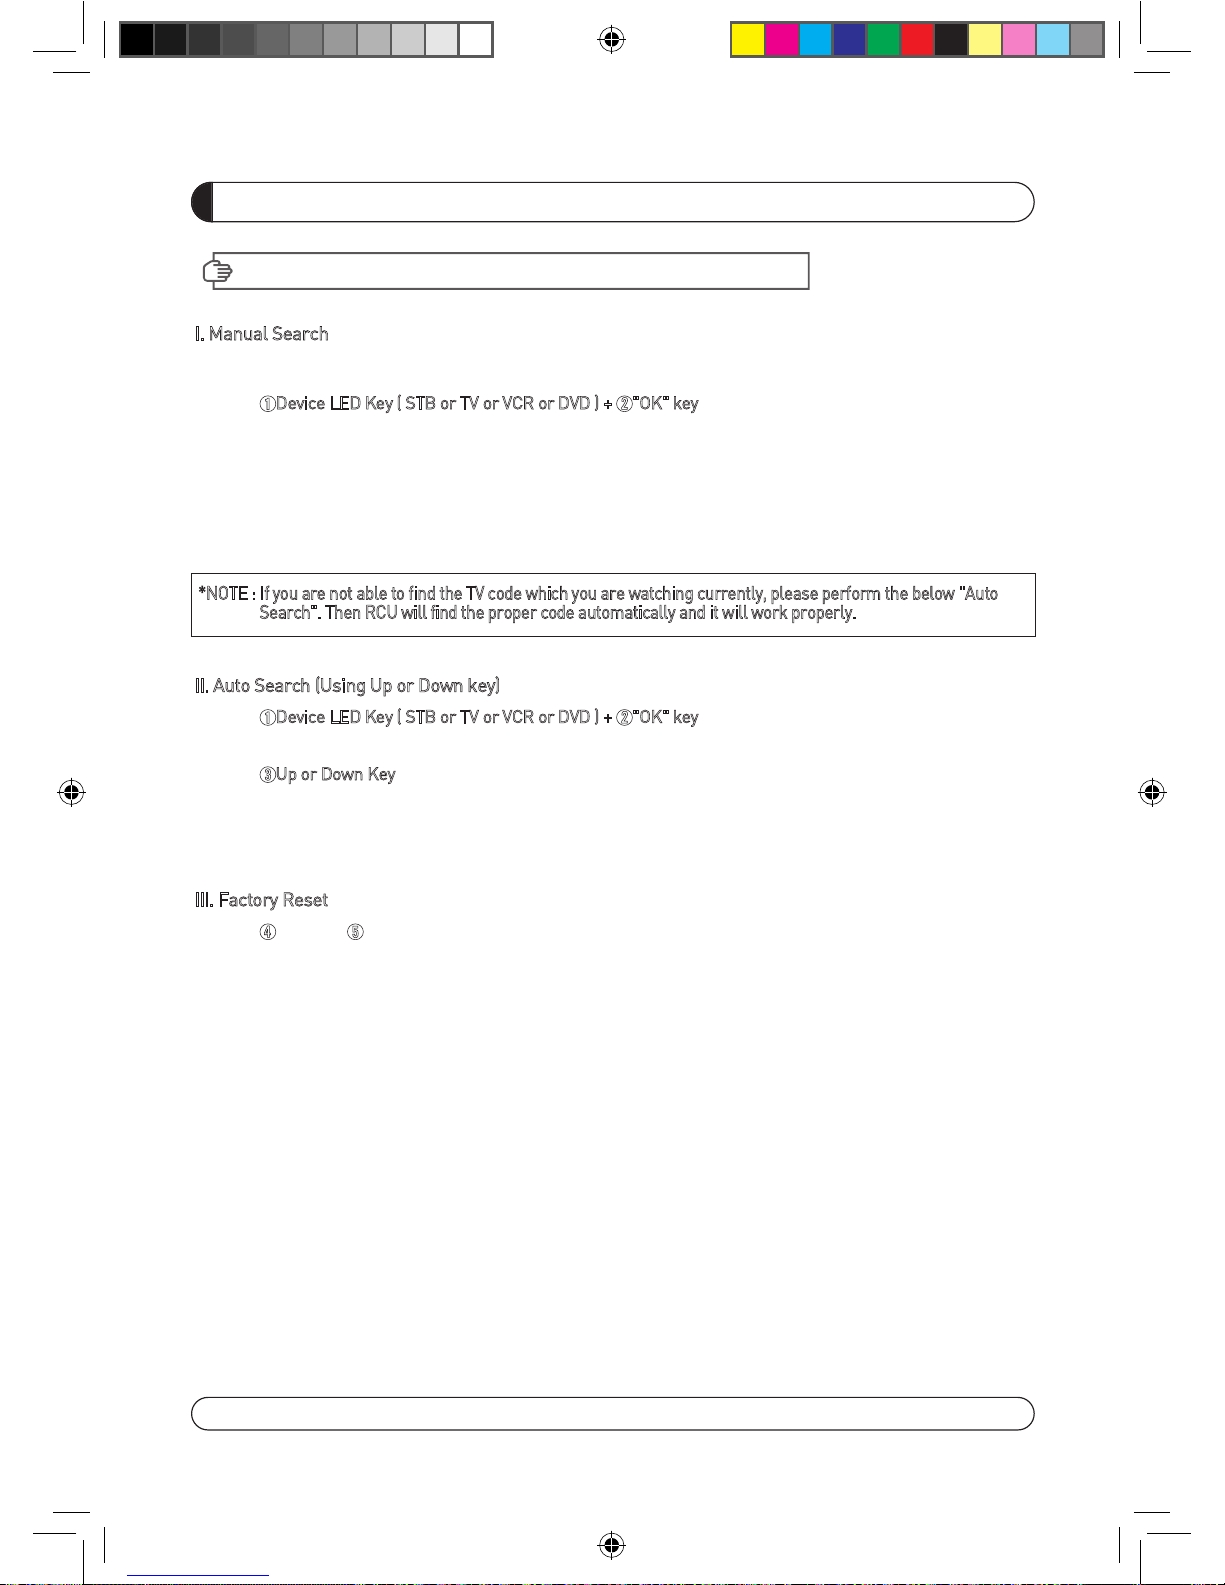
I. Manual Search
At first, Turn on the TV
1) Press
➊
Device LED Key ( STB or TV or VCR or DVD ) + ➋"OK" key
at the same time during 2 or 3 seconds.
Then the Device LED Lamp will be on → Setting Mode.
2) Find the 3-Digit code of Device in brand list and input 3-Digit code accordingly one by one. - The Device LED
will be twinked ontime one by one also. When you finish inputting 3-Digit, the Device (TV or VCR or DVD) will be
turned off one time.
3) Then click OK to finish setting. (The Device LED will be turned off after twinkling 2 times.)
*NOTE : If you are not able to find the TV code which you are watching currently, please perform the below "Auto
Search". Then RCU will find the proper code automatically and it will work properly.
II. Auto Search (Using Up or Down key)
1) Press
➊
Device LED Key ( STB or TV or VCR or DVD ) + ➋"OK" key
at the same time during 2 or 3 seconds.
Then the Device LED Lamp will be on → Setting Mode.
2) Press
➌
Up or Down Key
of RCU to find out equivalent device. At the moment of RCU matching to the equiva-
lent device, the device will be turned off.
3) Then click OK to finish setting. (The Device LED will be turned off after twinkling 2 times.)
III. Factory Reset
1) Press ➍TV LED + ➎REC button at the same time during more than 5 seconds.
2) Device LED will be turn off/on "TV → DVD → VCR → STB" 3 times one by one and RCU will go to default mode.
(2012 11 05) manual.indd 11 2012-11-05 �� 8:48:09
Page 9
8
GENERAL INFORMATION
V. FRONT PANEL
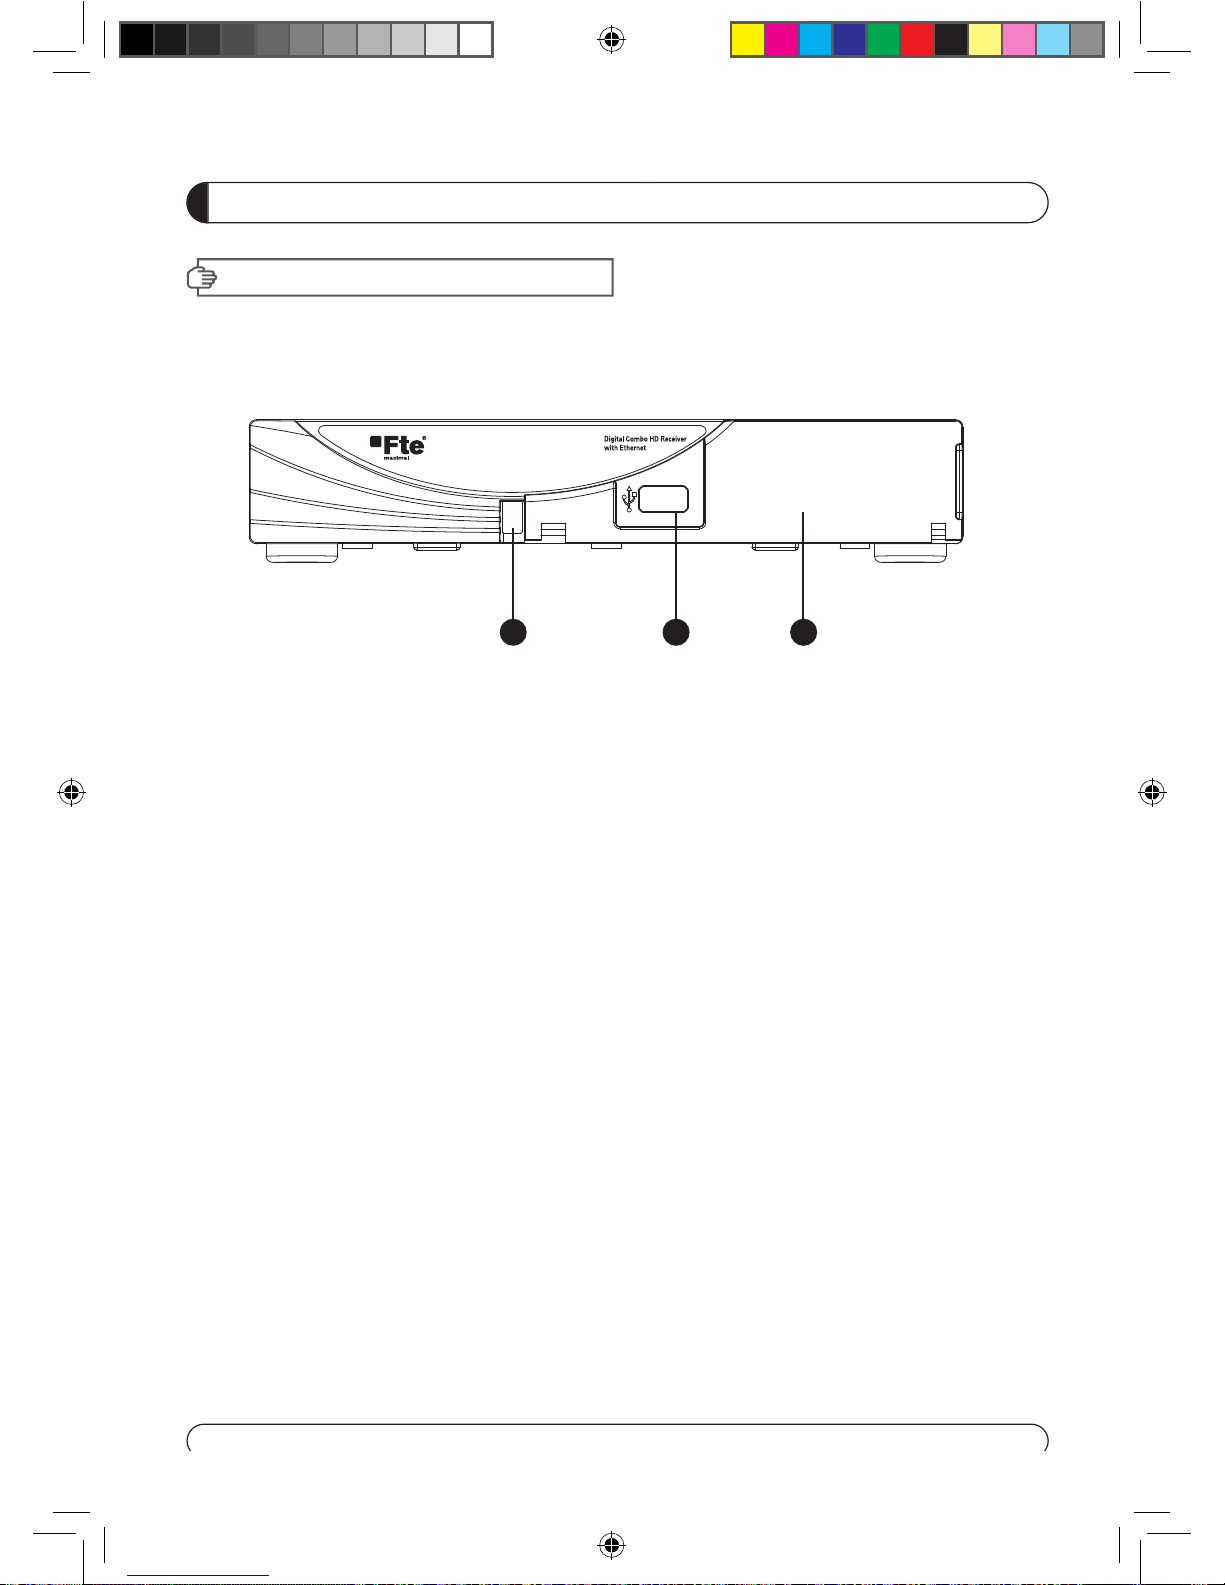
NOTE: All USB 2.0 flash drive may not be compatible with the product.
1. POWER Switch the receiver power On and Standby.
2. USB To upgrade firmware / Recording.
3. SMART SLOT Insert Smart Card.
1 2 3
3
4 8 9
11
5
6
7
10
12
1
2
(2012 11 05) manual.indd 12 2012-11-05 �� 8:48:10
Page 10
9
GENERAL INFORMATION
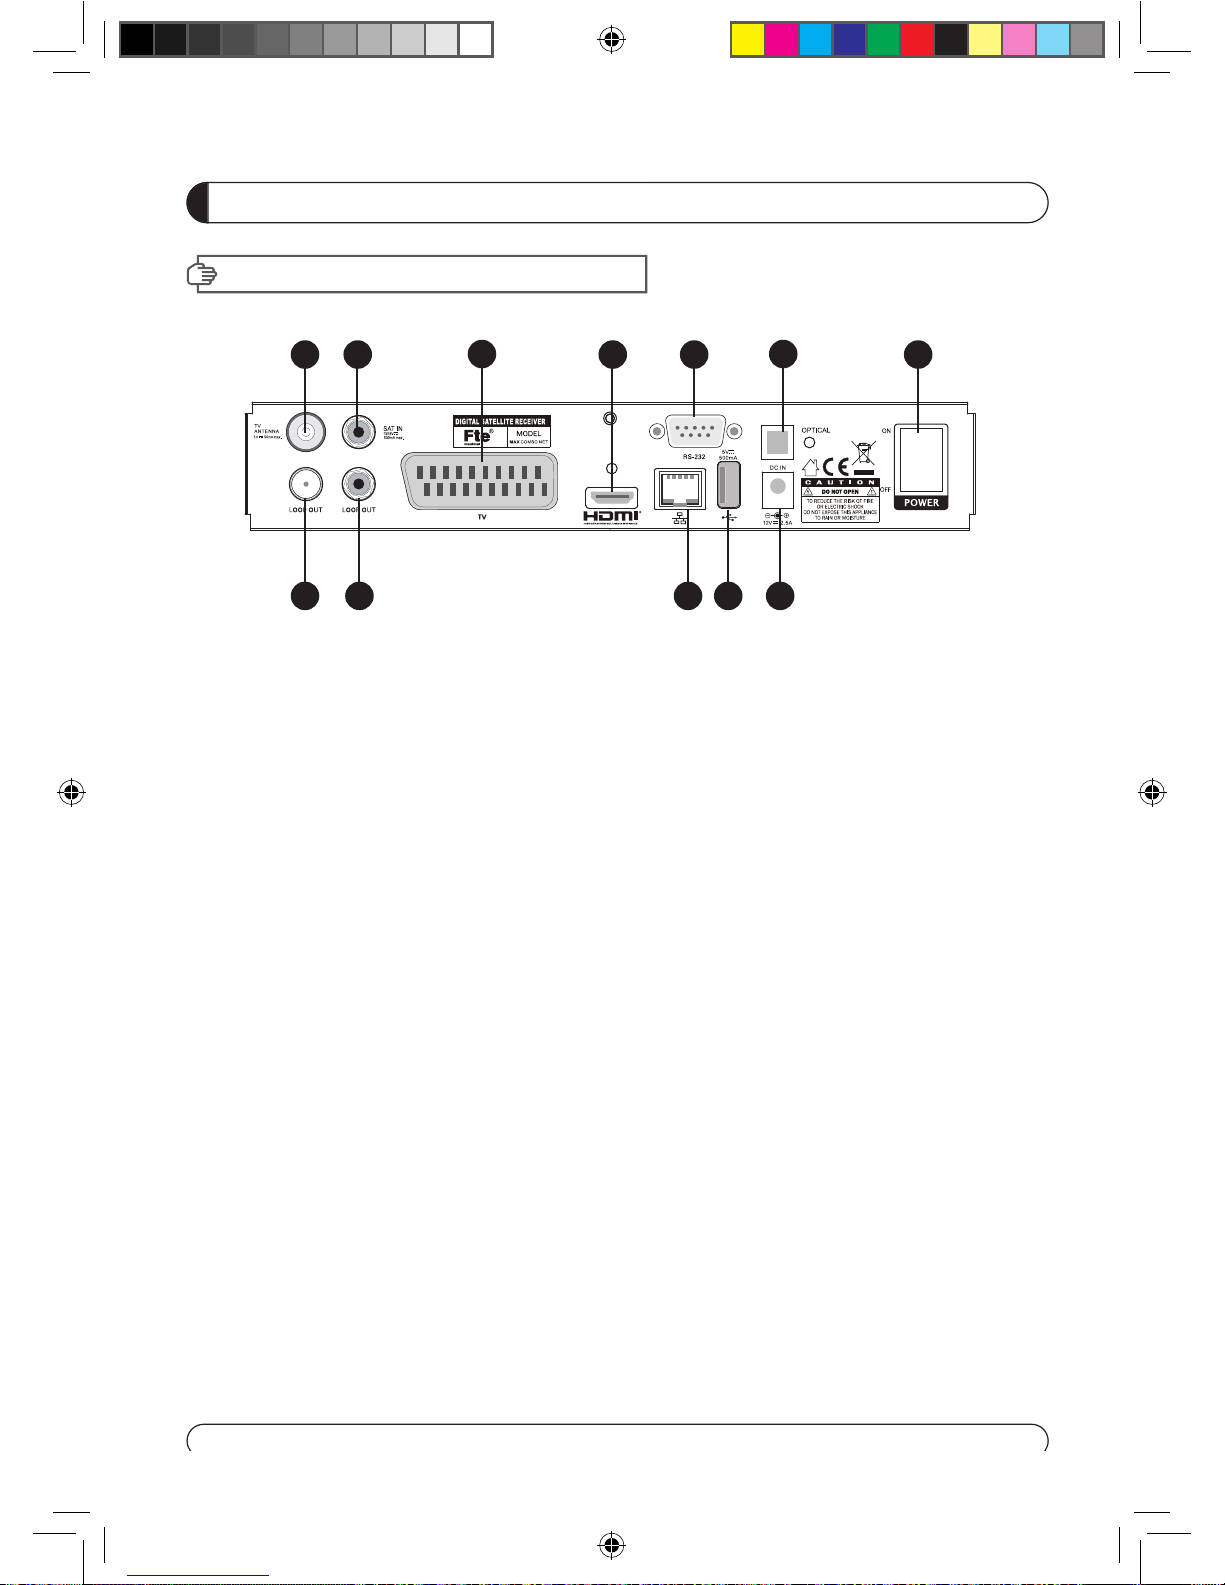
VI. REAR PANEL
1. AERIAL Connect to Terrestrial antenna cable.
2. LOOP OUT Connect to another STB.
3. SAT IN Connect to Satellite antenna cable.
4. LOOP OUT Connect to another STB.
5. TV SCART Connect to TV SCART cable.
6. HDMI Connect to HDMI jack of TV.
7. RS 232 Connect to personal computer for software upgrade.
8. Ethernet Connect to Lan cable.
9. USB Connect to USB device.
10. OPTICAL Output for connectin
g to a amplifier.
1
1. ADAPTOR Connect to Adaptor.
12. POWER BUTTON Turn On/Off.
3
4 8 9
11
5
6
7
10
12
1
2
(2012 11 05) manual.indd 13 2012-11-05 �� 8:48:10
Page 11
10
INSTALLING EQUIPMENT
This section explains several ways of connecting the receiver to your existing
TV, VCR and Hi-Fi system.
You can choose one of the following setups that we recommend.
If you have any problem or need help, consult your dealer or service provider.
Please ensure that the following items are included with the receiver in your packing.
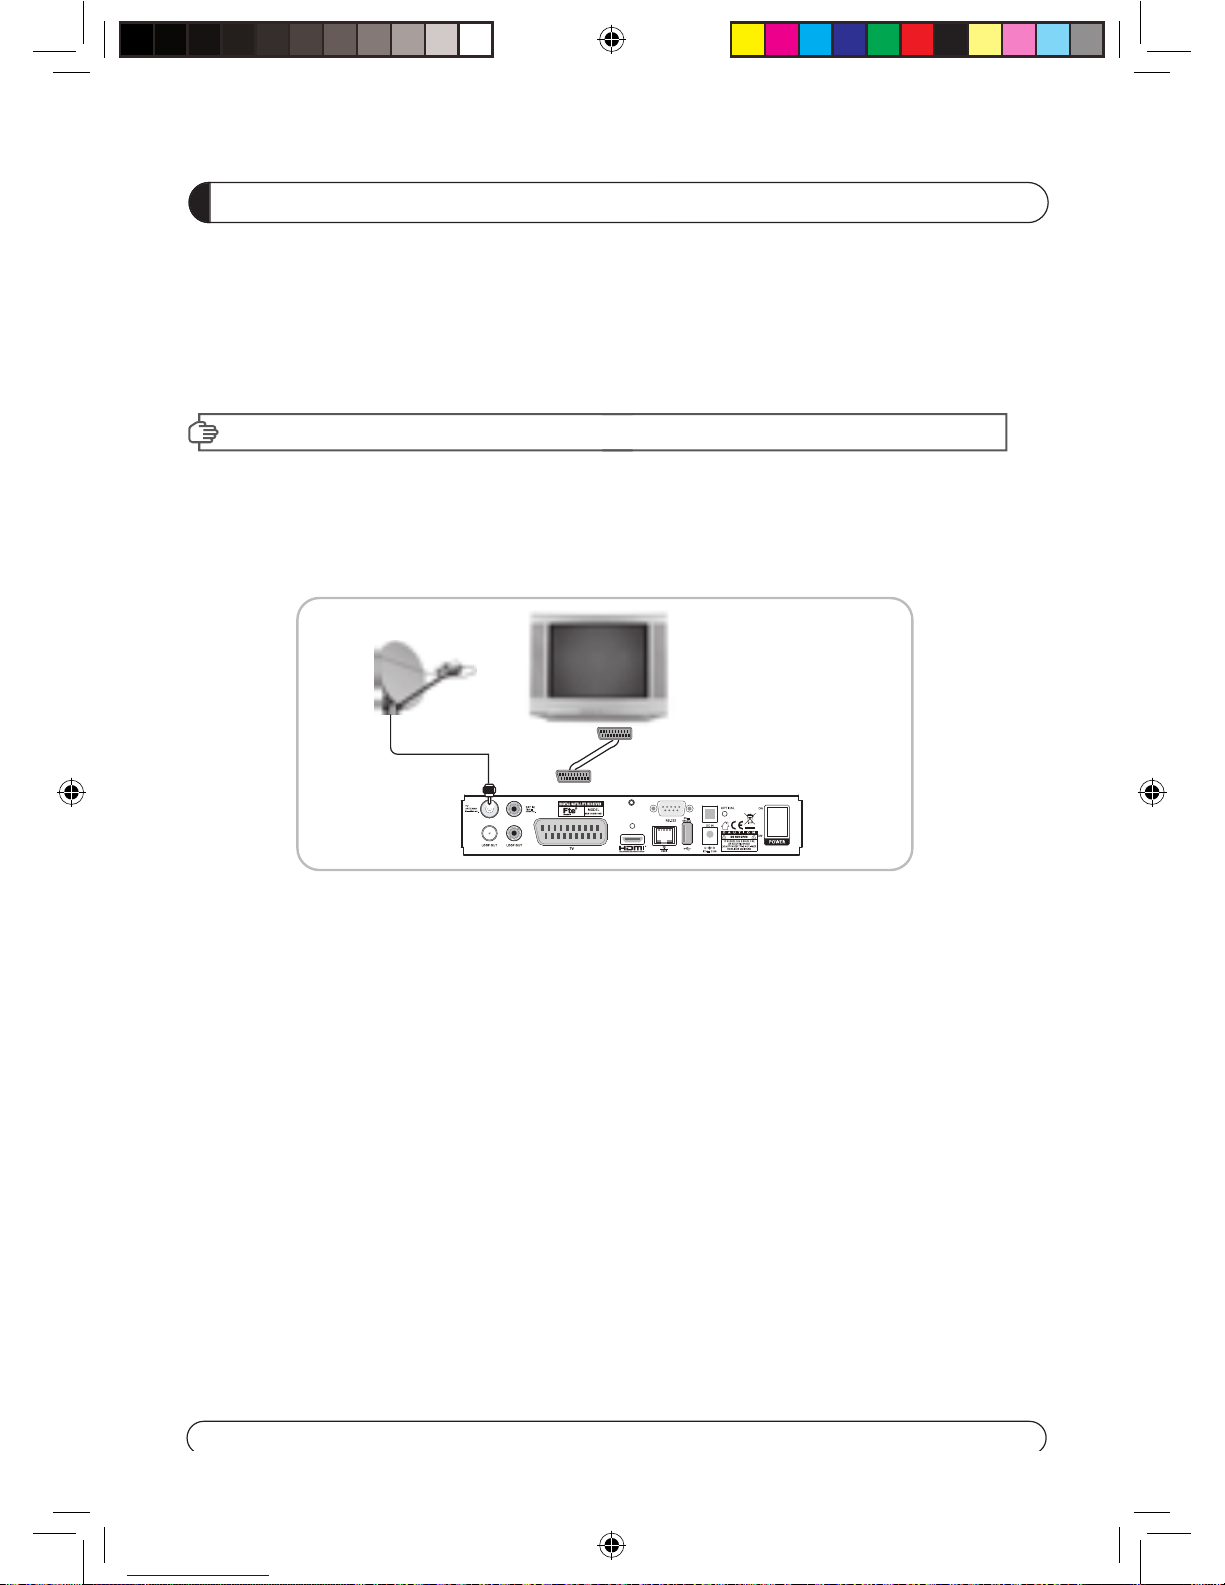
I-1. Connecting the receiver to TV with the SCART cable
Connect one end of the SCART cable to the TV SCART socket on the rear panel of the
receiver and the other end to a SCART socket on the TV.
I. CONNECTING THE RECEIVER TO TV
(2012 11 05) manual.indd 14 2012-11-05 8:48:10
Page 12
11
CHANNEL LIST GUIDE
1. Normal Live Mode
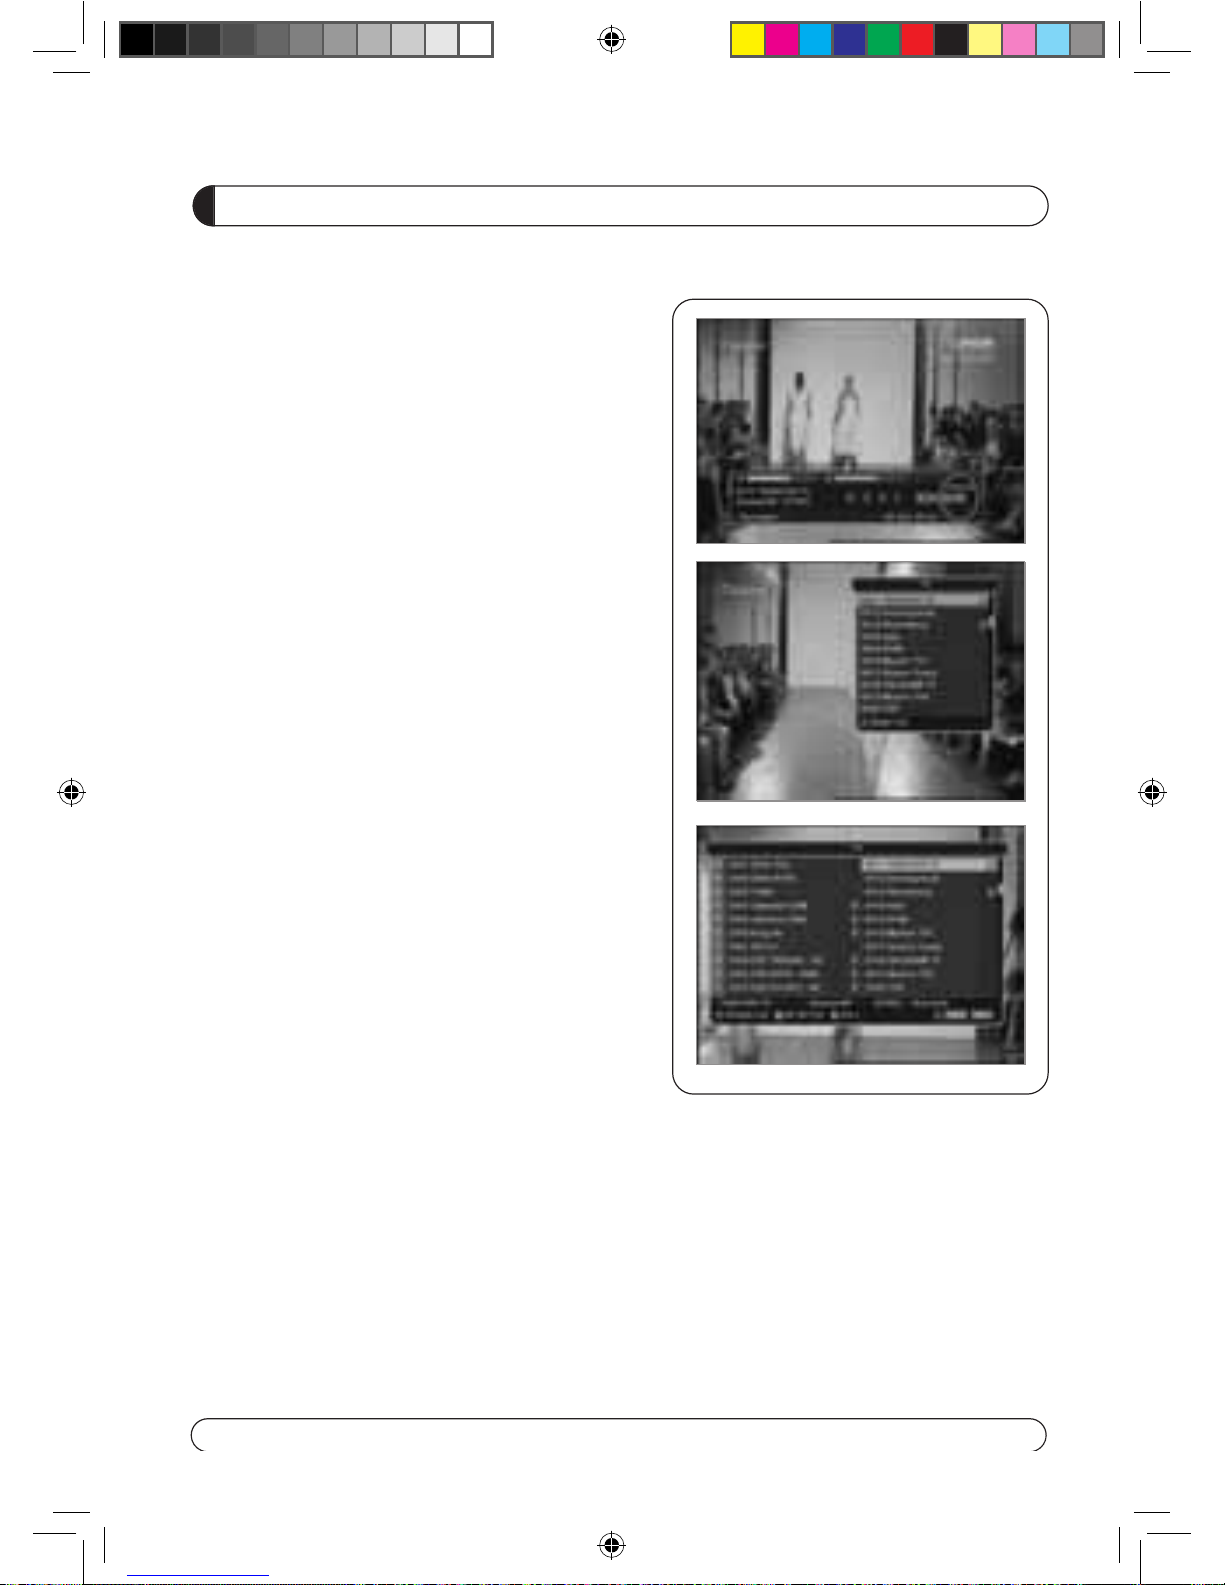
a) When you select one channel, information bar appears
automatically on the screen for few seconds. This bar
provides you the current channel information.
b) Press INFO button to see the information during normal
live mode.
2. Simple Channel List
a) Press OK on the normal live mode to go to the channel
list.
b) When detail channel list is displayed on screen press
RED button to go to simple channel list.
3. Detail Channel List
a) Press OK on the normal live mode to go to the channel
list.
b) When simple channel list is displayed on screen press
RED button to go to detail channel list.
c) Press◀▶ and ▲▼to sort by Alphabet.
d) Press SAT button to sort by Satellite and FAV
button for Favorite 1~8.
e) Press GREEN button to return to All Channel or EXIT to
return to the current live
channel.
f
) Press the SAT key to show Satellite Pop-UP Window then
select satellite. Channel list of selected satellite will be
displayed.
g) Press the FAV key to show Favorite Pop-UP Window then
select FAV list. Channel list of selected FAV will be displayed.
h) Press the Green key then all searched channel list will
be displayed.
(2012 11 05) manual.indd 15 2012-11-05 �� 8:48:11
Page 13
12
CHANNEL LIST GUIDE
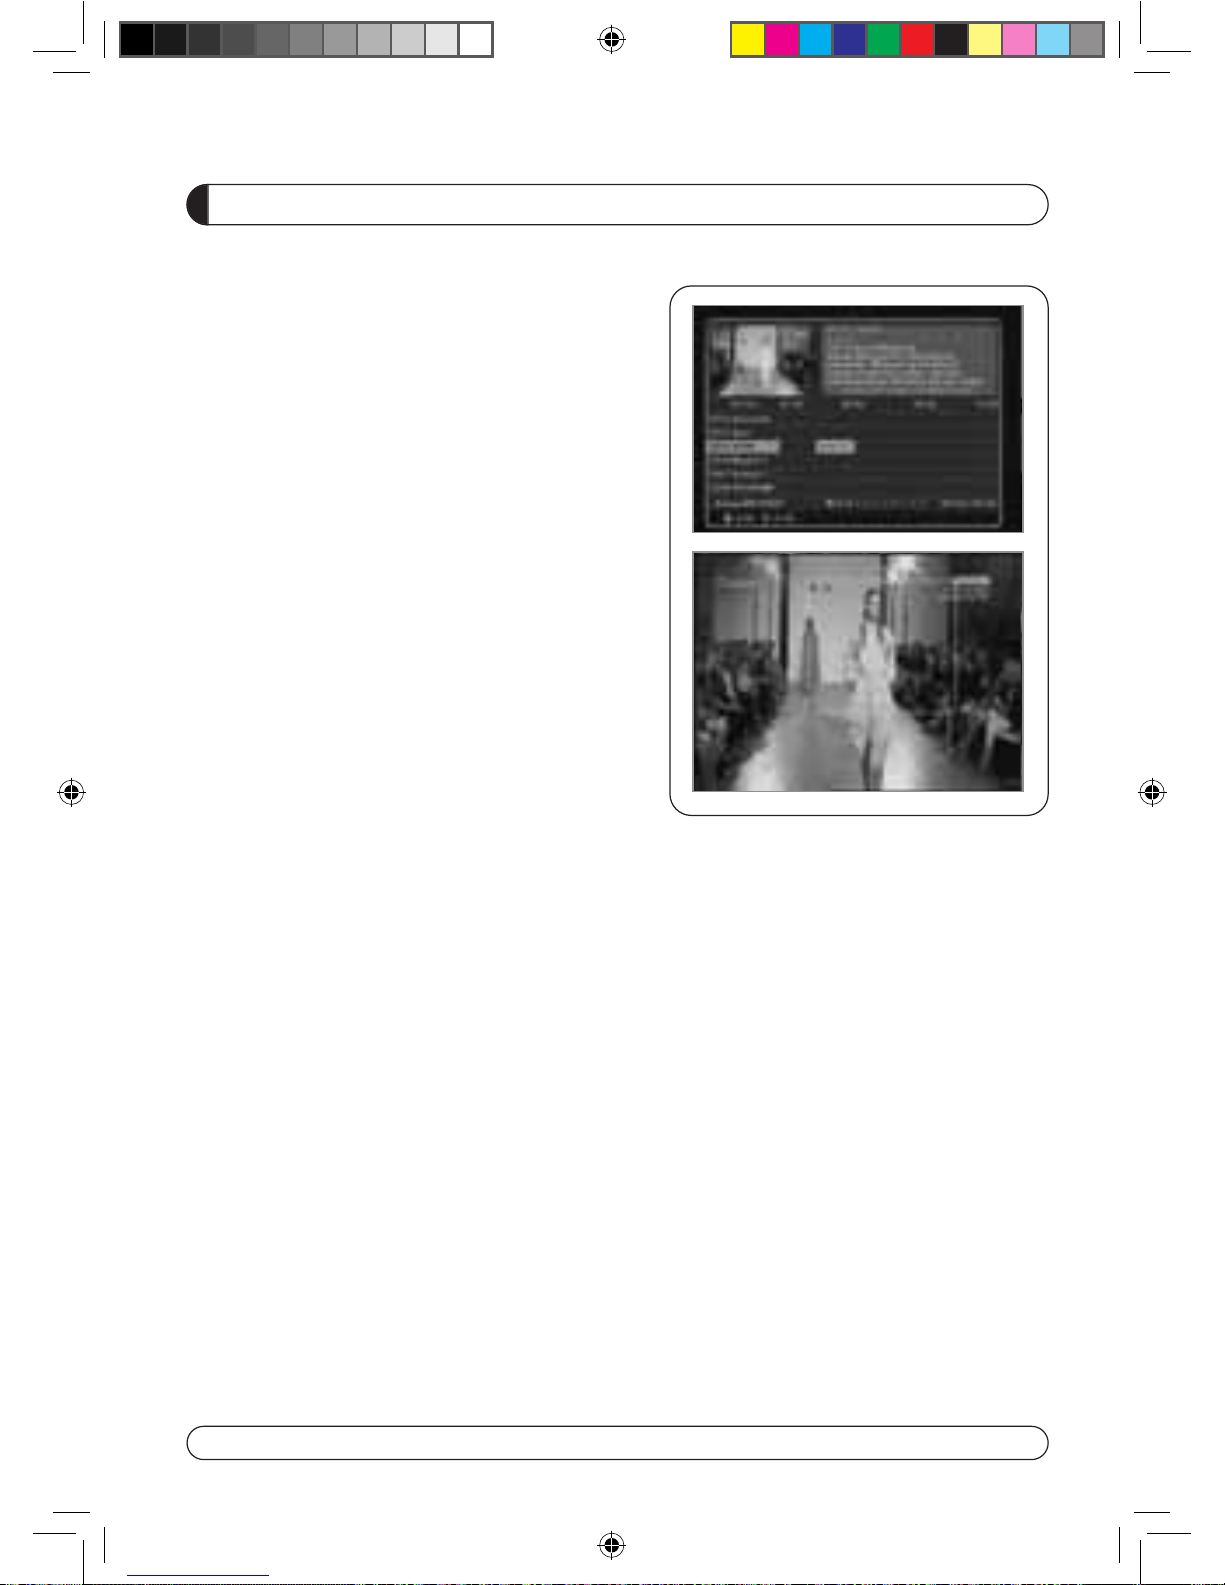
4.EPG (Electronic Program Guide)
a) Press EPG button on the live mode.
b) EPG of the current channel appears on the screen.
c) Select the channel that you want to watch program.
d) It will be appear like rightside picture.
5. ZOOM IN/OUT
a) By pressing ZOOM key in a normal live mode, you
can use Zoom In/Out fuction.
b) You can select zoom size with RED/GREEN key.
c) You can select the start posi
tion with ▲▼◀▶
key.
d) After select Zoom size and pisition, you can start
zoom function with OK key.
e) With ▲▼◀▶key, you can move zooming screen.
(2012 11 05) manual.indd 16 2012-11-05 �� 8:48:11
Page 14
13
MAIN PAGE
MENU GUIDE
I. CHANNEL MANAGER
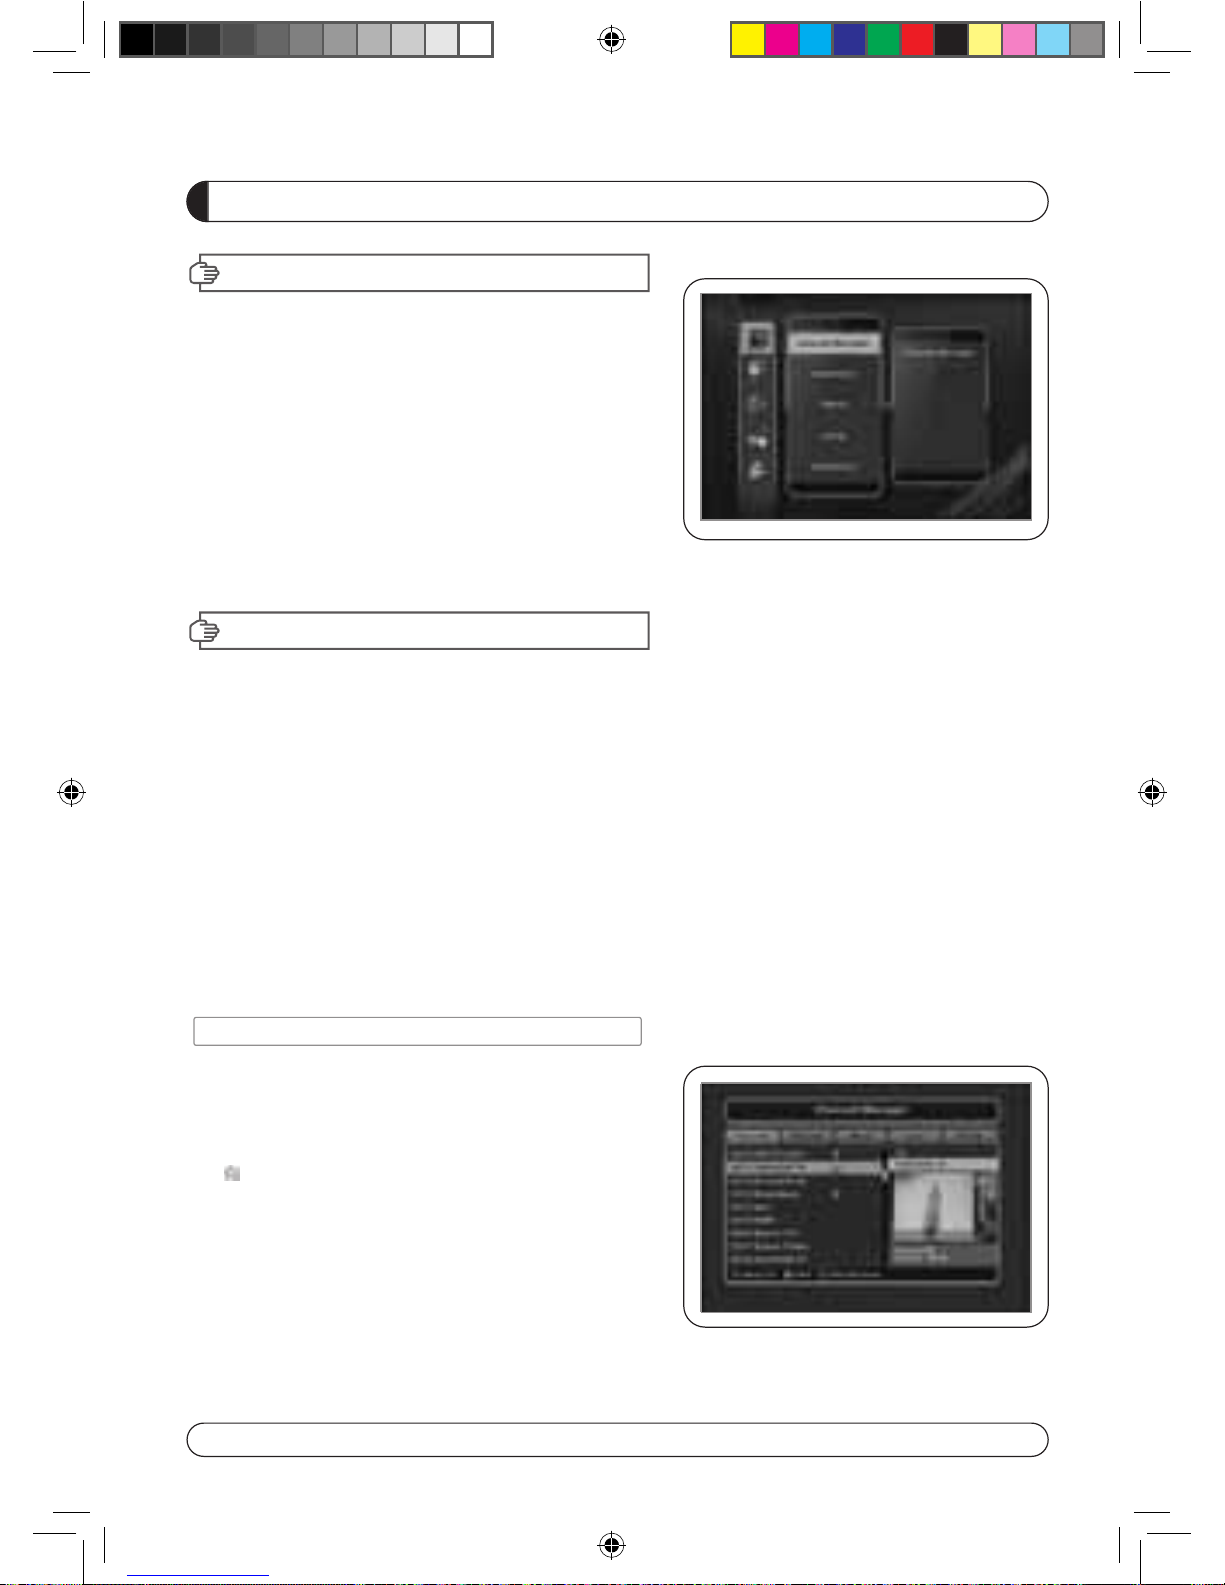
Press the MENU button on the RCU to open Main
Page on the screen. Main Page will be displayed.
1. You can move into the main page using ▲▼◀▶
on the RCU.
2. Press OK to confirm your selection.
3. Press EXIT to return to the previous menu or press
MENU to go to the current live channel.
I. Channel Manager
II. Installations
III. Options
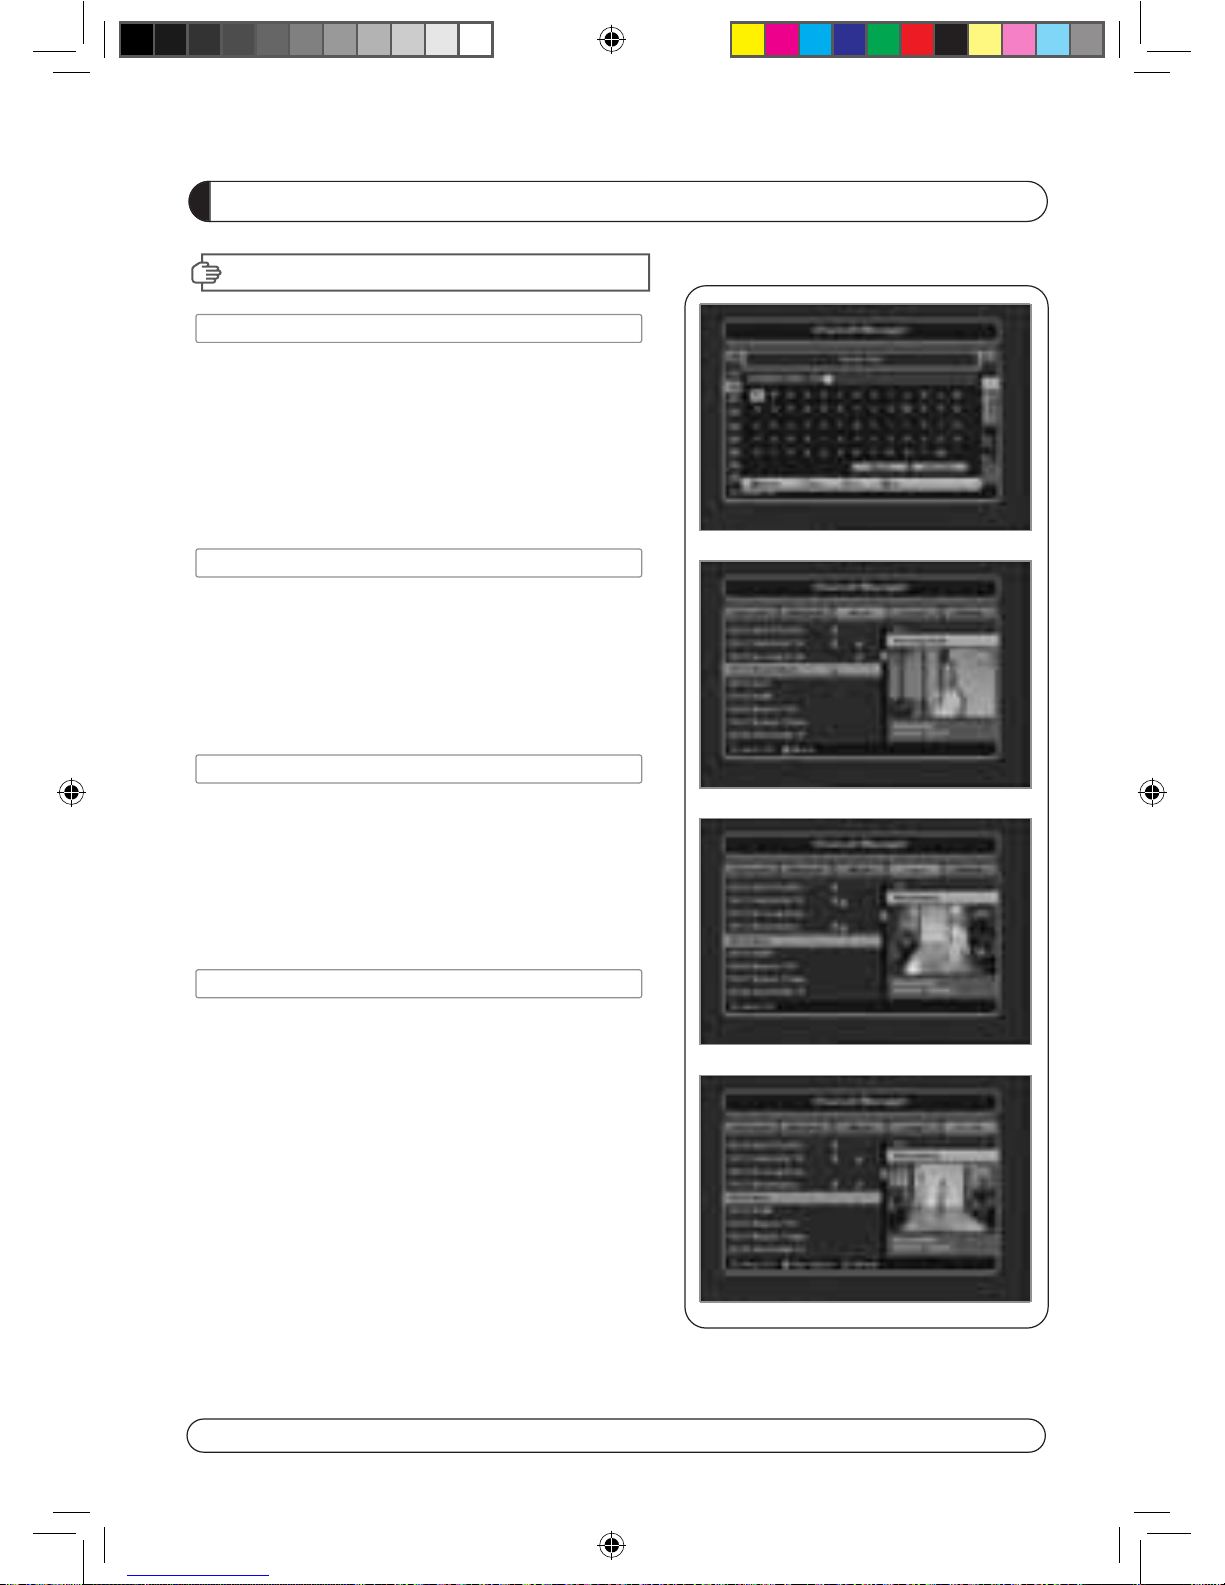
This section may help you to organize channels according to your preference.
1. Select Channel Manager in the Main Page with ▲▼ and press OK.
2. TV Channel Manager Page displays on the screen.
3. Select the mode that you want using ◀▶.
4. To see the channel that you choose, go to the channel and then press RED botton.
5. Press EXIT to return to the previous menu or press MENU to go to the current live channel.
I-1. Favorite
I-2. Rename
I-3. Move
I-4. Lock
I-5. Del
ete
I-1. Favorite
1. Using ◀▶go to the Favorite mode then press
YELLOW button to choose Favorite 1~8.
2. Press OK on the channel that you want to add
or delete.
3. will be marked at the end of selected channel
name bar. To delete press OK again.
4. Selected channels will be automatically saved.
5. If you want to check the saved Favorite Channel List
go to other mode(Rename~Delete) except Favorite
and then
press FAV button to check Favorite 1~8.
6
. Press EXIT to return to the previous menu or press
MENU to go to the current live channel.
7. Press BLUE button to rename Favorite.
IV. Utility
V. Accessory
(2012 11 05) manual.indd 17 2012-11-05 �� 8:48:11
Page 15
14
I. CHANNEL MANAGER
MENU GUIDE
I-2. Rename
1. Using
◀▶
go to the Rename mode.
2. Select the channel that you want to rename using
▲▼
and
then press OK.
3. Keypad Dialog displays on the screen.
4. Edit the name entering NUMBERS and / or WORDS in the
Keypad Dialog.
5. Press EXIT to return to the previous menu or press MENU to
go to the current live channel.
I-3. Move
1. Using
◀▶
go to the Move mode.
2. Select channels which you want to move by pressing OK key.
3
. Move cursor that you want to place on than press GREEN but-
ton.
4. Press EXIT to return to the previous menu or press MENU to
go to the current live channel.
I-4. Lock
1. Using
◀▶
go to the Lock mode.
2. Select the channel that you want to lock and then press OK.
will be marked at the end of the selected channel name bar.
To delete press OK again.
3. Press EXIT to go to Main Page
or press MENU to go to the
c
urrent live channel.
I-5. Delete
1. Using
◀▶
go to the Delete mode.
2. Select the channel that you want to delete and then press OK.
will be marked on the selected channel number.
To delete press Blue button again.
3. Press YELLOW button to delete TP. Select one channel and
press Blue button.
All channels of that TP will be automatically selected.
4. Press YELLOW button to delete
Satellite. Select one channel
a
nd press Blue button. All channels of that the Satellite will
be automatically selected.
5. Press EXIT to return to the previous menu or press MENU to
go to the current live channel.
6. Message Box displays on the screen.
7. Select OK on the Message Box and then press OK to delete
the markedchannels.
(2012 11 05) manual.indd 18 2012-11-05 �� 8:48:12
Page 16
15
MENU GUIDE
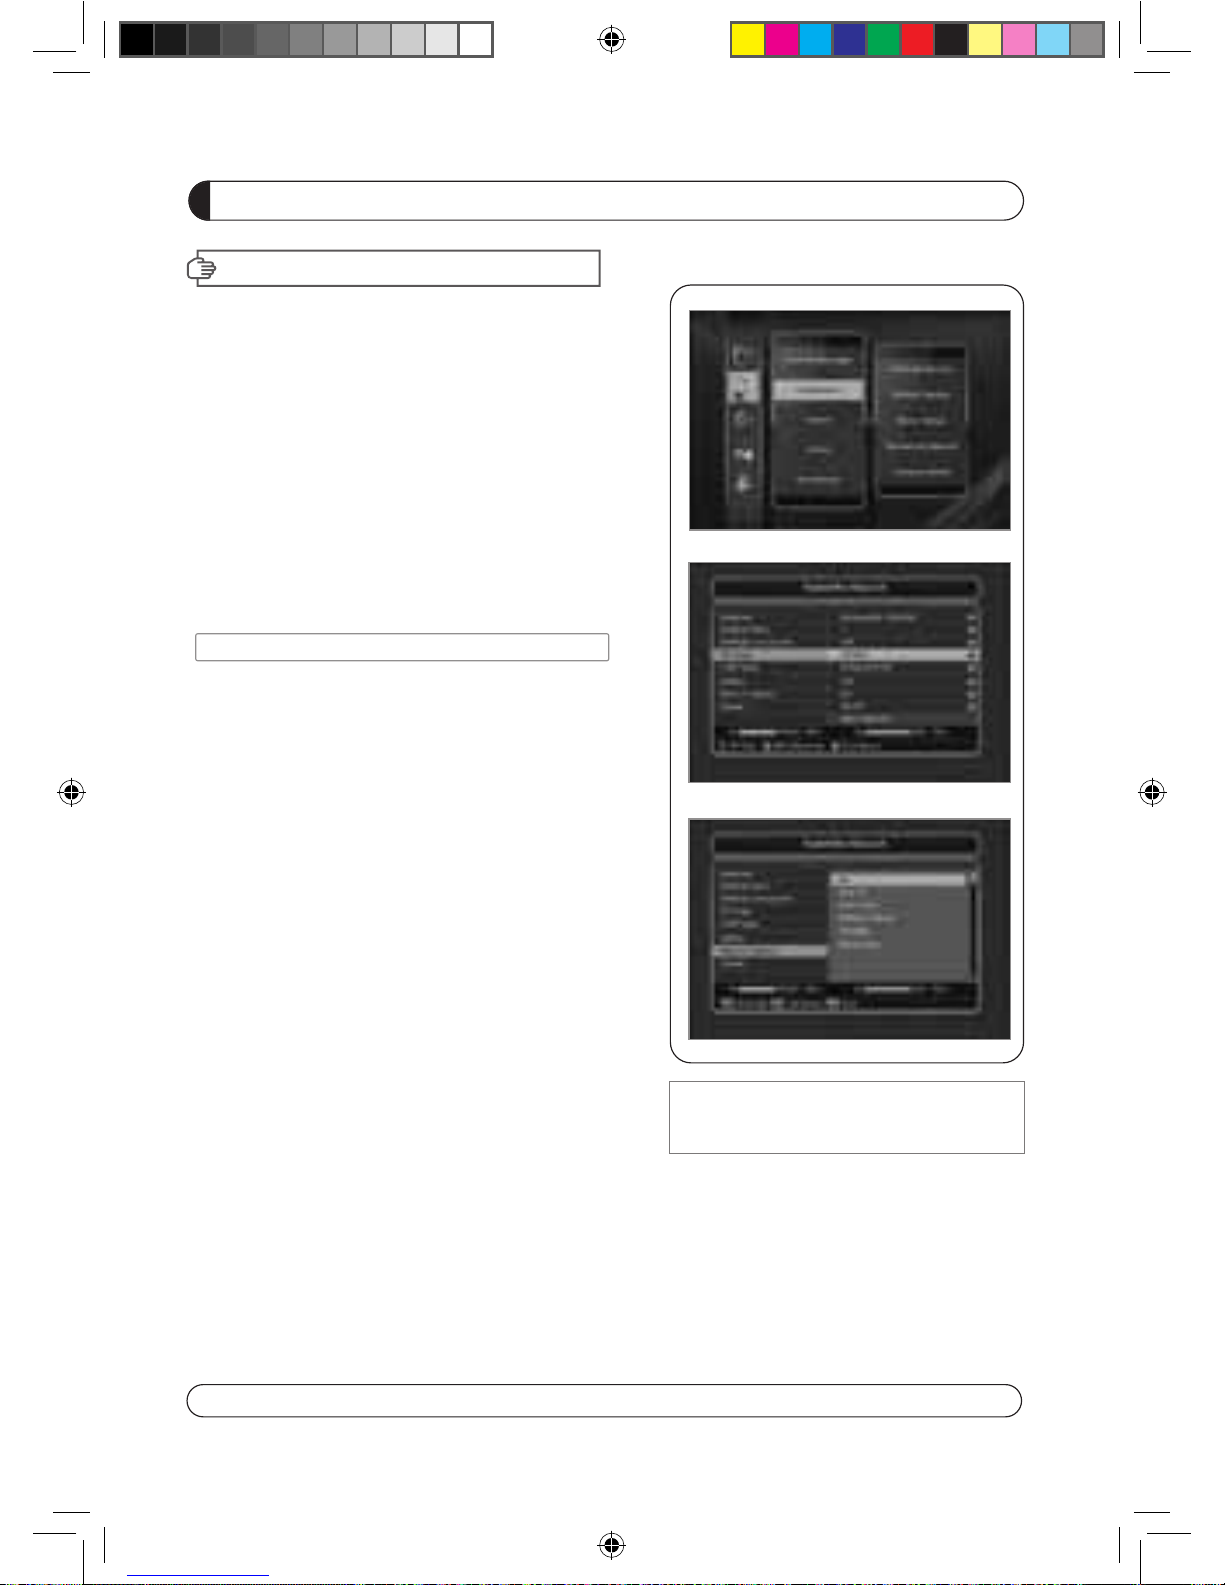
This section may help you to set up antenna and
scan satellite or transponder, etc. Select Installations
in Main Page using
▲▼
and press OK.
Press EXIT to return to the previous menu or press
MENU to go to the current live channel.
II-1. Satellite Search
II-2. DiSEqC Switch
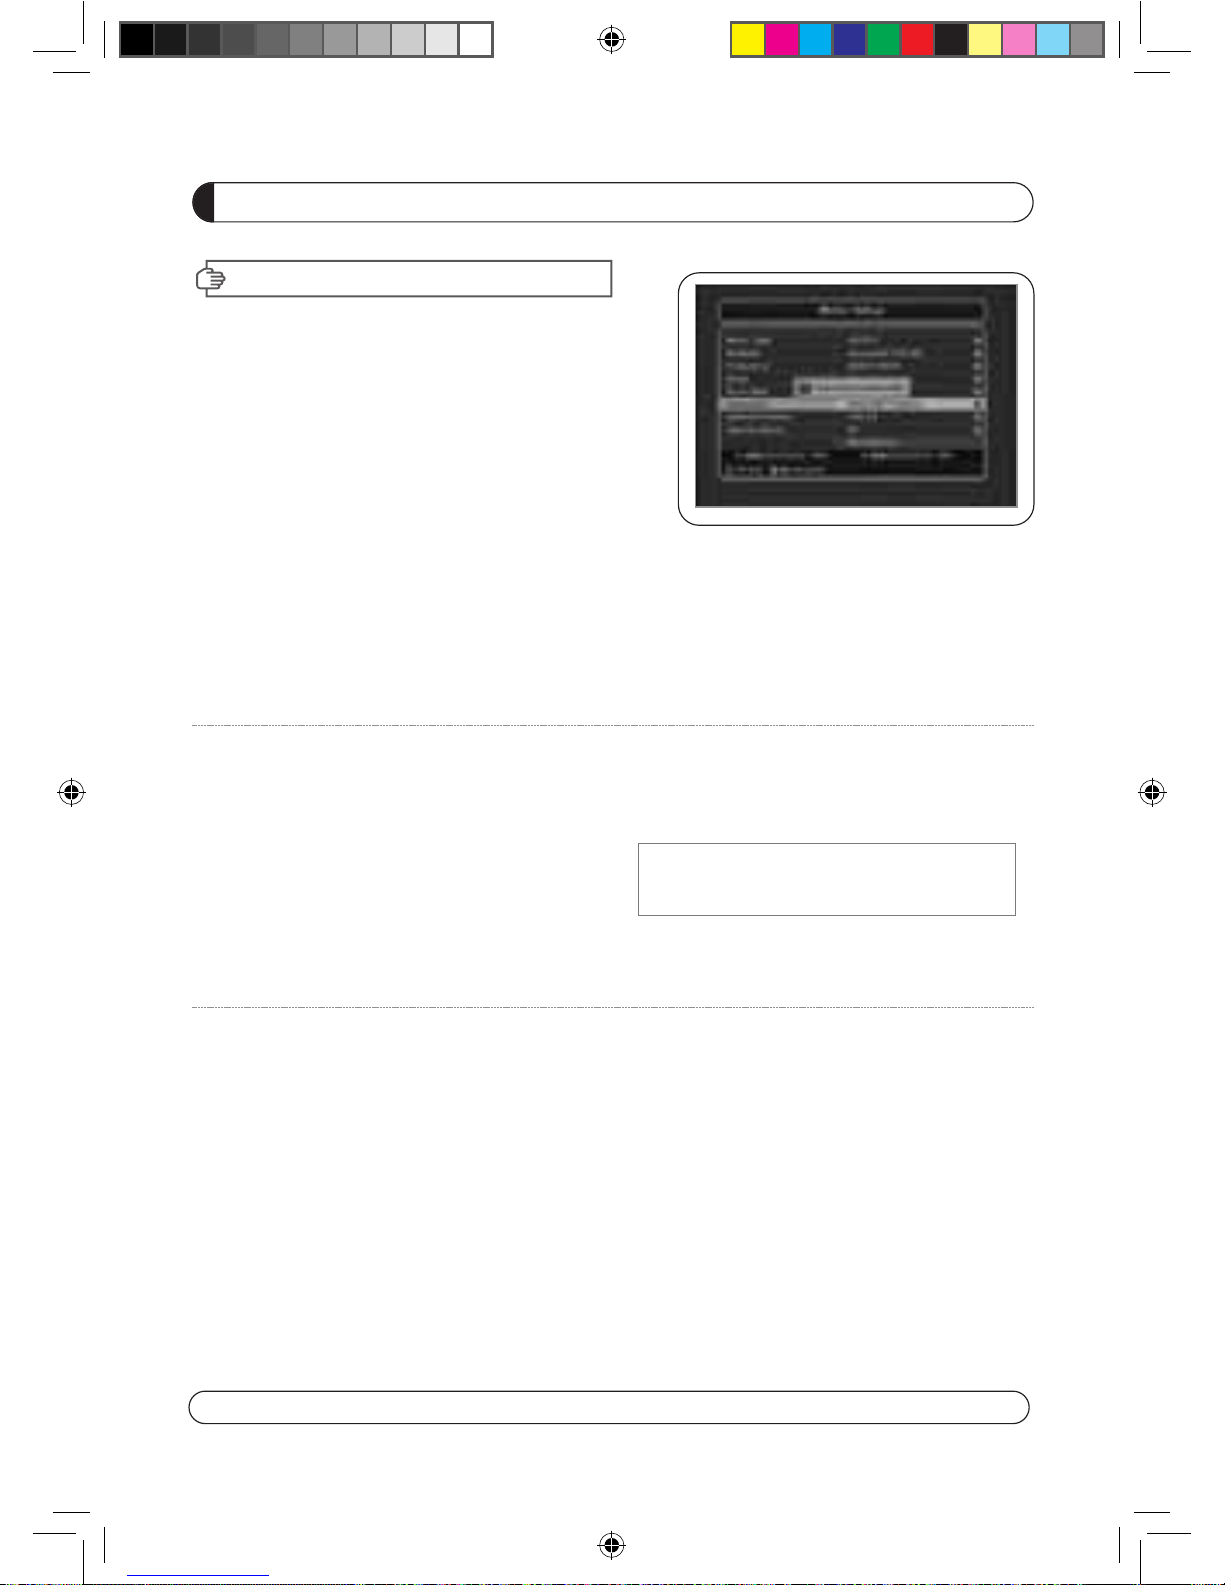
II-3. Motor Setup
II-4. Terrestrial Search
II-5. Home Streaming
II-6. Factory Default
II-1 Satellite Search
1.You can move the cursor using ▲▼ and press OK
when you select the value that you want.
a) Satellite
- Press OK to display the Satellite List Box.
- Select the proper Satellite and then press OK.
b) DiSEqC
- Press OK to display the DiSEqC Port List.
- Select the proper DiSEqC port and then press OK.
c) LNB
- Press OK to display the LNB Frequency List.
- Select the proper LNB Frequency and then
press OK.
- You can also input di
rectly the numbers using
N
UMBER KEY on the RCU.
d) 22KHz Tone
- Select the one among None, 0 KHz or 22 KHz
depending on the user’s antenna switch box.
e) Search Option
- Press OK to display the Search Option list.
- Select the Search Option that you want and then
press OK.
II. INSTALLATION
f) Search
- Press Search to start scan channels.
- SAT Rename : To rename SAT, Press the
Green button on the RCU.
※ TP EDIT : To Edit TP, Press the RED
button on the RCU.
(2012 11 05) manual.indd 19 2012-11-05 �� 8:48:13
Page 17
16
MENU GUIDE
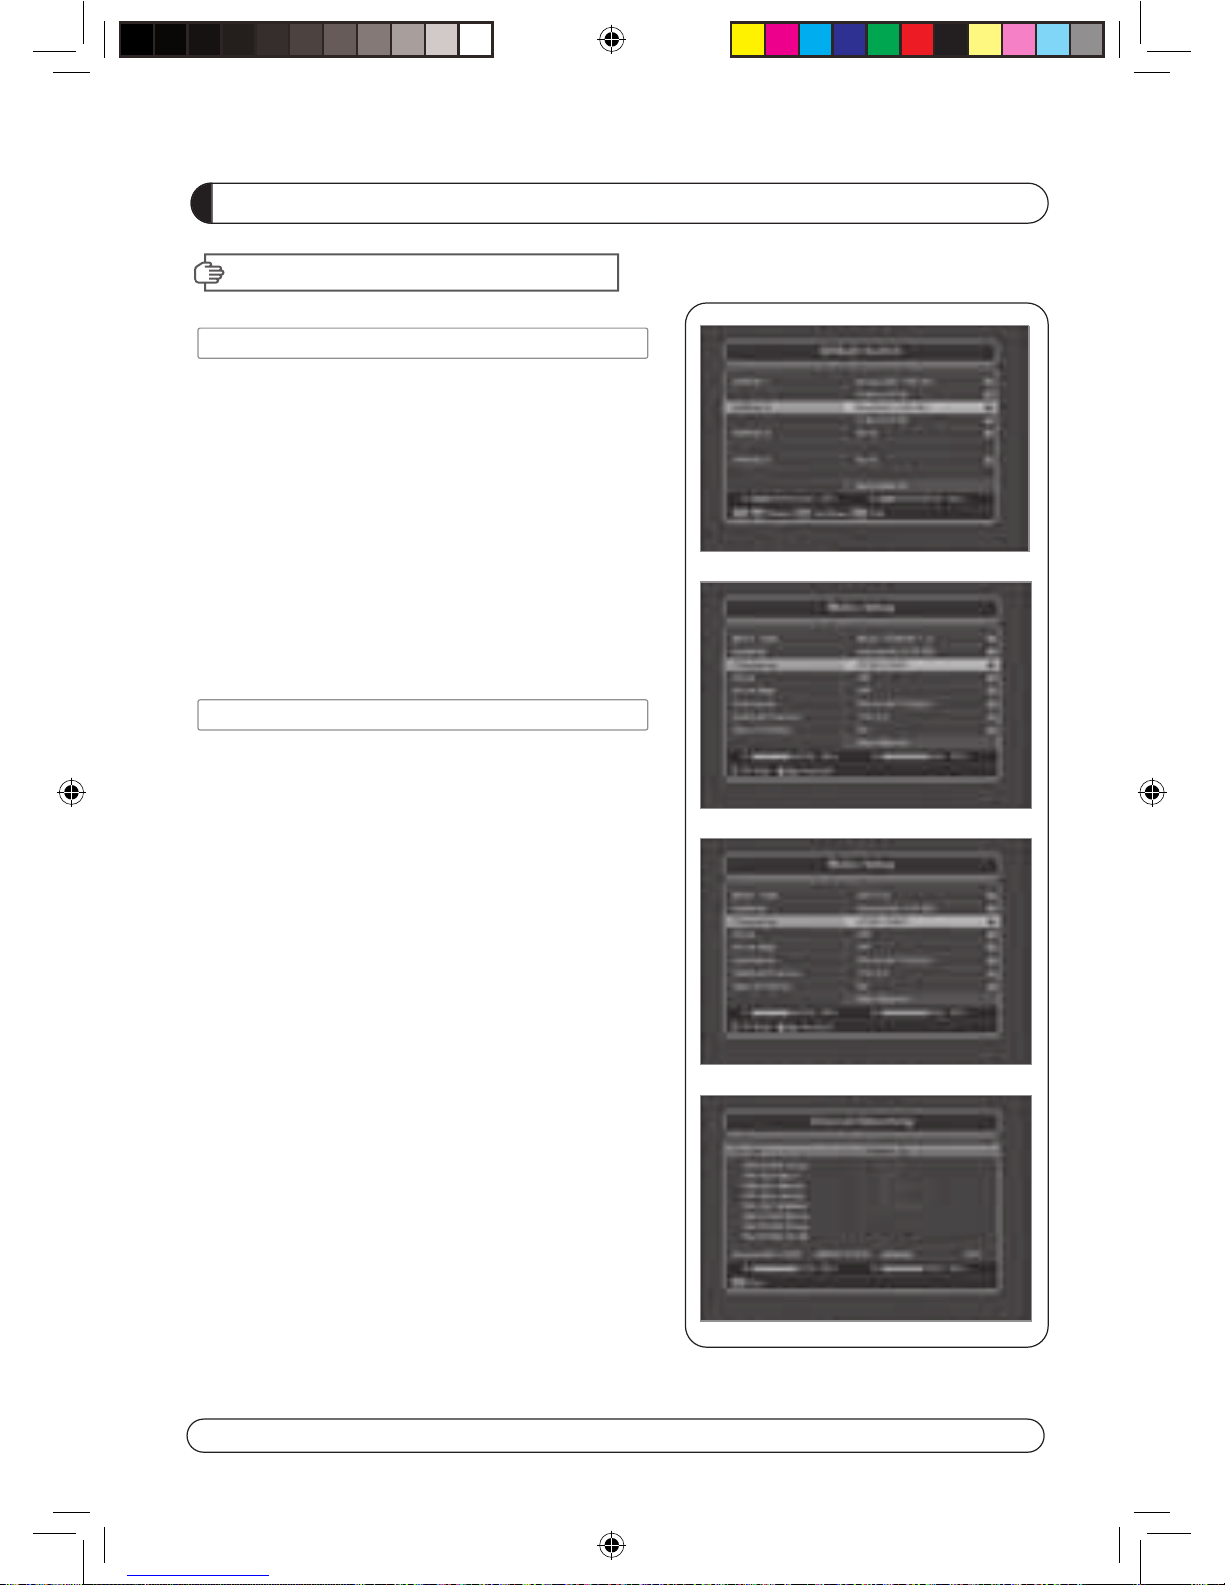
II-2. DiSEqC Switch
1. Select Channel Search in Installation using ▲▼
and press OK.
a) If you select DiSEqC Switch and press OK on the
menu will be, DiSEqC Switch Page will be displayed.
b) Select the proper Satellite of each DiSEqC port
(A~D) using ◀ ▶ and ▲ ▼ and press SEARCH.
Selected Satellites will be searched automatically.
II-3 Motor Setup
1. You can move the cursor using ▲▼ and press OK
when you select the value that you want.
a) Motor Type : DiSEqC 1.2, GOTO-X
- Press OK to display Motor Type
- Select the proper Motor Type and then press OK.
b) Satellite
- Press OK to Display the Satellite List Box
- Select the proper Satellite and then press OK.
c) Drive & Driver Step
- Select the direction using
◀ ▶(WEST/EA ST).
d) Frequency
- Press OK to Display the Frequency List.
- Select the proper Frequency and then pres
s OK.
e) Motor Movement
-
Search the appropriate position of the selected
Satellite using◀ ▶.
II. INSTALLATION
(2012 11 05) manual.indd 20 2012-11-05 8:48:13
Page 18
17
II. INSTALLATION
MENU GUIDE
f) Motor Control
Select the position using ◀▶and then press OK.
Message box displays on the screen.
- Store Sat position : Stores the current position
of the motor for the selected
satellite.
- Goto Sat Position : Moves the motor to the stored
position of the selected satellite.
- Goto Center : Goes to the center of the motor.
- Limit off : disable East, West limit.
- Set East Limit : Set current position as East Limit.
-
Set West Limit : Set current position as
West Limit.
- Recaluation Position.
- Reset Position : Resets all stored position
of the motor.
g) Satellite Position
- Input directly the position using NUMBER KEY on
the RCU
- Select the direction using ◀▶(WEST / EAST).
h) Search Option
- Press OK to display the Search Option list.
- Select the Search Option that you want and then
press OK.
i) Sear
ch
-
Press Search to start scan channels.
- Press OK to start scanning.
※ TP EDIT : To Edit TP Press the RED button on
the RCU.
2. Edit my local position
- Press Green Button to edit local Position.
a) Longitude
- Input directly the Longitude using NUMBER KEY on the RCU.
- Select the direction using ◀▶(WEST / EAST).
b) Latitude
- Input directly the Latitude using UNMBER KEY on the RCU.
- Select the direction u
sing ◀▶(NORTH/SOUTHd).
3
. Press EXIT to return to the previous menu or press MENU to go to the current live channel.
(2012 11 05) manual.indd 21 2012-11-05 �� 8:48:14
Page 19
18
MENU GUIDE
II. INSTALLATION
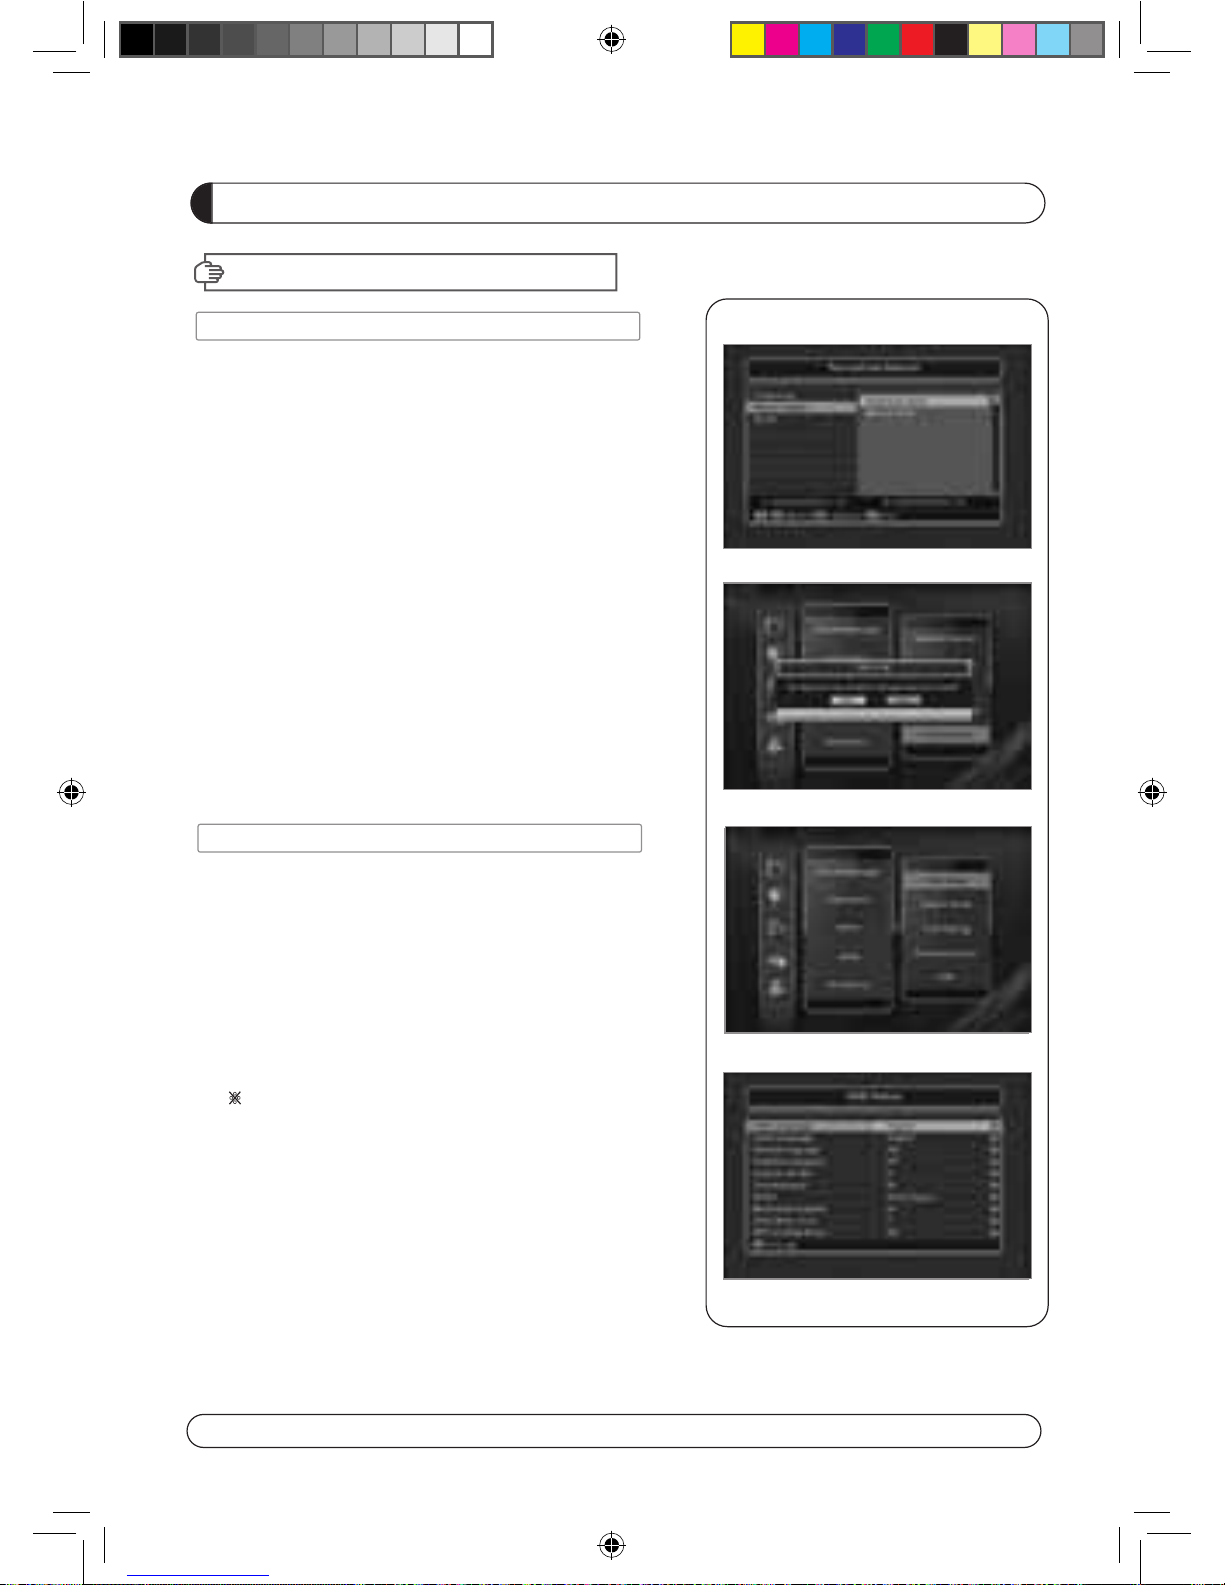
II-5. Home Streaming
1. PC setting
***Execute 'Home Streaming' program.
a) Go to ‘Preference’ Tab.
b) Select ‘Default URL’ check-box and assign the down-
load folder by using “Browse” button It is assigned to
“c:\download” but must specify the destination folder
personally to be able to receive movie files in PC.
※
Note: Only default server available currently.
2. STB setting
a) Go to Home streaming menu ( Menu → Accessory →
Network → Home streaming ) and Click Home
Streaming.
b) IP-Name Edit Pad will appear & Input Server IP by
numeric buttons of RCU.
c) The IP address must be same as IP address shown in
preference tap of Home Streaming program.
II-4. Terrestrial Search
1. Select Channel Search in Installation using
▲▼
and press OK.
2. 1) Select the region where you are using ◀▶.
2) You can select searching type which you want among
Auto and Manual using◀▶.
3) Auto
a) Select ‘Search’on the Screen and pres OK button to scan
channels.
b) Press Exit or Menu after finishing scanning.
4) Manual
a) Select Mux Channel which you want using ◀▶.
b) Frequency will be
displayed automatically according to
s
elected Mux Channel.
(2012 11 05) manual.indd 22 2012-11-05 �� 8:48:14
Page 20
19
MENU GUIDE
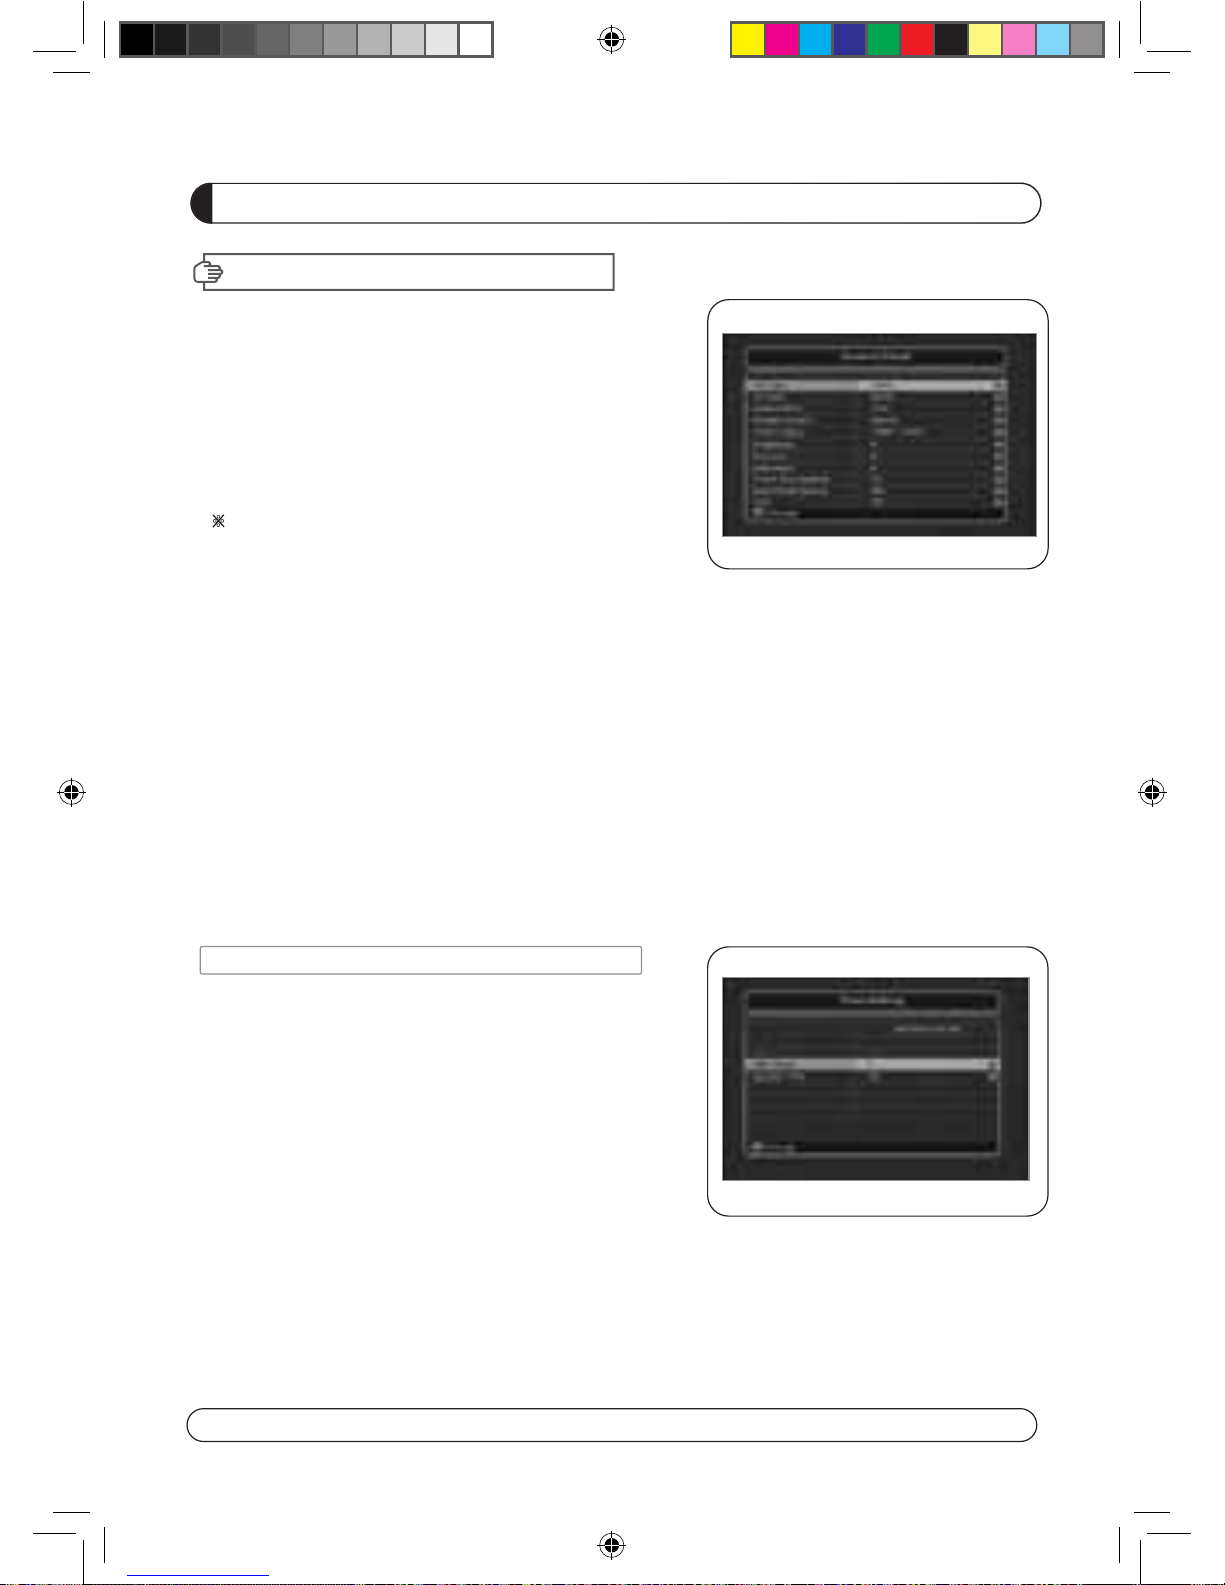
II-6. Factory Default
Use Factory Default function only when you want
to return the receiver to the condition of factory
default. All settings and channels will be deleted.
1. Select Factory Default in Installations using ▲▼ and press
OK.
2. Message box displays on the screen.
3. Select OK to return the receiver to the condition of factory
default and then press OK.
4. Press EXIT to return to the previous m
enu or press MENU
t
o go to the current live channel.
II. INSTALLATION
3. Playing the Movie File by Home Streaming
a) Press “Fn” key of RCU in normal view of STB and then the
movie file list in PC will be appeared in TV Screen.
b) Select the file which you want to see by using navigation
keys of RCU and press “OK” buttons to play the movie file.
※
Please see the right picture for better
understanding.
(2012 11 05) manual.indd 23 2012-11-05 �� 8:48:15
Page 21
20
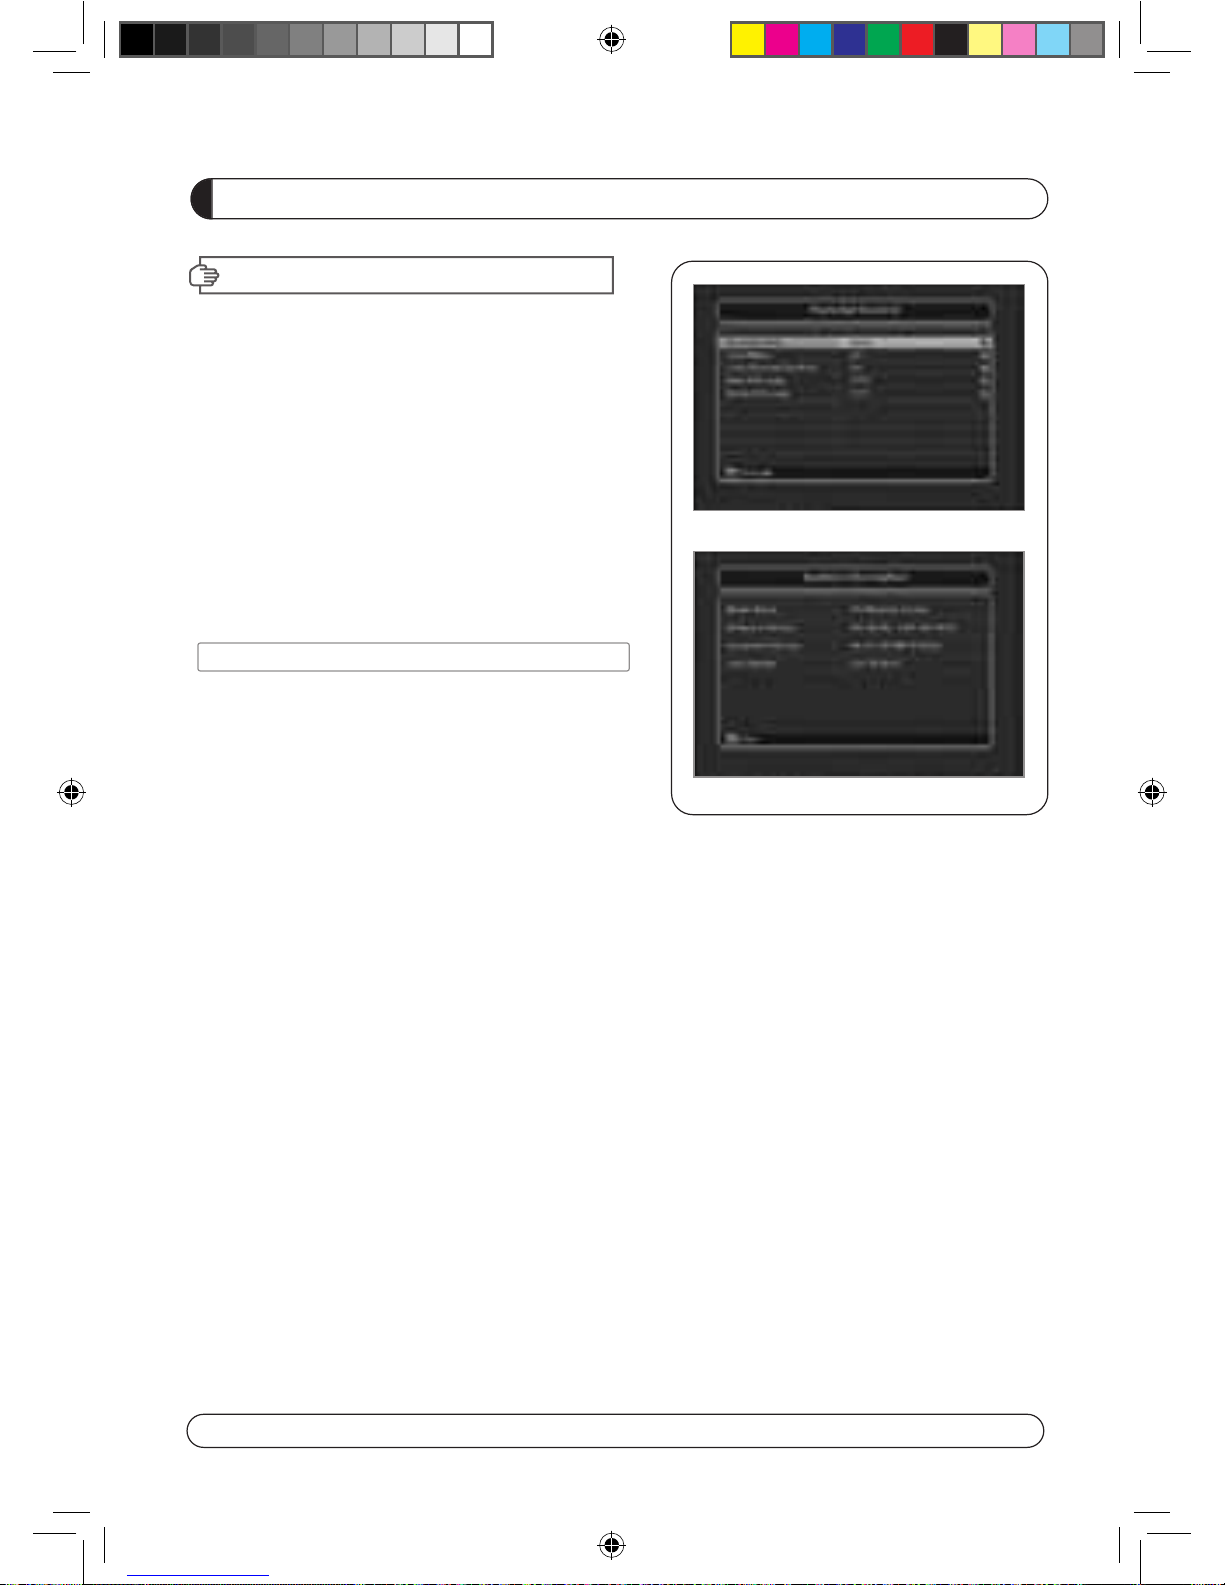
This section may help you to set up OSD language,
time, etc. Select Options in Main Page using ▲▼
and press OK.
Press EXIT to return to the previous menu or
press MENU to go to the current live channel.
III-1. OSD Setup
III-2. Control Panel
III-3. Time Adjust
III-4. Parental Lock
III-1. OSD Setup
1. Select OSD Setup in Options using ▲▼ and
press OK.
a) OSD Language
- Press OK to display OSD Language list.
- Sel
ect the language that you want and then
p
ress OK.
b) Audio Language
- Press OK to display Audio Language list.
- Select the language that you want and then press OK.
c) Subtitle Language
- Press OK to display Subtitle.
- Select the language that on want and then press OK.
d) Display Info Bar
- Press OK to display Display Info Bar time list.
- Select the second that you want to display and then press OK.
e)
Transparency
-
Adjustment of transparency level.
2. Press EXIT to return to the previous menu or press MENU to go to the current live channel.
III. OPTIONS
MENU GUIDE
(2012 11 05) manual.indd 24 2012-11-05 �� 8:48:15
Page 22
21
MENU GUIDE
III. OPTIONS
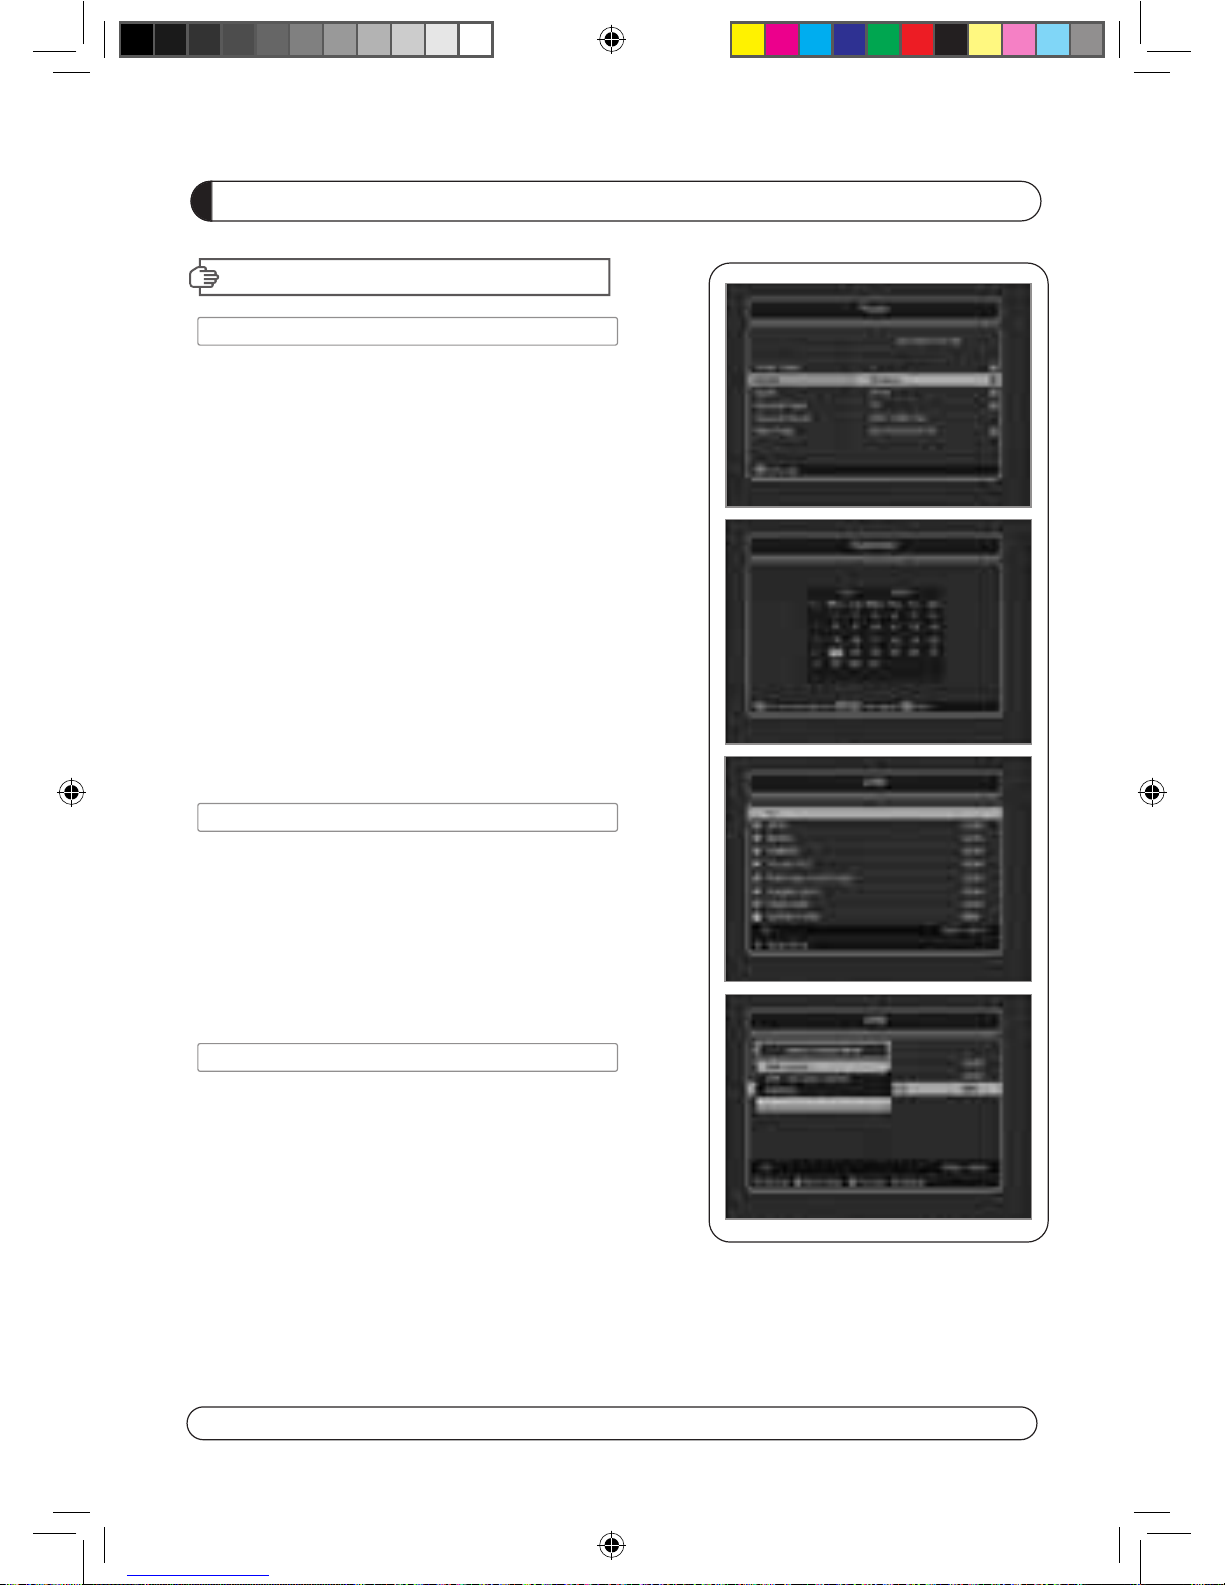
III-2. Control Panel
1. Select TV Setup in Options using ▲▼ and press OK.
a) HD Type
- Select HD video Output.
b) TV Type
- Select your TV type.
c) Aspect Ratio
- Select screen ratio.
d) Screen Control
- Select screen display modes.
e) Brightness
- Adjustment of screen brightness.
f) Contrast
- Adjustment of screen contrast.
g) Saturation
- Adjustment of screen Saturation.
2. Press EXIT to return to the previous menu or press MENU to
g
o to the current live channel.
III-3. Time Adjust
Set your local time according to your location.
1. Select Time Setup in Options using◀▶and press OK.
2. Time Adjust page displays on the screen.
3. Move the cursor using◀▶, ▲▼and press OK when you
select the value that you want. (Input Hour directly using
number keys on the RCU)
4. Press EXIT to return to the previous menu or press MENU
to
g
o to the current live channel.
III-4. Parental Lock Setup
1. Select Parental Lock Setup in Options using◀▶and press OK.
2. Parental Lock Page displays on the screen.
3. You can lock and unlock Parental Lock selecting ON or OFF
using ◀▶(For Channels).
4. You can lock and unlock Install Lock selecting ON or OFF
using ◀▶(For Installation Settings).
5. Enter new password if you want to change the current pass
-
w
ord.
6. Confirm your new password entering new password again.
7. Press EXIT to return to the previous menu or press MENU to go to the current live channel.
Note. DEFAULT PASSWORD IS 0000
(2012 11 05) manual.indd 25 2012-11-05 �� 8:48:16
Page 23
22
MENU GUIDE
IV
. UTILITY
This section may help you to use USB, etc.
Select Utility in Main Page using ▲▼ and press OK.
·
IV -1. System Information
·
IV -2. Timer
·
IV -3. Calendar
IV
-1.
System Information
This option help you to know the current S/W and
H/W version. Also provides you the product name.
1. Select System Information in Options using ▲▼and
pres OK.
2. Press EXIT to return to the previous menu.
IV
-2.
Timer
T
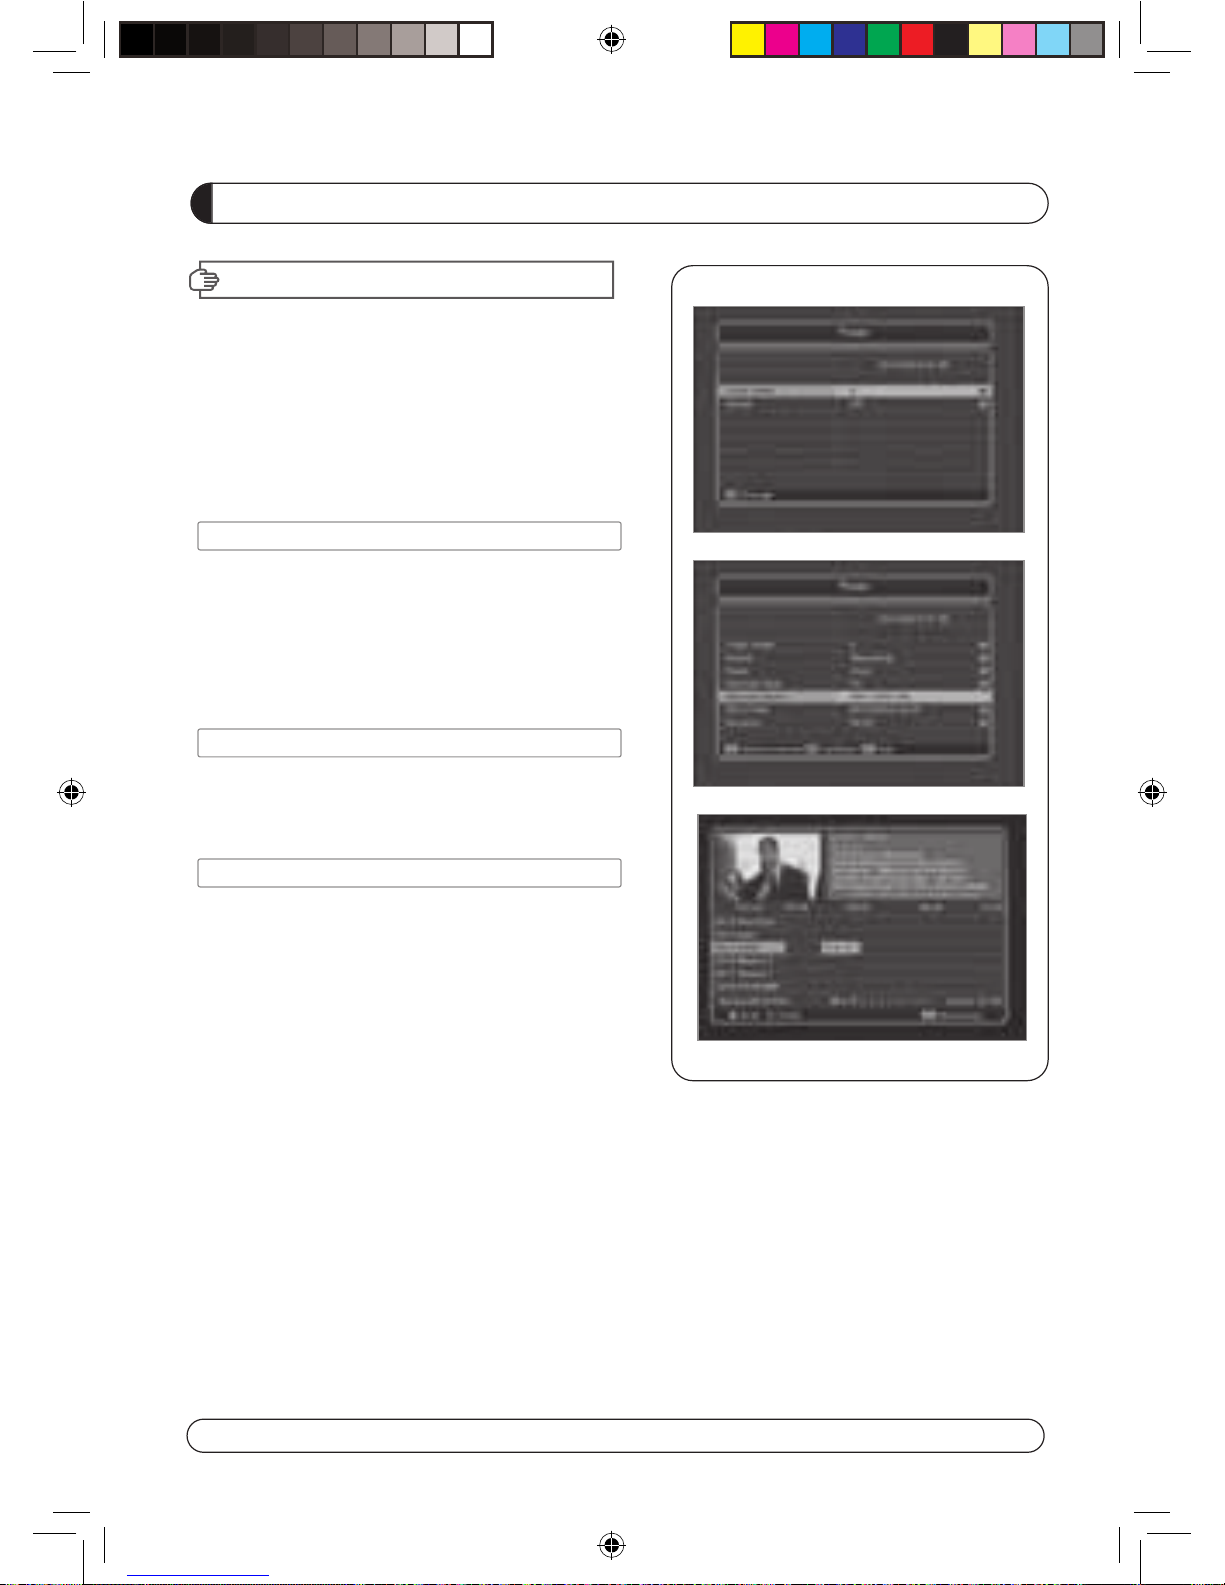
Use ▲▼ buttons to move to Calendar and press OK
button. Will appear calendar on screen Use ◀▶▲▼
buttons to move between dates in a month or / buttons
to go previous or next Month.
Press Exit buttons to exit.
he Un
it(Set top box) will be turned off/on automatically
after a specified time
IV
-3.
Calendar
(2012 11 05) manual.indd 26 2012-11-05 8:48:16
Page 24
23
ME NU GUIDE
V
. ACCESS ORY
This section may hel p you to use US B , etc.
Select Utility in Main Page using and press OK.
·
V - 1. USB
·
V - 2. Smart Card
·
V - 3. Network / Videoclub
V -1 USB
The receiver is equipped with hos t.
1. Select US B in Utility with and pr es s OK.
2. If you want to s ave Sofware or Databas e, pr es s Green
button on the RCU.
3. Select the file which you want to s ave using and OK
button.
4. After downloading the s elected file, the receiver
will
reboot automatically.
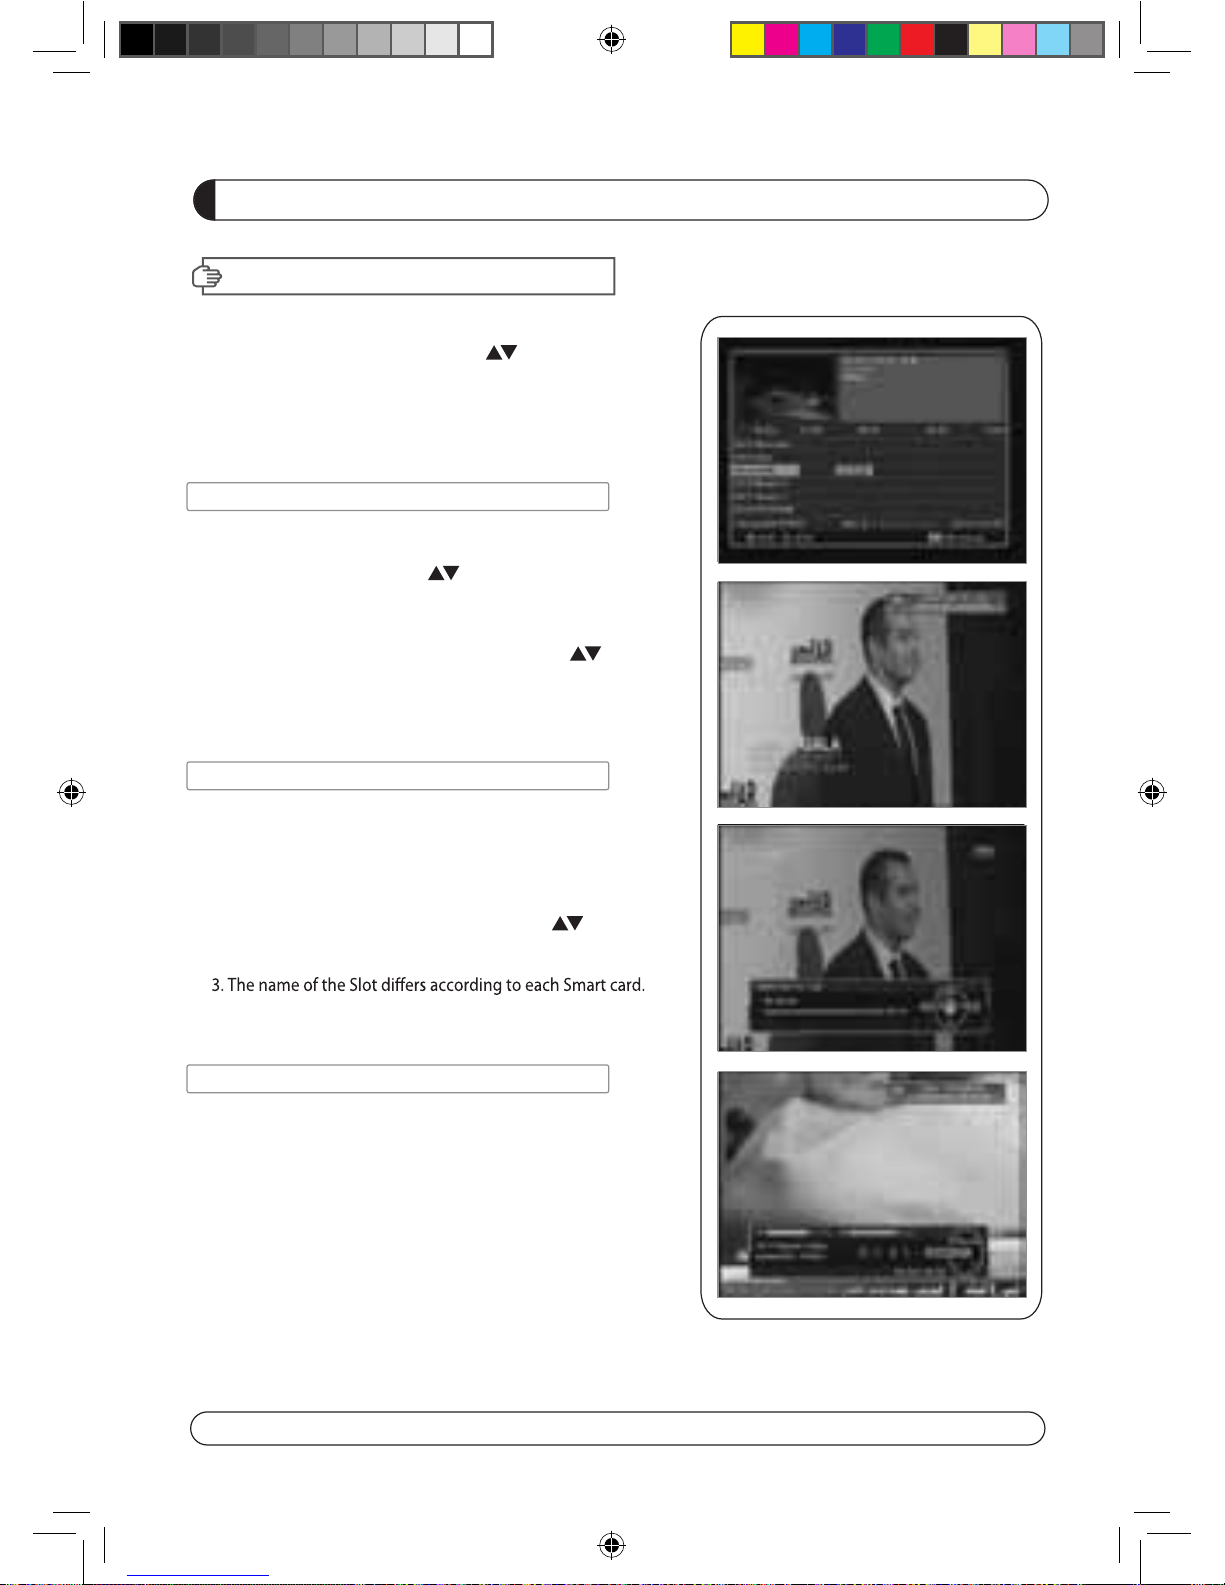
V -2 Smart Card
The receiver is equipped with two slots of various Smart Card
which have access to the scrambled the pay per view services.
The programs that can be descrambled are determined by the
smart card that you use.
1. Select Smart Card in ACCESSORY menu with and press OK.
2. Insert Smart Card into Slot 1 or 2, then STB displays
Smart card name on the screen.
4. Press EXIT to return to the previous menu or press MENU to
go to current live channel.
V -3 Network / Videoclub
This menu support multiple functions such as below:
1. SW downloading by Web.
2. Home-Streaming.
3. Youtube.
4. VideoClub.
5. RSS feed / Twitter / Weather information.
6. Downloading channel Data.
(2012 11 05) manual.indd 27 2012-11-05 �� 8:48:16
Page 25
24
PVR GUIDE
PVR GUIDE
This section may help you how to use PVR function on
this STB.
I.
Recommended Devices
If you want to use PVR function, you need to prepare
equipment as below.
- External USB Hard Disk Drive.
- Flash memory stick
- Format Type: FAT16/32 (System does not support NTFS
and other file system)
II. Record Function
II-1 Reserved Recording
1. Time Reserved Recording
: Set desired recording time- in “Utility → Timer” to
record at set time.
N
OTE : How to set up before you start “Time Record”
- STB set up in default.
- Please change “OFF” to “Recording” in Active menu.
- Once you set “Recording” in Active menu, you will see
the detail menu for PVR. ( Cycle, Channel Type, Channel
name, Start Time, Duration).
- Press the “Ok” button to select Channel Name.
2. EPG Reserved Recording
: Used to record a selected event from EPG.
- Press the EPG button to go into EPG menu while watching a program on screen.
-
To select event play on time: Move from the EPG to
select the event and press the “RECORD button” on RCU.
- If you want cancellation, press more “RECORD button”
once.
- If you want several reserved recording, move and press
the “RECORD button” on RCU.
(2012 11 05) manual.indd 28 2012-11-05 �� 8:48:17
Page 26
25
PVR GUIDE
PVR GUIDE
II. Record Function
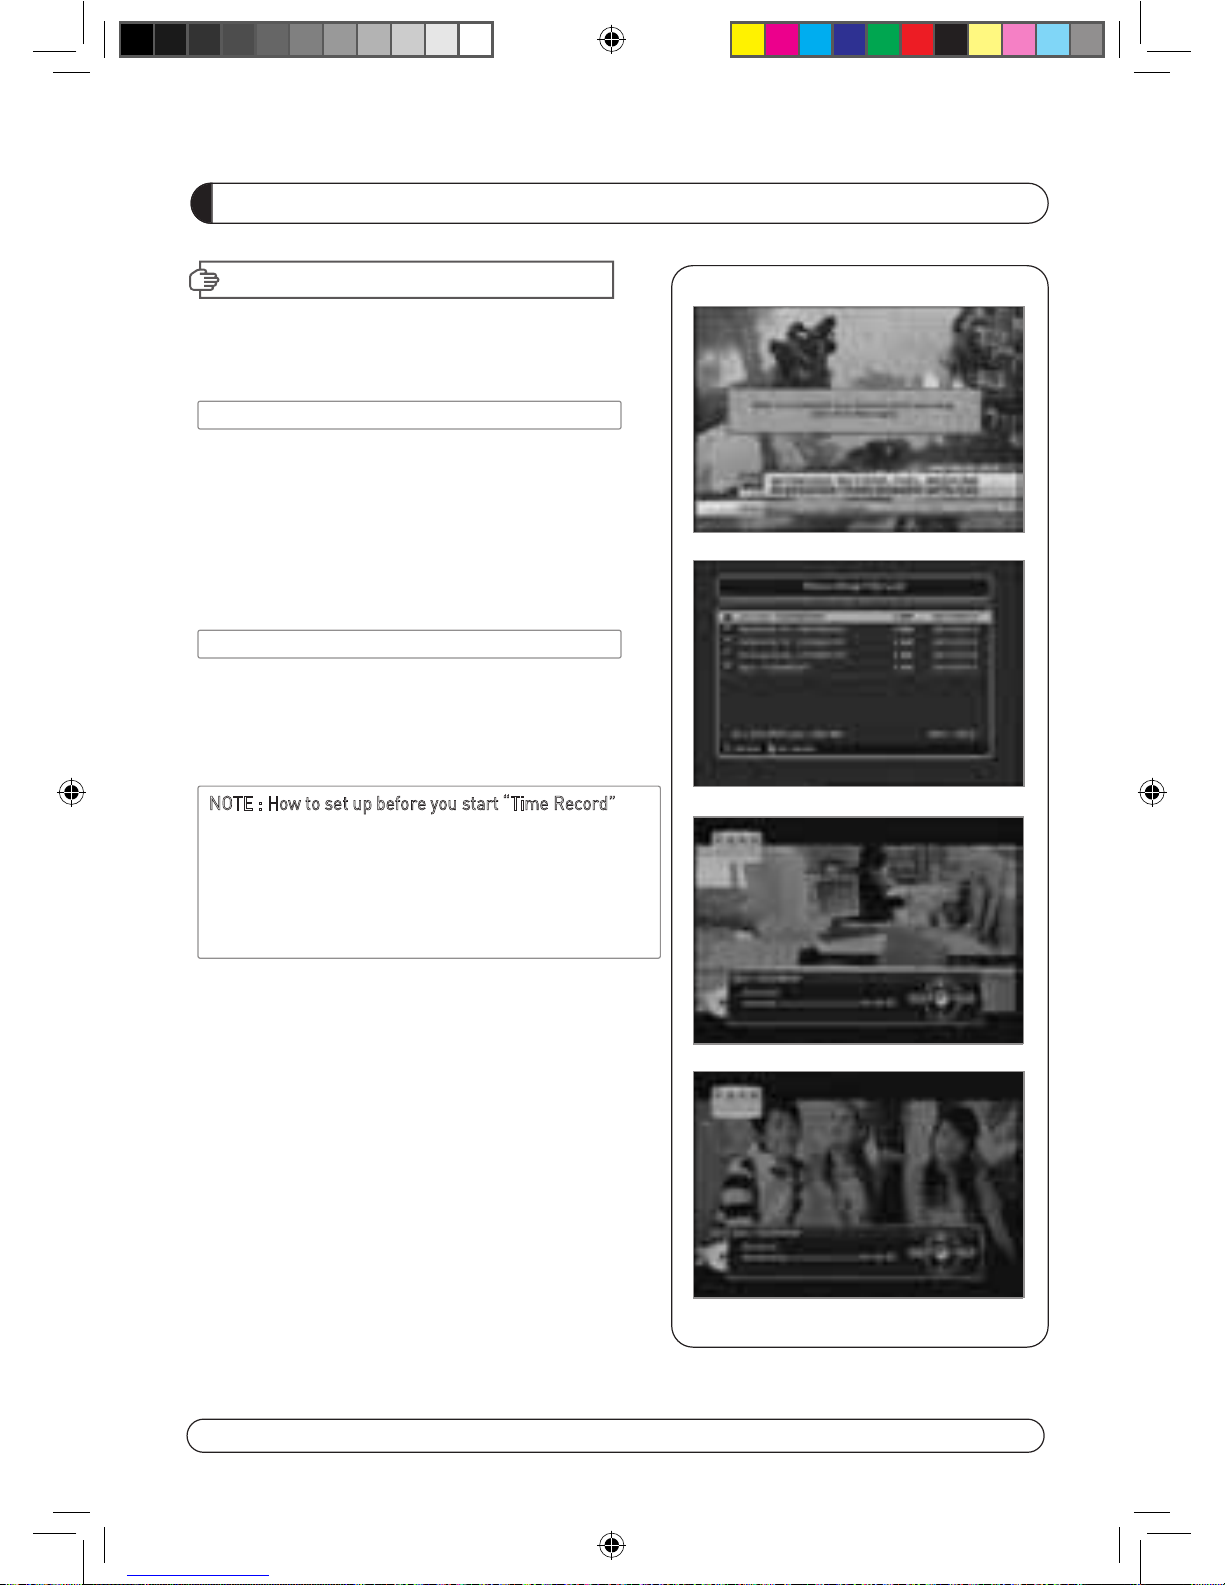
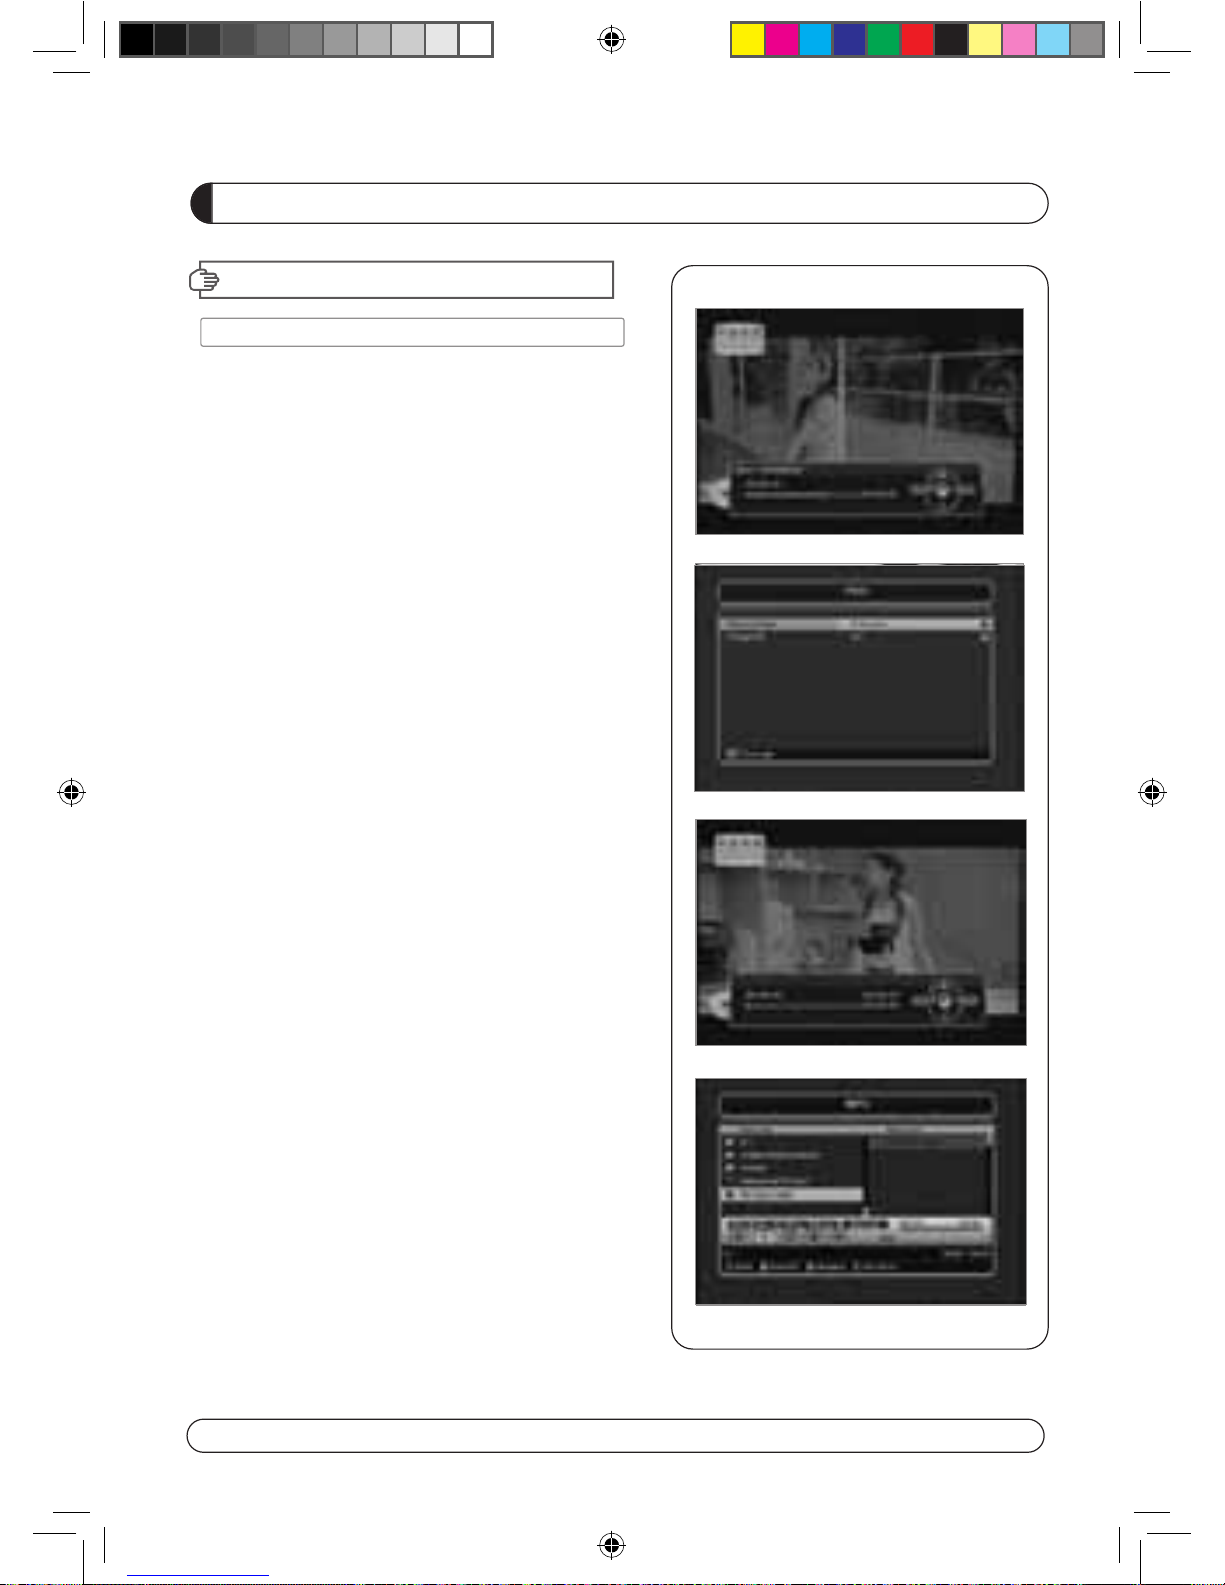
II-2 Instant Recording
- Press “RECORD button” on RCU to start recoding program.
- While Recoding program
- Press “PAUSE” key to execute “Time Shift”
- You can use “LEFT/RIGHT button” to view desired time while
recoding program.
- Press “OK button” on RCU to display Recording file list
During Recording you can watch also other channels which
are located in same TP. In case of
watching other channels
d
uring recording, You should come back to the recording
channels in channel list to stop recording.
- If you press “STOP button” on RCU, current program you are
watching will stop and Live TV will be stored in USB memory
space.
(2012 11 05) manual.indd 29 2012-11-05 �� 8:48:18
Page 27
26
PVR GUIDE
PVR GUIDE
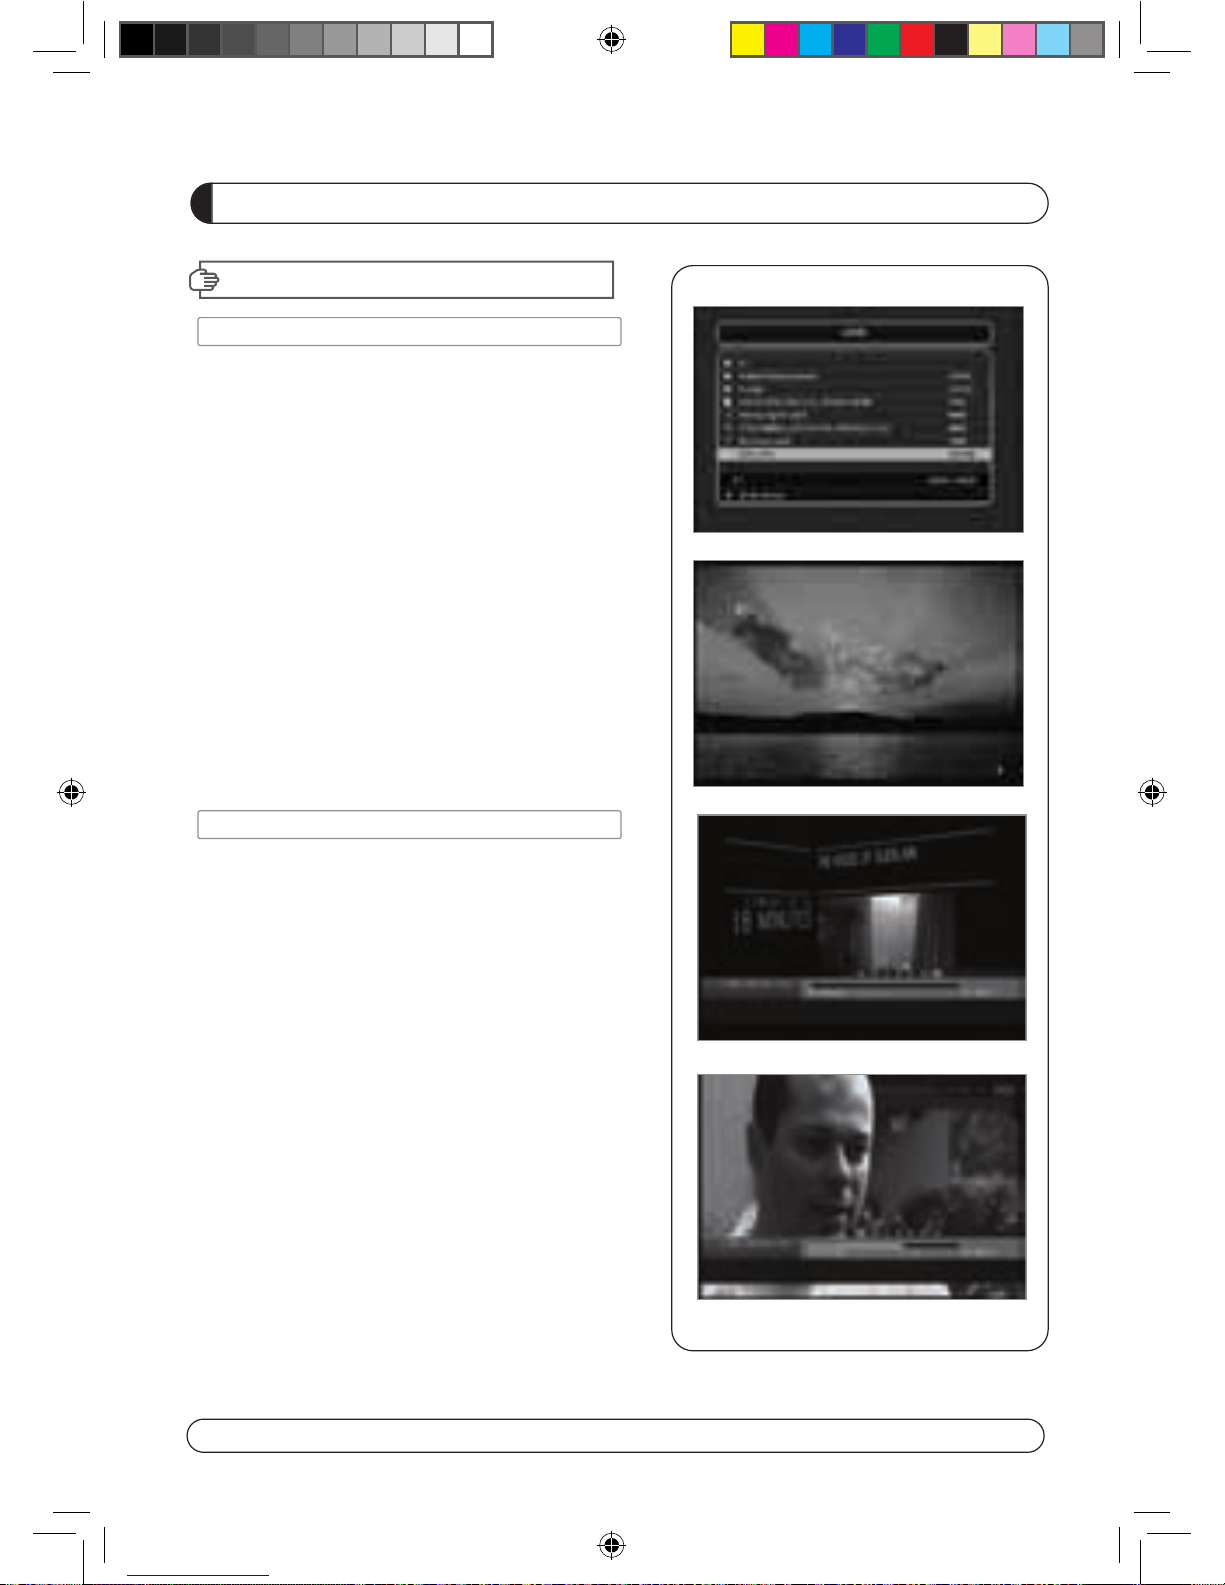
III. Playback Function
- To play previously recorded program, press “Play button”on
RCU.
- Use the arrow buttons to select the file which you want to
play and press “OK button” to play.
- While Playing program.
- If you press “LEFT/RIGHT button” on RCU button while
recoding live TV or recorded file play, current program you
ware watching will stop and picture will re-restart from
where it was move
d by “LEFT/RIGHT button” on RCU.
IV. Trick Mode Function
- If you want to play other recorded file during Playback,
press “Play” button.
- If you press “FF(Fast Forward) button” during Timeshift or
Playback, the file will be played at 2X speed and if you press
the “FF button” one more time, the file will be played to 8X
speed.
- If you press the “REW(Rewind) button” during Timeshift or
Playback, the file w
ill rewind at 2X speed and if you press
t
he “REW button” one more time, the file will rewind to 8x
speed.
- FF/REW function will back to normal play if you press "PLAY
button”.
(2012 11 05) manual.indd 30 2012-11-05 �� 8:48:18
Page 28
27
PVR GUIDE
PVR GUIDE
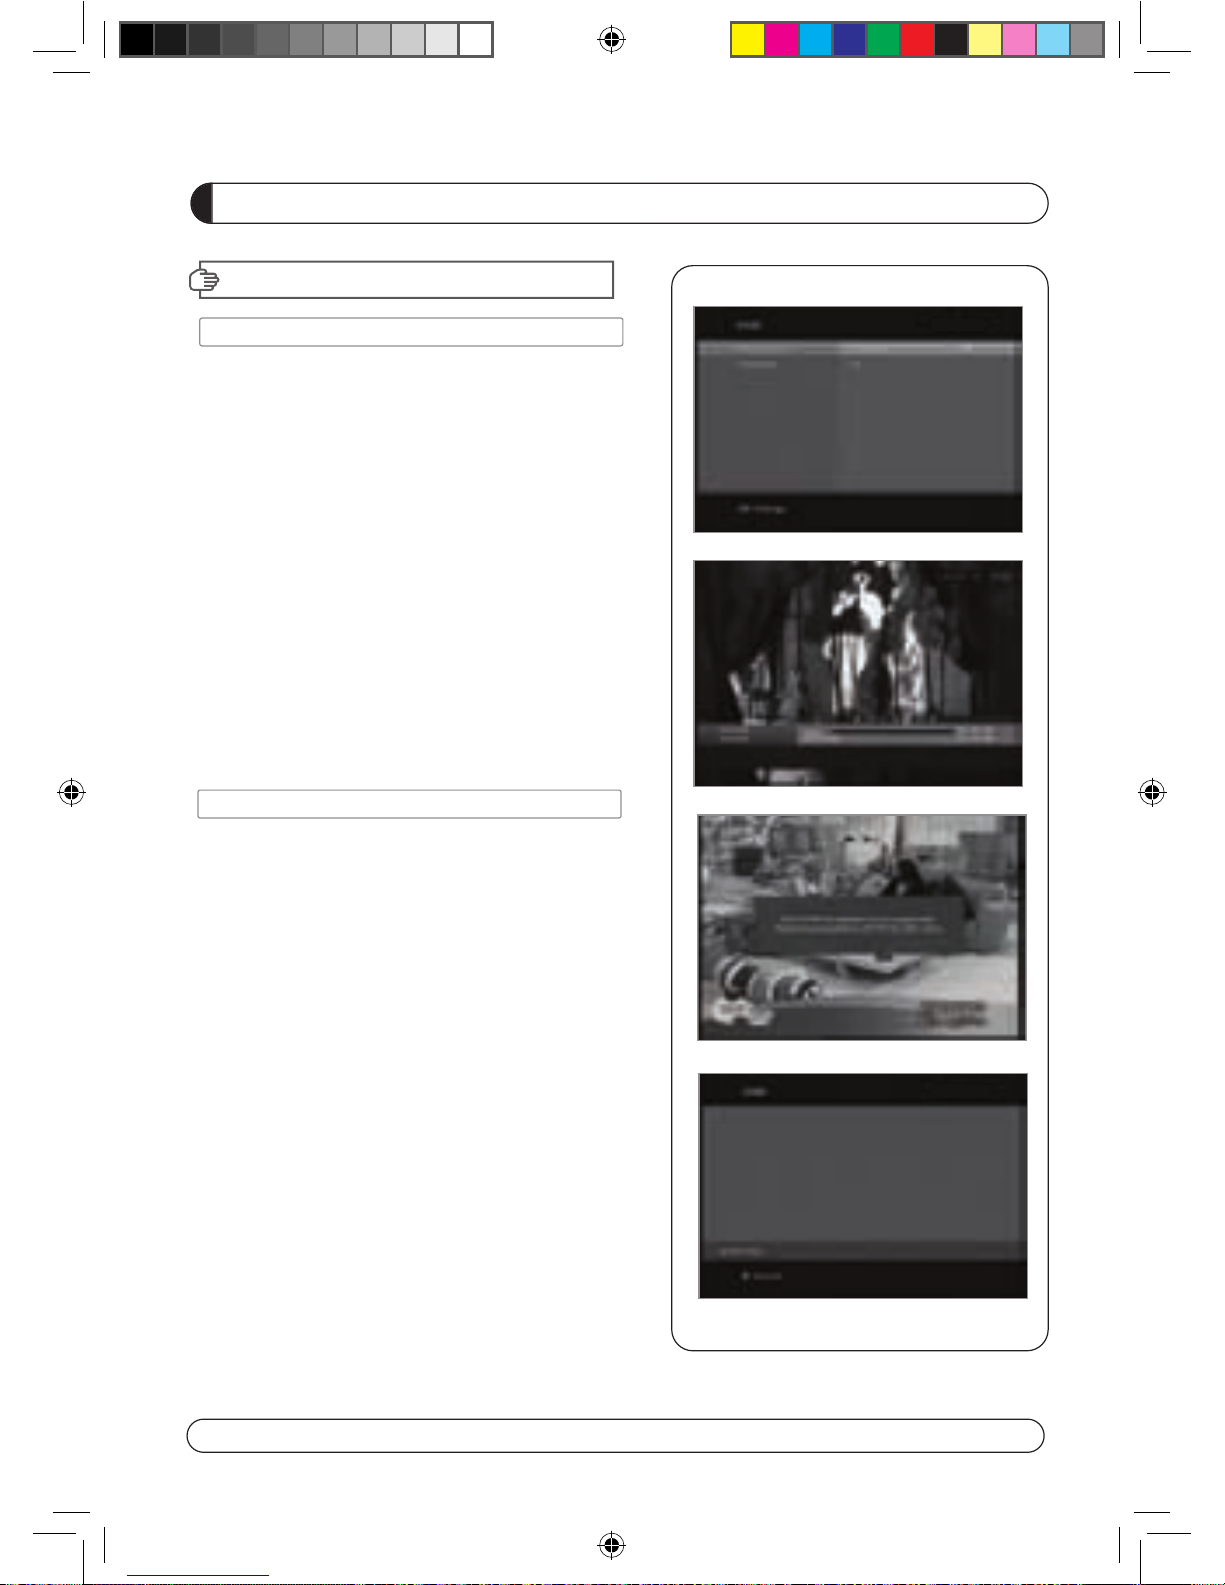
V. Time Shift Function
- If you want to execute “Time Shift” in Live mode You should
set “On” of Time Shift In PVR Option (Accessory
→
PVR
→
TimeShift “ON”).
- To star Time Shift in Live mode, press “PAUSE” to start.
- Time shift will played during 30 minutes in Live Mode.
- To start “Play back” during Timeshift press “PLAY” key.
- You can move “play position” using LEFT/RIGHT button during Time
Shift.
VI. Format
- You can do FAT32 Format the HDD formatted by FAT32 and
NTFS also.
- You can do Format also the multi partitioned HDD.
- When NTFS formatted HDD is inserted, POPUP message
will appear.
- Press “OK” button to move to “C:, D:, E:, F: NEXT°” in case
of Multi partitioned HDD.
- In case of NTFS multi partitioned HDD, you must format by
FAT 32.
(2012 11 05) manual.indd 31 2012-11-05 �� 8:48:18
Page 29
28
PVR GUIDE
PVR GUIDE
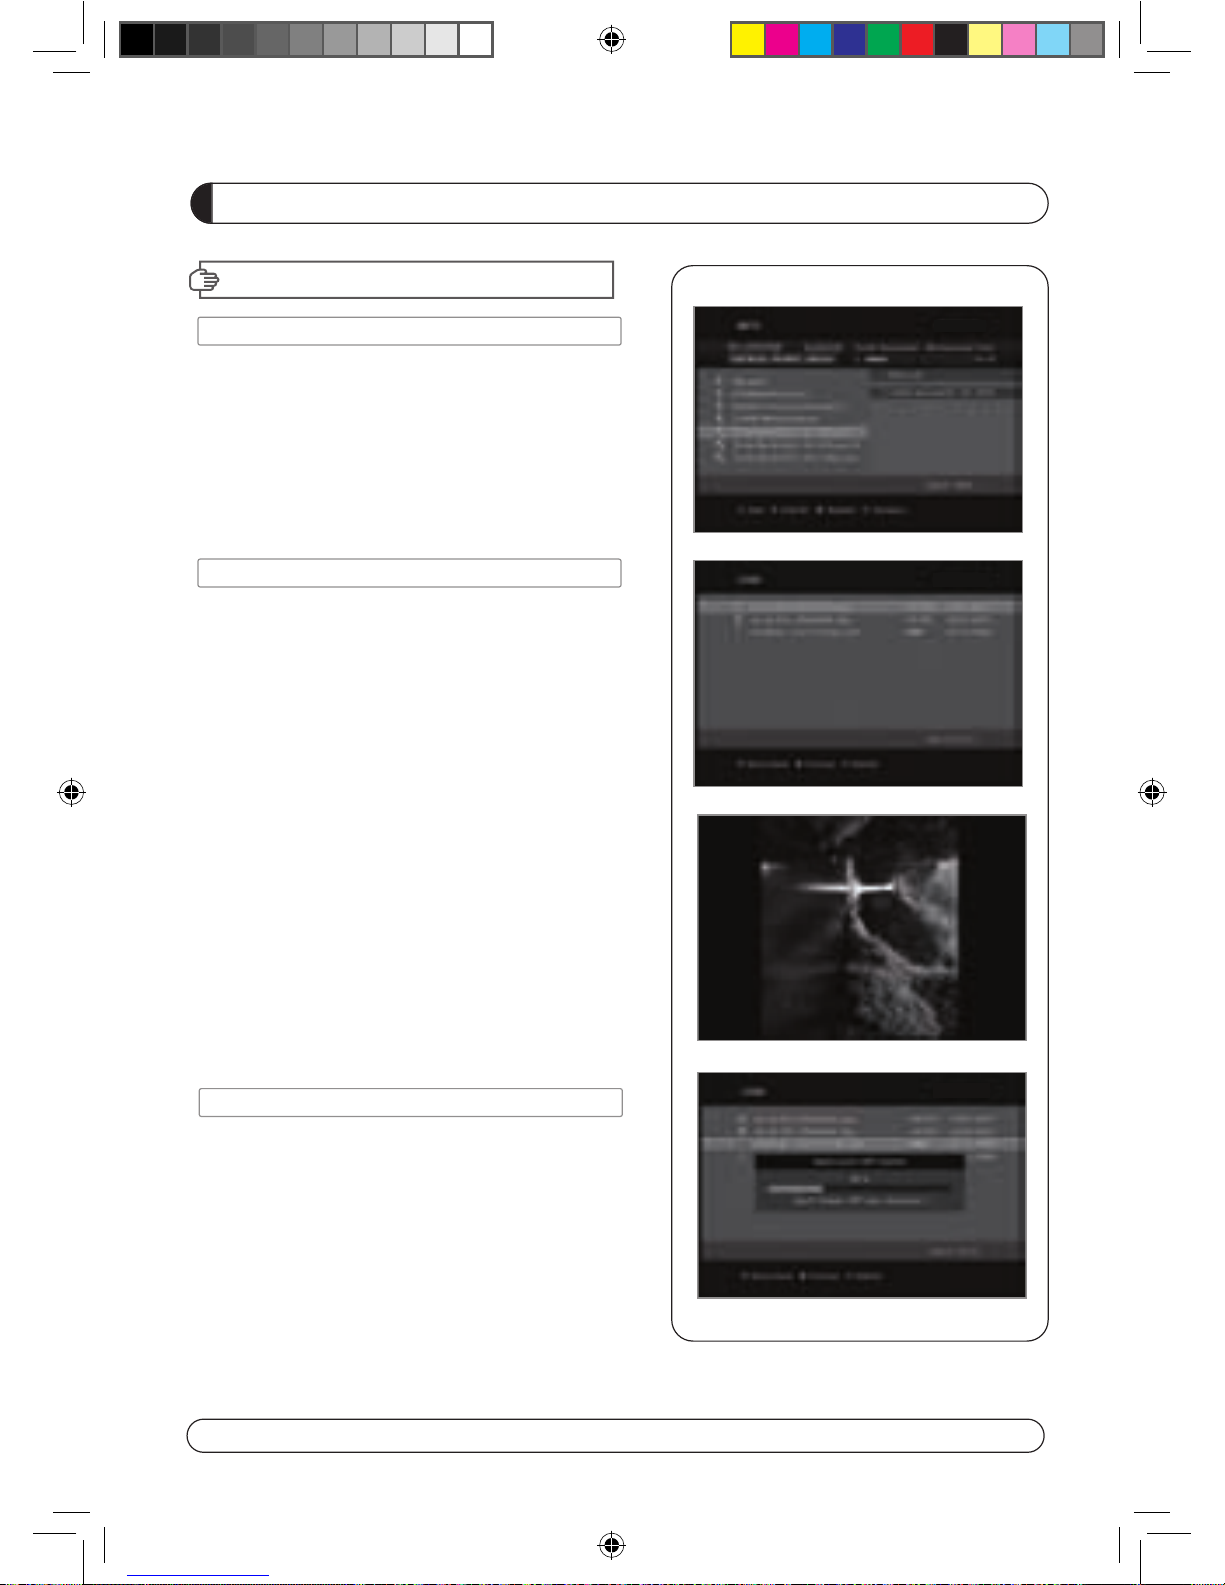
VII. MP3 Play
- Select MP3 file which you want to play in USB menu.
- After you select MP3 file, MP3 play window will be executed.
VIII. JPG View
- Select JPG file which you want to see in USB menu.
- Press OK to see the JPG which you want to.
- You can rotate the image by using LEFT/RIGHT button.
IX. Software Upgrade
- Select * UAD file which you want to upgrade in USB menu.
(2012 11 05) manual.indd 32 2012-11-05 �� 8:48:19
Page 30
29
PVR GUIDE
PVR GUIDE
X. How to play the record by PVR of 'HD-XXX' in
PC or Divx Player
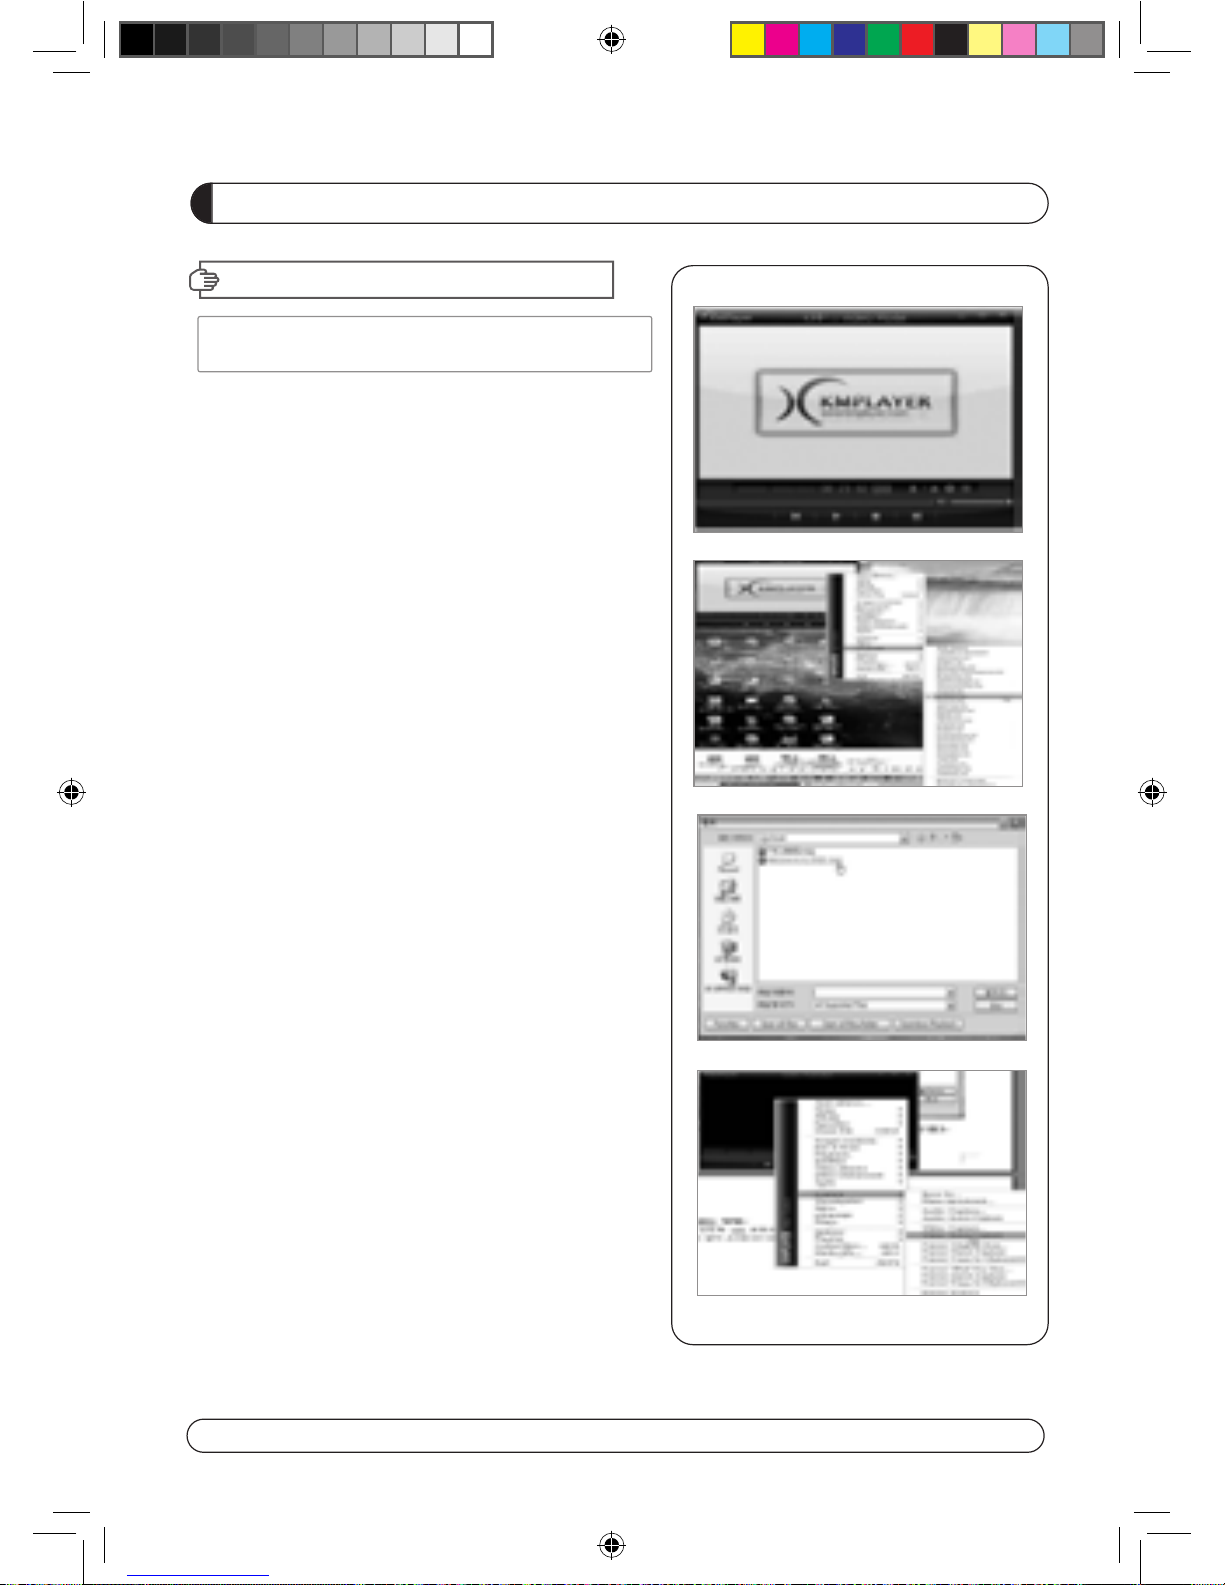
X-1 How to play in PC
A) Play KM Player.
B) Select Language.
1) Click right button of Mouse → Language → your language.
C) Change the extension name of the recorded file to
*.mpg”.
※ Example : Welcome to A_131821 → Welcome to
A_131821.mpg
D) Select the file which you want to play.
1) Click right button of Mouse → Open Files(S) → Select.
X-2 How to Play in “Divx Player”
A) The file format must be changed to “.avi” format to play in
DivX Player.
B) Select a destination folder where to be saved the file which
will be changed to *.avi.
1) Click right button of Mouse
→
Capture →Select Capture
Folder.
C) Repeat A)
→
B) →C) →D) of No.1 how to play in PC.
D) Capture the fie which is being played currently to convert
into *.avi.
1) Click right button of Mouse
→
Capture →Video Quick
Capture.
2) Then the playing file is saved in designated folder by *.avi
format.
E) If the playing file is STB SD channel, it is saved by SD and If
the file is HD or H.264 it saved by HD or H.264. If user does
not have DivX player which can play HD or H.264 (at least
CPU sigma8634), he must convert the file SD so that the
general SD DivX player (CPU sigma8511) can play the file.
(2012 11 05) manual.indd 33 2012-11-05 �� 8:48:19
Page 31
30
PVR GUIDE
PVR GUIDE
X-3 How to Convert the file by Divx Manager
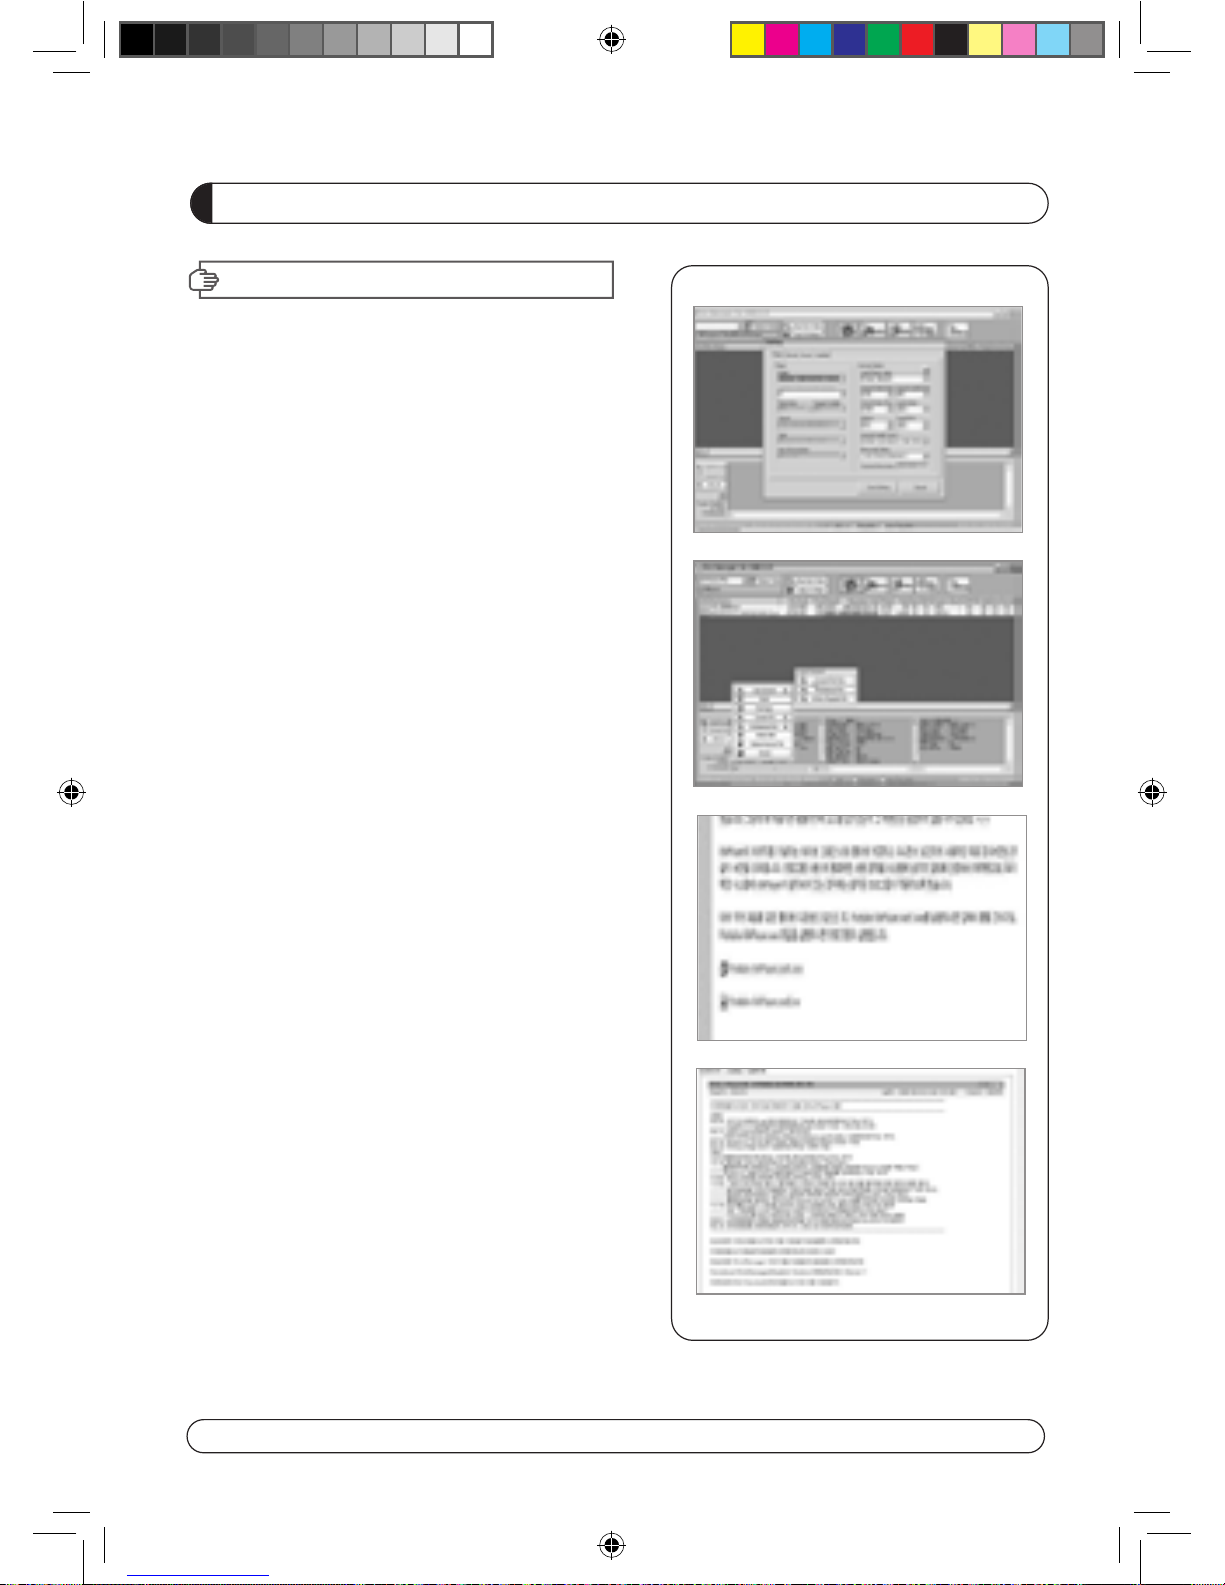
A) Play Divx Manager.
1) Setting
→
Model →Rapsody RSH-250/350
B) Select the folder where the file that you want to convert is.
Then the file's information will appear.
C) And select the file which you want to convert and select
“Convert”.
D) Select “Encoding Start”
→
It starts “Converting”.
NOTE: Web site for downloading
1. Kmplayer
1) Enter this site : http://2bwithu.tistory.com/245.
2
) Download 2 files to 1 folder and unzip the archived file.
After unzip, you can install only click exe file.
2. Divx Manger
1) Enter this site :
http://www.modix4u.co.kr/upboard/view.asp?fcprimkey=44
2) Click below for English version.
(2012 11 05) manual.indd 34 2012-11-05 �� 8:48:20
Page 32
29
PVR GUIDE
PVR GUIDE
X. How to play the record by PVR of 'HD-XXX' in
PC or Divx Player
X-1 How to play in PC
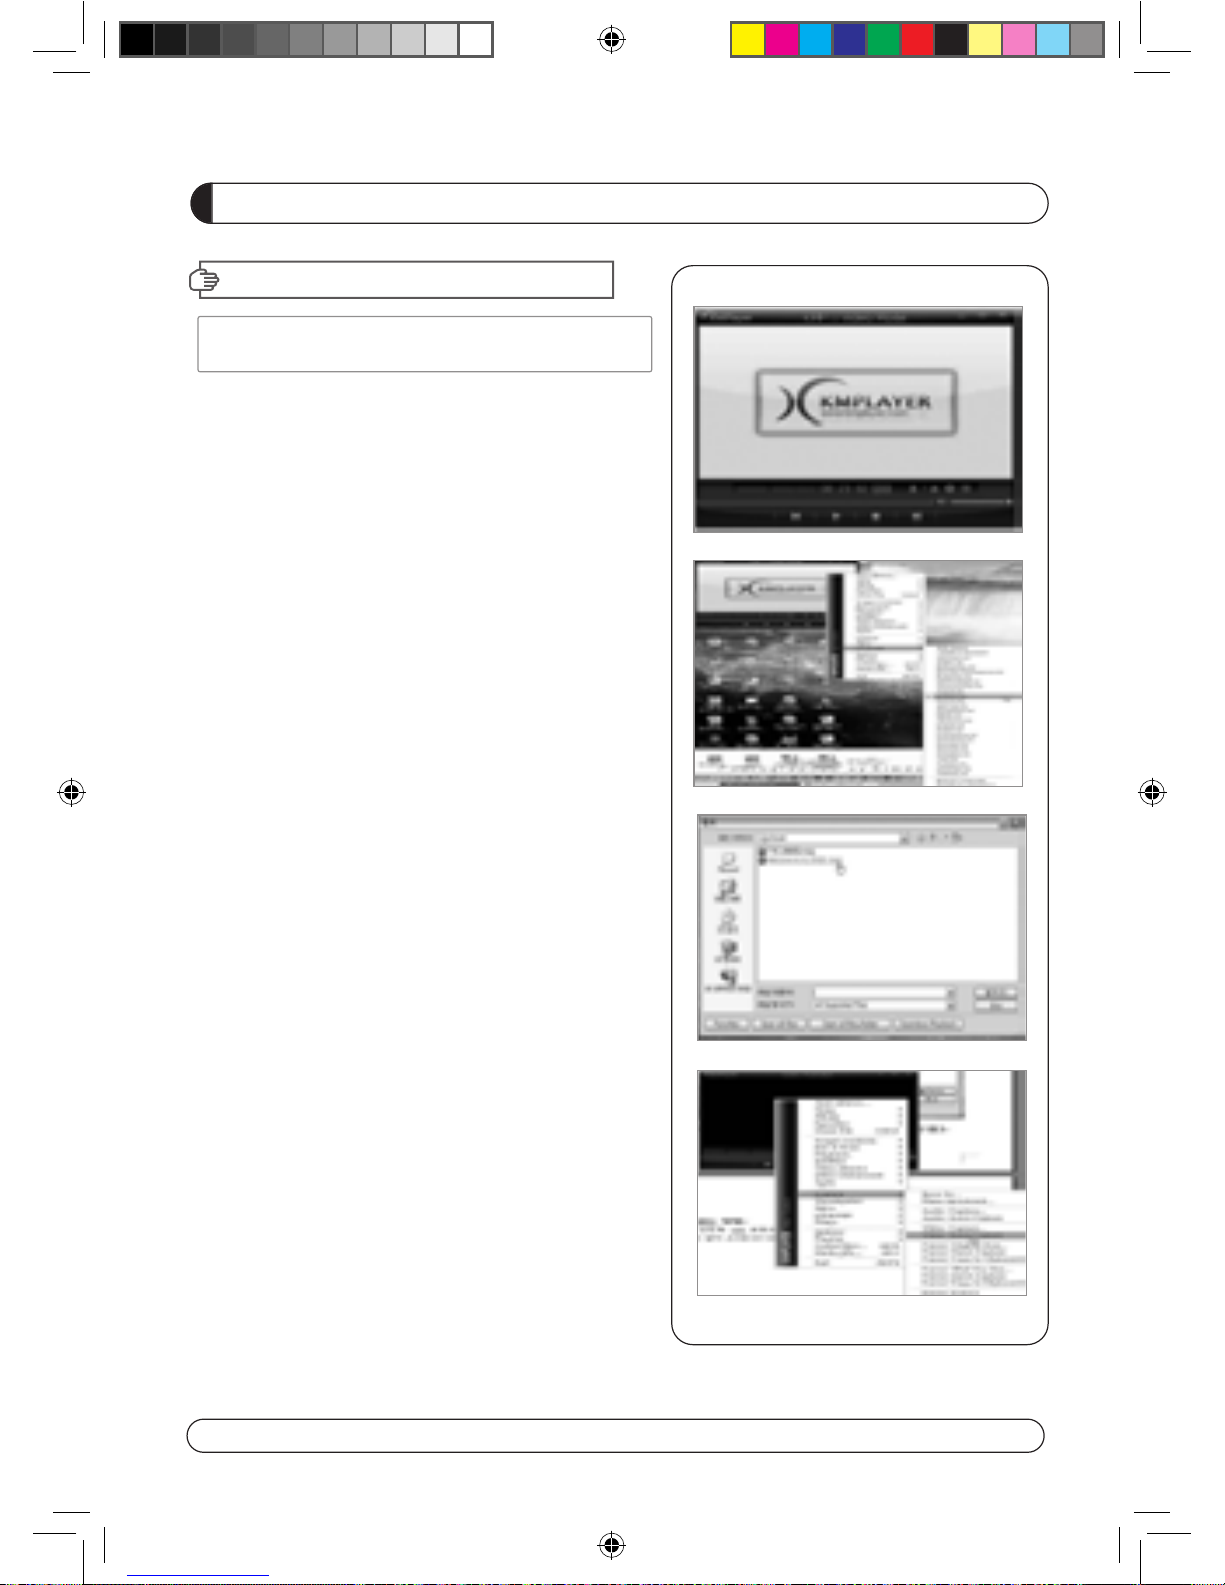
A) Play KM Player.
B) Select Language.
1) Click right button of Mouse → Language → your lan-
guage.
C) Change the extension name of the recorded file to
*.mpg”.
※ Example : Welcome to A_131821 → Welcome to
A_131821.mpg
D) Select the file which you want to play.
1) Click right button of Mouse → Open Files(S) → Select.
X-2 How to Play in “Divx Player”
A) The file format must be changed to “.avi” format to play in
DivX Player.
B) Select a destination folder where to be saved the file which
will be changed to *.avi.
1) Click right button of Mouse
→
Capture →Select Capture
Folder.
C) Repeat A)
→
B) →C) →D) of No.1 how to play in PC.
D) Capture the fie which is being played currently to convert
into *.avi.
1) Click right button of Mouse
→
Capture →Video Quick
Capture.
2) Then the playing file is saved in designated folder by *.avi
format.
E) If the playing file is STB SD channel, it is saved by SD and If
the file is HD or H.264 it saved by HD or H.264. If user does
not have DivX player which can play HD or H.264 (at least
CPU sigma8634), he must convert the file SD so that the
general SD DivX player (CPU sigma8511) can play the file.
(2012 11 05) manual.indd 35 2012-11-05 �� 8:48:21
Page 33
32
SPECIFICATIONS
Item
Specification
SMART CARD 2 SLOTS, ISO 7816, GSM11.11 and EMV (payment systems) compatibility
I.Conditional Access Module Interface
Item
Type 1 × F Type, IEC169-24, Female
Frequency Rage 950MHz to 2150MHz
RF Impedance 75 Ohm unbanlanced
Signal Level -65 to -25 dBm
LNB Power 13.5/18.5Vdc +/- 5%, 0.5Amax, Overload Protected
22KHz Tone Frequency : 22KHz +/- 2KHz, 0.6Vpp +/- 0.2V
DiSEqC Control Version1.0, 1.2, Tone burst A/B
D
emodulation QPSK, 8PSK
Input Symbol Rate
DVB-S QPSK : 2~45 Msps
DVB-S2 8PSK/QPSK : 10~30Msps
FEC Decoder
1/2, 2/3, 3/4, 3/5, 4/5, 5/6, 8/9, 9/10 in DVB-S2 mode.
1/2, 2/3, 3/4, 5/6 and 7/8 in DVB-S mode.
Specification
II. Tuner & Channel (DVB-S2)
Item
Specification
IV. System & Memory
Main Processor STi7110
Flash Memory 8 Mbytes
DDR Memory 128 Mbytes
Channel Capacity Digital Channel : 10,000
Front 1-Key(Power), 7-SEGMENT DISPLAY
Item
Specification
III. Tuner & Channel (DVB-T)
Type IEC60169-2(VHF/UHF) female, 75 ohm nominal
Frequency Rage VHF : 170MHz to 230MHz
UHF : 470MHz to 862MHz
Signal Level -78.5dBm ~ -25dBm
(64QAM, Code Rate 2/3, Guard Interval 1/8,Gaussian Channel)
COFDM Spectrum COFDM 2K/8K-Carrier
FEC Mode 1/2, 2/3, 3/4, 5/6, 7/8
(2012 11 05) manual.indd 36 2012-11-05 �� 8:48:21
Page 34
33
SPECIFICATIONS
Item
HDMI HD Video/Audio Output
TV SCART Output RGB, CVBS, L, R Output with Volume control
SPDIF Dolby Digital Bitstream Out (Optical)
- RS-232, Bit Rate : 115,200baud
Data Interface Connector : 9-pin D-sub Male type
- USB : USB 2.0, Type A Connector
- Ethernet : 10/100Mbps, DHCP Supporting
Specification
VI
. A/V & Date In/Out
Item
Input Voltage AC 90V ~ 250V, 50Hz ~ 60Hz
Power 12V 2.5A Adaptor
Specification
VII. Power Supply
Item
Size(WxHxD) 230mm x 40mm x162mm
Weight 1.4 KG
Specification
V
III
. Physical Specification
Item
Operating Temperature 0 °C ~ 40 °C
Storage Temperature -10 °C ~ 50 °C
Operating Humidity Range 10~85% RH, Non-condensing
Storage Humidity Range 5~90% RH, Non-condensing
Specification
IX
. Environmental Condition
Item
Transport Stream 13818-1 MPEG-2, H.264/AVC Transport stream Specification
Profile Level MPEG-2 MP@ML, MP@HL, MPEG-4 H.264/AVC
Input Rate Max. 90Mbit/s
Aspect Ratio 4:3, 16:9, Letter Box
Frame Rate 25Hz for PAL, 30Hz for NTSC
Video Resolution 576i, 576p, 720p, 1080i
Teletext Through VBI
Audio Decoding MPEG-1 Layer 1 & 2, Dolby Downmix
Audio Mode Single Channel/Dual Channel Joint Stereo/Stereo
Frequency Response 2
0~20kHz, <+/-2dB or 60Hz ~ 18kHz <+/- 0.5dB
S
ampling Rate 32, 44.1, 48KHz
Specification
V. MPEG Transport Stream & A/V Decoding
(2012 11 05) manual.indd 37 2012-11-05 �� 8:48:22
 Loading...