

Page 1
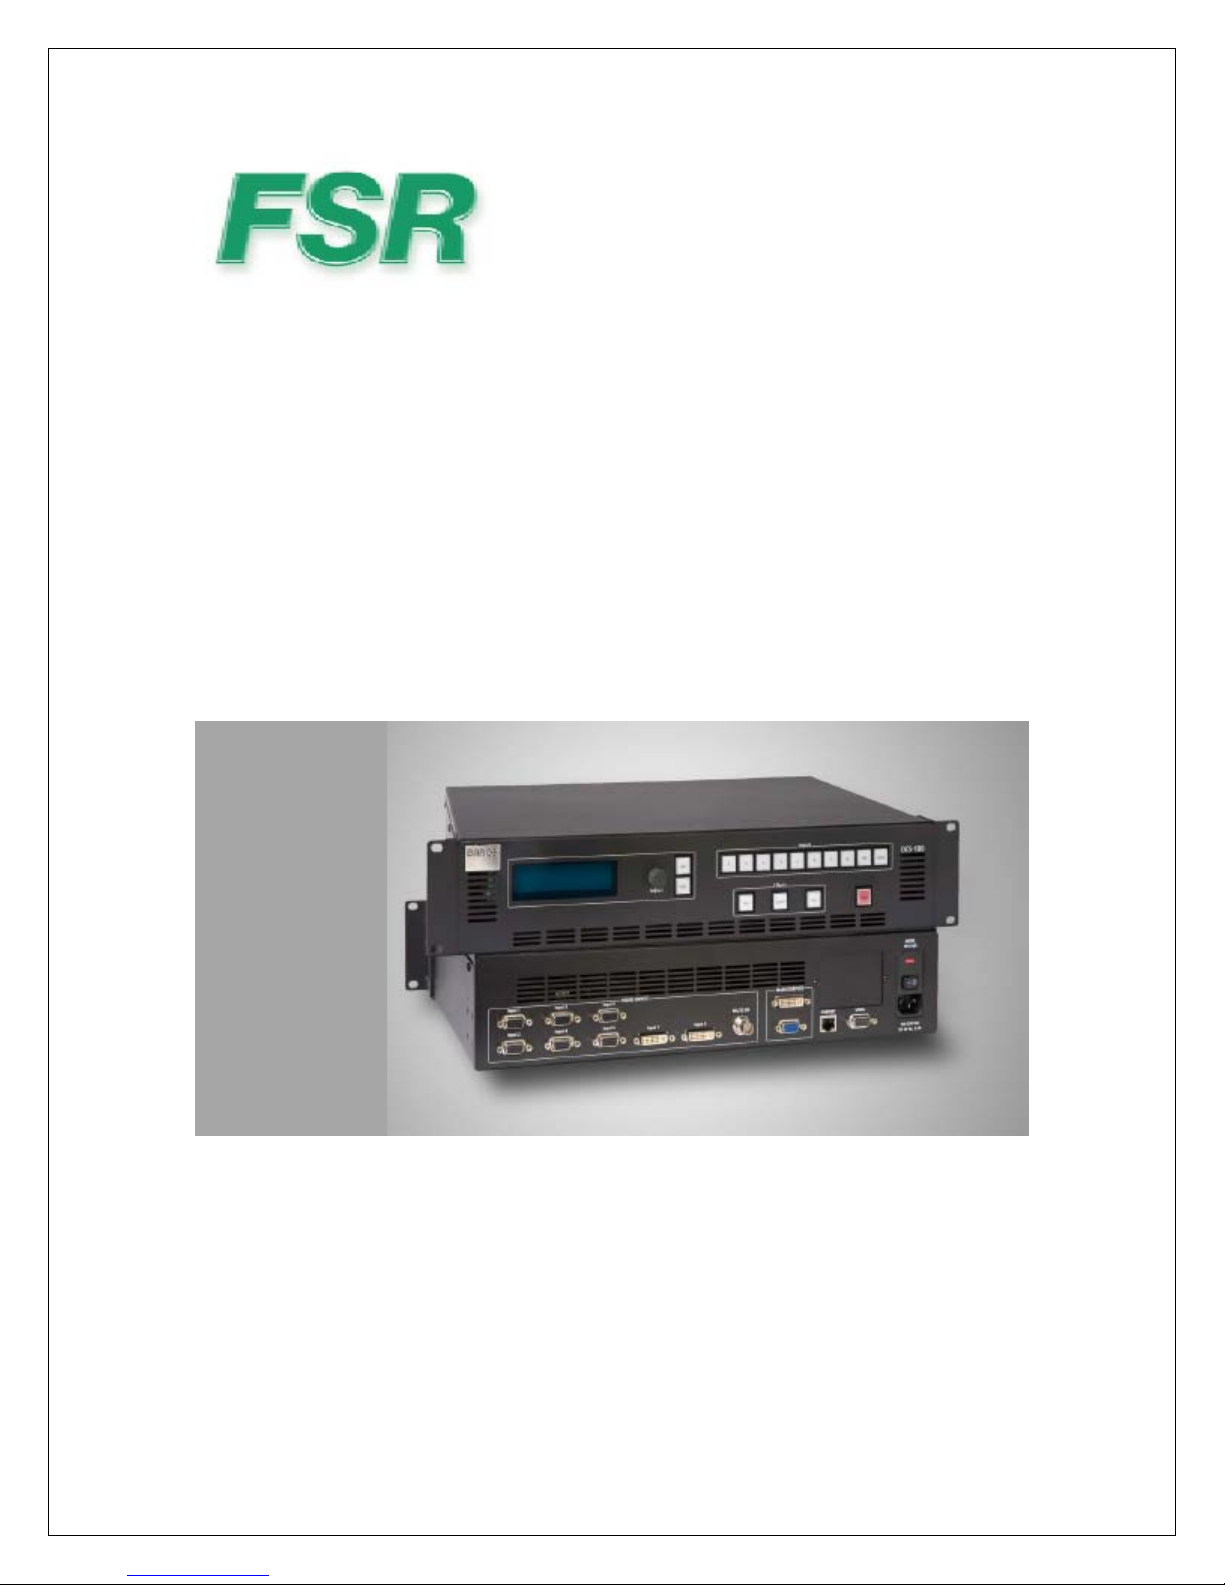
CP-100 / 200 Compass Plus Switcher
Quick Guide for using Serial and Ethernet Control
Rev.1.03 January 16, 2009
244 Bergen Blvd Woodland Park NJ 07424 973-785-4347 www.fsrinc.com
LIT1269
Page 2

General Notes:
• There are two scalers in the CP. Because of this, we can achieve
seamless switching without freezing the frame or fading to black.
It also adds a little time before an input will be ready to be
switched to the mains.
• All requests are terminated with a carriage return.
•
<CR>
stands for carriage return, which is a 0C in hex, or 13 in
decimal.
• “CP” refers to an FSR CP-100 or CP-200 Compass Plus Switcher
Power Up Handling
It is required to wait for 50 seconds after power up before attempting to log on,
especially if using the Ethernet connection. If the user attempts to log in before
the CP’s main program is loaded and running, you may log in but never be able
to get to the CP main program.
Logging In
The CP will prompt for a user id and password. The id is “user” MUST BE
LOWER CASE!!! The password is just a carriage return. The user remains logged
on until the CP is powered down or the user closes the connection.
Switching Inputs
There are two ways of switching inputs to Main serially; one requires two
messages. The other requires only one.
Two Message Method:
Send an ISEL message with the input number, then send a TAKE message
after waiting for the prompt (“>”). Input numbers range from 1 –9, inputs
1-8, 9=SDI. To switch input 3 to the Main, the user send the following:
ISEL –i3<
Wait for prompt
TAKE<
It important to note that the ‘i’ in the ISEL message must be lower case.
It will not work otherwise.
CR
CR>
>
2
Page 3

One Message Method:
Set up the auto-take function after logging on. To do that, simply send
out the following message:
CR>
AUTOTAKE –m1<
The ‘m’ in the AUTOTAKE request MUST be lowercase, ‘1’ turns on
AUTOTAKE, ‘0’ turns off AUTOTAKE.
When the user wants to switch inputs he/she only needs to send a ISEL request.
For example: To switch to the SDI source the user sends the following message:
ISEL –i9<
CR
>
NOTE: Since the CP has two scalers it is important to remember that it will take
a little time to lock on the signal before the input is switched.
Switching to LOGO
The image to be saved as a logo should be currently active on the main display
from one of the 6 analog or 2 SDI inputs. Logos should be saved from the CP
front panel. This is accomplished by pressing and holding the “SEL” button until
the setup menu appears on the LCD screen. The user will then scroll down to
the “LOGO” setup and press the “SEL” button. Setup the LOGO number to save
the image to and then scroll to save the logo. The default logo number is
“LOGO1”.
To switch the LOGO2 to the main screen the user sends the following message:
LOGOSEL –l2
The ‘l’ MUST BE lower case, and the logo number is 1 – 3.
NOTE: If LOGO is set on the Main, or Next, you CANNOT get into the LOGO
setup menu until you switch LOGO of the Main and Next.
3
 Loading...