

Page 1
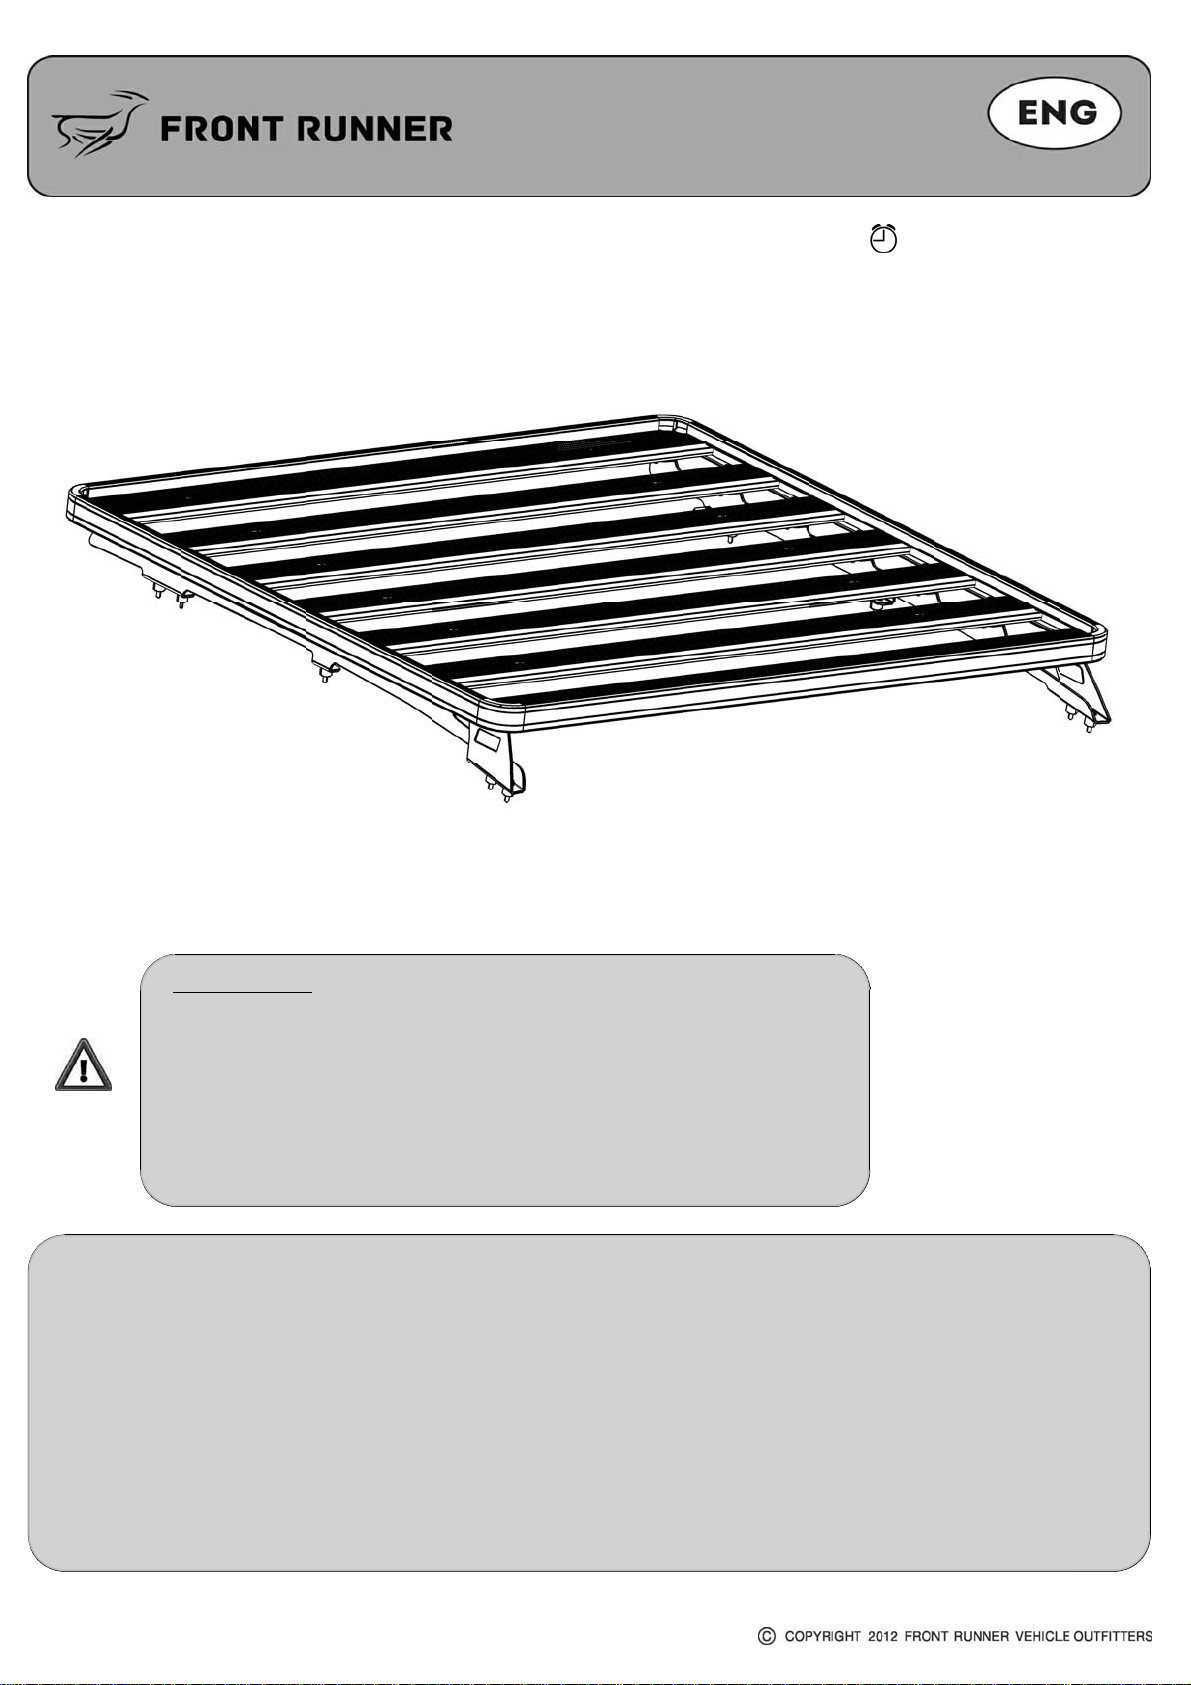
TOYOTA TACOMA
SLIMLINE II RACK
1165MM x 1358MM
(
)
INSTALL TIME: 60 mins
KRTT001T
READ ME FIRST:
Thank you for purchasing a Front Runner Slimline II Rack.
This Roof Rack consists of a kit that contains:
1.) A Slimline II Tray
2.) A mounting system specific to your vehicle
This document will help you fit the Slimeline II Tray to your specific vehicle.
IMPORTANT WARNING!
IT IS CRITICAL THAT ALL FRONT RUNNER PRODUCTS BE PROPERLY AND SECURELY ASSEMBLED AND ATTACHED TO YOUR
VEHICLE. IMPROPER ATTACHMENT COULD RESULT IN AN AUTOMOBILE ACCIDENT, AND COULD CAUSE SERIOUS BODILY
INJURY OR DEATH TO YOU OR TO OTHERS. YOU ARE RESPONSIBLE FOR ASSEMBLING AND SECURING ALL FRONT RUNNER
PRODUCTS TO YOUR VEHICLE, CHECKING THE ATTACHMENTS PRIOR TO USE, AND PERIODICALLY INSPECTING THE
PRODUCTS FOR ADJUSTMENT, WEAR, AND DAMAGE. THEREFORE, YOU MUST READ AND UNDERSTAND ALL OF THE
INSTRUCTIONS AND CAUTIONS SUPPLIED WITH YOUR FRONT RUNNER PRODUCT PRIOR TO INSTALLATION OR USE. IF YOU DO
NOT UNDERSTAND ALL OF THE INSTRUCTIONS AND CAUTIONS, OR IF YOU HAVE NO MECHANICAL EXPERIENCE AND ARE NOT
THOROUGHLY FAMILIAR WITH THE INSTALLATION PROCEDURES, YOU SHOULD HAVE THE PRODUCT INSTALLED BY A
PROFESSIONAL INSTALLER OR OTHER QUALIFIED PERSONNEL.
REV_A00
1
Page 2
GET ORGANIZED...
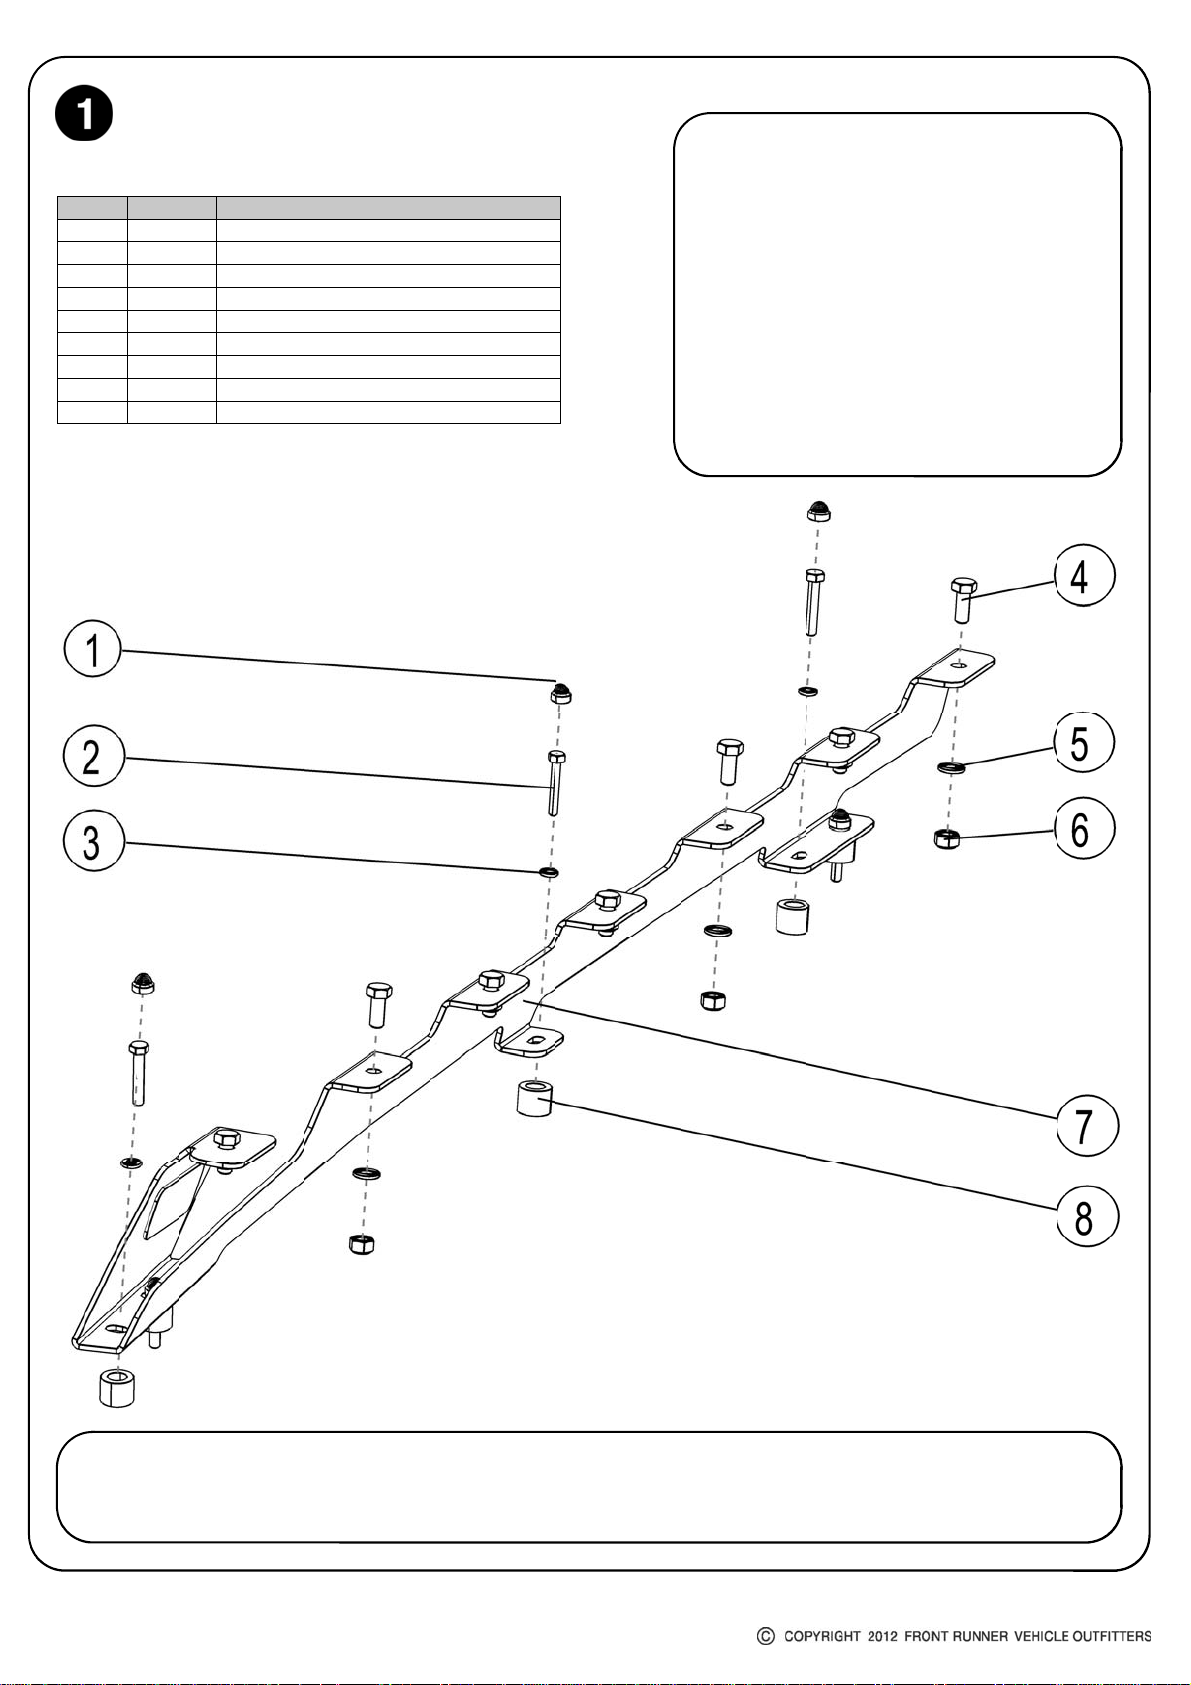
Here is what you are looking at: You will need:
Item # Quantity DESCRIPTION
1 10 M6 NUT CAP
2 10 M6x35 HEX BOLT
3 10 M6x19x1 FLAT WASHER
4 14 M8x16 HEX BOLT
5 14 M8 FLAT WASHER
6 14 M8 NYLOC NUT
7 2 SIDE RAIL - 1 LEFT, 1 RIGHT
8 10 ALUMINIUM SPACER
9 14 M8 NUT CAP (Not Pi ctu re d)
a 13mm Flat and Socket Wrench
a 10mm Flat and Socket Wrench
Rag and some Denatured Alcohol
a tube of Silicone
a Ladder
a Friend
a Measuring Tape
a Flat Screw Driver
a 22mm Hole Punch or Hole Saw
REV_A01
A
()
Familiarize yourself with the parts and then step away from the work area and read through these
instructions from beginning to end. Take a moment as a little prep now may save you a lot of time later.
2
Page 3
FIT the SIDE RAILS
A
()
b
()
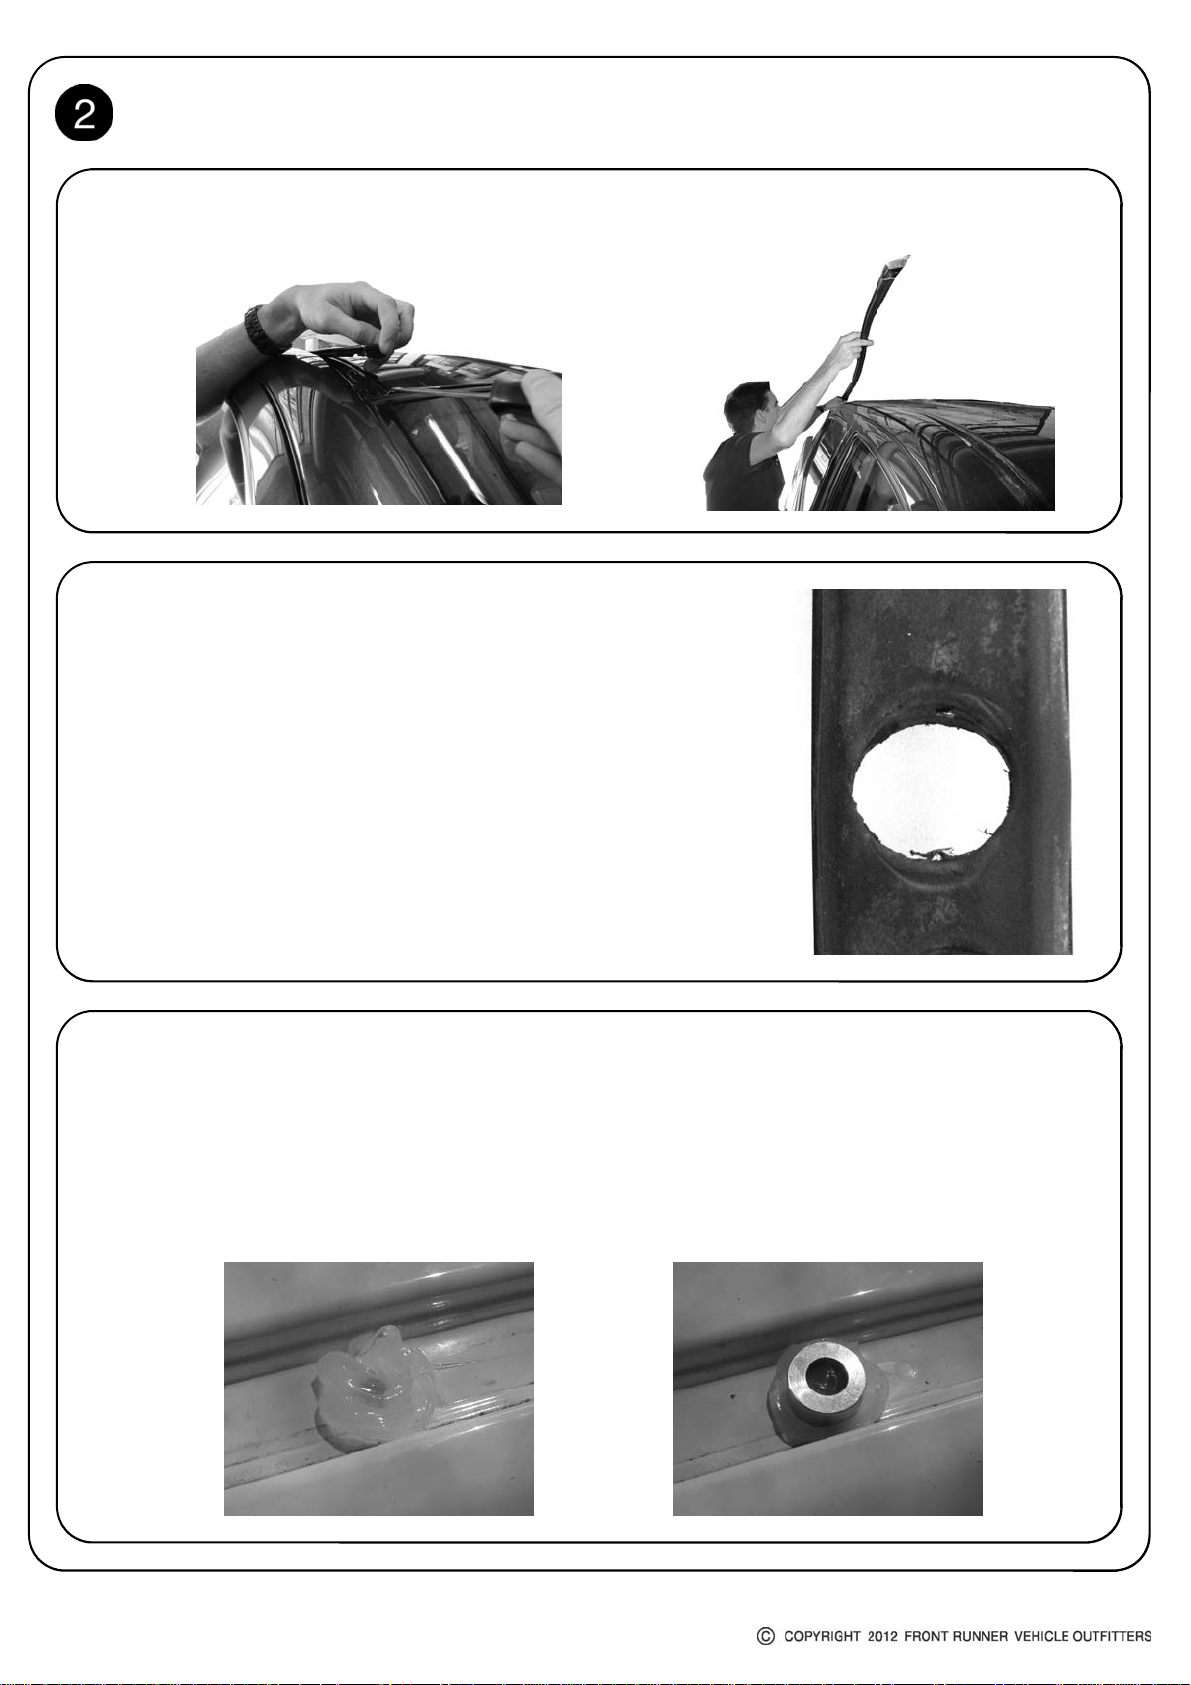
Using a flat screwdriver, starting from the front of the vehicle, lift and remove the two ditch moldings
running along either side of the roof.
Remove the tape covering the ten mounting points in the gutter
(five on each side). Insert and hand tighten the ten M6x35 Hex
Bolts (Item 2) supplied to the mounting points.
Starting at the front of the vehicle, refit the ditch molding.
Whenever you reach one of the Hex Bolts that you have inserted,
take a white marking pen and mark the top of the Hex Bolt. While
the white "paint"is still wet press the ditch molding onto the head
of the bolt, transferring the position of the bolt head onto the
underside of the ditch molding. Repeat this process for all the bolts
on both ditch moldings.
C
()
Using a 22mm Punch (Recommended) or Hole Saw, punch/drill
holes into the ditch molding on each of your markings.
Clean the area around each mounting point using a rag and denatured alcohol.
Place a small amount of silicone over each mounting points followed by one of the Aluminium Spacers
supplied as shown. There are ten Spacers in total. The two shorter spacers must be used on the mid
mounting points on either side of the vehicle.
Refit the ditch moldings, lining up the holes in the ditch molding with the Aluminium Spacers.
REV_A01
3
Page 4
FIT the SIDE RAILS
D
()
3
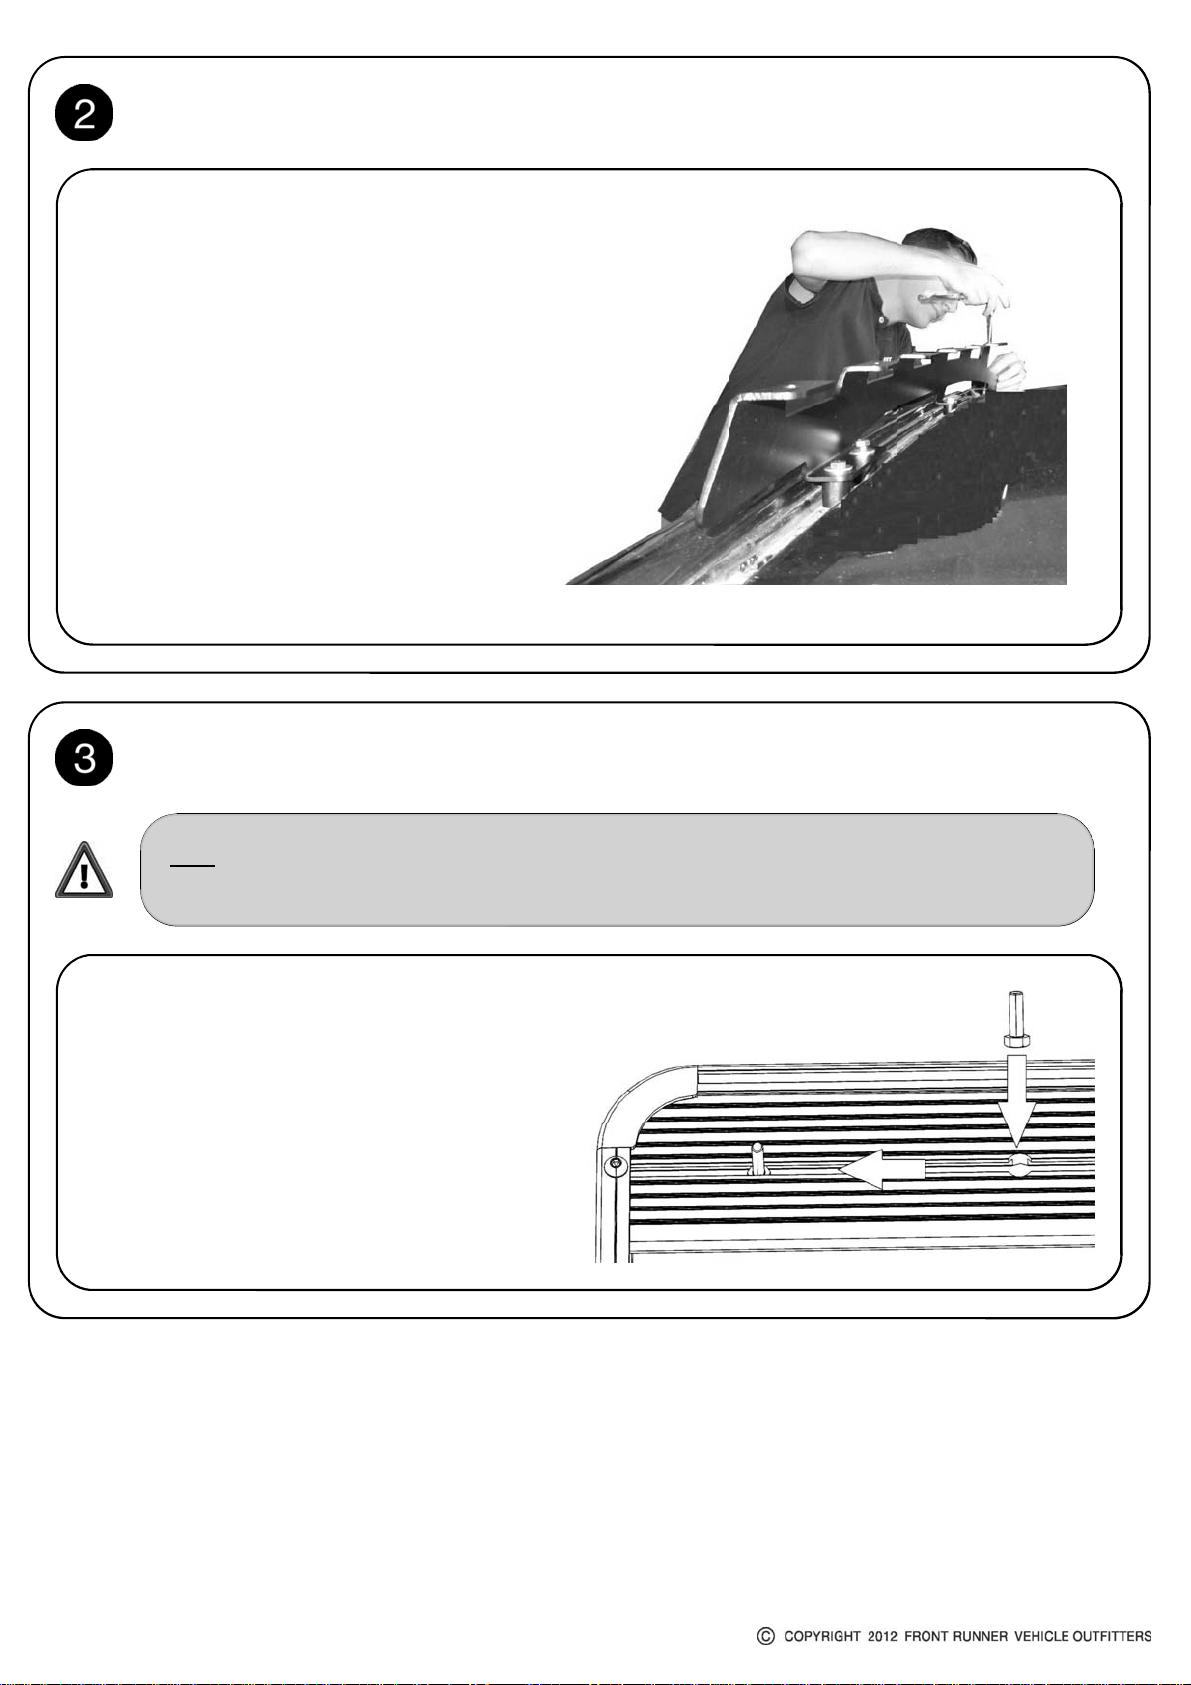
Place the Side Rails onto the vehicle
lining up the holes in the base of the Side
Rails with the Aluminium Spacers . There
is a left and a right hand Side Rail. The
product sticker must go to the front
outer side of the vehicle.
Hand tighten the Side Rails to the roof
using the M8x35 Hex Bolts and M8x19x2
Flat Washers Supplied.
Measure the distance from the top of the
windscreen to the first hole in each rail.
Ensuring that the left and right hand
sides are of equal distance. Fasten all the
bolts.
FIT THE RACK
A
()
Note: If your Slimline II Tray is not already assembled, assemble it as per the Slimline II Tray Universal
Assembly Instruction (Document RRSTUNI). Read Step 3A before fitting the Wind Deflector
Before fitting the Wind Deflector, and with
the Rack in the upside down position,
(Check with product sticker. It should be
upside down), slide a M8x16 Hex Bolt into
each end of the First Slat using the
machined slot as shown.
REV_A01
4
Page 5
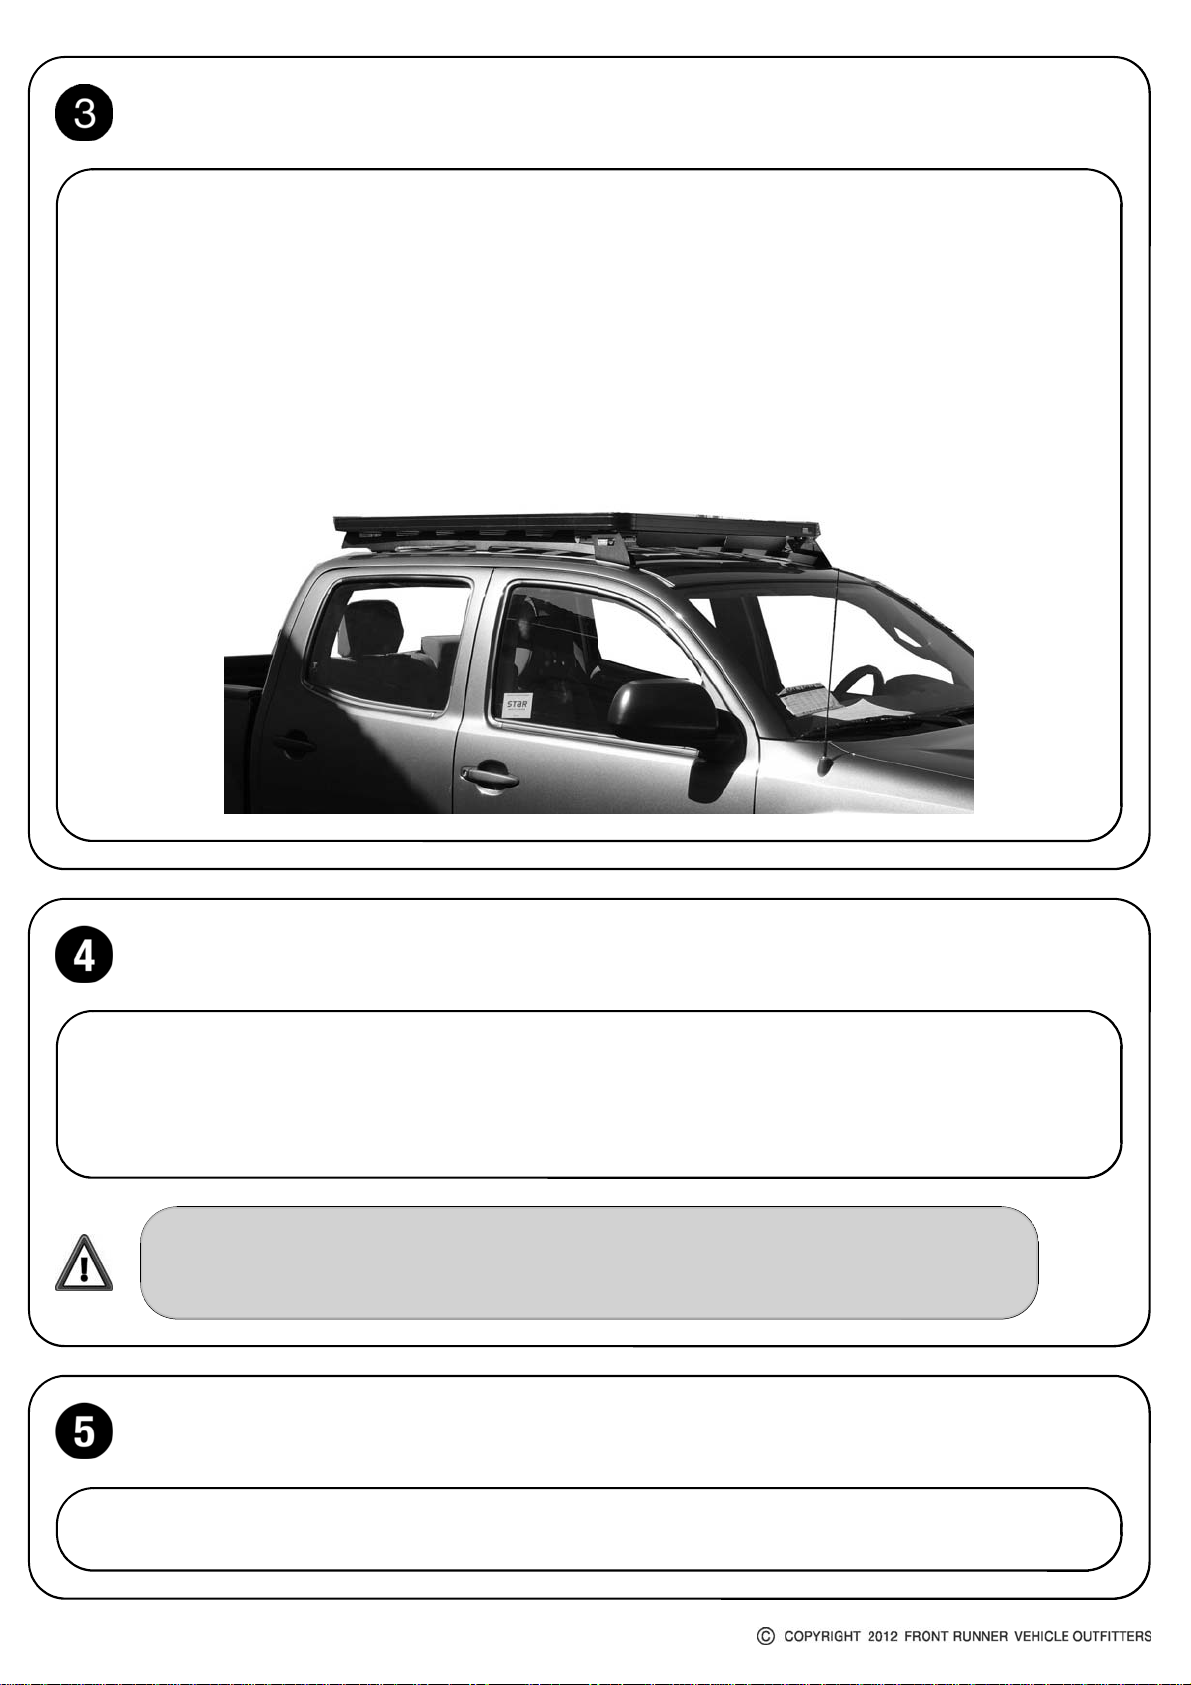
FIT THE RACK...CONT.
B
()
With your rack still upside down from Step 3A, slide a M8x16 Hex Bolt into each end of all the Slats.
Grab your Friend and with one of you on each side of the Rack, flip the Rack end over end (Prevents the
Hex Bolts from falling out the machines slots) so that the M8x16 Hex Bolts are facing down. Approach the
vehicle from the rear, with the Wind Deflector facing forward. Lift the Rack up and over the Roof
positioning it above the two Side Rails. Bring the Rack down slowly, lining up the Bolts in the Rack with
the holes in the top of the Side Rails. Hand tighten the Rack to the Side Rails using the M8 Washers and
M8 Nyloc Nuts supplied.
Center the rack - left to right (check using a tape measure). Fasten all the Nuts and Bolts securing the
Rack and Side Rails to the vehicle. Place the M8 Nut Caps supplied over the M8 Nyloc Nuts.
TAKE A TRIP
A
()
After your first adventure, check that all nuts, bolts, screws and fittings are tight. Re-tighten where
needed. You'll find a small amount of settling has happened.
Go on many more adventures, periodically checking all nuts, bolts, screws and fittings.
Front Runner can not recommend a maximum load carrying capacity. Please refer to your vehicle
manufacturer's recommendations.
INSTALL OTHER VEHICLE AND RACK ACCESSORIES
A
()
Now's the time to visit your favorite Front Runner dealer in person or online.
REV_A01
5
 Loading...