

Page 1
Assembly Instructions
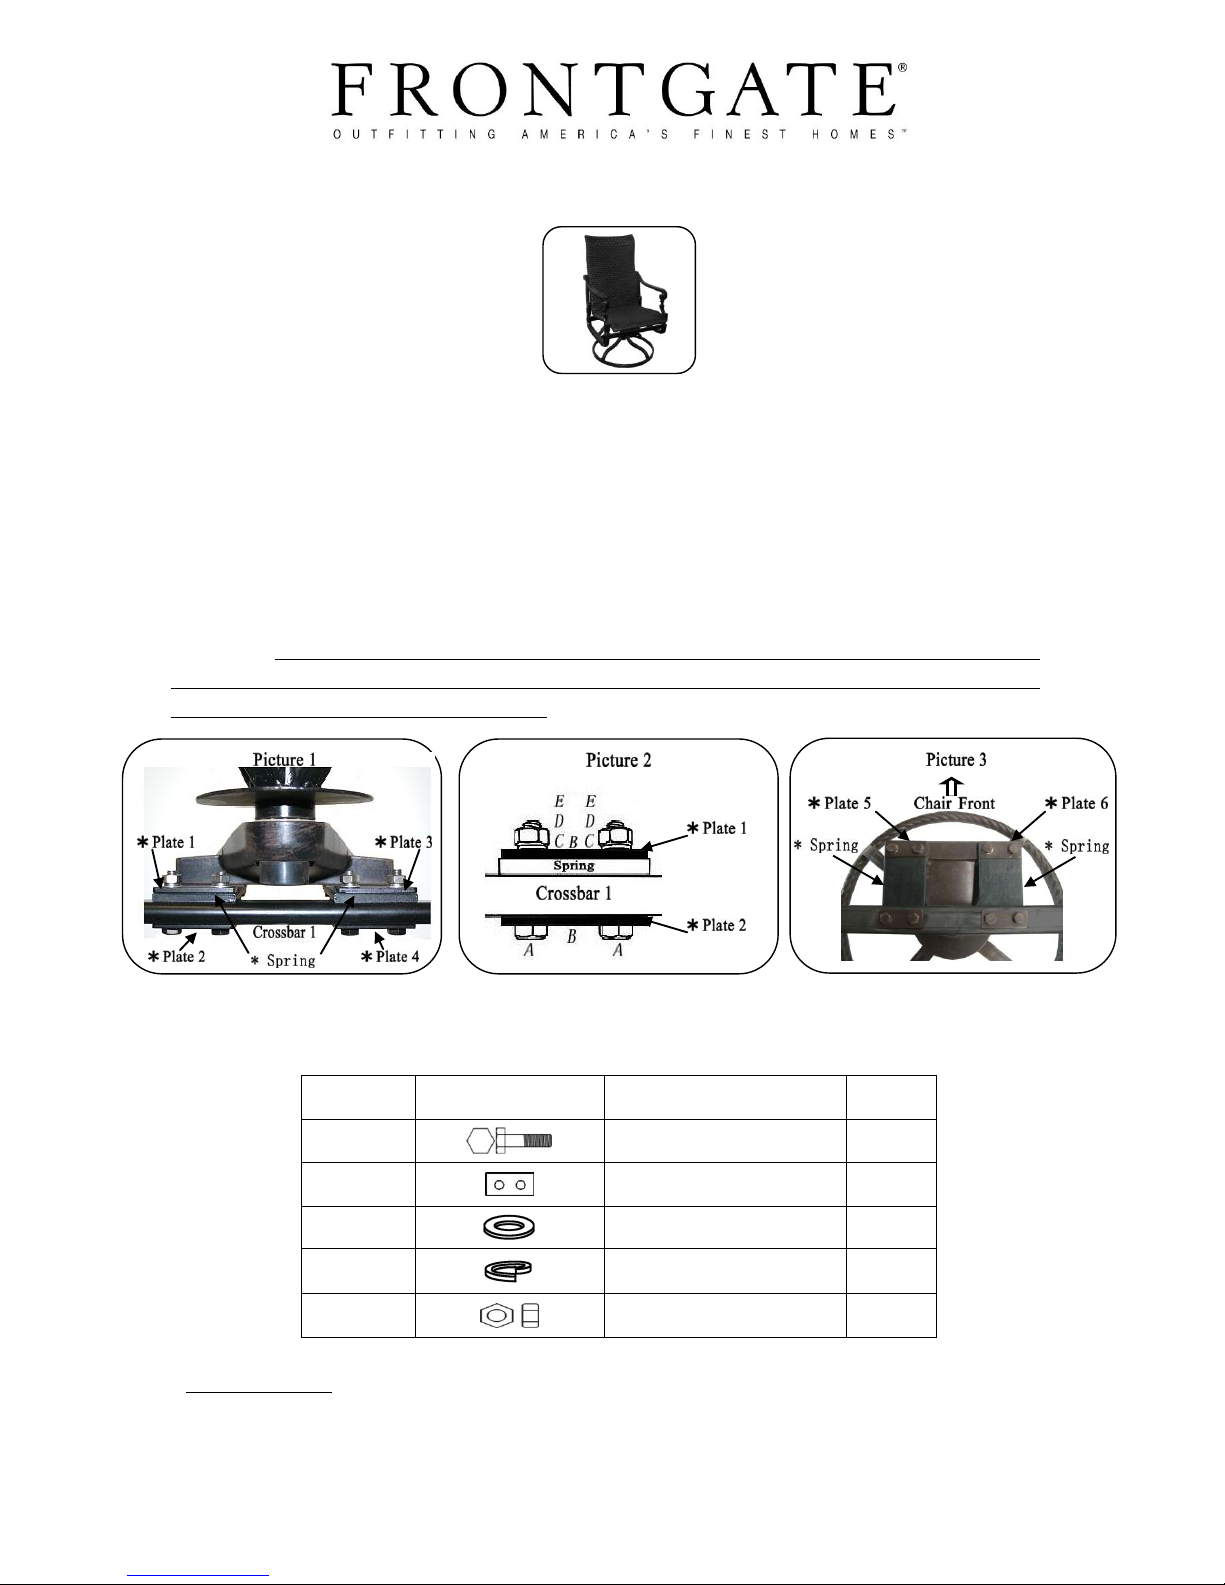
61491 Carlisle Woven High Back Dining Swivel Rocker
*Warning:DO NOT use power tools.
1.On a soft clean surface position the chair bucket upside down with the arms on the floor.
2.Remove the hardware and aluminum plates *1, *2, *3, *4 loosely attached to the springs shown in Picture 1. Do
not remove the hardware, springs, and aluminum plates *5 and *6 from the chair swivel base shown in Picture 3.
3.Align the 4 holes in the springs on the chair base with the four holes on the chair crossbar 1. Using the removed
hardware from Step 2 attach the springs to the crossbar using 4 bolts (A), 4 aluminum plates (B), 4 flat washers (C),
4 lock washers (D), and 4 nuts (E) as shown in Picture 2. Complete final assembly is shown in Picture 1. Correct
assembly of the chair to the swivel base is shown in Picture 3.
4.Once chair is assembled, firmly tighten all 8 bolts attaching the springs to the swivel base and to the chair shown
in Picture 3.
*Warning:The six (6) Plates MUST BE correctly assembled as shown in Pictures 1, 2 and 3. Failure to
position the plates as shown will result in spring failure which could cause personal injury. Product warranty
is void if the plates are not correctly positioned.
Care & Maintenance: Please do not use acid or alkaline washing liquid to clean the product. We recommend
a mild dish soap and warm water for best cleaning results on the metal frames and fabrics.
PARTS INCLUDED
Parts
Pictures
Description
Qty
A Bolt
4
B * Aluminum plate
4
C Flat Washer
4
D Lock Washer
4
E Nut
4
Frontgate: Please contact one of our Product Specialists for assembly assistance or questions at 1-800-537-8484 or
email:[email protected]. Specialists are available weekdays 8:00 a.m. to 8:00 p.m .EST or Saturdays 9:30 a.m. to 6:00 a.m.
Page 2
Assembly Instructions
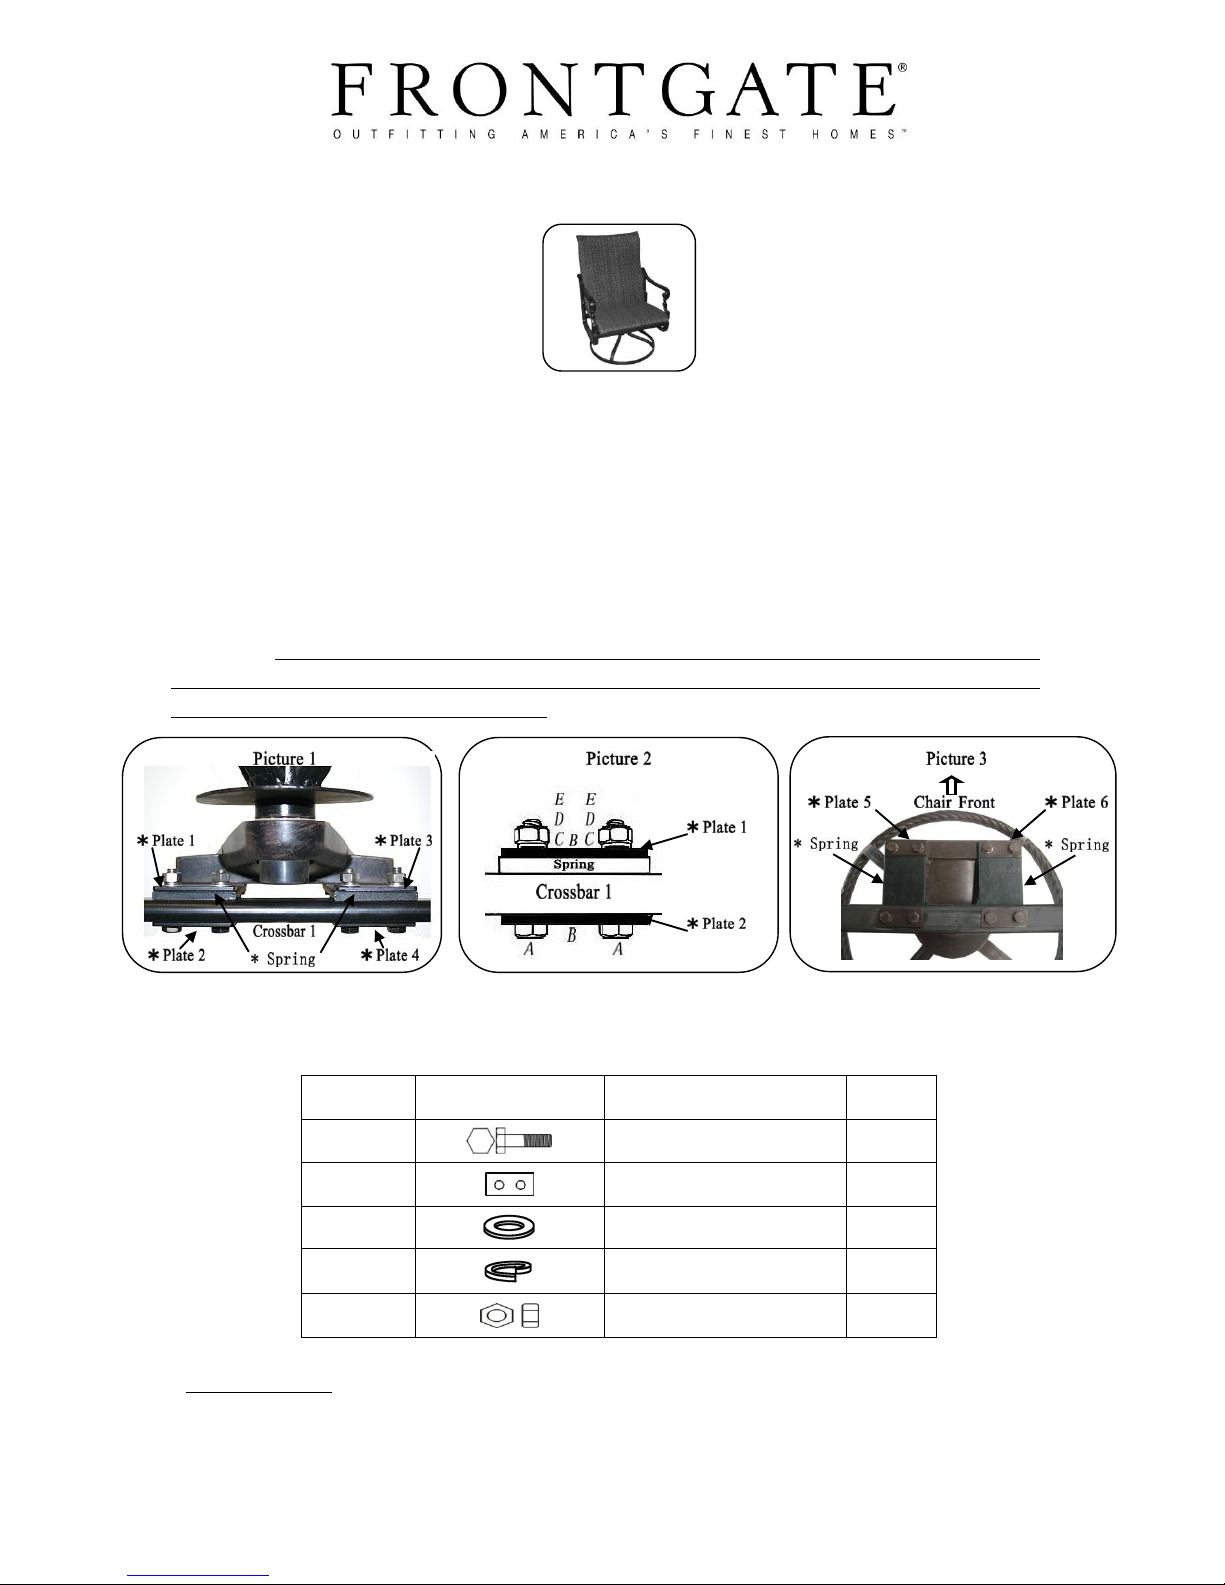
61492 Carlisle Woven Swivel Rocking Lounge Chair
*Warning:DO NOT use power tools.
1.On a soft clean surface position the chair bucket upside down with the arms on the floor.
2.Remove the hardware and aluminum plates *1, *2, *3, *4 loosely attached to the springs shown in Picture 1. Do
not remove the hardware, springs, and aluminum plates *5 and *6 from the chair swivel base shown in Picture 3.
3.Align the 4 holes in the springs on the chair base with the four holes on the chair crossbar 1. Using the removed
hardware from Step 2 attach the springs to the crossbar using 4 bolts (A), 4 aluminum plates (B), 4 flat washers (C),
4 lock washers (D), and 4 nuts (E) as shown in Picture 2. Complete final assembly is shown in Picture 1. Correct
assembly of the chair to the swivel base is shown in Picture 3.
4.Once chair is assembled, firmly tighten all 8 bolts attaching the springs to the swivel base and to the chair shown
in Picture 3.
*Warning:The six (6) Plates MUST BE correctly assembled as shown in Pictures 1, 2 and 3. Failure to
position the plates as shown will result in spring failure which could cause personal injury. Product warranty
is void if the plates are not correctly positioned.
Care & Maintenance: Please do not use acid or alkaline washing liquid to clean the product. We recommend
a mild dish soap and warm water for best cleaning results on the metal frames and fabrics.
PARTS INCLUDED
Parts
Pictures
Description
Qty
A Bolt
4
B * Aluminum plate
4
C Flat Washer
4
D Lock Washer
4
E Nut
4
Frontgate: Please contact one of our Product Specialists for assembly assistance or questions at 1-800-537-8484 or
email:[email protected]. Specialists are available weekdays 8:00 a.m. to 8:00 p.m .EST or Saturdays 9:30 a.m. to 6:00 a.m.
Page 3
Assembly Instructions
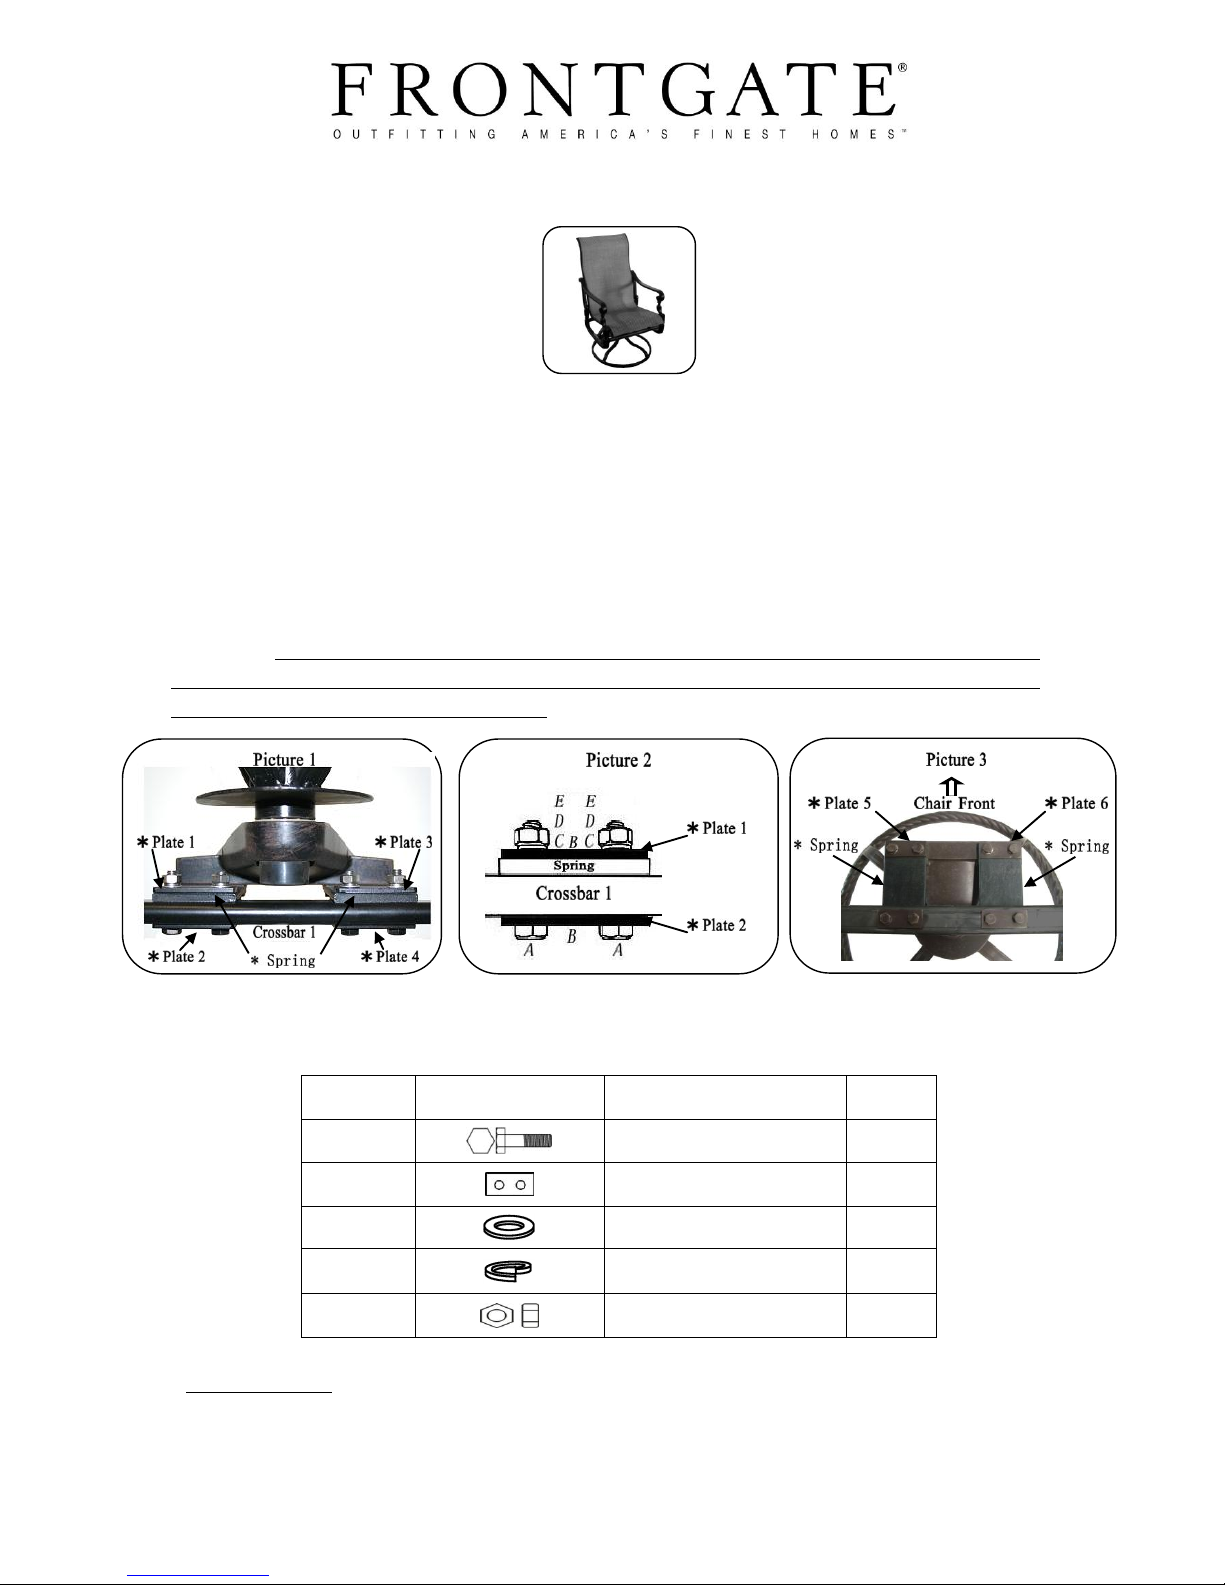
61494 Carlisle Sling High Back Dining Swivel Rocker
*Warning:DO NOT use power tools.
1.On a soft clean surface position the chair bucket upside down with the arms on the floor.
2.Remove the hardware and aluminum plates *1, *2, *3, *4 loosely attached to the springs shown in Picture 1. Do
not remove the hardware, springs, and aluminum plates *5 and *6 from the chair swivel base shown in Picture 3.
3.Align the 4 holes in the springs on the chair base with the four holes on the chair crossbar 1. Using the removed
hardware from Step 2 attach the springs to the crossbar using 4 bolts (A), 4 aluminum plates (B), 4 flat washers (C),
4 lock washers (D), and 4 nuts (E) as shown in Picture 2. Complete final assembly is shown in Picture 1. Correct
assembly of the chair to the swivel base is shown in Picture 3.
4.Once chair is assembled, firmly tighten all 8 bolts attaching the springs to the swivel base and to the chair shown
in Picture 3.
*Warning:The six (6) Plates MUST BE correctly assembled as shown in Pictures 1, 2 and 3. Failure to
position the plates as shown will result in spring failure which could cause personal injury. Product warranty
is void if the plates are not correctly positioned.
Care & Maintenance: Please do not use acid or alkaline washing liquid to clean the product. We recommend
a mild dish soap and warm water for best cleaning results on the metal frames and fabrics.
PARTS INCLUDED
Parts
Pictures
Description
Qty
A Bolt
4
B * Aluminum plate
4
C Flat Washer
4
D Lock Washer
4
E Nut
4
Frontgate: Please contact one of our Product Specialists for assembly assistance or questions at 1-800-537-8484 or
email:[email protected]. Specialists are available weekdays 8:00 a.m. to 8:00 p.m .EST or Saturdays 9:30 a.m. to 6:00 a.m.
Page 4
Assembly Instructions
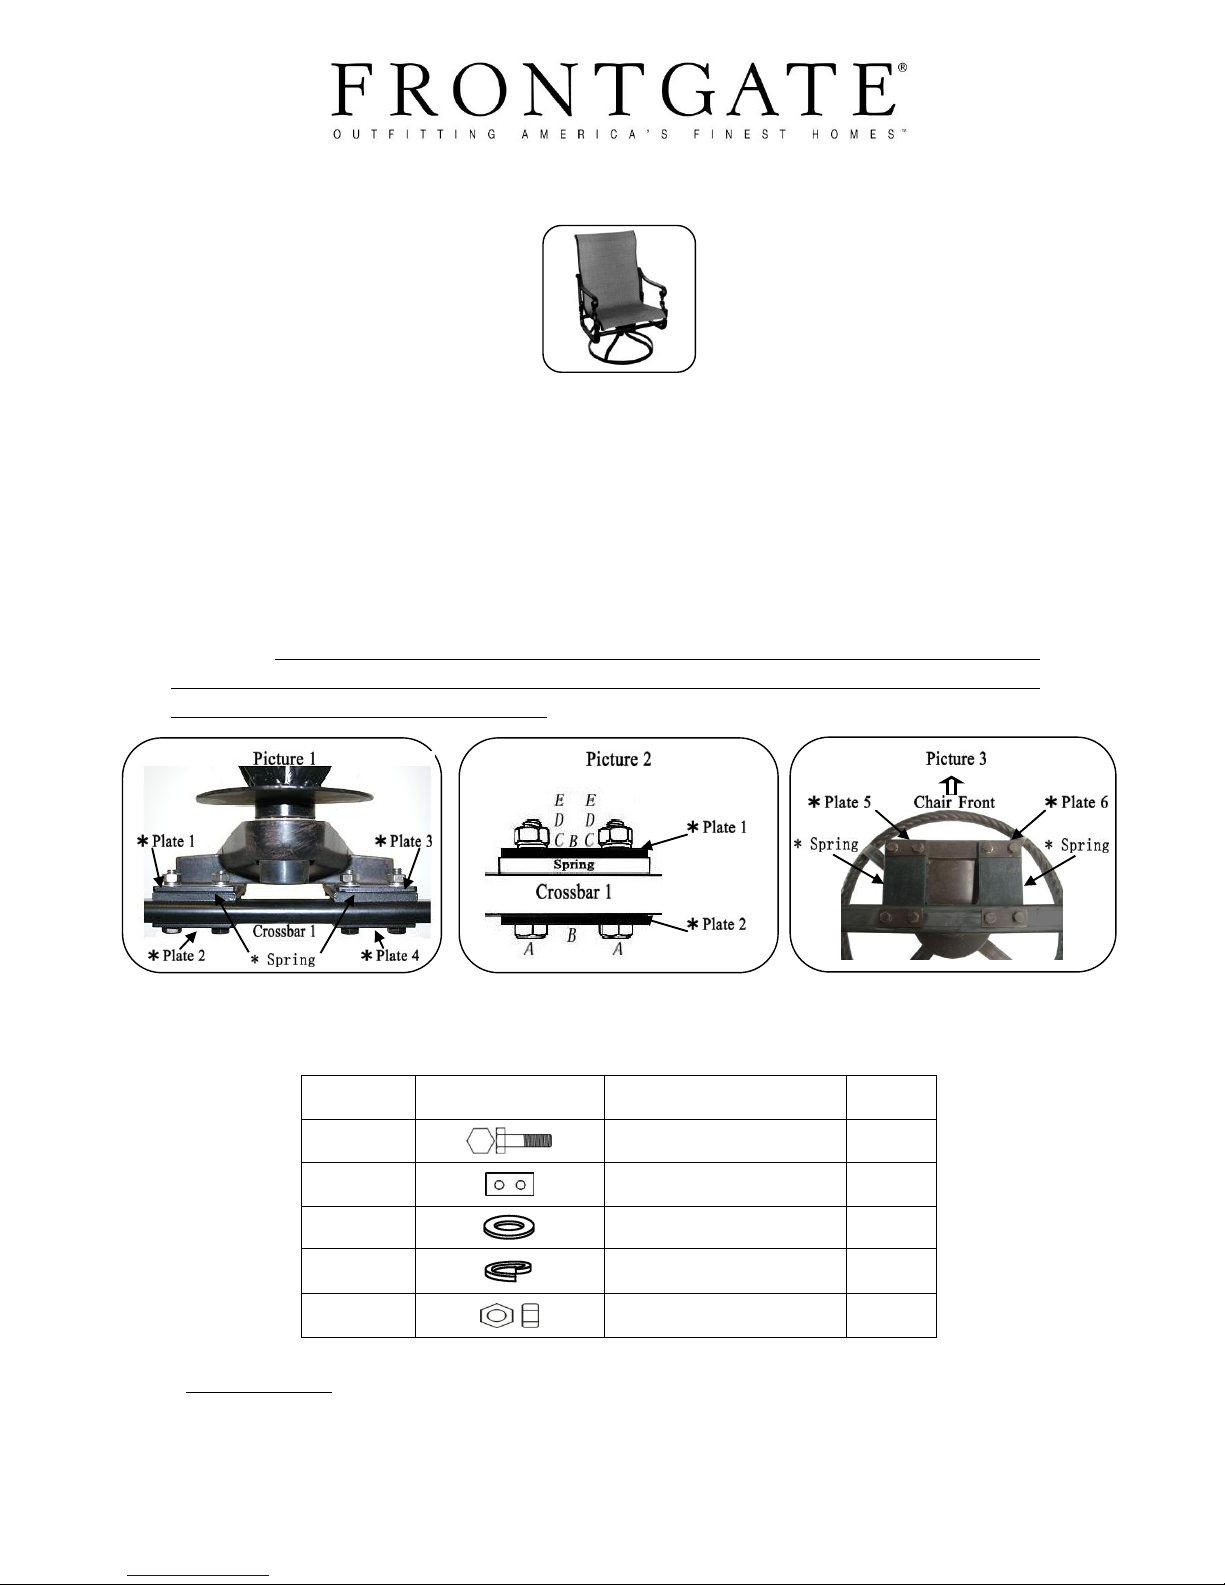
61495 Carlisle Sling Swivel Rocking Lounge Chair
*Warning:DO NOT use power tools.
1.On a soft clean surface position the chair bucket upside down with the arms on the floor.
2.Remove the hardware and aluminum plates *1, *2, *3, *4 loosely attached to the springs shown in Picture 1. Do
not remove the hardware, springs, and aluminum plates *5 and *6 from the chair swivel base shown in Picture 3.
3.Align the 4 holes in the springs on the chair base with the four holes on the chair crossbar 1. Using the removed
hardware from Step 2 attach the springs to the crossbar using 4 bolts (A), 4 aluminum plates (B), 4 flat washers (C),
4 lock washers (D), and 4 nuts (E) as shown in Picture 2. Complete final assembly is shown in Picture 1. Correct
assembly of the chair to the swivel base is shown in Picture 3.
4.Once chair is assembled, firmly tighten all 8 bolts attaching the springs to the swivel base and to the chair shown
in Picture 3.
*Warning:The six (6) Plates MUST BE correctly assembled as shown in Pictures 1, 2 and 3. Failure to
position the plates as shown will result in spring failure which could cause personal injury. Product warranty
is void if the plates are not correctly positioned.
Care & Maintenance: Please do not use acid or alkaline washing liquid to clean the product. We recommend
a mild dish soap and warm water for best cleaning results on the metal frames and fabrics.
PARTS INCLUDED
Parts
Pictures
Description
Qty
A Bolt
4
B * Aluminum plate
4
C Flat Washer
4
D Lock Washer
4
E Nut
4
Frontgate: Please contact one of our Product Specialists for assembly assistance or questions at 1-800-537-8484 or
email:[email protected]. Specialists are available weekdays 8:00 a.m. to 8:00 p.m .EST or Saturdays 9:30 a.m. to 6:00 a.m.
Page 5
Assembly Instructions
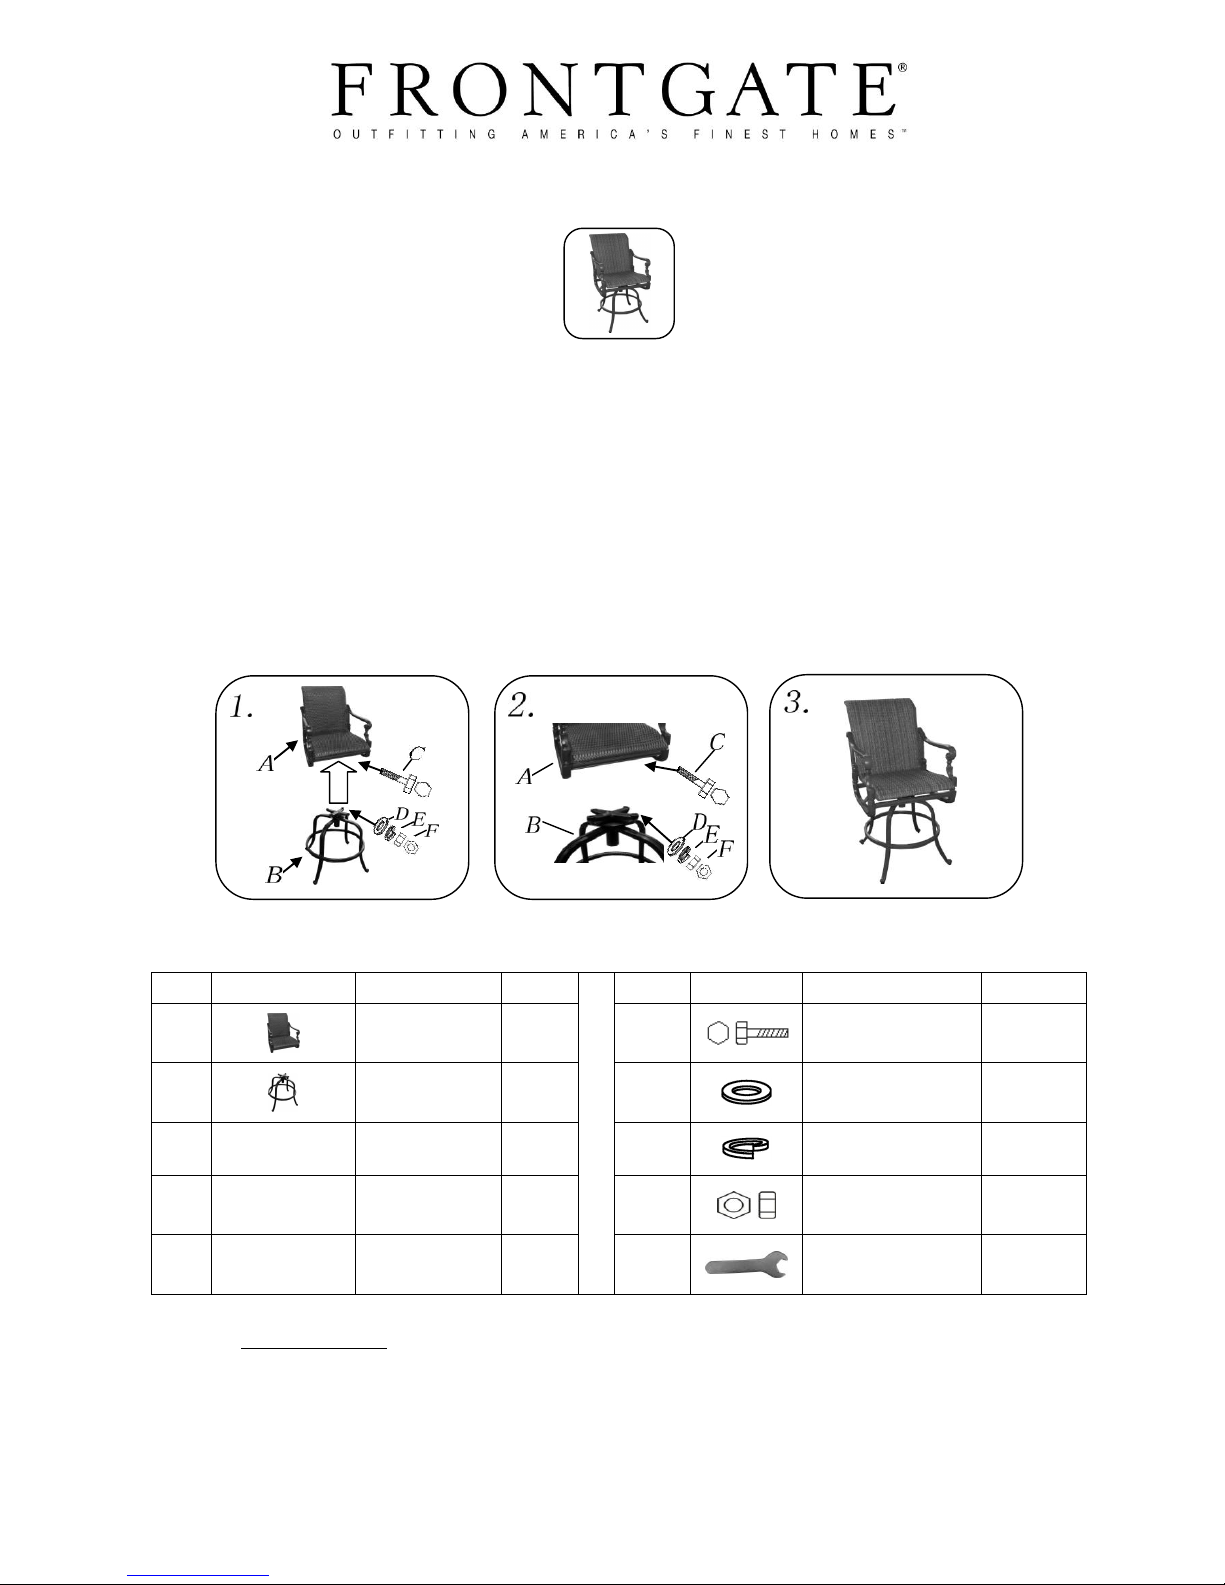
68348 Carlisle Woven Barstool
ATTENTION:
1. Please read this instruction carefully before assembly.
2. Aluminum is soft metal, over tightening may strip threads or break the part.
3. Do not use power tools.
Assembly steps:
1. Dismantle bolts (C), flat washers (D), lock washers (E) and nuts (F) from lower part (B). Position upper part
(A) upside down on a soft clean surface with the arms on the floor. The screw holes on the crossbar and
lower part (B) should be aligned at each other.
2. Insert bolts (C) into the crossbar on upper part and crossed TR on lower part. Attach flat washers (D), lock
washers (E) to bolts (C). Then attach nuts (F) to bolts (C). Don’t tighten.
3. Tighten all the bolts completely after being put in place with outer hexagonal wrench (G). This is the
outlook of the assembled swivel bar stool.
Care & Maintenance: Please do not use acid or alkaline washing liquid to clean the product. We recommend
a mild dish soap and warm water for best cleaning results on the metal frames and fabrics.
Frontgate: Please contact one of our Product Specialists for assembly assistance or questions at 1-800-537-8484
or email:[email protected]. Specialists are available weekdays 8:00 a.m. to 8:00 p.m .EST or Saturdays 9:30 a.m.
to 6:00 a.m.
Parts
Picture
Description
Qty Parts
Picture
Description
Qty
A Upper Part
1
C Bolt
4
B Lower Part
1
D Flat Washer
4
E Lock Washer
4
F Nut
4
G
Outer Hexagonal
Wrench (M8)
1
 Loading...