

Page 1
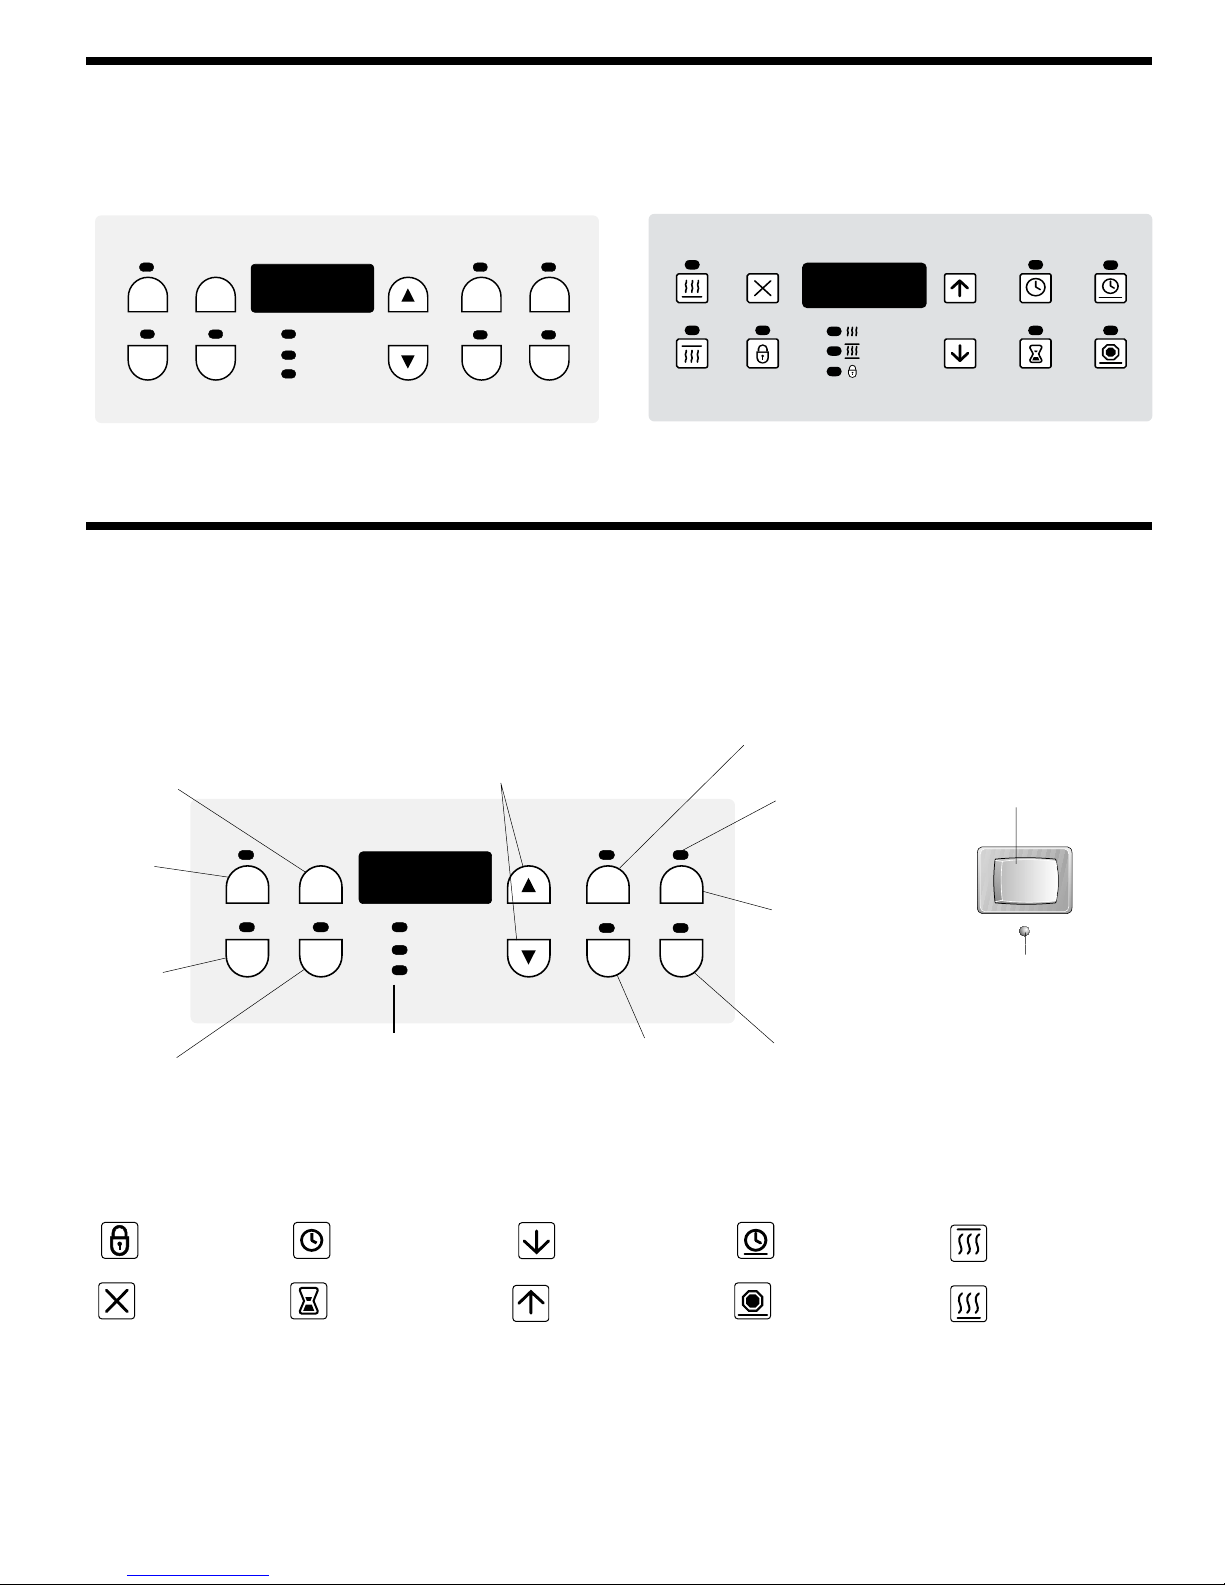
ELECTRONIC OVEN CONTROL
NOTE: The basic timer is externally arranged in different configurations in various appliance models, this does not change the
way it operates.
BAKE CANCEL
VARI
BROIL
CLEAN
OVEN
PREHEAT
LOCKED
CLOCK
TIMER
ON/OFF
BAKE
TIME
STOP
TIME
Figure 1 Figure 2
Control Pad Functions
READ THE INSTRUCTIONS CAREFULLY BEFORE USING THE OVEN.
CANCEL
PAD
BAKE
PAD
VARI
BROIL
PAD
CLEAN PAD
BAKE CANCEL
VARI
BROIL
CLEAN
OVEN, PREHEAT & LOCKED LIGHTS
UP and DOW ARROW PADS
CLOCK
OVEN
PREHEAT
LOCKED
TIMER
ON/OFF
TIMER ON/OFF
PAD
BAKE
TIME
STOP
TIME
CLOCK PAD
FEATURE
INDICATOR
LIGHTS
BAKE TIME
PAD
STOP TIME
PAD
SPEED BAKE SWITCH
PILOT LIGHT
TIMER FUNCTIONS ARE REPRESENTED BY SYMBOLS OR WORD(S):
CLEAN CLOCK DECREASE
CANCEL TIMER ON/OFF INCREASE
ELECTRONIC OVEN CONTROL
1
COOK TIME
STOP TIME
VARI-BROIL
BAKE
318092103 (0004) Rev . B
Page 2
The oven can be programmed to:
• Bake normally
• Time bake
• Speed bake
• Vari Broil
• Self-clean
IMPORTANT: The control cannot be used until the clock is set to the time of day.
For a silent control panel:
When choosing a function, a beep will be heard each time a pad is pushed. If desired, the controls can be programmed for
silent operation. Push and hold STOP TIME . After 7 seconds, the control will beep once. This will block the controls from
sounding when a pad is pushed. To return the sound, push and hold STOP TIME again for 7 seconds until 1 beep is heard.
Note: The control will return to the audible mode after a power outage.
Temperature Conversion (Fahrenheit / Celsius)
The electronic oven control is set to operate in °F (Fahrenheit). The oven can be programmed for any temperature from
170°F to 550°F (77°C to 288°C).
To change the temperature to °C (Celsius) or from °C to °F (control should not be in a Bake or Clean mode):
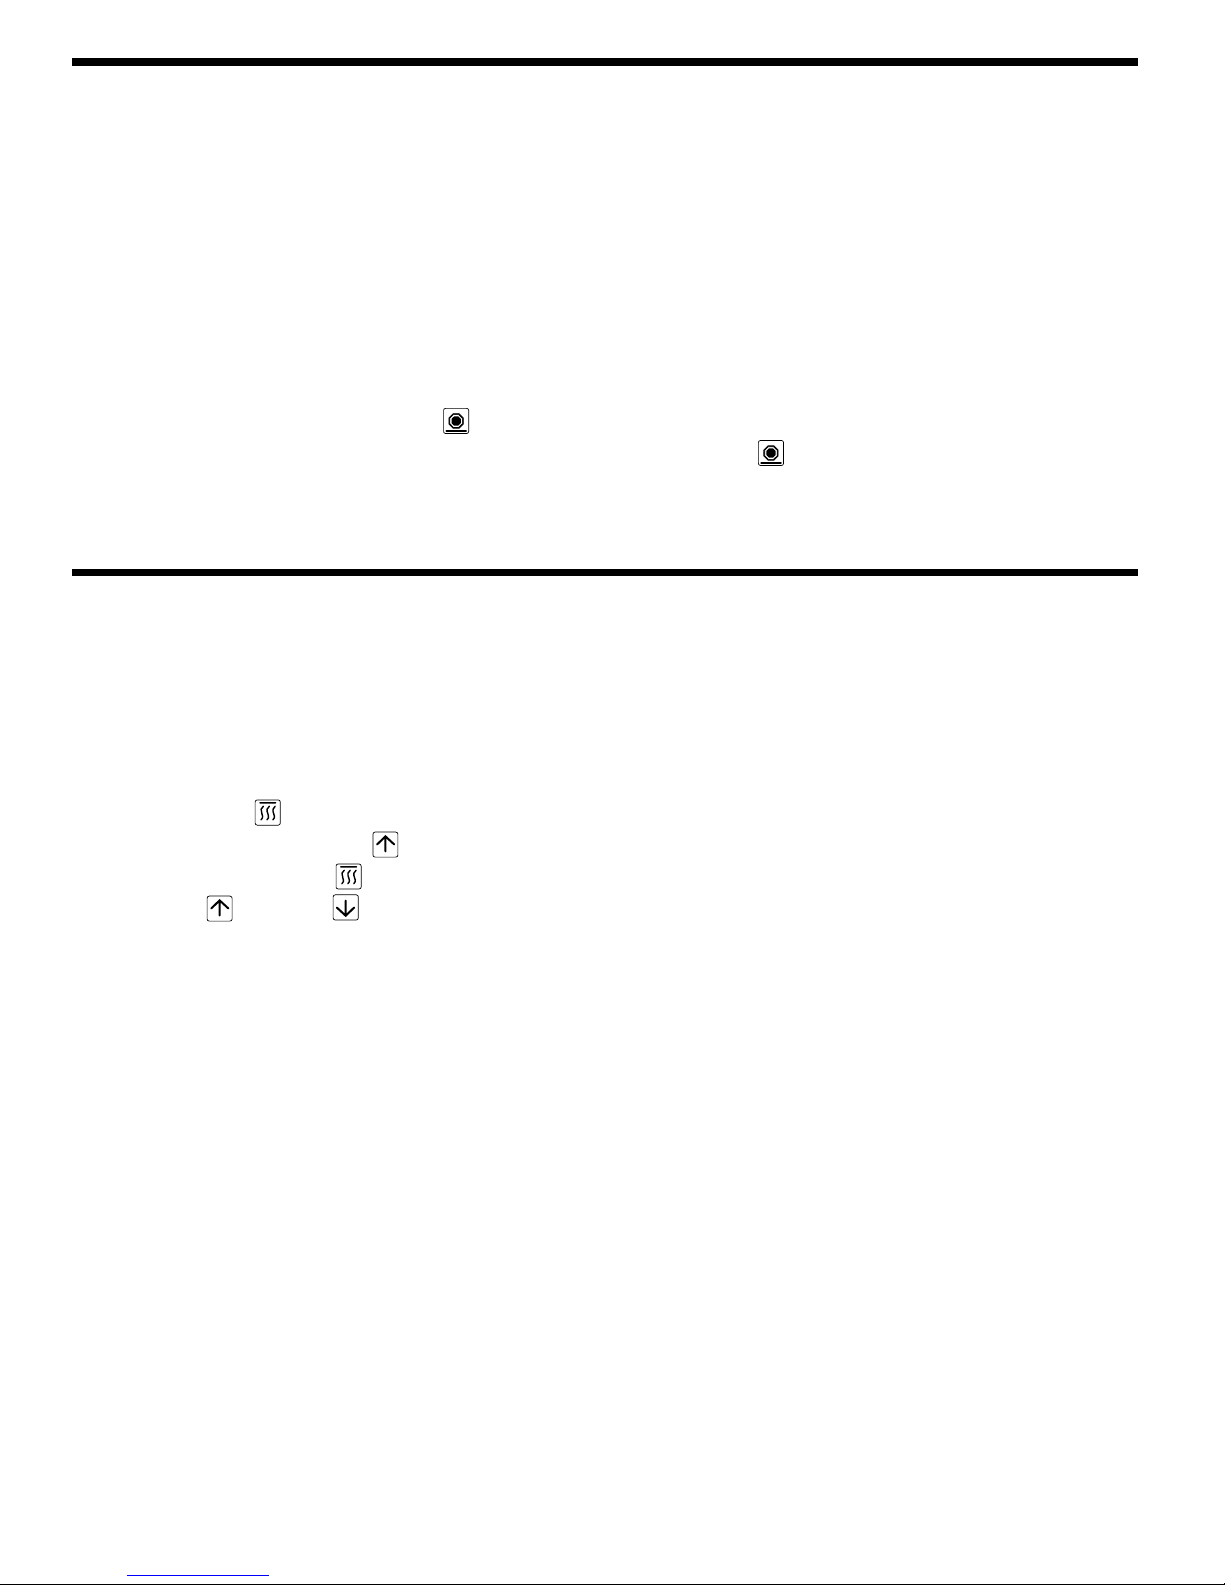
1. Push VARI BROIL . "— — —" appears in the display.
2. Push and hold the UP ARROW until "HI" appears in the display.
3. Push and hold VARI BROIL until °F or °C appears in the display.
4. Push the UP or DOWN ARROW to change °F to °C or °C to °F.
5. Push any function pad to return to normal operating mode.
ELECTRONIC OVEN CONTROL
2
Page 3

Setting the Clock and Minute Timer
To Set the Clock
When the range is first plugged in, or when the power supply to the range has
been interrupted, the display will flash "12:00".
1. Push CLOCK .
2. Within 5 seconds, push and hold the UP
Note: The time cannot be changed during any timed bake or self-clean cycle.
To Set the Minute Timer
1. Push TIMER ON/OFF .
2. Push the UP ARROW
the time in 10 minute increments. The timer can be set for any amount of time from 1 minute to 11 hours and 59
minutes.
Note: If you push the DOWN ARROW first, the timer will advance to 11 hours and 59 minutes.
3. The display shows the timer count down in minutes until one minute remains. Then the display will count down in
seconds.
4. When the set time has run out, the timer will beep 3 times. It will then continue to beep 3 times every 60 seconds until
TIMER ON/OFF is pushed.
Note: The minute timer does not start or stop cooking. It serves as an extra timer in the kitchen that will beep when the set
time has run out. The minute timer can be used alone or during any of the other oven functions. When the minute timer is in
use with any other mode, the minute timer will be shown in the display. To view other functions, push the function pad for
that mode.
to increase the time in one minute increments. Push and hold the UP ARROW to increase
or DOWN ARROW until the correct time of day appears in the display.
To Change the Minute Timer while it is in use:
Push and hold the UP or DOWN ARROW to increase or decrease the time.
To Cancel the Minute Timer before the set time has run out:
Push TIMER ON/OFF .
ELECTRONIC OVEN CONTROL
3
Page 4

Setting Oven Control
To Set or Change the Temperature for Normal Baking
The oven can be programmed to bake at any temperature from 170°F to 550°F (77°C to 288°C).
To Set the Controls for Normal Baking:
1. Push BAKE . "— — —" appears in the display.
2. Within 5 seconds, push the UP or DOWN ARROW, the temperature can then be adjusted in 5°F (1°C)
increments.
3. As soon as the UP
“Preheat” lights will come on. When the displayed temperature is reached, the control will beep 3 times and the
“Preheat” light will go out, the oven signal light will cycle on and off with the element.
4. To cancel the baking function, push CANCEL .
To Change the Oven Temperature after Baking has Started:
1. If you are using the minute timer, push BAKE
2. Push the UP or DOWN ARROW to increase or decrease the set temperature.
To Set the Speed Bake mode
The "Speed Bake" selector activates the oven fan to make the air temperature homogenous inside the oven.
or DOWN ARROW is released, the oven will begin heating and the “Oven” and the
and make sure the bake temperature is displayed.
To Set the Controls for Speed Bake mode.
1. Push BAKE . "— — —" appears in the display.
2. Within 5 seconds, push the UP or DOWN ARROW; the temperature can then be adjusted in 5°F (1°C)
increments.
3. As soon as the UP or DOWN ARROW is released, the oven will begin heating and the “Oven” and the
“Preheat” lights will come on.
4. Push the Speed Bake selector; the indicator light will come on and the fan will start. Once the desired temperature is reached the programmer will beep 3 times, the “Preheat” light will go out and the oven signal light will cycle
on and off with the element.
5. To cancel the speedbake function, push the selector back to its original position; the light will go out and the fan
will stop. The control returns to its normal baking function.
ELECTRONIC OVEN CONTROL
4
Page 5
Setting Oven Control (continued)
To Set the Automatic Timer (Timed Bake Feature)
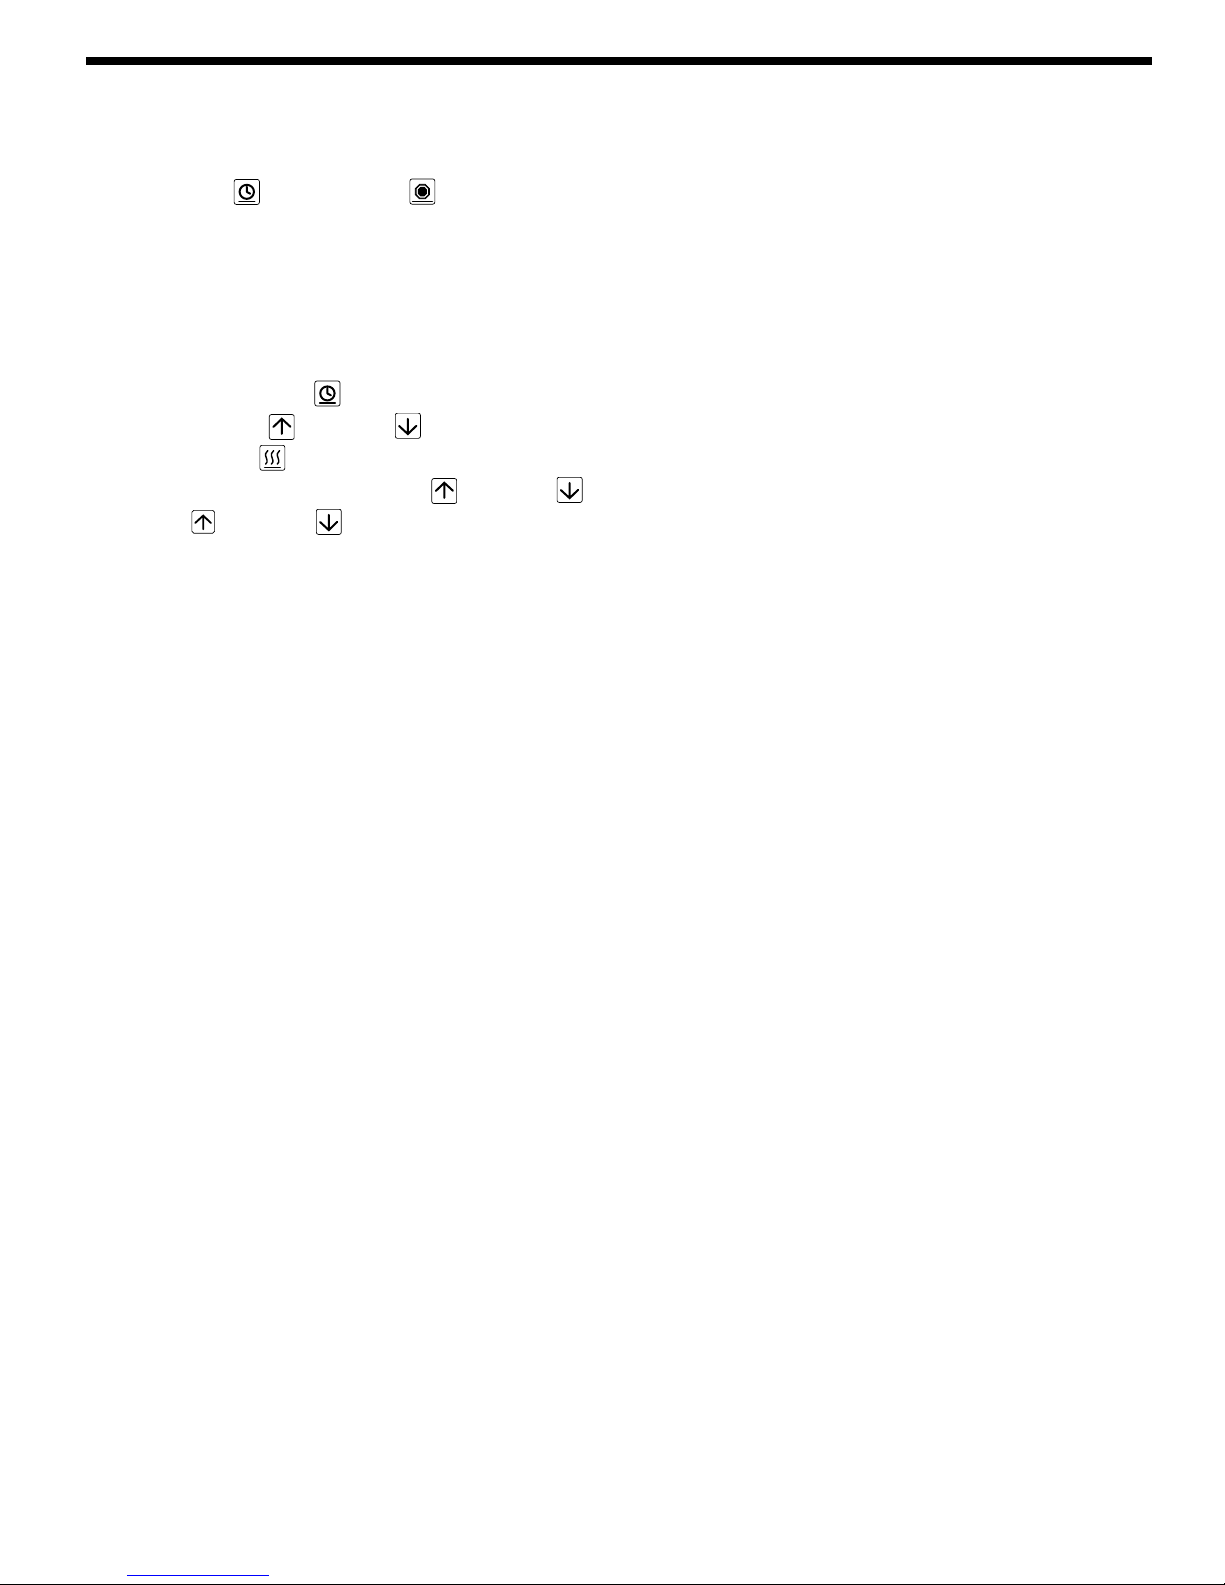
The BAKE TIME
on and off at the times you select in advance. The oven can be programmed to start immediately and shut off automatically
or to begin baking at a later time with an automatic shutoff.
To Start Baking Immediately and Shut Off Automatically:
1. Be sure that the clock shows the correct time of day.
2. Place the food in the oven.
3. Push BAKE TIME . "0:00" will flash in the display.
4. Push the UP or DOWN ARROW until the desired baking time appears in the display.
5. Push BAKE
6. Within 5 seconds, push the UP
UP or DOWN ARROW, the temperature can then be adjusted in 5°F (1°C) increments.
Once the Controls are Set:
a. The oven will come on and begin heating to the selected baking temperature.
b. The oven temperature will show in the display.
and STOP TIME controls operate the Timed Bake feature. The automatic timer will turn the oven
.
or DOWN ARROW. The display will show "350°F (177°C)." By holding the
ELECTRONIC OVEN CONTROL
5
Page 6
Setting Oven Control (continued)
To Set the Automatic Timer (Timed Bake Feature)
NOTE: When using the "Speed Bake" feature along with the Delayed Timed Bake mode, the fan will begin to operate
when the oven control is set. The oven elements will not begin to operate until the Delayed Start Time is reached. This
operation is normal.
For a Delayed Start Time and Automatic Shut-Off:
Use caution when using the automatic timer. Use the automatic timer when cooking cured or frozen
meats and most fruits and vegetables. Foods that can easily spoil such as milk, eggs, fish, meat or poultry, should be
chilled in the refrigerator first. Even when chilled, they should not stand in the oven for more than 1 hour before cooking
begins, and should be removed promptly when cooking is completed.
Follow steps 1 to 4 in the "To Start Baking Immediately and Shut Off Automatically" section above and:
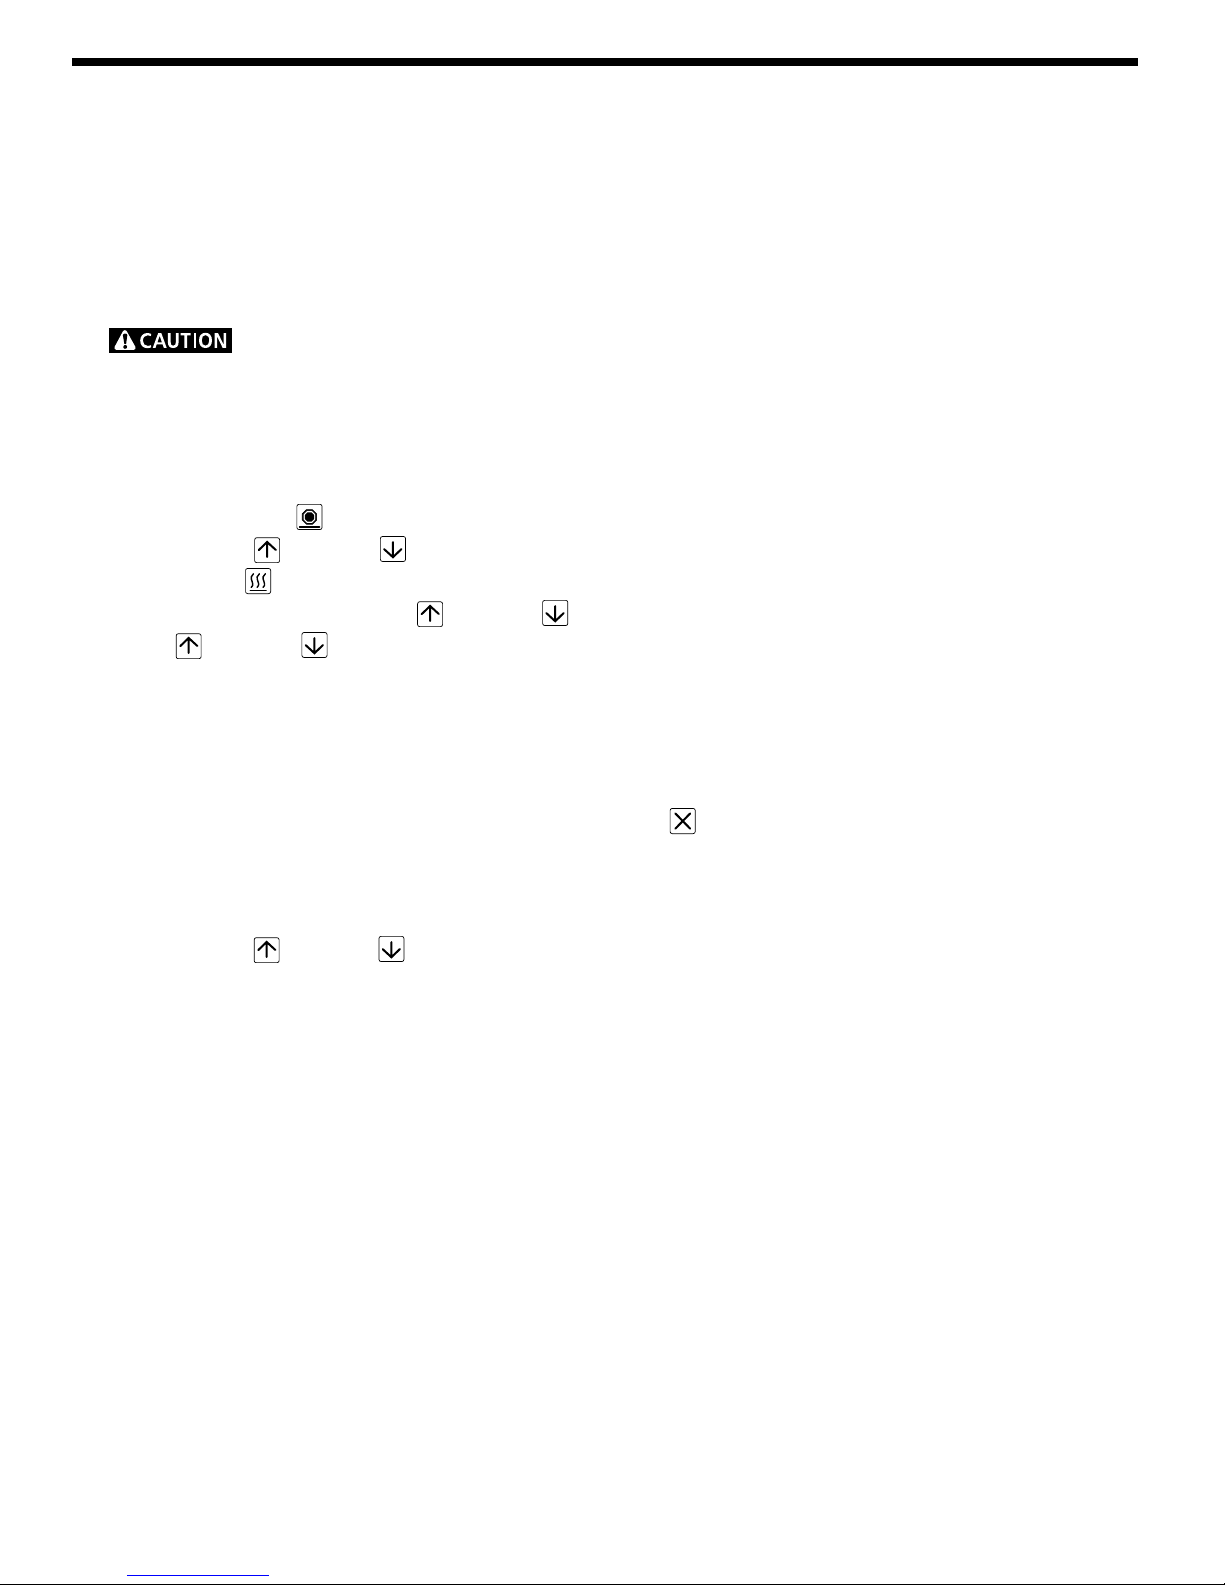
5. Push STOP TIME . The earliest possible stop time will flash in the display.
6. Push the UP or DOWN ARROW until the desired stop time appears in the display.
7. Push BAKE .
8. Within 5 seconds, push the UP or DOWN ARROW. The display will show "350°F (177°C)." By holding the
UP or DOWN ARROW, the temperature can then be adjusted in 5°F (1°C) increments.
9. Once the controls are set, the control calculates the time when baking will start in order to finish at the time you
have set.
When the Set Bake Time Runs Out:
a. "END" will appear in the display window and the oven will shut off automatically.
b. The control will beep 3 times every 60 seconds until CANCEL is pushed.
To Change the Oven Temperature or Bake Time after Baking has Started:
1. Push the function pad you want to change.
2. Push the UP or DOWN ARROW to adjust the setting.
ELECTRONIC OVEN CONTROL
6
Page 7
Setting Oven Control (continued)
To Broil
Open door to the "Broil Stop" position when broiling.
1. Push VARI BROIL .
2. Push and hold the UP or DOWN ARROW until the desired broil setting level appears in the display. Push the
UP ARROW
setting. Select the LO broil setting to avoid excess browning or drying of foods that should be cooked to the welldone stage.
3. When broiling is finished, push CANCEL .
Note: Speed Bake function must be deactivated to allow Broil function.
for HI broil or the DOWN ARROW for LO broil. Most foods can be broiled at the HI broil
Oven Cleaning
To Start the Self-Clean Cycle
*We recommend a 2 hour self-clean cycle for light soils and a 3 hour cycle for average to heavy soils.
To Set the Controls for a Self-Clean Cycle:
1. Be sure the clock shows the correct time of day, and the door is closed.
2. Push CLEAN . "— — —" appears in the display.
3. Push the UP ARROW until "3:00" appears in the display for a 3 hour cycle, or push the DOWN ARROW
until "2:00" appears in the display for a 2 hour cycle.
4. As soon as the UP or DOWN ARROW is released, the motor driven lock will begin to close and the
"Locked" indicator light will flash "CLN" appears in the display. After approximately 10 seconds. “DR” and
“CLN” will show in the display three beeps sound when the cleaning cycle begins. DO NOT open the door while
the light is flashing (it takes about 15 seconds for the lock to close). When the light stops flashing the door is
locked.
Stopping or Interrupting a Self-Cleaning Cycle
If it becomes necessary to stop or interrupt a self-cleaning cycle:
1. Push CANCEL .
2. Once the oven has cooled down and the "LOCKED" light has gone out, the oven door can be opened.
When the Self-Clean Cycle is Completed:
1. The time of day will appear in the display window and the "LOCKED" light will continue to glow.
2. Once the oven has cooled down and the "LOCKED" light has gone out, the oven door can be opened.
DO NOT force the oven door open. This can damage the automatic door locking system. Use caution when
opening the door after the self-cleaning cycle is completed. The oven may still be VERY HOT.
ELECTRONIC OVEN CONTROL
7
Page 8

Adjusting Oven Temperature
Note : The adjustments made will not change the self-cleaning temperature.
When first using the oven, be sure to follow recipe times and temperatures. If you think the oven is too hot or too cool, the
temperature in the oven can be adjusted. Before adjusting, test a recipe by using a temperature setting that is higher or lower
temperature than the recommended temperature. The baking results should help you to decide how much of an adjustment is
needed.
To Adjust Oven Temperature:
1. Push BAKE .
2. Set the temperature to 500°F (260°C) by pushing the UP ARROW
3. Within 15 seconds, push and hold BAKE
indicates the amount of degrees offset between the original factory temperature setting and the current temperature
setting. If the oven control has the original factory calibration, the display will read "00."
4. The temperature can now be adjusted up or down 35°F (17°C), in 5°F (1°C) steps, by pushing and holding the UP
DOWN
the number to indicate that the oven will be cooler by the displayed amount of degrees.
ARROW. Adjust until the desired amount of offset appears in the display, a minus sign (-) will appear before
until the special 2 digit display appears. Release BAKE . The display now
.
or
ELECTRONIC OVEN CONTROL
8
 Loading...