

Washer Tech Data Sheet
This information is intended for Qualified Technicians Only.
CAUTION: UNLESS OTHERWISE DIRECTED, DISCONNECT ELECTRICAL CURRENT BEFORE SERVICING
Please Return This Sheet to the Product for Future Reference
Contents Page
Reading Error Codes………………….……..1
Diagnostics……………………………………..2
Error Code Chart…………………………..........3
Tests………………………………………............4-5
Français……………………………………………..6-11
Español……………………………………………….12-17
Wiring Diagram………………………………………..18
Acronyms:
CW - Clockwise
CCW - Counter Clockwise
Cold Power On - Unit plugged in for the first time
READING ERROR CODES
1. To read error codes, please enter Diagnostic Mode (see below on how to enter this mode).
2. Last recorded error code will be displayed first.
3. Start/Pause/Cancel button should be pressed momentarily (any time less than 1sec) to cycle through the last 5
error codes recorded.
4. E00 signifies no error code and is accompanied by no buzzer beeps and no LED flash es.
5. To clear all error codes, press and hold the Start/Pause/Cancel button for a duration >= 4secs.
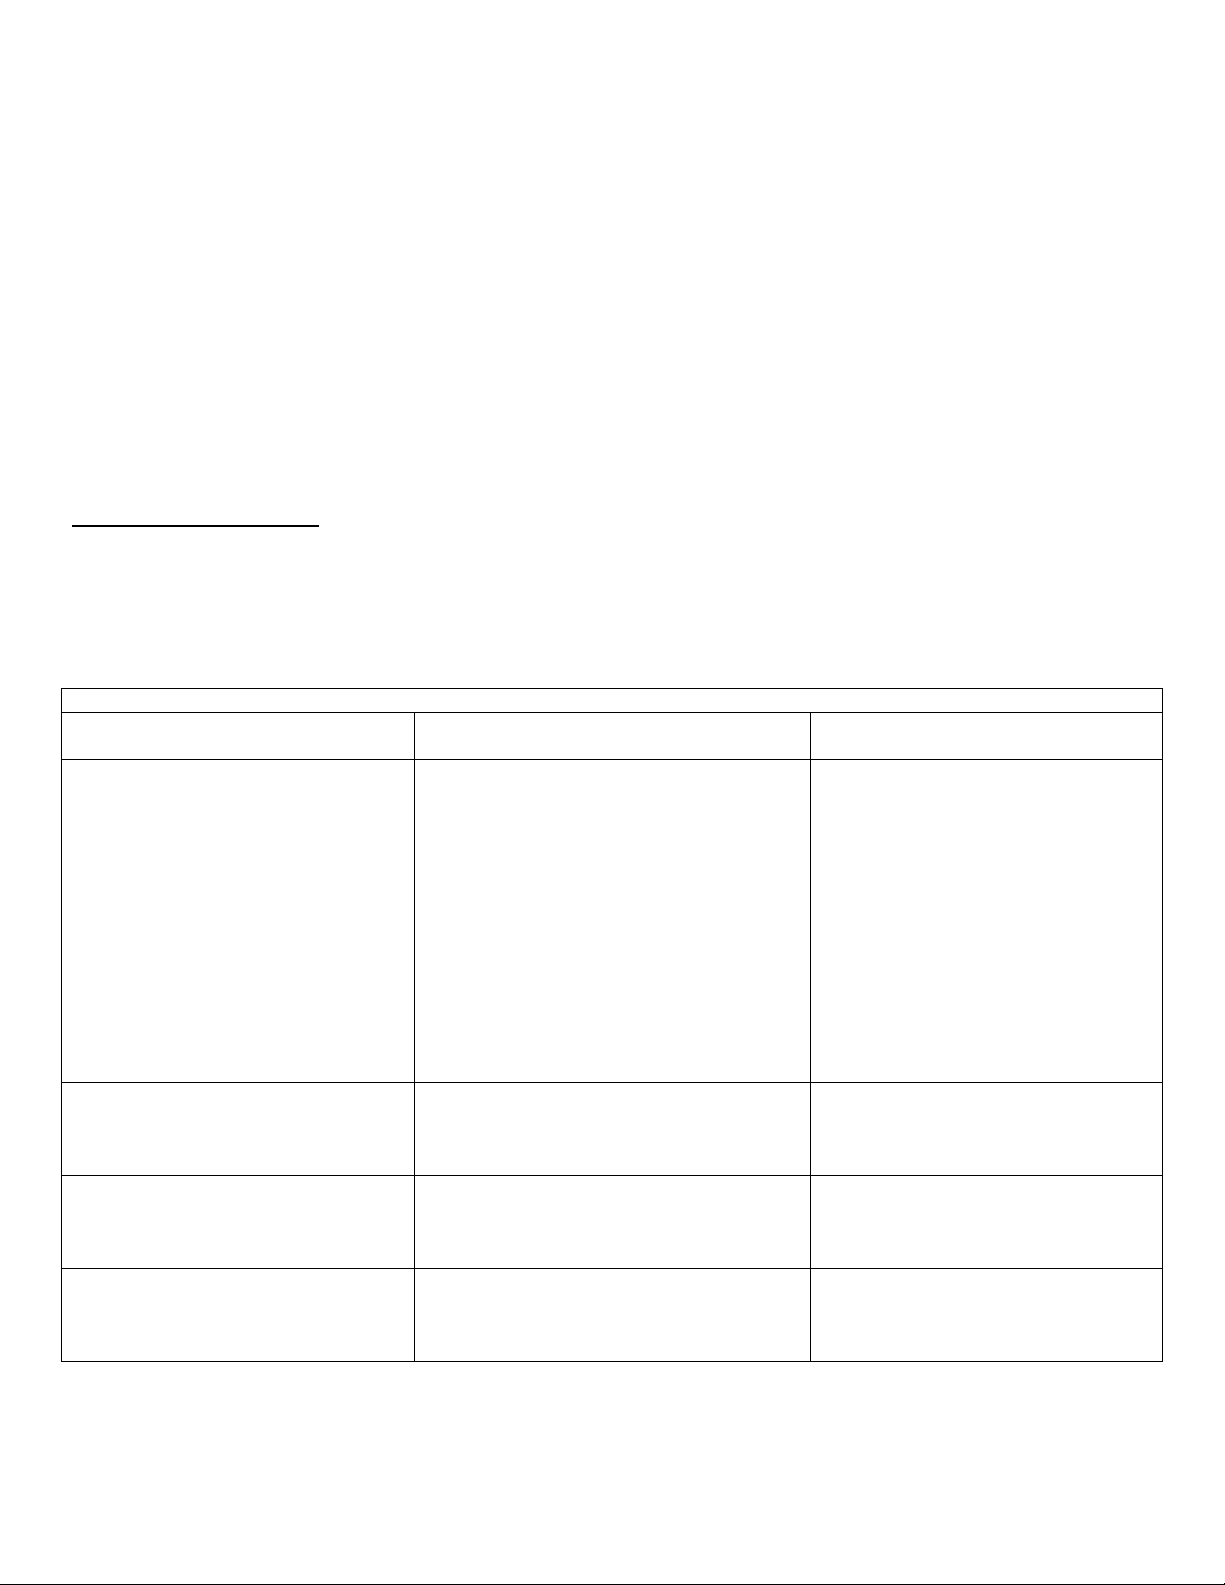
If Buzzer equipped Main Board Diagnostic LED If Estimated Time Remaining
1. Buzzer beeps the same number of
times as the first digit of the error
code (0.5sec on / 0.5sec off).
For example:
If first digit is 3, buzzer sequence will
be 0.5sec on / 0.5sec off / 0.5sec on
/ 0.5sec off /0.5sec on / 0.5sec off.
A, B, C, D, E, F corresponds to
buzzer digit readings of 10, 11, 12,
13, 14, 15 respectively.
2. Buzzer stays silent for 2secs. 2. LED stays off for 2 secs. 2. The error code display will stay on
3. Buzzer beeps the same number of
times as the second digit of the error
code (0.5sec on / 0.5sec off).
4. Buzzer stays silent until the
Start/Pause/Cancel button is pressed
momentarily to read the next error
code.
Error Code Display Method
Display equipped
1. Main Board Diagnostic LED will flash
the same number of times as the first digit
of the error code (0.5sec on / 0.5sec off).
After a brief pause, the same Main Board
Diagnostic LED will then flash the same
number of times as the second digit of the
error code (0.5sec on / 0.5sec off).
For example:
If first digit is 3, the LED sequence will be
0.5 sec on / 0.5 sec off / 0.5 sec on / 0.5
sec off /0.5 sec on / 0.5 sec off.
A, B, C, D, E, F corresponds to LED digit
readings of 10, 11, 12, 13, 14, 15
respectively.
3. The sequence keeps repeating
endlessly until the Start/Pause/Cancel
button is pressed momentarily to read the
next error code.
1. Only the error number will display
as the two digits. E will not be
displayed.
For example:
For error code E5C, the segment
display will read 5C.
until the Start/Pause/Cancel button is
pressed momentarily to read the next
error code.
P/N 137367400C (1202)
- 1 -

DIAGNOSTIC MODE
ENTER DIAGNOSTIC MODE
1. You can enter the Diagnostic Mode combination after any cancel sequence
2. Within 5secs of a cancel sequence do the following:
a. Point the Cycle Selector to Normal position
b. Press and hold the Options button and the Spin Speed button simultaneously
c. Release buttons when all Options and Spin Speed LEDs light up
3. The machine is now in Diagnostic Mode.
DIAGNOSTIC TESTS
1. With the Cycle Selector knob in the Normal position.
a. This will be a zero position where if LEDs (if equipped) will blink and the buttons can be checked.
2. Turn the Cycle Selector knob (1) clicks clockwise from Normal position.
a. The lid lock will activate and the hot water solenoid will activate and hot water should enter the tub.
3. Turn the Cycle Selector knob (2) clicks clockwise from Normal position.
a. The cold water solenoid will activate and cold water should enter the tub. If softener option is available on
4. Turn the Cycle Selector knob (3) clicks clockwise from Normal position.
a. The lid lock will deactivate and the lid can be opened. The tub light (if equipped) will turn on.
5. Turn the Cycle Selector knob (4) clicks clockwise from Normal position.
a. The lid lock will activate and both the hot and cold water solenoids will turn on and fill up to a certain level.
6. Turn the Cycle Selector knob (5) clicks clockwise from Normal position.
a. All motor movement will stop and only the drain pump will activate, draining out any water in the tub.
7. Turn the Cycle Selector knob (6) clicks clockwise from Normal position.
a. The drain pump turns on and the washer goes to high spin. Spin should always happe n in the CCW
8. Turn the Cycle Selector knob (7) clicks clockwise from Normal position.
a. The control will signal the last 5 error codes and software version with E00 being no error. (See the part
EXIT DIAGNOSTIC MODE
1. Unplug the power cord, wait 5-8secs, then reconnect the power cord, OR
2. The machine will exit Diagnostic Mode automatically after 15mins
the machine, then the softener solenoid will also activate and the softener compartment will be filling up
and siphoning cold water at the same time.
After the pressure sensor has been satisfied, agitation will begin and the recirculation pump (if equipped)
will turn on.
direction of the tub.
about reading error codes)
where all LEDs go off
- 2 -

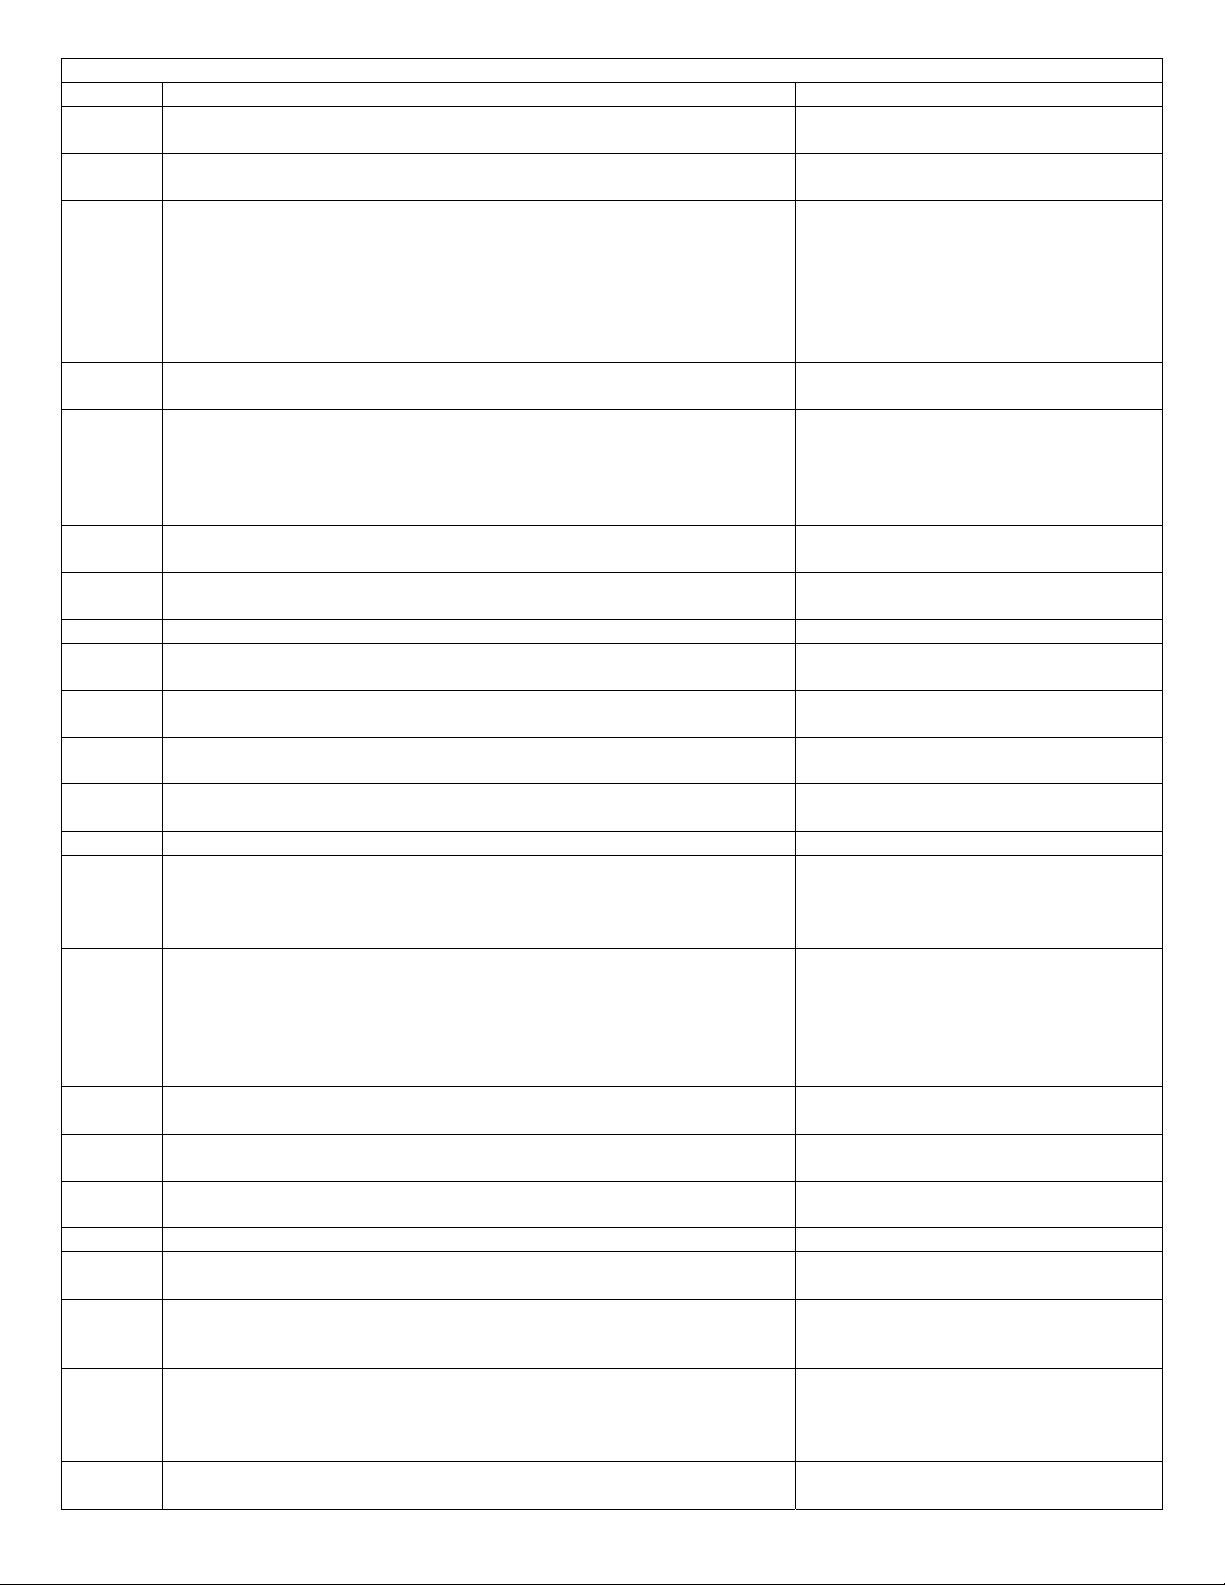
ERROR CODES
Error Code Chart
Error
code
E11 Fill time too long Refer to test (1) first
E21 Water not pumping out fast enough Refer to test (3)
E31 Electronic pressure switch failure Refer to test (4)
E32 Pressure sensor calibration problems Refer to test (4)
E35 Pressure sensor indicates water overfill Refer to test (5)
E41 Control board thinks lid switch is open Refer to test (6)
E42 Lid lock device failure Refer to test (6)
E43 Control board fails to lock lid Refer to test (6)
E44 Lid closed sensing failure Refer to test (6)
E45 Lid locked sensing failure Refer to test (6)
E46 Lid lock command sensing failure Refer to test (6)
E49 Lid incongruence between lid closed sensing and lid locked sensing Refer to test (6)
E4A Lid locked triac sensing fai lure on control board Refer to test (6)
E52 Tachometer signal missing Refer to test (7)
E53 Low voltage to control board Refer to test (13)
E57 High current on inverter Refer to test (8)
E58 High current on motor phase Refer to test (8)
E59 Incongruence between real motor speed and expected motor speed Refer to test (8)
E5A High temperature on heat sink on control board Refer to test (8)
E5C Voltage too high on control board Refer to test (11)
E75 Valve NTC failure Refer to test (12)
E91 Communication error between UI board and control board Refer to test (10)
E92 Communication error between UI board and control board Refer to test (10)
E93 UI board or control board problem Refer to test (10)
E94 Control board problem Refer to test (10)
E97 UI board or control board problem Refer to test (10)
EA1 Power supply frequency out of limits Refer to test (11)
EAE Line safe relay sensing failure Refer to test (11)
EF1 Clogged drain pump Unclog the drain pump
Fault condition Check
Then refer to test (2)
- 3 -
Test
Test Check Correction
Test 1 1. Is the incoming water flow normal? Yes. Go to step (4).
No. Go to step (2).
2. Are the incoming water faucets turned on? Yes. Go to step (3).
No. Turn water faucets on.
3. Is the incoming water pressure above 20psi? Yes. Check for kinked or blocked
incoming water hoses, clean the
incoming water screens. If problem still
remains, replace the water inlet valve
assembly.
No. Have customer correct inlet
pressure problem.
4. Does the fill water continue to enter the washer? Yes. Go to step (5).
No. Go to step (6).
5. Remove power from the washer. Did the water fill stop? Yes. Go to step (6).
No. Replace the water inlet valve
assembly. Pressure sensor checks
good. If yes, go to step (7). If no,
replace the pressure sensor.
6. Replace the pressure sensor. If this did not correct the problem, go
to step (7).
7. Replace the User Interface board. If this did not correct the problem, go
to step (8).
8. Replace the Main Control board.
Test 2 1. Is the washer leaking water? Yes. Correct water leak.
No. Go to step (2).
2. Is there an air leak in the air bell system? Yes. Correct the air leak problem.
No. Go to step (3).
3. Replace the pressure sensor. If this did not correct the problem, go
to step (4).
4. Replace the User Interface board. If this did not correct the problem, go
to step (5).
5. Replace the Main Control board.
Test 3 1. Check the drain hose for restrictions. Restriction. Correct problem.
No restriction. Remove the pump and
check for blockage. If blocked, remove
the restriction, if not, go to step (2).
2. Start the washer and check for 120 VAC at the drain pump. If 120 VAC present at the drain pump
when the pump is activated, then
replace the pump.
If Zero VAC. Check the wiring. If wiring
is good, replace the Main Control
board.
Test 4 1. Inspect the wiring between the pressure sensor and the main
control board.
2. Replace the pressure sensor. If this did not correct the problem, go
3. Replace the User Interface board. If this did not correct the problem, go
4. Replace the Main Control board.
Test 5 1. Is the water level above 5 inches? Yes. Go to step (2).
2. Does water enter the washer continuously? Yes. Go to step (3).
3. Remove power from the washer. Does the water stop coming in? Yes. Check wiring to valve assembly
4. Replace the pressure sensor. Did this correct the problem? Yes. Problem solved.
- 4 -
Defective wiring. Correct wiring.
Good wiring. Then go to step (2).
to step (3).
to step (4).
No. Go to step (4).
No. Check air bell for clog. If no clog,
then go to step (4).
for shorts. Wiring good, go to step (5).
No. Replace the water inlet valve
assembly.
No. Go to step (5).

5. Replace the User Interface Board. Did this correct the problem? Yes. Problem solved.
No. Replace the Main Control board.
Test 6 1. Is the lid closed? Yes. Go to step (2).
No. Close the lid.
2. Can you hear the lock attempt to close? Yes. Check the lid strike. If good,
replace the lid lock.
No. Go to step (3).
3. Check the wire connection between the lid lock and main control
board.
Test 7 1. Disconnect the plug from the drive motor and measure the
resistance between pins 4 & 5 in the motor.
Test 8 1. Find out if the unit was overloaded. If not, remove the belt from the
motor and spin the motor pulley. Does the motor spin free?
2. Spin the tub pulley. Does the tub spin free? Yes. Go to step (3).
3. Disconnect the plug from the motor and measure the resistance of
the windings (pin 1 to pin 2, pin 1 to pin 3, pin 2 to pin 3). All the
readings should be between 3.4 & 4 Ohms if motor is cold or
between 4 & 5 Ohms if motor is warm or hot.
Test 9 1. Remove the belt from the motor and spin the motor pulley. Does
the motor spin free?
2. Spin the tub pulley. Does the tub spin free? Yes. Go to step (3).
3. Disconnect the plug from the drive motor and measure the
resistance between pins 4 & 5 in the motor.
4. Disconnect the plug from the motor and measure the resistance of
the windings (pin 1 to pin 2, pin 1 to pin 3, pin 2 to pin 3). All the
readings should be between 3.4 & 4 Ohms if motor is cold or
between 4 & 5 Ohms if motor is warm or hot.
Test 10 1. Communication problem. Check the wiring between the man
control board and the UI board.
Test 11 1. Have the power company check the frequency and the voltage of
the incoming power.
Test 12 1. Check the resistance of the inlet valve NTC. Is it around 50K
Ohms?
2. Check the wiring. Is it okay? Yes. Replace the UI board.
Test 13 1. Is the wiring good from the service cord to the Main Control board. Yes. Replace the Main Control board.
2. Fix the harness. Does the problem remain? Yes. Go to step (3).
3. Is there continuity from the wire at J1-3 on the Main Control board
to the lid lock feedback connection?
4. Replace the lid lock and try. Problem remains? Replace the Main
Test 13 1. Check the wiring from the service cord to the main control board. If good, replace the Main Control
Test 15 1. Check to see if the load looks unbalanced and if the load is very
large.
If good, replace the lid lock. If problem
is not corrected, replace the Main
Control board.
If the reading is between 105 & 130
Ohms, check the wiring. If wiring okay,
then replace the Main Control board. If
the meter reads other than 105 & 130
Ohms, replace the motor.
Yes. Go to step (2).
No. Replace the motor.
No. Check the tub bearings.
If the readings are correct, check
wiring from motor to main control
board. If good, replace the Main
Control board. If the readings are
incorrect, replace the motor.
Yes. Go to step (2).
No. Replace the motor.
No. Check the tub bearings.
If the reading is between 105 & 130
Ohms, go to step (4).
If the reading is other than between
105 & 130 Ohms, check the wiring. If
wiring okay, then replace the motor.
If the readings are correct, replace
Main Control board. If the readings are
incorrect, replace the motor.
Wiring bad, correct wiring problem.
Wiring good, replace the UI board. If
the problem is not corrected, replace
the Main Control board.
If correct, for error codes E5C, EA1,
EAE replace the Main Control board.
Yes. Go to step (2).
No. Replace water inlet valve
assembly.
No. Fix the wiring.
No. Go to step (2).
No. Problem fixed.
Yes. Go to step (4).
No. Check the harness for cuts and
discontinuity and then fix.
Control Board.
board.
Yes. If large load, then advice
customer to load regular sized loads.
No. Replace the Main Control board.
- 5 -
Fiche technique de la laveuse
Ces renseignements sont destinés aux techniciens q ualifiés.
ATTENTION : SAUF INDICATION CONTRAIRE, COUPEZ L'ALIMENTATION EN ÉLECTRICITÉ AV ANT DE
RÉPARER L'APPAREIL.
Veuillez laisser cette fiche signalétique avec le produit à titre de référence.
Table des matières Page
Lecture des codes d'erreur………………….6
Diagnostiques…………………………………7
Tableau des codes d'erreur…………………..8
Tests……………………………………………..9-11
Acronymes :
SH - sens horaire
SAH - sens antihoraire
Première alimentation - Appareil branché pour la première fois
LECTURE DES CODES D'ERREUR
1. Pour lire les codes d'erreur, accédez au mode diagnostique (reportez-vous aux instructions ci-dessous sur la
façon d'accéder à ce mode).
2. Le dernier code d'erreur enregistré est affiché en premier.
3. Appuyez pendant moins d'une seconde sur la touche Start/Pause/Cancel (départ/pause/annuler) pour consulter
les 5 derniers codes d'erreur enregistrés.
4. Le code E00 signifie qu'il n'y a pas de code d'erreur. Aucune sonnerie ne se fera entendre et aucu ne DEL ne
clignotera.
5. Pour effacer tous les codes d'erreur, appuyez sur la touche Start/Pause/Cancel (départ/pause/annul er) et
maintenez-la enfoncée pendant 4 secondes ou plus.
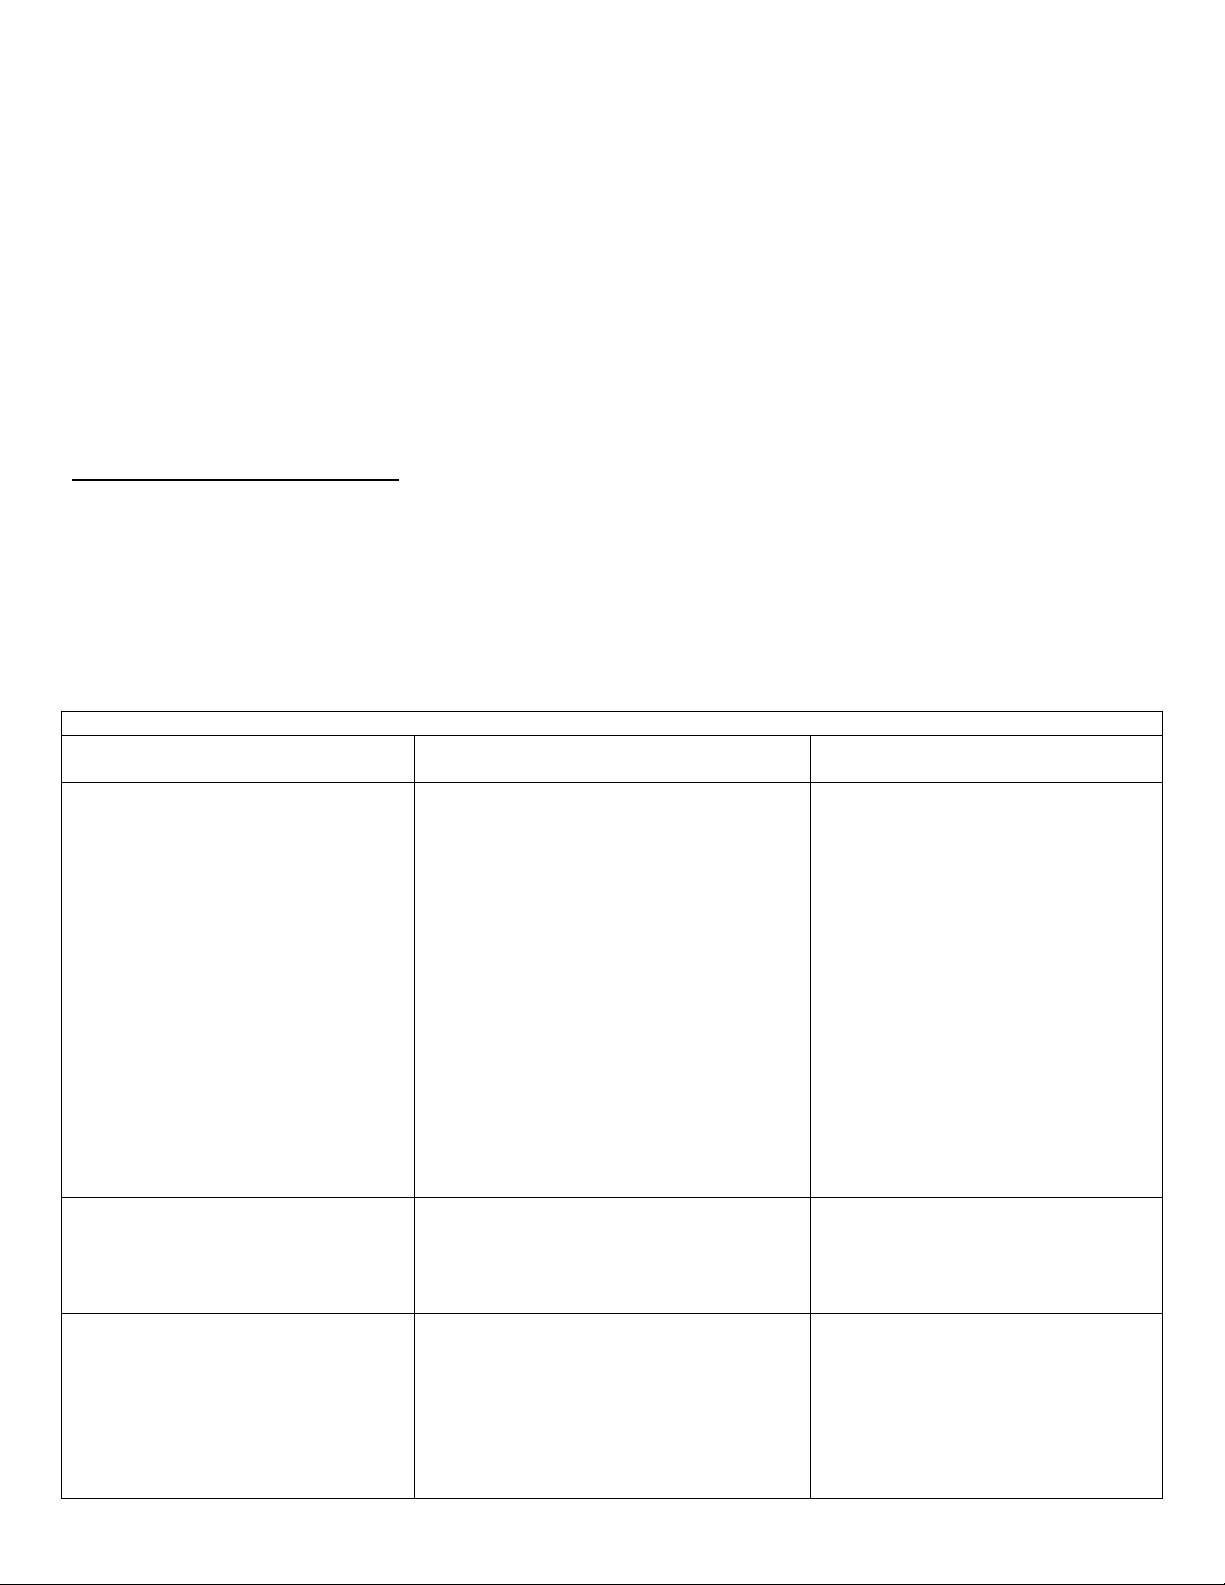
Si l'appareil est doté d'une
sonnerie
1. La sonnerie émet le même
nombre de bips que le premier
chiffre du code d'erreur (0,5 sec.
marche / 0,5 sec. arrêt).
Exemple :
Si le premier chiffre est 3, la sonnerie
suit la séquence suivante : 0,5 sec.
marche / 0,5 sec. arrêt / 0,5 sec.
marche / 0,5 sec. arrêt /0,5 sec.
marche / 0,5 sec. arrêt.
Les lettres A, B, C, D, E et F
correspondent aux lectures des
chiffres de sonnerie 10, 11, 12, 13,
14 et 15 respectivement.
2. La sonnerie reste silencieuse
pendant 2 sec.
3. La sonnerie émet le même
nombre de bips que le deuxième
chiffre du code d'erreur (0,5 sec.
marche / 0,5 sec. arrêt).
Mode d'affichage des codes d'erreur
DEL de diagnostic du tableau principal Si l'appareil est doté d'un
affichage du temps restant prévu
1. La DEL de diagnostic du tableau
principal clignote le même nombre de fois
que le premier chiffre du code d'erreur
(0,5 seconde marche / 0,5 seconde arrêt).
Après une courte pause, la DEL de
diagnostic du tableau principal clignote le
même nombre de fois que le deuxième
chiffre du code d'erreur (0,5 seconde
marche / 0,5 seconde arrêt).
Exemple :
Si le premier chiffre est 3, la DEL suit la
séquence suivante : 0,5 sec. marche / 0,5
sec. arrêt / 0,5 sec. marche / 0,5 sec.
arrêt / 0,5 sec. marche / 0,5 sec. arrêt.
Les lettres A, B, C, D, E et F
correspondent aux lectures des chiffres
de la DEL 10, 11, 12, 13, 14 et 15
respectivement.
2. Les DEL restent éteintes pendant
2 secondes.
3. La séquence se répète infiniment
jusqu'à ce que vous appuyiez sur la
touche Start/Pause/Cancel
(départ/pause/annuler) pour lire le
prochain code d'erreur.
1. Seuls les deux chiffres du code
d'erreur s'affichent. E ne s'affiche
pas.
Exemple :
Pour le code d'erreur E5C, c'est 5C
qui s'affichera.
2. Le code d'erreur reste affiché
jusqu'à ce que vous appuyiez sur la
touche Start/Pause/Cancel
(départ/pause/annuler) pour lire le
prochain code d'erreur.
- 6 -
 Loading...