

Frigidaire CRA083AT70, CRA126CT10, CRA086AT73, CRA126CT11, CRA126CT13 Use & Care Manual
...
FRIGIDAIRE
Packac
Air Conditioner Feai
WwwXrigida re:€orn [L800_265_8352
i
This USE & CARE MANUAL provides specific operating instructions for your model. Use the room air conditioner only as
instructed in this USE& CARE MANUAL. These instructions are not meant to cover every possible condition and situation that
may occur. Common sense and caution must be practiced when installing, operating, and maintaining any appliance.
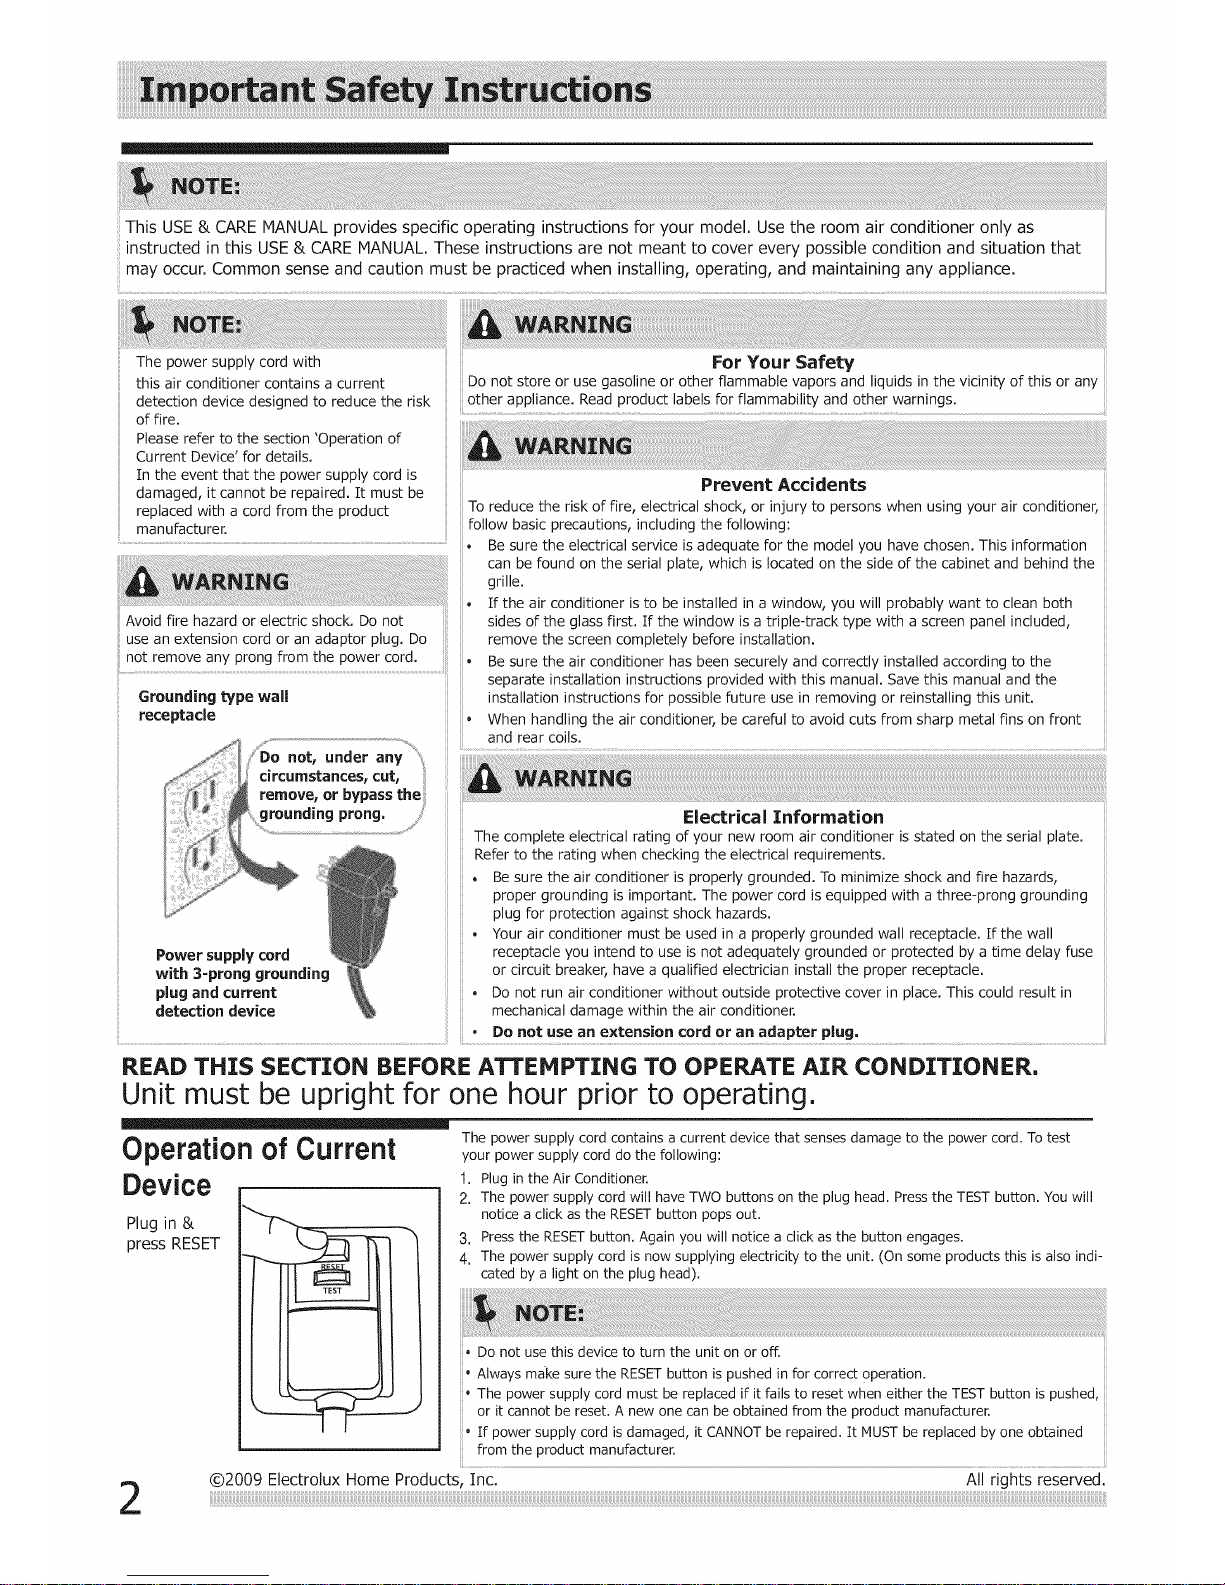
The power supply cord with
this air conditioner contains a current
detection device designed to reduce the risk
of fire.
Please refer to the section 'Operation of
Current Device' for details.
tn the event that the power supply cord is
damaged, it cannot be repaired, tt must be
replaced with a cord from the product
manufacturer.
Avoid fire hazard or electric shock. Do not
use an extension cord or an adaptor plug. Do
not remove any prong from the power cord.
Grounding type wall
receptacle
Power supply cord
with 3-prong grounding
plug and current
detection device
For Your Safety
Do not store or use gasoline or other flammable vapors and liquids in the vicinity of this or any
other appliance. Read product labels for flammability and other warnings.
Prevent Accidents
To reduce the risk of fire, electrical shock, or injury to persons when using your air conditioner,
follow basic precautions, including the following:
Be sure the electrical service is adequate for the model you have chosen. This information
can be found on the serial plate, which is located on the side of the cabinet and behind the
grille.
If the air conditioner is to be installed in a window, you will probably want to clean both
sides of the glass first, tf the window is a triple-track type with a screen panel included,
remove the screen completely before installation.
Be sure the air conditioner has been securely and correctly installed according to the
separate installation instructions provided with this manual. Save this manual and the
installation instructions for possible future use in removing or reinstalling this unit.
When handling the air conditioner, be careful to avoid cuts from sharp metal fins on front
and rear coils.
Electrical Information
The complete electrical rating of your new room air conditioner is stated on the serial plate.
Refer to the rating when checking the electrical requirements.
, Be sure the air conditioner is properly grounded. To minimize shock and fire hazards,
proper grounding is important. The power cord is equipped with a three-prong grounding
plug for protection against shock hazards.
• Your air conditioner must be used in a properly grounded wall receptacle. If the wall
receptacle you intend to use is not adequately grounded or protected by a time delay fuse
or circuit breaker, have a qualified electrician install the proper receptacle.
• Do not run air conditioner without outside protective cover in place. This could result in
mechanical damage within the air conditioner.
......." Do not use an extension cord or an adapter PlUg- ....................................................................................................................................................................
READ THIS SECTION BEFORE ATTEHPTING TO OPERATE AIR CONDITIONER,
Unit must be upright for one hour prior to operating.
Operation of Current
Device
Plug in &
press RESET
2
The power supply cord contains a current device that senses damage to the power cord. To test
your power supply cord do the following:
1. Plug in the Air Conditioner.
2. The power supply cord will have TWO buttons on the plug head. Press the TEST button. You will
notice a click as the RESET button pops out.
3. Press the RESET button. Again you will notice a click as the button engages.
4. The power supply cord is now supplying electricity to the unit. (On some products this is also indi-
cated by a light on the plug head).
, Do not use this device to turn the unit on or off.
• Always make sure the RESETbutton is pushed in for correct operation.
• The power supply cord must be replaced if it fails to reset when either the TEST button is pushed,
or it cannot be reset. A new one can be obtained from the product manufacturer.
, If power supply cord is damaged, it CANNOT be repaired. It MUST be replaced by one obtained
from the product manufacturer.
02009 Electrolux Home Products, Inc. All rights reserved.
Product Registration Record Your Hodei and Serial Numbers
Record in the space provided below the model and serial numbers. On all models, the
serial plate is located on the outside of the cabinet.
Model No,
Serial No
Register Your Product
The self-addressed PRODUCT REGISTRATION CARD should be filled in completely,
signed and returned to the Frigidaire Company.
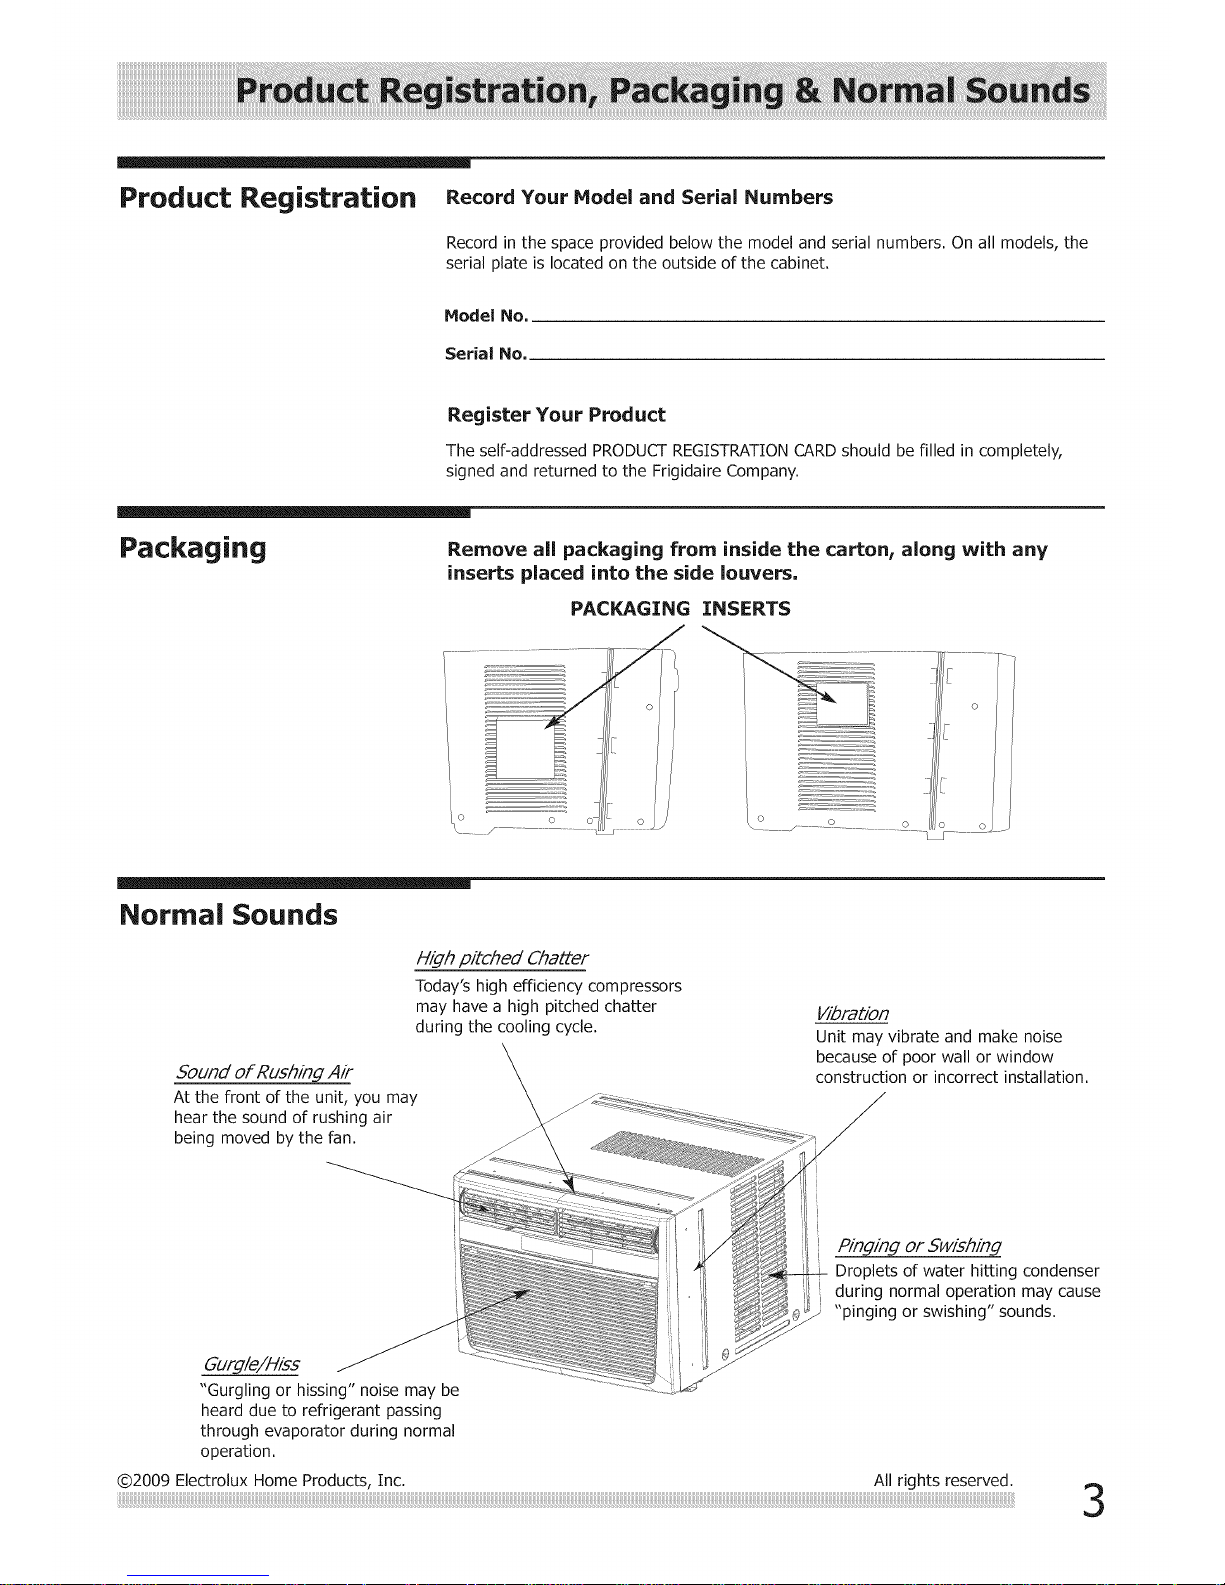
Packaging Remove all packaging from inside the carton, along with any
inserts placed into the side louvers.
PACKAGING INSERTS
Normal Sounds
High pitched Chatter
Today's high efficiency compressors
may have a high pitched chatter
during the cooling cycle.
Sound of Rushing Air
At the front of the unit, you may
hear the sound of rushing air
being moved by the fan.
Vibration
Unit may vibrate and make noise
because of poor wall or window
construction or incorrect installation.
Pinging or Swishing
Droplets of water hitting condenser
during normal operation may cause
"pinging or swishing" sounds.
Gurgle/Hiss
"Gurgling or hissing" noise may be
heard due to refrigerant passing
through evaporator during normal
operation.
02009 Electrolux Home Products, Inc. All rights reserved.
3

Air Conditioner Features ELECTRONICCONTROL
Before you begin, thoroughly familiarize yourself with the control panel and remote
as shown below and all its functions, then follow the symbol for the functions you
CLEAN AIR REMOTE TEMP desire. The unit can be controlled by the touch pad alone or with the remote.
FEATURE SENSING INDICATOR DISPLAYS
(some models) -- (some models) __ TEMPERATURE/TIME _ CHECK FILTER
RESET BUTTON
f
T _ _ I auto I
clean \ cool remote _ _ hi I filter
• I econ sensing _ _ mad ! , ,
a,r \ .fononly lo ) re,e, j
timer MODE V ON-OFF A FAN SPEED sleep J
/
!
ACTIVATES __J TURNS UNIT -- SLEEP MODE
TIMER ON OROFF I
SETS MODE -j L ADJUSTS __J LI SETS FAN
TEMPERATURE SPEED
r--
f TEMP/TIMER "_
TEMP/TIMER j
o o 0
cool energy fan
saver only
5 © ©
steep auto timer
fan
f FRIGIDAIRE _
STANDARD REMOTE
¢- [_ o
/ TEMP/TIMER
TEHP/TIMER
o o ©
coot energy fan
saver onty
© © ©
s[eep auto timer
fan
start _ stop
remote sensing
_FRIGIDAIRE _
w/DISPLAY &
REMOTESENSING
BUTTON
OR TIME
Battery Size: AAA
Warning: Do not mix old and new batteries. Do not mix alkaline,
standard (carbon-zinc), or rechargeable (nickel-cadmium) batteries.
Operating Instructions
The following instructions represent the Touch Pad, the same instructions can be used for the Remote Control
TO TURN UNIT ON: YOU WILL SEE:
i tamp/timer 1
auto I
cool remote _ _ hi
econ sensing _ _ med I
\ .fononly _ _oj
MODE V ON=OFF A FAN SPEED
_1_ DO THIS
PRESS ON/OFF ;UTTON
@2009 Electrolux Home Products, Inc.
tamp/timer )
auto I
[] cool remote _ _ hi [] t
econ sensing _ C _ med I
#an only _ lo J
MODE V ON=OFF A FAN SPEED
Allrights reserved.
 Loading...