

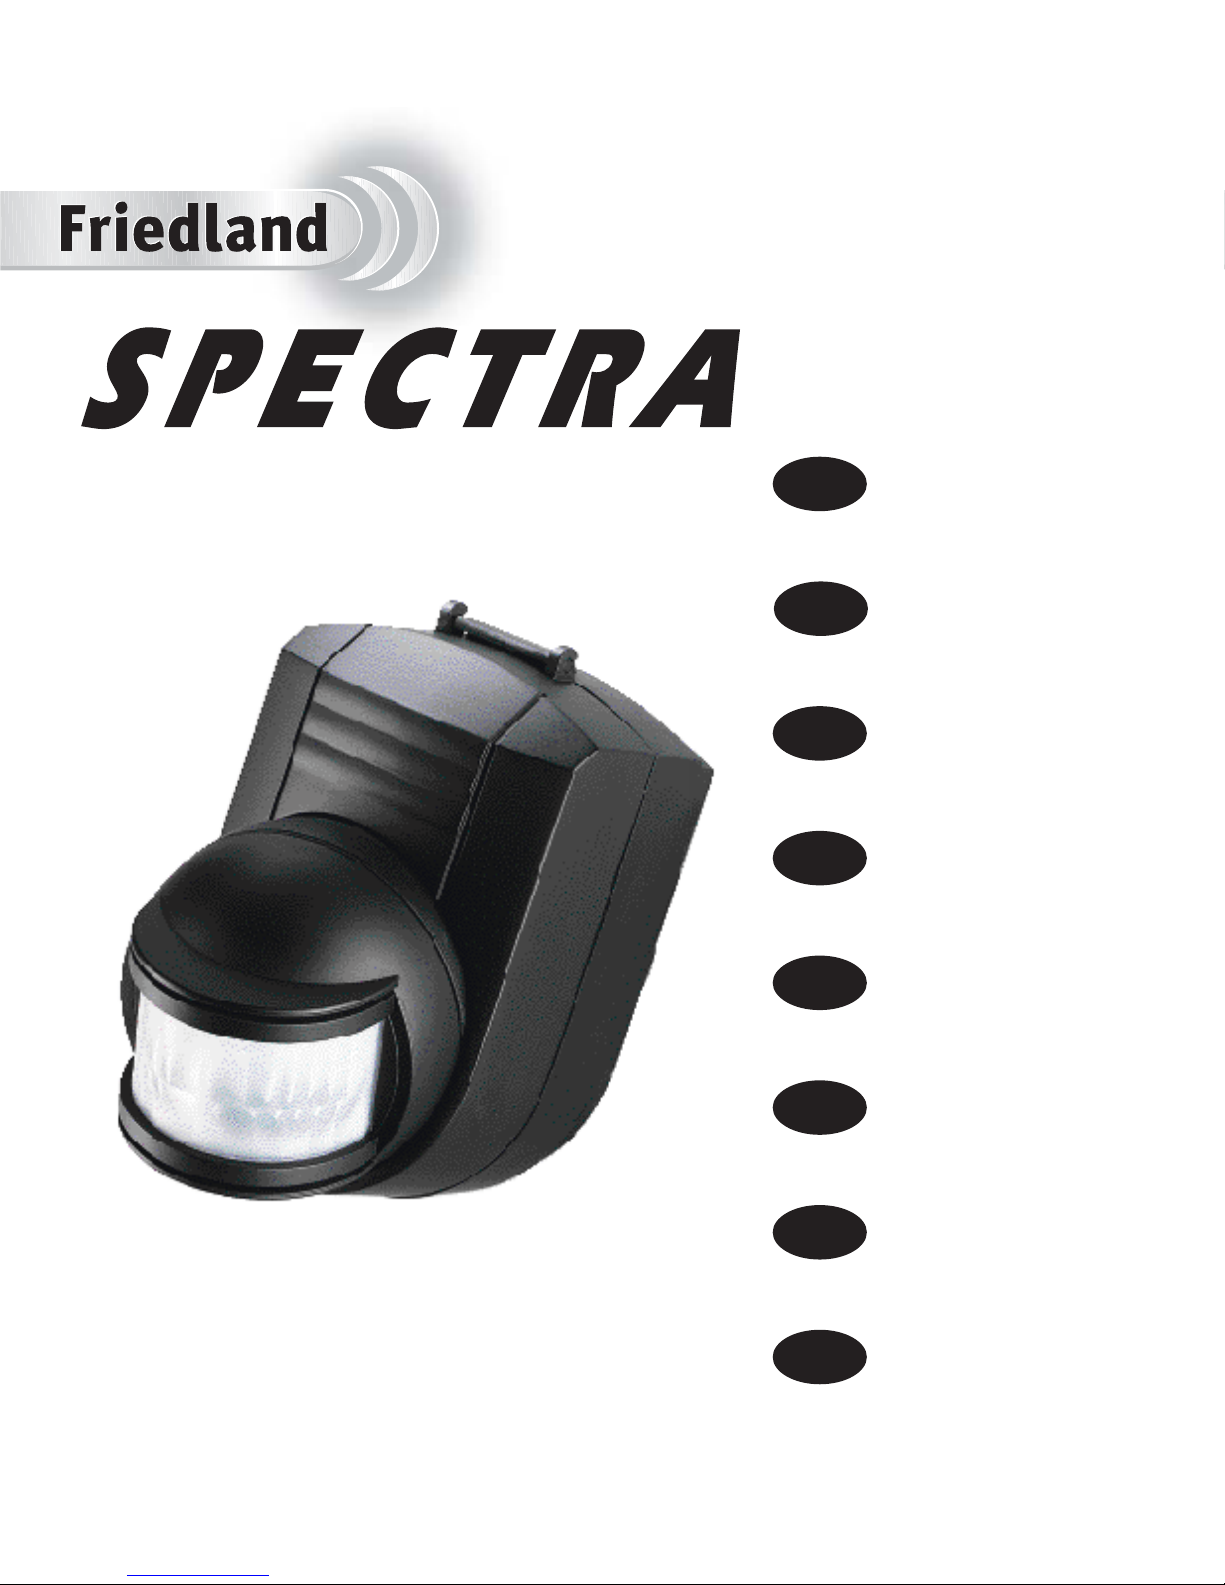
FRIEDLAND Spectra Plus L430N BLK, Spectra Plus L430N WHI Instruction Manual
D
ENG
1-10
Instruction Manual
11-20
Bedienungsanleitung
NL
21-31
Gebruiksaanwijzing
S
32-41
Instruktionsanvisning
DK
42-51
brugervejledning
FIN
52-61
Ohjekirja
POL
62-72
Instrukcja obsługi
RUS
73-84
Инструкция по эксплуатации
PLUS
L430N BLK and L430N WHI
51004PL_Ed2
ENG
Wirefree PIR
Movement Detector
L430N BLK and L430N WHI
Instruction Manual
and Guarantee
Your Spectra Plus Wirefree Passive
Infrared (PIR) Movement Detector can
operate with the Spectra Plus Wirefree
Switching receiver to expand an existing
Spectra Plus lighting control system
(868Mhz Version). Alternatively it will operate
with a Libra Plus Chime to provide an
audible warning when movement is
detected. A built in Dusk/Dawn sensor
can be adjusted to prevent movement
from activating light during daylight or
alternatively if working with a Chime it
will prevent movement activating the
Chime during the night. The PIR Detector
is suitable for mounting outdoors.
No Wires! - There is no physical wiring
connection between the PIR and Receiver
or Chime. Instead the system uses radio
technology to provide the link which makes
installation even quicker and allows the
PIR to be located remotely at the most
appropriate position for the area being
monitored. To prevent interference from
other devices the PIR detector is coded with
a unique identification code that can be
easily learnt by the receiver or Chime.
The PIR is compatible with the Friedland
Libra Plus Chime system, (Chimes and
Pushes) and Spectra Plus switching receiver.
Introduction
1

SAFETY
Always follow the manufacturers advice when using power tools; steps, ladders etc. and
wear suitable protective equipment (e.g. safety goggles) when drilling holes etc.
Before drilling holes in walls, check for hidden electricity cables and water pipes,
the use of a cable/pipe locater maybe advisable if in doubt.
Do not attempt to install or program this product while it is wet or raining.
TOOLS REQUIRED
● No.2 Philips Screwdriver
●
3mm flat bladed screwdriver
● Drill
● 6mm Masonry drill bit
2
The quoted range of the system is measured
in ideal conditions. Any barrier (e.g. walls/
ceilings aluminium reinforced UPVC windows
and metallic parts of house structures etc)
between the PIR and receiver will reduce
the effective radio range by an amount
dependant upon the construction of and
number of barriers between the PIR and
receiver.
In extreme cases where metal barriers are
involved then it is possible for the signal
to be blocked out completely.
Whilst the majority of installations are not
adversely affected, you may have to
experiment a little to discover the best
location for your PIR and Receiver Unit.
KIT CONTENTS
PIR Detector
Instruction Manual
Fixing pack containing:
●
2 slot-in PIR window masking curtains
● 2 fixing screws and plastic wall plugs
You will also need
● One 9V PP3 (6LR61) Alkaline Battery
Device range
Installing the PIR Detector
Positioning the PIR
● Place the detector within range of the Receiver, taking into consideration any reduction in
the 200m maximum range caused by any objects in between. Avoid mounting the unit on
or near large metal objects.
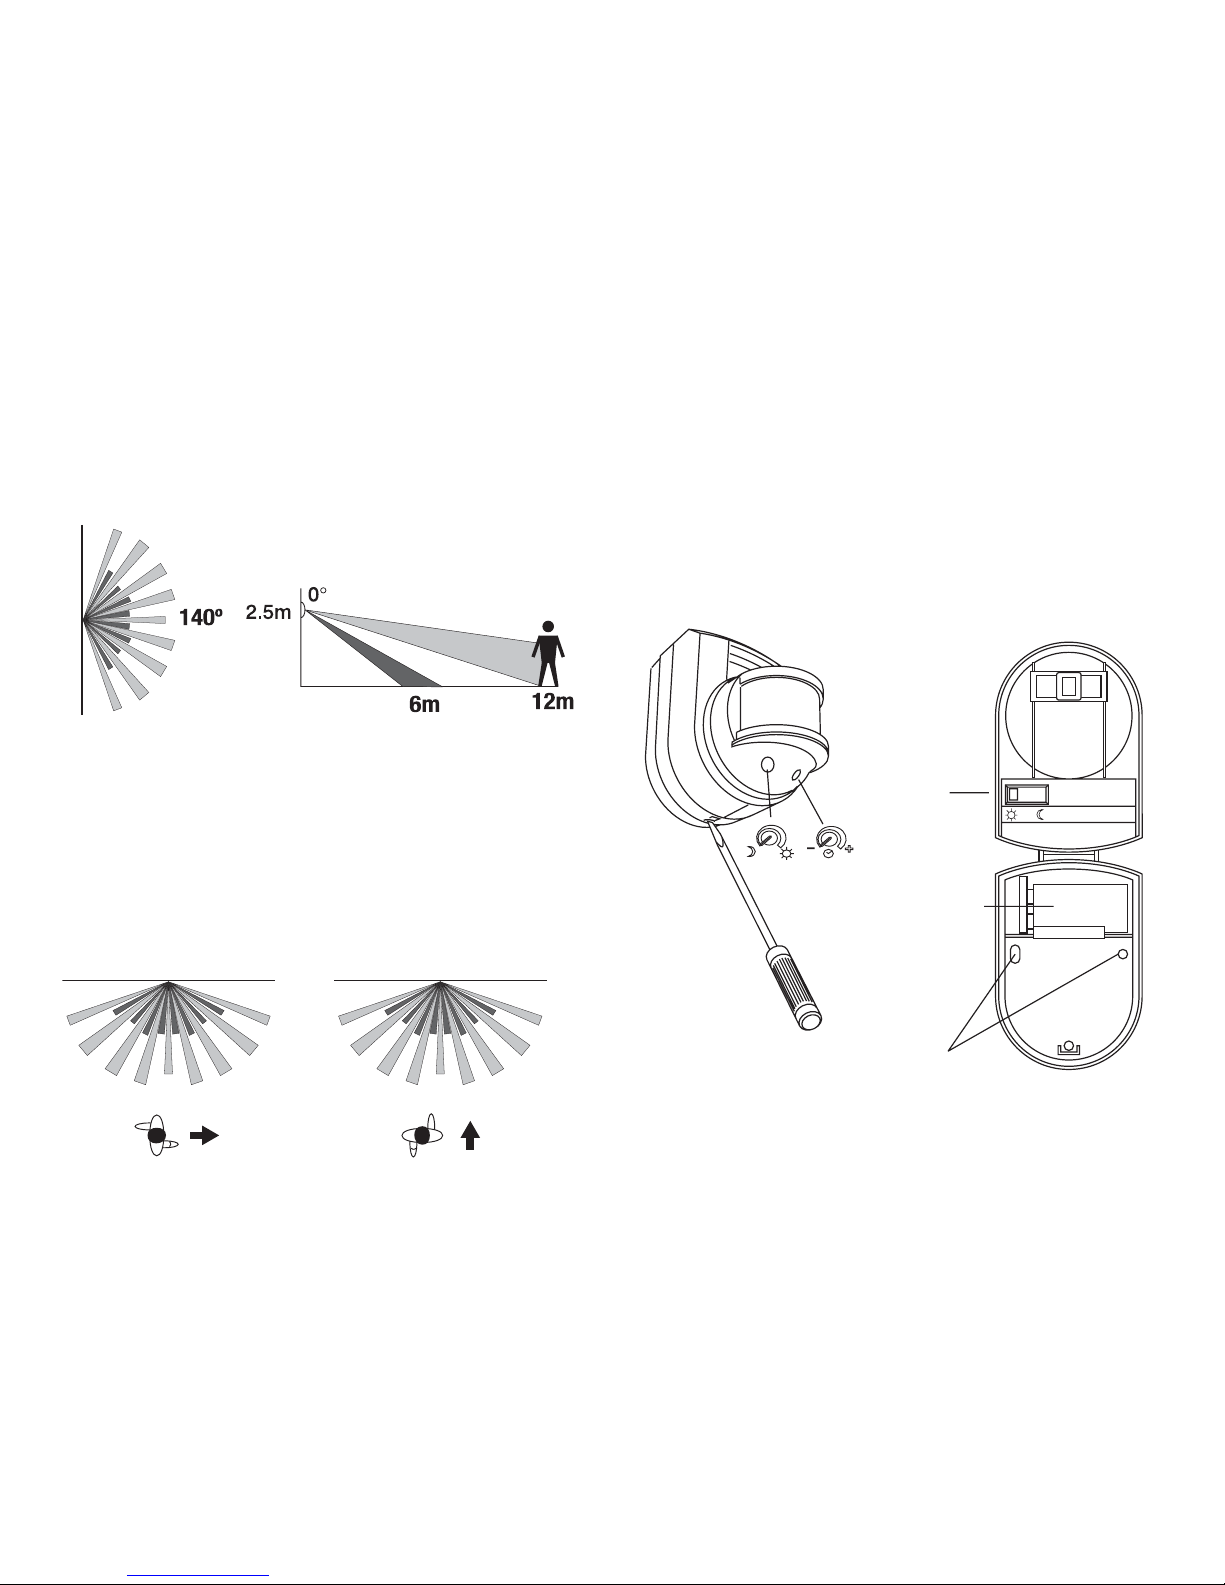
3
● The recommended mounting height for
the detector is 2.5m. At this height, the
detector will have a range of approximately
12m. Mounting the detector higher will
increase the detection range but it will be
less sensitive to movement at the
extreme range and also may not be able
to detect movement very close to it.
Tilting the detector head up and down will
havethesameeffect.
● Mount the detector on a firm stable
surface where the logical path of a
person would cut across the detection
pattern. The detector is more sensitive
to movement across its detection pattern
than to movement directly towards it.
Avoid positioning the detector where
there are any heat sources in the detection
area (e.g. heating or tumble drier exhaust
vents etc.). Also avoid highly reflective
surfaces or hanging branches in the
detection area as these can cause false
activation in some weather conditions.
✔
✘
Installing the PIR
NOTE: Before fixing the PIR unit to the
mounting surface, it is advisable to check
that the system works correctly (i.e. that
the PIR and receiver are within radio range
of each other) by temporarily operating the
PIR Detector in the chosen location.
● Open the PIR Detector by inserting a flat
bladed screwdriver into the slot at the base
of the unit and pushing gently to release the
catch and to allow the front cover to be
opened.
Dusk and Time controls
Battery
Day/Night
Operation Mode
Selector Switch
Fixing holes
PIR DETECTOR
Fig. 2
Fig. 3
Fig. 1
● Set the Day/Night operation switch
according to whether you wish the PIR
to detect movement during the day or night.
Day operation is intended for use with a
Libra Plus Chime where movement will trigger
the Chime during the day but not at night.
Night operation is intended for use with a
Switching Receiver for controlling lighting
where movement will activate the lights
only at night and not during the day
 Loading...