

Frico Thermozone ADR 200 E, Thermozone ADR 300 E User Manual
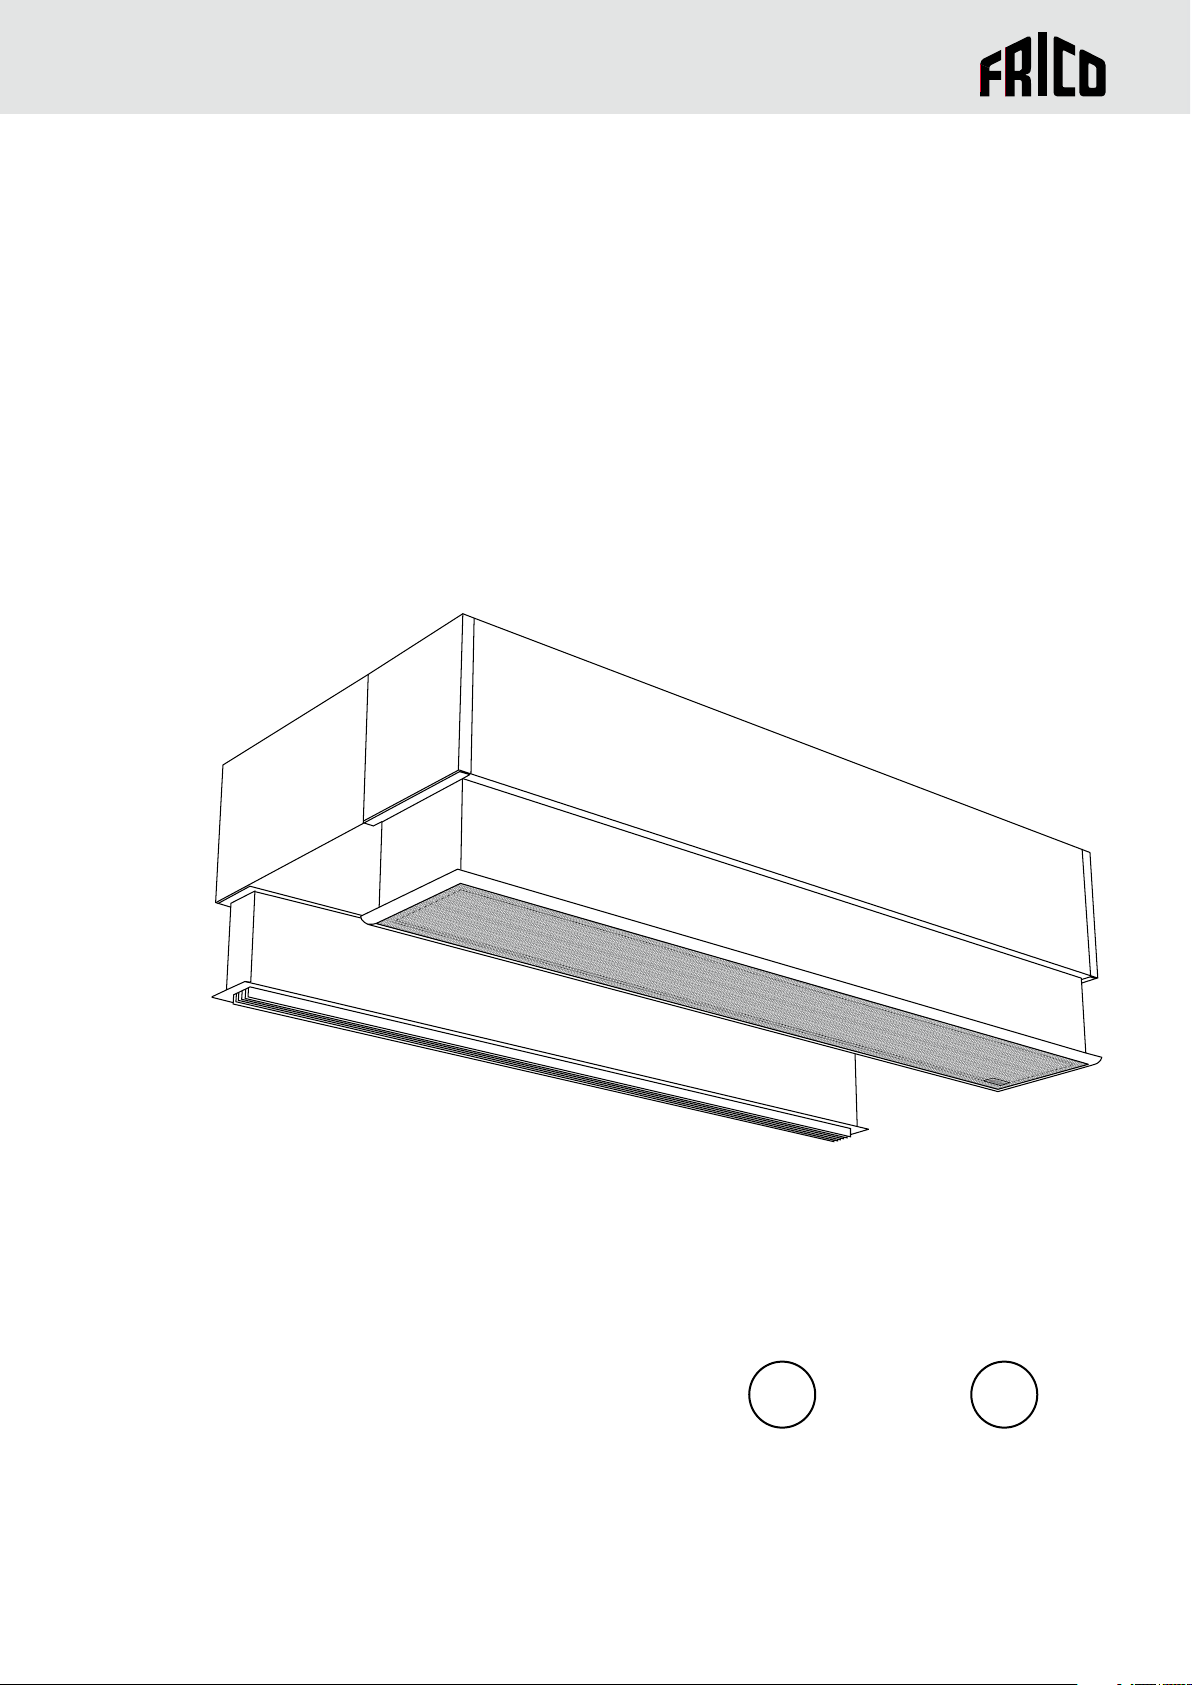
Thermozone ADR 200/300 E
SE
.... 8
GB
.... 12
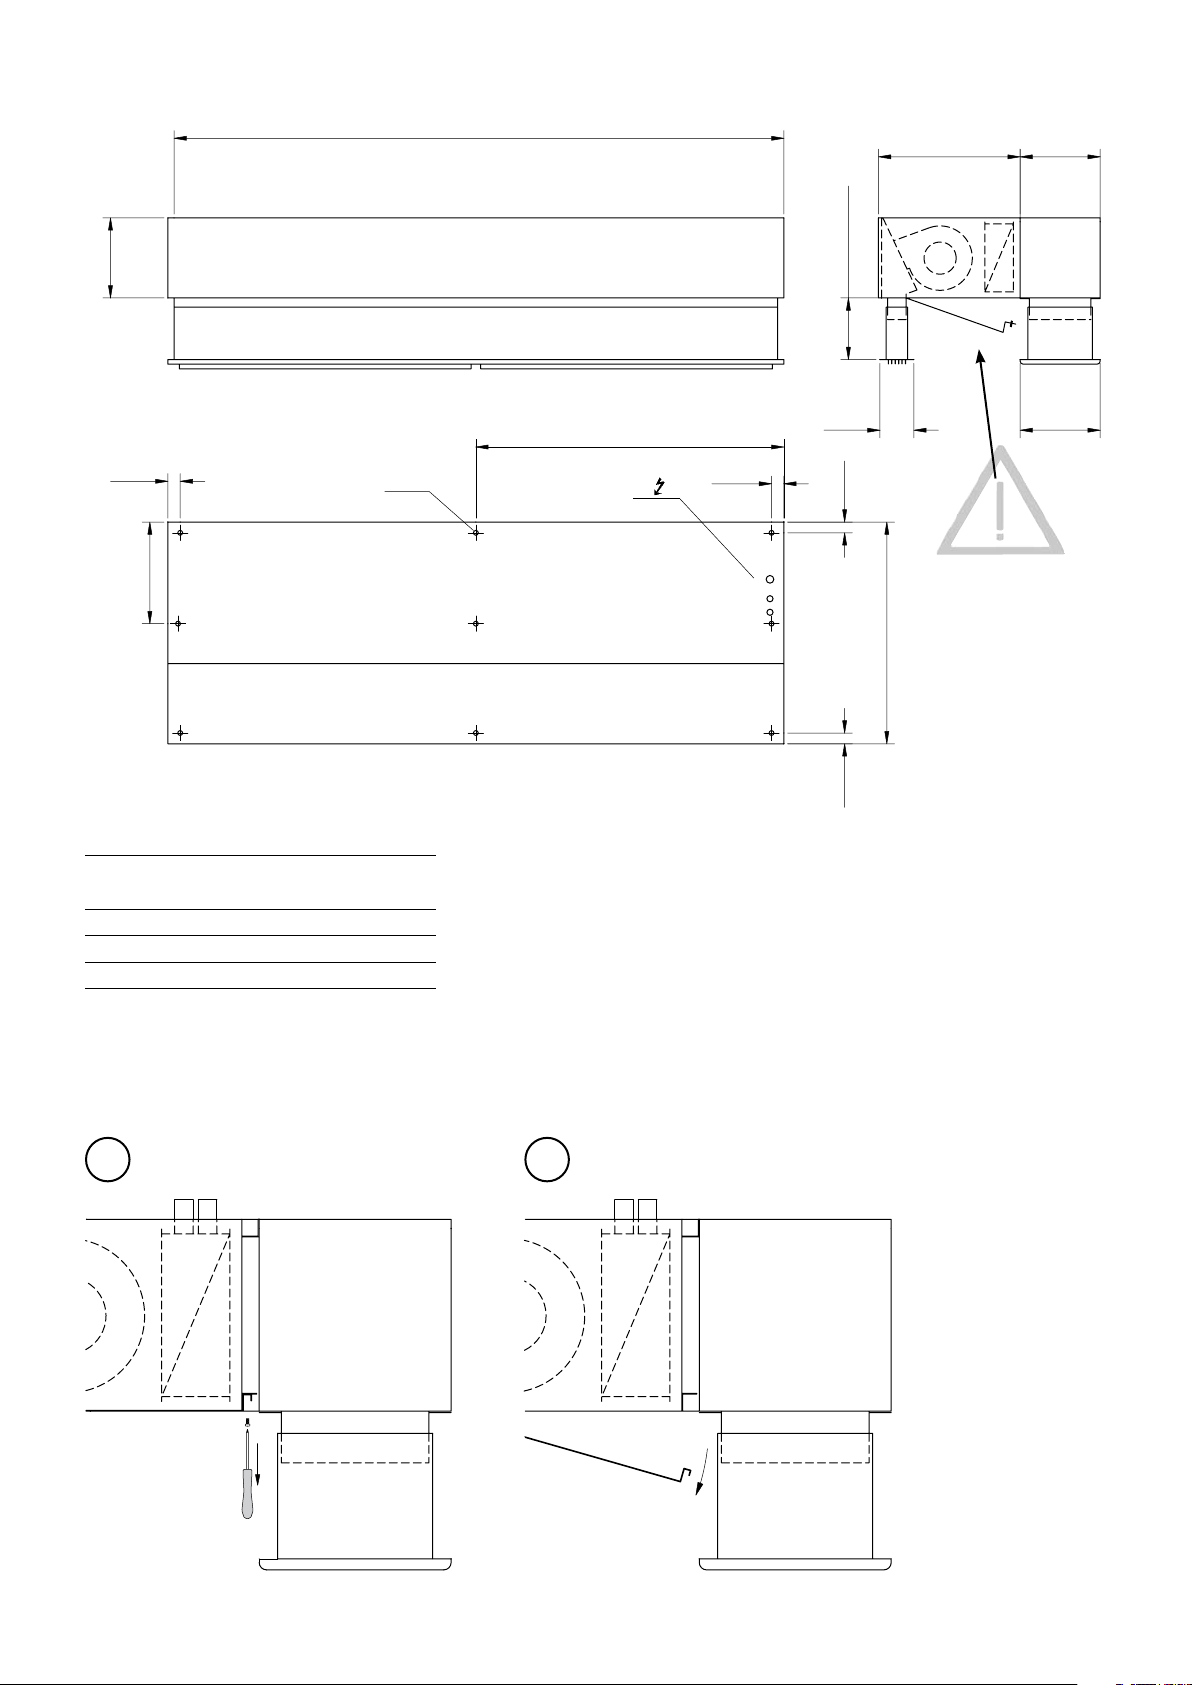
ADR E
2
35 35
720
40
L/2
40
330
260
L
70
160-200
460 260
260
M8
Service opening
Access neccessary!
Type L
ADR210E/310E 1000
ADR215E/315E 1500
ADR220E/320E 2000
To open
1 2
[mm]
Removing the telescopic parts
2x
2x
2x
2x
1
Pull the in-and outlet parts straight out.
Dra insugs- och utblåsdelarna rakt ut.
2
ADR E
4
Mount the grille holders in the brackets in ADR and
put the grille gently in place. Fold down the locking
part of the holder until it snaps, lock it with a screw.
Sätt i gallerhållarna i fästena i ADR och lägg försiktigt i gallret. Vik ner låsdelen till den snäpper fast, lås
fast med skruv.
5
Unscrew the other parts of the telescope.
Skruva av fästena för stosarna.
3
Unscrew the screws in the grille holders, open the
grill holders and pull out the grille. Keep it!
Unscrew the screws holding the inlet grille. Keep
the grille!
Lossa skruvarna till insugsgallret. Spara gallret!
6
a)
Use
the holders
(2x) mounted
on the grille to
hang the grille.
Använd fästena (2x)
som sitter i gallret för
att hänga gallret.
b)
c)
Slide the grille forward so
that the slot of the holder
slides over the locking
screw.
Skjut gallret framåt så att
slitsen på fästet glider
över låsskruven.
d)
Lossa skruvarna vid gallerhållarna och lyft ur insugsgallret och de två gallerhållarna. Spara!
Fold in the
grille, make
sure the slot
of the holder fits
on the locking screw.
Fäll in gallret och se till att
slitsen på fästet passar in
över låsskruven.
The grille is fixed to the
air curtain.
Gallret sitter på plats på
luftridån.
3
ADR E
4
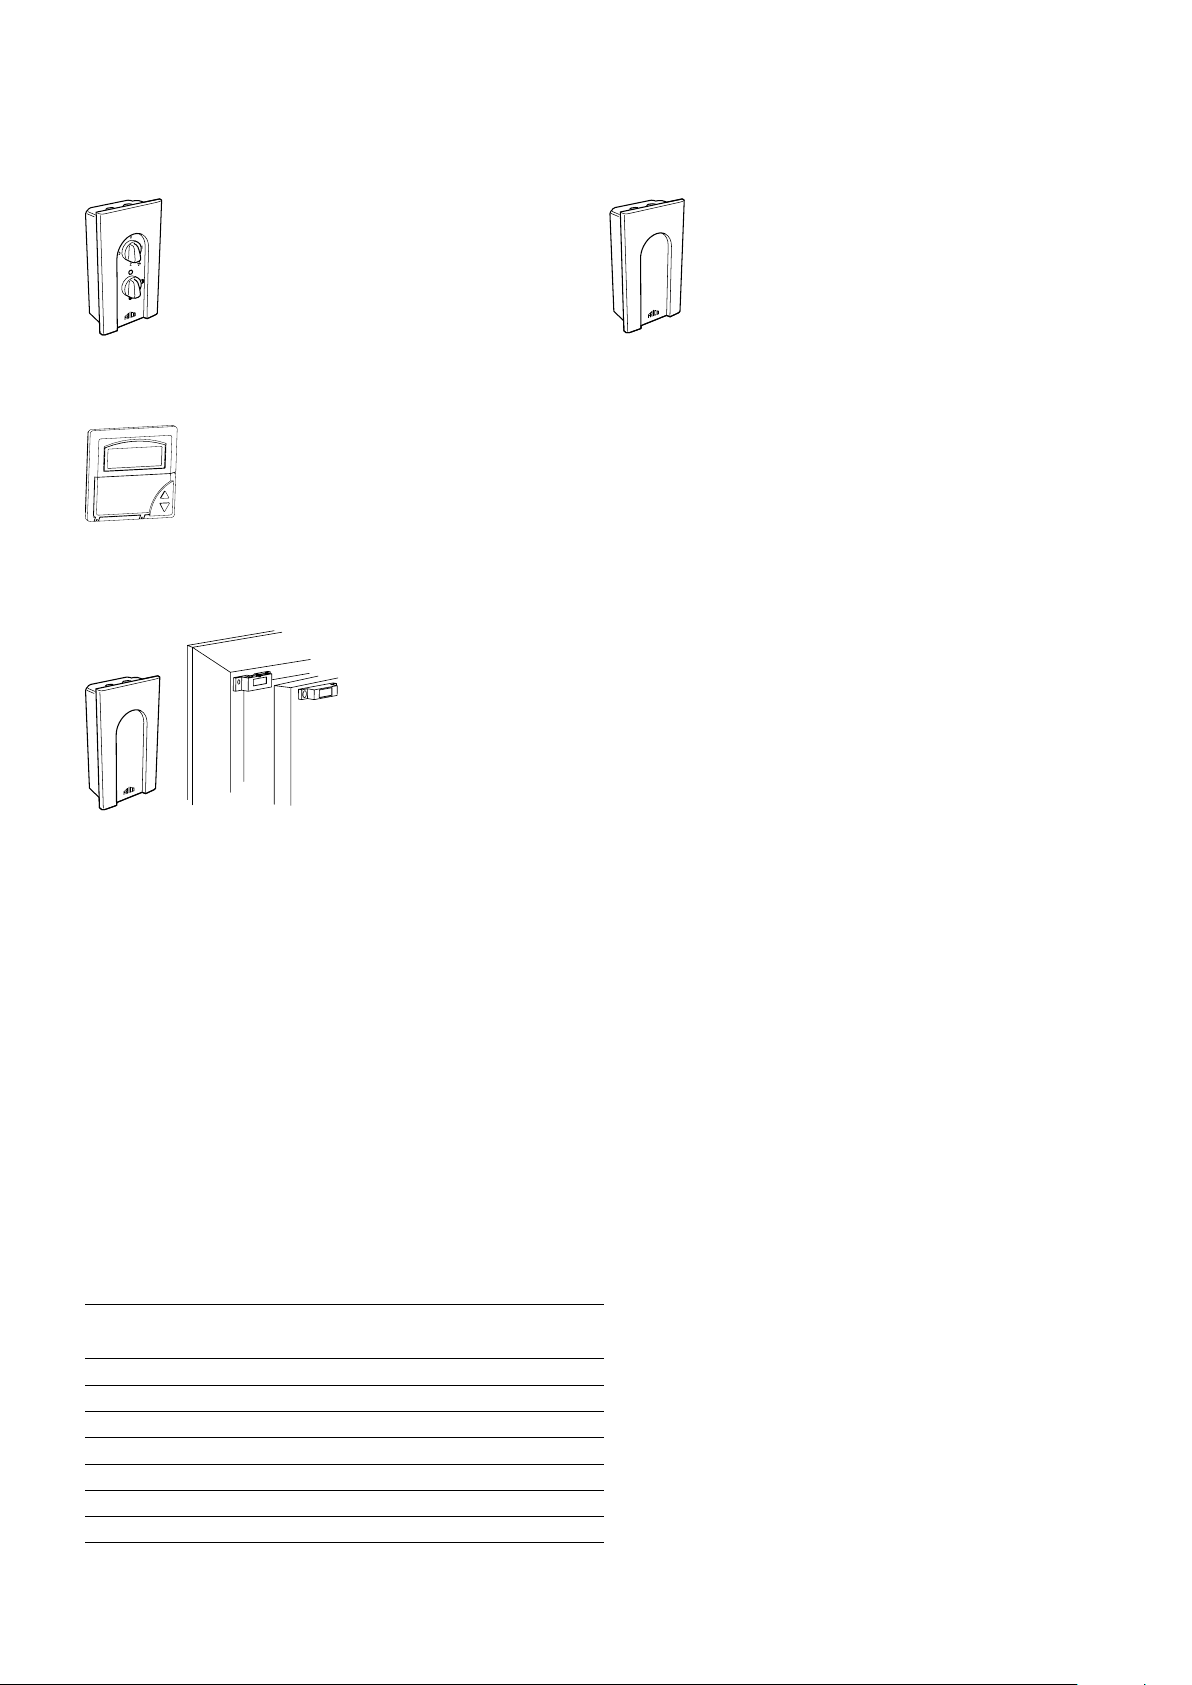
Accessories
CB32N
ADEA
MDC (MDCDC included)
RTI2
Accessories
Type E-nr [SV] EL-nr [NO] HxWxD
[mm]
CB32N 87 511 85 54 910 92 155x87x50
ADEA 87 514 70 49 360 04 89x89x26
ADEAEB 87 514 72 49 360 05
ADEAIS 87 514 76 49 360 07 75x75x27
ADEAGD(1)
MDC
RTI2 85 811 44 54 910 90 150x80x43
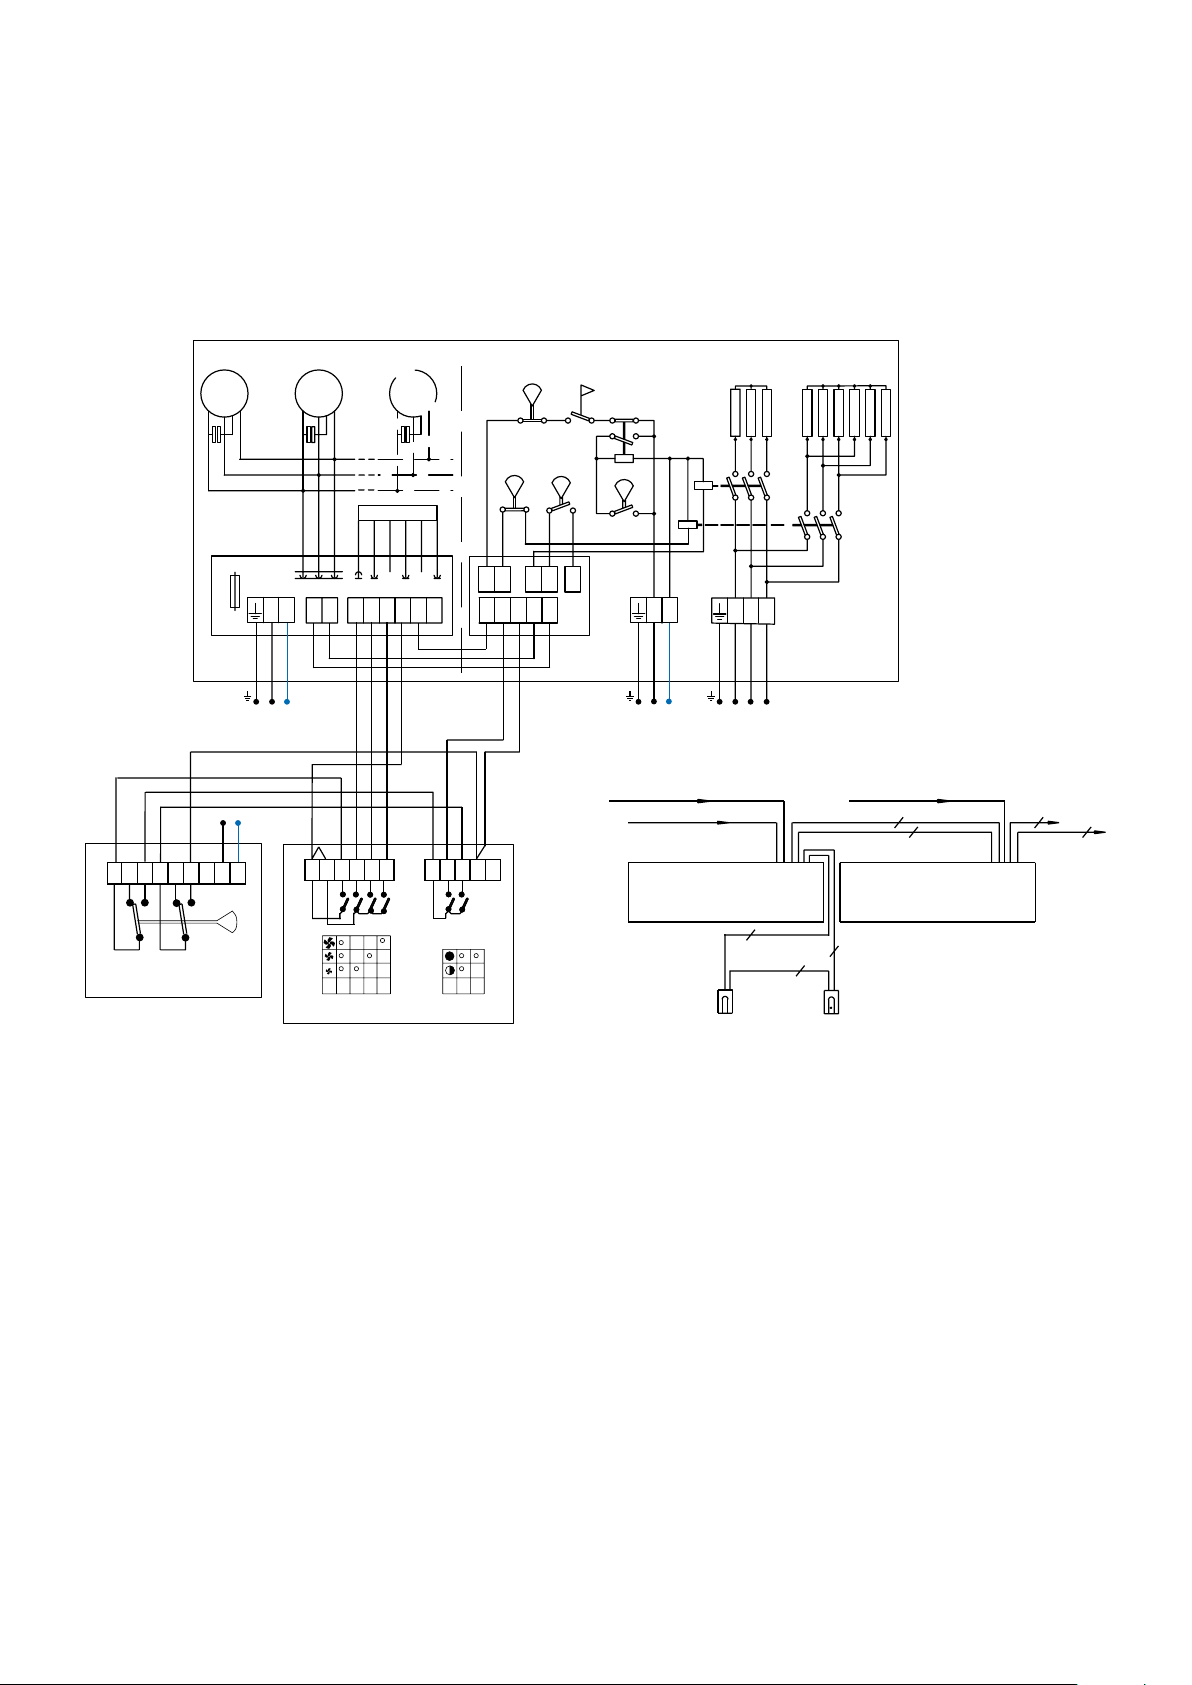
Wiring diagrams ADR 200/300 E
K1
K2
140V
120V
170V
200V
230V
L
N 1 2 3 4 5 6
L LL
1 2 3
L N
K3
536
7 8
C3
C1C6C7
C2
S4
˚C
F3
60º
˚C
F2
80º
˚C
F4
50º
Trafo
I II
I + II = III
Wind
indicator
Fuse
~
M M
1
M
11
~~
230V~
230V~ 400V3~
˚C
F5
40º
0 0
C˚
Thermozone ADR200E / ADR300E
230V~
2 3 4 5 61
2 3 4 5 6 7 L N1
CB32N
Hi Lo
RTI2
7 8 9
10 11
230V~ Motor and control
ADR200E / ADR300E
CB32N
6x0,5mm
2
6x0,5mm
2
6x0,5mm
2
2+PE
ADR200E / ADR300E
2+PE
4x0,5mm
2
2+PE
RTI2
400V3~ Heat 400V3~ Heat
Electric regulation options
Electric - Level 1
ADR E
5
 Loading...