

FREEWAY DVD-2685 User Manual
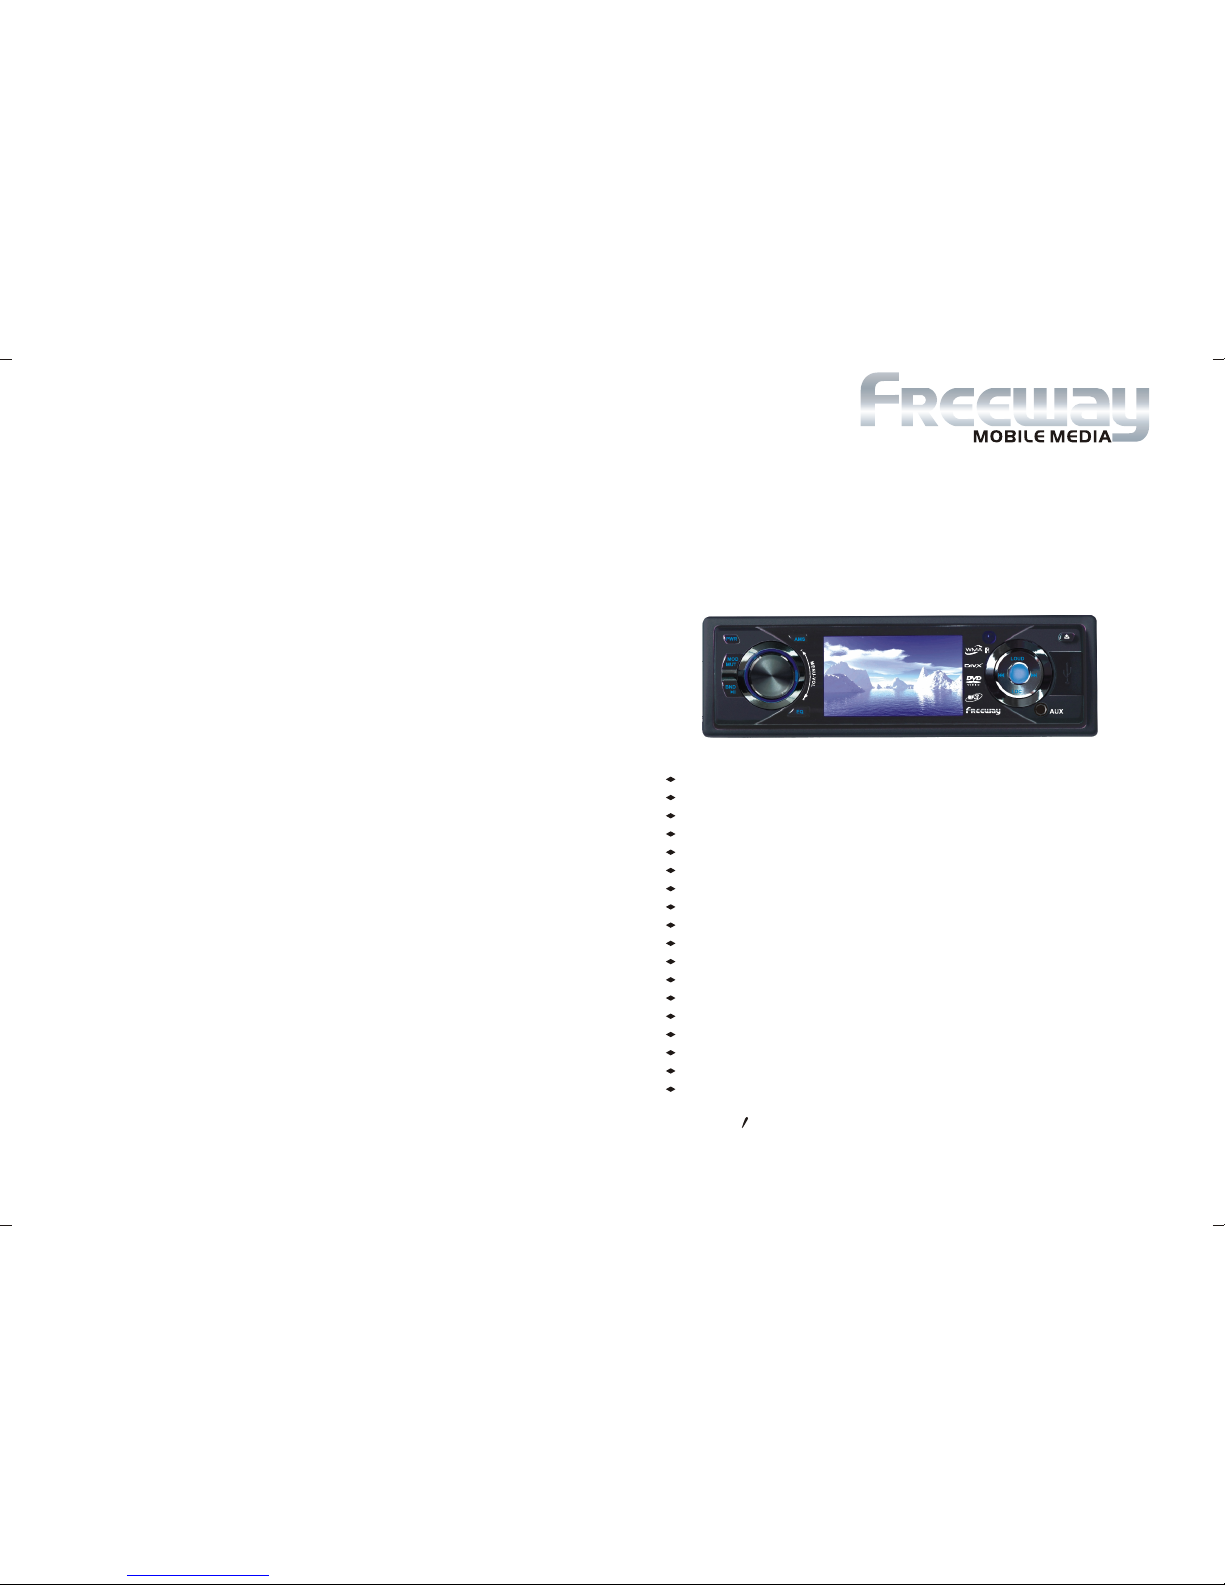
DVD-2685
User s Manual
http://www.freewaychina-na.com
FREEWAY ELECTRONICS CO.,LTD.
Add: NO.9 Industrial District, Shuibei, Huizhou City, Guangdong Province,P.R.C.
TEL: 86-752-2828488
Fax: 86-752-2828480
FOLD DOWN DETACHABLE PANEL
3 INCH TFT WIDE DISPLAY
USB FUNCTION
16:9 OR 4:3 WIDE DISPLAY
NTSC&PAL COMPATIBLE
PICTURE CONTROL: BRIGHTNESS/CONTRAST/CHROMA/HUE
SUPPORT DVD/DVD-R/VCD/CD/CD-R/CD-RW/MP3/WMA/JPG
REPEAT/PROGRAM/RANDOM
AM/FM STEREO RADIO SYSTEM
30 PRESET STATIONS
AUTO MEMORY STORE/PRESET SCAN
PRESET EQ MODE
CLOCK DISPLAY
SUBWOOFER OUTPUT
AUX INPUT FUNCTION
4 CHANNELS RCA OUTPUT
HIGH POWER OUTPUT
CARD SIZE FULL FUNCTION REMOTE CONTROL
DVD-2685
DVD/VCD/CD/MP3 PLAYER
& AM/FM tuner

00
2
Contents
DVD
1
Before You Start
Installation
Common Operations
Important Safeguards 4
About this manual 4
Precautions 5
Maintenance 6
Location & function of the controls 7
Remote control 9
Specifications 11
Wiring Connections
Installation
Detach the Unit
Cleaning the Connector
12
13
15
16
17
17
17
17
17
18
18
Clear
18
18
18
18
Reset the Unit
Turning the Unit On/Off
Volume Control
Setting the Sound Characteristics
EQ Setting
Turning Loudness On/Off
Mute Function
Mode Selector
Display Mode
Infrared Sensor
AUX In
18
Force Disc Out 18
Basic Operation of DVD
Playing the Previous/Next Track
Playing the Track F.F/F.REW
Stop the Playback
Slow Motion Playback
System Button
Increase Picture Size
Pause the Playback
Number Buttons
Repeat Playing
On Screen Display
Setting the Playing Time
Changing the Viewing Angle
Changing Audio Language
Changing the Subtitle Language
Selecting Different Menu/Title
Eject a Disc
Set Up Menu
23
23
23
23
23
23
23
23
24
24
24
24
24
25
25
25
25
25-31
6
VCD/CD/MP3/MPEG-4/USB
Playing Discs/USB
Playing the Previous/Next Track
Playing the Track F.F/F.REW
Playing Tracks in Random Order
Stop the Playback
Pause the Playback
Changing Audio Language(Multi-audio)
File Selector
Slow Motion Playback
Picture Sizes
On-Screen Display
32
32
32
Repeat Playing 32
32
32
33
33
33
33
33
33
Main Menu
Main Menu Setup 19
Audio Adjust 19
Video Adjust 20
Source Setup 21
Others 22
5
00
3
Contents
08
38
Eject a Disc
Program Playing
33
Number Buttons 34
Setting the Playback Time 34
MO/ST Selector 34
34
Playing PBC (Menu) 34
Exit an USB 34
Tuner
Band Selector
Manual/Automatic Tuning
Selecting the Stored Station
DX/LOC Selector
MO/ST Selector
On-screen Display
Scanning/Memorizing Stations
Automatically
Number Buttons
Selecting Station Directly
35
35
35
35
35
36
36
36
36
To Capture Picture 36
Radio Menu 37
7
Additional Information
Simple Troubleshooting Guide 38
8
Simple Troubleshooting Guide
No power.
Check and make sure whether the fuse is blown,
replace with the proper value if necessary.
Some errors occur in
LCD or no function
pressing the button.
the
when
Unable to receive stations.
Poor effect on receiving a
station.
CDs cannot be loaded.
Sound skips.
No images.
Images skip.
Press RESET button.
Check and make sure whether the antenna is
inserted or the antenna is properly connected, if
not, insert the antenna or connect it properly.
Antenna may not be the proper length. Make sure
the antenna is fully extended; if broken, replace
the antenna with a new one.
A CD is loaded in the mechanism.
The CD is dirty or damaged.
The Video line from main unit to the TV is not
connected properly.
Improper setting of the color system. Set the color
system according to the
connected television.
to PAL or NTSC
.
.
.
Note:
If any of the problem persist after check list had been made, consult your nearest service dealer. Never
attempt to disassemble your unit by yourself.
The following checklist might help to solve the problems which you meet when using
the unit. Please double check and make sure if the connection and the procedure of
the operation is properly before using the checklist .below
Problem
Cause/Solution
.
.
.
.
.
The antenna is poorly grounded, check and make
sure the antenna is properly grounded at its
mounting location.
.
Due to continuous product improvement, the operations
are subject to run the model.
Additional Information
07
37
Before You Start
IMPORTANT SAFEGUARDS
About this manual
1. Be sure to connect the color coded
leads according to the diagram.
Incorrect connections may cause
the unit to malfunction or damage
,
the vehicle s electrical system.
2. Be sure to connect the speaker (-)
leads to the speaker (-) terminal.
Never connect the left and right
channel speaker cables each other
or to the vehicle body.
3. Make sure all the connections are
completely correct before turning
on your unit.
4. When replacing the fuse(s), the re placement must be of the same am perage as shown on the fuse holder.
5. Do not block vents or radiator pa nels. Blocking them will cause heat
to build up inside and may result in
fire.
6. After completing the installation and
beginning to play the unit(including
replacing the battery), please remove
the front panel at first, and then press
RESET button on the base with
pointed object (such as ball-point
pen) to set the unit to initial status.
This unit features a number of sophisticated functions ensuring superior
operation. All the functions have been
designed for the easiest possible use,
but many are not self-explanatory. This
manual will help you understand the
functions and operations of the unit.
This manual main explains remote
control operation. However, in
addition to those functions related with
DVD/VCD/CD/MP3/MEPG-4/USB
operation that can only be operated by
the remote control, there are also
functions can be operated by the buttons
provided for the main unit.
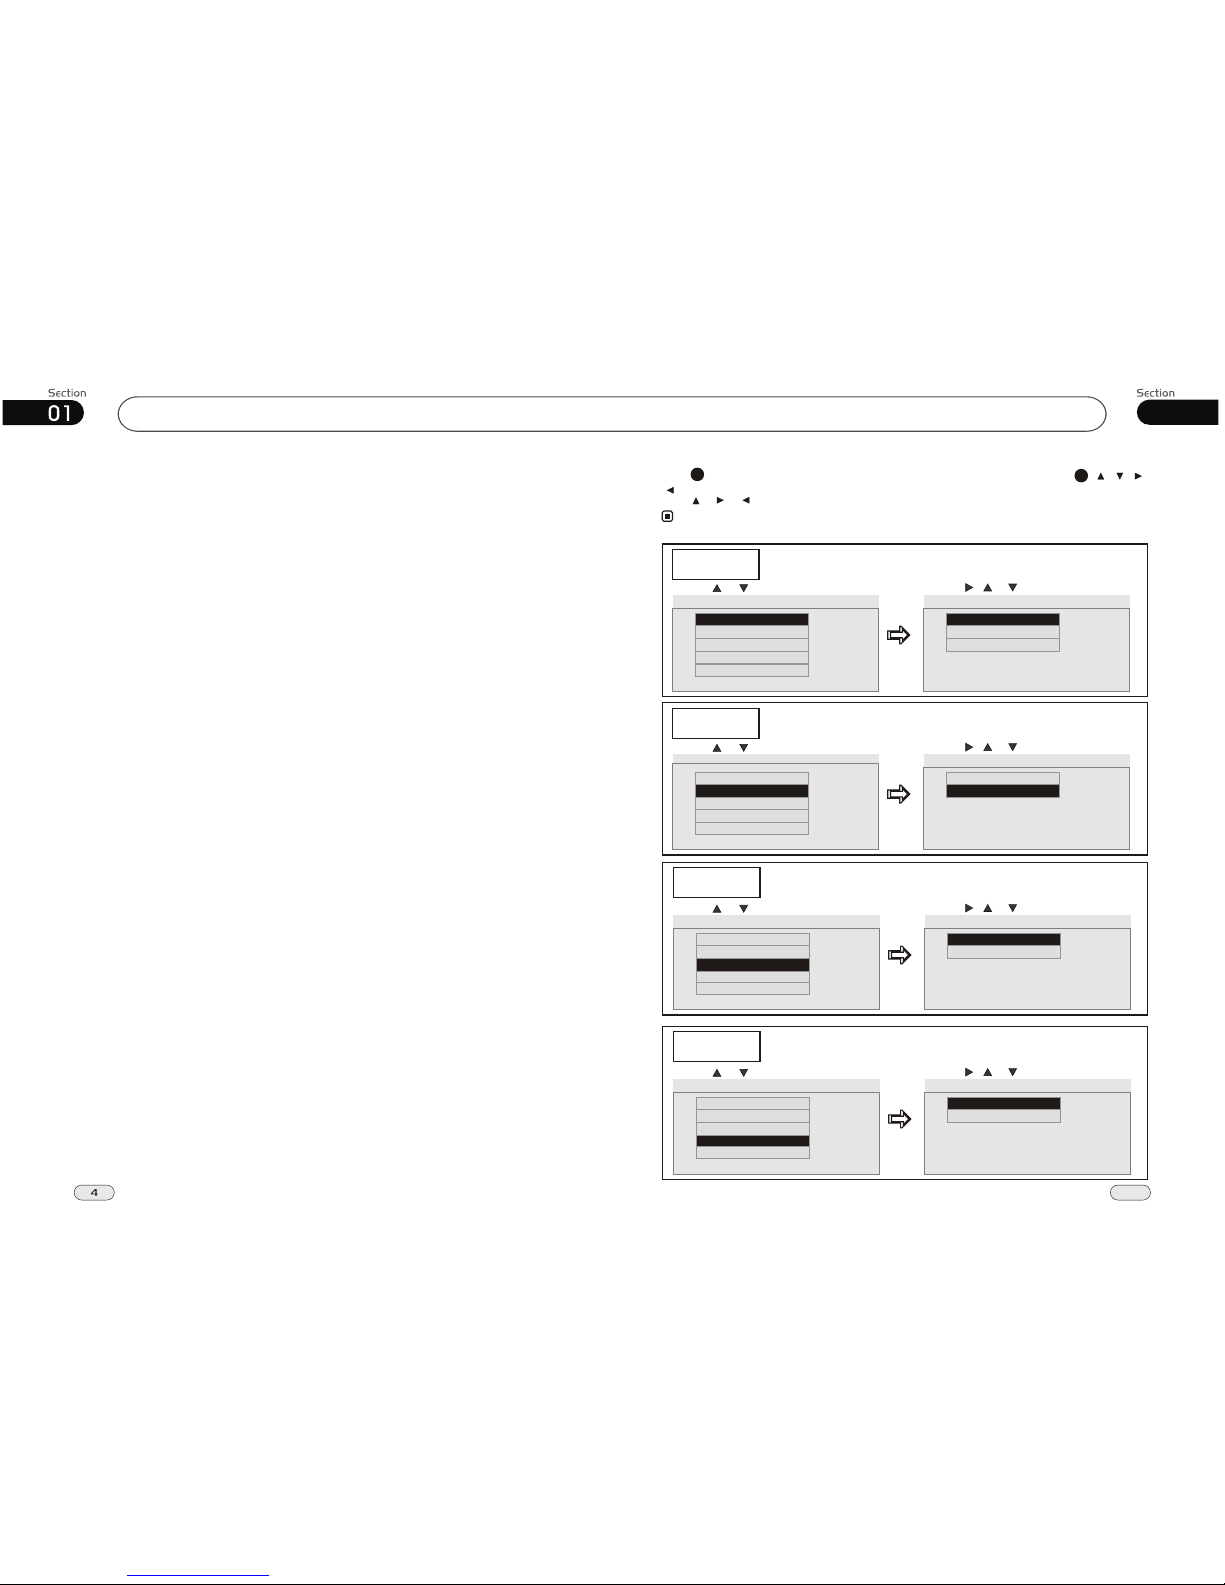
Tuner
Radio Menu
Press SETUP button, the monitor shows the radio setup menu, you can press [ ][ ][ ]
[ ] to select your desired item, then press ENTER on the remote control.
Press , or to select EXIT, then press ENTER to exit the setup.
27
19
Note:
* This function is only operated by using remote control.
RADIO MENU
AREA
STEREO
LOCAL
PICTURE
EUROPE
AREA
EUROPE
U.S.A
FM ONLY
EUROPE
AREA
To show how to set the radio area:
Press or , then press ENTER Press , or , then press ENTER
EXIT
RADIO MENU
AREA
STEREO
OFF
STEREO
ON
OFF
OFF
LOCAL
STEREO
To show how to set stereo or mono station:
Press or , then press ENTER Press , or , then press ENTER
PICTURE
EXIT
RADIO MENU
AREA
STEREO
LOCAL
ON
LOCAL
ON
OFF
ON
PICTURE
Press or , then press ENTER Press , or , then press ENTER
LOCAL
To show how to set local or long distant station:
EXIT
RADIO MENU
AREA
STEREO
ON
PICTURE
CAPTURED
PRESET
ON
PICTURE
Press or , then press ENTER Press , or , then press ENTER
PICTURE
To show how to set picture:
EXIT
LOCAL
01
5
Before You StartTuner
36
07
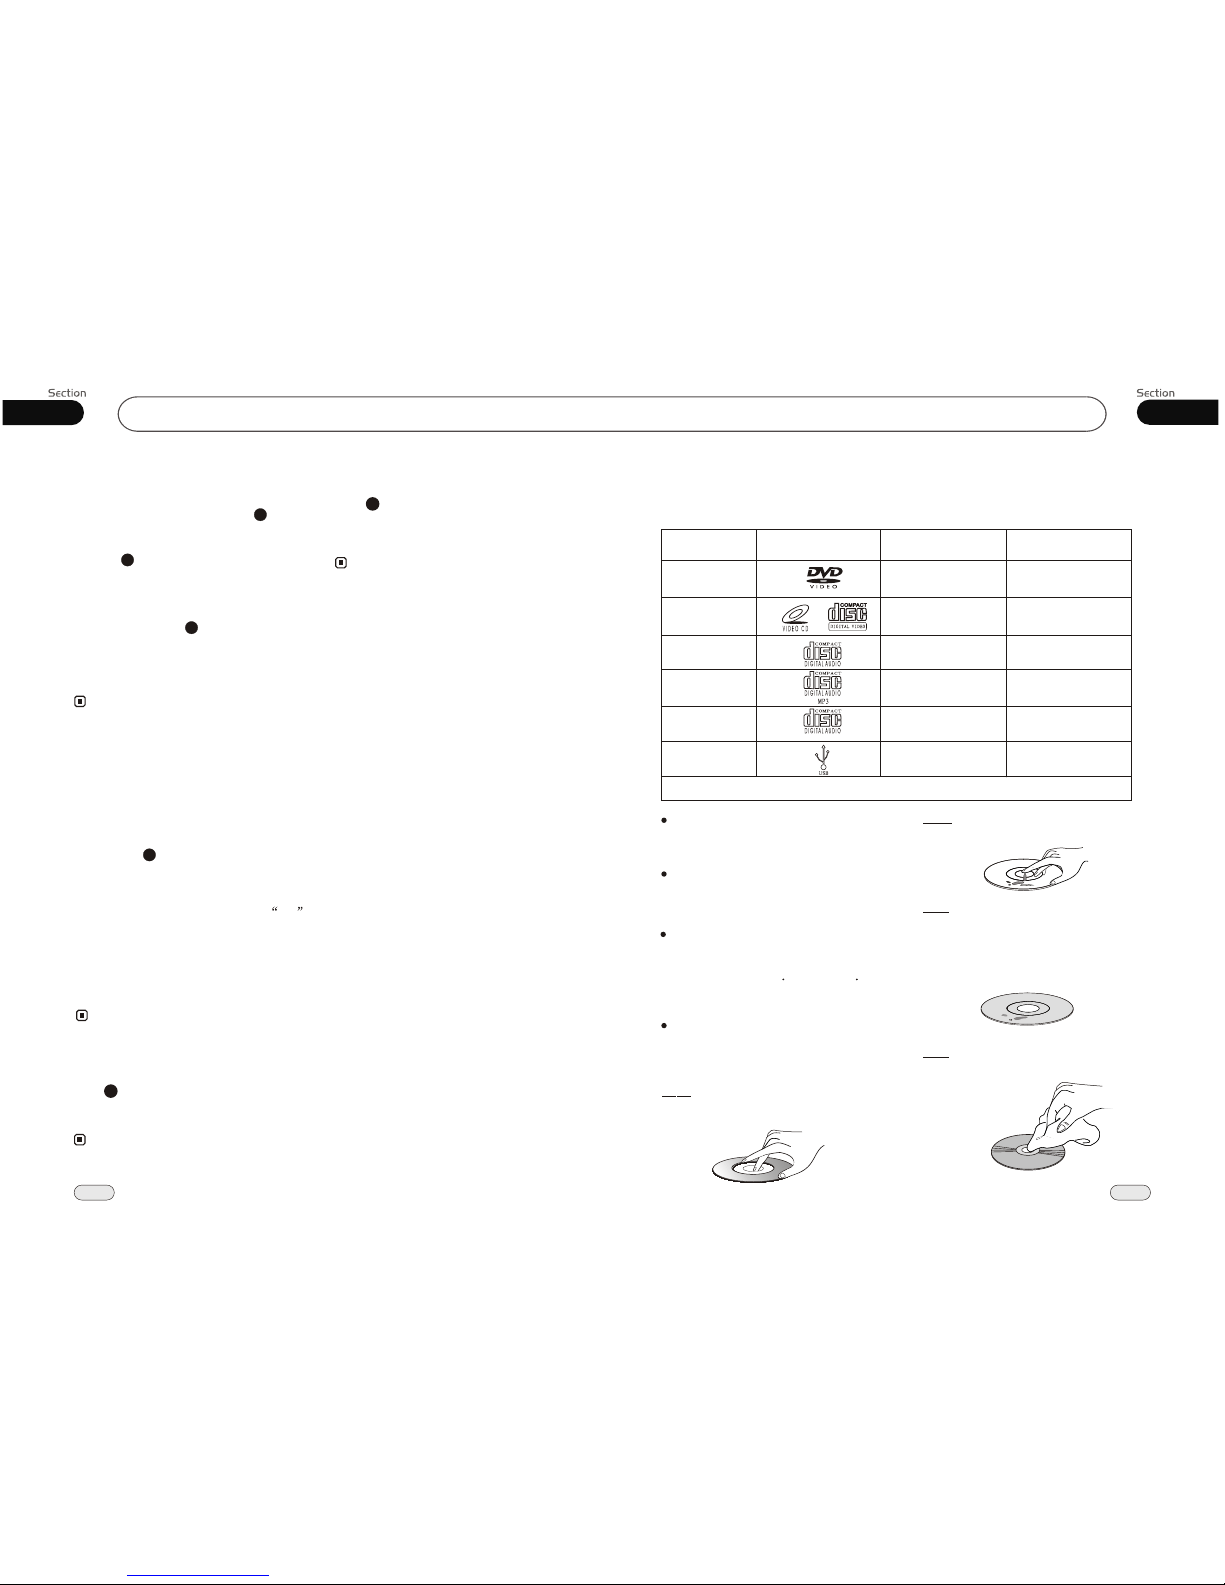
Handle the disc by its edge to keep
the disc clean, and do not touch
the surface.
Do not attempt to modify the unit,
modifying the unit may cause an
accident.
Stop the vehicle before carrying
out any operation that could
interfere with your driving.
Do not work in extremely high or
low temperature. Be sure the
temperature inside the vehicle
is between +60 C and -10 C
before turning on your unit .
To enjoy optimum sound and
images while playing, handle the
discs as follows:
Do not use your CDs with paste residue
or ink attached.
Do not use CDs with labels or stickers
attached, which may leave a sticky residue
while beginning to peel off.
(Shown as the picture)
Clean the discs with an optional cleaning cloth. Wipe each disc from the center out.
(Shown as the picture)
PRECAUTIONS
This unit can play the following discs only:
* This function is only operated by using rem ote control.
Type of disc
VCD
12cm
MP3
12cm
CD
12cm
NOTE: The unit is compatible with VCD1.0/2.0/3.0 version and DVCD disc.
12cm
DVD
Label on the disc Recorded material
Sound and moving
pictures
Sound and moving
pictures
Sound only
Sound only
Size of disc
MPEG-4
Sound and moving
pictures
12cm
MPEG-4
USB
Sound and moving
pictures
Version 2.0
and less
Scanning/Memorizing Stations
Automatically
During radio status, you can press AMS
button on the remote control to scan each
stored station 5 seconds respectively which
stored in Number Buttons (from 1 to 6).
You can press the corresponding Number
Buttons or AMS button when your desired
station is charged. And it starts playing that
station.
When press and hold AMS ,
automatically memory storing function. The radio automatically selects a
station and has it stored in any one of the
Number Buttons from 1 to 6.
button it will
activate
4
23
Notes:
Number Buttons
During radio mode, Number Buttons
from 1 to 6 can help you store your
favorite station. You can follow the
as below:
steps
You can store up to 18 FM stations 6 each
for FM1,FM2,FM3),up to 12AM stations
(6 each for AM1/MW and AM2/LW).
(
23
When receiving a station, press and hold
any one of the Number Buttons until CH
appears in the LCD, which indicates that
station is already stored in the corresponding number button.
Note:
This function is operated by using the remote
control only.
The unit can be stored up to 6 stations for
each band.
Regarding the function of Number Buttons,
refer to Number Buttons for more information.
*
*
*
4
Selecting Station Directly
Press GOTO button, the monitor shows:
FR:, input the number to receive the station
of this frequencies.
Note:
2
* This function is only operated by using rem ote control.
To Capture Picture
Press P/N button, the monitor shows:
Wait, Capture Logo....,when the monitor
turn to black, the picture is captured.
11
* It had better to use the picture size is 4:3.
* To avoid big picture.
Note:
07
35
Before You Start
6
Replacing the Fuse
Make sure the amperage matches the
specified value when replacing the fuses. If the fuse is blown, check the power connection and replace with a new one. If the same problem occurs,
it would be subjected to the malfunction. In such cases, please consult
to the nearest service dealer.
When the range of the operation of the
card remote control becomes short or no
functions while operating. Replace the
lithium battery with a new button cell
(CR2025). Make sure the battery polarity
before replace.
Precautions on Using Lithium
Battery
Always keep the lithium battery beyond
children s reach. In case
swallowed, see a doctor immediately.
Cleaning the battery with a dry cloth,
to ensure its perfect connected.
Make sure the proper polarity when
loading with the battery.
To prevent short circuit, do not use
metal tweezer to clip the battery.
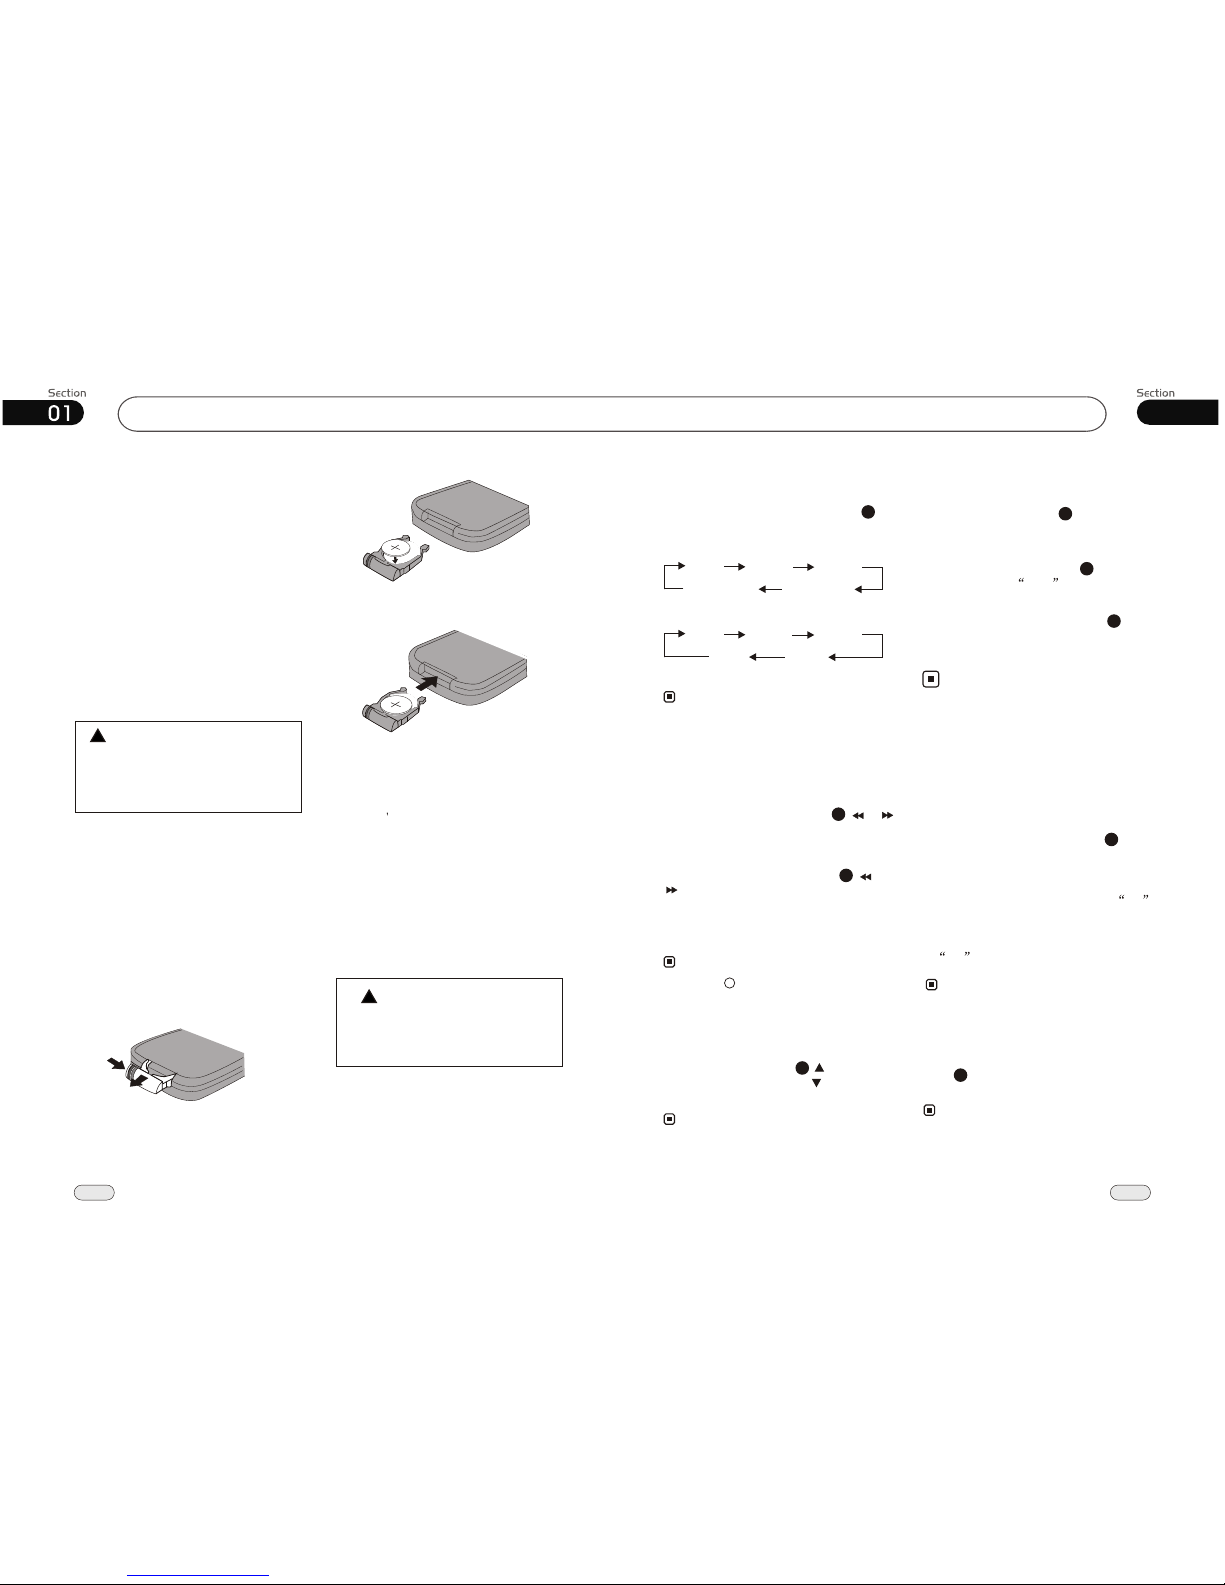
Gently pull out the Battery Holder while
pressing the Stopper.
Put the button-type battery with mark(+)
upward into the Battery Holder.
Replacing the Battery
Insert the Battery Holder into the Remote
Control.
!
Maintenance
Warning
Never use the fuse with the rated
amperage more than that supplied to
your unit, otherwise it will damage the
unit.
Warning!
Improper handle with the battery may
lead to explosion.
It cannot be charged , disassembled or
thrown into a fire.
!
Tuner
FM2
MW2(AM2) MW1(AM1)
FM3
FM1
FM2
LW MW
FM3
FM1
(For Two Bands)
During radio status, repeatedly press
BAND button to select bands in
lowing order:
the
fol
Band Selector
Manual/Automatic Tuning
Manual Tuning: Briefly pressing (
button on the remote control continuously to
select a or respectively.
or )
station downward upward
Automatic Tuning: ress and
button seconds, the
radio a station
or respectively and plays
when it finds a station.
P hold ( or
) for more than 3
automatically searches down-
ward upward
(For Three Bands)
It is set to LOC mode when button
is first pressed. LOC pears on the
display and only local tion is available.
LOC
ap
sta
It is switched to DX mode when
is pressed again. Both and local
stations can be received.
LOC
distance
During radio status, you can press ST
button on the remote control Mono
mode or Stereo
to select
mode.
DX/LOC Selector
During radio status, press LOC button on
the remote control to select or weak
station reception.
strong
Notes:
MO/ST Selector
Stereo reception is charged when ST
appears.
It is switched to MONO mode
disappears.
when
ST
3
5
6
Note:
Note:
Note:
20
1
1
2
2
* LOC mode is functional only in selecting
and memorizing stations.
* The initial mode is DX mode.
* Pressing BAND button on the head unit
performs the same function.
* Pressing button on the head unit performs
the same function.
12
Selecting the Stored Station
During radio mode, press to select the
upward stored station, press to select the
downward stored station.
Note:
27
* This function is only operated by using rem ote control.
* This function is only operated by using rem ote control.
20
5
5
On-screen display
Press OSD to display the current
information.
* This function is operated by using remote
control.
the
Note:
8
* This function is only operated by using rem ote control.
 Loading...