

Page 1
NOMAD
Model FS81202
Model FS81203
Model FS81204
FEATURES:
•
30 meters H2O
• Day/date/calendar
• Compass with degrees and direction
• Barometer with pressure trend
• Altimeter with cumulative ascent
and descent
• 99 lap memory chronograph
• Countdown timer
• 5 Alarms
• EL backlight
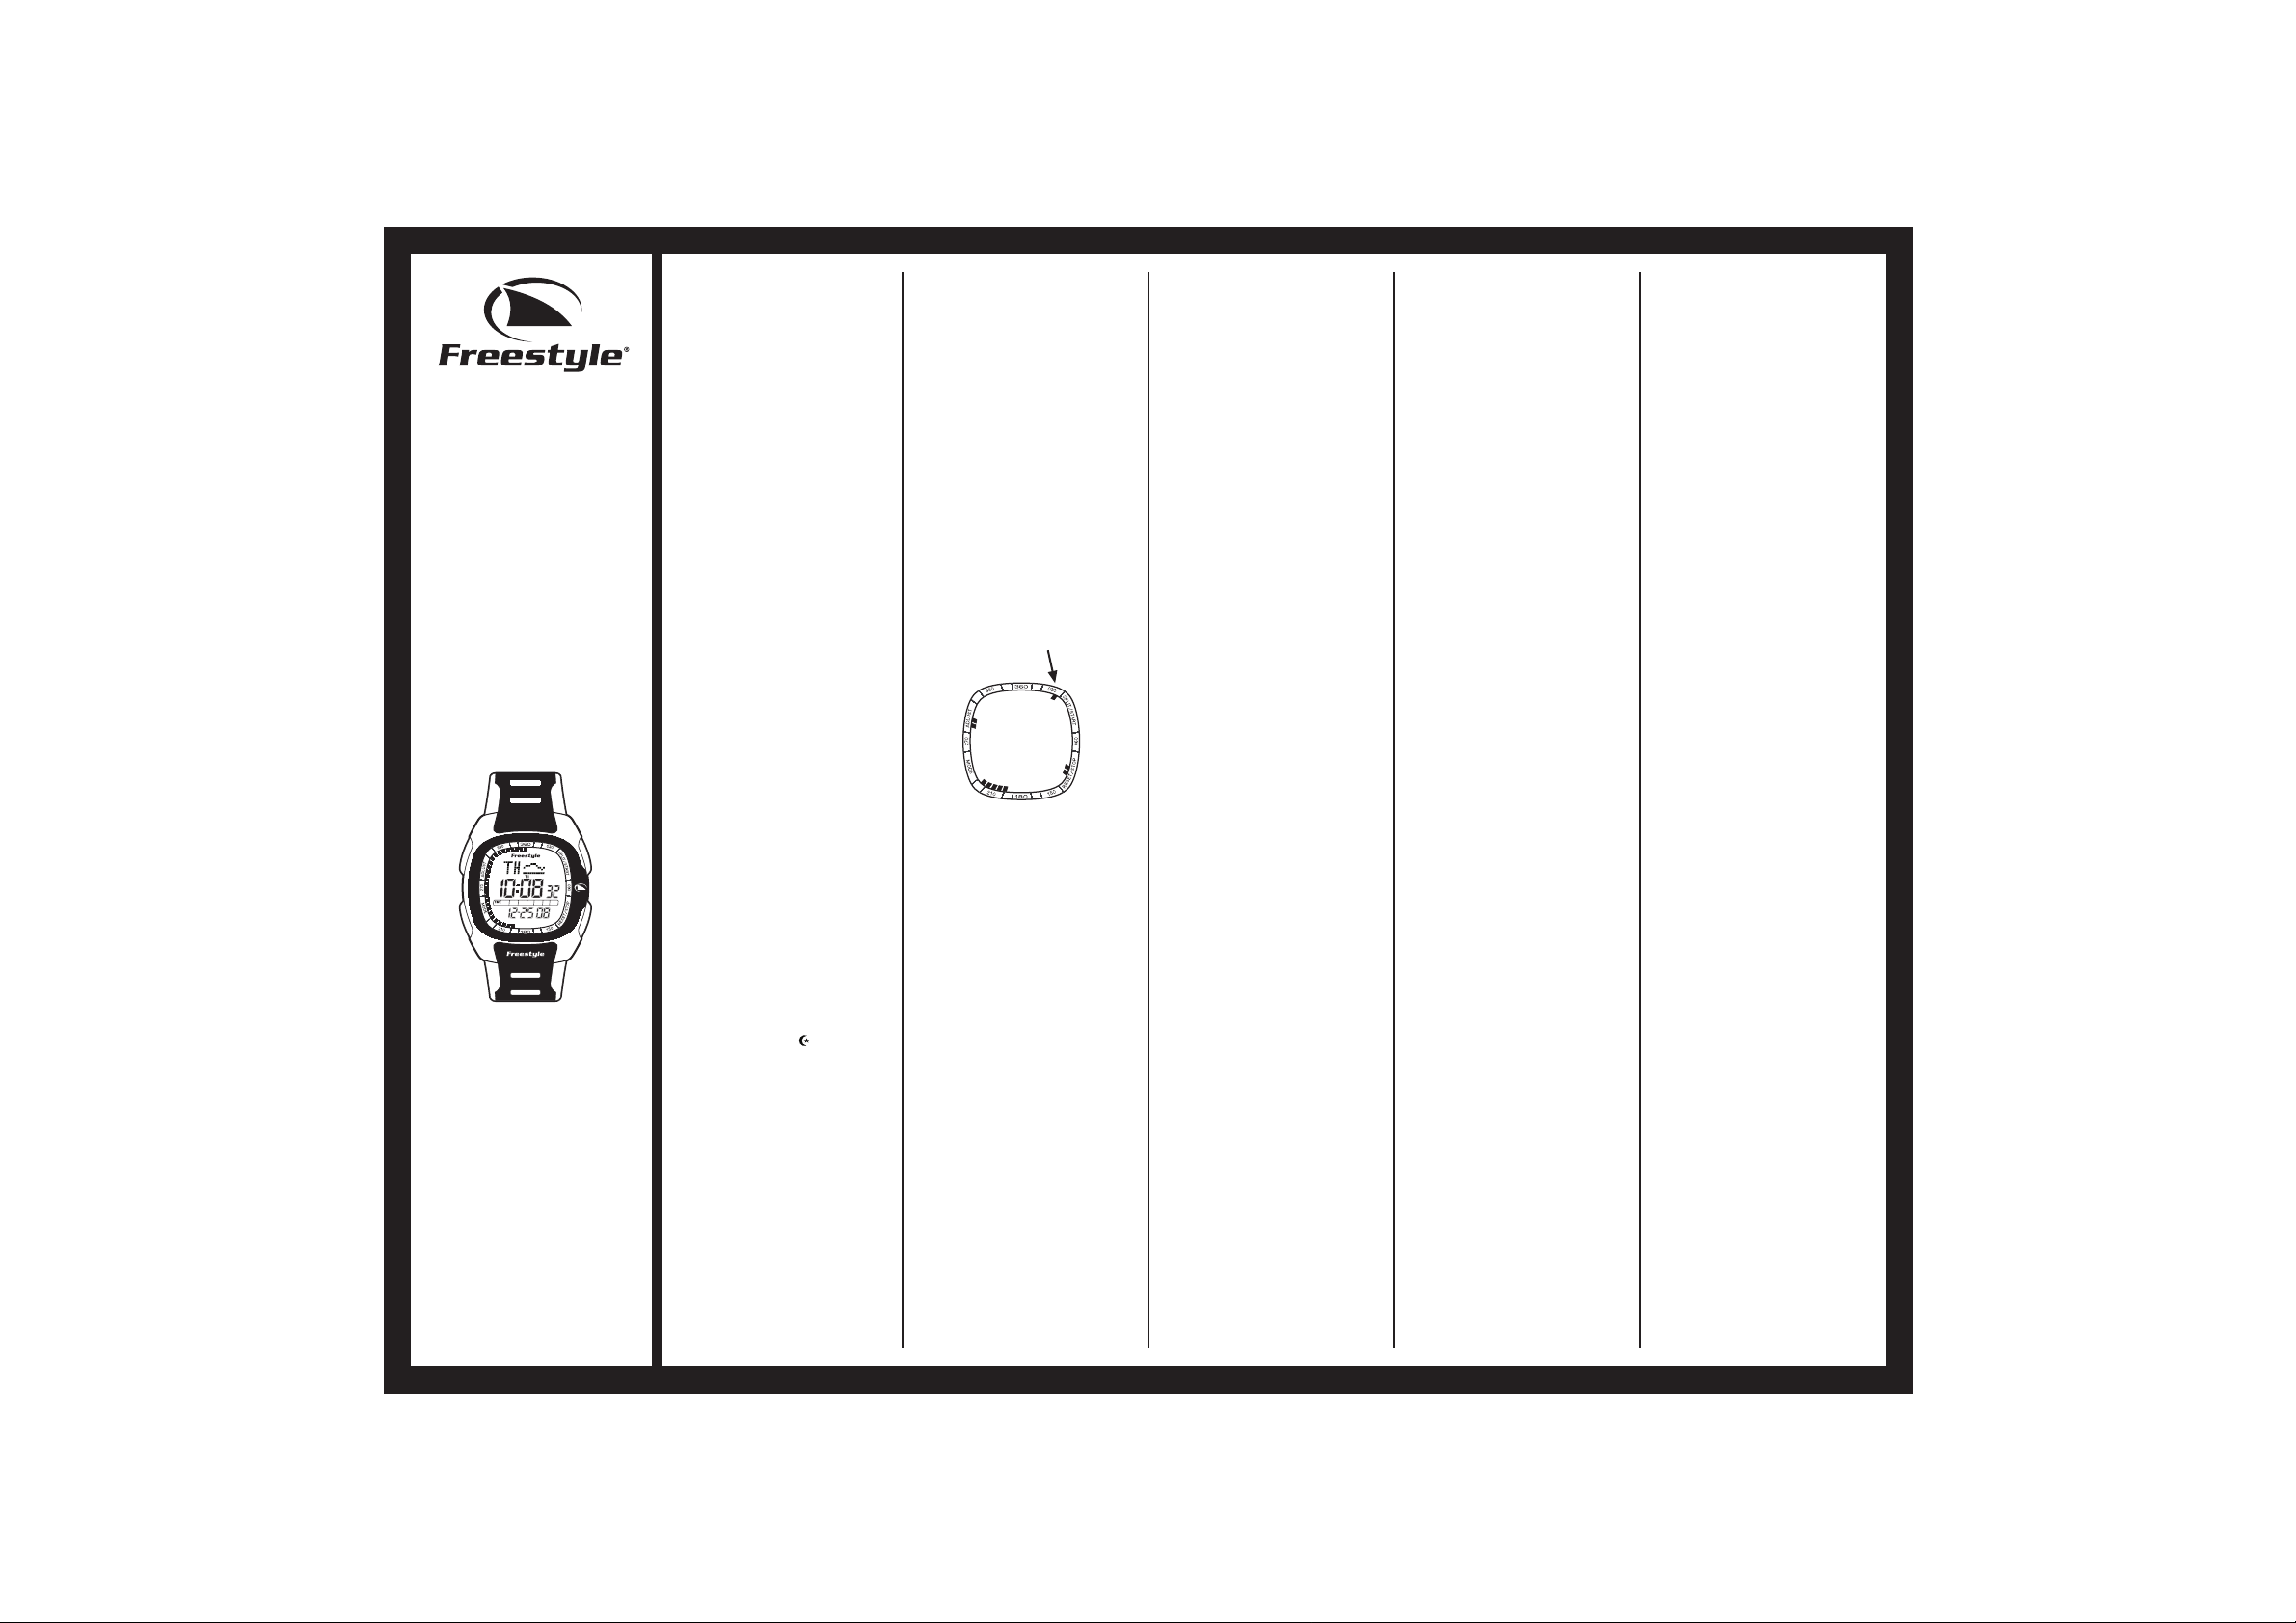
CONTROL BUTTONS
S1 – Start/split Button
S2 – Stop/reset Button
S3 – Mode Button
S4 – Light/adjust Button
S1S4
S2S3
DISPLAY MODES
The watch has eight display modes:
TIME, COMPASS (COMP), ALTIMETER
(ALTI), BAROMETER (BARO),
CHRONOGRAPH (CHRO), TIMER,
ALARM and TEMPERATURE (TEMP).
To change from one display mode to
another, press S3 button once. The
mode description will appear for
around 2 seconds befor e the selected
mode is activated.
TO USE THE BACKLIGHT
Press S4 button to turn on the
backlight for 3-5 seconds.
OTHERS
In any setting/viewing mode, if there
is no key manipulation for around 12 minutes, the watch will automatically
save the entered data and exit the
setting/viewing mode.
TO SET THE TIME AND
CALENDAR
1. Press S3 button to select TIME
mode.
2. Press S4 button for around 3
seconds.The message “Set-Time”
will be displayed.
3. Press S3 button once, the hour
digits will blink.
4. Press S1/S2 button to set the hour
digits. Holding down the button will
speed up the process.
5. Press S3 button once, the minute
digits will blink.
6. Press S1/S2 button to set the
minute digits.
7. Follow the same pattern to set the
second, year, month, date and hour
format.
8. To set the second digits, pr ess S1/S2
button to reset the second digits to
00.
9. To set the hour format, press S1/S2
button to toggle between 12-hour
and 24-hour format. The P.M.
indicator may be displayed to
indicate the time period 12:00 A.M.
– 11:59 P.M. in 12-hour format.
10.After finish making all the settings,
press S4 button to confirm.
TO SET NIGHT, CHIME AND BEEP
1. In TIME mode, press S4 button for
around 3 seconds. The message
“Set-Time” will be displayed.
2. Press S1/S2 button to select option
mode. The message “OPTION” will
be displayed.
3. Press S3 button continuously to
select among NIGHT, CHIME or
BEEP mode.
4. Press S1/S2 button to activate or
deactivate each mode.
5. After finish making all the settings,
press S4 button to confirm.
NOTE: When NIGHT mode is activated,
the NIGHT mode icon
The backlight will turn on for 3-5
seconds when any button is pressed.
NIGHT mode will turn off automatically
after 8 hours.
TO SHOW DUALTIME (T1 OR T2)
1. In TIME mode, press and hold S2
button to view T1 or T2 time zone.
2. Press and hold S2 button for ar ound
4 seconds to swich to display T1 or
T2 time zone.
3. Follow the same pattern to toggle
between displaying T1 and T2 time
zones.
will appear.
TO SHOW CALENDAR OR
TEMPERATURE
1. In TIME mode, press and hold S1
button to view calendar or
temperature.
2. Press and hold S1 button for 4
seconds to switch to display
calendar or temperature.
3. Follow the same pattern to toggle
between temperature and calendar
displays.
TO USE THE COMPASS
1. Press S3 button to select COMPASS
mode. The direction, degree and
time will be displayed.
NOTE: In COMPASS mode, if there is
no key manipulation for around 30
seconds, the compass sensor will be
deactivated for power saving. Press
S1/S2/S4 button to re-activate the
compass sensor. If the compass
sensor is deactivated for around 10
minutes, the watch will automatically
return to TIME mode.
NOTE: This moving dot repr esents the
direction of North (N).
TO TAKE A NEW “MARK ANGLE”
In COMPASS mode, pr ess S1 butt on to
take a “mark angle”. A new mark will
blink to indicate the marked direction
and a new “mark angle” (in degree)
will be displayed.
1. Press S1 button to take another
“mark angle”.
2. Press S2 button to return to
COMPASS mode.
TO SHOW THE LAST “MARK
ANGLE” OR TIME
1. In COMPASS mode, pr ess S2 button
to display to display the previous
“mark angle”. A mark will blink to
indicate the previously marked
direction and the previous “mark
angle” (in degree) will be displayed.
2. Press S2 button again to return to
COMPASS mode.
TO CALIBRATE THE COMPASS
1. In COMPASS mode, pr es s and hold
S4 for around 3 seconds. The
message “CALIB” will be displayed.
2. Press S3 button to start the
calibration.
3. When the message “2-TURN” is
displayed, a series of moving dots
will be displayed at the rim of the
display and increase in clockwise
direction. Rotate the watch
horizontally in counter-clockwise
direction in order to freeze the last
moving blinking dot to stay at 12hour position.
4. When the watch is rotated
completely for 360 degrees, the
message “1-TURN” will be
displayed. Rotate the watch again
in counter-clockwise direction.
5. To interrupt and st op the calibration,
press S4 button. The message
“DISTORT” will be displayed and
the watch will return to COMPASS
mode after 3 seconds.
6. When the calibration is done, the
message “DONE” will be displayed
and the watch will return to
COMPASS mode after 2 seconds.
TO SET THE DECLINATION
ANGLE
1. In COMPASS mode, pr es s and hold
S4 button for around 3 seconds. The
message “CALIB” will be displayed.
2. Press S1/S2 button to select
declination angle setting mode. The
message “DECLIN” will be
displayed.
3. Press S3 button, E will blink.
4. Press S1/S2 button to toggle
between E (East) & W (West).
5. Press S3 button. The declination
angle will blink.
6. Press S1/S2 to set the degree from
0˚ to 90˚.
7. After finish making all the settings,
press S4 button to return to
COMPASS mode.
TO USE THE ALTIMETER
1. Press S3 button to select
ALTIMETER mode.
2. The latest altitude will be displayed
in numeric and graphic formats.
TO SET UP THE ALTIMETER
1. In ALTIMETER mode, pr ess and hold
S4 button for around 1 second. The
message “SET-ALTI” will be
displayed.
2. Press S1/S2 button to select among
altitude setting mode (SET-ALTI),
sea level pressure setting mode
(SEA-Lv) or units setting mode
(UNITS).
3. Press S3 button once to enter into
each setting mode. Press S3 button
again to return to the mode
selection screen.
4. In altitude setting mode, press
S1/S2 button to set the altitude
digits.
5. In sea level pressure setting mode,
press S1/S2 button to set the sea
level pressure digits.
6. In units setting mode, press S1/S2
button to toggle between M (meter)
and Ft (feet).
7. After finish making all the settings,
press S4 button to return to
ALTIMETER mode.
TO SHOW THE LOG DATE AND
TIME
1. In ALTIMETER mode, press S2
button to display log date and time.
2. Press S3 button or leave the wat ch
idle for 5 seconds to return to
ALTIMETER mode.
TO CLEAR THE DATA
1. In ALTIMETER mode, pr ess and hold
S2 button for around 3 seconds to
clear all statistic data and graphic
data.
NOTE: After clearing the data, the first
new data will be updated after 2
seconds and another data will be taken
in every 30 minutes.
TO VIEW ALTITUDE AND OTHER
INFORMATION
1. In ALTIMETER mode, press S1
button to select displaying the data
of accumulative ascent (ASCENT),
accumulative descent (DESCENT),
difference in altitude (DIFFER), rate
(RATE) or time (TIME).
2. After showing the individual data at
the bottom for around 2 seconds,
the data in bar chart (graphic)
format will be displayed at the top.
NOTE: To reset the difference in
altitude to zero, press and hold S1
button for around 3 seconds when the
difference in altitude data is displayed.
TO VIEW DATA IN DETAIL
1. In ALTIMETER mode, press S4
button once. The message “VIEW
DATA” will be displayed.
2. After 3 seconds or by pressing
S1/S2 button, the message
“Highest” will be displayed.
3. Press S1 button to select displaying
the data of highest altitude
(Highest), lowest altitude (Lowest),
accumulative ascent (ASCENT),
accumulative descent (DESCENT),
difference in altitude (DIFFER) or
the individual statistic and graphic
data recorded. Press S2 button to
cycle the selection backward.
4. When displaying highest altitude,
lowest altitude and the individual
statistic and graphic data recorded,
the corresponding log time and date
will be swapping in every 2 seconds.
5. Press S3/S4 button or leave the
watch idle for 1 minute to r eturn t o
ALTIMETER mode.
TO USE THE BAROMETER
1. Press S3 button to select
BAROMETER mode.
2. The latest sea level pressure will
be displayed in numeric and graphic
formats.
TO SET UP THE BAROMETER
1. In BAROMETER mode, press and
hold S4 button. The message “Sea
-Lv” will be displayed.
2. Press S1/S2 button to select among
sea level pressure setting mode
(Sea-Lv) or units setting mode
(UNITS).
3. Press S3 button once to enter into
each setting mode. Press S3 button
again to return to the mode
selection screen.
4. In sea level pressure setting mode,
press S1/S2 button to set the sea
level pressure digits.
5. In units setting mode, press S1/S2
button to toggle between blinking
mbar (millibar) and inHg (inch of
Mercury).
6. After finish making all the settings,
press S4 button to return to
BAROMETER mode.
TO SHOW THE LOG DATE AND
TIME
1. In BAROMETER mode, press S2
button to display log date and time.
2. Press S3 button or leave the wat ch
idle for around 5 seconds t o return
to BAROMETER mode.
TO CLEAR THE DATA
1. In BAROMETER mode, press and
hold S2 button for around 3 seconds
to clear all statistic data and graphic
data.
NOTE: After clearing the data, the first
new data will be updated after 2
seconds and another data will be taken
in every hour.
TO VIEW BAROMETER AND
OTHER INFORMATION
1. In BAROMETER mode, press S1
button to select displaying the data
of sea level pressure (SEA-Lv), sea
level pressure change per hour
(dP/dt) or time (TIME).
2. Press S1 button continuously to
view data of Sea level pressure,
dP/dt (sea level pressure change
per hour) and Time.
3. After showing the individual data at
the bottom for around 2 seconds,
the data in trend (graphic) format
will be displayed at the top.
TO VIEW DATA IN DETAIL
1. In BAROMETER mode, press S4
button once. The message “VIEW
DATA” will be displayed.
2. After around 2 seconds or by
pressing S1/S2 button, the message
“MAX” will be displayed.
3. Press S1 button to select displaying
the data of maximum absolute
pressure (MAX), minimum absolute
pressure (MIN) or the statistic and
Page 2
graphic data recorded. Press S2
button to cycle the selection
backward.
4. When displaying maximum
absolute pressure, minimum
absolute pressure and the individual
statistic and graphic data recorded,
the corresponding log time and date
will be swapping in every 2 seconds.
5. Press S3/S4 button to return to
BAROMETER mode.
TO USE THE CHRONOGRAPH
1. Press S3 button to select
CHRONOGRAPH mode.
2. The chronograph will then be
displayed in its current sate – reset,
running or stopped.
3. To resume a counting, press S1
button to resume from where it left
off.
4. To start a new counting, reset the
chronograph to zero first.
Press S2 button to stop counting,
then press and hold S2 button for
around 3 seconds to reset the
counter to zero.
FOR THE MEASUREMENT OF
ELAPSED TIME
In CHRONOGRAPH mode,
1. Press S1 button to start counting.
2. To stop counting, press S2 button.
Press S1 button to resume from
where if left off.
3. To reset to zero, press S2 button to
stop counting, then press and hold
S2 button for around 3 seconds to
reset the counter to zero.
FOR THE MEASUREMENT OF
SPLIT TIME AND LAP TIME
In CHRONOGRAPH mode,
1. Press S1 button to start counting.
2. While the chronograph is running,
press S1 button once to register a
lap. Both the split time and lap time
will be displayed.
After 3 seconds, the currently
accumulated split time and lap time
will be displayed.
3. Repeat the last step until all the
laps have been registered.
4. To stop counting, press S2 button.
Press S1 button to resume from
where if left off.
5. To reset to zero, press S2 button to
stop counting, then press and hold
S2 button for around 3 seconds to
reset the counter to zero.
NOTE: The watch can record up to a
maximum of 99 laps. During a
measurement of split time and lap
time, the message “FULL” will be
displayed when the memory is full.
TO USE THE RECALL FUNCTION
1. After the measurement of split
time, press S4 button to select
RECALL mode when the
chronograph is stopped.
2. After 2 seconds or by pressing
S1/S2 button, the sum of time of all
lap counting (TOTAL) will be
displayed.
3. Press S1/S2 button to select
displaying the sum of time of all lap
counting (TOTAL), best lap (BEST),
average time (AVERAGE) or
individual lap record (LAP-XX).
4. Press S4 button to return to
CHRONOGRAPH mode or press S3
button to return to TIME mode.
NOTE: The lap recor d(s) will be clear ed
when chronograph is reset.
NOTE: The average time (AVERAGE)
is the total time of all lap counting
over the number of lap count.
TO SET THE TIMER
1. Press S3 button to select TIMER
mode.
2. Press and hold S4 button for ar ound
3 seconds, the second digits will
blink.
3. Press S1/S2 button to set the
second digits. Holding down the
button will speed up the process.
4. Press S3 button, the minute digits
will blink.
5. Press S1/S2 button to set the
minute digits.
6. Press S3 button, the hour digits will
blink.
7. Press S1/S2 button to set the hour
digits.
8. Press S3 button, the mode selection
will blink.
9. Press S1/S2 to select among
countdown stop mode (Cd-STOP),
countdown up mode (Cd-UP) and
countdown repeat mode (REP-00).
10.After finish making all the settings,
press S4 button to confirm.
TO USE THE TIMER
In countdown stop mode (Cd-STOP),
1. Press S1 button to start counting.
The timer icon
2. To stop counting, press S2 button.
Press S1 button to resume from
where it left off.
3. To r eload the timer, pr es s S2 button
to stop counting, and then press S2
button again to reload the timer to
the preset value.
4. After reaching zero in a countdo wn,
a beep sound will be emitted and
the timer icon
seconds. The timer will then be
reloaded to the preset value.
In countdown up mode (Cd-UP),
1. Press S1 button to start counting.
The timer icon
2. To stop counting, press S2 button.
Press S1 button to resume from
will appear.
will blink for 10
will appear.
where it left off.
3. After reaching zero in a countdo wn,
a beep sound will be emitted and
the time icon
seconds. The timer will
start counting up simultaneously.
4. Press S2 button once to stop
counting. Press S2 button again to
reload the timer to the pr eset value.
In countdown repeat mode (REP-00),
for time value < 1 minute:
1. Press S1 button to start counting.
2. To stop counting, press S2 button.
Press S1 button to resume from
where it left off.
3. After reaching zero in a countdo wn,
a beep sound will be emitted for 1
second. The timer will repeat
counting at the preset value
simultaneously.
4. Press S2 button once to stop
counting. Press S2 button again to
reload the timer to the pr eset value.
for time value > 1 minute:
1. Press S1 button to start counting.
2. To stop counting, press S2 button.
Press S1 button to resume from
where it left off.
3. After reaching zero in a countdo wn,
a beep sound will be emitted and
the timer icon
seconds. The timer will repeat
counting at the preset value
simultaneously.
4. Press S2 button once to stop
counting. Press S2 button again to
reload the timer to the pr eset value.
NOTE: In countdown repeat mode, the
maximum number of repetition is 100
(REP-00 to REP-99).
NOTE: When timer beep sound is
emitted, press any button to disable
the beep sound.
will blink for 10
will blink for 10
TO SELECT AND SET ON/OFF
THE ALARM
1. Press S3 button to select ALARM
mode.
2. Press S2 button to select from
ALARM 1 (AL-1) to ALARM 5 (AL-
5). Each alarm can be set as
different modes - time alarm,
altitude alarm or pressure alarm.
3. Press S1 button to toggle between
on and off of the alarm. If the alarm
is on, the alarm icon
will appear.
TO SELECT THE ALARM MODE
OF INDIVIDUAL ALARM
1. In individual alarm (AL-1 to AL-5),
press and hold S4 button for ar ound
3 seconds. The message “Time-AL”
will be displayed.
2. Press S1/S2 button to select time
alarm setting mode (Time-AL),
altitude alarm setting mode (ALTI-
AL) or pressure alarm (BARO-AL).
3. Press S3 button to enter into each
setting mode.
4. Press S4 button to r eturn to ALARM
mode.
TO SET THE TIME ALARM
In time alarm setting mode,
1. Press S1/S2 button to set the hour
digits. Holding down the button will
speed up the process.
2. Press S3 button once, the minute
digits will blink. Press S1/S2 button
to set the minute digits.
3. Press S3 button to set the time
zone. Press S1/S2 button to toggle
between T1 and T2 time zones.
4. After finishing making all the
settings, press S4 button to return
to ALARM mode.
TO SET THE ALTITUDE ALARM
In altitude alarm setting mode,
1. Press S1/S2 button to set the
altitude value (in units M (meter) or
Ft (feet)). Holding down the button
will speed up the process.
2. After finishing making all the
settings, press S4 button to return
to ALARM mode.
NOTE: When altitude arrives or over
the set value, a beep sound will be
emitted for 20 seconds. Then the alarm
will be deactivated automatically.
NOTE: The altitude value can be set
from -1600 ft. (-500m) to 29500 ft.
(9000m).
TO SET THE PRESSURE ALARM
In pressure alarm setting mode,
1. Press S1/S2 button to set the
pressure value (in units mbar
(millibar) or Ft (feet)). Holding down
the button will speed up the
process.
2. After finishing making all the
settings, press S4 button to return
to ALARM mode.
WHEN AN ALARM GOES OFF
When any alarm alerts, press any
button to stop the alarm.
NOTE: Individual alarm will
automatically be activated after being
set.
TO SHOW THE TEMPERATURE
1. Press S3 button to select
TEMPERATURE mode.
2. Press S1/S2 button to toggle
between ºC and ºF.
TO SET THE OFFSET
In TEMPERATURE mode,
1. Press and hold S4 button for ar ound
3 seconds, the temperature value
will blink.
2. Press S1/S2 to offset the
temperature value (in units ºC or
ºF).
3. After finishing making all the
settings, press S4 button to return
to TEMPERATURE mode.
NOTE: The temperature offset range
is +/- 5 ºC or +/- 10ºF.
NOTE: The temperature measuring
range is -10 ºC - 60 ºC or 14 ºF - 140
ºF.
NOTE: If the measured temperature
value is out of measuring range, the
temperature value will be shown as
“---”.
WATER RESISTANCE GUIDE
WATER RESISTANCE
3 ATM / 50 METERS / 100 FEET /
30 METERS H2O
5 ATM / 50 METERS / 165 FEET /
50 METERS H2O
10 ATM / 100 METERS / 330 FEET /
100 METERS H2O
20 ATM / 200 METERS / 660 FEET /
200 METERS H2O
SUITABLE ATMOSPHERE
Suitable for washing hands and light splashing
Suitable for light swimming. E.g.: Bathing in a pool or low
tide waters, but not suitable for diving
Suitable for most water sorts. E.g.: Swimming,
surfing and snorkeling, but not suitable for deep water diving
Suitable for most water sports including deep water diving
FOLLOW THESE 8 TIPS TO GET THE
MOST OUT OF YOUR NEW WAT CH!
1. Never pull out the crown or operat e
the pushers/buttons under water.
2. Make sure your cr own is returned
to the original position before you
expose your watch to water.
3. If your watch is exposed to
saltwater it is very important to
wash it thoroughly under tap water
and wipe dry with a soft cloth.
Keep it clean!
4. Severe impacts or drops may
affect your watches water
resistance and performanc e.
5. Av oid e xposing your Freestyle
watch to extreme temperatures
such as in a hot shower, Jacuzzi,
sauna or hot tub. The combination
of extreme heat and water may
cause your watch to lose some of
its water resistance.
6. Avoid exposing your watch to
chemicals, soaps or solvents as
they deteriorate the water resist
seals in your watch.
7. Never try to remove the c aseback,
leave this to a certified watch r epair
technician or Freestyl e servic e
center. This will help in preventing
water leakage from impr oper
battery replacement.
8. It is advisable t o hav e your wat ch
pressure tes t ed annuall y and to
re-furbish your watch every 2-3
years to extend the life of the watch.
Page 3

LIMITED LIFETIME WARRANTY
Freestyl e U.S.A. warrants, t o the
original purchaser, that its watches
are free fr om def ects in mat erials
and workmanship for the lifetime
of the watch (under normal use)
from date of original purchase.
The following are not c ov ered under
warranty: battery, strap/bracelet/
band and crystal.
Accidental breakage or damage
due to normal wear or misuse of
the product, including but not limited
to the mathematical accuracy of
the product, is not cover ed under
this warranty. Some st ates do not
allow limitations on how long an
implied warranty lasts, or the
exclusions of or limitations on
consequential damages, so the
above limitation may not apply to
you. This warranty gives you
specific legal rights, and you may
have other rights, which vary from
state to state.
Under this warranty FREESTYLE
will make any necessary repair s, if
applicable, at no cost to you the
consumer. Any repair needed that
is not under warranty will be at the
cost of you the consumer. Proof
of purchase and / or original receipt
it needed to validate your warranty.
Your warranty is v oided by any
servicing out by a non-authorized
agent. Any other form of guarantee
to you by the retailer is his / her
responsibility . This warr anty applies
to watches purchased in the United
States. For watches pur chased
outside the United States, please
contact you authorized
FREESTYLE dealer for warranty
information.
Please send to the address bel ow
and include the following (w/ the
form included on either this page
or the flipside)
A copy of your original sales
1)
receipt
Your printed name, address,
2)
phone number and a brief
description of the problem.
3)
A Check, Money Order payable
to Freestyl e USA in the amount
of $8.50 for processing and
handling. If using a Credit Card,
be sure to include card number
and expiration date on included
form.
FREESTYLE
Attn: Individual Returns
47-50 33rd Street
Long Island City, NY 11101
1-888-222-5230 ext.502
www.fr eestyleusa.com
Should the warranty on your watch
no longer be valid or found to be
voided, please see the enclosed
mailing form (on this page or
flipside) for replacement cos ts per
item. Please do not include any
special watchband or any other
items of personal value in your
shipment. Allow 30 days for
processing and the r eturn of your
serviced watch.
Attn: Individual Returns
47-50 33rd Street
Long Island City, NY 11101
1-888-222-5230 ext.502
www.fr eestyleusa.com
Battery $ 4.00
Case 10.00
Bezel 6.00
Band(Polyurethane) 12.00
Band(Leather) 12.00
Band(Metal) 20.00
Band(Nylon) 7.00
Processing and handling 8.50
Total $
Check or Money Order
Master Card
Visa
Card #
Exp Date
Name
Adress
Phone #
Signature
visit our site
www.freestyleusa.com
Nomad-01
 Loading...