

Page 1

8-bit USB Microcontrollers
DEMO9S08JS16
Lab tutorial
DEMO9S08JS16—Lab Tutorial
Page 2
DEMO9S08JS16—Lab Tutorial
Introduction
These labs provide various USB examples included with the complimentary USB stack for
MC9S08JS16 (JS16) microcontroller (MCU). Instructions to install the software stack are
explained in the DEMO9S08JS16 Quick Start Guide (DEMO9S08JS16 QSG). Start each
lab with the board powered “On” and both provided USB cables connected between host
and board.
The USB-MINI stack gets installed at
C:\Program files\MC9S08JS16Demo.
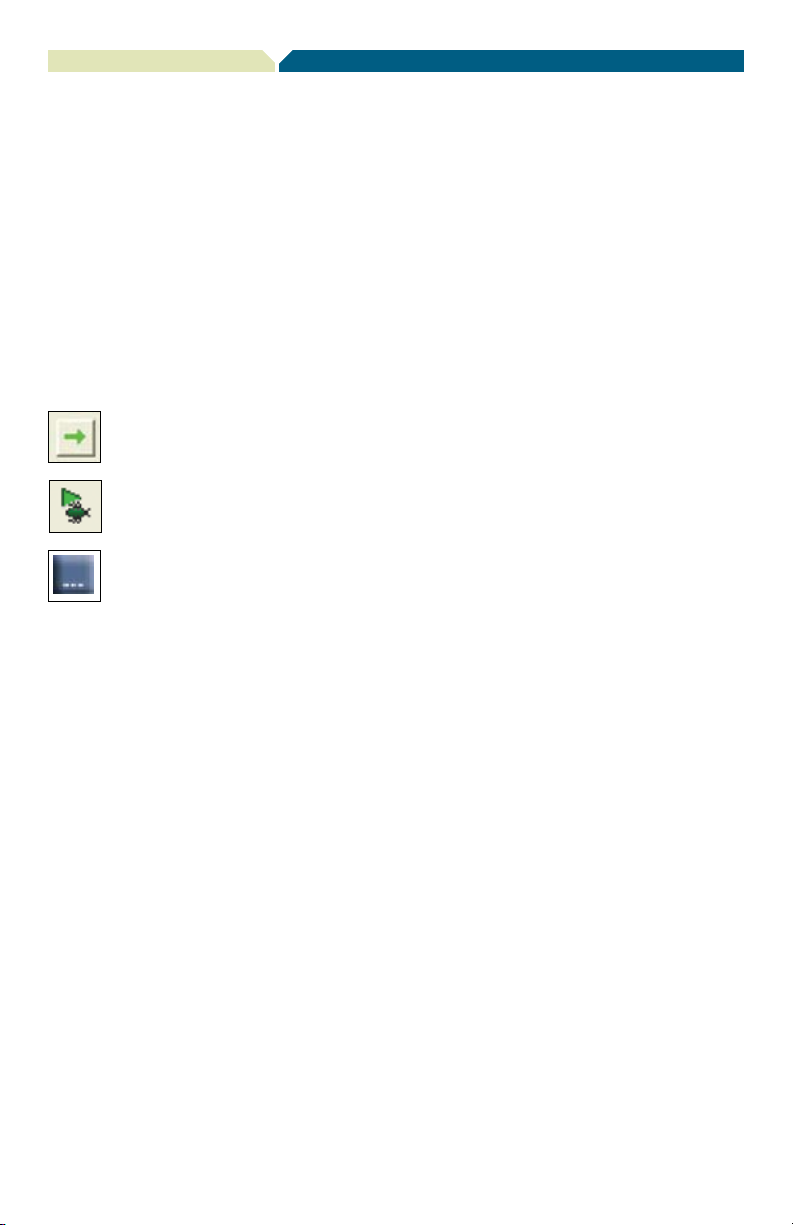
Start/Continue (F5) button
Debug button
USB bootloader GUI button
Page 3

DEMO9S08JS16—Lab Tutorial
Step-by-Step Installation Instructions
LAB
1
HID Class Keyboard
Start this lab with the board powered “On” and both provided USB cables connected between
host and board.
1. Open CodeWarrior™ for Microcontrollers. From the
Windows start menu, you can locate it using the path
“Programs>Freescale CodeWarrior>CW for Microcontroller
V6.2>CodeWarrior IDE.exe.”
2. From the CodeWarrior startup dialog, click “Start Using
CodeWarrior.”
3. Open the HID keyboard example project by pressing
“Ctrl” + “O” keys simultaneously. Follow C:\Program
Files\MC9S08JS16Demo\JS16_HID_Keyboard and select
“JS16_HID_Keyboard.mcp,” then click “Open.”
4. Remove all jumpers on J4 (demo board).
5. With the board turned on and both cables attached between
host and board, compile and program the JS16 MCU with
the HID class keyboard by clicking the button to launch the
debugger.
6. From the connection manager menu, select “DEMOJM on
USB1” port and click “Connect (Reset).”
7. From the Erase and Program Flash menu, click “Yes” to
allow the debugger to mass erase the MCU’s on-chip flash
memory and program it with the new application.
8. Click the “Start/Continue (F5)” button in the debugger to
run the application. Close the debugger.
9. Your computer will automatically recognize the JS16 as
a HID keyboard and begin the installation without user
interaction. When the installation is complete, the JS16 will
behave as a keyboard.
10. Click button labeled “PTG1” for Page Up key action.
11. Click button labeled “PTG2” for Page Down key action.
12. Click button labeled “PTG3” for Caps Lock key action; the
LED labeled “PTE3” will be switched on or off.
13. Click the Num Lock and/or Caps Lock key on your
computer keyboard; the “PTE2” and/or “PTE3” LEDs will
turn on/off respectively.
Page 4

DEMO9S08JS16—Lab Tutorial
LAB
2
CDC Serial Bridge
This lab demonstrates a bridge between CDC and a serial port (SCI). The CDC-Serial example
emulates a virtual serial port on the PC. The instructions below will guide you to program the
JS16 MCU, install the driver for the virtual serial port and communicate with a true serial port
using the two independent terminal windows.
1. Open CodeWarrior for Microcontrollers. From the
Windows start menu, you can locate it using the path
“Programs>Freescale CodeWarrior>CW for Microcontroller
V6.2>CodeWarrior IDE.exe.”
2. From the CodeWarrior startup dialog, click “Start Using
CodeWarrior.”
3. Open the CDC-Serial example project by pressing “Ctrl”
+ “O” keys simultaneously. Follow C:\Program Files\
MC9S08JS16Demo\JS16_CDC_Serial and select
“JS16_CDC_Serial.mcp” and click “Open.”
4. Short 1&2, 3&4 of J4 with jumpers.
5. With the board turned on and both cables
6. From the connection manager menu, select “DEMOJM on
7. From the Erase and Program Flash menu, click “Yes” to
8. Click the “Start/Continue (F5)” button in the
9. Your computer will automatically recognize the JS16 as a
attached between host and board, compile and
program the JS16 MCU with CDC serial example
by clicking the button to launch the debugger.
USB1” port and click
“Connect (Reset).”
allow the debugger to mass erase the MCU’s on-chip flash
memory and program it with the new application.
debugger to run the application. Close the
debugger.
CDC device and begin the installation. Some interaction is
needed to install the USB driver. When prompted by
the computer to specify a location, select the
“MC9S08JS16CDC.inf” driver located
in C:\Program Files\MC9S08JS16Demo\JS16_CDC_Serial.
When hardware installation is
complete, the JS16 will be recognized as a CDC device with
an assigned virtual COM port.
10. Verify the virtual COM port assigned to your board in the
device manager under
“Port (COM and LTP).” In the following figure, the CDCserial virtual port has been
11. Launch two terminal window utilities. You can use either
HyperTerminal or P&E Micro Toolkit terminal window for
CDC commands, however, P&E Micro Toolkit terminal
window must be used for UART commands. HyperTerminal
can be found under Start>Programs>Accessories>Com
munications and P&E Micro Toolkit terminal window can
be found under Start>Programs>P&E Embedded Multilink
Toolkit>Utilities.
12. In terminal window 1 (HyperTerminal), set the port
assigned to your board per device manager.
13. Set the baud rate to 9600.
14. Open COM port.
15. In terminal window 2 (P&E Micro Toolkit terminal window
utility), set port to
USB COM.
16. Set the baud rate to 9600.
17. Click “Open Serial Port” button.
18. Type “Hello, Freescale!” or any other characters in CDC
window utility and see them appear on UART window and
vice-versa.
19. Close COM port and terminal windows.
Page 5

DEMO9S08JS16—Lab Tutorial
LAB
3
USB Bootloader
This lab will demonstrate how to use the USB bootloader to update/download the firmware.
The GUI for the USB bootloader needs to be installed before the beginning of this lab. The
installation is described in the DEMO9S08JS16 Quick Start Guide. A detailed document on the
USB bootloader is available for reference, “Bootloader GUI User Manual.” The following steps
demonstrate how to update/download the firmware to the JS16 flash.
1. With the board connected and both the cables attached
between host and board, press and hold the button labeled
“PTG0” while you power on the demo board.
2. Release button labeled “PTG0.”
3. Your computer will prompt that a new USB device is found
and present a dialog that will let you select the method
to install the software of the new device. You can select
“Install the software automatically (recommended),” then
click the “Next” button.
4. The Windows operating system will complete the driver
installation automatically. Now you can check the JS family
bootloader in the device manager under Universal Serial
Bus controllers folder.
5. Open the family bootloader V1.0 GUI using the path
“Start>Programs>Freescale>JS Family Bootloader.” The
USB bootloader GUI is shown above.
6. Click the button in the USB bootloader GUI.
Keyboard\bin.
7. Click the “Mass Erase” button to erase the content in flash.
8. Click the “Program” button, and the HID keyboard firmware
will update/download to the JS16 flash automatically. The
status window at the right of the GUI will display the status
of update process.
9. After the “program” process is completed, click the “Reset”
button to reset the MCU. The firmware downloaded into
flash memory is now ready to work.
When the file open dialog pops up, select the
“Project.abs.s19” file located in C:\Program
files\ MC9S08JS16Demo\JS16_HID_
Page 6

DEMO9S08JS16—Lab Tutorial
DEMO9S08JS16
LEDs
External Power
Connector
P&E Micro
Embedded
Multi-Link USB
Connector
Mini-AB USB
Conector
Push Buttons
Speaker
DC9S08JS16
Daughter Card
Figure 1. DEMO9S08JS16
Page 7

DEMO9S08JS16—Lab Tutorial
MCU Port Connector Pin Out
The following is a pinout diagram for the MCU port connector on the DEMO9S08JS16
board Rev D.
Symbol Number Number Symbol
VDD 1 2 PTB0/IRQ/TCLK
VSS 3 4 PTB1/RESET
PTA7/KBIP7/TxD 5 6 PTB2/BKGD/MS
PTA6/KBIP6/RxD 7 8 VUSB33
PTB3/BLMS 9 10 PTB0/IRQ/TCLK
PTA1/KBIP1/MISO 11 12 PTB1/RESET
PTA0/KBIP0/TPMCH0 13 14 PTB2/BKGD/MS
PTA5/KBIP5/TPMCH1 15 16 PTB3/BLMS
PTA2/KBIP2/MOSI 17 18 PTB4/XTAL
PTA1/KBIP1/MISO 19 20 PTB5/EXTAL
PTA3/KBIP3/SPSCK 21 30 PTA6/KBIP6/RxD
PTA4/KBIP4/SS 23 32 PTA7/KBIP7/TxD
N/C 25 42 PTB4/XTAL
N/C 27 44 PTB5/EXTAL
N/C 29 46 PTA0/KBIP0/TPMCH0
N/C 31 48 PTA1/KBIP1/MISO
N/C 33 50 PTA2/KBIP2/MOSI
N/C 35 52 PTA3/KBIP3/SPSCK
N/C 37 54 PTA4/KBIP4/SS
N/C 39 56 PTA5/KBIP5/TPMCH1
Page 8

DEMO9S08JS16—Lab Tutorial
Default Jumper Settings
The following is a list of default jumper settings for the DEMOJM board used for the
MC9S08JS16 demo. The settings listed indicate the ON (or installed) position.
Jumper Installed Settings
J3 3&4
J4 ALL OFF
J6 2&3
J7 1&2
J8 1&2, 3&4
J10 OFF
J11 1&2
J12 1&2
J13 ALL OFF
J14 ALL OFF
J15 OFF
J16 OFF
J17 1&2, 3&4, 5&6, 7&8, 9&10, 11&12, 13&14, 15&16
J18 2&3
J19 2&3
J20 2&3
J21 ALL OFF
J24 1&2
J27 1&2, 3&4, 5&6, 7&8
J28 1&2, 3&4
J29 1&2, 3&4
J30 1&2
J31 ALL OFF
J32 ALL OFF
J33 1&2
Learn More:
Freescale and the Freescale logo are trademarks or registered trademarks
of Freescale Semiconductor, Inc. in the U.S. an d other coun tries. All o ther
product or service names are the property of their respective owners.
© Freescale Semiconductor, Inc. 2008.
Doc Number: JS16LB / REV 0
Agile Number: 926-77813 / REV A
For more information about
Freescale products, please visit
www.freescale.com/usb
 Loading...