

Freedom9 freeStor 4020, N0042000 Quick Install Manual
Quick Install Guide
4020
Quick Install Guide for the freeStor 4020 Default Settings
freedom to succeed
freeStor
PACKAGE CONTENTS:
• freeStor 4020
• Power cord
• RJ-45 Ethernet cable
• Sixteen (16) hard drive screws
• DSE client, firmware, user manual CD
• DSE boot CD
freeStor 4020
(N0042000)
A. HARDWARE INSTALLATION:
1. For each hard drive you are installing, remove a hard
drive tray from the freeStor 4020, starting from the top.
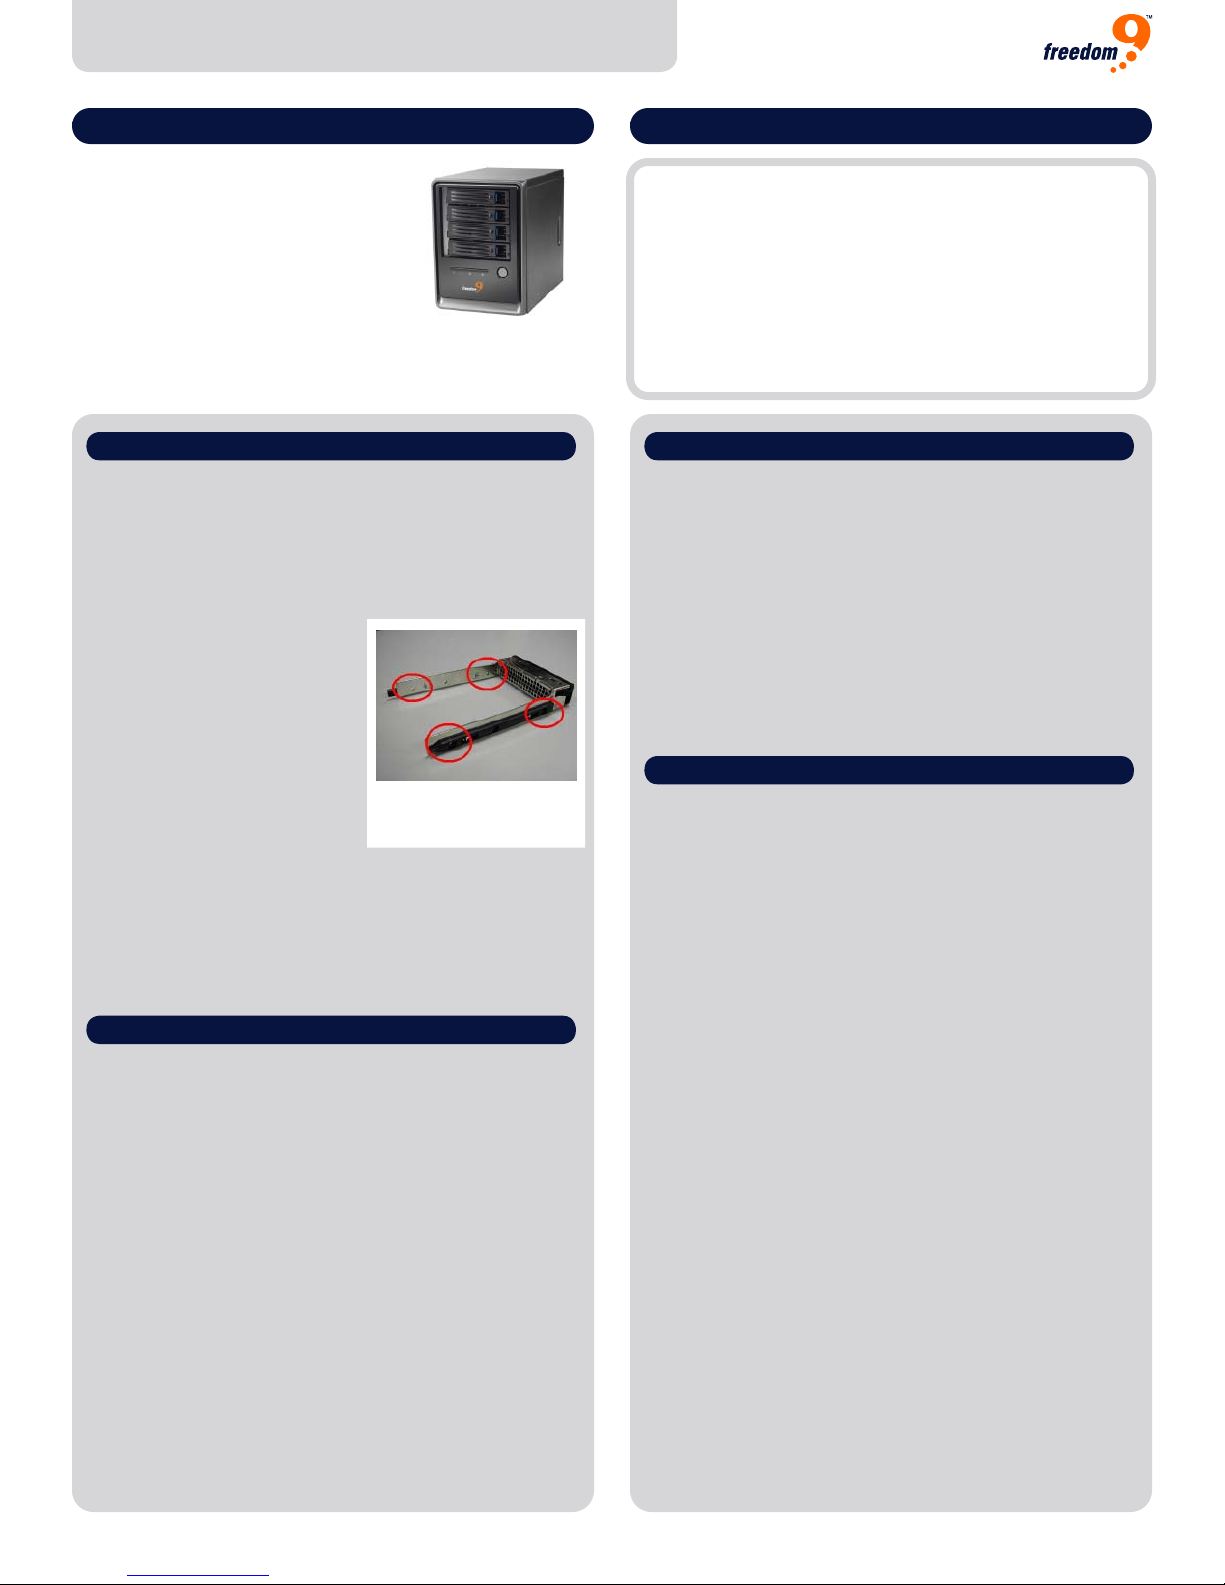
2. Attach the hard drive to the tray by attaching four (4)
screws to the bottom of the hard drive through the
holes in the bottom of the tray (Figure 1).
3. Insert the hard drive and
tray back into the freeStor
4020 until it reaches the end,
then close the latch and turn
the lock to lock it if desired.
4. Connect an Ethernet cable
from your computer directly
to the back of the freeStor
4020.
5. Connect the power cord
from the unit to a surge
protected power outlet. An uninteruptable power supply
(UPS) is recommended to prevent the unit from losing
power during a power outage and potentially corrupting
the data.
6. Power on the device.
Figure 1:
Attaching the hard drive
to the tray
B. SYSTEM SETUP:
1. To access the device, your computer will need to be
configured to be on the same subnet as the unit. The
unit’s default IP address is 192.168.0.101 with a
subnet mask of 255.255.255.0, which means your
computer will have to have an IP address such as
192.168.0.25 with a subnet mask of 255.255.255.0. To
change your network settings, please consult the help
guide for your operating system.
Note: If the unit is connected to a network with a DHCP
server, it will obtain an IP address automatically from the
DHCP server.
2. Open your web browser (Internet Explorer 6 or above
is recommended) and type “https://192.168.0.101” in
the address bar and press <ENTER>.
3. The first time you access the system, you will have to
upload the firmware found on the CD onto the hard
drives so the system can use them. When the System
PARAMETER:
• username -->
• password -->
• IP address -->
• subnet mask -->
DEFAULT SETTINGS:
admin
storage
192.168.0.101
255.255.255.0
B. SYSTEM SETUP (Continued):
Initialization screen is displayed, verify the hard drive
information is correct, and then insert the install CD into
your computer and click “Browse...” and browse to the
.pkg file on the CD and click “Open”. Once the filename
is in the text box, click “Upload” and wait for the
firmware to be loaded onto the unit.
4. Once the upgrade is complete, proceed through the
initial configuration wizard, following the instructions on
the screen. For more information, refer to section 2.3 in
the manual.
C. SETTING UP FILE SHARING IN WINDOWS:
1.Using the Web User Interface, select “Users” from the
main menu. Add the user(s) who will have access to the
folders.
2. Select “Shared Folders” from the main menu and
click “Add”.
3. Enter a name for the shared folder and then add the
Users to the folder that should have access to the folder.
4. From a user’s Windows PC (Mac users should consult
the manual), go to Windows Explorer > Tools > Map
Network Drive.
5. Select the drive letter and browse to or type the folder
location on the freeStor 4020.
6. Log into the shared folder using the assigned
username and password.
Revision 2.3 Specifications are subject to change without notice. Copyright 2007 Freedom9 Inc.
ww
w.freedom 9.com
1-888-998-9189
 Loading...