

Freedom9 freeView Pro C80H Quick Install Manual
freeView Pro C80H
Quick Install Guide
Introduction
The is an ideal solution for network administrators with multiple servers and platforms. The 15-inch
freeView Pro C80H
LCD monitor and industrial keyboard and touch pad make for a user friendly and reliable console. The built-in KVM switch
allows access to up to 8 servers independent of the operating system installed.
Hardware Installation
Connecting a Server to the :
1.
Ensure the server is powered off. You should always turn off your server before connecting or disconnecting a
freeView Pro C80H
device to prevent damage to the server.
2.
Connect the single DB-25 end of the included KVM cable to the "Port 1" connector on the .
3.
Connect the video (DB-25) connector on the other end of the KVM cable to the video card connector on the
freeView Pro C80H
server.
4.
Identify and connect the PS/2 mouse and PS/2 keyboard connector to the correct PS/2 ports on the server. There
is a mouse and keyboard icon on the PS/2 connectors on the cable to identify them.
5.
Connect the AC power cord to the power socket on the drawer and then to a power outlet.
6. Connect an Ethernet cable to the LAN port and/or modem to RS-232 serial port, depending on how you want to
access the unit.
7. Power on the unit.
8. Power on the server.
Operation
1. Pull out the keyboard and monitor, and flip the monitor up.
2. Power on the .
freeView Pro C80H
3. You will be prompted to enter a password, the default password is “00000000”. Remember to change the
password using the on-screen display (OSD) immediately to prevent unauthorized access to the unit. Refer to the
manual for details on using the OSD.
4. Power on the server if it is not currently on.
5. You will now be able to see what is being displayed by the server on the screen and control the server using the
freeView Pro C80H's
Hot Keys
You can control the operation of the KVM using key
combinations known as Hot Keys. Hot key commands
are initiated by pressing the “Scroll Lock” key twice in
succession followed by the command when the unit is
on.
Refer to table 1-1 for a list of available commands.
keyboard and touch pad.
Key Combination Action
Scroll Lock + Scroll Lock + Previous Channel
Scroll Lock + Scroll Lock + Next Channel
Scroll Lock + Scroll Lock + Page Up Previous Bank
Scroll Lock + Scroll Lock + Page Down Next Bank
Scroll Lock + Scroll Lock + Bank # and Port # Computer Selection
Scroll Lock + Scroll Lock + S Auto Scan
Scroll Lock + Scroll Lock + R OSD default Value
Scroll Lock + Scroll Lock + F Search for Computer Name
Scroll Lock + Scroll Lock + Space Bar Open On Screen Display
á
â
Table 1-1: Hot Key commands
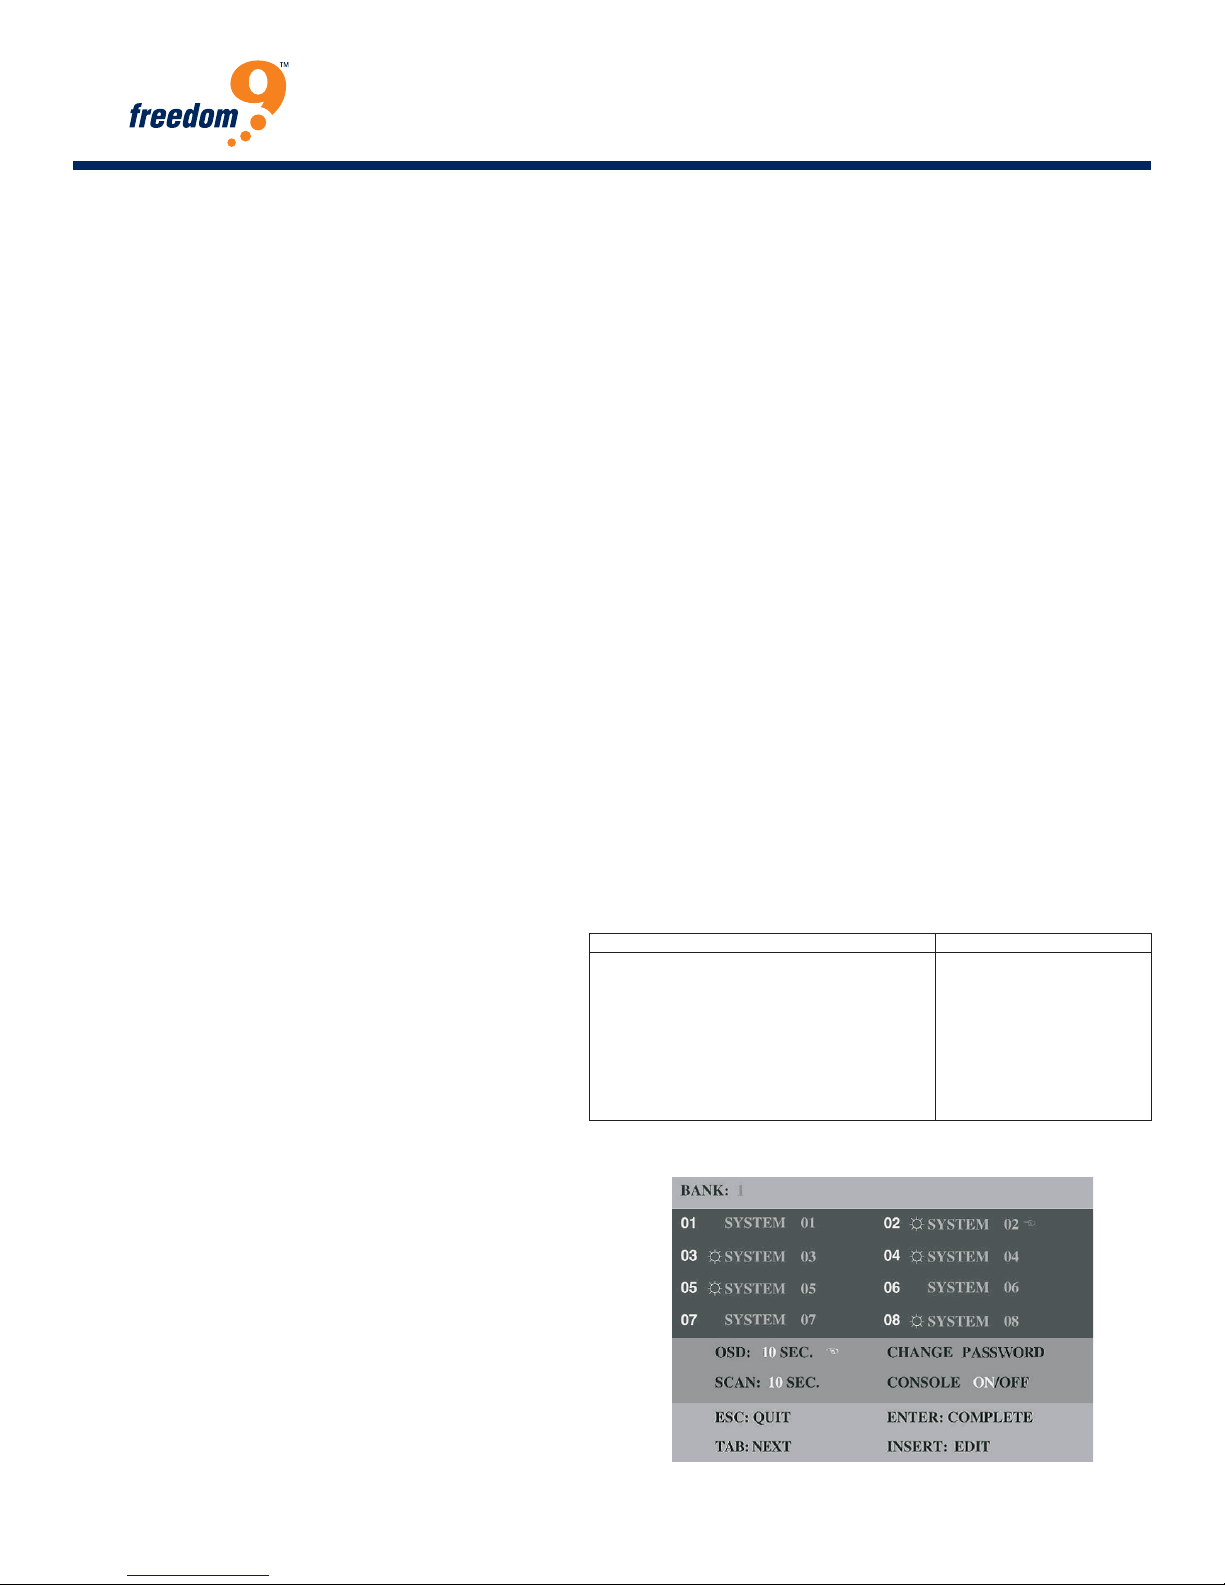
On-screen Display (OSD)
The on-screen display allows you to select the computer to
view and change device settings. You can open the onscreen display by using the Hot Key combination:
<Scroll Lock> + <Scroll Lock> + <Space Bar>
l
Use the “Page Up” and “Page Down” keys to switch banks.
l
Use the arrow keys to select the computer.
l
Use the “Tab” key to change between sections of the menu.
Refer to the manual for further instructions on using the OSD.
Please check our website at www.freedom9.com for the latest manuals and information.
Table 1-2: On-screen Display (OSD)
KDW-08HA QIG REV 1.0
 Loading...