

Page 1
Freecom
SAF-Z80K2
DESICCANT DEHUMIDIFIER
OWNERS MANUAL
Please read this manual before operating the unit and retain for future reference.
Page 2
THANK YOU
THANK YOU VERY MUCH FOR PURCHASING THIS PRODUCT!
Please read the OWNERS MANUAL carefully before operating the unit. This will enable
you to obtain the very best result in performance and many years of trouble free operation
from your unit.
When removing the unit from the packing case, check for shipping damage. Please contact
both shipper and your dealer immediately if the unit is damaged. All units are carefully
checked before leaving the factory.
IMPORTANT: Please place and operate the unit on even ground all the time.
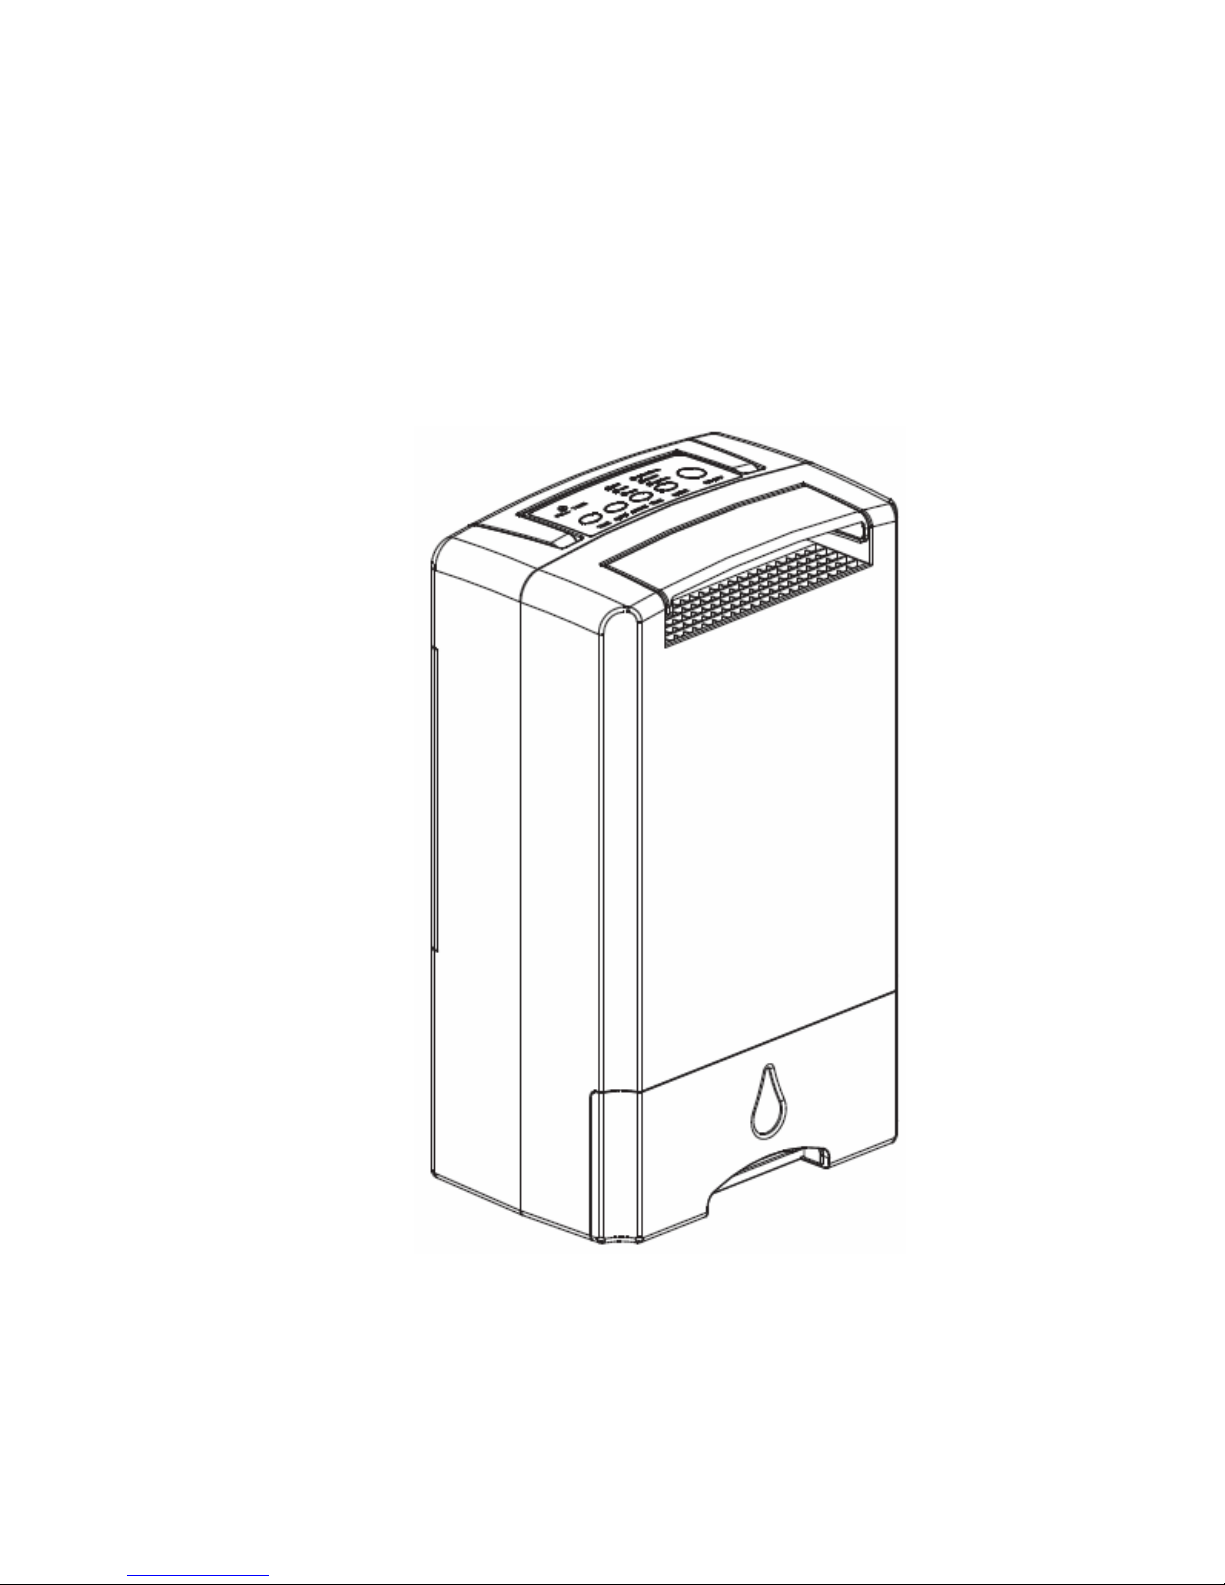
PRODUCT FEATURES
1. Completely environment-friendly.
Without Compressor and Refrigerant.
2. Light weight and small dimension, only 6.5 kgs.
3. Low noise operation.
4. Wide temperature using range, from 1℃-40℃.
Unique performance under cold weather.
5. Equipped with heater can remove air humidity rapidly.
6. Automatically sensing environment to adjust the
most comfortable humidity.
7. Automatic oscillation for even distribution of dry air.
1
Page 3
Page 4
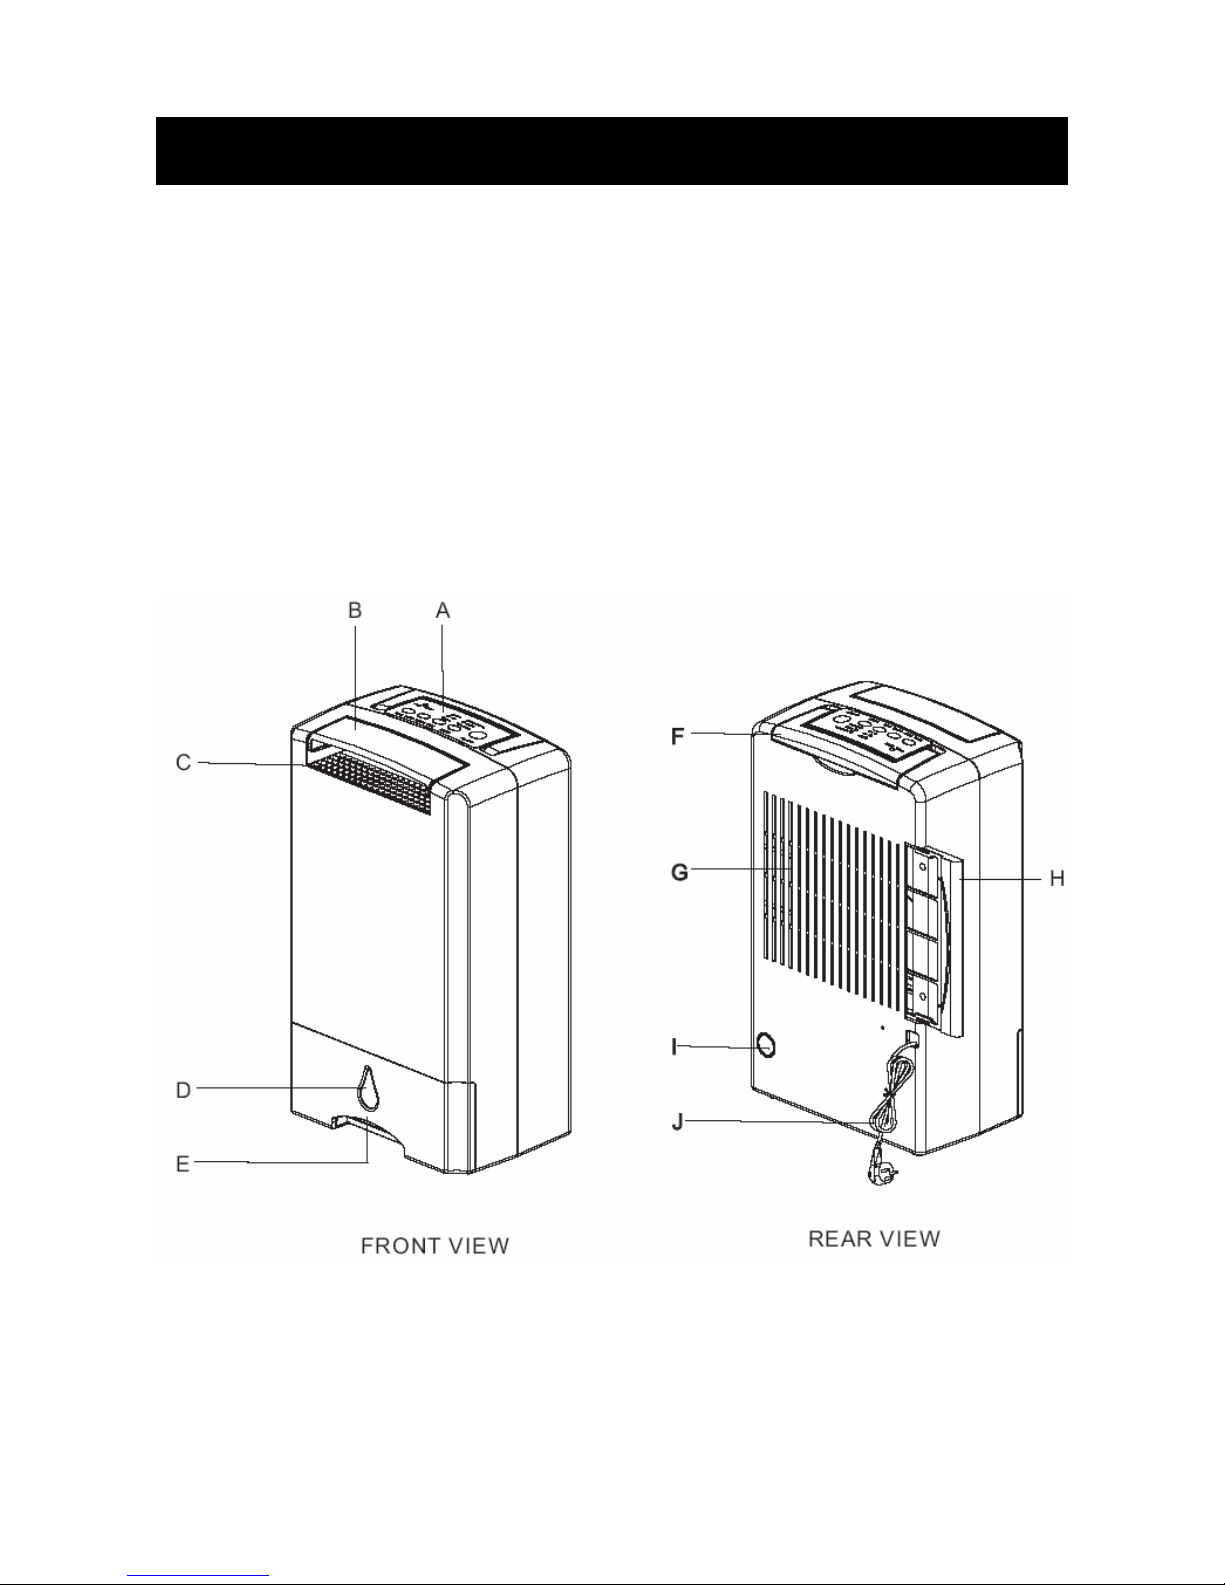
PRODUCT DESCRIPTION
A. Operation panel
B. Oscillation louver
C. Air outlet
D. Water indicated window
E. Water tank
F. Handle
G. Air intake grill
H. Air filter
I. Drain hose hole
J. Power cord and plug
3
Page 5

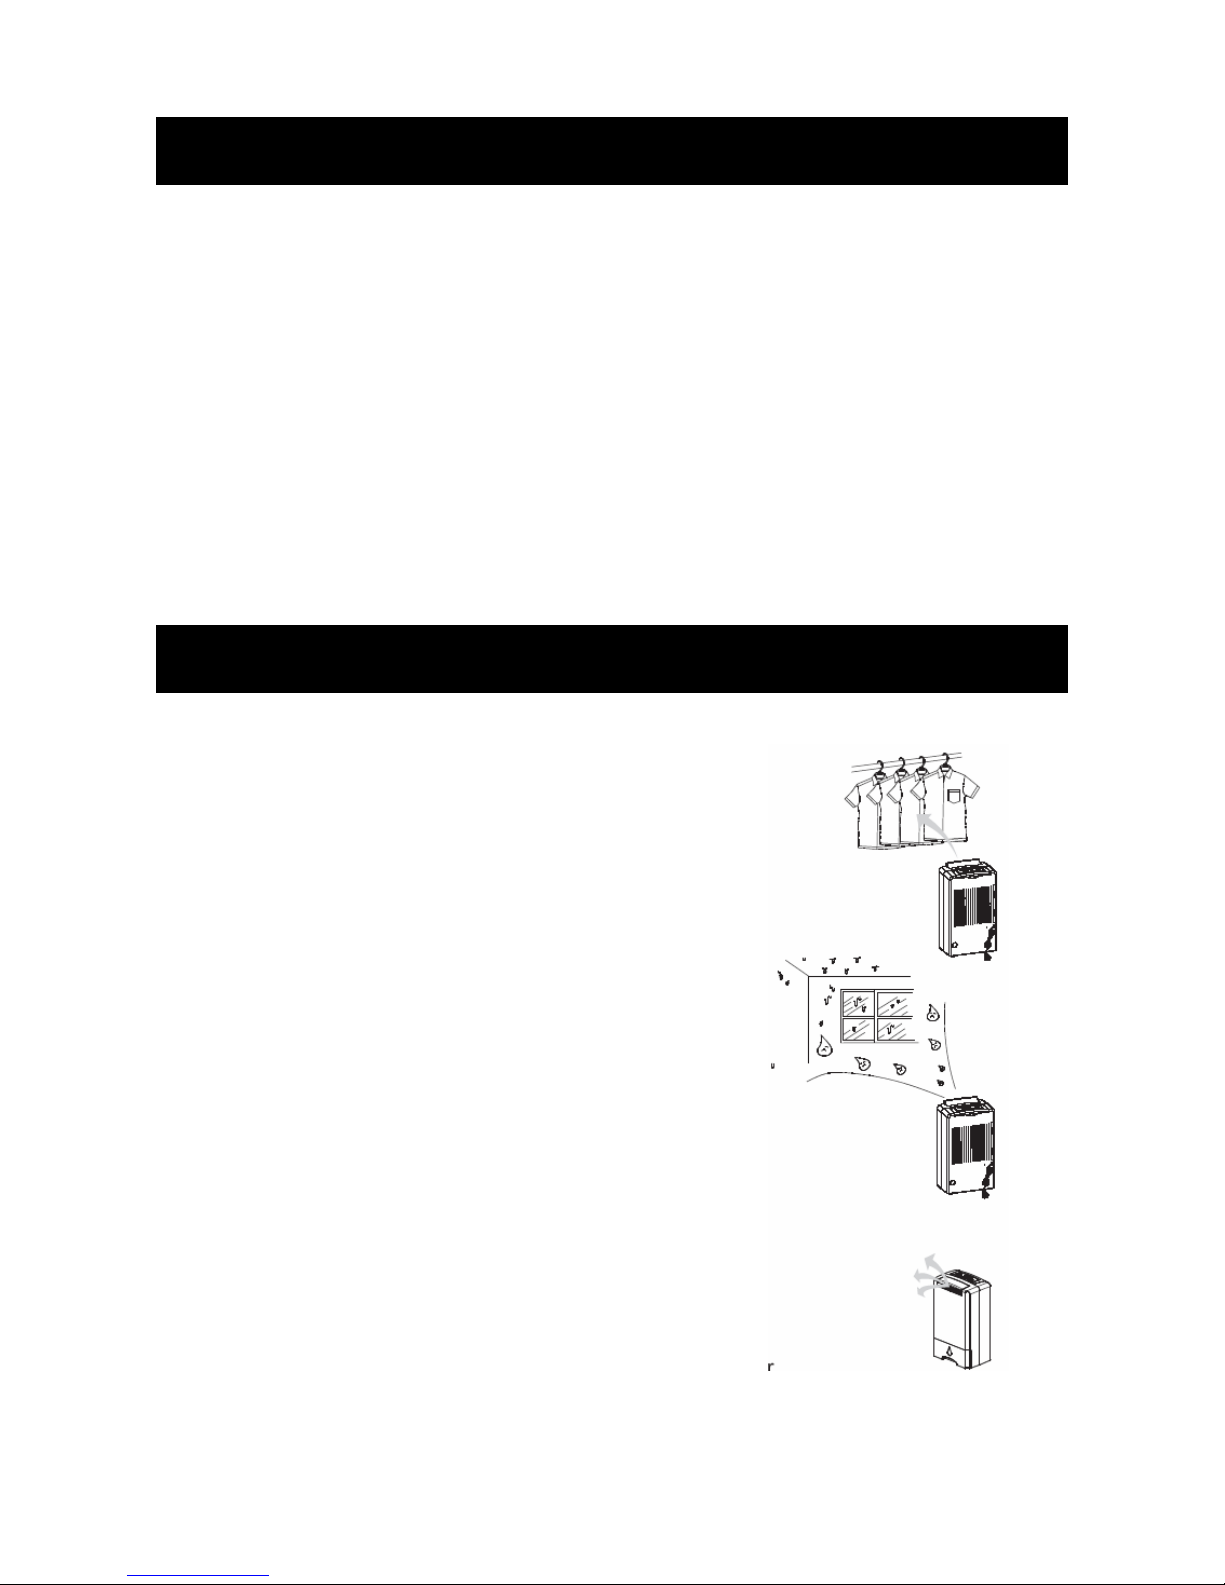
UNIT SET UP
Please ensure the unit is placed on even ground.
Please ensure the unit is a safe distance away from a wall or furniture.
(See the below graphic)
Keep the unit a minimum distance of 60cm away from laundry, in order to prevent
water drop getting into the unit.
4
Page 6

CONTROL PANEL
POWERFUL
SILENT
NORMAL
65%
FULL TANK
+5%
SET HUMID. MODEAUTO SWING
ON/OFF
12354
6
SET HUMID.
55%
45%
1. POWER ON/OFF SWITCH BUTTON
This dehumidifier is with AUTO RESTART function after power cut.
Once the power is restored after a power failure, the appliance will restart automatically.
2. MODE – Fan Speed Setting
This dehumidifier offers you 3 Modes for your selection. The indicator light will illuminate
when the unit is operating in any of these modes. If the ambient humidity reaches the
desired setting, the indicator will flash, the heater will stop.
When you turn on the unit by main power, it starts on “NORMAL” MODE.
Press “MODE” to select desired Speed.
Its path cycle should be: NORMAL → SILENT → POWERFUL
NORMAL – Automatic control the fan speed for the most comfortable ambient humidity.
SILENT – Quiet operation with low fan speed, especially at night.
POWERFUL – Operating with full speed for maximum performance and dry laundry
function.
Restart the unit will be on previous setting.
3. SET HUMID. – Desired ambient humidity setting
Press the button to select desired ambient humidity settings, i.e. around 65%, 55% and
about 45%. The indicator light will illuminate when the unit is operating in any of these
settings.
When you turn on the unit by main power, it starts on “≈55%” setting. If the ambient
humidity reaches the desired setting, the “MODE” indicator will flash, and the heater will
stop.
Its path cycle should be: "≈55%" → "≈65%" → "≈45%"
5
Page 7

≈65% – Ambient humidity control at around 65%.
≈55% – Ambient humidity control at around 55%.
≈45% – Ambient humidity control at around 45%.
Restart the unit will be on previous setting.
4. SET HUMID. – Additional humidity setting
Press this button to turn the Additional +5% RH humidity setting ON and OFF. When the
LED is light on, the setting of desired humidity control will plus about 5% at each
humidity setting mode. i.e. "≈65%→70%", "≈55%→60%" and "≈45%→50%"
5. AUTO SWING – AUTOMATIC OSCILLATION
When you turn on the unit by main power, the oscillation louver will Auto-swing up and
down. Press this button will stop the louver at your desired position. By pressing it again
the oscillation louver will Auto-swing up and down.
Restart the unit will be on previous setting.
WARNING:
DO NOT adjust the OSCILLATION LOUVER by hand, as this will cause
damage.
6. FULL TANK – FULL TANK INDICATOR
The indicator will flash and the alarm will sound when the water tank is full. Please
empty the water tank and replace it to the proper position, then the unit will running at
previous setting.
7. Ionizer
When you turn on the unit, the Anion generator will ON by a 30 seconds delay-time, the
unit will releases negative ions from air outlet. and it will simultaneously OFF while the
unit turn off.
6
Page 8

OPERATING PROCEDURE
Ensure the unit is placed on even ground.
WARNING:
Once you turn off the unit, the oscillation louver will swing back to the level. The fan will
keep running about 2 minutes to release heat.
DO NOT unplug from the mains till the fan is off.
2. Press the MODE control to select the desired performance.
3. Press AUTO SWING to control the air delivered direction.
4. Set the TIMER, if required.
HOW TO EMPTY THE WATER TANK
1. Gently pull out the water tank and
lift it by the handle.
2. Open the sliding which on the left
side of the tank cover.
3. Pour water out. Clean the tank with
water if necessary. Do not use any
chemical solvent to clean it.
4. Slide back the opening and press
back the handle in its original place.
5. Replace the water tank into the unit.
7
Page 9

CONTINUOUS DRAINAGE
In certain situations it may be more convenient to set the unit up for continuous drainage. A
hose with an inner diameter of approximately 10-10.5mm is required (not supplied). A typical
reinforced section of a garden hose would be suitable.
1. Ensure the unit is off.
2. Cut out the outlet at the back of the unit with a screwdriver.
3. Pull out the water tank and remove the rubber bung from the water
outlet at the back of the water tank.
4. Pull through the hose and connect to the outlet on the tank.
Retain the rubber bung for future use.
5. Push the tank back into the unit ensuring the hose stays
connected to the outlet. Make sure the tank is right position.
CAUTION:
If you wish to revert back to draining into the tank, when the unit is switched off and
unplugged, simply remove the drainage hose. Pull out the tank and replace the rubber bung
in the water outlet and push the water tank securely into place.
WARNING:
Please note that this appliance uses a gravity drain when on continuous drain. The hose
must be directed in a downward position.
8
Page 10

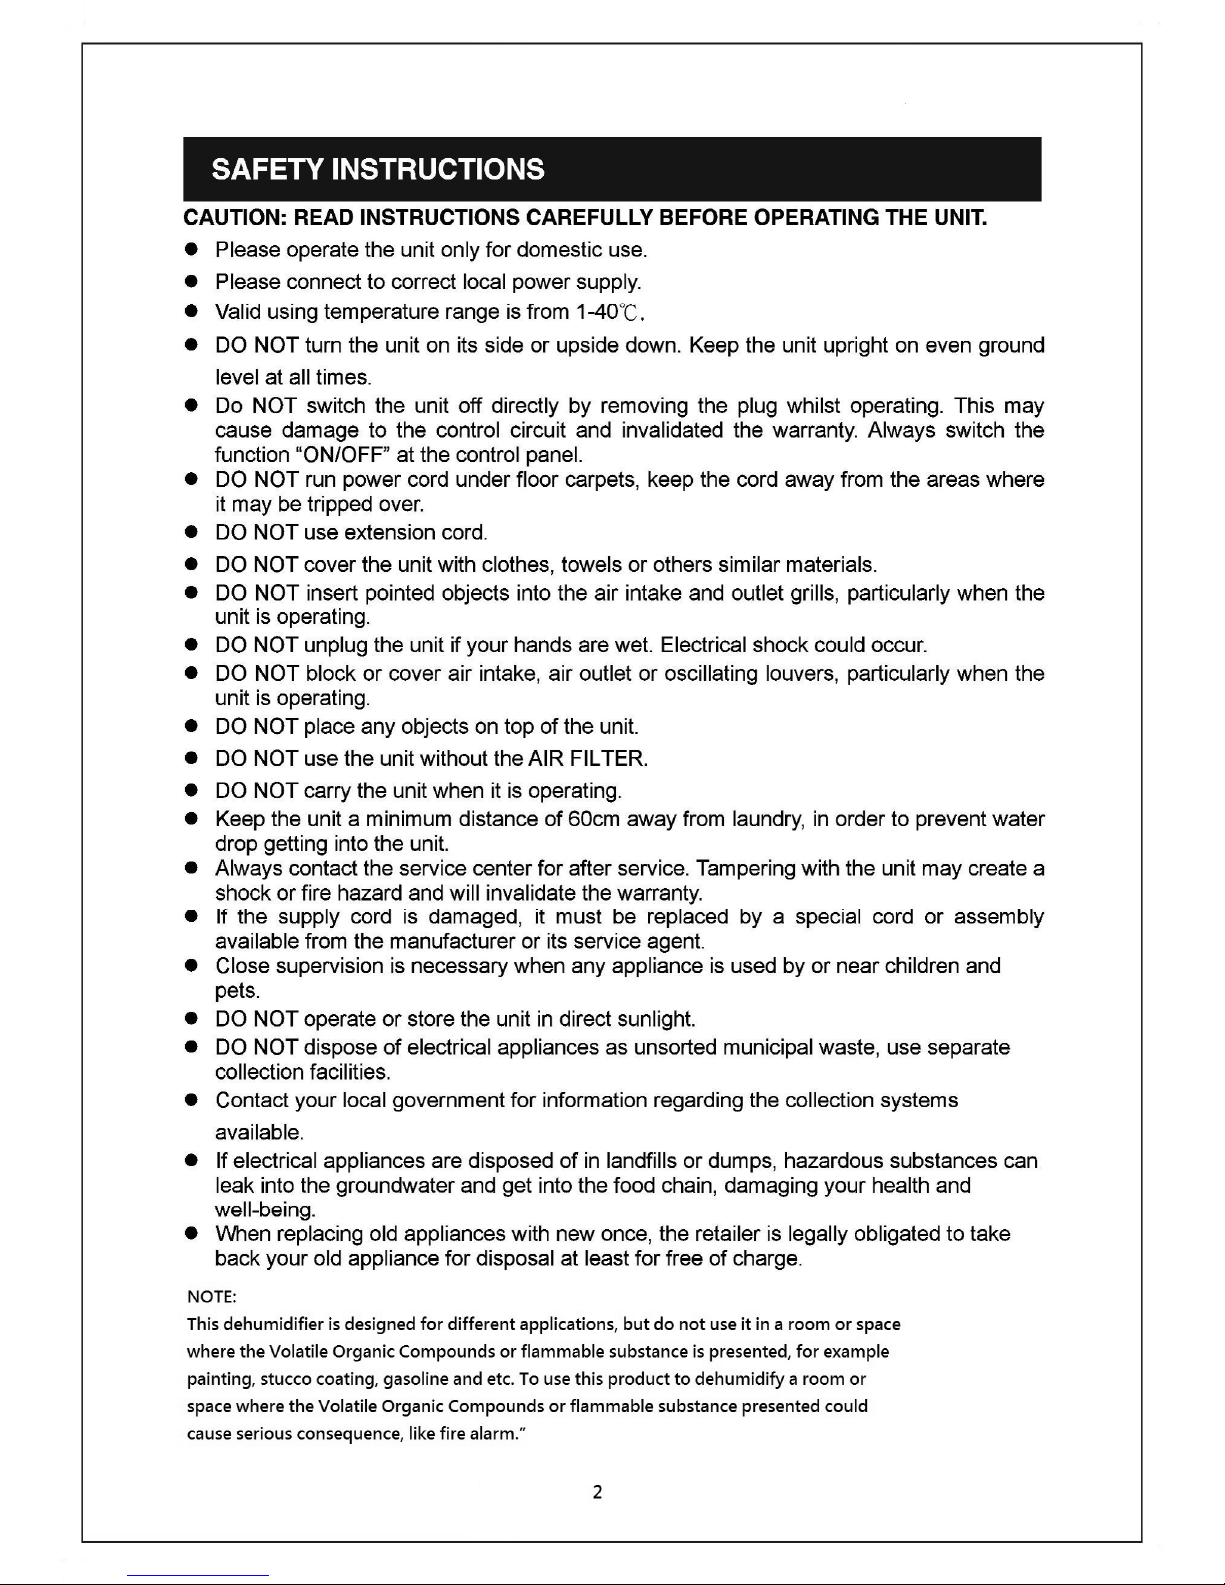
MAINTENANCE
Always remove the plug from the power socket before carrying out any cleaning or
maintenance operations.
CLEANING THE CABINET
Clean the cabinet with a soft damp cloth.
NEVER use harmful chemical products or
polish on the unit, as these solvents may
serious damage the plastic surface.
WARNING:
DO NOT spray water or any solvents on the unit, as this may damage the electrical
insulation.
CLEANING THE AIR FILTER
Clean the air filter every two weeks.
If dust and dirt are allowed to accumulate
on the filter, this will reduce the
performance of the dehumidifier.
Carefully pull out the filter screens
from the unit.
You can use a vacuum cleaner. If the filter
is very dirty, it may be washed with a mild
detergent in warm water.
CAUTION:
Ensure that the filter is dry before replacing. Never operate unit without filter,
as this will reduce the efficiency of the unit.
LONG-TERM STORAGE
The following procedures are recommended for long-term storage:
1. Turn off the unit and remove plug from mains after the fan completely stops.
2. Carefully pull out and empty the water tank.
3. Wrap power cord and secure with cord wrap on back of unit.
4. Clean the air filter and plastic cabinet.
5. Cover unit with plastic bag to protect it from dust.
6. Store the unit in its upright position away from sunshine in a cool dry place.
9
Page 11

TECHNICAL SPECIFICATIONS
COMMODITY : DEHUMIDIFIER
MODEL : SAF-Z80K2
MODE : DESICCANT
USING RANGE : 1℃ ~ 40℃
POWER SOURCE : AC 230V, 50Hz
HUMIDITY REMOVED : 7 ~ 8 L/DAY (20℃ RH70%)
POWER CONSUMPTION : 620 Watt (MAX.) / 390 Watt (MIN.)
FUNCTION CONTROL : MI-COM CONTROL
FAN SPEED : 3
AUTO-RESTART AFTER POWER : YES.
FAILURE
DIMENSION : 300 W x 190 D x 500 H (mm)
NET WEIGHT : 6.5 kgs
NOTES: The sound pressure level under normal operating condition is less than 70 dB (A).
10
Page 12

TROUBLE SHOOTING
Normal situation:
1. When you turn off the unit, the fan will keep running about 2 minutes to release heat.
2. The unit is designed to operate from 1 - 40℃. If beyond this range or the air intake/outlet
is blocked, the unit will off.
3. The product is equipped with a heater, the temperature will arise while the unit is
running.
Before calling your dealer or service center for assistance, read and check the following
points:
PROBLEM PROBABLE CAUSE SOLUTION
Unit does not function unit is not plugged in plug in to mains
Power failure Check fuse or circuit
Breaker in your switch
Board.
FULL TANK. Or water tank Pour water out and
Is not placed properly. place the water tank
. to the right position.
Poor Performance Window or door open Close window and door
Air filter is clogged Clean air filter
Air intake or outlet is Clear the obstacles away.
clogged
Too noisy Check the ground level Move the unit to even
ground level.
Air filter is clogged Clean air filter
This product has been manufactured to comply with EEC Directives 2006/95/EEC and
89/336/EEC
11
 Loading...