

Page 1
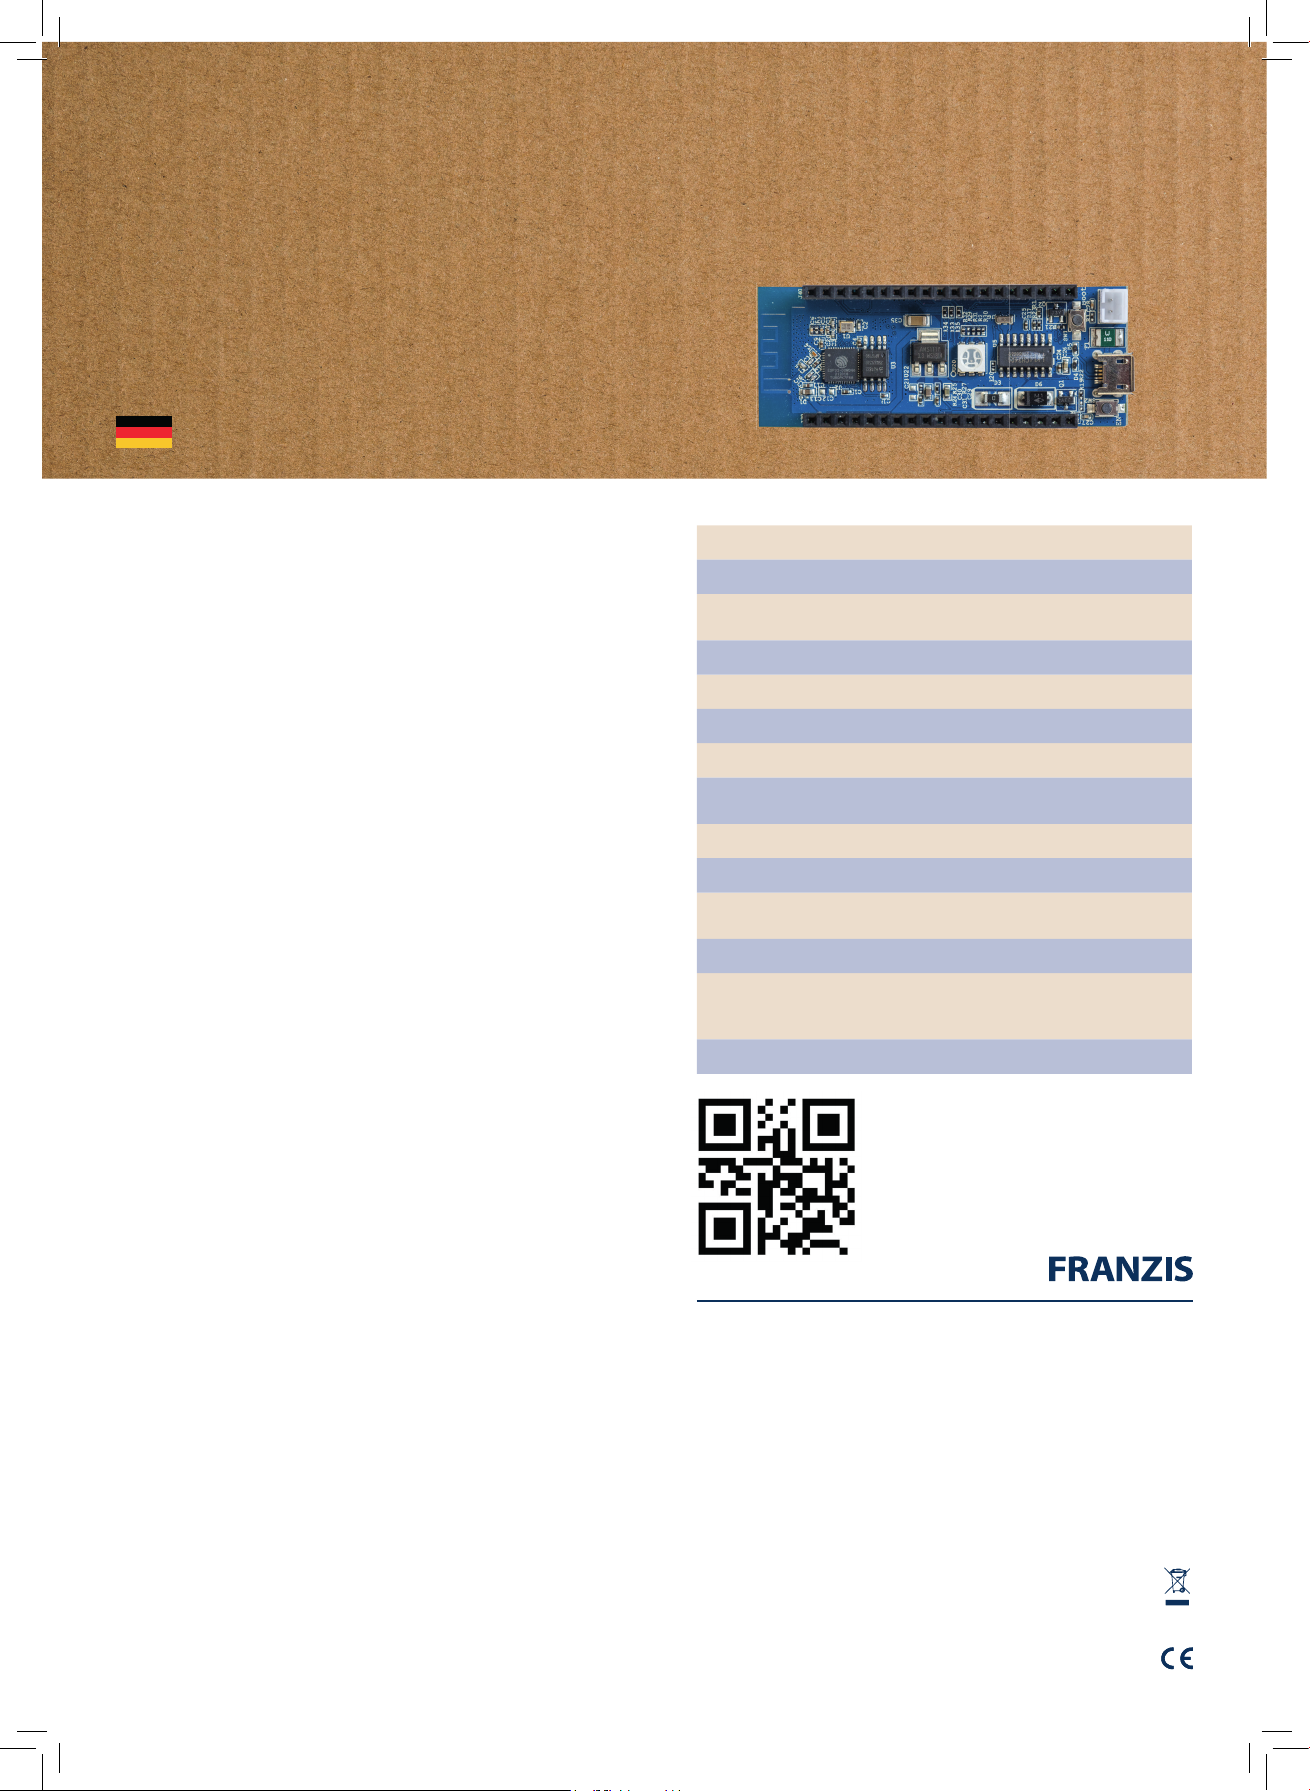
Node-ESP-BOARD
tm
Arduino - kompatibles
WLAN-und BLE-Entwicklungsboard
GERBAUCHSANWEISUNG
■ Schnelles WLAN
(bis zu 150 Mbit/s)
■ Bluetooth -Low-Energie-fähig
(BLE V4.2 und darunter)
■ Integrierte Konfigurationswebseite
und Beispielprogramme
■ Frei programmierbar über Arduino™
■ Onboard-RGB-LED und
MicroSD-Kartenslot
■
Fast WiFi (up to 150 Mbit/s)
■
Bluetooth Low Energy-capable
(up to BLE V4.2)
■
Integrated confi guration web
page and example programs
■
Freely programmable via the
Arduino™ IDE
■
On-board RGB LED and
microSD card slot
Schnellstart
In dieser Schnellstartanleitung wird
Ihnen gezeigt, wie Sie das Board
mit Ihrem Heimnetz verbinden und
eines der integrierten Beispielprogramme starten.
Zunächst müssen Sie das Board
mit Strom versorgen. Dazu
eigenen sich handelsübliche
USB-Ladegeräte, die mindestens
300 mA liefern können. Kurze Zeit
nach dem Anlegen der Stromversorgung wird das Board gelb aufleuchten. Das Board erzeugt nun
ein eigenes WLAN mit dem Namen
Node ESP. Verbinden Sie sich mit
einem weiteren Endgerät (PC oder
Smartphone) mit diesem WLAN
und rufen Sie in einem Browser
die Adresse http://192.168.4.1/ auf.
Sie gelangen auf die boardinterne
Webseite. Klicken Sie dort auf
Board Configuration, hier können
Sie alle Einstellungen zum Board
vornehmen. Klicken Sie auf den
Punkt WIFI Station Settings.
Das Board scannt nach
WLAN-Netzwerken in Reichweite.
Nach kurzer Wartezeit können
Sie Ihr Netzwerk in der Liste
auswählen und das Passwort eingeben. Sollte Ihr Netzwerk nicht
zu sehen sein, können Sie die
Zugangsdaten auch manuell in die
entsprechenden Felder eintragen.
Durch Klicken auf Submit startet
das Board neu und versucht, eine
Verbindung zu dem Netzwerk
aufzubauen. War dies erfolgreich,
leuchtet die LED nach kurzem
Blinken grün.
Alternativ können Sie die WPSFunktion nutzen. Drücken Sie dazu
die Boot-Taste (die Taste am Batterieanschluss) ca. 10 Sekunden
lang. Die Board-LED beginnt gelb
zu blinken. Drücken Sie nun die
WPS-Taste an Ihrem Router. Nach
kurzer Zeit sollte das Board grün
leuchten und selbstständig eine
Verbindung zu Ihrem Heimnetzwerk hergestellt haben.
Sie können das Board nun aus
Ihrem Heimnetzwerk adressieren.
Dazu können Sie die IP verwen-
den, die oben auf der Konfigurationsseite angegeben ist, oder
den Bonjour-Dienst von Apple
installieren (https://support.apple.
com/de-de/bonjour).
Im letzteren Fall lautet die Adresse
des Boards http://nodeesp.local/.
Diese Adresse können Sie auf der
Konfigurationsseite unter General
Settings ª mDNS Name Settings
anpassen.
Auf dem Board gibt es bereits
eine Reihe von programmierten
Apps, die Sie testen können.
Dazu gehen Sie einfach auf die
Config-Seite und wählen unter
Application Settings ein Set von
Beispielen und dann ein konkretes
Beispiel aus.
Wenn Sie beispielsweise das
Set Example Apps und dort das
Programm [Onboard-RGB-LED
Example]… wählen, startet das
Board mit einem Programm neu,
das Ihnen erlaubt, die Farbe der
Onboard-RGB-LED manuell zu
steuern. Manche Apps verfügen
über eine Webseite, die Sie auf
der Hauptseite unter dem Punkt
Application Page finden. Auf der
Webseite zur Onboard-LED finden
Sie ein Color-Picker-Element, über
das Sie die Farbe der LED steuern
können. Die meisten Programme verfügen zudem über einen
internen oder externen Link im
Beschreibungstext (auf der Konfigurationsseite unter dem Punkt
Currently Running), über den Sie
zu weiteren Informationen wie
Aufbaubild und Steuerkommandos
gelangen.
Eine ausführliche Version der
Schnellstartanleitung, weitere
Informationen und eine Anleitung,
wie Sie das Board selbständig
programmieren können, finden Sie
unter www.iot.fkainka.de.
Auf dieser Projektseite können
Sie über die Kommentarfunktion
unter einzelnen Artikeln oder über
das Forum auch Hilfe suchen, falls
etwas nicht funktioniert.
Technische Daten NodeESP
Mikrocontroller ESP32 (D0WD)
CPU
SRAM 250 kB
Flash Speicher 4 MB
WLAN 802.11 b/g/n
Bluetooth v4.2 BR/EDR und BLE
I/0 Pins
ADC 16x ADC-Pins (12 bit, SAR ADC)
DAC 2x DAC-Pins (8-bit)
PWM
Touch 10 x Touch-Pins (kapazitiv)
Kommunikation
Sonstiges Halle ekt-Sensor, Temperatur-Sensor
Impressum
© 2018 Franzis Verlag GmbH, 85540 Haar
GTIN 4019631670571
Arduino™ ist ein eingetragenes Markenzeichen der Arduino AG.
Sicherheitshinweise
Bei Schäden, die durch Nichtbeachten dieser Bedienungsanleitung verursacht werden, erlischt
die Gewährleistung/Garantie! Für Folgeschäden übernehmen wir keine Haftung! Bei Sach- oder
Personenschäden, die durch unsachgemäße Handhabung oder Nichtbeachten der Sicherheitshinweise verursacht werden, übernehmen wir keine Haftung.
In solchen Fällen erlischt die Gewährleistung/Garantie.
■ Dieses Produkt ist kein Spielzeug, es gehört nicht in Kinderhände.
■ Das Produkt darf nicht feucht oder nass werden.
■ Lassen Sie das Verpackungsmaterial nicht achtlos liegen.
Es könnte für Kinder zu einem gefährlichen Spielzeug werden!
Entsorgung
Elektrische/elektronische Produkte gehören nicht in den Hausmüll. Entsorgen Sie das
Produkt am Ende seiner Lebensdauer gemäß den geltenden gesetzlichen Vorschriften.
Geben Sie es z. B. bei einer entsprechenden Sammelstelle ab.
CE-Zeichen
Dieses Produkt ist konform zu den einschlägigen CE-Richtlinien, soweit Sie es gemäß
der beiliegenden Anleitung verwenden. Die Beschreibung gehört zum Produkt und
muss mitgegeben werden, wenn Sie es weitergeben.
Xtensa Dual-Core 32 bit LX6
(240 MHz, bis zu 600 DMIPS)
26 frei programmierbare
GPIO-Pins
16 x PWM-Pins (frei wählbar, bis zu
16 bit)
4x SPI, 2x I²C, 3x UART, 2x I²S
IR-Remote-Controller, CAN-BUS 2.0,
Ethernet-MAC-Interface
Informationen, Anleitungen
und Hilfe finden Sie unter:
www.iot.fkainka.de
2018/01
HB.indd 1 10.10.18 17:06
Page 2
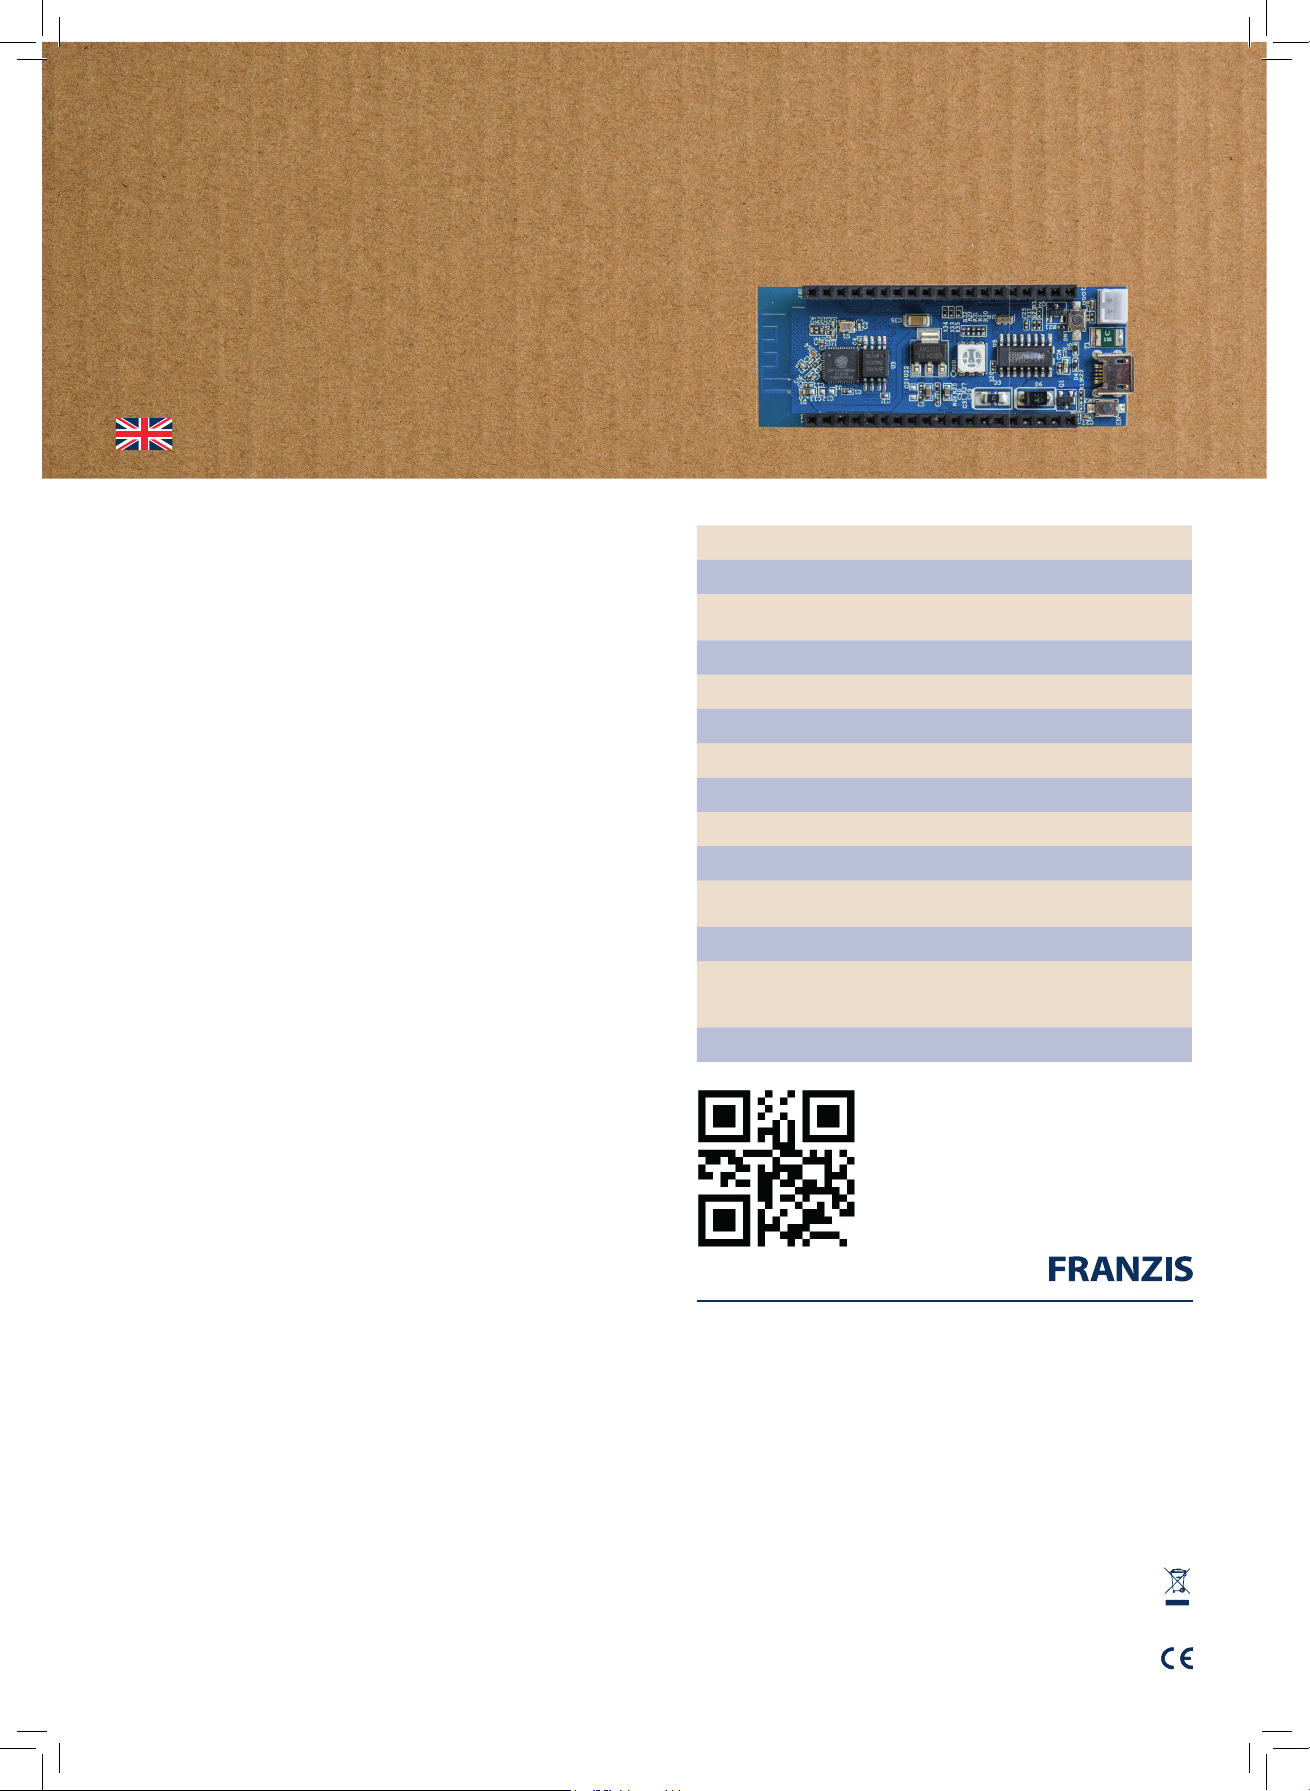
Node-ESP-BOARD
tm
Arduino - Compatible
WLAN-and BLE-development board
MANUAL
■ Schnelles WLAN
(bis zu 150 Mbit/s)
■ Bluetooth -Low-Energie-fähig
(BLE V4.2 und darunter)
■ Integrierte Konfigurationswebseite
und Beispielprogramme
■ Frei programmierbar über Arduino™
■ Onboard-RGB-LED und
MicroSD-Kartenslot
■
Fast WiFi (up to 150 Mbit/s)
■
Bluetooth Low Energy-capable
(up to BLE V4.2)
■
Integrated confi guration web
page and example programs
■
Freely programmable via the
Arduino™ IDE
■
On-board RGB LED and
microSD card slot
Designated use
This quick start guide shows how
to connect the board to your home
network and to start the integrated sample programs.
First, you have to provide the
board with electric power. For this
purpose, standard USB chargers
with a minimum current of 300 mA
are suitable. A short while after
connecting the board to the power
source, the board will light up in
yellow. The board now generates
its own wireless network named
NodeESP. Connect another
device e.g a PC or a smartphone
with this network and enter
http://192.168.4.1/ in a browser to
open the internal webpage of the
board. Here, click Board Configu-
ration. On the resulting subpage,
you can change all settings of the
board. Click WIFI Station Settings.
The board now looks for WiFi
networks within reach. After a
short while, you can select your
network from the list and enter its
password in the bottom text field.
If your network is not listed, e.g.
because it is hidden or not within
reach, you can manually enter
the access data in the respective
fields. When you now click Submit,
the board restarts and tries to
establish a connection to the network that you have configured. If
this process completes successfully, the LED lights up in green after
flashing for a short while.
As an alternative to the web page,
you can use the WPS feature.
Press the Boot button (the one at
the battery connection) and hold
it for approx. 10 seconds. The LED
on the board begins to flash in
yellow. Now press the WPS button
on your router. After a short while,
the board will light up in green
and establish a connection to your
home network by itself.
Now you can address the board
in your home network. To this
end, you can use the IP address
indicated at the top of the configu-
ration page, or you can install the
Bonjour service by Apple (https://
support.apple.com/de-de/bonjour).
In the latter case, the address of
the board is http://nodeesp.local/.
You can change this address on
the configuration page under
General Settings ª mDNS
Name Settings.
The board comes with a number
of apps that you can test. Navigate to the configuration page.
Under Application-Settings, first
select a set of examples and then
a specific example. For instance,
if you select the set Example-Apps
and then the program [OnBoard
RGB-LED Example], the board
restarts with a program that
allows you to control the color of
the on-board RGB LED manually.
Some of the apps (including the
LED app) have a web page that
you can find on the main page
under Application Page. This link
only appears in programs with an
application page.
The web page of the LED app
includes a color picker that allows
you to control the color of the
LED. Additionally, the description
of most programs (which you can
find on the configuration page
under Currently Running) includes
internal or external links leading to
further information like the setup
diagram and an explanation of the
control commands.
An extended version of the quick
start guide as well as further
information and instructions to
program the board on your own
can be found at www.iot.fkainka.
de. On this project page, you can
use the commentary function
beneath specific articles and the
forum in general to get help when
something does not work
as expected.
Tecnical details NodeESP
Microcontroller ESP32 (D0WD)
CPU
SRAM 250 kB
Flash memory 4 MB
WLAN 802.11 b/g/n
Bluetooth v4.2 BR/EDR and BLE
I/0 Pins 26 user programmable GPIO Pins
ADC 16x ADC Pins (12-bit, SAR ADC)
DAC 2x DAC Pins (8-bit)
PWM
Touch 10x Touch Pins (capacitive)
Communication
Miscellaneous Hall E ect Sensor, Temperature Sensor
Impressum
© 2018 Franzis Verlag GmbH, 85540 Haar
GTIN 4019631670571
Arduino™ is a registered trademark of Arduino AG.
Safety notes
Any damages caused by non-compliance to this operating manual invalidate the guarantee.
We are not liable for any subsequent damages. We are also not liable for damages to property
or personal injuries caused by improper use or non-compliance to the safety notes.
Such cases invalidate the guarantee.
■ This product is not a toy. It is not suitable for children.
■ The product must never get moist or wet.
■ Do not carelessly leave the packaging lying around.
Children may be tempted to use it as a dangerous toy!
Disposal
Waste electrical/electronic products should not be disposed of with household waste.
Please recycle where facilities exist. Check with your local authority or retailer
for recycling advice.
CE mark
This product is in compliance with the applicable CE directives as long as it
is used according to the included instruction. The instruction is part of the product,
and the product may only be passed on along with the instruction.
Xtensa Dual-Core 32-bit LX6
(240 MHz, up to 600 DMIPS)
16 x PWM Pins (freely selectable,
up to 16-bit)
4x SPI, 2x I²C, 3x UART, 2x I²S
IR-Remote Controller, CAN-BUS 2.0,
Ethernet MAC Interface
For information, instructions
and support, see:
www.iot.fkainka.de
2018/01
HB.indd 2 10.10.18 17:06
 Loading...