

Franklin Chef HDVS120 Owner’s Manual
120-Bottle Wine Cellar
Rafraichisseur b vin 120-bouteille
Enfriador de vinos 120-botella
Use and Care Guide (pages 1-7)
Mode d'emploi (les pages 8-14)
Manual del usuario (las pfiginas 15-21)
Be sure wine cellar is standing upright 24 hours
prior to plug-in.
Soyez stirs que le rafralchisseur h vin se tient debout 24 heures
avant que l'unit6 se branche.
Est6 seguro que el enfriador de vinos est6 parado en posici6n
vertical 24 horas antes que sea conectado.
FRANKLIN INDUSTRIES, L L C
4100 First Avenue
Brooklyn_ NY 11232-3321
Tel.: 877-261-9867
Website: w_v. fianklinindu stries.com
Model/Modble/Modelo
FWC120
IMPORTANT SAFEGUARDS
Read all instructions before using this appliance. When using
this appliance, always exercise basic safety precautions,
including the following:
1. Use this appliance only for its intended purpose as
described in this instruction manual.
2. This Wine Cellar must be properly installed in accordance
with the installation instructions before it is used. See
grounding instructions in the Installation section.
3. This model can be built in. Built-in units vent at the bottom
front and airflow at the front of this vent must be
unimpeded.
4. If the unit is placed on a stand, the front surface of the door
must be 3" or more back from the edge of the stand in
order to avoid accidental tipping of the appliance during
normal usage.
5. Never unplug the unit by pulling on the power cord.
Always grip the plug firmly and pull straight out from the
outlet. Repair or replace any cord that is frayed. Do not
use a cord that shows cracks or abrasions along its length.
6. If the unit has a plug in the middle of the moisture channel
in the back of the unit, remove this plug and allowthe drain
to remain clear at all times when in operation.
SAVE THESE INSTRUCTIONS!
DANGER!
Avoid the risk of child entrapment. If product is not in use,
remove the door so that small children cannot get trapped inside.
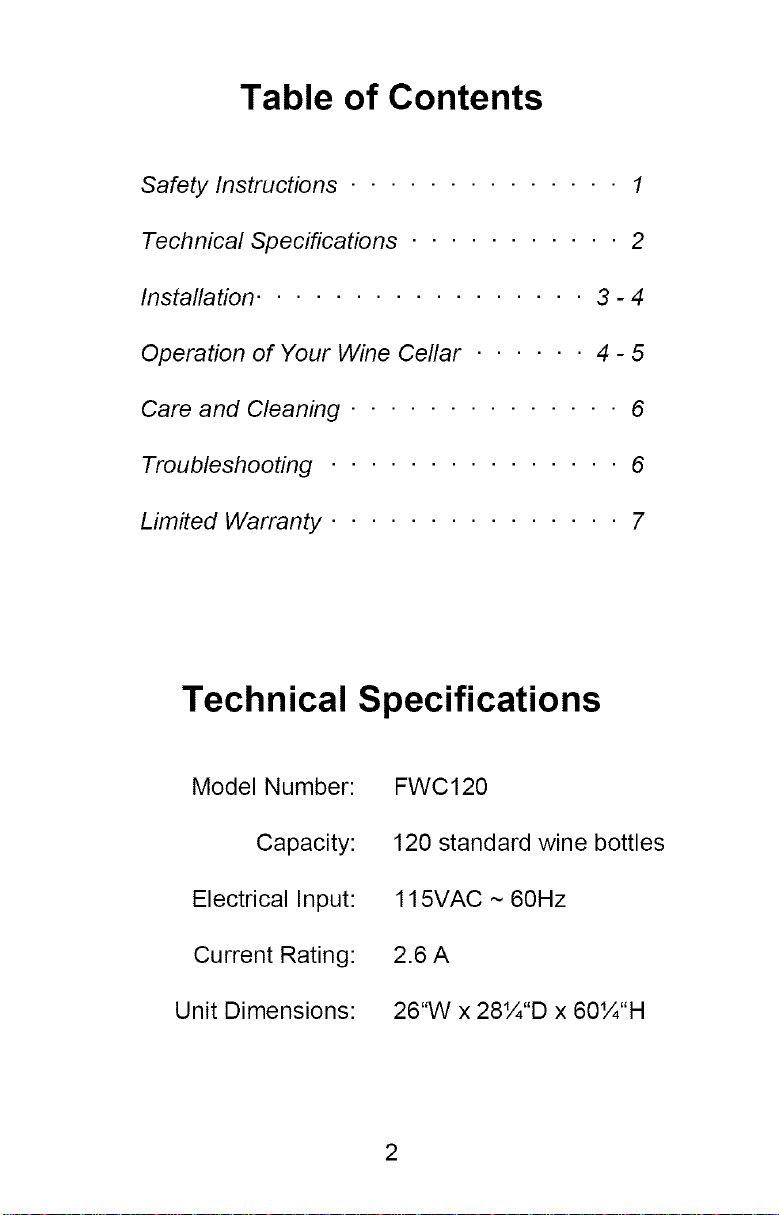
Table of Contents
Safety Instructions .............. 1
Technical Specifications ........... 2
Installation ................. 3 - 4
Operation of Your Wine Cellar ...... 4 - 5
Care and Cleaning .............. 6
Troubleshooting ............... 6
Limited Warranty ............... 7
Technical Specifications
Model Number:
Capacity:
Electrical Input:
Current Rating:
Unit Dimensions:
FWC120
120 standard wine bottles
115VAC ~ 60Hz
2.6A
26"W x 28_¼"D x 60_¼"H
2
Installation
Remove the exterior and interior packaging. Use a soft dry
cloth to wipe down the outside of the wine cellar thoroughly.
Use a clean cloth dampened with lukewarm water to wipe
down the inside of the cellar.
Air must circulate freely in front of the wine cellar. Avoid
placing the cellar near any source of heat or moisture, or in
direct sunlight. Direct sunlight may affect the finish, and
nearby heat sources will cause higher electrical consumption.
The FWC120 wine cellar is designed to be built-in. A
motorized fan at the back of the unit directs
compressor-generated heat away from the compressor and
through the front of the unit. There are no clearance
requirements for this unit.
Once the wine cellar is positioned, the leveling legs at the front
of the unit should be turned to level the appliance. This will
reduce vibrations.
Electrical Connection
Important! For your personal safety, this appliance must
be properly grounded. In the event of an electrical short
circuit, grounding reduces the risk of shock by providing an
escape wire for the electric current. This appliance is
equipped with a cord having a grounding wire with a grounding
plug. The plug must be inserted into an outlet that is properly
grounded and installed. Consult a qualified electrician if you
do not completely understand these grounding instructions.
DO NOT UNDER ANY CIRCUMSTANCES CUT OR
REMOVE THE THIRD (GROUND) PRONG FROM THE
POWER CORD.
3
Use of Extension Cords
Avoid the use of an extension cord becauseof potential safety
hazards under certain conditions. If it is necessaryto use an
extension cord, be sure to use only a 3-wire extension cord
that has a 3-blade grounding plug. Use a 3-slotoutlet that will
accept the plug. The markedrating ofthe extensioncord must
be equal to or greater than the electrical rating of the
appliance.
Operation of Your Wine Cellar
Do not plug in the wine cellar for 24 hours after unit is set in
place. Failure to do so may result in the unit working
improperly.
Plug in the wine cellar to turn it on. The COMPRESSOR ON
Indicator LED on the control panel will light, and will remain lit
while the compressor is operating.
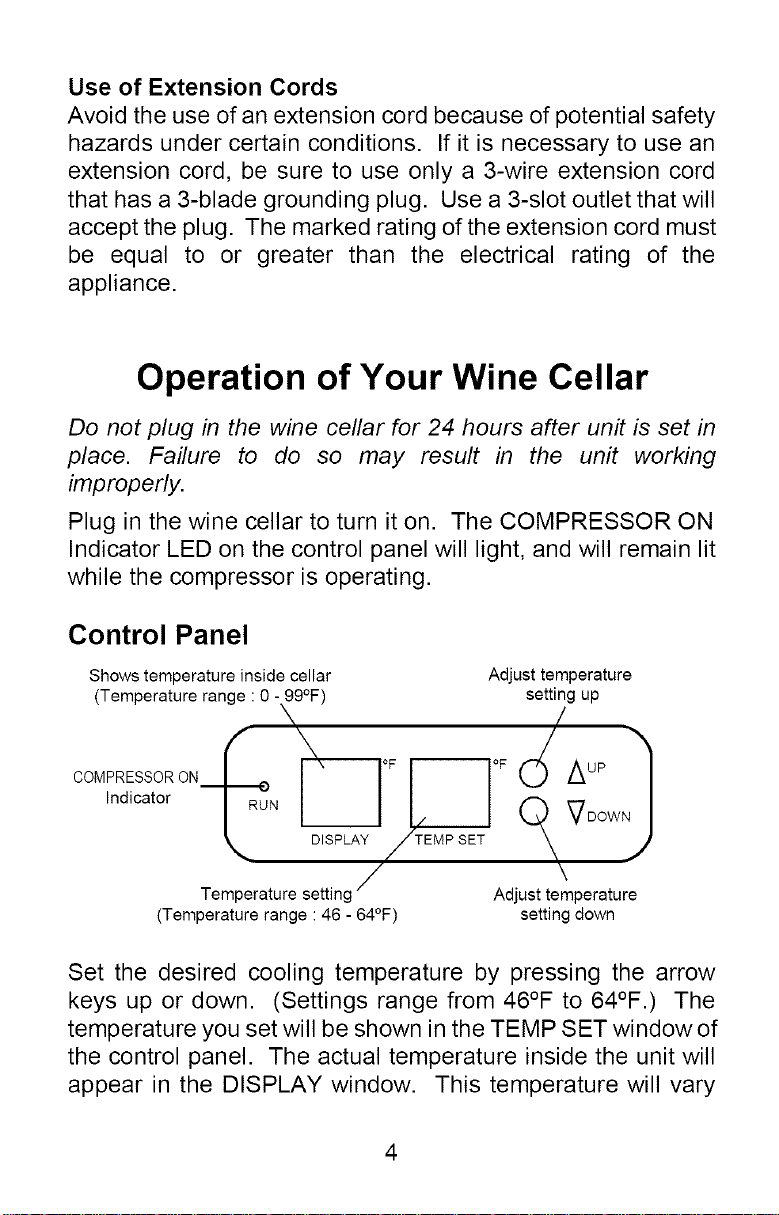
Control Panel
Shows temperature inside cellar
(Temperature range : 0 - 99°F)
Adjust temperature
setting up
\
f
Indicator N
COMPRESSOR ON_
Temperature setting /
(Temperature range : 46 - 64°F)
Set the desired cooling temperature by pressing the arrow
keys up or down. (Settings range from 46°F to 64°F.) The
temperature you set will be shown in the TEMP SET window of
the control panel. The actual temperature inside the unit will
appear in the DISPLAY window. This temperature will vary
DISPLAY TEMP SET (_ VDOWNJ
\
Adjust temperature
setting down
4
depending onthe numberof bottles storedand how frequently
the door is opened.
To temporarily stop the cooling cycle, unplug the wine cellar.
For longer periodsof time, disconnect the plug and leave the
door partially open.
NOTE: If you unplug or turn off the wine cellar, allow 3 minutes
before restarting or plugging back in. The unit will not restart in
less than 3 minutes.
Wine Temperature Ranges: While wines store best at
temperatures around 56-58 degrees Fahrenheit, this wine
cellar is built to allowwine to be stored at drinking temperature
and therefore there is a temperature variation in the wine cellar
for reds and whites. Reds should be kept at a temperature
close to 60-62 degrees whereas whites should be at a
temperature of 54-55 degrees. Both of these temperature
ranges can be achieved by adjusting the temperature setting.
PLEASE NOTE: Cold air falls and warmer air rises, and there
will be a temperature variation from the bottom to the top of the
unit. The temperature sensor is located near the top of the
wine storage compartment and records the temperature at the
top of the unit. The temperature at the bottom of the unit will
always be slightly colder.
Interior Light
The interior light can be operated manually by pressing the
toggle switch located to the left of the control panel.
Shelving
The shelves in your unit are chrome-plated so they will not
rust. These shelves pull out only 1/3 of the way. This is a
safety feature so that neither the machine nor the shelf will tip
over.
5
Care and Cleaning of Your Wine Cellar
Cleaning the Outside
Clean the outside of your unit with mild soapy water. Dry
thoroughly with a soft cloth. To clean the door gasket, use only
mild soapy water. Never use harsh cleansers or scouring
pads to clean any part of your cellar.
Cleaning the Inside
Unplug your wine cellar and remove all bottles. Rinse the
inside surface with plain water and dry the chrome trays.
Defrosting the Cellar
The cellar uses an automatic defrost system in which the
refrigerated surfaces of the wine cellar defrost automatically.
Defrost water drains into a hole in the floor of the wine storage
compartment and is channeled into a drain pan located at the
back of the cellar near the compressor. Heat transferred from
the compressor evaporates any water that has collected in the
pan. Be sure the drain hole in the floor of the wine cellar is
clear and unobstructed.
Cellar Troubleshooting
Cellar does not turn on
Not plugged in.
Fuse blown or circuit breaker tripped.
Noise or vibration
Check that unit is level. If not, adjust leveling legs.
Cellar is too warm
Check that door is properly closed and sealed.
Check temperature setting.
Check if door has been opened frequently.
6
 Loading...