

Page 1
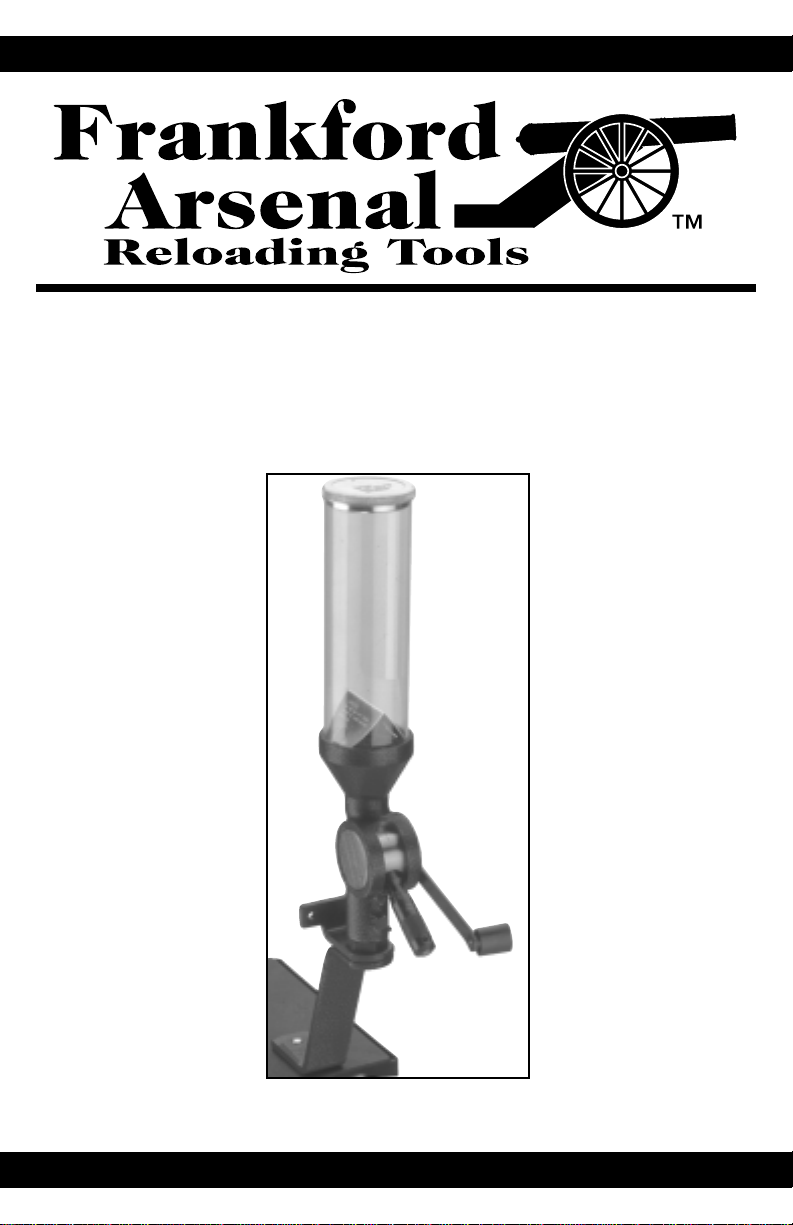
Super Charger
Powder Measure
™
Instructions
Page 2

Introduction
Congratulations on your selection of the Frankford Arsenal Super charger™ Powder Measure. The Super charger
Powder Measure is the end result of years of research and development and has been produced under rigid manufacturing and quality control standards, resulting in one of the finest powder measures available to reloaders today. The
unique angled frame design is engineered to allow the rotor cutting edges to cut cleanly rather than crush individual
powder grains for more consistent powder charges. The Super charger Powder Measure accomplishes this over a
shorter range of motion than many so-called “benchrest” type powder measures in today’s market. In addition, this
unique design incorporates the most desirable powder measure features demanded by today’s advanced reloader. With
reasonable care and periodic cleaning, your new powder measure should provide you with years of dependable service.
Disclaimer
Since Frankford Arsenal has no control over the choice of reloading components (ie., cases,
bullets, primers, and powder), the manner in which they are assembled, the use of the powder
measure, or the firearms in which the resulting reloaded ammunition may be used, no
responsibility, either expressed or implied, is assumed for the use of ammunition reloaded
with this powder measure.
!
W a rning
Never use rotary powder measures for dispensing black powder, Pyrodex, or other black powder
substitutes. These powders are sensitive to impact. Operation of the rotor handle will crush black
powder granules between the sharp edges of the steel rotor and the powder measure frame
and can potentially ignite the powder causing all the powder in the powder measure to explode,
resulting in property damage, serious injury, or death.
Mounting and Assembly
Your new Super charger Powder Measure is shipped completely assembled and ready to use with the exception of the
clear drop tube extension and the drop tube nozzles. The powder measure should be mounted securely to a solid shelf
or bench. Rigid mounting of the powder measure is essential for consistent charges, particularly with coarse grained
powders. You should use a well-braced shelf or the edge of a solid bench that is not subject to accidental jarring or
vibration. The shelf or bench top should be rigid and at least 3/4” thick.
Mount and assemble the powder measure as follows.
• Carefully position the shelf mount bracket against the edge of the bench or shelf in a convenient location.
If using the bench mount stand, position the stand so the bend in the base is even with the front edge of the
bench top in order to provide clearance for the clear drop tube extension.
• Mark the position of the mounting holes using a pencil or punch.
• Drill two mounting holes in the edge of the shelf or the bench top using a 1/8” to 9/64” drill bit.
• Secure the powder measure mounting bracket or stand to the shelf or bench with the two #12 Phillips
wood screws (provided) using a #3 Phillips screwdriver.
• If using the bench mount stand, remove the drop tube adapter from the shelf mount bracket using a 11/8” box end wrench or socket. Reinstall the drop tube adapter onto the bench mount bracket.
• The powder measure can now be slipped over the drop tube that has been secured to the mounting
bracket or stand. The drop tube adaptor used in conjunction with the mounting bracket or stand allows
for easy removal of the powder measure to change powders or empty, and allows the user to align the
2
Page 3
measure at any desired angle.
• Secure the powder measure to the drop tube adaptor by tightening the body lock screw.
• Detach the nozzles from the mold trees and slip the pre-lubricated O-rings over the small end of the clear drop
tube extension and each nozzle. Roll the O-rings downward until they snap in place into the O-ring groove
found on each nozzle. Note each nozzle has the caliber size molded into it. Match the caliber size on the
nozzle to that shown on the storage box lid. Insert the completed nozzles (large end pointing downward) into
the appropriate cavity in the storage box.
• Powder measure components are covered in a rust preventative to protect them from corrosion during
shipping. To prevent powder from sticking to these components, this rust preventative must be removed prior
to use. Remove the powder measure from the drop tube adaptor and disassemble the powder measure by
loosening the knurled micrometer lock screw and the rotor/micrometer lock screw. The rotor/micrometer lock
screw requires a 3/32" hex key (provided). Slide the micrometer out of the rotor and slide the rotor out of the
powder measure body. Using isopropyl alcohol (or other suitable degreaser), thoroughly clean the inside of
the drop tube, the outside of the rotor, the rotor cavity, the rotor bearing surfaces, and the top of the rifle
micrometer metering screw. The top of the pistol micrometer metering screw and metering cavity must also be
cleaned with a cotton swap soaked in alcohol. Reinstall the rotor and micrometer as provided in the instructions
below.
Powder Measure Setup and Adjustment
The Super charger Powder Measure dispenses powder by volume rather than by weight. Always use an accurate and
reliable powder scale in conjunction with the powder measure to set the powder measure micrometer for the desired
powder charge weight. Set up and adjust the Super charger Powder Measure as follows:
1. Verify that the powder measure hopper and metering chamber are empty and free from any loose
powder before attempting to use it. If there is powder in the measure and the powder can be identified,
return it to the original factory container. If not, empty into an appropriate container and discard in a safe
manner.
2. Select a proper load combination (powder, powder charge weight, and bullet weight) from reliable
(published) load data.
3. Select and install the correct micrometer (rifle or pistol micrometer) for your specific powder and load.
The rifle or large micrometer is designed for medium to large capacity rifle cartridges that use ball or extruded
powders. The pistol micrometer has a smaller metering chamber designed specifically for pistol and small
capacity rifle cartridges that use ball or flake powders. To remove a micrometer, loosen the micrometer lock
screw (the knurled screw on the micrometer body) and then the rotor/micrometer lock screw (located on the left
side of the rotor). The rotor/micrometer lock screw will require a 3/32” hex key (provided). After loosening the
screw, slide out the existing micrometer.
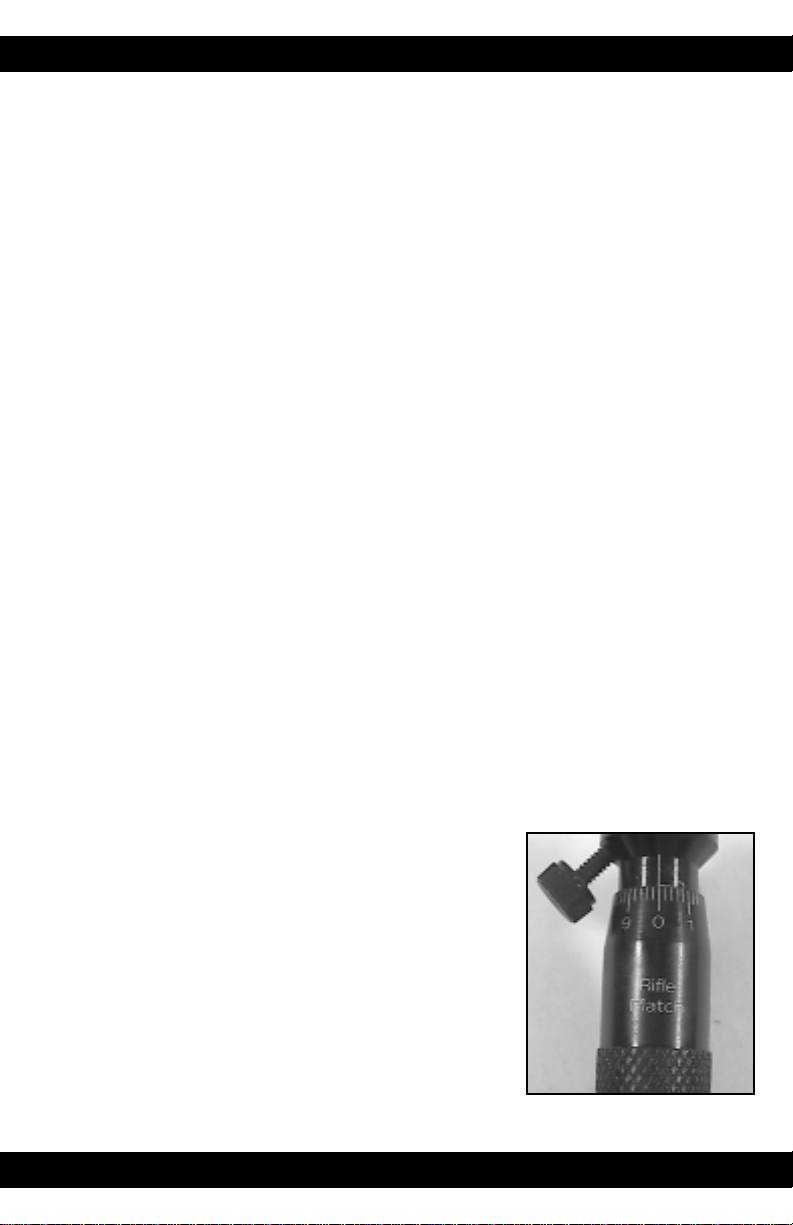
To install the rifle micrometer, loosen the knurled micrometer lock screw.
Then rotate the micrometer thimble, while holding the micrometer body
stationary, until the micrometer assembly is zeroed (refer to Figure 1).
With the rotor handle positioned parallel to the bench or shelf top, slide
the micrometer into the rotor cavity until the metering screw bottoms
out against the frame. At this point the beveled edge of the micrometer
body should be approximately even with the outside edge of the powder
measure body. The graduated scale on the micrometer body should be
facing upward with the micrometer lock screw positioned to the left.
Tighten the rotor/micrometer lock screw to secure the micrometer. Turn
the micrometer thimble counterclockwise slightly so that no drag is felt
when the rotor is cycled.
Figure 1
To install and zero the pistol micrometer, the micrometer body should be inserted fully into the rotor cavity until
3
Page 4
it bottoms out against the powder measure frame.
Both the rifle and pistol micrometers are zeroed at the factory. However, if for any reason the micrometers
fail to zero or are ever disassembled, they must be re-zeroed prior to use as follows:
• Loosen the knurled micrometer lock screw and back the micrometer thimble away several turns from the
zero point.
• With the rotor handle lifted to the midpoint of its travel, install the desired micrometer as follows. If using
the pistol micrometer slide the micrometer into the rotor cavity until it bottoms out against the frame. If
using the rifle micrometer, slide the micrometer into the rotor cavity until the beveled edge is
approximately even with the outside edge of the powder measure body.
• Tighten the rotor/micrometer lock screw.
• Screw the micrometer thimble inward (gently) until the metering screw just bottoms out against the
powder measure frame. Tighten the micrometer lock screw.
• Loosen the thimble set screw and reposition the thimble until it is zeroed. Tighten the thimble set screw,
loosen the micrometer lock screw, and screw the thimble outward (counterclockwise) slightly so that the
metering screw does not drag when the rotor is cycled.
• The micrometer is now zeroed.
4. Fill the powder hopper with the proper powder. The powder hopper should be filled well above the top of
the baffle (at least half full).
W a rning
!
Do not remove or re-orient the hopper baffle. Its location and configuration have
been determined experimentally and have been optimized to provide consistent powder
charges. Removing or re-orienting the baffle will degrade powder measure accuracy.
5. Gently tap the hopper tube with a your finger several times to help settle the powder in the hopper.
6. Select a drop tube nozzle that provides the correct fit for the caliber you are reloading, and insert the
nozzle into the bottom of the drop tube adapter until it comes to a stop. Note the drop tube nozzles fit the
following calibers:
............................................................Use Nozzle
Caliber
17 Cal. ....................................................................17
22 Cal. ....................................................................22
6mm......................................................................6mm
25 Cal. ....................................................................25
6.5mm & 270 ........................................................270
7mm......................................................................7mm
30 Cal., 7.5mm, 7.62mm,
303, 7.65mm, & 32 Cal. ........................................30
Caliber ............................................................Use Nozzle
8mm & 338 ..........................................................8mm
348, 9mm, 38, 35, & 9.3mm ..................................38
375 ........................................................................375
10mm & 40 Cal......................................................40
41Cal.......................................................................41
44 Cal. ....................................................................44
45 Cal. ....................................................................45
22 through 30 Cal. (universal) ..............................22+
30 through 50 Cal. (universal) ..............................30+
7. If you intend to use the clear drop tube extension, insert the chosen drop tube nozzle in the end of the drop
tube extension instead of the drop tube adapter. Then insert the drop tube extension into the bottom of the
drop tube adapter. NOTE: If you are using the Benchmount stand, you must also use the clear drop tube
extension in order to have sufficient clearance to charge cases from a loading block.
8. Zero your powder scale, then set the powder scale for the desired charge weight.
9. If you have not used the powder measure or the chosen powder before, guess at an initial micrometer
setting or set the powder measure micrometer to approximately the mid-point of its travel. Be sure to
loosen the knurled lock screw prior to setting the micrometer.
10. To throw a powder charge, simply raise and lower the powder measure handle. Operate the powder
measure handle slowly and methodically; cycling it first upward until it comes to a stop, pausing to allow
4
Page 5

the metering chamber to empty, and then downward until it comes to a stop, pausing to allow the metering
chamber to fill. You will be able to see the powder move in the hopper while the metering chamber is
filling. For a detailed discussion of proper powder charging methods, refer to the section entitled
“Powder Charging Technique”.
11. Throw a charge and weigh it on your powder scale. Note whether it is overweight or underweight and
adjust the micrometer setting as needed. Turning the micrometer thimble outward (counterclockwise) to
a higher number on the graduated scale will increase the charge volume. Turning the micrometer
thimble inward (clockwise) to a lower number will decrease the charge volume. Always adjust the
micrometer with the operating handle in the down position.
12. Throw another charge and weigh it. Readjust the micrometer as needed.
Continue this process until you reach the desired charge weight.
13. Lock the micrometer metering screw in place with the knurled lock screw and
throw another charge to verify the micrometer setting and powder charge
weight consistency.
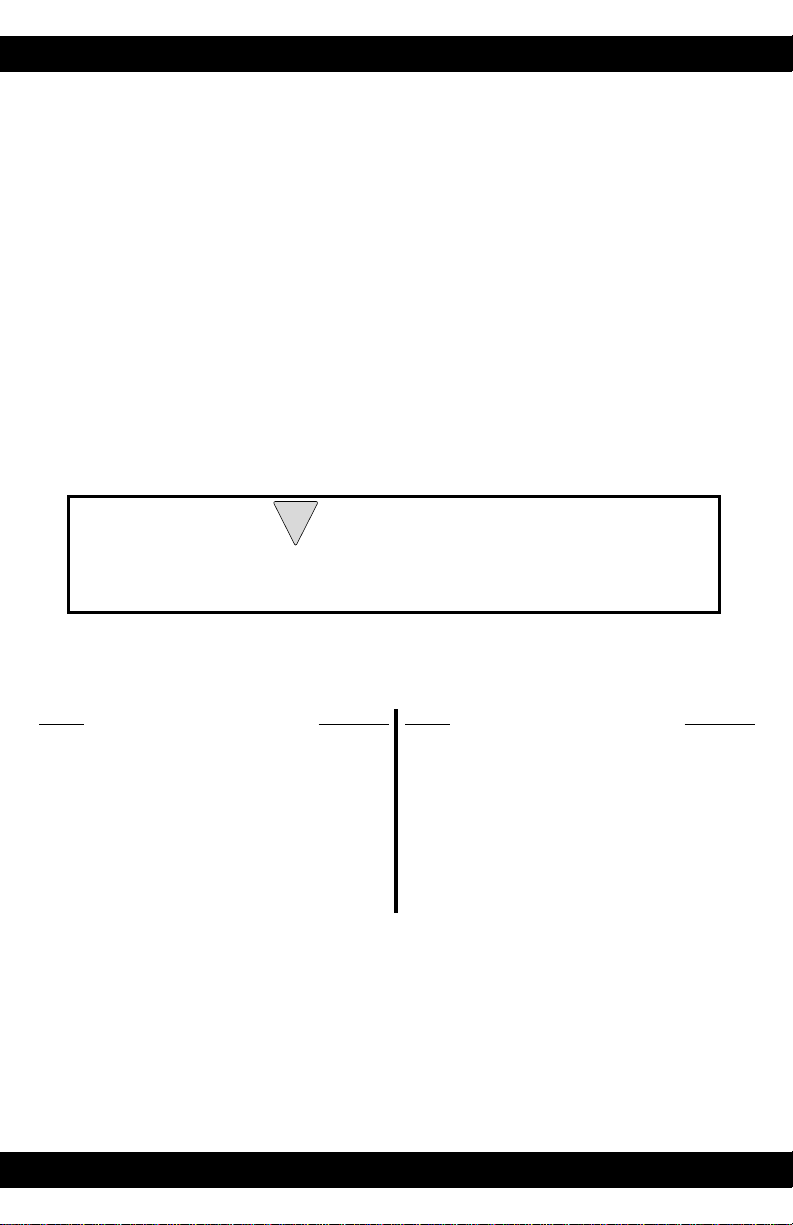
14. Write down the final micrometer setting, powder type, and actual charge
weight in your reloading notes for future reference. Note the engraved
graduations range from 0 to 280 on the micrometer body and 0 to 10 on the
thimble, with each tick mark on the thimble equivalent to 0.2 on the
graduation scale. Since one revolution of the micrometer thimble is equivalent
to 10, the micrometer in Figure 2 reads as 175.4.
Figure 2
W a rning
!
The laser engraved graduations on the powder measure micrometers are for reference only
and do not indicate the actual charge weight (or grains) of powder.
Powder Charging Technique
Acartridge case may be charged by placing the case mouth in direct contact with the drop tube nozzle and then cycling
the operating handle. It is recommended that the powder measure operating handle always be cycled in a smooth and
consistent manner. The handle should be cycled at a slow to moderate speed, coming to a full stop at the end of each
direction of travel, without jarring the powder measure unnecessarily. The operating handle should be cycled with
the same amount of force and with the same motion each time in order to minimize variations in powder charges. If a
large charge is thrown, you should pause briefly at the top and bottom of the handle stroke to allow sufficient time for
the metering chamber to empty and then fill. You will be able to see the powder flow from the hopper while the chamber is filling.
You will often read in reloading literature that some experienced reloaders prefer to lightly rap or bump the operating
handle of the powder measure against the limits of its travel to help dislodge and/or keep powder from bridging.
Rapping (or bumping) should only be performed when using coarse-grained (extruded) powders and should only be
done lightly and uniformly. Heavy-handed banging of the operating handle will only result in erratic charges and may
damage the powder measure.
It is recommended that you not rap the powder measure at the top and bottom of the operating cycle when using ball
or flake type powders. Frankford Arsenal has determined through testing that the accuracy of the Super charger
Powder Measure actually decreases if rapped (or bumped) when using these powder types.
Any charging style or technique you may later develop should be used with consistency for maximum accuracy from
your handloads. If at any time you change your charging routine, weigh a few powder charges to verify your micrometer settings. They may change slightly due to the change in your charging routine.
5
Page 6

In any rotary powder measure there is a slicing or shearing action that occurs when powder granules are caught
between the cutting edges of the rotor and the body of the measure, as the operating handle is cycled. This shearing
action typically takes place on only 1 or 2 powder granules and can be felt as a slight increase in resistance as the granules are cut. Coarse-grained extruded powders usually offer the most resistance and are the toughest to cut. When cutting any coarse-grained powder, a slight jarring of the powder measure will occur which will result in slight variations
in powder charge weight. This jarring effect can be minimized by modifying your charging technique so that powder
cutting is accomplished with the least amount of disturbance to the powder measure while still maintaining a smooth
uniform rhythm. One of the best methods is to place your index finger along the top edge of the stamped handle with
your thumb on the inside of the handle and grasp the plastic handle knob with the rest of your fingers. By cycling the
operating handle in this fashion a good operator can achieve charges within a fraction of a percent of the desired
charge, with even the coarsest of powders.
It is recommended that when throwing maximum or near maximum charges that the reloader throw a light charge and
work up to the desired charge weight using a powder trickler in conjunction with a powder scale.
While throwing powder charges, discard any that feel too rough or too smooth. It is not unusual to encounter some
resistance due to the cutting of individual powder granules. However, if the powder measure hangs up in the middle
of a stroke, dump that charge back into the hopper and not into the case. The resultant powder charge will either be
too light or too heavy.
Check the micrometer setting intermittently during each reloading session to determine if anything has shifted or
changed. If it has, one of the lock screws may not have been tightened sufficiently, resulting in erratic charges. It is a
good practice to routinely weigh a charge on a powder scale at initial intervals of 10 to 20 cases in order to verify that
the charge weight has not changed. This interval may be increased once you gain confidence in the powder measure
and your powder-charging technique.
After charging the cases (prior to bullet seating), perform a visual inspection of the powder level in each case to verify that powder levels are uniform. With good lighting, you can easily detect even slight variations in powder levels,
and will quickly pick out an empty case or one that has been double charged.
Emptying the Measure
It is not necessary to empty the powder measure when you change charges unless a different powder is required. Never
store or leave powder in the powder measure for extended periods of time since the powder may be spilled, mixed
with another powder, or become misidentified. In addition, exposure to sunlight and humidity can degrade smokeless
powders. Always empty unused powder back into the original factory container when done reloading. Be careful to
get the powder into the right container. In order to avoid potential mixing of powders, an experienced reloader never
has more than one container of powder out at a time.
Empty the powder measure as follows.
• Raise the rotor handle slightly so that the micrometer is elevated sufficiently to gain access to the body
lock screw.
• Unscrew the body lock screw two full turns and slide the powder measure upward off of the mounted drop
tube adapter.
• Remove the hopper cap and pour the powder from the hopper back into the original factory container using an
appropriate funnel.
• There will be some powder trapped under the baffle. This trapped powder can be removed by cycling the
operating handle until empty. Catch the trapped powder in a convenient container. Because the chamber in the
Pistol Micrometer is so small, it is recommended that you loosen the rotor/micrometer lock screw with a 3/32”
hex key, slide the micrometer out of the rotor about an inch, re-tighten the lock screw, and cycle the handle until
6
Page 7

empty if the pistol micrometer is installed. Be sure to re-zero the micrometer for the next reloading session.
Reinstall the hopper cap to keep dust out of the powder measure when not in use.
Maintenance
Plastic and painted surfaces may be cleaned with a damp cloth. Never use petroleum based solvents to clean any plastic components (i.e. handle knob, powder hopper, or drop tube nozzles). If rust spots appear on unpainted external surfaces, swab with gun oil and wipe dry. If the powder measure is to be used in a damp area, all non-painted external
surfaces may be protected with a very thin film of oil, applied with a soft cloth.
Occasionally, the micrometer, clear drop tube extension and drop tube nozzle O-rings may require lubrication to
reduce drag and restore the original feel. T o gain access to the micrometer O-ring, simply loosen the thimble set screw
with a 3/32” hex key and slide the thimble off the micrometer assembly . It is recommended that you use silicone based
grease for this application. Only a very light film is required. The micrometer metering screw threads should also be
lubricated with grease, as needed, to prevent galling. Once lubricated reassemble the micrometer and re-zero.
Troubleshooting Guide
A summary of common reloading problems and causes are listed below to assist you in solving problems you may
encounter using the Super charger Powder Measure.
1. Problem: Powder measure body rotates or wobbles when rotor is cycled.
Remedy:
• Tighten powder measure body lock screw to secure body to drop tube adapter.
• Tighten drop tube adapter.
2. Problem: Rotor will not cycle.
Remedy:
• Micrometer installed incorrectly. Due to the internal design of the powder measure body casting, it is
important that either micrometer be installed with the rotor handle positioned parallel to the bench or shelf top.
If the micrometer is installed at either the top or bottom, it can potentially lock-up the powder measure.
3. Problem: Rotor is tight, sticks, or squeaks when cycled.
Remedy:
• Rotor needs to be lubricated. Some powdered graphite or similar dry lubricant may be used to smooth
operation. Never use oil or grease as a lubricant on the rotor or powder measure body bearing surfaces.
4. Problem: Rotor does not cycle smoothly and requires more force than usual to operate.
Remedy:
• An accumulation of dust (or powder fines) between the rotor and body may cause a slight drag after
extended use with some fine grained powders. If this begins to interfere with smooth operation, disassemble
the powder measure and wipe the rotor and frame bearing surfaces with a soft cloth. If it does not wipe away
readily, try dampening the cloth with isopropyl alcohol. Do not use abrasive cleaners of any kind.
5. Problem: Micrometer will not turn or is hard to turn.
Remedy:
• Loosen knurled micrometer lock screw.
6. Problem: Rifle micrometer cannot be inserted into the rotor cavity.
Remedy:
• Loosen knurled micrometer lock screw.
7
Page 8

7. Problem: Micrometer does not zero.
Remedy:
• Empty the powder measure and remove micrometer. Reinstall and zero the micrometer in accordance with
instructions in section entitled “Powder Measure Setup and Adjustment”.
8. Problem: Static electricity causing powder to adhere to powder hopper walls.
Remedy:
• Rubbing the outside of the plastic hopper tube with a laundry dryer sheet (such as Cling Free or Bounce) can
easily eliminate static electricity. Do not put the dryer sheet inside the hopper, as this will contaminate the
powder. After the static is gone, you may wipe down the hopper with a clean rag to remove any residue left by
the dryer sheet.
9. Problem: Powder charges are erratic.
Possible Cause and Remedy:
• Powder level in hopper too low. Maintain powder level well above top of baffle.
• High humidity. Reload in an air -conditioned environment or when the relative humidity is lower. Store powder
in a cool and dry location.
• Static Electricity. Rub the outside of the plastic hopper tube with a laundry dryer sheet (such as Cling Free or
Bounce).
• Improper powder charging technique. Review section entitled “Powder Charging Technique”.
10. Problem: Powder charge weight different than last used (at same setting).
Possible Cause and Remedy:
• Wrong micrometer installed. Install correct micrometer.
• Wrong powder. Verify powder brand and type being used.
• Different powder lot. Verify powder lot number.
• Micrometer improperly zeroed. Empty powder measure, remove micrometer assembly, and reinstall and zero
in accordance with section entitled “Powder Measure Setup and Adjustment.
11. Problem: Powder bridges.
Possible Cause and Remedy:
• Cycling the rotor handle too quickly. Slow down.
• Static electricity. Rub the outside of the plastic hopper tube with a laundry dryer sheet (such as Cling Free or
Bounce).
• Although the drop tube nozzles are caliber specific, some extruded powders may be too coarse to flow
properly through the chosen drop tube nozzle. If this occurs you have two options:
1.Switch to a different type of powder.
2.Switch to a drop tube nozzle with a larger bore diameter. If a larger nozzle will allow the powder to
flow consistently, then throw powder directly into your scale powder pan and charge cases using a
powder funnel.
12. Powder spills when charging case.
Possible Cause and Remedy:
• Drop tube nozzle not installed. Install proper drop tube nozzle for caliber being loaded.
• Wrong drop tube nozzle installed. Install correct drop tube nozzle for caliber being loaded.
• Case not fully inserted into drop tube nozzle. Make sure case mouth bottoms out when inserted into nozzle.
13. Problem: Drop tube nozzle or drop tube extension are difficult to install or remove.
Remedy:
• Lubricate the O-rings occasionally using silicone based grease. Only a very light film is required. If a drop tube
nozzle or extension becomes stuck in the drop tube, tape the exterior of drop tube nozzle or extension to
8
Page 9

prevent marring and use a pair of pliers to remove it from the drop tube. Lubricate the O-ring prior to reinstallation.
9
Page 10

Parts List
Key Part Number Description Quantity
1. 692-792 Hopper Cap ....................................................................1
2. 286-975 Hopper Tube....................................................................1
3. 552-356 Hopper Baffle..................................................................1
4. 768-555 Powder Measure Body....................................................1
5. 521-202 Body Lock Screw ............................................................1
6. 349-835 Rotor ................................................................................1
7. 515-502 Rotor/Micrometer Lock Screw ......................................1
8. 656-287 Rotor Handle ..................................................................1
9. 220-038 Handle Knob ..................................................................1
10. 636-973 Handle Knob Pin ............................................................1
11. 245-767 Handle Screw ..................................................................2
12. 175-416 Rifle Micrometer Body ..................................................1
13. 509-318 7/16" OD x 1/16" W O-Ring ..........................................2
14. 787-067 Rifle Metering Screw*....................................................1
15. 592-113 Micrometer Lock Screw ................................................2
16. 522-978 Rifle Micrometer Thimble* ..........................................1
17. 555-623 Thimble Set Screw..........................................................2
18. 358-722 Pistol Micrometer Body*................................................1
19. 411-510 Pistol Metering Screw* ..................................................1
20. 462-391 Pistol Micrometer Thimble* ..........................................1
21. 211-910 Drop Tube Adapter ........................................................1
22. 356-719 Drop Tube Nozzles........................................................16
23. 306-385 9/16" OD x 1/16" W O-Ring ........................................16
24. 748-219 Shelf Mount Bracket ......................................................1
25. 453-314 Label ................................................................................1
26. 794066 Clear Drop Tube Extension*..........................................1
27. 738-118 Bench Mount Stand*......................................................1
28. 546-543 Smarter Powder Funnel* ..............................................1
** 177-744 Nozzle Storage Box ........................................................1
** 604-490 #12 x 3/4" Mounting Screw............................................2
** 517-105 3/32" Hex Key ................................................................1
10
* Not available in all configurations
** Not Shown in Drawing
Page 11

11
Page 12

Limited Warranty
Every Frankford Arsenal product is warrantied to be free of defects in materials and workmanship for a period of one (1) year from the date of original purchase. Frankford Arsenal will, at its
option, repair or replace without charge, except for transportation costs, parts that fail under normal use and service when operated and maintained in accordance with our Instructions. This warranty does not apply to normal wear or to items whose life is dependent upon their use and care.
This warranty is in lieu of all other warranties, expressed or implied and releases Frankford
Arsenal, its affiliates, and its vendors from all other obligations and liabilities.
Revised: 01-26-00
5885 W Van Horn Tavern Rd. • Columbia, MO 65203
Visit our web site at www.frankfordarsenal.com
A Product
12
 Loading...