

Framing Supplies PPFE Instructional Manual
PPFE 12” Miter Disk Sander
Instructional Manual
1 © 2017 framingsupplies.com
All Rights Reserved
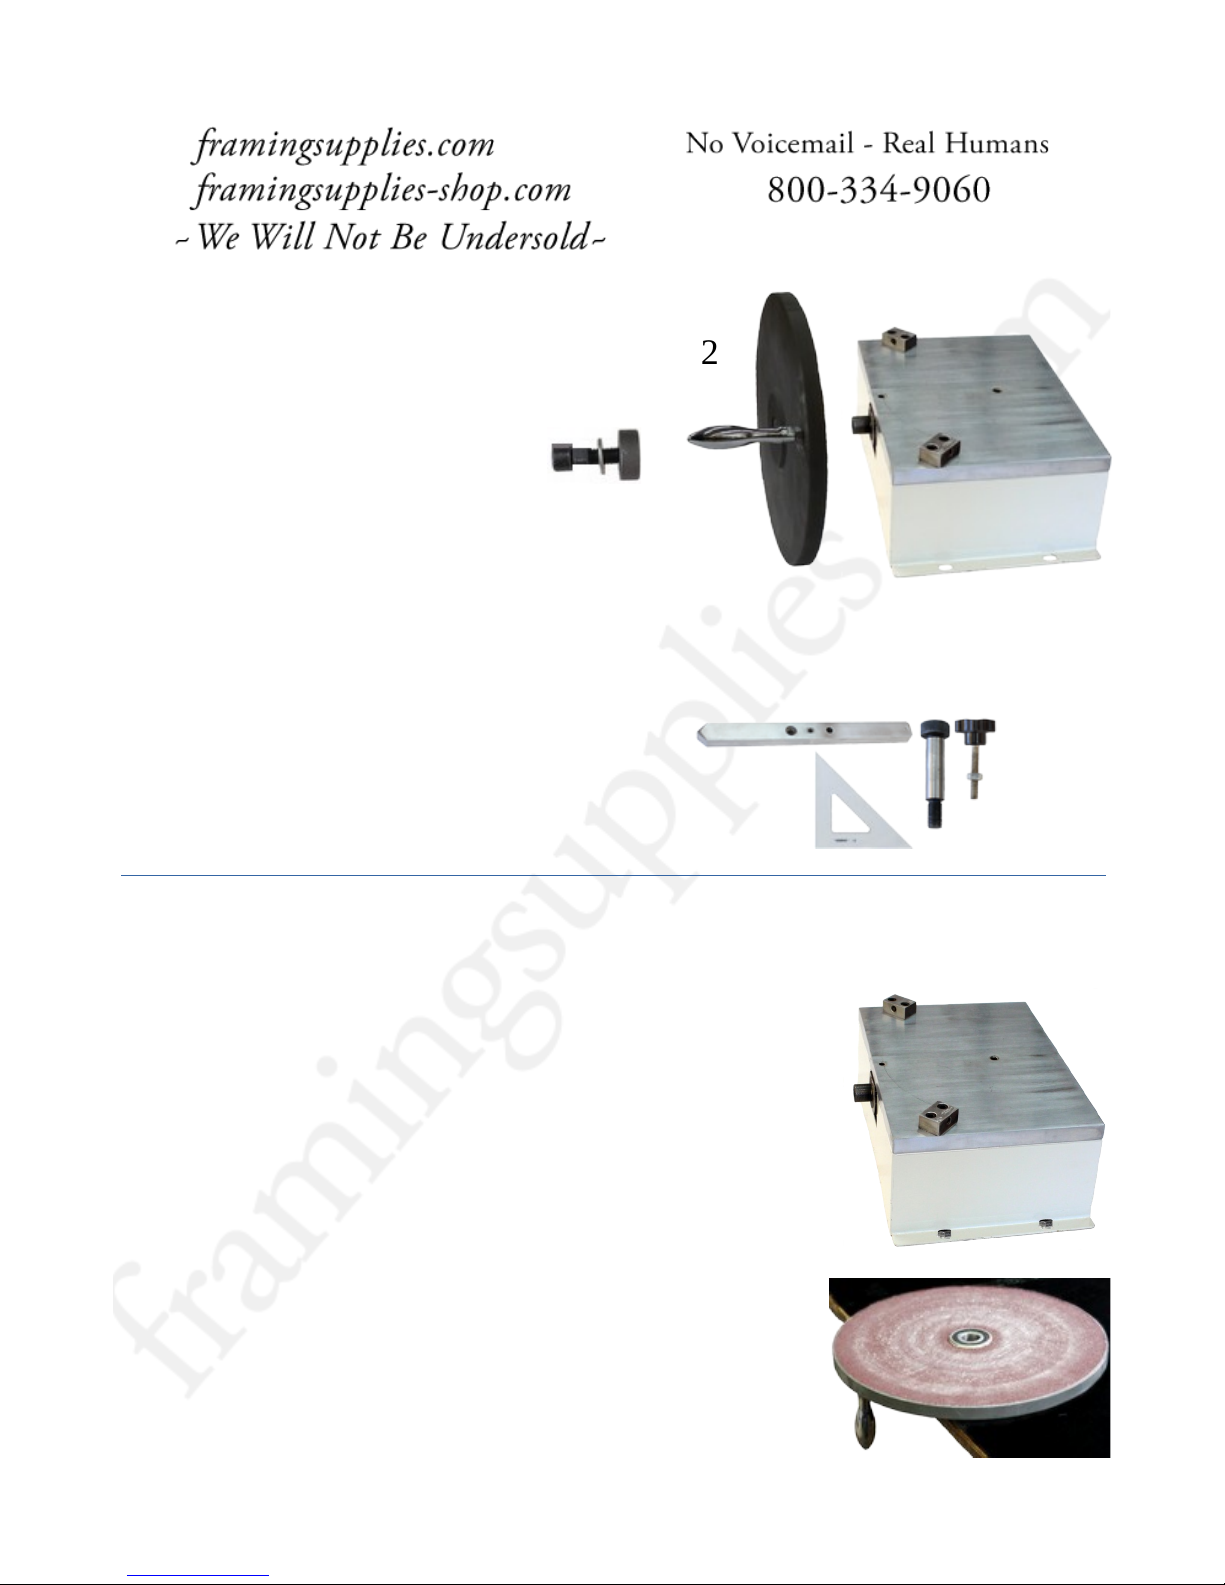
Parts
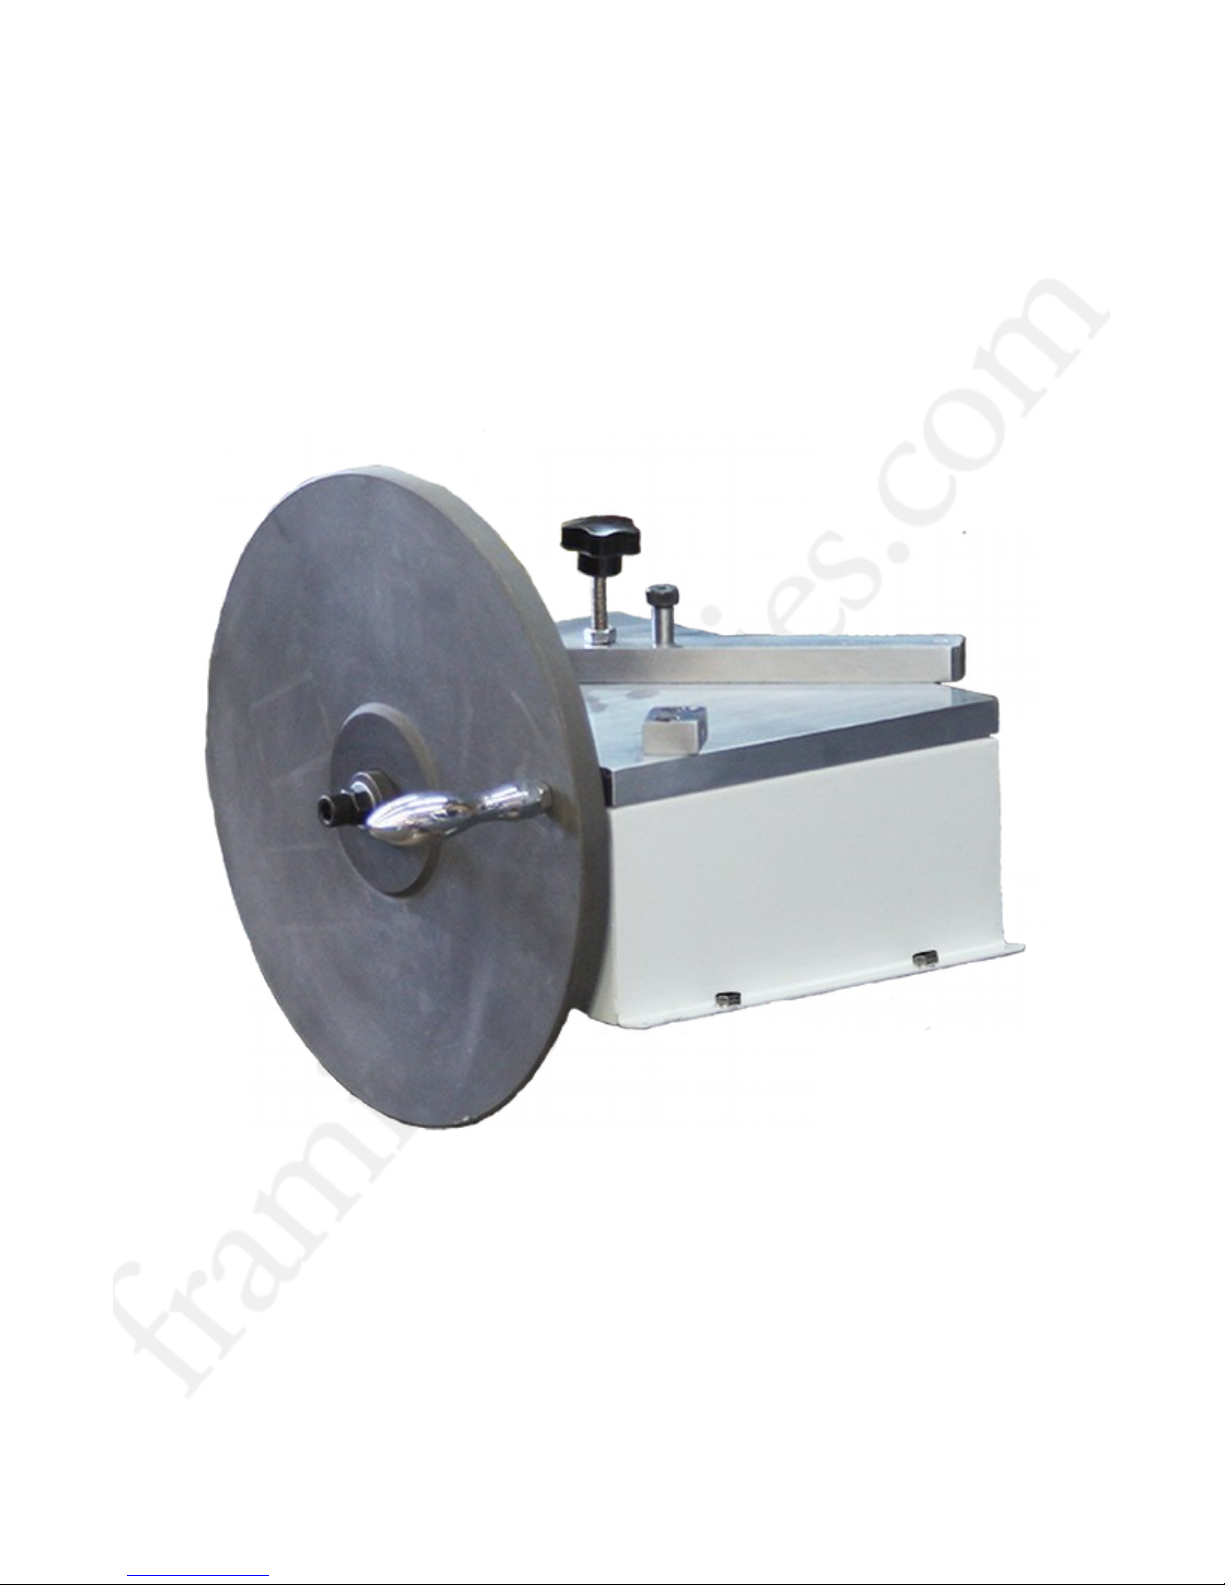
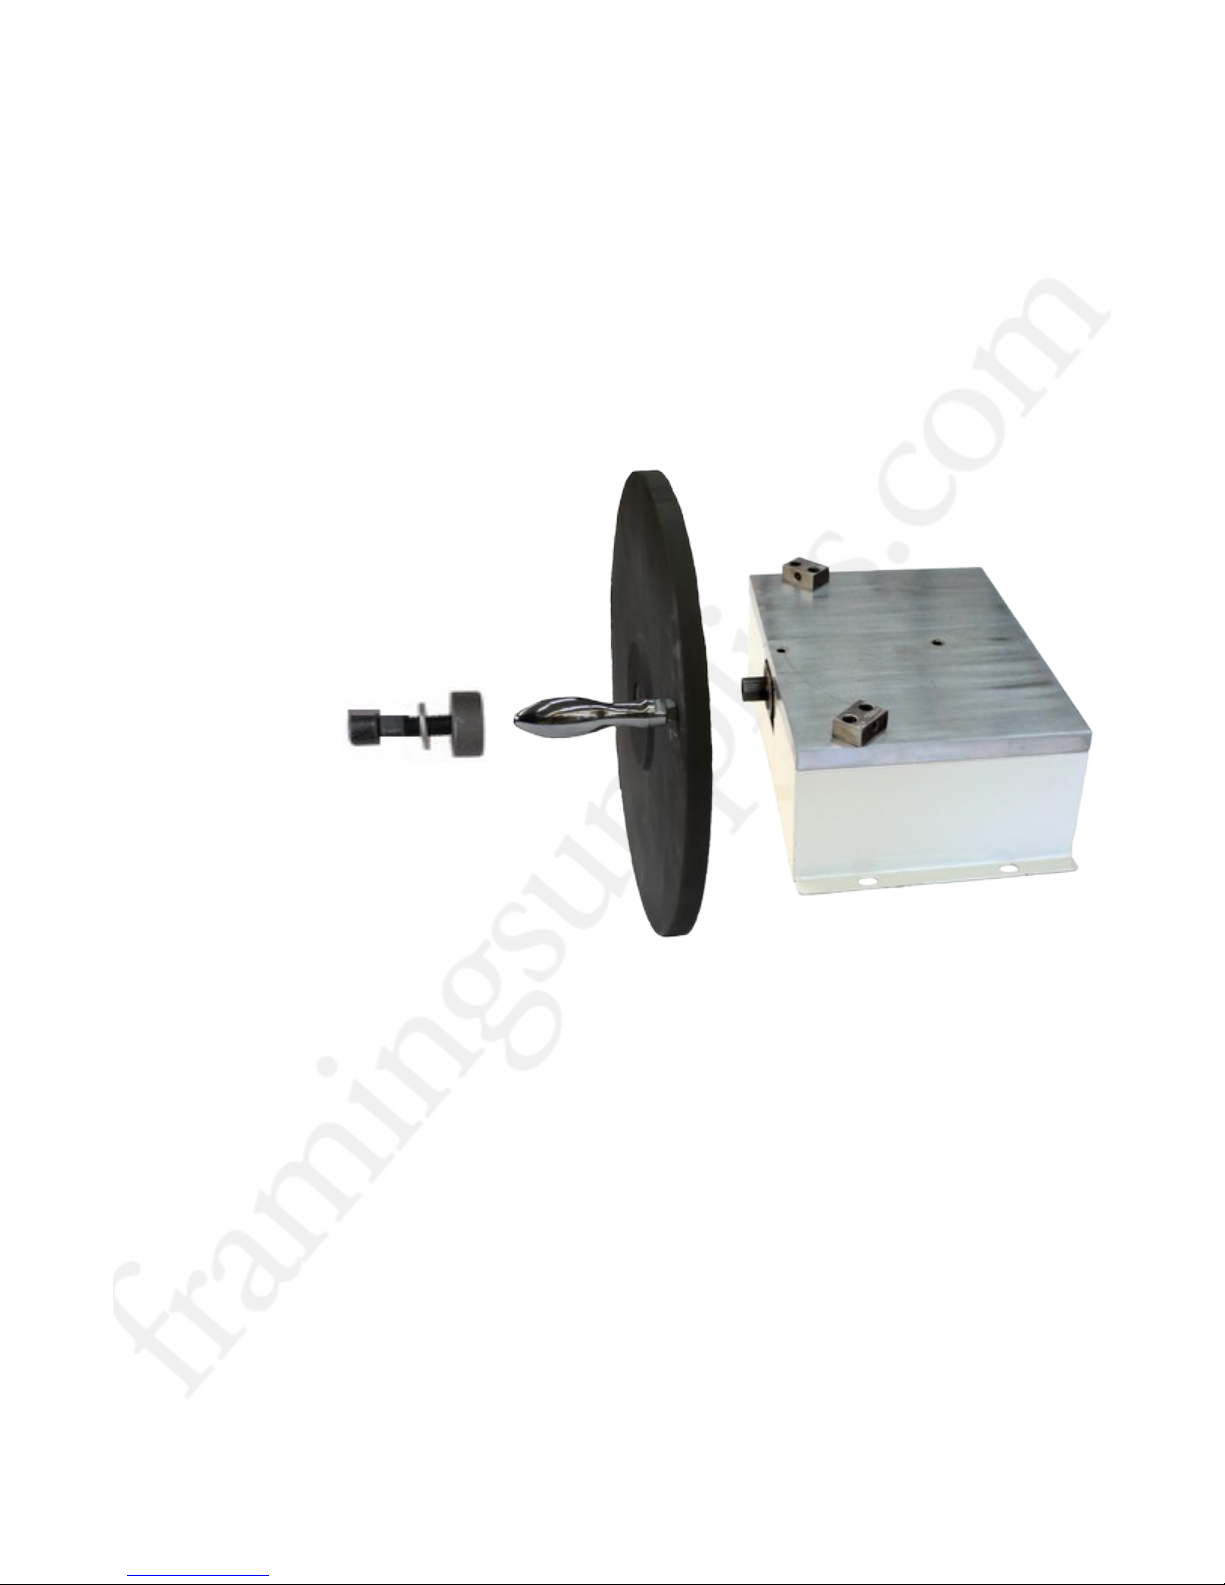
1. Base
2. Sanding Wheel
3. Guide
4. Guide Axle
5. Guide Handle
6. Bearing Assembly
7. Triangle
Set-Up Instructions
2
3
6
1
4
5
7
1. Bolt the machine to a table or work stand with 4 bolts. For
your safety, do not attempt to work with this machine while it is
not secured to a table surface.
2. Lay the disk down on a work surface with the handle
hanging over the edge.
2 © 2017 framingsupplies.com
All Rights Reserved
3. To place the paper on the disk, remove the paper backing just over half way from the
disk. Then, fold the release paper over and hold the paper disk by that side. You can use
the side with the paper still attached to align the edge to the disk. When your abrasive
paper is aligned with the disk, press on the side of the abrasive paper that has no liner
under it. Now you can slowly remove the rest of the liner and press down on the whole
disk.
4. Now you are ready to install the disk. First, install the disk onto the center shaft of the
base with the abrasive attached. Now place the bearing onto the sander center shaft.
Then place the washer and the bolt, tightening them by hand and then using an 8mm
allen wrench to tighten. Hold onto the handle of the disk while tightening the allen
screw.
3 © 2017 framingsupplies.com
All Rights Reserved
 Loading...