

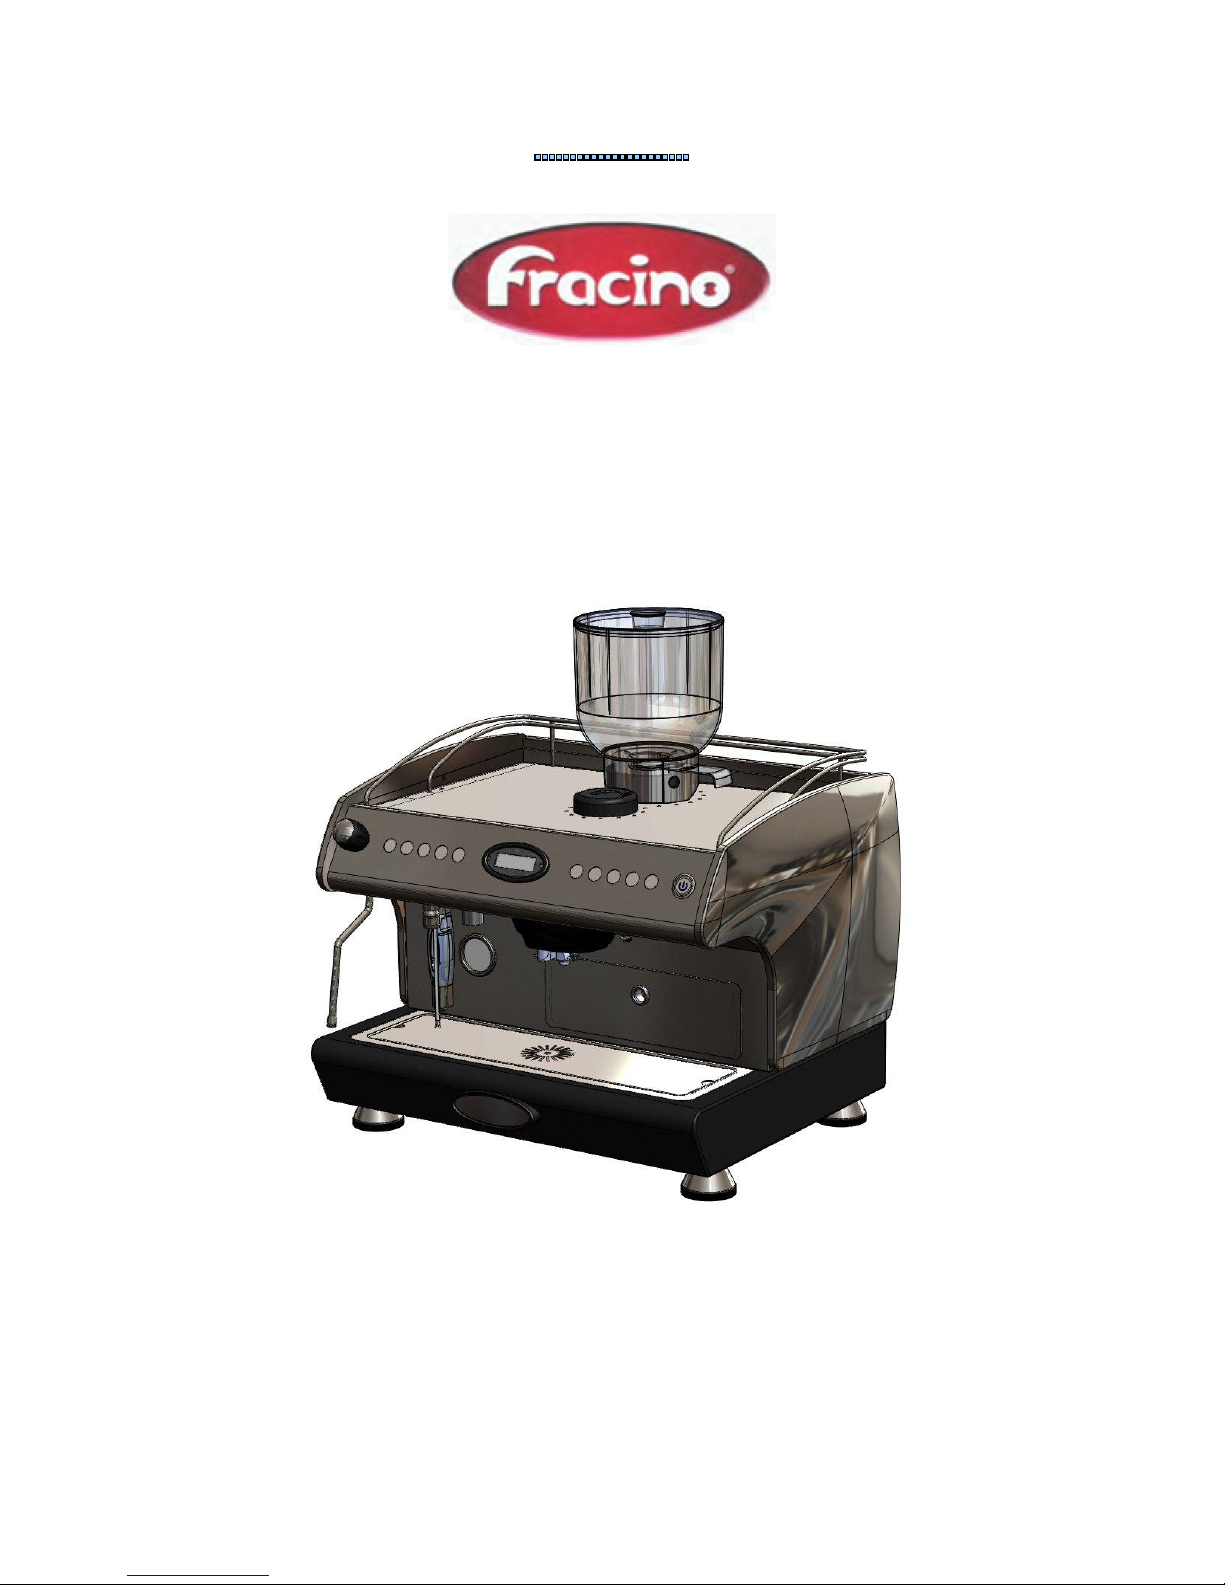
Fracino Cybercino User Manual
Cybercino Users Manual – Draft Edition – 7thth January 2009
1
Cybercino
User Manual
Cybercino Users Manual – Draft Edition – 7thth January 2009
2
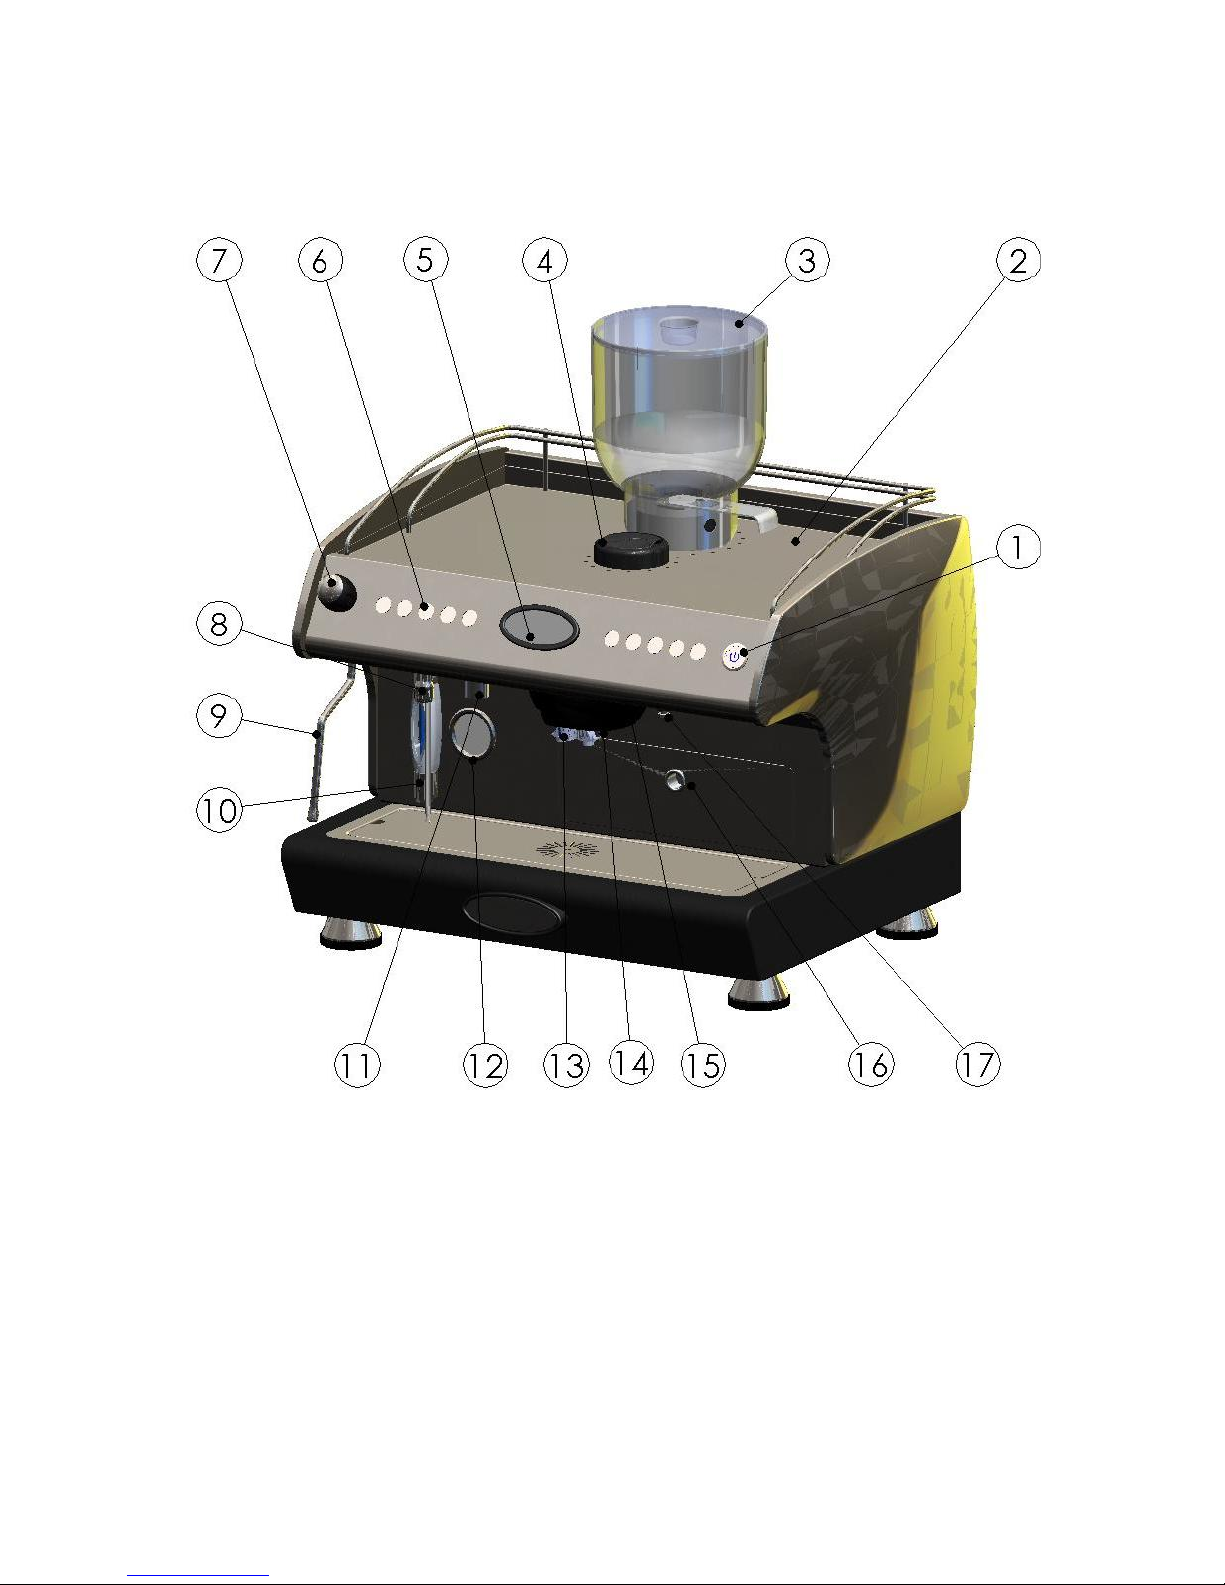
Cybercino Features Diagram

Cybercino Users Manual – Draft Edition – 7thth January 2009
3
Features
No
Description
1
Mains on/off switch
2
Top Tray
3
Beans Hopper
4
Decaf Chute
5
Display
6
Control Buttons
7
Steam Knob
8
Hot Water Nozzle
9
Steam Pipe
10
Sight Gauge
11
Milk Supply Pinch Valve
12
Pressure Gauge
13
Milk Dispense Beak
14
Coffee Dispense Beak
15
Dispense Beak Cowling
16
Grinds Bin
17
Air Valve for Autofrother
Cybercino Users Manual – Draft Edition – 7thth January 2009
4
Buttons
11
10
09
08
07
xxxxxxx
x
06
05
04
03
02
xxxx
x
1
No.
Function
Operations
1
Power On/Off
Use button to power machine on & off
2 Decaffeinated
Coffee
Press button once to open flap of decaf chute. Cybercino will
make coffee automatically when flap is closed.
3 Espresso
Press button once for a single espresso, twice for two
espressos.
4 Black Coffee
Press button once for a single black coffee, twice for two black
coffees.
5 Latte
Press button once for a single latte, twice for two lattes.
6 Cappuccino
Press button once for a single cappuccino, twice for two
cappuccinos.
7 Star Button / Multi-
Function
Cleaning – during start-up press this button to rinse machine
when prompted.
Emergency Stop – press this button during machine cycle to
halt the machine and drop it into safe mode.
8 Large
Press button immediately after choosing drink to make a large
drink.
9 Foamed Milk
Press this button once to deliver foamed milk at the milk
outlet.
10
Steamed Milk
Press this button once to deliver foamed steamed at the milk
outlet.
11
Hot Water
Press button once to deliver a measured amount of water from
the outlet. Press during delivery to cancel.

Cybercino Users Manual – Draft Edition – 7thth January 2009
5
SECTION 01 - Start Up
- Installation and First Start
a. Connections to establish:
1. Water – connection to cold water inlet with shut off valve.
2. Electricity – power socket connection, fused, with at-socket shut off.
3. Waste pipe – outlet for waste liquids from drip tray
4. Milk inlet – the tube needs to be connected between the milk foamer, through the pinch
valve and into a milk container (counter top refrigerator, or similar).
5. Grinds – OPTIONAL ... if not using the grinds bin, but employing a general through-fall
bin, ensure that the counter top has a clear path through from the machine to the bin.
b. Once connections have been established, attach the bean hopper. With the bean flap shut.
c. Fill the hopper with beans and attach the hopper lid.
d. Open the bean flap.
e. Switch on the water.
f. Switch on the power.
g. Switch on the machine using button 01. (see button definitions)
The machine will then start to warm up.
The LCD display will display “WARMING” during this period, and the all of the function
buttons will flash.
Once the machine is warm, the buttons will stop flashing and it will prompt the operator to
“PRESS RINSE”
h. Press button 11 to complete the start up cycle and rinse the machine.
i. When the LCD displays “CHOOSE DRINK” the machine is ready for use.
j. To configure the machine, follow the procedure as outlined in Section 03 – Configuration
Mode.
NOTES:
1. Ensure that the Cybercino is installed and maintained by a Fracino Ltd approved engineer.
For more information contact Fracino Ltd on 0121 328 7575.

Cybercino Users Manual – Draft Edition – 7thth January 2009
6
2. Ensure that the Cybercino is installed on a counter top that is able to accommodate the
machine’s size and weight. Ensure that there is suitable space surrounding the machine for a
counter-top refrigerator.
3. If installing a Cybercino with a drop-through grinds configuration, ensure that the counter
top accommodates such a method.
- Subsequent Start-Ups
a. Press button 01 to power up the machine
The machine will then start to warm up.
The LCD display will display “WARMING” during this period.
Once the machine is warm, it will prompt the operator to “PRESS RINSE”
b. Press button 11 to complete rinse cycle of the machine.
c. When the LCD displays “CHOOSE DRINK” the machine is ready for use.
 Loading...