

FPV Model ZMR250 V2 Build Manual
ZMR250 V2 Build Manual

Quality, Affordability, Convenience!
Congratulations on the purchase of the ZMR250 V2 Mini FPV Quadcopter! This mini quadcopter is a ton of fun
and building can be a really enjoyable experience too. We hope this manual will assist you with your build.
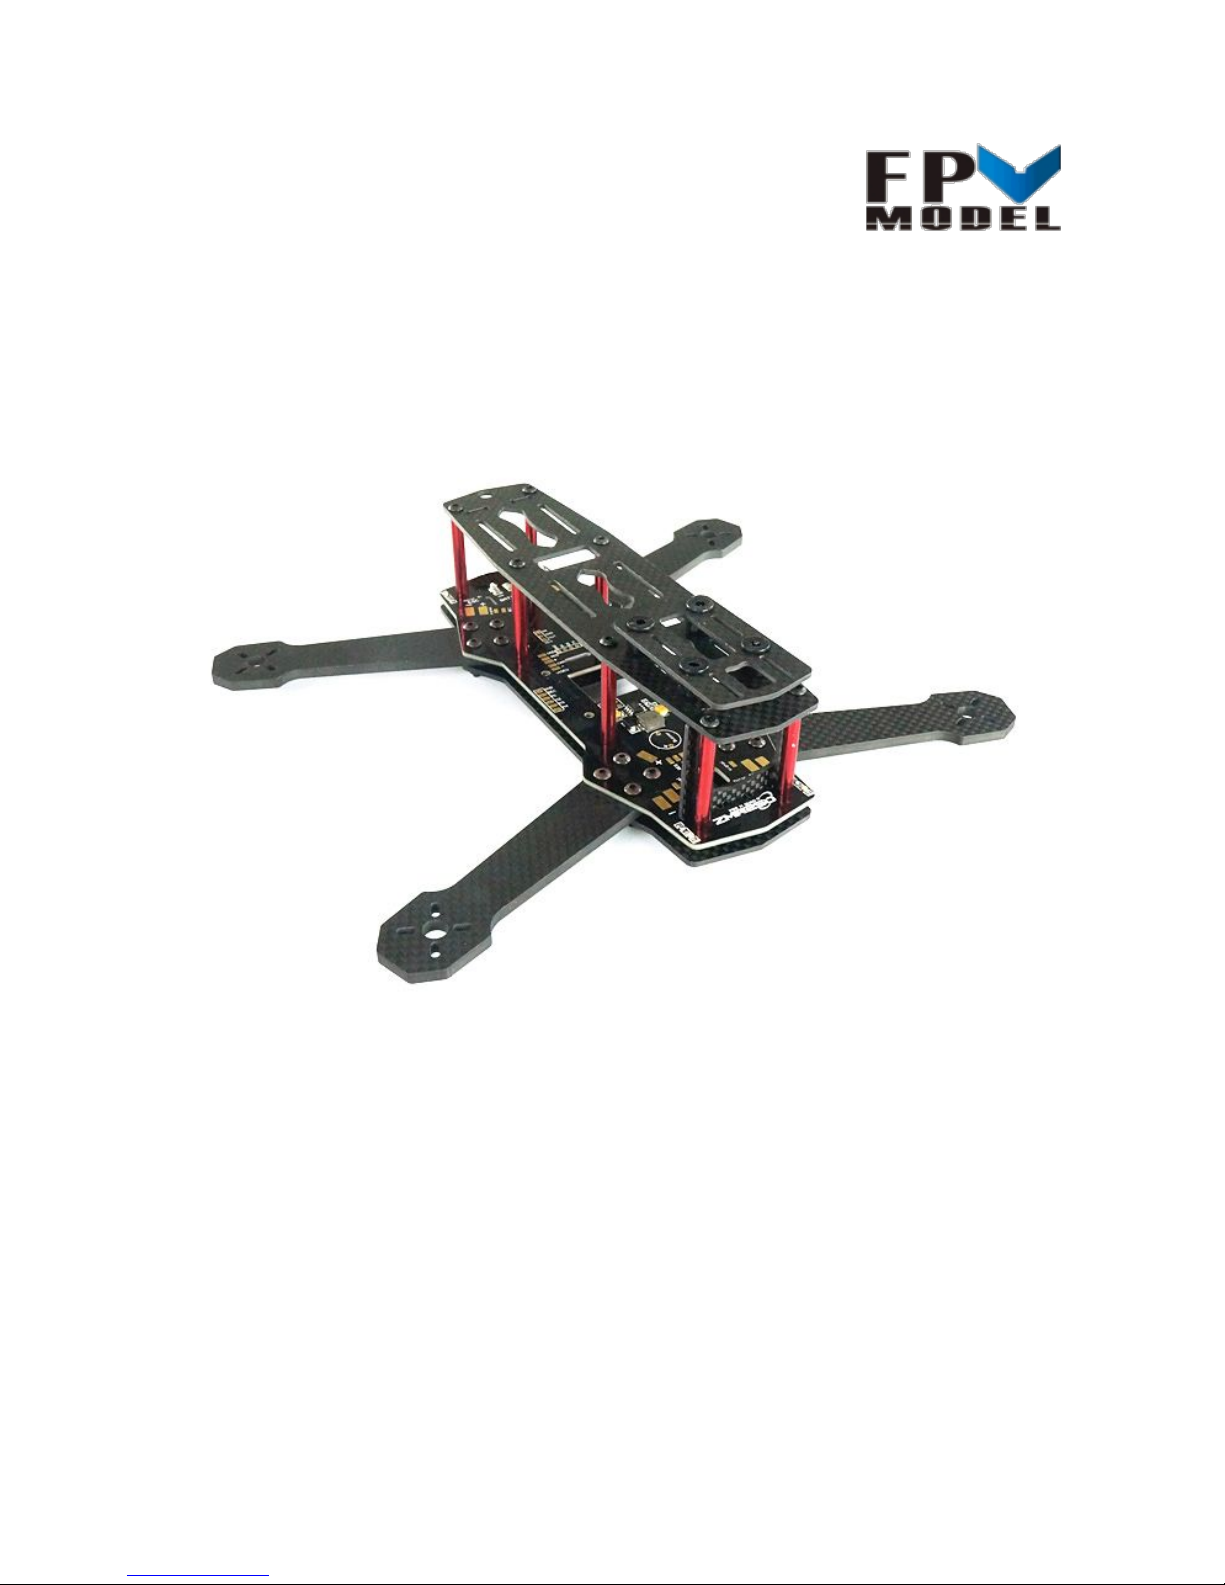
ZMR250 is probably one of the most popular FPV quadcopter frames. We have taken the time to make sure that this is
the ZMR V2 you want. We have reworked the frame to include both top and bottom plates are "true" 2mm plates. We
have also taken the advice of many and included 4mm thick arms. These arms are included in the package and there is
no need to buy them seperately.( 4mm arms can be found running anywhere from 6-15 dollars each!) They are
included in this package.
Our carbon fiber has been sourced and quality checked to ensure that you are getting the best quality 3k carbon fiber
around. Including a full PDB w/LED lighting system you cant find a better deal out there! Introducing the ZMR250 V2!!!
Weight: 185 grams (Frame, hardware, and PDB totally )
Features:
"True" 2mm Top & Bottom Plates
4mm Thickness on Arms for Added Durability
Full PDB w/LED
Recommended Parts for ZMR250 V2:
Motor: Dragonfly MC1806 2300KV (If use 22XX size motors, please buy extra arms to fit.)
Propellers: Dragonfly 5030 CW/CCW props
Battery: 1300MAH-2200MAH
ESC: DYS SN20A Mini ESC
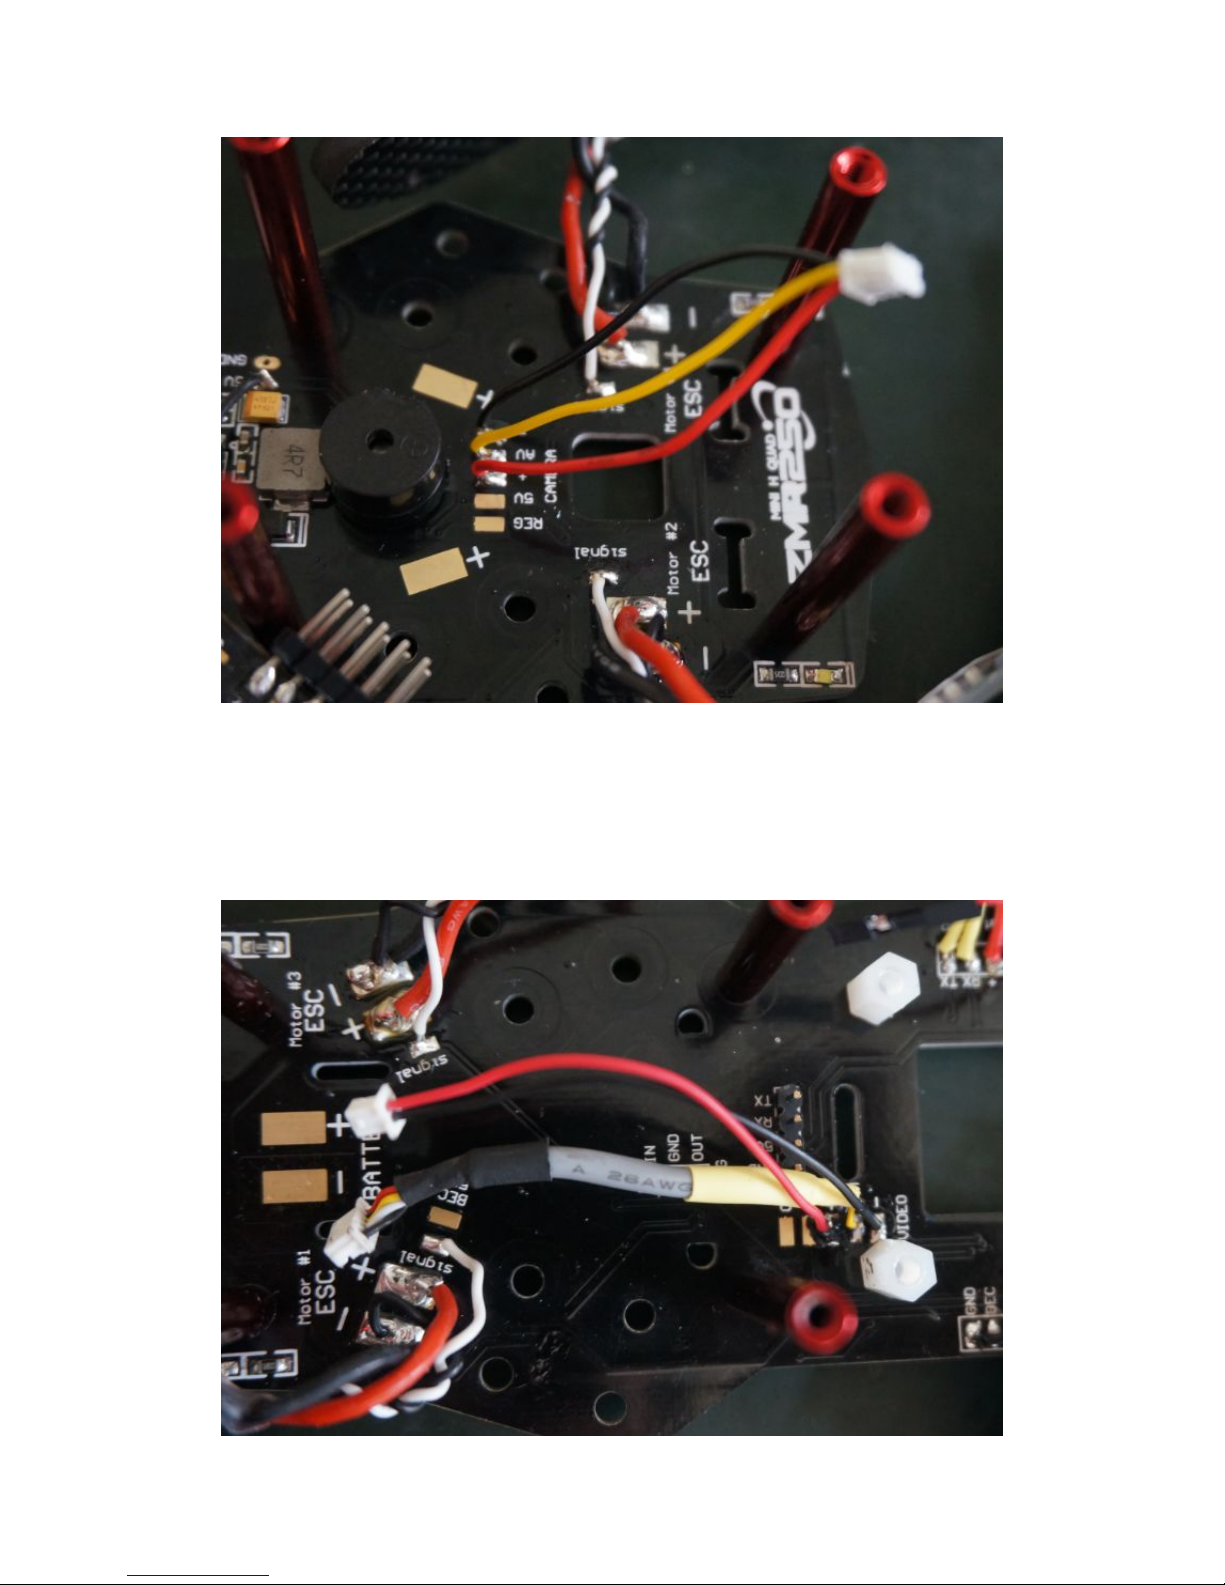
Solder the Transmitter and Camera
Cut the wires of camera to suitable length and solder them to PDB.
Red wire: Power
Black Wire: GND
Yellow: Signal
Solder the power supply wire and video wire (yellow) of transmitter to PDB.
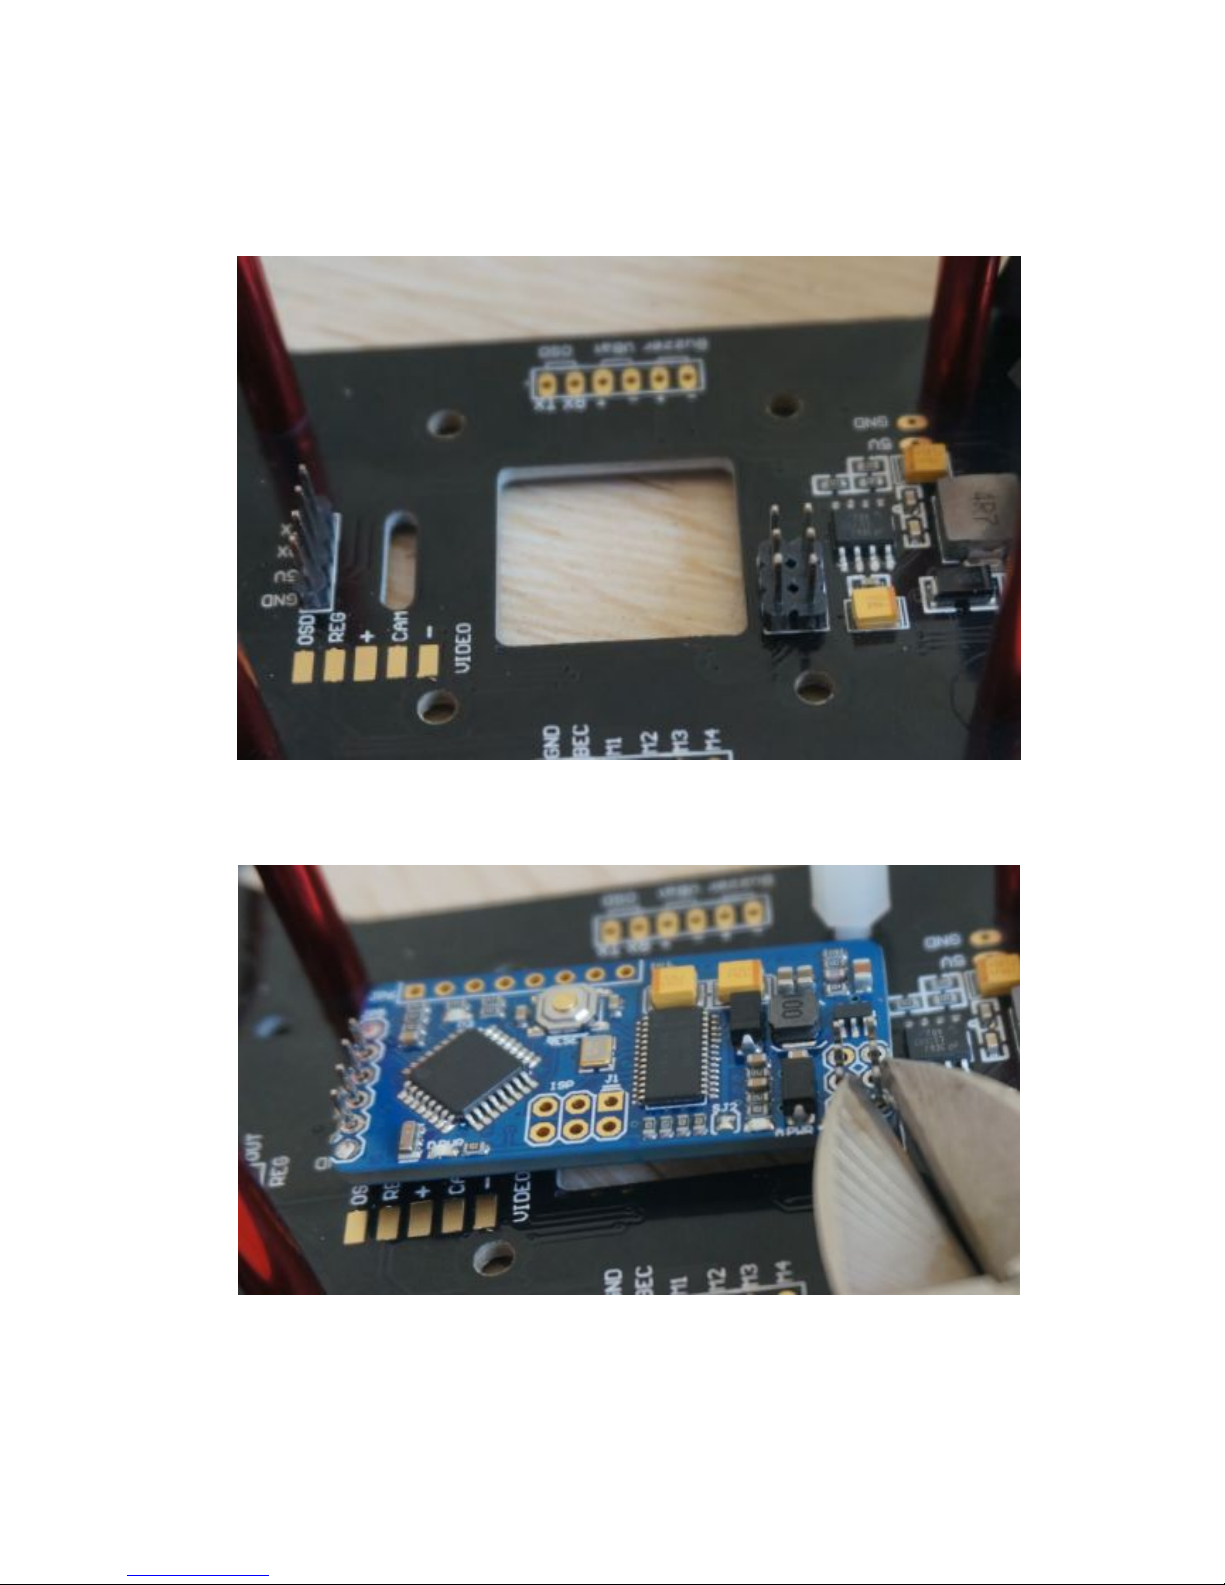
Install OSD
The OSD firmware must be flashed and compatible to the Flight Controller before installation. If you don’t need to
install the OSD, please just skip this step.
Solder the pin headers onto PDB.
Install the OSD on PDB. Insert it onto the pin heads and soldered. After secured, cut off the unnecessary length of
pins.
 Loading...