

Page 1

24G 雷达与 Pixhawk V3 飞控安装说明
2019.04
汇星海科技
Page 2
一、硬件安装与连接
Hardware installation and connection.
1. 准备一个 6 Pin 连接线(如下图所示)与 Pixhawk v3 连接。
Prepare a 6 pin wire for the connection use with Pixhawk v3.
2. 检查雷达连接线针脚(如下图)
Check the radar connection wire(as shown below).
3. 将 6 Pin 线与雷达连接线焊接,并将接口整理干净,以防短路烧毁设备(如下图)
Solder the 6 Pin wire to the radar wire and clean the interface to prevent short-
circuiting of the device (as shown below).
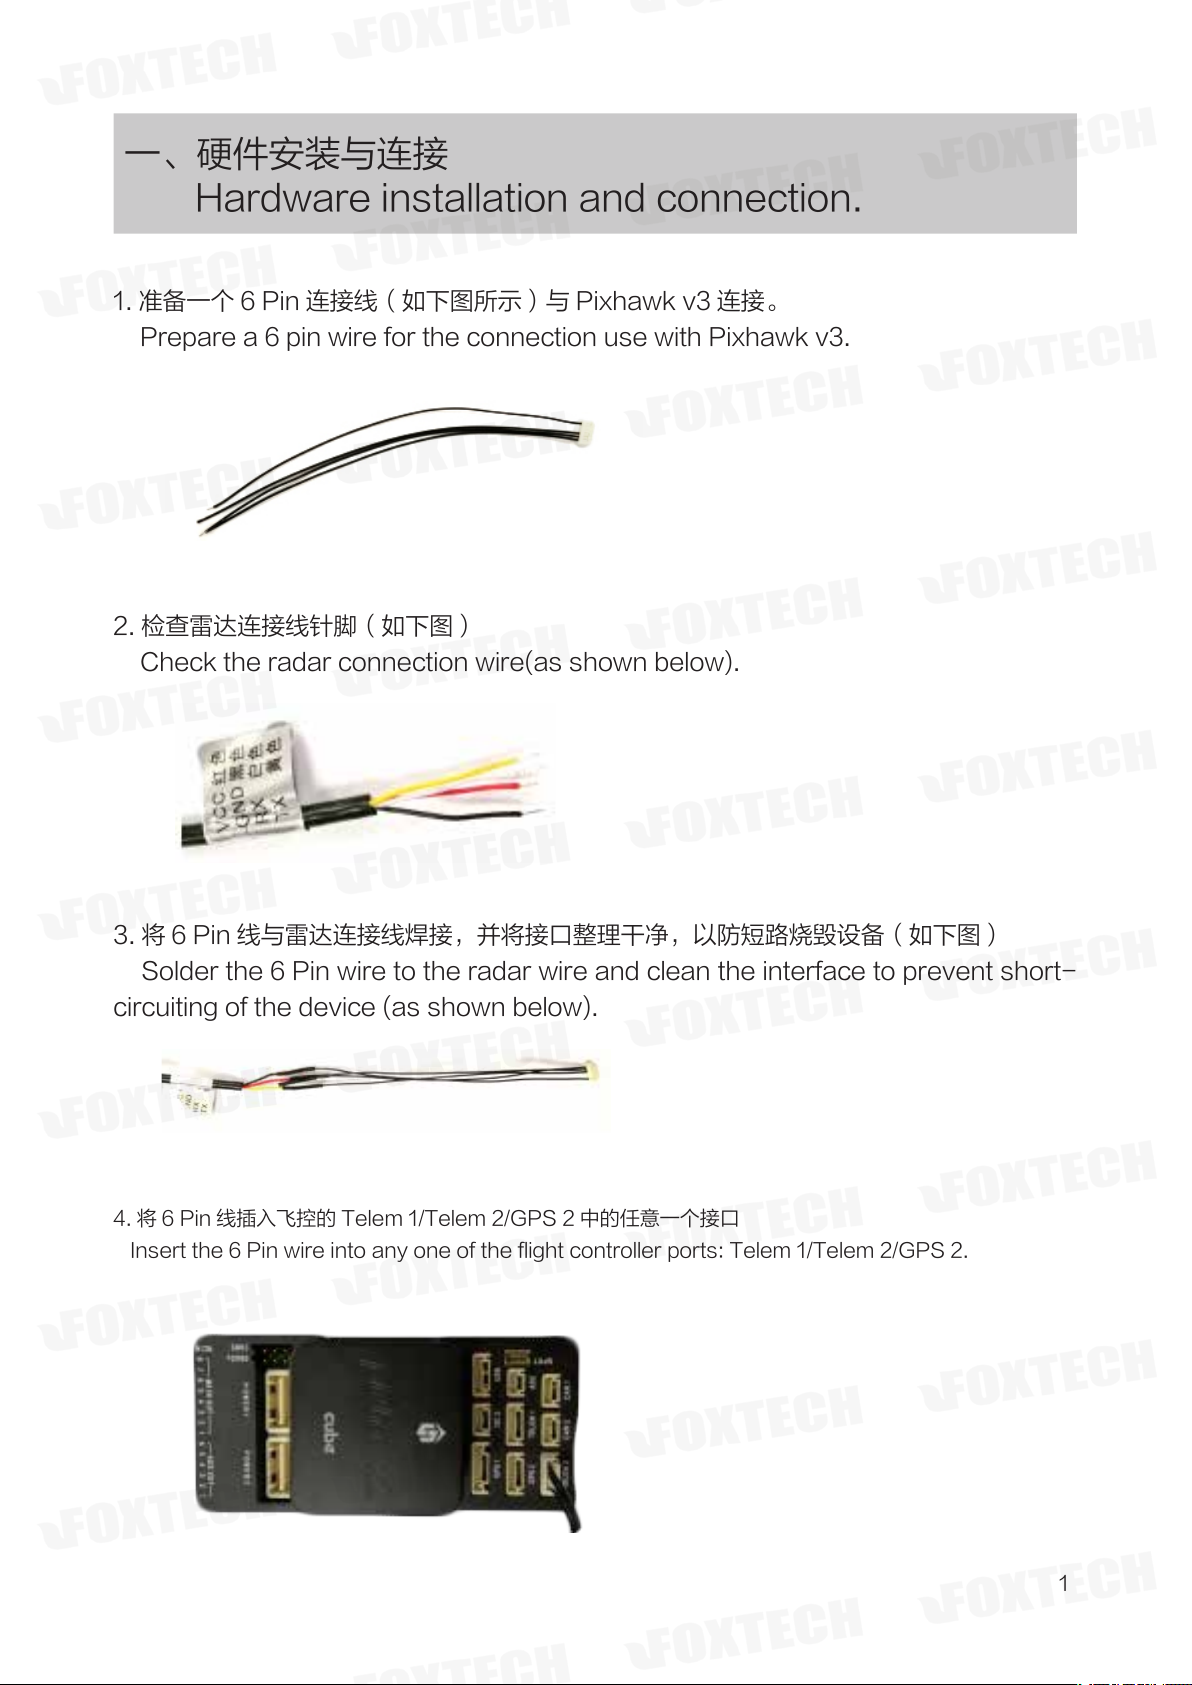
4. 将 6 Pin 线插入飞控的 Telem 1/Telem 2/GPS 2 中的任意一个接口
Insert the 6 Pin wire into any one of the flight controller ports: Telem 1/Telem 2/GPS 2.
1
Page 3

二、软件调试
Software Debugging
1. 打开 Mission Planner 软件 → 配置 / 调试 → 全部参数表
Open the Mission Planner → Configuration/debugging → All parameter list
2. 根据雷达 所插 入插槽 Telem 1/Telem 2/GPS 2 对应 搜索 serial 1/serial 2/serial 4。 更改协 议类 型为
9-Lidar 、波特率为 115200。(图例为插入 Telem 2 的参数修改)
Search for serial 1/serial 2/serial 4 according to the slot in which the radar is inserted Telem 1/
Telem 2/GPS 2. Change the protocol type to 9-Lidar and the baud rate to 115200.(Take Telem 2
as example.)
3. 雷达参数设置:搜索 RNGFND_
Radar parameter setting: search RNGFND_
RNGFND_ORIENT 参数根据雷达作业方式选择
25:Down(定高雷达)0:Forward(避障雷达)
Parameters are selected according to radar
operation mode: 25 Down(fixed height); 0:
Forward (Obstacle Avoidance)
RNGFND_TYPE 参数选择 11:ulanding
RNGFND_TYPE select 11:ulanding
RNGFND_GNDCLEAR 若雷达用作高度计(定
高雷达)参数请根据实际安装离地高度填写,单位
cm。
If the radar is used as an altimeter (fixed
height radar), please fill in Please fill in the
parameter according to the actual installation
height, the unit is cm.
2
Page 4

若同时连接两个 24G 雷达,一个作为定高、一个作为避障雷达,请参照上诉参数,修改 RNGFND2_
ORIENT 参数。
If two 24G radars are connected at the same time, one as the fixed height and one as the
obstacle avoidance radar, please refer to the appeal parameters and modify the RNGFND2_
ORIENT parameter.
注意:雷达参数设置顺序特别重要,必须跟串口参数设置顺序对应起来,如:serial1 对应 RNGFND_ ,
serial2 对应 RNGFND2_;
Note: The order of radar parameter setting is particularly important and must be related to the
serial parameter setting order. For example, serial1 corresponds to RNGFND_ and serial2
corresponds to RNGFND2_;
4. 避障参数调节:搜索 PRX_TYPE 、AVOID_ 、 ;
Obstacle avoidance parameter setting: search PRX_TYPE 、AVOID_ 、
PRX_TYPE=3 选择避障雷达类型
PRX_TYPE=3 Select the obstacle avoidance radar type
AVOID_ENABLE 避障停止方式
AVOID_ENABLE Obstacle avoidance stop mode
AVOID_MARGIN 避障触发距离(根据飞行器情况设定)
AVOID_MARGIN Obstacle avoidance trigger distance (set according to the situation of aircraft)
5. 设置一个通道控制避障功能开启 / 关闭,进入扩展调参 , 找到第七或第八通道选项
Set a channel to control obstacle avoidance function ‘on/off’
Enter the interface of “extended tuning” , find the seventh or eighth channel option.
选择 Object Avoidance 作为避障功能开关。
Choose ‘Object Avoidance’ as avoidance function switch
3
Page 5
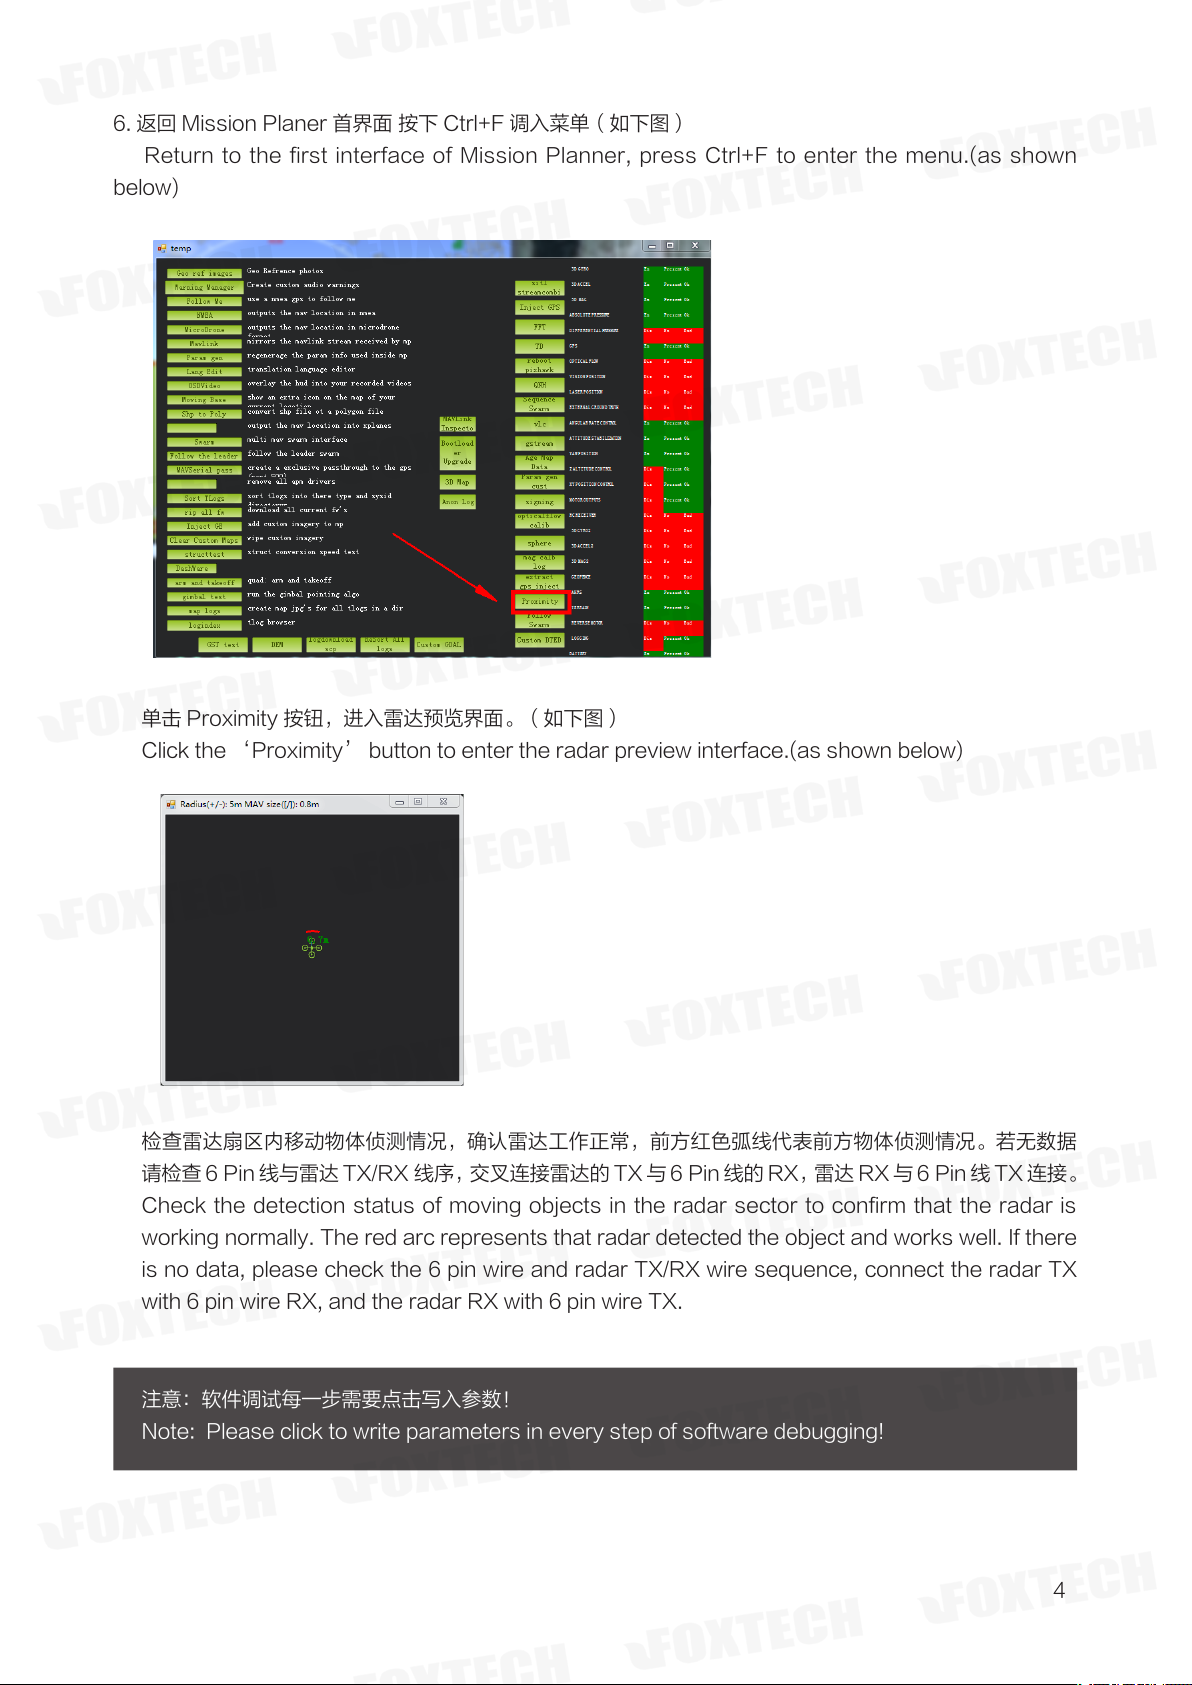
6. 返回 Mission Planer 首界面 按下 Ctrl+F 调入菜单(如下图)
Return to the first interface of Mission Planner, press Ctrl+F to enter the menu.(as shown
below)
单击 Proximity 按钮,进入雷达预览界面。(如下图)
Click the ‘Proximity’ button to enter the radar preview interface.(as shown below)
检查雷达扇区内移动物体侦测情况,确认雷达工作正常,前方红色弧线代表前方物体侦测情况。若无数据
请检查 6 Pin 线与雷达 TX/RX 线序,交叉连接雷达的 TX 与 6 Pin线的 RX,雷达 RX 与 6 Pin 线 TX 连接。
Check the detection status of moving objects in the radar sector to confirm that the radar is
working normally. The red arc represents that radar detected the object and works well. If there
is no data, please check the 6 pin wire and radar TX/RX wire sequence, connect the radar TX
with 6 pin wire RX, and the radar RX with 6 pin wire TX.
注意:软件调试每一步需要点击写入参数!
Note: Please click to write parameters in every step of software debugging!
4
 Loading...