

Page 1
FOXTECH Map-A7R Full-Frame
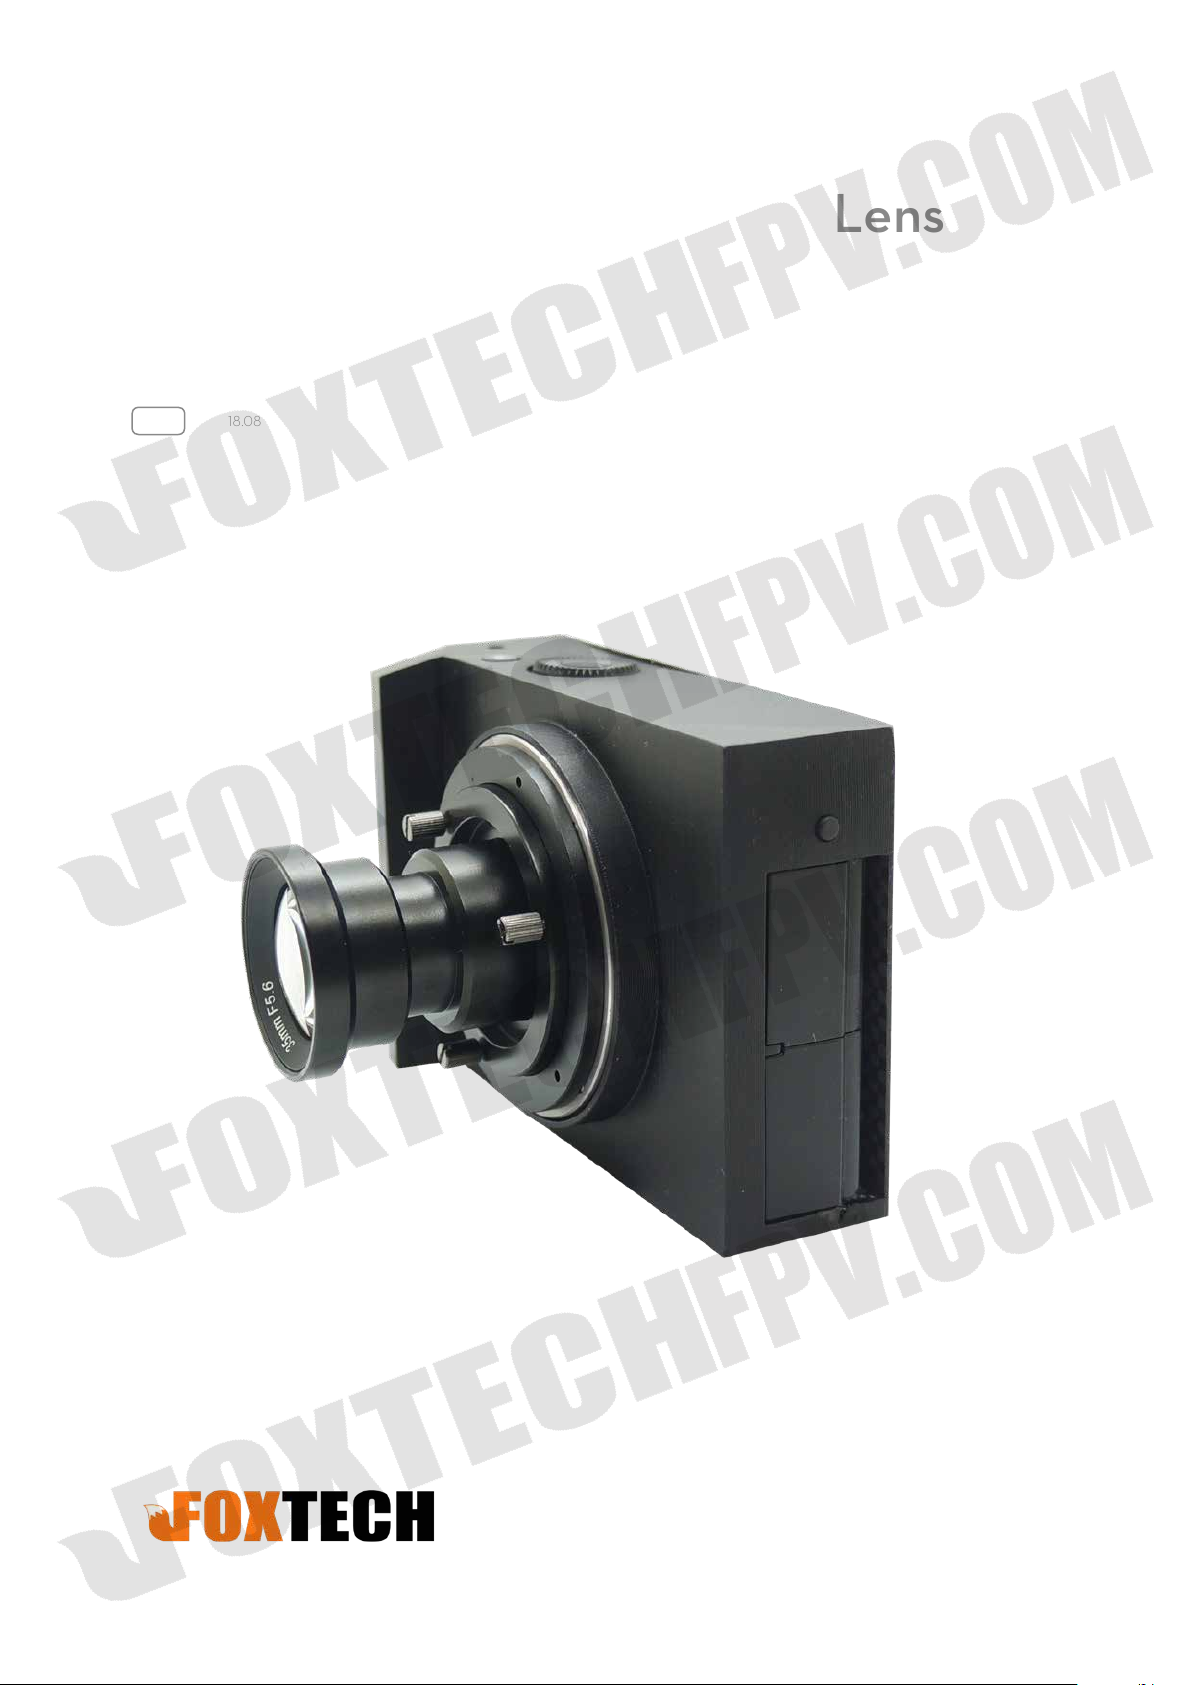
Mapping Camera with 35mm Lens
User Manual
V1.1
2018.08
Page 2

Contents
FOXTECH Map-A7R Mapping Camera User Manual
Warning
Checking the Supplied Items
Notes on Using the Camera
How to Trigger Shutter
About SD Card
About Camera Settings
Identifying Parts
Optional Mapping Lens
Specifications
Attaching/Removing the Lens
Attaching the Lens
Removing the Lens
Power Supply for Camera
2
2
2
3
3
3
4
5
6
7
7
8
9
©
2018 FOXTECH All Rights Reserved
1
Page 3

FOXTECH Map-A7R Mapping Camera User Manual
Warning
To reduce fire or shock hazard, do not expose the unit to rain or moisture.
IMPORTANT SAFETY INSTRUCTIONS-SAVE THESE INSTRUCTIONS DANGER
TO REDUCE THE RISK OF FIRE OR ELECTRIC SHOCK
CAREFULLY FOLLOW THESE INSTRUCTIONS
If the shape of the plug does not fit the power outlet, use an attachment plug adaptor of the proper
configuration for the power outlet.
Over-voltage or reverse polarity is forbidden.
Power supply should not be higher than 8.4V.
Power switch should be set at blue cable side before power on.
After power on, push the power switch to red cable side the camera is on.
Forbid plug in or plug out the 1.25mm 6P plug while power on. It will damage camera main board.
Checking the Supplied Items
Supplied Items
• Camera (1)
• Cable (1)
Notes on Using the Camera
Avoid rough handling, disassembling, modifying, physical shock, or impact such as hammering, dropping,
or stepping on the product. Be particularly careful of the lens.
©
2018 FOXTECH All Rights Reserved
2
Page 4

FOXTECH Map-A7R Mapping Camera User Manual
How to Trigger Shutter
1.The shutter release low level signal. Connect a convert module according to the output shutter signal of
flight controller.
2. Short circuit the picture cable and GND cable.
Note: Wait 5 seconds after last picture before cutting off power supply.
About SD Card
1.Format the new SD card before use.
2.Write the root directionary, insert the SD card and could take photos. Or use a HDMI cable connect to a
monitor, and format the SD card in the setting interface through buttons, and in this way the camera system
root directionary will be automatically written to the SD card.
3.Each time after the photo is taken and saved the red light next to the slot will flash for once. Do not cut off
the power until the red light goes out. If the camera suddenly loses power and you didn't save the photos,
please connect a monitor and select DATA RECOVERY, and then the camera can keep working.
Note: If the red light did not flashes when the camera is taking photos, it means that there is
something wrong with the SD card or camera is not taking photos at all.
About Camera Settings
1.How to Change Settings:
The camera can be set through the matched software by using a USB cable connecting to the computer.
Or use a HDMI cable connecting to a monitor to set it by buttons.
2.How to Save Settings:
If the camera setting is changed, please turn off the camera through on-off key, and then restart it, and then
cut off power supply,only after this step the setting can be saved.
The camera setting won't be saved only by cutting off power supply.
If you set a wrong data and don't want to save, then you can cut off power directly.
3.The default setting is suitable for most tasks,so you don't need to adjust it if you are unfamiliar with it at the
beginning.
©
2018 FOXTECH All Rights Reserved
3
Page 5

Identifying Parts
1 2 3
FOXTECH Map-A7R Mapping Camera User Manual
12
8
9
4 5 6 7
1. Menu
2. Setting
3. Mount Index
4. Lens Release Button
5. Contacts*
*Do not directly touch these parts.
6. Image Sensor*
7. Mount
8. (Microphone) Jack
9. (Headphones) Jack
10. Multi Terminal
10
11
11. HDMI Micro Jack
12. Light
13. SD Card
14. Cable Port
13
14
©
2018 FOXTECH All Rights Reserved
4
Page 6

Optional Mapping Lens
Choose E-mount Lenses according to you need.
FOXTECH Map-A7R Mapping Camera User Manual
©
2018 FOXTECH All Rights Reserved
5
Page 7

Specifications
FOXTECH Map-A7R Mapping Camera User Manual
Item Name
Sensor Type
Number of Pixels(Effective)
Image Sensor Aspect Ratio
Image Size(Pixels)
Hot Shoe signal
Lens Compatible
Shutter Trigger
Shutter Speed
Continuous Shooting
Storage Card Type
Storage
Map-A7R Full-Frame Mapping Camera with 35mm Lens
35mm full frame Exmor CMOS sensor(35.9x24mm)
36.4 MP
3:2
3:2
L: 7360x4912(36M)
M:4800x3200(15M)
S:3680x2456(9.0M)
Supported
E-mount Lenses
High level/low level/PWM
30-1/8000 sec
4FPS
SD/SDHC/SDXC Card/MS
SD Card(maximum support 640G)
16:9
L: 7360x4144(30M)
M:4800x2704(13M)
S:3680x2072(7.6M)
Parameter Setting
Data Reading
Interface
Power
Size
Weight
Button/USB
SD card/USB
HDMI USB2.0
8.4V
10x7x4cm
208g
©
2018 FOXTECH All Rights Reserved
6
Page 8

FOXTECH Map-A7R Mapping Camera User Manual
Attaching/Removing the Lens
Lens are optional. For purchase please contact Foxtech sales.
Attaching the Lens
Fig.1 Fig.2 Fig.3
1. If the cap or the packaging lid is attached, remove it from the camera or the lens.(Fig.1)
• Quickly change the lens somewhere away from dusty locations to keep dust or debris from getting
inside the camera.
2. Mount the lens by aligning the white index marks on the lens and the camera.(Fig.2)
• Hold the camera facing down to prevent dust from entering into the camera.
3. While pushing the lens lightly toward the camera, turn the lens clockwise until it clicks into the locked
position.(Fig.3)
• Be sure to put the lens on straight.
• When attaching a lens, do not press the lens release button.
• Do not use excessive force when attaching a lens.
©
2018 FOXTECH All Rights Reserved
7
Page 9

FOXTECH Map-A7R Mapping Camera User Manual
Removing the Lens
Lens Release Button
Press the lens release button all the way in and turn the lens counterclockwise until it stops.
• If dust or debris gets inside the camera while you are changing the lens and adheres to the
surface of the image sensor (the part that converts the light source to a digital signal), it may appear
as dark spots on the image, depending on the shooting environment. The camera vibrates slightly
when it is turned off, due to the anti-dust function, to prevent dust from adhering to the image
sensor.
However, attach or remove the lens quickly somewhere away from dusty locations.
• If foreign material attaches to the image sensor, dust it off using a blower.
• Do not leave the camera with the lens removed.
• When you want to use body caps or rear lens caps, please purchase ALC-B1EM (Body cap) or
ALC-R1EM (Rear lens cap) (sold separately).
©
2018 FOXTECH All Rights Reserved
8
Page 10

FOXTECH Map-A7R Mapping Camera User Manual
Power Supply for Camera
Power Connection: Connect the 2S (DC8.4V) positive wire to camera Pin 2(+), and negative wire to camera
Pin 1(GND-).
Don't operate the camera immediately after power-on. After 15s self-checking, the camera will acquire the
usual parameters for mapping, and it can meet he requirements of most missions. You also could set up the
parameters by the menu button on the top of the camera.
This content is subject to change.
Download the latest version from
https://www.foxtechfpv.com/foxtech-map-a7r-full-frame-mapping-camera.html
For everyday updates, please follow Foxtech facebook page"Foxtechhobby".
YouTube Channel: Foxtech
©
2018 FOXTECH All Rights Reserved
9
 Loading...